Transcripts
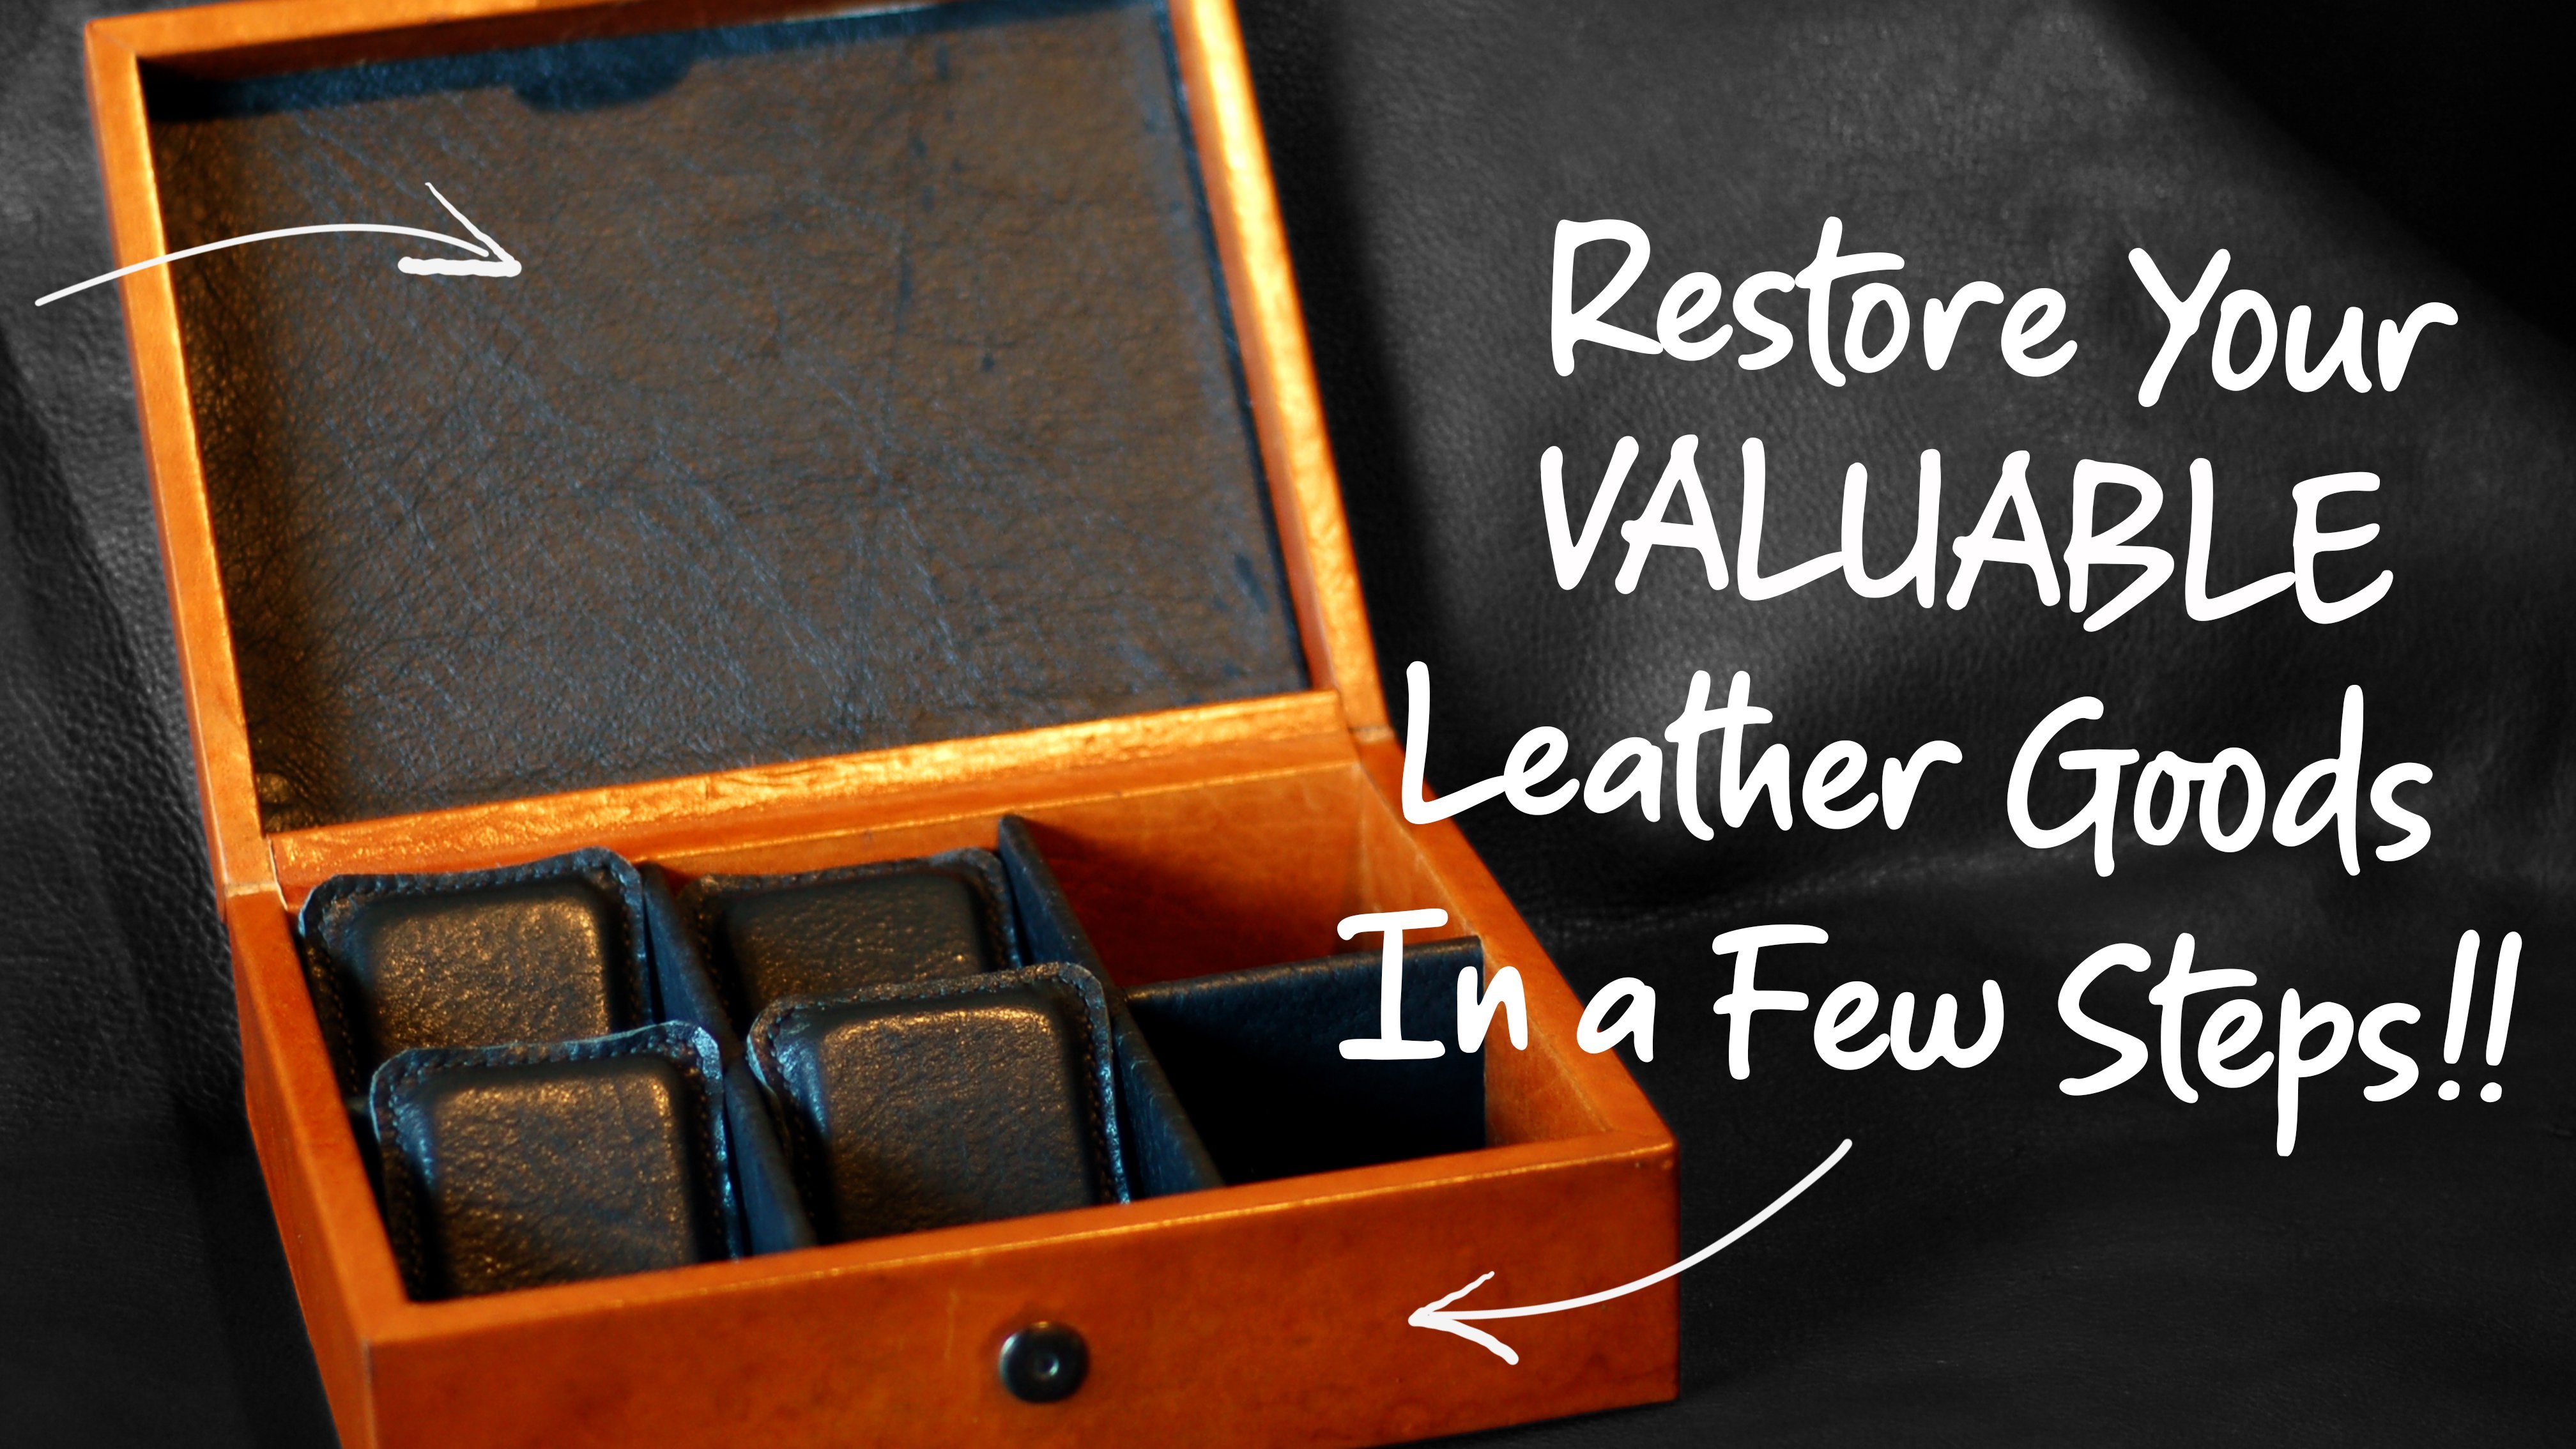
1. Welcome to the class: Hi, welcome to this class. My name is David, and this
class I'll show you how you can make this simple
and practical pouch. This project is very
easy and fast to make. And the best part of all
is that you don't leave any template or pattern
to start designing it. The final project for this
class is for you to create your own letter
files from scratch using traditional leather
working techniques, which we'll cover
in the next lesson. Without any further ado. Let's get started and I'll
see you in the next lesson.
2. Preparing and cutting the leather: Okay, so let's get started
with our leather pouch. For this project, I'll be using this brown leather
as the main part. This is a beautiful
textures soft leather, and I've already got
this piece a bit larger than what I'll
be using for the pouch. Now, I won't be using any
template for this work. Rather I'll be using this cutting mat as a
template for the pouch. I've used his math
for quite some time now as a punch matt, since it's soft and doesn't harm the
Cheetos I worked with. As you can see in the center, it has a lot of
wire from punching the stitching holes with
a chisel on top of it. However, for this project, this size will work
perfectly well. I'll first make sure
that the math measures the same length and width,
trillions entire perimeter. And then I'll place the
mat on top of the leather. And with the help
of a leather pen, I'll draw the
silhouette of the math to know exactly where
to cut the level. However, the math has all
its edges rounded and we need to have the edges from one side to be
completely straight. So we're going to leave one side with the edges on drawn yet, since we need to make a straight cut and we'll
come back to it later. The other side
will be drawn with the edge curves
without any problem. Continuous drawing the
edge of your abolish, always making sure your math or object you're using
as a template is well pressed over the leather so it doesn't move
while working with it. When you're done, you
can finish drawing the remaining edges
that needs to be straight with
your leather pen. The beginning cutting the piece, I suggest you start with
a smaller parts first, since they are much
easier to handle. Pleasure ruler over the line. And would you accept the knife, cut the first side carefully. Don't apply much
pressure to the blade. It should cut the leather
without any problem by itself. You can work your way through a small passings to make sure the leather is
called deeper every time and with less
pressure on the knife, as you can see in the video. When you're done with
the first slide, we continue with the opposite
side of your project. And when you have reduced the length of the
entire project, you can comfortably work in cutting the largest
size of the pouch. Because they are now smaller. You'll have more control over
them and you'll make sure they are more stable than working with a
ruler and a knife. When you're done, It's
now time to cut them. Too small run images that are
on the side of the pouch. Here's your pair of
scissors to do this. This edges are going to be on
the flip side of the pouch. They are going to
be very visible. Go slow and gentle
with this cuts and just make sure that
they look nicely rounded. Great. So when you're done, you can start seeing how the project is going
to look at the end. And we can move
forward to glue in the math part with a
lining in the next lesson.
3. Glueing the leather: To begin glue in the
leather with aligning, we're just going to focus
ourselves in the inner sites. This brown leather I'll be
using the sexually quite smooth on the inside and
feel soft and very flexible. With the glue,
you're going to give more stiffness to your projects. Always keep that in mind. For this project, I'll be using this beautiful clear
brown leather as aligning that has a really
nice inner and outer sides. Diner site actually
feels like sued. And that's where we're
going to glue our leathers. The first thing you
want to do is to place the lining with the inner side facing upwards and remove any excess of third or
particles you find. This is hugely important
since once it's good, this is going to be very
visual and it's going to look as if there's something
dropped between the letters. Then pleasure main
part on top of the lining with the inner side facing the inner
side of the lining. And what your leather pen draw the entire perimeter of
the leather on the lining. You can remove the drawing with your pen because it's very important to know exactly where your blue both sides together. Especially when working
with large pieces. If you don't have this, you can miss a part that doesn't have any glue or you can bend the leather while
you're doing it. And it may cause some wrinkles that are not going to
look nice at the end. When you've marked this line. Well, apply letter glue to the inner side of
the inlining first. You can have blood that blue the blue applicator if you wish. I personally always use my
fingers to apply the glue. However, one important
thing to do is to pass a small excess of glue
outside the drone edge just to make sure there's enough glue in case the letter doesn't go astray when we're joining
both sides together. Another thing you can
use to apply later glue is an old credit card that
is not useful anymore. You can play some blue
over the leather. And with a card you
can start expanding the blue over the surface
as if it was paint. This is actually very practical because it covers a lot of area in every passing
any covers it evenly. When you're done,
make sure there's no excess of blue chunks
left on the surface. And repeat this process for the inner side of the main part. Makes sure all the
surfaces well-covered. Another word thing
of working with a card is the glucan be easily removed by just rubbing it with your fingers and the car
will look just like new. When you're done pleasure
lining as flat as possible over your table and then carefully guard yourself from
the lines you drew. Would your friend to play as your main part over the lining? Both glutes size should
be facing each other. While you're placing
the main part, you can start pressing
and flattening your way through to make sure that the
sides are glued together. You might notice some excess of glue on the right side
of the main part. It has happened some boring. This glue can easily be
removed just by rubbing it. When it dries up. You feel the lining is
very large to handle. You can drip some access
before you make the main cuts. So the lining at the very
edge of the main part, you can see the
pieces are completely clean from any excess of blue and we're ready to make the final cost of the
excess of lining. Your pair of scissors cut the lining right at the
very edge of the main part. The thickness of the main part will serve you as a guide and barrier for the scissors not to pass through the glute
assembly of the letters. Carefully cut as
evenly as possible. You'll feel the excess you have cold is getting along your way, then cut it out and continue
calling your project. When you're done, you should have your project
looking like this. There's any excess of blue you feel you still need to remove, then do so once it's dried out and we can continue
with the next lesson.
4. Painting and stitching the inner side: Great, So now we have a better idea of how the
pouch is going to look like. The first thing we want
to do at this point is to stitch the inner
side of the project. Because once the
sides are stitch, you can do anything on
that part of the pouch. To begin with, use your
edge degreaser or ruler and the other pen to mark where the stitching lines
will go on this side. The edge cursor is actually used to decorate the
edges of the liver. However, I found
this tool to be very convenient when marking
the stitching lines, since it leaves an offset of three to four millimeters
from the edge, which is a very
decent distance for stitching and makes the
projects look great. Start by marking a
small section of the lung edges on the corner to know exactly where the stage of the inner side will
begin and end this on both edges and then
use the same tool to make the offset of the entire
inner side of the project. With this tool, you
only need to press the leather and guide yourself from the edge of the project. Because there is a larger
slide on the tape that is facing the side of
the letter directly. This prevents secreted
from moving in any other direction and guarantees your line to
be Margaret straight. Make the searching holes, plays your power over your
punching mother poly block and identify the first stage with a first-time on tip of the CISO, which is right on the
intersection between the small marks of the edge
and the stitching line. Punch the chisel with
your polymath and make sure it passes
throughout the entire piece, then continue to punch this teaching holds
throughout the entire site. One convenient thing to do
is to punch the last hole. So you can have the very last stitching halls where
they need to be. If the chaser doesn't
correspond to the last punch, It's easy to adjust and forced the lever a little
using i2 branches. But the first and
last holes is very important that they are placed right where
they need to go. When you're done with
punching the stitching holes, we move on to the actual
stitching of the side. For this project,
I'll be using this 0.8 millimeter polyester thread. The first thing we
need to do is to measure the distance we
are going to stitch, then multiply the
distance by four, and that's going to
be the amount of thread you may feel that side. Now, I always like to add an
extra 20 to 30 centimeters of thread because that allows me to worry the stitching
more comfortably. What are the risk
of living in short? The needles I'm using for this project that are
pair of John James 00, too subtle stitching needles. To attach the needles,
the thread GO first, need to pass the thread through the whole of the
needle and stitch the extra thread with the same needle as
you'll see in the video. Then you need to pull the thread backwards until there's
a small amount of thread right at the edge
of the needle where the hole is and pull the thread backwards again so
it passes through the hole and locks
itself with a threat. This makes it look
very strong and guarantees it won't come
loose while working with it. Repeat this for the other
side of the thread. And when both
needles are locked, we can begin stitching
the edge of the pouch. We're going to start stitching
not in the first hole but in the second one since
the first hole will be used later on to punch
the backside of the pouch and stitch the
main side of the project as well as your first kneeled for the second hole and pull both nibbles together backwards to make
sure the thread measures the same on both sides. To make this switching
browser first and it goes to the next hole and we then
needle between the leather. You use your left hand to pull the needle and pause
a second meal at home front of the
thread that was passed with the first needle
through the same hole. Then simply pull
the thread evenly on both sides until you
find in this stitch. As you can see, this is
really not a hard process, but it does require some time and practice to master it well. However, once you
could use to it, you must always really
quickly and you can use the same stitching technique
for all your little project. Repeat the process for the
entire length of the side, but finished not at last
hole, but one before. Since we're also
going to be using this last hole for a
different process. Later on. When you reach the end, you
need to stitch backwards 1.5 stage to lock the
thread in place tightly. Doing the same process, go back one stage and then
pass the thread that is in the front side of the letter to the back where the
lining is placed. Then with your scissors cut both threats and burn any
small excess with a lighter. Tried to move the lighter as you do to avoid burning the letter. The next step is
to paint the edge. However, before doing so, if you have a leather hammer is a good idea to
press this stage, she just did so
the leather is as flat as possible before
painting the edge. Letter hammers have
convex heads so they won't harm or marketing
your leather on using them. For this project, I'll be
using an edge of paint after Cater and I
very nice kWh paint. This one is incarnate color, which matches the color of
the leather and thread. Of course, if you want your
project to look more support, you can find the edge
with any other color you wish and use a different
color of threat as well. When you're painting the edge, I suggest you apply the
paint little by little. In this way, you'll become more aware of how the
paint behaves on the edges and you avoid dripping
any excess to the sides. We're going to apply three
coats of paint for the site. When you're done
with the first code, leave the site resting position that does not made
the paint drip and let the paint dry for around ten to 15 minutes before
applying the second code. The second code is applied. You'll need more time
to let the paint dry. Since this time the paint is
not going to be absorbed, but the fibers of the
leather as in the first one. The third code will
need even more time to dry since the paint is drying
over the previous code. However, this third
code is going to make the edge look really
nice and really smooth. When the paint is
completely dry, you can publish the edge using some burnishing gum and
a small piece of canvas. In this case, I'll be using some token only burnishing gum, which is a great product to
use for this type of job. Way to do so is applying a
small amount of gum all over the side and then
rub the gum with a canvas until you
hear a cracking sound. This is an indication
that the gum is now dry and the
side is burnished. At this point, we're finished working with the first slide of our pouch and we can move
forward with the next lesson.
5. Painting and stitching the upper side: Now that we have
finished the inner side, we're going to focus
in this lesson on the outer side of the pouch, which is the one corresponding
to the flop section. This is the part that will open and close the entire pouch. The first thing you need
to do is to know exactly where the flap will bend to
close approach completely. You can bend your
pouch in place a mark where you feel
this distances. In my case, I've
already identified this distance as
9.5 centimeters, since I've done a previous pouch in black leather sometime ago. However, this measurement is
going to be very relative since we're not using a standard template
for this project. Brother, mark the points on both sides of the project where you feel the flap looks
good to open and close. Bend your inner side of
the couch and so that it's next to where the
flat will start bending. Then we just scratch
all and diamond chisel, the first to the stitching that will go on the flap
section of the pouch. Then bunch this halls with your two branches,
will and polymath. Doing this is very
important to know exactly where to begin
stitching the flip section. When the initial holes
have been punched, turn the pouch to the right side facing upwards and
you're going to work exactly the same as
you did previously with the edge creature to
mark the stitching line. In this section. We will then repeat the process of
punching the stitching holds, measuring the
amount of money and stitching the size with the same thread we use previously. This time however, we will
start in the first hole. We make work your way through with your
large seashell. And when you reach the
edges of the flap, use your two branches or
to punch the holes on those sections and turn the stitching line where
it's supposed to go. The thread measure the entire distance
you've just punched. And just so we prevented
the date on the inner side, multiply the distance by four to get the right amount of
thread you'll need for that section and add an extra 30 centimeters to
work your way comfortably. When you're done stitch
in this section, you only need to paint the
sides you've just stitched. Again, use your paint applicator
and preferred type of edge paint and apply tree codes before
burnishing the edge. If you feel the edge,
it's a little rough because of the glue
or excess of fibers, you can use a 3167 grid paper to take that excess of
the side before painting. When you're done, we can
move to the next lesson. What do we apply this naps, they will have the
pouch close tightly.
6. Placing the snaps: Placing those naps is
a very simple process, but those requires
some special tools which you're going to
see in this lesson. The first thing we need
to do is to identify whether two assemblies of the snaps are going
to be placed. One is going to sit next
to the inner side of the pouch and the other one
close to the flip side. For this project, I'll measure
previous brush I did with the same measurements and use
them for this new project. These measurements
are going to be very relative to anyone's own patch. But as a reference, the
measurements I'm taking from this black pouch
or 5.5 centimeters from the edge of the inner
side of the first nap and two centimeters from the ash of the flip side to the other snap. To play. This point is right in the center of the leather. I suggest you first
measure the width near where the snaps
are going to be placed and then mark the center of the width and
measure the distance from the inner flap site to
where the snaps will go. Guiding yourself from the
center market just did. This way. You guarantee you're centering
the snaps correctly. To punch the holes. I'll
be using this small hole puncher that fits
the metal tubes from the snaps. Just write. What I suggest you to
do is to first mark where the holes will go and
then measure once again, the center guarding your
social and that center mark, just to make sure
the mark is right. Then what you're pulling my
punch holes in the liver. Another way to verify the
holes are centered is to bend the LBJ and check that both holes are well
aligned with one another, as you can see in the video. Now there's naps assembly consists of four
separate pieces. Each of these pieces is unique and cannot be
replaced amongst them. Now that goes on
the flip side has the button like part
and the housing part, which has a small spring
inside that is going to allow them metal pieces to open and close without harming
the assembly itself. These are called the cap
and socket respectively. Does not that goes on the inner side of the Polish
consists of the eyelid, which has a vertical tube that attaches itself with the stud to place napped parts. There are some unique
dices that needs to be placed in a specific
quarter in a press machine. If you are considering
working with leather as a serious business, I strongly recommend you make yourself one
of these tools. Many other projects
I've done work with snaps because many
clients usually asked for their projects to have
this kind of mechanisms to quickly open and close
their bags filed shares, wallets and other accessories. For this project
will start placing the inner side parts
with us nap first. Your presentation plays
a point that lies on the bottom of the
press and screw the house shaped one on the top section of the press plays a leather
with the right side facing or ports and does knobs
in place and make sure both the lower and
upper parts are well aligned with the diocese
of the press machine. Then simply present snap
assembly and what will happen is that the middle of
the eyelid will bend and fix this thought
tightly to the liver. Then remove the dices Do you just use from the
Prisma machine and plays the flat dies on the bottom part and
screw this mold Point, he dies to the upper
side of the tool. This time the leather
should be facing downwards with us
not pieces in place. Whenever thing is well
centered, process nap assembly, and this time that capital
fixed the socket in place. Now there are other types of
tools for blessings snaps. Some people use nap punctures, the president metal
to the mechanism, ban those metal tubes and
fixed your sandbox together. This punctures only need a flat surface and I
polymath it to work. You can also use those
tools if you wish. When you're done pleasing
doesn't have to the leather. We can move forward and switch the sides of the poets.
And the next lesson.
7. Stitching the sides: Once the snaps have in place, we can start
stitching the sides. And this is actually a
very simple process, since we are going to do
it exactly the same as we did with the first two sides
with previously stitched. There are only a few things to have in mind during this step. The first one is to make
sure that first stage that will correspond to the
stitching of the fixed side, which we're about to do is
at the same distance from the last stitch from the flat as if it was just like
any other stitching. Hope that both sides of the pouch are well
aligned between them. This is very easy to
identify since we've already know where the final
stage of the flop was made, we can measure from there to the first stage we're
going to do now and help ourselves with
our diamond chisels to mark exactly where the
first stitch will go. The same will happen with the last stage of the
assemblies since we want this last stage to be
comfortably made and guarantee the side of the
pouch is well closed. You can draw mark with your
leather pen where you feel this last issue go and then proceed to work on making
the stitching calls. You can use your cursor to mark the line where the stitching
hole will be bunched. Or you can use your ruler and leather pen to draw
this line as well. When you're ready, bring your
body blog or cutting mat to the table and start
bunching this that you hold with your language
she filled and polymath. If you begin with your large
chisel and find out that the last marks are going to be difficult to align
with this JSON. You can always use a two
bronchi cell to force the leather a little bit and get the final mark
you've already did. If you're going to do this, I recommend you read
punch those last holes with the holes look
as even as possible. When you're done with one side, repeat the process with the
other side of the pouch. To join the first
slice together, use your leather glue and place a small amount of it right at
the very edge of the pouch. You don't want to
have an excess of glue on the inside
of the bag just enough to let the leather
seats while you're punching the holes once
again and stitching it. When your journey
into sites together, make sure they're well aligned before closing the
entire section, you need to include
the pieces for this. Then do it since you
don't want to have a misaligned leather side in the end that will make
your project look bad. You can use some office
gloves to keep the sides together while the glue dries
out between the layers. I felt this clamps are really convenient the world
working with leather, especially when it comes
to glue two parts that might need more time to
glue or dry properly. When you're done,
leave the rest for about ten minutes until the
Lewis constitutes right. Once you remove the clamps, makes sure the sides
are well aligned and procedure punch the
stitching calls once again, this time to make the
hole from behind. When you do so, always
make sure that she's old passes all the way through
when using your polymers. Now to begin stitching,
we need to do exactly the same process we did previously on the flap and
internal side of that batch. But this time we'll multiply the distance we measure
of each side by five, since it's a thicker
layer to stitch. You have the ride
length of thread. Remember to add 20
to 30 centimeters extra to work your way
comfortably when stitching. The beginning
stitching will make our first stage not
forward but backwards. Joining the last stage
we made on the flap to the first page of the fixed
side we're about to do. Because then we're
going to move forward. This will make this
particular stage to have two stitches right on the
edge where the flat begins. This is very important
since this part is where most of the attention and
both of the partially made, you want to make it as
strong as possible. And having two stitches on that side will help you
achieve this easily. Once you've made the
first stage forward, just continue your way through the entire slide on Julie's
completely stitched. When you're finished,
we can move on to paint the edge in
the next lesson.
8. Painting and finishing the project: Now that we've done
stitching the first side, we can move on to paint it. Because leather is flexible. Whenever we're stitching to
some leather sides together, it tends to flex and move slightly from where it
was originally glute. It's always a good
idea to send your size before painting it to get
the surface more even. In this case, I'm using a
367 grid paper and we'll just pass it several
times to remove any excess felt on the surface. To paint this side, you can use the same edge paint
applicator you provably using the flap
and inside in the pouch. If you replicate, it was
proved the clean when painting those sites and
still has some paint on it. You can work with it in that way without any problems since there wouldn't be a huge amount of
layers drive on the surface. When painting just move your
way as you're privileged it throughout the entire side of the project and let
it dry for a while. Once again, I
recommend you leave several calls of bandy
farm burnishing the edges. I will recommend a minimum of three codes for this project. When you are happy
with your first code, leave it to dry for
about 15 minutes and come back to apply
the second coat. When you're done
painting your sides, you can apply the burnishing gum to your project and repeat the stitching and
painting process for the other side of the patch. In the end your posts would
look something like this. To apply the burnishing gum, you can grab your polish from the inside
with your fingers, as you can see in the video, this makes the files were stable and polish AND gate
with a piece of canvas. When you are happy
with your results, just remove the excess of gum left and your pouches
now ready to be used. In the last section
of this class, we'll talk about the final
project. See you there.
9. Final project: We have now reached
the end of our class. As you can see, making this leather pouch was very
easy and you really don't need to have any
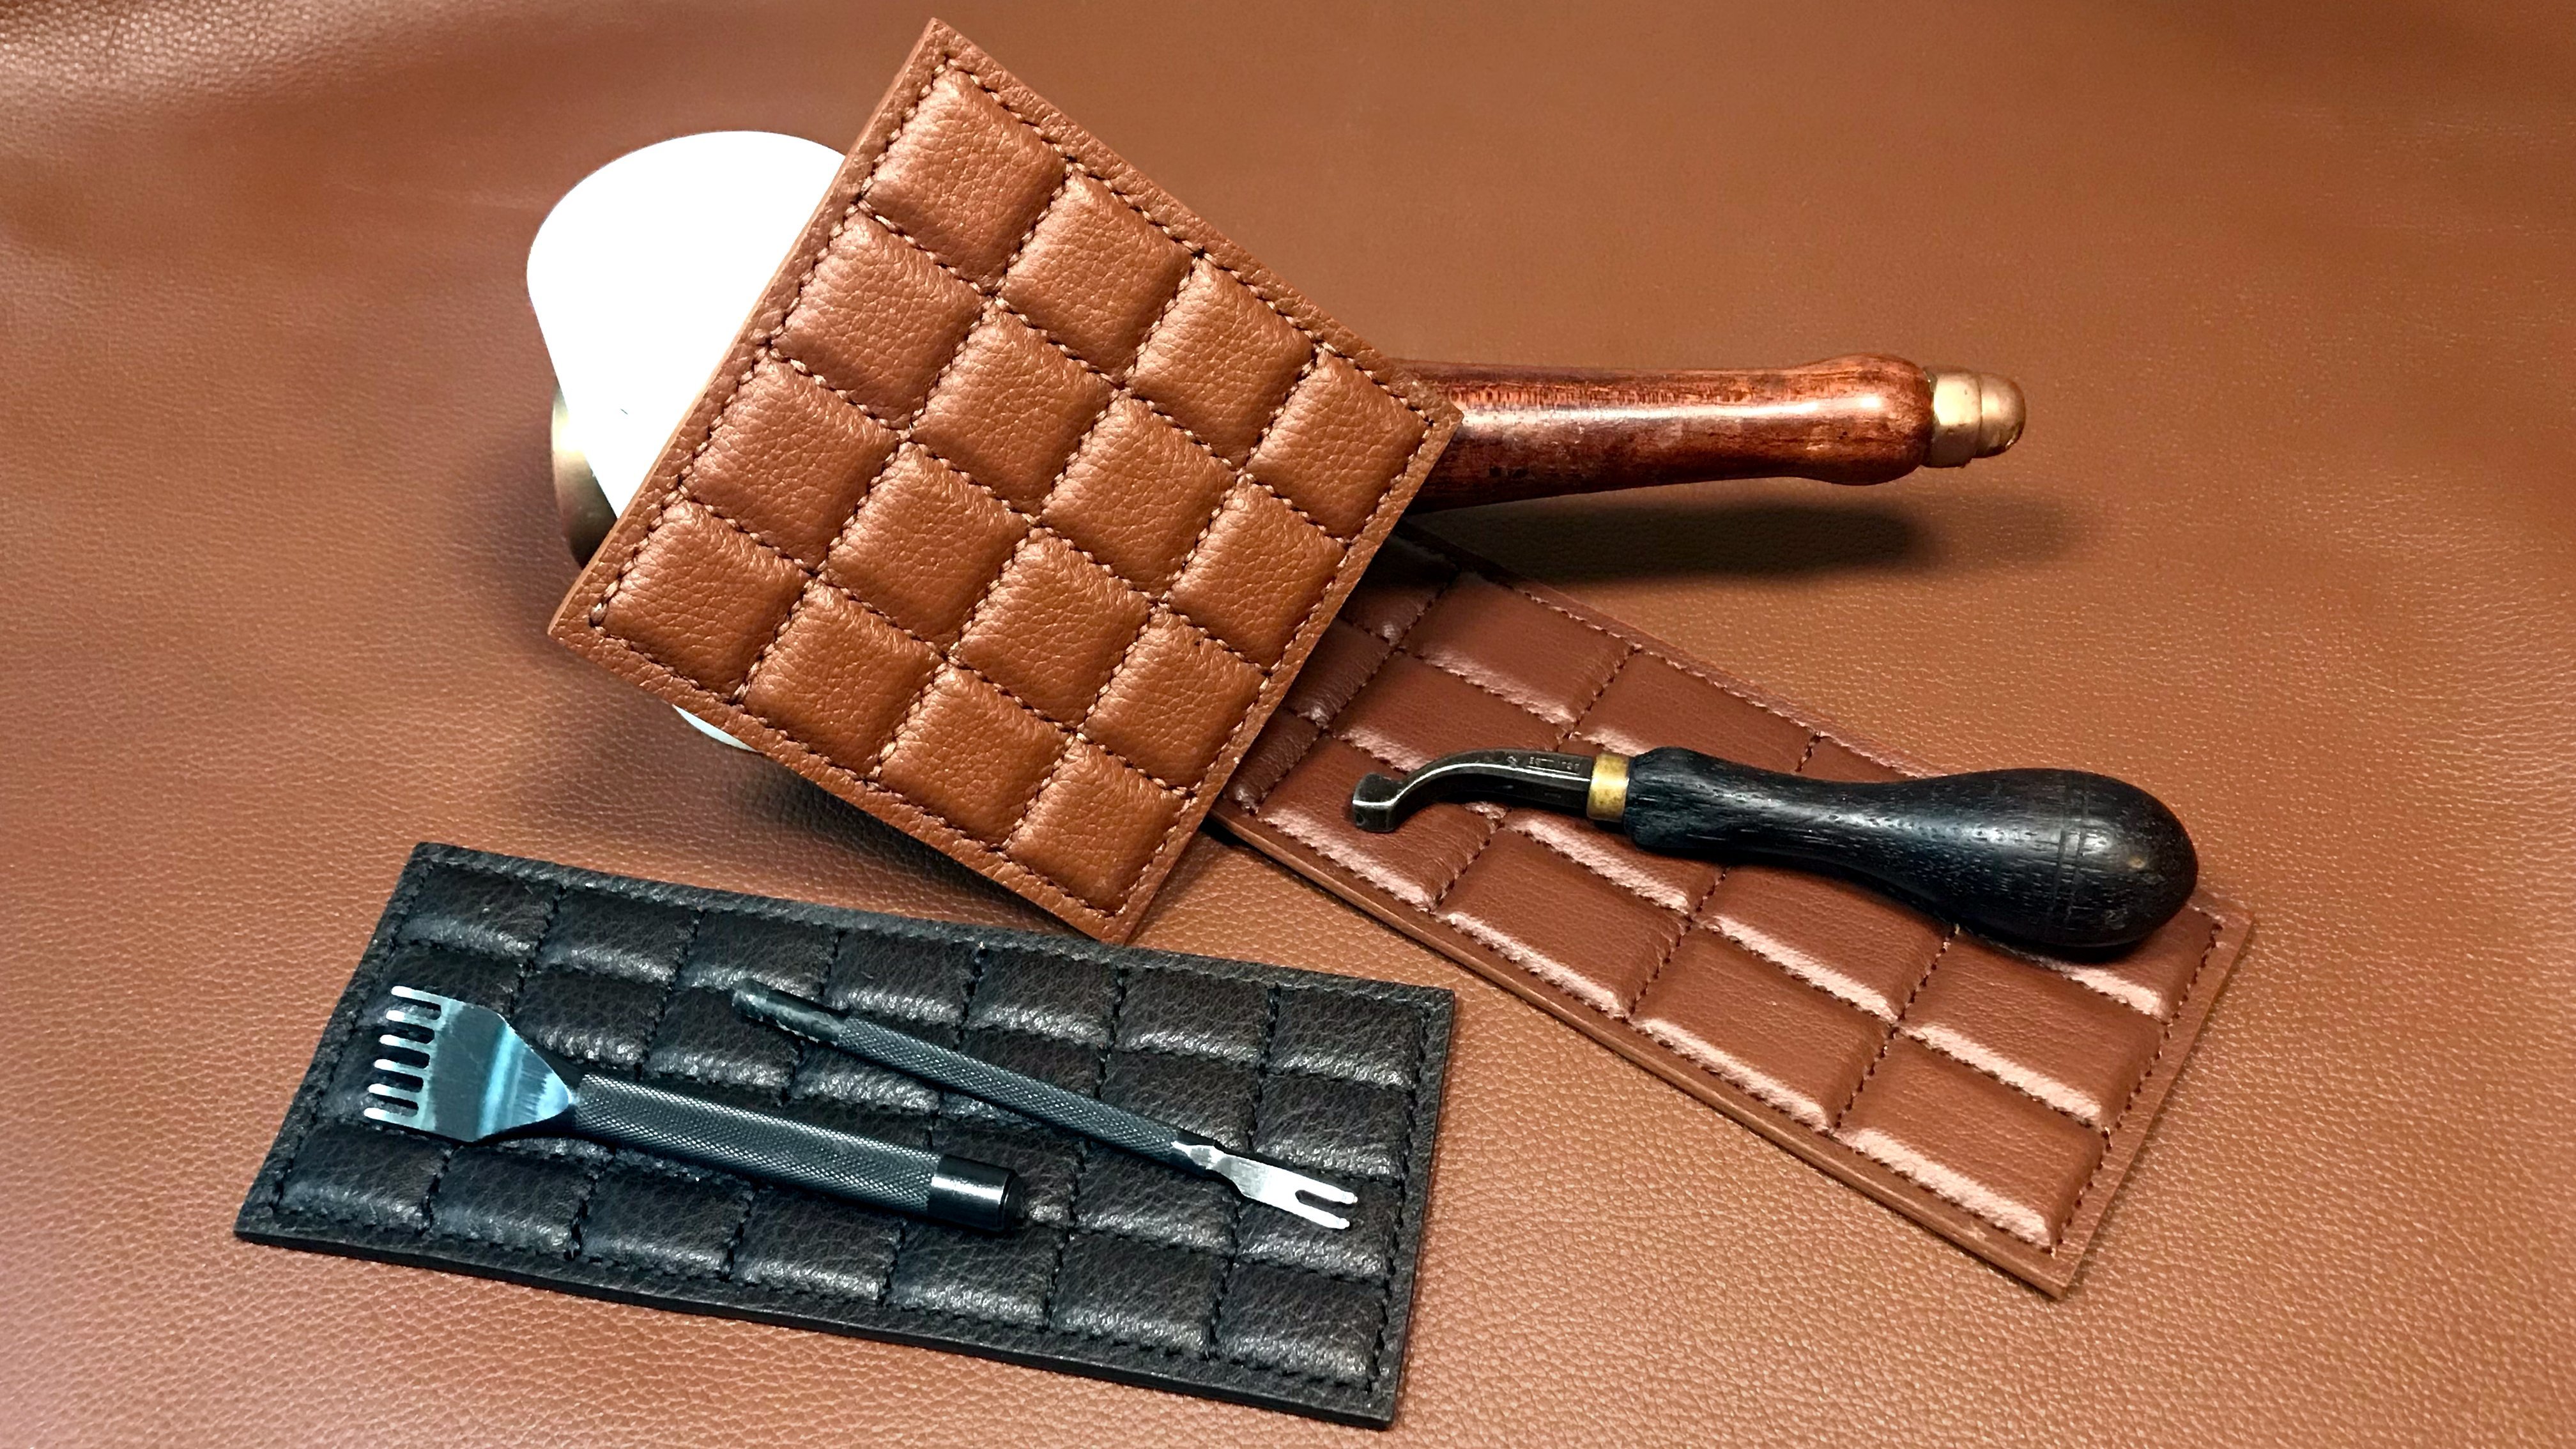
sophisticated equipment or building tools to make it. The tools you've seen in this
class are the essentials if you wish to start your
journey on leather working. Now time for you to make
your own little pouch. Find that cutting mat or use a ruler and pen to
the sun your pouch, or use them as a
template for your level. When you're finished, don't
forget to post your work in the project section so other
students can see it as well. Thank you so much for
watching this class. I hope you have enjoyed it and I'll see you
in the next one.
 David Gonzalez, Industrial Designer