Transcripts
1. Turn Photos into Procreate Stamps in Minutes: Hi, I'm Kelly, a digital
artist and educator. I am all about
helping you unlock your creativity with
tools like Procreate. In this quick tutorial, I'll show you how to create
your own stamp brushes using isolated images, perfect for collage
art and more. We'll walk through the
process step by step, and I've included a handy
worksheet as a class resource. Plus, I'm sharing
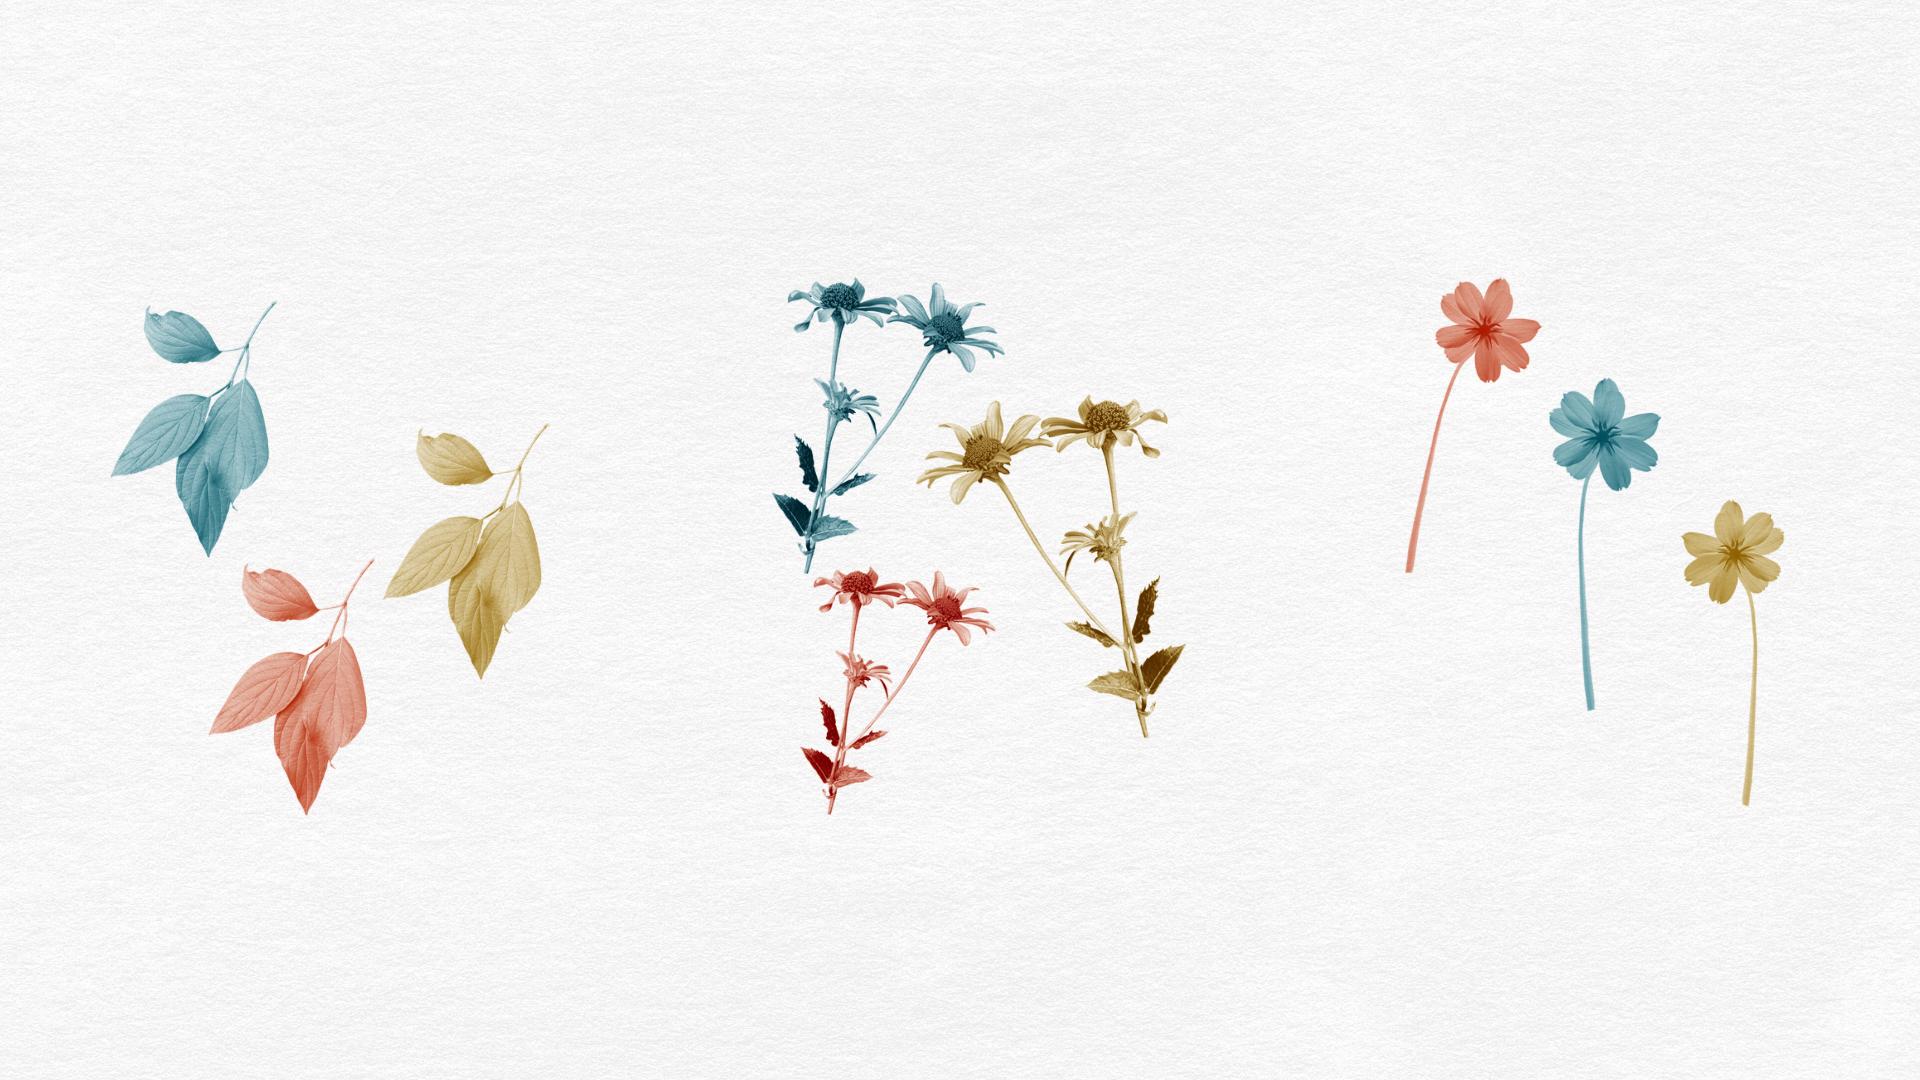
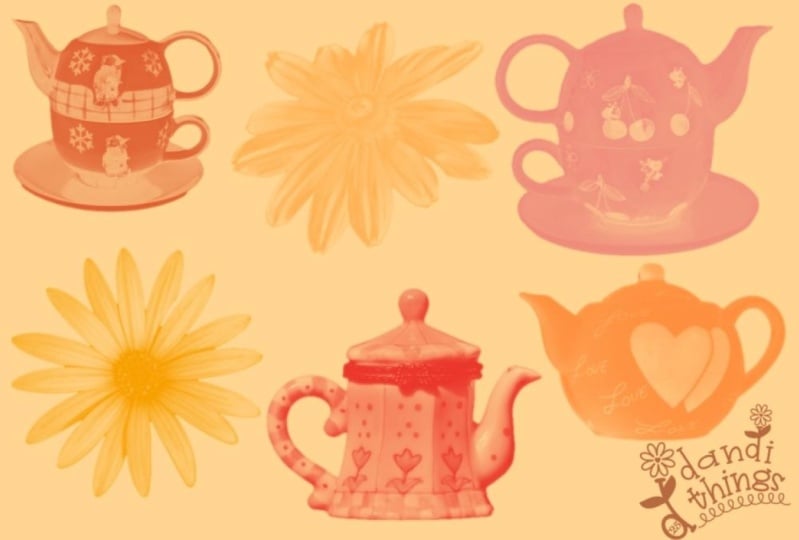
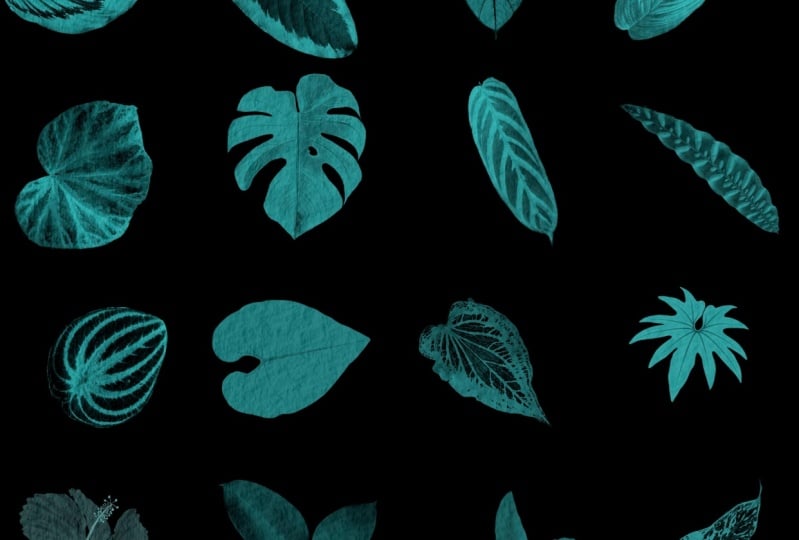
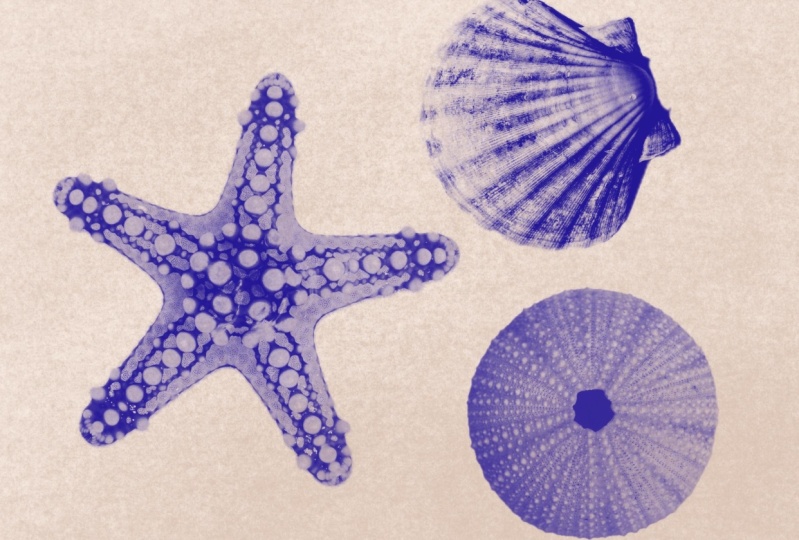
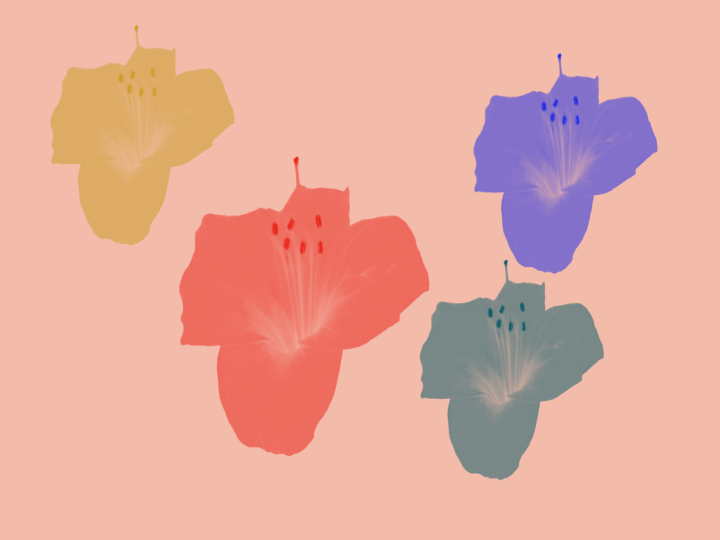
a free sample of ten isolated images from my collage fusion pack
to help you get started. Stick around, and by
the end of this class, you'll have your own set of personalized stamp brushes
ready to use in your projects. The the key.
2. Create Your First Stamp Step by Step: If you're new to making brushes, this is a fun and
beginner friendly class that will show you just how
versatile Procreate can be. And even if you've made
stamp brushes before, you might not know how easy it is to create
them from photos. So when you click the Link
in the class resources, you'll find this Google Drive with the images
that you can use. They are all PNGs, which means that they have
an isolated background, and you know that because of the checkerboard behind them. And you do need an
isolated image to create this kind of stamp brush and Procreate
that we want. And if you don't know
how to isolate images, you can check out my
Skillshare class on four ways to remove the
backgrounds from photos. Let's get started, and we will find an image
that we can use. So I'm going to start by downloading this
ballerina in white. I'm going to tap
on her. I'm going to tap on this little arrow. It scans for viruses, and then it asks me if I
want to download or view. I'm going to hit Download, and I'm going to tap right up here
and I'm going to tap her. And when you're looking at a PNG in your camera
roll or in your files, you can see it's a
PNG when you tap the image and it goes from black to white
in the background. Let's bring this
image into Procreate, Let's tap this little square here and bring it
into Procreate. So let's go into Procreate,
and here she is. But what I have done to
prep for this class is I created a stack with the
ten photos from class. So they're all here and
they're all ready to go. So the first thing we're
going to do is we are going to create a canvas
for making brushes. We're going to tap plus here, and we're going to tap this
little folder looking thing, and we are going to call our
canvas, brush making canvas. And for brush making,
larger is better. The size 12 by 12 " will work great. So
I'm going to tap here. I'm going to switch
from pixels to inches, and I'm going to type 12 and 12. I have a DPI of 347 maximum
layers with my iPad, and that will work just great. So I'm going to hit Create,
and here's our new Canvas. What I'm going to do is I'm going to go back to the gallery, and I'm going to label
this photo stamp canvas. And we'll be using the same
canvas throughout the class. Let's start by grabbing this snail and making a
stamp out of the snail. With a PNG, if you turn off
the background layer here, you will see it looks like this. It doesn't matter if
the background layer is on or off here, but what we want to do
is just copy this layer. We don't want the
background with it because it's isolated from its background and
that's what we want. I'm going to go back
to the gallery. I'm going to go back to
the canvas and I'm going to do a three finger drag
down and paste my snail. I want my snail nice
and big and centered. So I'm going to stretch
him out and center him. And you know he's centered
when you get these gold lines. So that looks good.
There is my snail. For stamp brushes, you want
them to be black and white. So what we're going
to do here first, is we're going to
desaturate this image, and we are going to
go to magic wand, hue saturation and
brightness and bring the saturation
down to none. Next thing we're going
to do is we're going to adjust it with curves. So again, we go
back to magic wand. We go to curves, and this
comes up right here. There's different options,
but you want Gamma. You don't want any of
the color options. There aren't any colors here
since it's desaturated. So what you do is you
create little dots, and then you just kind of
move them up and down. I usually do three, and you want it to be
a nice sharp image so you can get the
details in there. And so you just play
around with it, and if you're not
sure if it looks better or worse, you
can hit preview. So that's what it
looked like before. This is what it looks like now. I think it looked better before. Let's hit Cancel. I'm
going to try that again. Curves in my three little dots. What I did before, I
think, is I washed out these little details
here somehow. So you want to be, looking at the whole thing and looking
at all the details. Let's see. Okay, now
it looks better. So this is what it
looked like before, and this is what it
looks like after. It's more sharp with
all the details, so I'm going to hit Apply. So we have our
snail ready to go. The next thing that we are
going to do is tap brushes. Hit this plus sign right here, and we're going to
create a new brush set, and we are going to call these photo stamps.
So there we go. And now we tap this
plus right here, and we get an untitled brush. The first thing I'm
going to do is go to about this brush and
I'm going to name it, and it is going to
be a snail stamp. And what we're doing this round is we're creating a template
that you can just keep copying over and over again for any time you want a new stamp brush with
these three settings. So the next stamp we make is going to take about a minute. We can personalize
it with our image. I am going to go to my photos. I am going to grab
a picture of me. That works. I'm going
to type my name here. And you can sign here. I usually just end up
doing a little heart, and I am going to hit Done. We're not done because you can see it's not a snail stamp, but that's fine. We're
going to keep going. The next thing we want to do
is copy the whole canvas. So we're going to do a
three finger drag down, and we're going to copy all, which includes the background. We're going to go back
to our snail stamp, and then we're going
to go to shape. Edit the shape source, and
we're going to tap import, and we're going to tap paste. So here's our guy,
here's our snail. And what you want, though, is an inverted, photo
negative image of the snail. So you do a double tap here, and this is the kind of image
you want for your stamp. I'll show you later what
happens if you don't do this. So you know how to fix that. It's a very easy thing to do. So I'm going to tap done. It still doesn't
look like a snail, but let's go to
Stroke Path to start. So this is the brush studio, and I'm only going to
be adjusting the things that we need to for
this stamp right here. The first thing I'm
going to do is go to stroke properties and bring
the spacing up to Max. So here we have our
little snails right here. So I'm going to tap Done. You can see here there's
a tiny little snail. We can make him bigger
in the preview. I'll show you how
to do that later. But let's just keep
going down the row, and we're only going
to be adjusting the things that we
want to adjust here. Next, we go down
to Apple Pencil, and we're going to
make the opacity none. So we're going to bring
it all the way down. And that's all we
need to do there. And the next thing we're going
to do is go to properties. We are going to increase
the maximum size. We might as well
bring it all the way up and also increase
the minimum size. Let's just try 130 and
see how that looks. We also want to toggle on stamp preview, and I'm
going to hit Done. So here is the stamp
preview. It's on. It looks different from before, but our snail is too big, you can't tell he's a snail. So we're going to go back and
we're still in properties, and we're going to
bring the preview size down to, like, one. Let's see how that looks.
I'm going to tab Done. So here he is. Here's our snail. The next thing we want to do is to create a new reset
point so we have it. So I'm going to
tap it, hit Save. That means if we were to make changes to this
brush in the future, we could always go back
to this reset point and get it back exactly
as it is right now. So let's tap done, and let's see how our
snail stamp works. I don't actually know
what color snails are. Oh, there he is. And you can change his size. I can make him
smaller or larger. Here's the smallest
size, and that's fine. And anyone who has this
brush can adjust all of those things if they know
how to in brush settings. And you can change
the color of him. I don't know why I
assume he's a guy. Now I'm wondering if
snails even have genders. Anyway, there's our snail. Let's take a quick break.
3. Quick Trick: Duplicate & Customize Stamps Effortlessly: But Welcome back. I am going to turn
off this layer, and now I'm going to show
you how easy it is to make your second stamp now that you have the first
one, the template. So let's go to Gallery. Let's go to this man with a camera. We want to copy only this layer, so I'm tapping here.
We only want him. We don't want the background. We're going back to gallery. I'm going to use
the same canvas. I'm going to keep things tidy, so I'm going to group these
and label this snail and add a new layer so we
can make our next stamp. I'm going to do a three
finger drag down and paste. Here is our vintage
man with a camera. We are going to stretch him out and we are going
to center him. Now we are going to hit
copy all for the stamp. We want the background
and everything. Three finger drag
down, copy all. Now we're going to go
back to our snail stamp and we're going
to duplicate him. It says snail stamp one. But what we really
want to do is rename him vintage man camera. And I'm going to hit Done.
If you don't hit Done, it's not going to
save your work. So now we have our brush set up, and we want to make sure that
our brush is desaturated. It looks black and white,
but we want to make sure. So magic wand, hue saturation and brightness, bring
it down to none. And then magic wand curves, and we want it on gamma. And we're just kind of playing here with the highlights
and the low lights. Until we get a crisper image, and I'm looking at
all the details. I'm, like, kind of
scanning, like, from his face to his coat. And let's see if
it's any better. Preview. I think that looks better. So I'm
going to hit Apply. And now that he is
desaturated and curved, let's do copy all because
we do want the background. We have this setup
vintage Man camera, and all we have to do
this time is go to shape, shape source, edit,
import, paste. And here's our guy. He looks like a photo negative.
That's good. That's how we want him. I'm just going to do the
two finger tap to show you what it would look like
if we got this wrong. I'm going to hit Done. And here we have our guy, and instead of being
isolated, he's in a square. And when you would
use your brush, he would be a guy in a square.
So we don't want that. So we're going to go back
to the shape source, edit, and then a two finger tap, so it looks like
a photo negative, and we are done. What we could also do is go to about this brush, and Whoops. I didn't I must not I must not have hit Done.
Let me go back here. Shape, edit, to fingertap, done. There we go. There's no square
around him. I could go to about this brush, create a new reset
point, and hit Save. So then he would be
saved exactly like this. And now let's test our stamp. We're going to turn that
off. And here's our fellow. And again, we can
do any color we want and change the size
to smaller or larger. For your class project,
please create your own set of three stamp brushes using the included isolated
images or your own images. Upload an image of
your stamp brushes to the Class Project Gallery. I would love to see
what you create. And congratulations.
You've just made a set of photo stamp
brushes in Procreate. If you enjoyed this class, check out some of my other classes. There's one on
Background removal for easy ways to remove the
background from photos. And if you're looking for a
way to use your new stamps, check out this collage class. It's currently my
most popular class, and it's called Explore
collage Art in Procreate. Seven prompts to spark
your creativity. And thanks so much
for joining me. I can't wait to see your
projects in the gallery. Happy standing.