10-Minute Collage: Add Funky Gradients & Shadows to Vintage Photos in Procreate
 Kelley Bren Burke, Artist & Educator
Watch this class and thousands more
Watch this class and thousands more
Lessons in This Class
-
-
1.
Welcome to Your Quick Class
0:34
-
2.
Add Shadows + Gradients to Your Picture
11:03
-
-
- --
- Beginner level
- Intermediate level
- Advanced level
- All levels
Community Generated
The level is determined by a majority opinion of students who have reviewed this class. The teacher's recommendation is shown until at least 5 student responses are collected.
95
Students
11
Projects
About This Class
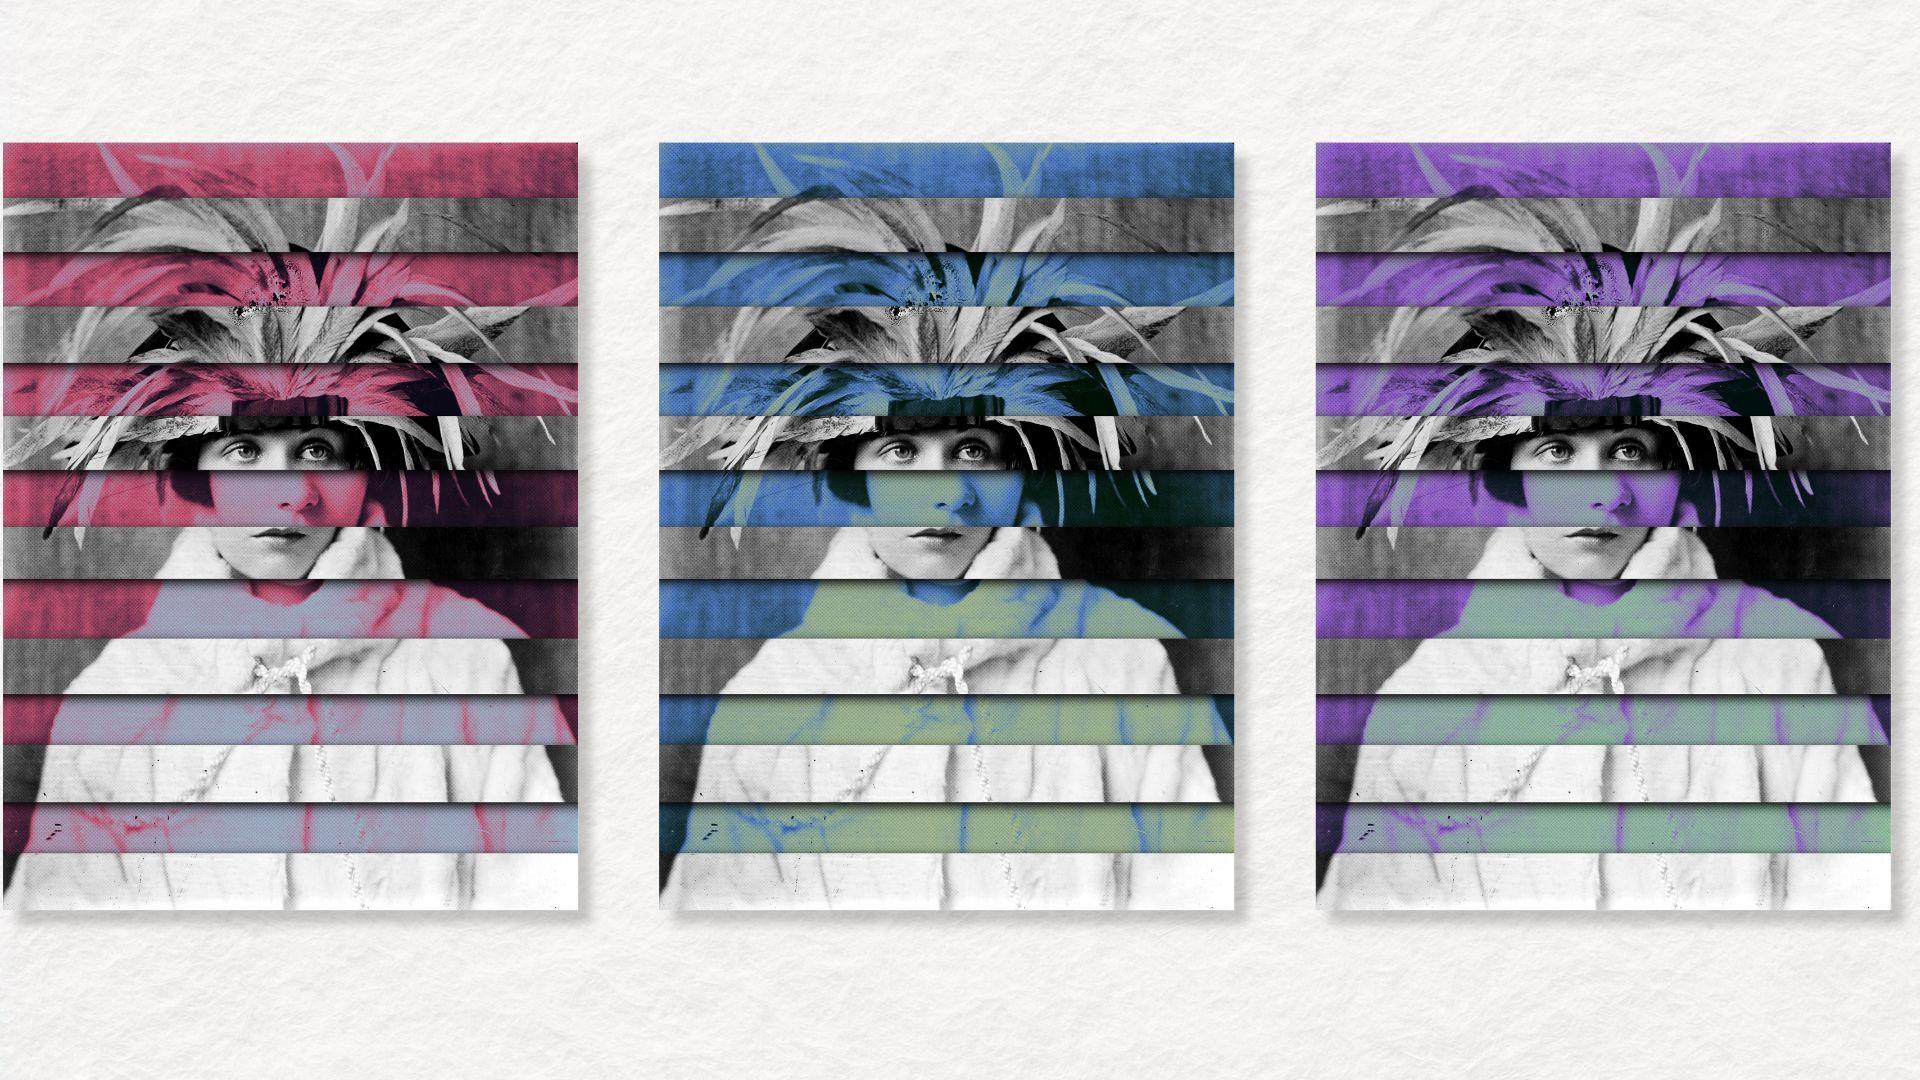
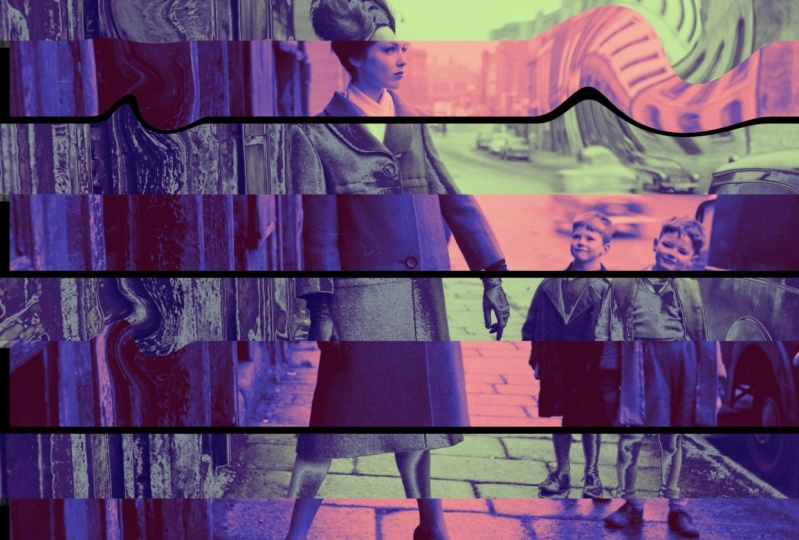
Want to elevate your digital art skills in just 10 minutes? In this quick tutorial, you’ll master a funky and easy technique to add gradients and shadows to vintage photos in Procreate. This unique approach will bring depth, color, and a modern twist to any vintage image, whether you’re designing collages, prints, or just experimenting with creative techniques.
By the end of the class, you’ll know how to transform flat, lifeless photos into vibrant, dimensional works of art—perfect for your next collage or digital project.
In this class, you’ll learn:
• How to apply colorful gradients to vintage photos for a bold, funky look.
• Techniques for creating realistic shadows that add depth and dimension.
• Procreate tips to make your workflow fast and easy.
Why You Should Take This Class
This class is perfect for anyone looking to quickly improve their Procreate skills while having fun. The technique is simple yet impactful, offering a fresh way to bring vintage photos to life. Whether you’re an experienced digital artist or a total beginner, you’ll walk away with a new skill you can use in your art and design projects.
This class is a sample of my most popular Skillshare class, Explore Collage Art in Procreate: 7 Prompts to Spark Your Creativity, so if you enjoy this, you’ll love diving deeper into more creative prompts and projects!
This class is designed for:
• Procreate beginners looking for a quick, satisfying win.
• Digital artists who want to experiment with gradients and shadows.
• Collage artists interested in modernizing vintage imagery.
No prior experience is required—just bring your curiosity and creativity!
Materials and Resources
To complete this class, you’ll need:
• An iPad with Procreate installed.
• A vintage photo (you can use one from your own collection or choose one from the resource library provided in the class).
Included Resources:
• Ten free vintage photos you can use to follow along with the tutorial.

MORE CREATIVE RESOURCES for you!
7 Collage Prompts Class | Collage Fusion Collage Kit | All of my Skillshare Classes | Freebies
Meet Your Teacher

In my Procreate classes, you'll learn playful collage techniques that make digital art fun and approachable. Skill optional. Curiosity required.
From retail floors to creative freedom. Still holding puppies.
Not too long ago, I was scraping snow off my windshield before sunrise, heading to manage a retail store I'd outgrown years earlier.
I spent 20 years as a store manager at Barnes & Noble. During the holidays, that meant six-day weeks of nonstop retail hustle. As an introvert and a creative, I was exhausted. I craved something that felt more like me, but I didn't know what that was yet.
Since then, two things changed everything:
I opened an Etsy shop in 2013 called Gems by Kelle... See full profile
Hands-on Class Project
For the class project, you’ll take a photo of your choice and transform it using the gradient and shadow techniques from the lesson. Share your finished piece in the Project Gallery—I can’t wait to see how you put your unique spin on this technique!

MORE CREATIVE RESOURCES for you!
7 Collage Prompts Class | Collage Fusion Collage Kit | All of my Skillshare Classes | Freebies


Class Ratings
Why Join Skillshare?
Take award-winning Skillshare Original Classes
Each class has short lessons, hands-on projects
Your membership supports Skillshare teachers
Learn From Anywhere
Take classes on the go with the Skillshare app. Stream or download to watch on the plane, the subway, or wherever you learn best.