Transcripts
1. Introduction: Thanks, thanks. And Hey. Hey, I'm Isaiah. I'm a top teacher and a multi hyphenated creative
who loves using Procreate Dreams to add animation to all
kinds of projects. Animating is one of my
favorite things to do, and I'm all about making it easy and fun for
everyone to jump in. And if you've seen
my tutorials on YouTube or taken
my online classes, you probably know I'm all
about helping people get started with animation and
discover how enjoyable it is. I truly believe anyone can
create something amazing. I'm here to guide
you through it. And this class we'll
be having fun with a classic technique to create a playful
popping animation. I'll walk you through
my entire process. We'll start by breaking down the animation and techniques, and then we'll begin animating the outlines of our project. Next, I will walk you
through how I add color and details
to our animation. And then I will walk
you through how I use keyframes to animate the
flipbook so the word pops in. And lastly, I will
show you how to export your project so you
can share your fun animation. This class is suited for
anyone who enjoys using Procreate Dreams
and is looking to learn some new and
versatile animation tricks. All you need is an iPad, Apple Pencil, and a
Procreate Dreams app. If you're ready
to make your work pop and have some
fun along the way, then let's get started.
2. Class Overview: Welcome to my class. I am so excited
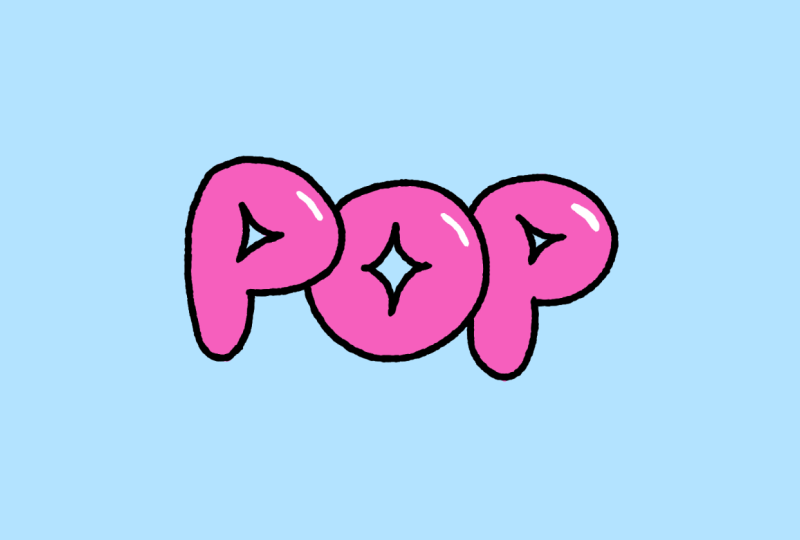
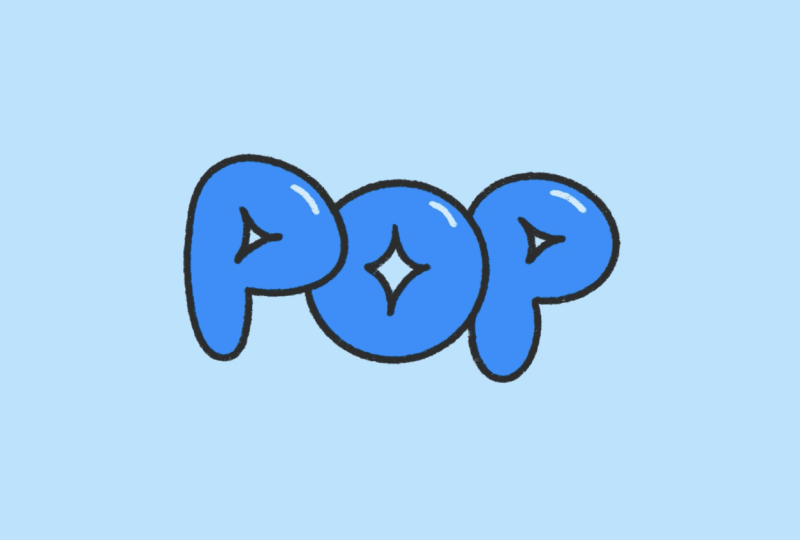
to have you here. Your class project is to create a fun popping animation using a word or doodle
of your choosing. And to help you make
your animation, I have broken down
my animation process into a couple easy
to follow lessons. We'll start by breaking down the animation and techniques, and then we will begin animating the outlines
of our project. Next, I will walk you
through how to add color and details
to our animations. Then I will walk you
through how I use keyframes to animate the
flipbook so your word pops in. And lastly, I will
show you how export your projects so you can
share your fun animation. Through this
process, you'll gain a strong understanding of
the animation techniques, as well as how you
can apply them to any animation
application you want. The possibilities are unlimited. And if you get lost or need any help anytime
throughout this class, feel free to leave questions in the discussion
section of the class, and I'll be happy to help. For this class, you'll
need an iPad with a Procreate Dreams app
and an Apple Pencil. You will also have access to my helpful animation
guide and project file, which all can be found in the resources section
of this class. And once you've finished
watching the lessons, I encourage you to share your class project so we can all see the cool animation you. I'm so excited to see
what you all make. Let's dive into the animation process and the next lesson.
3. Animation Breakdown: And this lesson, I want to take a moment to
walk you through the animation and the process
we will use to make it. The first part of the
animation is the entrance. Here we begin with
an empty frame, and the word will
scale into frame and overshoot a little before settling back into
its final position, which leads us into the next
phase of the animation, which is the idle phase, which is where the
word is not moving, but has a nice subtle
wiggle effect. Part is important,
so the viewer has time to read the
word before it pops. And then following
the idol phase, we have our anticipation frame, which is where the word
will squash down a bit, setting up the viewer so that they know something
is about to happen. And then that is followed
by the first frame, which shows it starting to
pop and break into pieces. And then the following
frame shows it continuing to dissipate until
it's completely empty. And because our
animation is already set up with empty frames at
the beginning and the end, it's set up perfectly
for looping. And if you've taken
my classes before, I always like to start
out by roughing out the animation by focusing
just on the outlines. And then once the
animation is finalized, I will go into the
coloring stage where I'll add in the
coloring details. And with the hand
drawn animation done, the last step will be
to apply the keyframes to the flipbook creating
that entrance animation. To recap, we just broke
down the animation process. I highly recommend kicking
off your animation process by thinking through and planning out your animations
before you start. For simple animations,
I just like to add notes to a
drawing or sketch, and for more complex animations, I use storyboards to
help me plan them out. And the next lesson, we will
dive into the animation.
4. Animating The Outlines: In this lesson, we will focus on animating the
outline of the word. If you'd like to follow along, you can download
the exercise file in the resources
section of this class. To start out, I
have my file open, and I will go to
the flipbook mode by tapping on Edit flipbook. And as you can see here, I already have it set up with my outline details and color
fill tracks already set up. And then I have
the first frame of the word that I want to
use already drawn in. Before we dive into
the animation, I want to take a moment
to walk you through some new features of
Procreate Dreams 2.1. And probably the
biggest update at 2.1 is the new flipbook. So you have the
ability to go from the original flipbook to a
mini more focused flipbook, which allows you to just scrub through the
track that you're on. You also have the ability
to play it back, as well. Another cool feature is that it gives you also
these arrows that allow you to move forward and backward
with more precision. So if you're struggling with
getting to the right frame, you can use these to easily
get where you want to go. In the past, I've
definitely struggled with constantly going past
the frame that I wanted, so I'm so glad to
see this feature. You can also tap and hold
on the arrow to go to the start of your
track or tap and hold to go to the very
end of the track, which is really awesome. This has definitely been a really highly
requested feature, the ability to just go straight to the
start of your track. And it's definitely
something that's going to really help speed up workflows. Another cool feature
is, as you can see, when you're scrubbing through, there's these little marks. You can actually
tap on the mark, and it's going to lock
you to that frame. And so as you can see, once
you've locked in your frame, you can scrub through. And then once you lift a weight, it'll snap right back to that frame I find this
really useful for when you want to quickly
look ahead or back an early part of the animation
without losing your spot. And then when you
want to unlock it, you can just tap on it
to remove the lock. Another scrub setting
I wanted to call to your attention is if you
go to the onion skins, you now have an option to
toggle off scrub visibility. So if you toggle that off, now when you go to scrub, you won't see the onion skins, which just makes it
easier to preview your animation sequences
without having to constantly go into settings to toggle on and off onion skin. So something that I
want to show you guys is that you actually
have the ability to easily toggle back and forth by just double tapping on
the handle at the top. And the cool thing about
that is instead of having to drag it back and forth into
the position you want, when you double tap, it
will actually go back to the exact location
it was before. So this is a great way to just
easily go back and forth. And so I definitely
kind of recommend using that handle to
toggle back and forth, just to make it easier. On you, especially if
you have a special place that you really like
having that mini flipbook. And for this lesson, we will just be focusing
on this first track. So to get started, the first part I will animate
is the wiggle effect. In order to create a wiggle
effect for my bubble letters, I will redraw the
word two times, and the variation of the
drawings will create the wiggle. So I'll go to the second
frame and redraw the word. And then next for the third one, I'm just gonna drag that
second frame over the third. And this way, I can see
the onion skins for both the first and last frames, and then I can try and
make sure match them. Next, I'll play back the
animation to see how that looks. Now that I have the
Idle sequence done, we can work on creating
some anticipation. So we will go to the
next empty frame, and we will redraw the
words squash down. This will communicate to the viewer that something
is about to happen. So I'll start by
redrawing the P. And so I'm going to squash
it down and make it wider. And then I'll also squash the inside as well and
then do it for the O. Also squashing down the inside and then lastly,
doing it for the P. Now we're ready to animate the burst and
dissipation frames. So in the next blank frame, I'm gonna break up
the letters to create a burst effect. Mmm. I'm just keeping my
shapes within kind of the same size as
the original shape. So in this case, it's
the P. And then as I go, I'm also adding come some
smaller pieces as well. So it kind of looks like it's
tearing apart as it goes. I will continue that
process onto the O. And then we'll do the same
thing for the last leather. Once done, I will go to
the next empty frame, and I'll begin breaking up and pushing all the pieces outward. And to help me better
see what I'm doing, I'm going to adjust
the onion skins, and so I'm going to
take it down 4-2. Actually, I think I'll
just go one there. And so, basically, what
I'm going to try to do is redraw these shapes but kind
of break them up as I go. And then also make them smaller. Mm So, like, for this one, I'll probably add
some smaller pieces since it's kind of breaking up. I was a pretty big piece. And I'll add some
motion lines to further speak to
the fast movement. Well, I'll redraw this one smaller. But then you'll
probably notice there's a couple dots around that I'm not redrawing as I'm gonna have them just disappear
in this frame. And then in the next frame, I will continue to make them
all smaller as they go out. And sometimes I'll
break them up a little bit still like this one here. And break that one up a bit. And then I'll add a couple motion lines where there's more like
significant movement. And then I will go next one and then just go around and make all them a
little bit smaller. Mm hm. And then maybe just add one more and then just kind
of add some dots for the remaining bigger ones and then kind of
allow the other ones that are smaller
just to disappear. And now that I'm done, I'm just going to play back the full animation to
see how that looks. And that's looking awesome. To recap, in this lesson, I walk you through my process
for animating the outlines, including setting up
a wiggle sequence, creating some anticipation, and animating the burst and
dissipation frames. And the next lesson,
we will walk through the coloring
stage of the animation.
5. Adding Color And Details: In this lesson, I
will walk you through my process for adding
in coloring details. So let's start by going down to the color filled track and begin adding color
for the first frame. So first, I'm going to change to the color that I want to use. And then I like
to just go around and draw the outline
of the word first, and then I'll end up using the color drop feature
to fill it in. And then once I have
the outlines done, I will just click and
drag to color drop. And then I will go in
and touch up any areas. And then once I'm satisfied with my first frame
of the color fill, what I'm going to do is I'm
actually going to just tap on it to bring up the frame
options and then hit Duplicate. And then all I'll have
to do now is just do any touch ups and then just kind of fill in any empty spots. A Okay. And then once I'm satisfied, I'm going to go and
then duplicate it for the second time
and then just make sure to kind of touch
up or fix anything, which here, it's
pretty minor. Awesome. And then now we can go
to the fourth frame. And because this one is
kind of pretty different, I'm just going to
completely redraw it. So just like with
the first frame, I will focus on just kind
of drawing the outline, and then I'll end up using
color fill tool to fill it in. Okay, so now I'll
just drag that over. Awesome. And then
moving forward, I'll color in the
different pieces. And then just using the
same process as before, or I'll just create outlines, and then we'll go
back in and then use the color fill tool to
fill all of them in. And then for the smaller ones, I'm just filling them in. Okay. And then now I'll
just go in and drag, and then you can hit the
continue fill button and then just keep tapping in the open areas that
you want to fill. And then once satisfied, I'll go on to the next one and then just continue
coloring in all the shapes. And so since these
are much smaller, I'm just kind of going in and just coloring them in by hand, since it won't take too long. For these bigger ones, I'm going to just
go ahead and use the color crop to fill those in. Great. And then now we're
ready to go on to the next one and just kind of continue filling in
all of these shapes. Then go on to the next frame
and continue the process. Then now for the final frame, and this will be really
quick since it's only a couple dots left. Now it's a great
time to play back the animation to see how
everything's looking. And now that I've filled in
the color and all the frames, I'll move on to adding details. For this example, I'm
keeping it simple, so I'll just add a little
highlight on each letter, but feel free to add
more such as adding shading to the letter to
give them more dimension. So I'll change my
color and then go to the first frame of the details track and then just draw highlight in the top
corner of each letter. And then I'll repeat that step. And then continue to
redraw the highlight. And then for the
anticipation frame where the letters have
been squashed down, I'll do the same thing
with the highlight. And the highlight
isn't needed for the burst and dissipation frame, so I will leave those empty, which means that's it
for the coloring stage. Now it's a great
time to play back the animation to see how
everything's looking. And now that our
frames are complete, I'm going to show
you how to loop frames to extend an
animation sequence. So let's tap on
the selection tool here and then go to the start and then select the first
three frames on each track, which is going to be
that wiggle sequence. And then I'm going to
tap on one of the frames to bring up the options
and then hit Duplicate. And as you can see here, it's duplicated all three
frames across all three tracks, which is really cool to be able to just duplicate
it all at one time. And then I will continue to
just repeat that process of duplicating until
I get it so that the duration is about
2 seconds long. And since I'm doing
12 frames per second, I will have it go a little
bit past the 24th frame mark. And so that way I
know for sure I have it lasting at least 2 seconds. And as you can see,
now when I play it, we have a nice two
second wiggle effect, which allows viewers
to be able to have time to read the
word before it pops. To recap, we just walk through the process for
filling in the color and details of our
word animation using separate tracks
in the flipbook. I always recommend keeping
line art and color on different tracks to
make it easier to make adjustments or
change color later. Lastly, we walk through how
to duplicate a sequence of frames to loop the
animation so it's longer. And in the next lesson, I will walk you through how a keyframe the
entrance animation.
6. Keyframing Animation: This lesson, I will walk
you through how I apply keyframes to the flipbook mode to animate the words entrance. So let's go back
to the timeline by tapping twice on the
flipbook at the top. And now that we're back
in the main timeline, we're going to want to
switch our mode to keyframe. And to do that, let's tap on
the keyframe at the bottom, which will change the
playhead to the action icon. I like to always start by
keyframing the current position first and then set the new keyframe for
movement or scale last. So let's move the
action icon to frame eight and then tap on the action icon and
then tap on move, and then we'll tap
on move and scale. And now that we have keyframe
the current position, let's move to the second
frame of the timeline and tap it to add
a new keyframe. And now I'll tap on
the keyframe icon a second time to bring up
the move and scale options. And here I'm going
to tap on zero for the scales X and Y and
change those values to zero. And as you can see, we now have our word scaling into place, but it's kind of flat
and boring animation. So I'm going to
add some overshoot to the animation by having the word scale
further out before scaling back into
its final position. To do that, I'm going to set a new keyframe around frame six. And this time, I'm
going to change the scale values to 1.2. Which will be bigger
than its final scale. And now let's see
how that looks. That looks so much better. Feel free to play around
with the placement of keyframes to make your animation
look longer or shorter, and also feel free
to play around with the scaling or
even positioning. To recap, in this lesson, we walk through how a keyframe
the entrance animation, and how to apply overshoot to the animation to make
it more eye catching. And the next lesson,
we will walk through how export
your animation.
7. Exporting Animation: In this lesson, I will walk you through how to export
your animation. To start out, let's tap on
the movie settings here. And then we're going to want to go and tap on the Share button. And this will give
us all the options to export our project. So let's first start
with exporting a video. Let's tap on the video up here, and then you'll get
this pop up giving you options to save or
share your video. And I'm going to tap on
Save to save it to my iPad. The next option would be to export your project
as an animated gift. I like to use the
Advanced export options. And so what you
would do is go up to format and then tap on GIFs. This will change it
from a video to a gift, and then I like to also adjust the resolution and pick
the one I want to use. For this one, I'm
just going to go with 720 as I'll give
me a nice quality, but still kind of
keep the size small. Then I'll hit the
preview button. Anytime you make a
change to the settings, it's good to preview it. Then I'll update the preview, and then you can play it back
to see how it's looking and make sure that the quality
and everything looks great. Once you're satisfied
with how your gift looks, you can go to the
top right corner where it says share
and then tap on that. Then once again, you'll
get that pop up with different options to share
or save your project. I'm going to hit Save Image
to save it to my iPad. And that's it. To recap, we just walk through how export your animation as a
video and a gift. Video is great for sharing your animation on
social media and saving it as an animated gift is a great way to share your
project on Skillshare. So now it's your turn to create your own animation using the techniques from this class and share it in
your class project. And then join me in
our final lesson, we'll wrap up this class.
8. Final Thoughts: Congratulations on
finishing the class. I really hope you're proud of
the animation you created. I bet it's awesome, and I can't wait for you to
share it with the world. I hope that this
class has shown you just how fun animation can be. I want you to feel inspired
to keep practicing and applying these methods and skills to your future projects. There's so much you can do. I'd love to see what you made, so be sure post your project
in the project section. Sharing your work with the
community is a great way to inspire others and keep your
creative momentum going. And if you're hungry for
more animation classes, just follow me here
on Skillshare. I got some other courses
that I think you'll love. And if you enjoyed this
class and found it helpful, please take a moment
to leave a review. Your positive feedback helps others discover the class
and get inspired, too. Thanks again for
taking this class, and I hope to see you in
a feature class soon. Bye for now. Max.