Transcripts
1. Introduction: Hey, I'm Isaiah Cardona, and I'm a senior art director
that loves incorporating hand drawn animations into projects using Procreate Dreams. And if you know me from
my animation tutorials on YouTube or my
popular online classes, and you know I am passionate
about making the world of animation accessible
to non animators. This bite size class, I will walk you through a couple quick techniques
including frame animation, how to keyframe a
parallax effect, and how you use
performing mode to give your animation a more
dynamic movement. And we'll apply these
skills to create a fun springtime animation. This short learning module is suited for anyone
who enjoys using Procreate Dreams and
is looking to learn some new and versatile
animation tricks. So if you're ready
to get started, grab your iPad with Procreate Dreams and
let's get started.
2. Class Overview: Welcome back. The class
project is to create your own springtime animation using the techniques
from the class. You have complete freedom, so make sure I have fun with it. And if you'd like to follow
along with the exercise, you can download
the exercise file in the resources
section of the class. Recommend following along
with the starter file, and then once you have
the techniques down, bring in your own assets and create your own
customized animation. If you have any questions
throughout the class, please leave a comment in the discussion section
of this class, and I'll be happy to help. And the next lesson we'll dive into our animation exercise.
3. Adding Frame Animation: In this lesson, I
will break down my animation process
and then we'll walk through an
exercise for creating a looping frame
animation sequence. Before we dive
into the exercise, let's take a moment
to break down the different parts
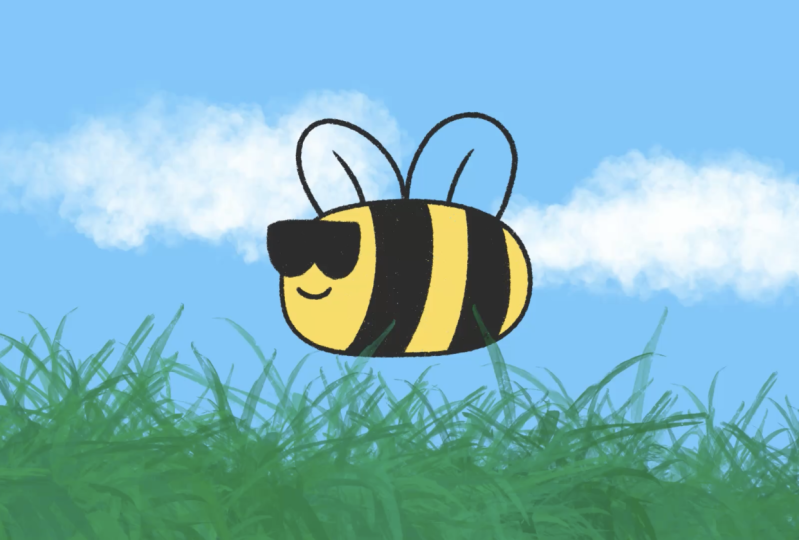
of this animation. First, I have hand
drawn three frames to create a frame animation
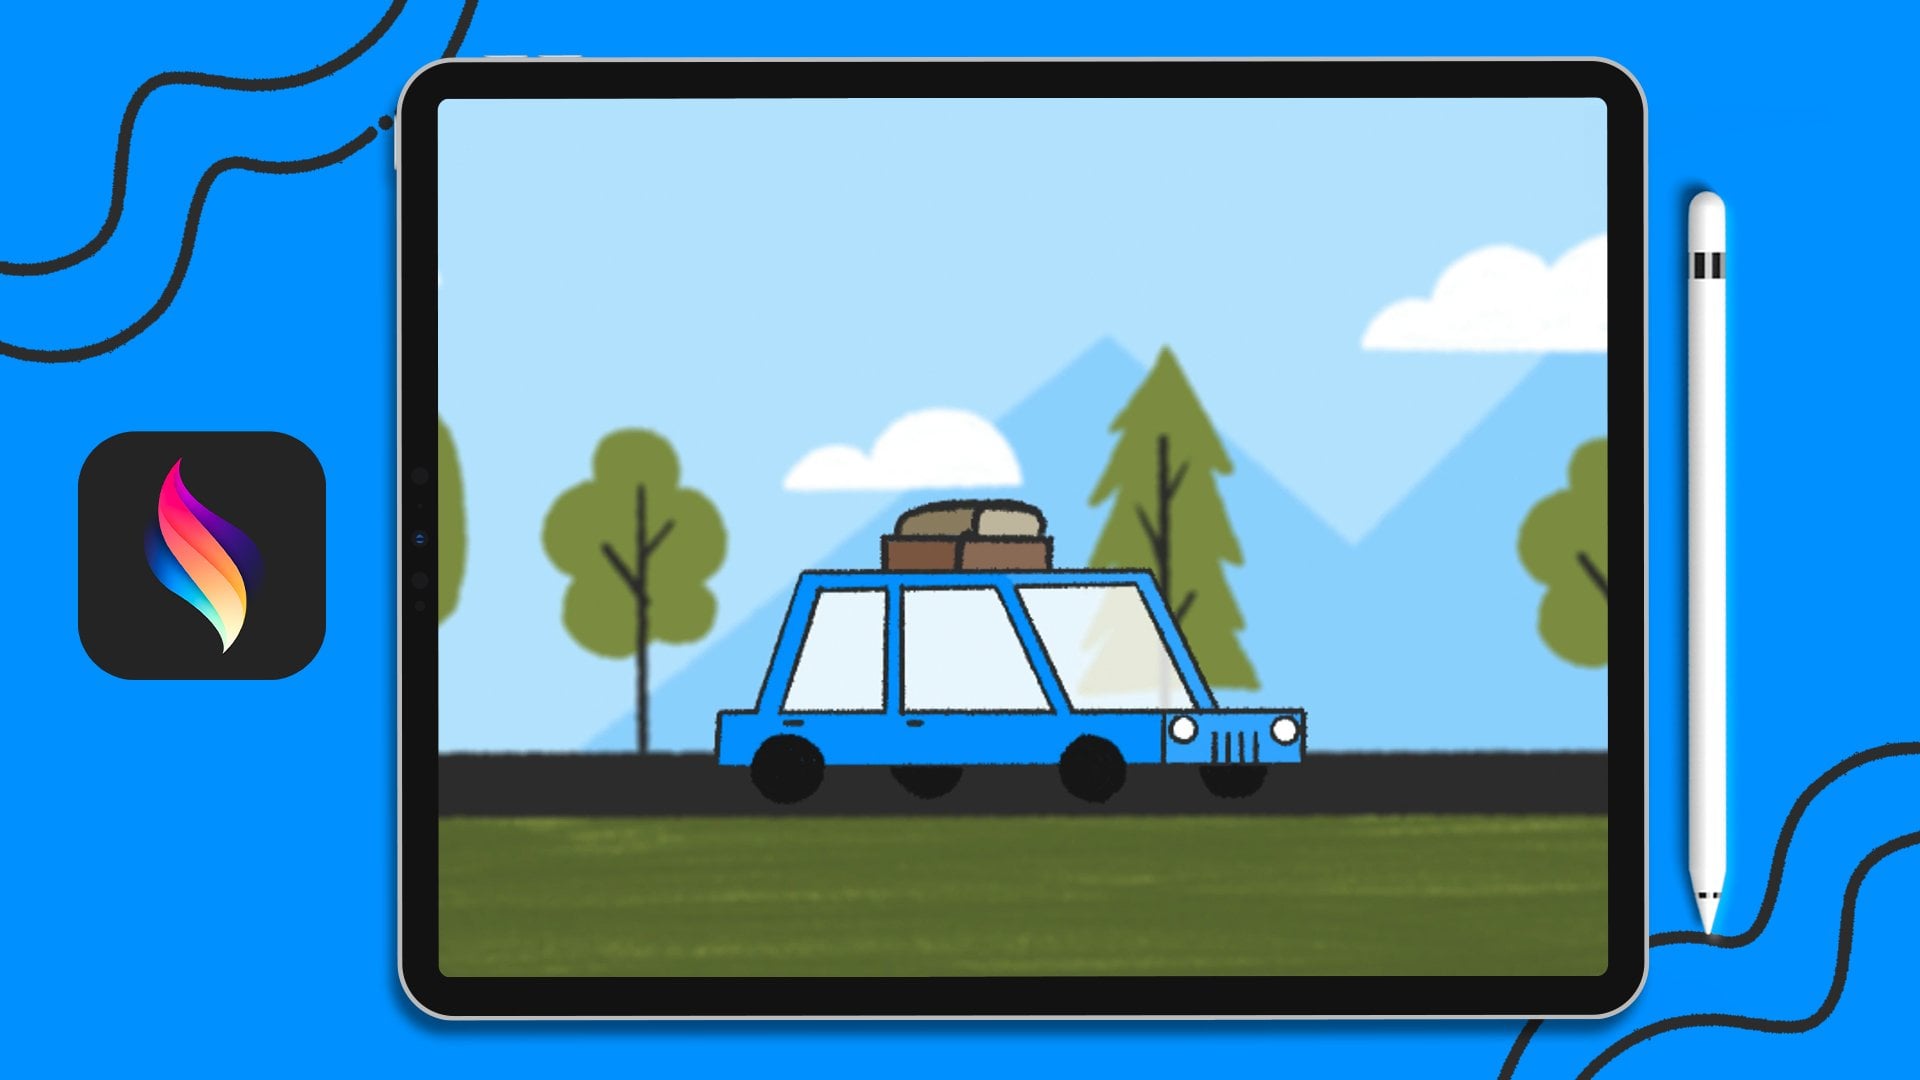
for the wings movement. Next, I'm using a
parallax effect by animating the foreground
and background elements, which makes it look like
the bee is moving forward. Last, I've used the performing
mode to animate the bee, so it's bumping up and down a little to give a more
realistic movement. Now that we've broken down the different parts
of this animation, let's dive into adding
the frame animation. I have the exercise file already set up with
a foreground layer. Next, I have the B group layer, and then at the bottom
is the background layer. And it's important to
call out that I've designed the background
and foreground layers to be much wider than the frame size to help
create that parallax effect. Now, since we're starting
with the wing animation, let's open up the B group. As you can see, I already have one frame already
drawn of the wings. Feel free to replace with
your own wings drawing. Next, I'm going to convert
the group into a flipbook. I'll just tap and hold on the group until the
content options appear. Now I'll tap on
Convert to flipbook. And now we can tap on Edit flipbook to open
up the flipbook mode. And as you can see,
all the tracks are available now to draw
on in the flipbook. Before getting started, I'm going to take a
moment to organize my tracks by tapping on each
name and renaming them. This is a really
helpful practice to do. As your animations
get more complex, you'll be able to find
the right tracks easily. And now we're ready to draw the second frame of
the wing animation. If you'd like to match
my wing drawing, I'm using the dry ink brush, which can be found in the
default inking brush set. Since the first frame
had the wings up, I'm going to draw the
second frame with the wings down in a more
flattened position. Once done, I will tap on
the next blank frame. And this time, I'm going
to use the onion skins to help me draw the wings in between both of those positions. I'll also be doing that with the line in the
center of the wing. Next, I'll do the same thing
again with the other wing. Now I'm going to
hover back and forth over the three frames
to preview the motion. Since I want this
animation to fill up the full duration
of my video, I will need to duplicate the three frame sequence
multiple times. To do that, I will start by tapping on the multi
select icon here, and then I will select
all three frames, and then I will tap
and hold on one of the frames to bring
up content options, and now I'll tap on duplicate. Next, I'll select all six and duplicate could just keep duplicating the
original three frames, but this makes it go quicker. And now I'm going to
continue duplicating my frames until I have
filled the full track. Once done, I will play the animation to
review how it looks. And that's looking great. To recap, in this lesson, I walked you through
how to create a looping frame
animation sequence using the flipbook mode. In the next lesson, I will
walk you through how animate the parallax scroll to B looks
like it's actually moving.
4. Animating Parallax Scroll: In this lesson, I
will walk you through how a keyframe a
parallax effect and how it give your be some
more lifelike movement. To begin, let's make sure the action button is at
the start of the timeline. Now I'll go to the stage area, and I'll tap on the
background layer and move it so it aligns with the
right edge of the frame. Next, I'll repeat the step
with the foreground layer. Tip, you can press
down on the stage with one finger while dragging an
object to enable snapping, which will help you move
objects in a straight line. Next, I'll go to the
end of the timeline, and with the grass
layer still selected, I will drag it to the
opposite direction so it aligns with the
left side of the frame. Now I'll go down to the
background layer and repeat the process so it adds a new keyframe with the layer
aligned to the left side. Last thing I will do is tap
in between the keyframes, and then I will tap
on set all easings. Then I will tap on linear. Linear easing will keep
the movement consistent so the B doesn't look like it's
speeding up or slowing down. It just has a
consistent movement. Linear easing is also important if you want
to loop the animation. To enable looping playback, you will want to first tap
on the movie settings icon. And then you'll just tap on the timeline section and
then go up and tap on loop. And as you can see, now we
have a nice parallax effect, which makes it look like
the bee is moving forward. We already have a
really nice animation, but we can kick it up a notch with the help of performing. To activate performing mode, tap on the perform
button down here. And as you can see over here, the action icon has changed
into a recording icon, which lets us know it's ready. Record our movements. Then I'll tap on the
bee in the screen, and I will slowly drag
it up and down a couple of times until we reach
the end of the animation. And as you can see, Procreate Dreams
has automatically added in the keyframes
for the bee. In playing the animation, we can see how
everything looks now, which is looking fine, but the bee's movement feels sallow. I'm going to adjust
the motion filtering. Adjust this, you will need to hold down on the perform icon. And now I'm going to
reduce the slider. And as I'm doing that, you may notice that there are new keyframe that are starting
to pop up on the timeline. Now when I go back and
play the animation, you can see the
bee is bumping up and down a lot more organically. Motion filtering is
a great way to make the animation more
smooth or more organic. So feel free to play around that with your animations.
And that's it. To recap, we just walk
through how to create a parallax effect by keyframe the background
and foreground layer, and then using
performing mode to create an organic motion
for the flying bee. Now that we have these different animation
techniques down, feel free to customize
the assets to bring your own springtime
animation to life. And in the next lesson, I will walk you through how
I export your animation.
5. Exporting Animation: In this lesson, I
will walk you through a couple options to
export your animation. The first option we'll walk through is how to
export a video. To start out, tap on the
movie settings button. Next tap on share to bring
up the export options, and then tap on video. This will bring up
an overlay with options to save or
share your video. I'm going to tap
on save video to save it to the Photos
app, and that's it. Now let's walk through How
Export and animated GIF. So let's go back to our movie
settings, and this time, instead of tapping on
video or another option, we're going to tap
on Advance Export. And from this screen, we will tap on format. This will bring up a new screen, and we can change it to gif. Next thing you may want to adjust is the resolution
of your gift. Typically, I will go
with something like 720, but to optimize our gifts
to share on Skillshare, I'm going to go with 480. If you're struggling with
the size requirements, I recommend always
lowering the resolution. Now that we made our changes, let's tap on preview
to view those updates. And once you played back
the gift and are satisfied, go ahead and tap on the
share button at the top. And then in the pop up, we can tap on Save
Image to save our gift. And that's it to recap. In this lesson you
learned how to export your animation as a video
and as an animated gift. Videos are great for sharing your animation on social media, and animated gifts can be an easy way to share it
in your student project. Now it's your turn to export your animation and share
it in the student project. And the next lesson, we
will wrap up the class.
6. Final Thoughts: Congratulations on
completing this class. I hope you have created an animation project that you are proud to share
with the world. I hope this class has shown you how fun and easy animation can be and has inspired you to apply these skills
to future projects. I'm very excited to see
what you've created, so be sure to post your work to the project section
of this class. Sharing your project with
the Skillshare community is a great way to help inspire each other
and continue growing. And if you would
like more classes to help you learn animation, then follow me on Skillshare
and check out some of my other classes on
animation and motion design. And if you enjoyed this class and found
the lessons useful, please take a moment
to leave a review. Positive reviews like yours helps other students
find the class. Thanks again for taking
this class and I hope to see you in a future
class soon. Bye for now.
 Isaiah Creates, Art Director & Motion Designer