Procreate Dreams: Streamline Workflow with Motion Templates | Isaiah Cardona | Skillshare
Search

Playback Speed


1.0x


  • 0.5x
  • 0.75x
  • 1x (Normal)
  • 1.25x
  • 1.5x
  • 1.75x
  • 2x

Procreate Dreams: Streamline Workflow with Motion Templates

teacher avatar Isaiah Cardona, Art Director & Motion Designer

Watch this class and thousands more

Get unlimited access to every class
Taught by industry leaders & working professionals
Topics include illustration, design, photography, and more

Watch this class and thousands more

Get unlimited access to every class
Taught by industry leaders & working professionals
Topics include illustration, design, photography, and more

Lessons in This Class

    • 1.

      Introduction

      0:52

    • 2.

      Planning Your Motion Template

      1:13

    • 3.

      Creating Motion Template

      6:37

    • 4.

      Class Project

      1:43

  • --
  • Beginner level
  • Intermediate level
  • Advanced level
  • All levels

Community Generated

The level is determined by a majority opinion of students who have reviewed this class. The teacher's recommendation is shown until at least 5 student responses are collected.

135

Students

4

Projects

About This Class

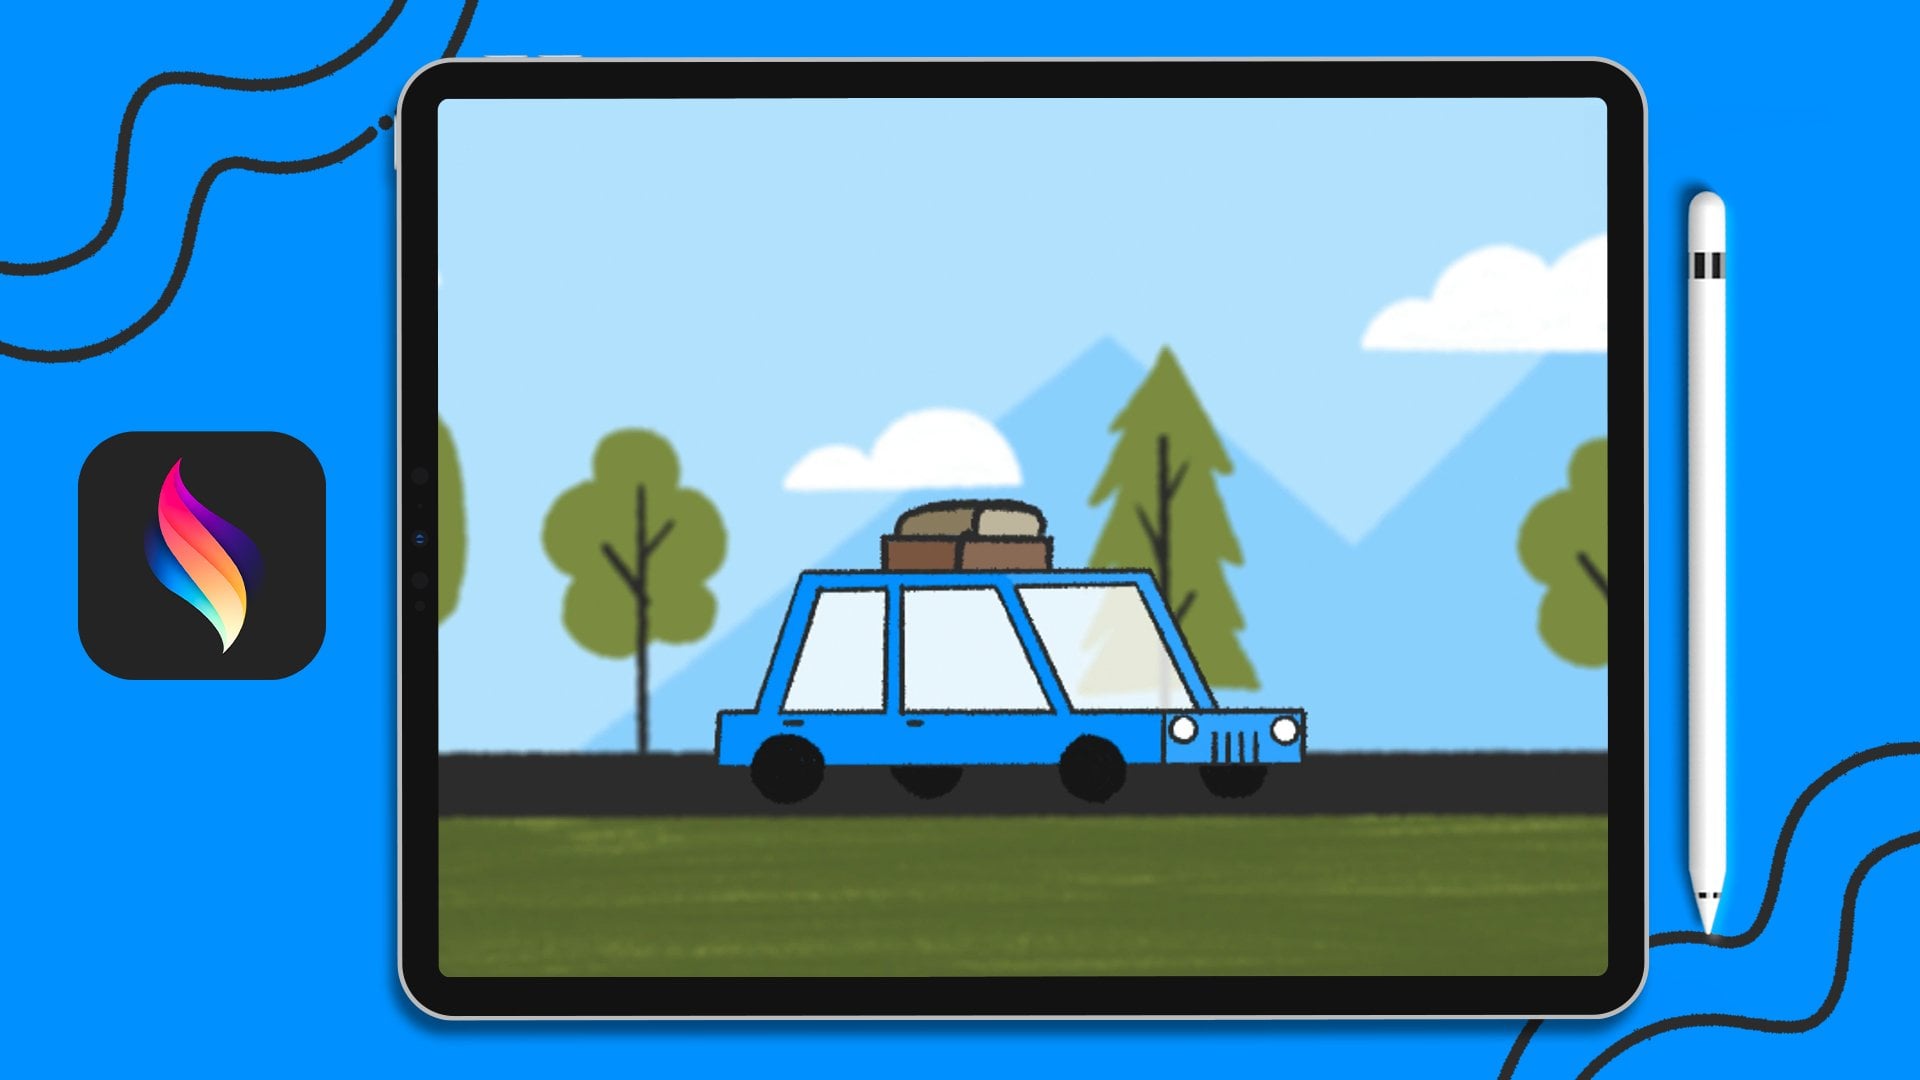
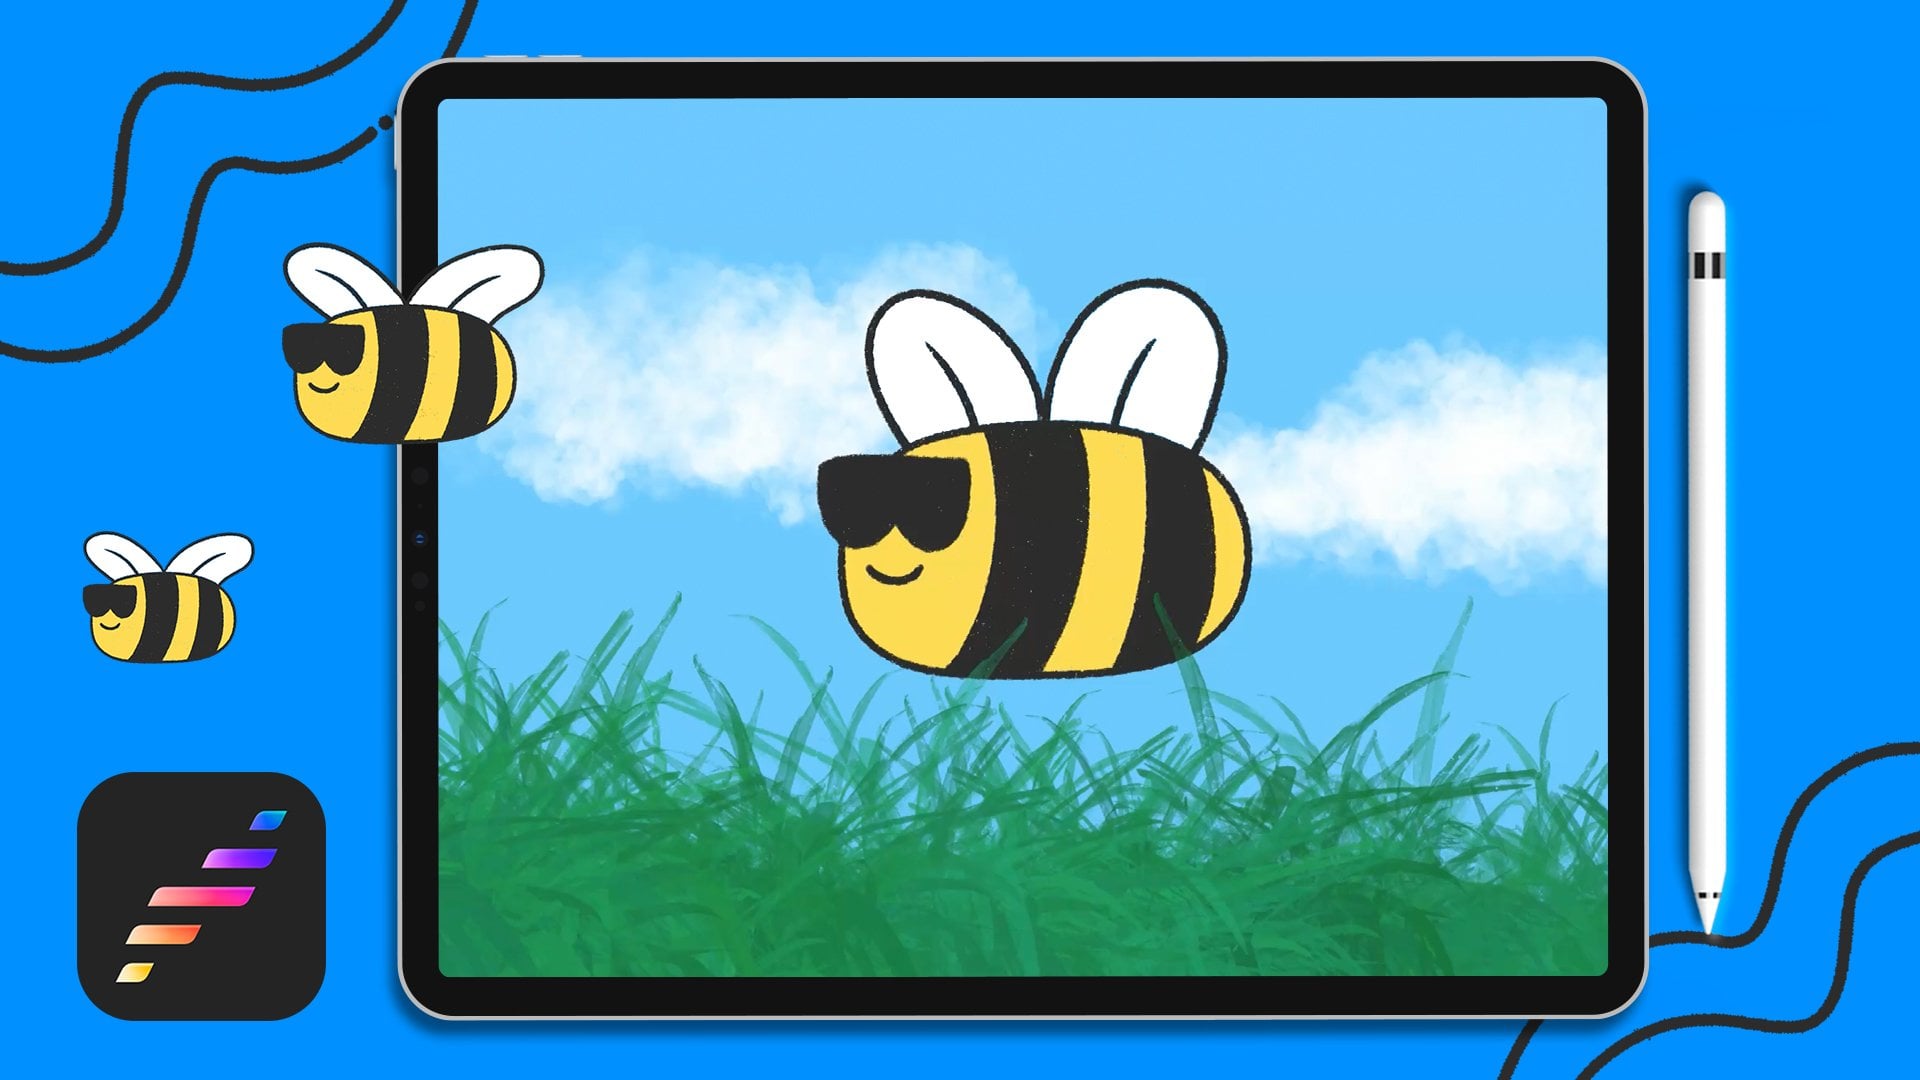
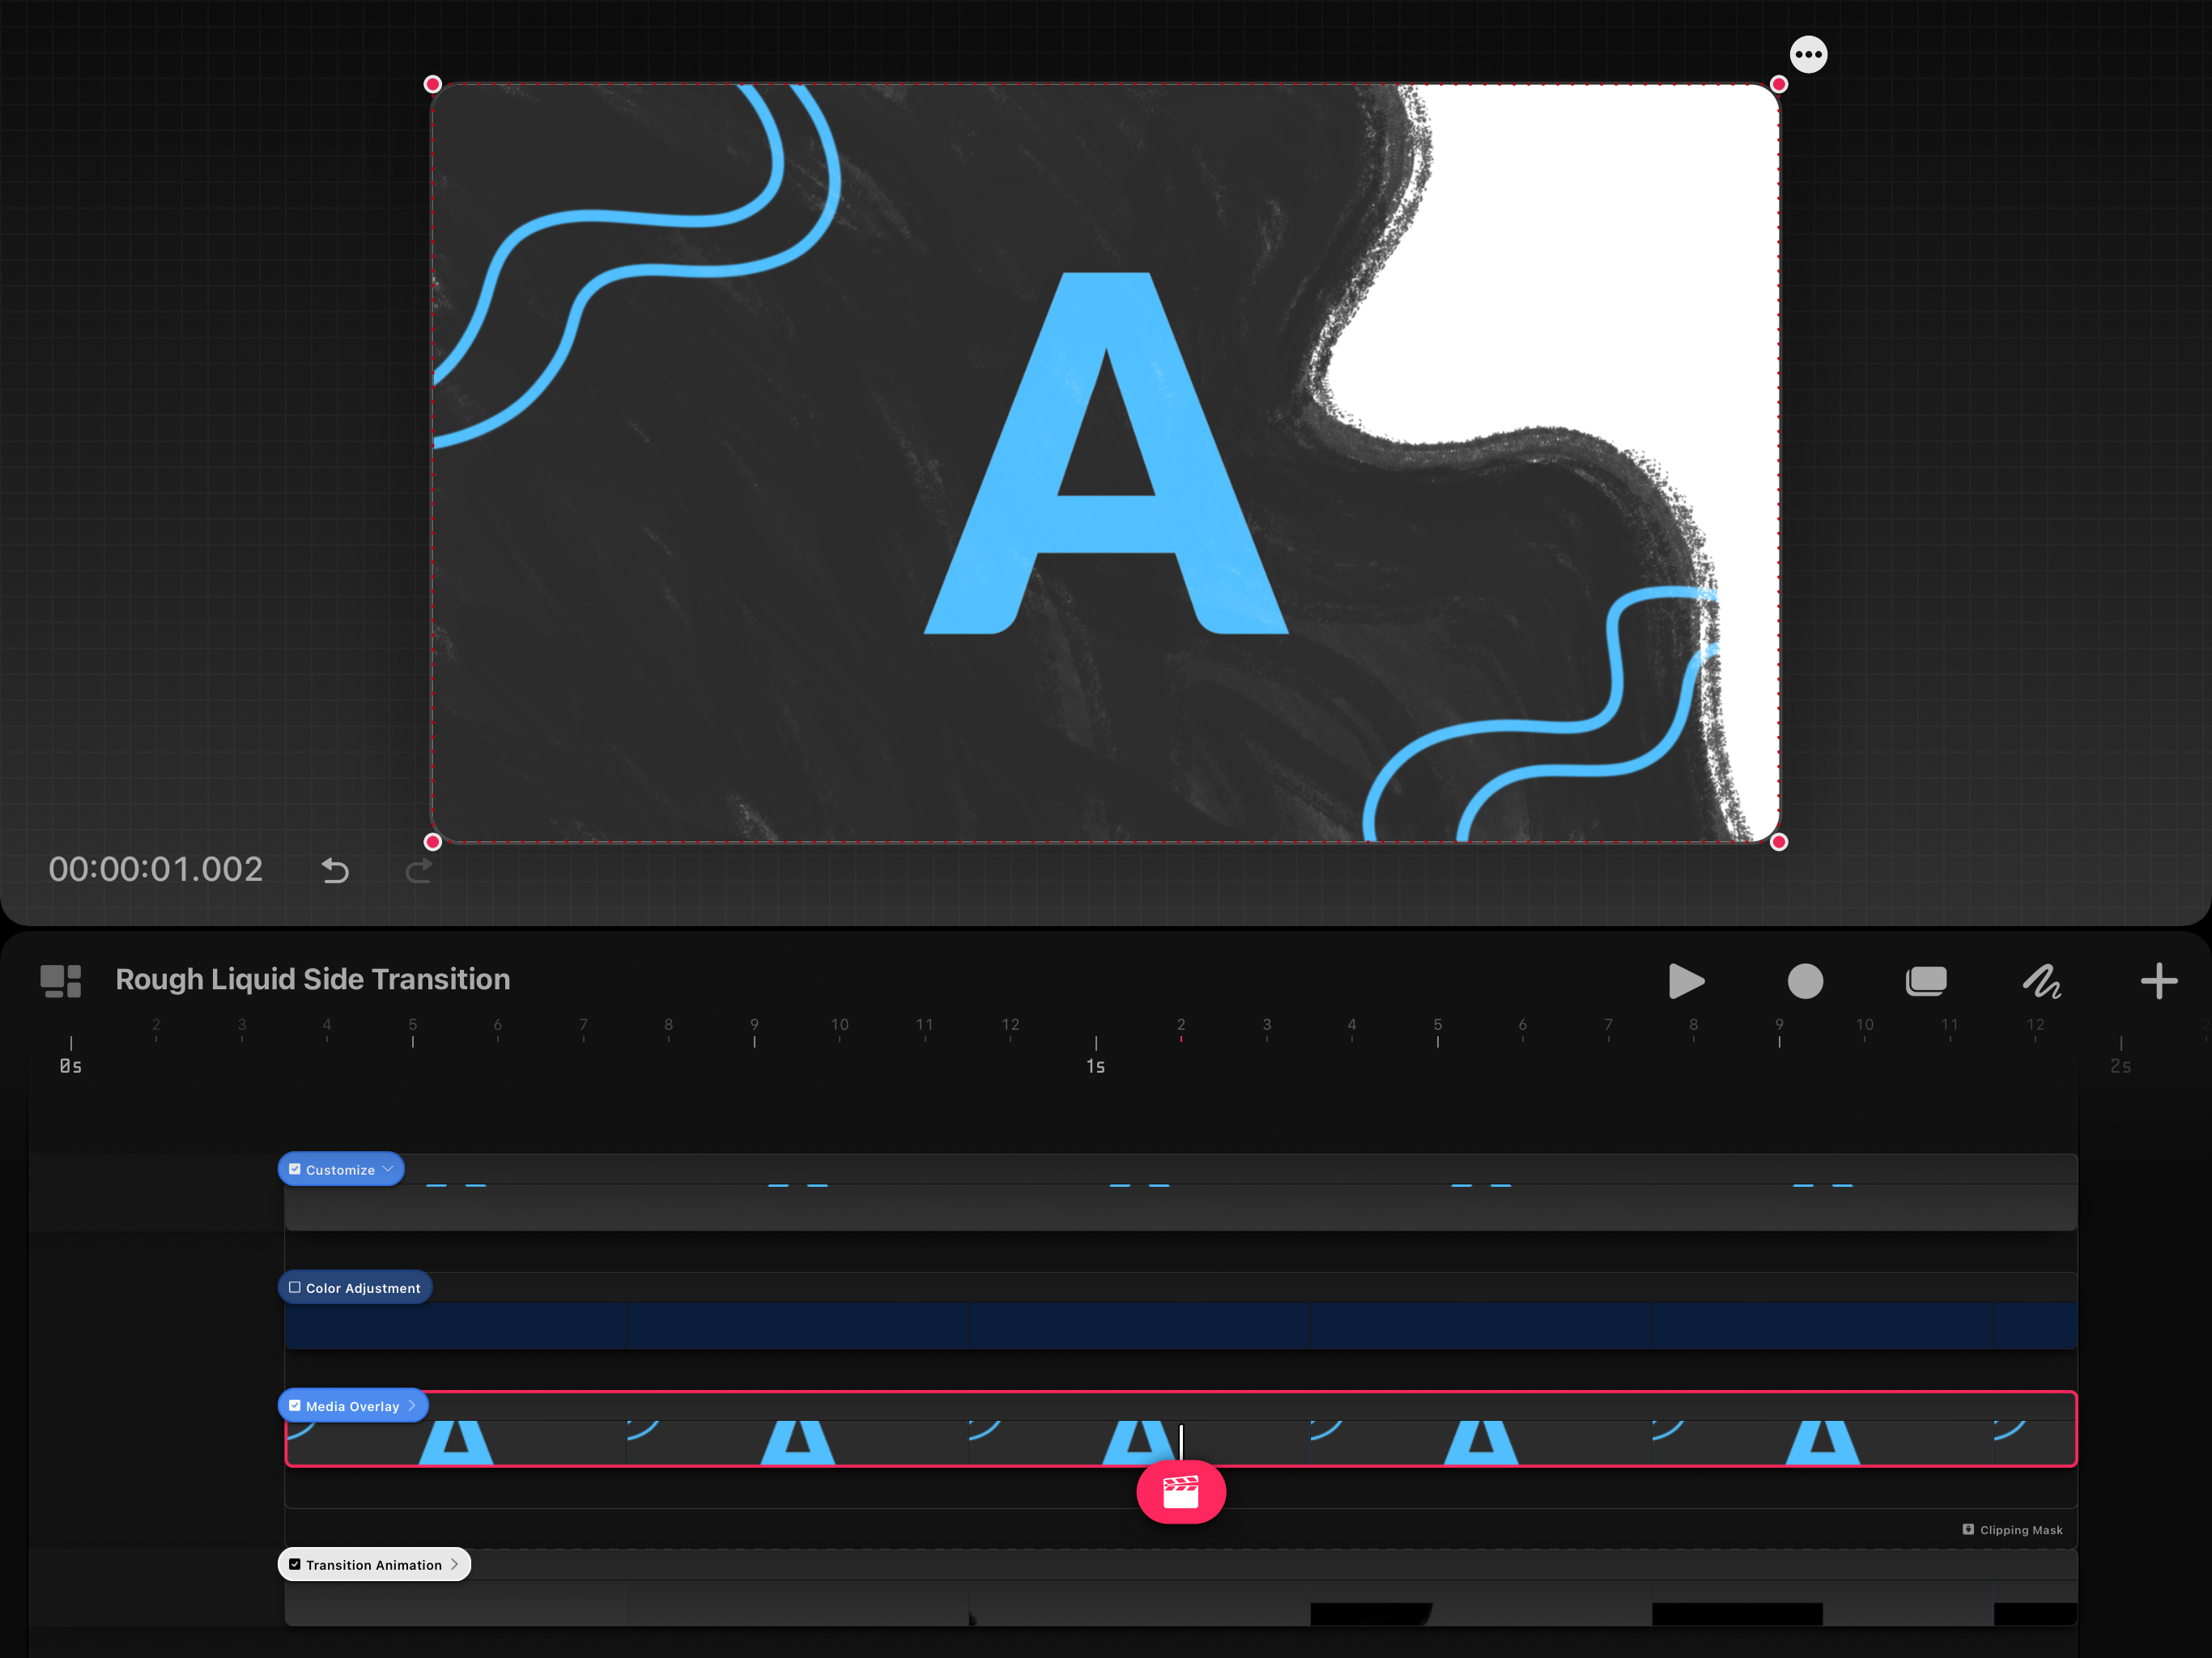
Motion templates are premade projects that can be customized to create reusable graphics and titles. In this class, I will show you how to create a motion template in Procreate Dreams to streamline your workflow and make your videos look more professional.

COURSE DETAILS:

  • Who this course is for: Anyone who has a passion for animation and wants to improve their workflow.
  • Level: Intermediate to advance level
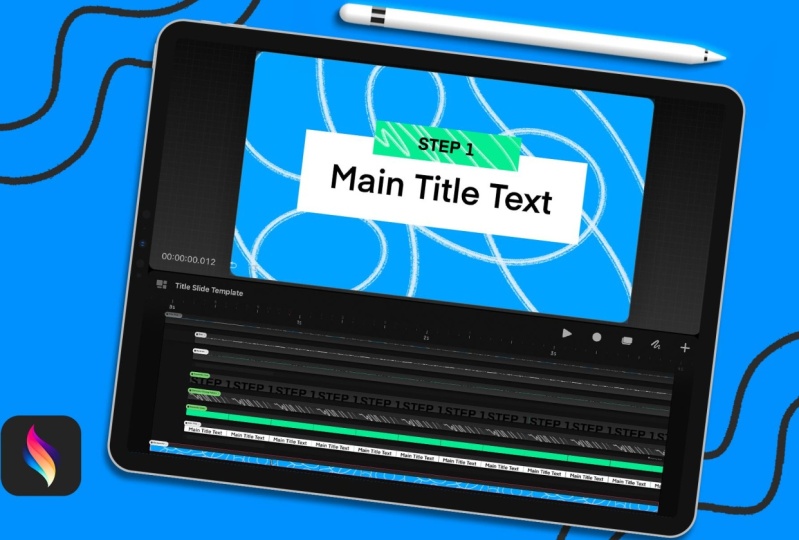
  • What's Needed: iPad with Procreate Dreams and Apple Pencil
  • Prerequisites: Should have familiarity with Procreate Dreams


WHAT YOU'LL MAKE:

In this mini class, you will create a customizable motion template in Procreate Dreams.

WHAT YOU'LL LEARN:

  • You will learn how to plan out a motion template
  • How to set up placeholders
  • How to organize your file to make it customizable 
  • And how to export your motion template file

ABOUT INSTRUCTOR:

Hey! I'm Isaiah Cardona and I'm a senior art director and Skillshare teacher. Several years ago I incorporated Procreate into my animation workflow. And now with Procreate Dreams, I have leveraged its more advanced features to create templates to speed up my client projects. Along with the client work, I also create motion templates that you can buy on Skillshare. And with all of that experience, I'm excited to share my motion template process with you in this mini Procreate Dreams class!

Join me and unlock the power to streamline your animation projects!

ADDITIONAL LEARNING:

Need a beginner-friendly Procreate Dreams class?

More fun Procreate Dreams classes:

Looking for more inspiration? Head here to discover more classes on Animation.

Meet Your Teacher

Teacher Profile Image

Isaiah Cardona

Art Director & Motion Designer

Teacher

I'm a senior art director based in the United States with several years of experience in the advertising industry. In my work, I solve client problems using various design, illustration, and motion design skills. And I'm known for bringing an energetic and playful style to illustration and animation projects. Outside of work, I enjoy teaching students design and motion skills through Skillshare classes and tutorials on YouTube. If you're interested in exploring new creative skills, then follow me here on Skillshare.

Youtube | Tiktok | Instagram

See full profile

Level: Advanced

Class Ratings

Expectations Met?
    Exceeded!
  • 0%
  • Yes
  • 0%
  • Somewhat
  • 0%
  • Not really
  • 0%

Why Join Skillshare?

Take award-winning Skillshare Original Classes

Each class has short lessons, hands-on projects

Your membership supports Skillshare teachers

Learn From Anywhere

Take classes on the go with the Skillshare app. Stream or download to watch on the plane, the subway, or wherever you learn best.

Transcripts

1. Introduction: Hey, I'm Isaiah Cardona, and I'm a senior art director who loves incorporating hand drawn animations using Procreate dreams. Which is why I like to create and use motion templates in my professional practice. Motion templates are pre made projects that can be customized to create reusable graphics and titles, which is why creating a template in Procreate dreams is a great way to streamline your workflow and make your videos look more professional. In this intermediate to advance Mini class, I will walk you through my step by step guide on how to create your own animation template. So if you're ready to elevate your animation skills and create your first motion template, then let's get started. That's right. 2. Planning Your Motion Template: In order to create a template, I have broken down the process into six steps, plan out your template, set up your file, set up your placeholders, organize your content, animate your groups, and export your template. Step one in the process is always to plan out the template and animation. For my project, I am creating an animated title slide template that will have three main pieces which are a background, which will have a replaceable animated pattern. Then the main title block, which I will have animate up into place, and it will have customizable text. Last, I will have the green box animate down into place around the same time as a main title box. I also want to have a customizable pattern and text in the green box. And by thinking through all of that, I now know that I will need to create a group for all three elements, and I will need to make sure that I set up the template accordingly for all those desired customized elements. In the next lesson, I will walk you through the steps for creating the motion template and Procreate dream. 3. Creating Motion Template: Now, let's dive into creating the motion template and Procreate dreams. I'll start by creating a new movie project. Next, I'll choose the video format and resolution. For my project, I'm using widescreen and using four K resolution. Make sure you choose the format that's best for you. And if you're using an older iPad or have issues with dreams, I recommend using a lower resolution like HD. Next, you will want to choose your frame rate and duration. Dreams gives you multiple presets, as well as the ability to customize. I'm going to keep mine at 12 frames per second. Last thing you will want to set is the duration. You can always adjust the duration later. Next, I'll hit empty to open the file. Now I'll add a couple empty tracks and then start creating the placeholders for the background and text boxes. Once I have the boxes set up, I will go in and add Eholder text. I normally use explanatory text like I did for the main title text, but sometimes I like to use a real example to make sure it looks the way I want it, which is why I'm using Step one for the eyebrow text. Now that I have all my content set up, I'm going to organize it into groups. To start out, I'll name all my content and color code them. This will make it easier to find and identify specific elements, which is especially important if you plan on sharing your template with others. Here I'm using green to denote all the layers that are customizable. Next, I'm going to group the placeholder text with the associated box, and I will rename it I will also use gray to color code this group since it won't be customizable, and I'll repeat this step by grouping the main title text and box. With that done, now I'm going to go into the eyebrow group and add a new placeholder track for the overlay content. Next, I'm going to name this replace as users will be able to replace the content. And from my reference, you'll notice that I have the pattern clipped to the green box, so I'll select the content and group it and name it. And following my color coding, I'm going to make the label green. And now I can apply a clipping mask to this group, so its contents will always be clipped to the box below, which means anyone can replace the placeholder content without having to go through the process of reapplying the clipping mask. Next, I'm going to create the background scribble animation. So I'll draw out the frames and group them and then duplicate the group to fill the duration. Next, I will group them into one group. Next, I will group the animation group with the background layer and label it background. Now I'll expand the group and go in and label the animation group and background layer and color code them green since they will be customizable. Lastly, I'll make that external background group gray since it's just a container and it's not something that will actually be customizable. Now I'll walk you through animating the title sequence. I'll start by selecting the eyebrow group and adding a keyframe around the 1 second mark. This will be the final position. Next, I'm going to go to frame nine and add a new keyframe and I will move the group down some. This will cause the animation to overshoot before it lands in its final position. Now I will go to the start of the group and add a new keyframe, and then I will drag the group up. This will be the starting position of the animation, and then it will go down overshoot and then return to its final position. Next, I'll tap on the main tile group. I'll add a keyframe around the same timing as the above group as I want the animations to be aligned from a duration standpoint. Next, I'll move to the start of the group and add a new keyframe and then I'll drag the group down. And then to add some variety to the movement of these objects, I'm going to apply Ease out to these key frames. So I will have the top one, have an overshoot animation, and then have the bottom box ease out into the frame. Now let's play back the animation to review how it looks and make any adjustments if needed. Now that everything is set up and looking good, I will export the template. First, I will go out to the gallery and hold on my project to bring up the settings pop up. And I'll tap on rename and name my project. Next, I'll return to my project, and I'm going to group the title elements into one group. This will allow a user to adjust the scale or move the tile around as desired. Lastly, I'm going to group both groups and rename it. This way, it can be easy to drop the template group into other projects. Next, I'll go into the movie settings and tap on properties. Since I make templates I sell or share with others, I like to update the author's name and author pick with my name and brand. Now my file is ready to be exported. I'll tap on share, and then under Quick Export, I'll tap Procreate dreams. This will create a new dreams file, which doesn't include any file history, which will reduce the file size, making it easier to share with others. And that's it. To recap, I just walk you through how to set up your file and organize content to improve workload while maintaining the ability to customize and replace elements. And the next lesson, I will walk you through the class project and show you some of the other great uses for templates. 4. Class Project: And now it's your turn to apply the skills and techniques from this class for your own class project. The class project is to create an animation using the motion template technique. You also have complete freedom with your project, so make sure to have fun with it. The projects steps include planning out your animation template, set up and animate your template, and lastly, to export and share the animation in the class project. And if you run into any problems or questions along the way Feel free to post them in the class discussion, and I'll be happy to help you out. And to better help you, I've also published my working file that I used in the demo into the class resources. I really want to thank you for taking the time to take my class. And I hope this class has inspired you on what you can do using motion templates. If you're interested, I actually sell some motion templates on the Skill Share shop. I'm very excited to see what you create, so make sure to post your animation to the class section. Sharing your project with the skill share community is a great way to help inspire each other and continue growing. And if you would like more classes to help you learn animation, then follow me on Skill Share and check out some of my other classes. You can also follow me on YouTube for fun tutorials and updates on new features on Procreate dreams. And if you enjoyed this class and found the lessons useful, please take a moment to leave a review. Positive reviews like yours helps other students find the class. Thanks again for taking this class, and I hope to see you in a future one soon. Bye for now.