Transcripts
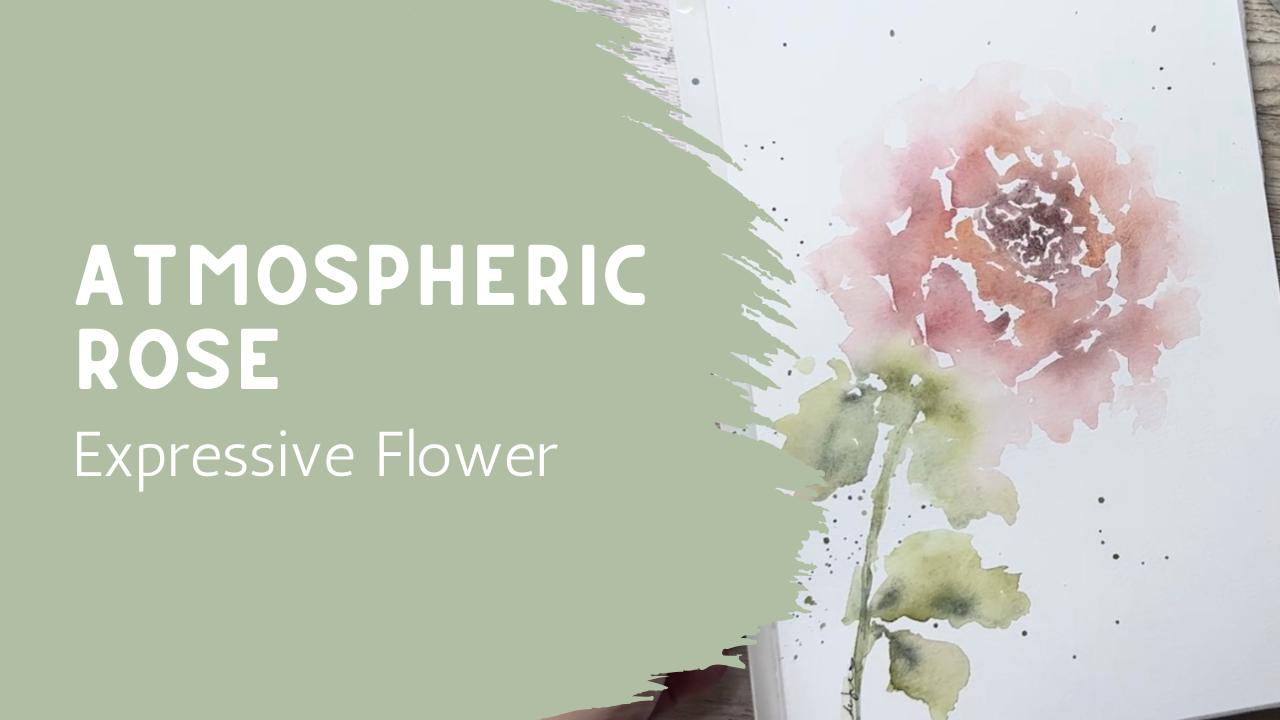
1. Welcome and Class Overview: Welcome to class. Today we'll
be painting a beautiful, loose atmospheric flower
with soft petals, gentle shadows, and plenty
of beautiful white spaces. This project is very approachable and is
designed to help you relax, enjoy the process, and let the water do some of
the work for you. Rather than focusing on perfect details or trying
to paint every petal, we'll be concentrating on
creating a feel of the flower. We'll use soft layers, lost edges and subtle
changes in value to suggest depth while keeping
the painting fresh and airy. This class is perfect
if you ever felt like your flowers have become
too tight or overworked. I'll show you how to
simplify the process and allow some of the areas to
remain soft and undefined. Those quiet areas
are often what makes Atmospheric Florals feel
so beautiful and peaceful. As we paint together, remember that there's
no need for perfection. Watercolor has a wonderful
way of surprising us. Some of the most
beautiful paintings happen when we simply allow the paint and water
to interact naturally. Gather your supplies,
and let's create a peaceful and expressive
flower together.
2. Painting an Atmospheric Rose: For today's class, we're
going to continue with this really loose
atmospheric style. I've done a couple other classes like this and in some
of the comments, I think you were
asking for maybe a little bit more of a
breakdown of how I do this atmospheric look and
we're going to break it down a little bit more for you so it's a little bit
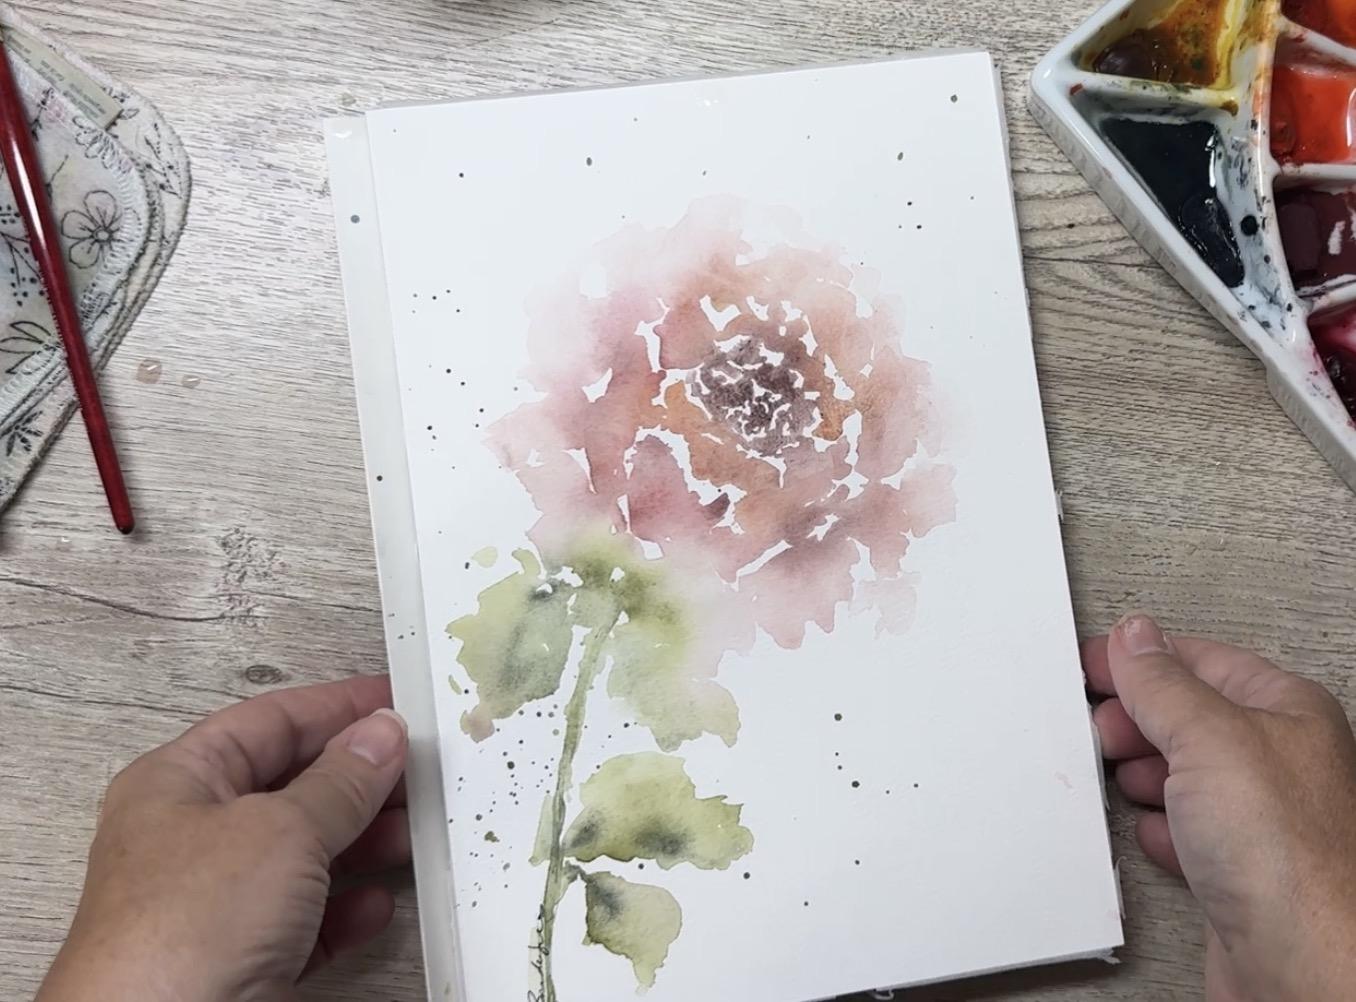
more beginner friendly. So with this one, we are
going to create one great big rose with maybe a little stem and some leaves coming
off to the side. It's going to be very
watery, very atmospheric. And when I mean atmospheric, I mean that the flower itself is just going to fade off
into the background where it gets so light around the outside edge that it almost becomes the
background itself. The way I like to do that is
by splashing some water down onto my paper because
we are going to be using a lot of water in this, I like to start by just
going ahead and adding some clean water
right to my paper, big splashes of it. I'm not coming over here and, um, using my paintbrush to
make my whole paper wet. This is not necessarily
a wet on wet technique. It's more of a I
like to get water on my paper so that I think you can probably see that, make sure that you can. Yeah, I I turn it like this, you can see that I just have
big droplets of water all over my paper because
I'm planning on having a great big
rose head right here. My rose is going to be
facing that direction. So this is a peon
but just to give you an idea is I want my rose
to be facing like that, not straight on like this, not up like this, but
kind of like that where you can still see inside
to the inside of the rose, but you're going to have some petals around here
and some back petals. So that's just to give you an idea even though
that was a peony. We're going to start in
the center of our rose, and for that, I'm going to
be mixing up some colors. I'm going to want
to have some pinks, might even want to
add just a little bit of brown to this so
that it gets darker. The center of my flowers, I always like to have those
being the darkest parts. Right in here, I'm going to be creating just this
little center. See how this was already wet because I had put on
these big drops of water. And so as soon as
I touch into that, it adds paint all over.
That's what I'm looking for. That's what's going
to help us keep this really loose
atmospheric look. I used that really dark burgundy
because that's the way I want it to be and then I'm going to rinse off some of my paint. I just rinsed it off in there. I didn't wipe it completely,
nice little rinse. I'm going to come
in here and I'm going to touch into
some of those circles, those droplets and just add
another little area of paint. Now, these are going to be lighter because I added it to water, added water to it. You can see that I'm leaving lots of little white
spots around here. Now, I might come
back in and add in just a little bit
more pigment here and there, but that's up to you. You can add more or you
can just let it be soft. The way that I'm going
to be making this so that it looks like
it's going up is I actually want to
make this a little bit more oval shaped. I'm just going to be bringing
it out here a little bit, adding some more dark colors in, making it oval shape. Totally fine that that just
dripping down in there. That's just going
to become part of the next leaf or
the next petals. Making it a little oval. Now I'm going to maybe add in. Maybe I want to have
just a little orange, mix that in over here. Mixing just a little orange. When you add to the same color that you've already been using, you've incorporated
that other color, which is really
great, which is going to really help blend
everything together. I'm just going to continue
with that oval shape up there, and then I'm going
to be bringing it back down over onto this side. I just mixes and blends in. The way that I'm
making it atmospheric is because there's
so much water. If I pick this up and tilted it, you can see that the water is just flowing from
one to the next. Because there's so much water on my paper right now in
those little droplets. Maybe I want to add a
little bit more pink. See how I'm just mixing
all three colors together. So I'm going to be
creating a little bit more of a little bit more water, a little bit more on that side. That's like a little petal. See how that's a little petal. Maybe I want to have
a bigger petal down here because this is
the base of my flower. Like I said before, my stem is going to be coming down here. So my bigger petals are going to be out towards you
out on this side. I'm going to just
make a bigger petal. Keep adding some of that
darker color in every once in a while just to incorporate
all the different colors. Lots and lots of little
white spots, more pink. My you may have got
another petal over here. I just pushing
that paint around, allowing the little
white spaces, and maybe they touch, maybe they don't, bring it
up closer, bring it into it. Okay. Now we're going to need to start getting
a little bit more atmospheric, a little lighter. I didn't rinse off my
paintbrush completely. I just dipped it into my water and now I can
make another petal. I want some of these petals
to feel like they're kind opening up so that as
the flour opens up, it kind of turns outwards. So I'm going to create some
petals that kind of come out from the center. Same up here. These are really
loose, really light. Just see how they're
just squishes really professional
word there squishes. If you've been following
me for a while, you'll notice that I have
all kinds of unusual words. That's just the way I am. I like to keep things very, very loose and light
and not stressful. So don't worry about
my words and don't worry if your piece
doesn't turn out well. Sometimes my pieces
don't turn out well either. It's okay. So now out here, we're going
to just pull out again. See how much I'm getting lighter and lighter and
lighter as I come out. I'm just pulling these
little bits outwards. The petals are just coming
out from the center. But because this is
still wet in here, I can just even pull
out some of that paint out into later
those other petals. So I'm going to just
come back into my paint and dip back into here because I want this
center to be darker. I feel like I lost some of that. I'm just going to add
because this is still all wet. I can add in more. I can go find some more
of that peachy color. I can add some of that in. But do you see, because I
mixed all my colors together, how they all just go together. Even though they're almost like a brown and a peach and
a burgundy and a pink, but yet they all go
together because I've mixed them all
three right here. I've got my burgundy, my pink, and my
orangey brown color. And then it all blends together. Now, this is still very wet. You can see that I
can move it around, pick it up and move it. So it's all very, very wet. I want to be able to put in to come over and
grab some of my green. You might not be able to
see that on the camera, but maybe I can bring some over here. Just a little
bit of green. And I'm going to go
ahead and touch into this petal right here
and that's going to bleed up into there,
and that's okay. I'm just going to come in
here and touch into there, maybe even purposefully
touch over there and bring down this stem. Maybe you grab a little bit of a darker green do you see how it's just kind of
sketchy and it's not solid. I like to have my leaves
and my stems just a little on the I want to add a little bit of yellow to this. And a little bit of brown. Oops, too much. There we go. Just to make
it a little bit softer. I feel like it's
going to go better. This green color might go
better with these colors. Bring it back in here. Again, rinsing off
most of it off of my paintbrush and now going back to what we learned
in the last lesson, which is just
creating these leaves that don't really necessarily
look like leaves. They're just areas,
little blobs, leaves coming off there, maybe we'll create another
little leaf over here. Remember, we're holding
our paint brush up really high so we have less control. You can always bend another leaf downwards and bring this down this direction. Then I can rinse off
and I can touch into this with water so
that gets softer. I could take some of my green
and I could splatter it. Tapping my paint brush against my hand to
just splash that. I got my green up into my pink, and that's okay. Doesn't matter. I can move it around
with my paint brush. I can bring some of
this pink down in here. I can even whit down
my stem a little bit, just to incorporate that
whole atmospheric feel so that nothing feels bold and everything just
feels really muted. I got to grab some of that
darker again and just still wet up in here so I can still just add in a little bit
more, another layer. You can just move it around. This is really wet. Do you see how much water? I just flows. I want
yours to be very wet. If yours is not flowing, you should probably start
over and use more water. This is watercolor, so you're
going to use lots of water. Now I want to grab some of this darker color and splatter some of
that up in here too. After it's been splashed, if you don't like something, maybe I don't like it I got
into this lighter area, I can just blend that out
because it's all still wet. Move that around. Fun. It's just so beautiful. Now, if I want it to, I could
even make this outer edge even lighter by adding
just a little bit, my paintbrush just
has water on it. I could just put a little
bit more water out here. I don't want to do
too much because I really like it the way it is. Because it's still wet, you can just add in more color. You want to add a
little bit more of that peach It's really
easy to keep going. It's really easy to overdo it. I just want to warn you that you might want to
stop while you're ahead before you get too far because it's one of
those things that's just so easy to feel like, Oh, maybe I should just mess
with it just a little bit more and then maybe
you regret it. So be careful and don't put in more than you
really, really want to. I just felt like maybe some
of these leaves might be better off if they had a
little bit more definition, a little bit more depth. So because this is all wet, I can really move that around. See how much more
interesting that is because I added in just
a little bit of darker, just to one side, one area. Kind of like our flower has all the different pinks and
oranges and peach colors. I like to add several
different colors into my greens as well. It really adds a lot of depth, especially when you're doing something that is
this atmospheric. I'm going to let this
dry for a little bit. If I feel like I
have too much water, there's just a lot of
water running in here. I could take a clean
paper towel and I could pick up some of
this outside edge, just to lighten it a little bit and just to lift
up some of that, just keep moving your
paper towel around, find a clean spot, and just pick up some
when you feel like you maybe just got a little too
much water in one area, or you really want to lighten
up that outside edge. I'm going to let
this dry and then decide if anything
else needs to be done.
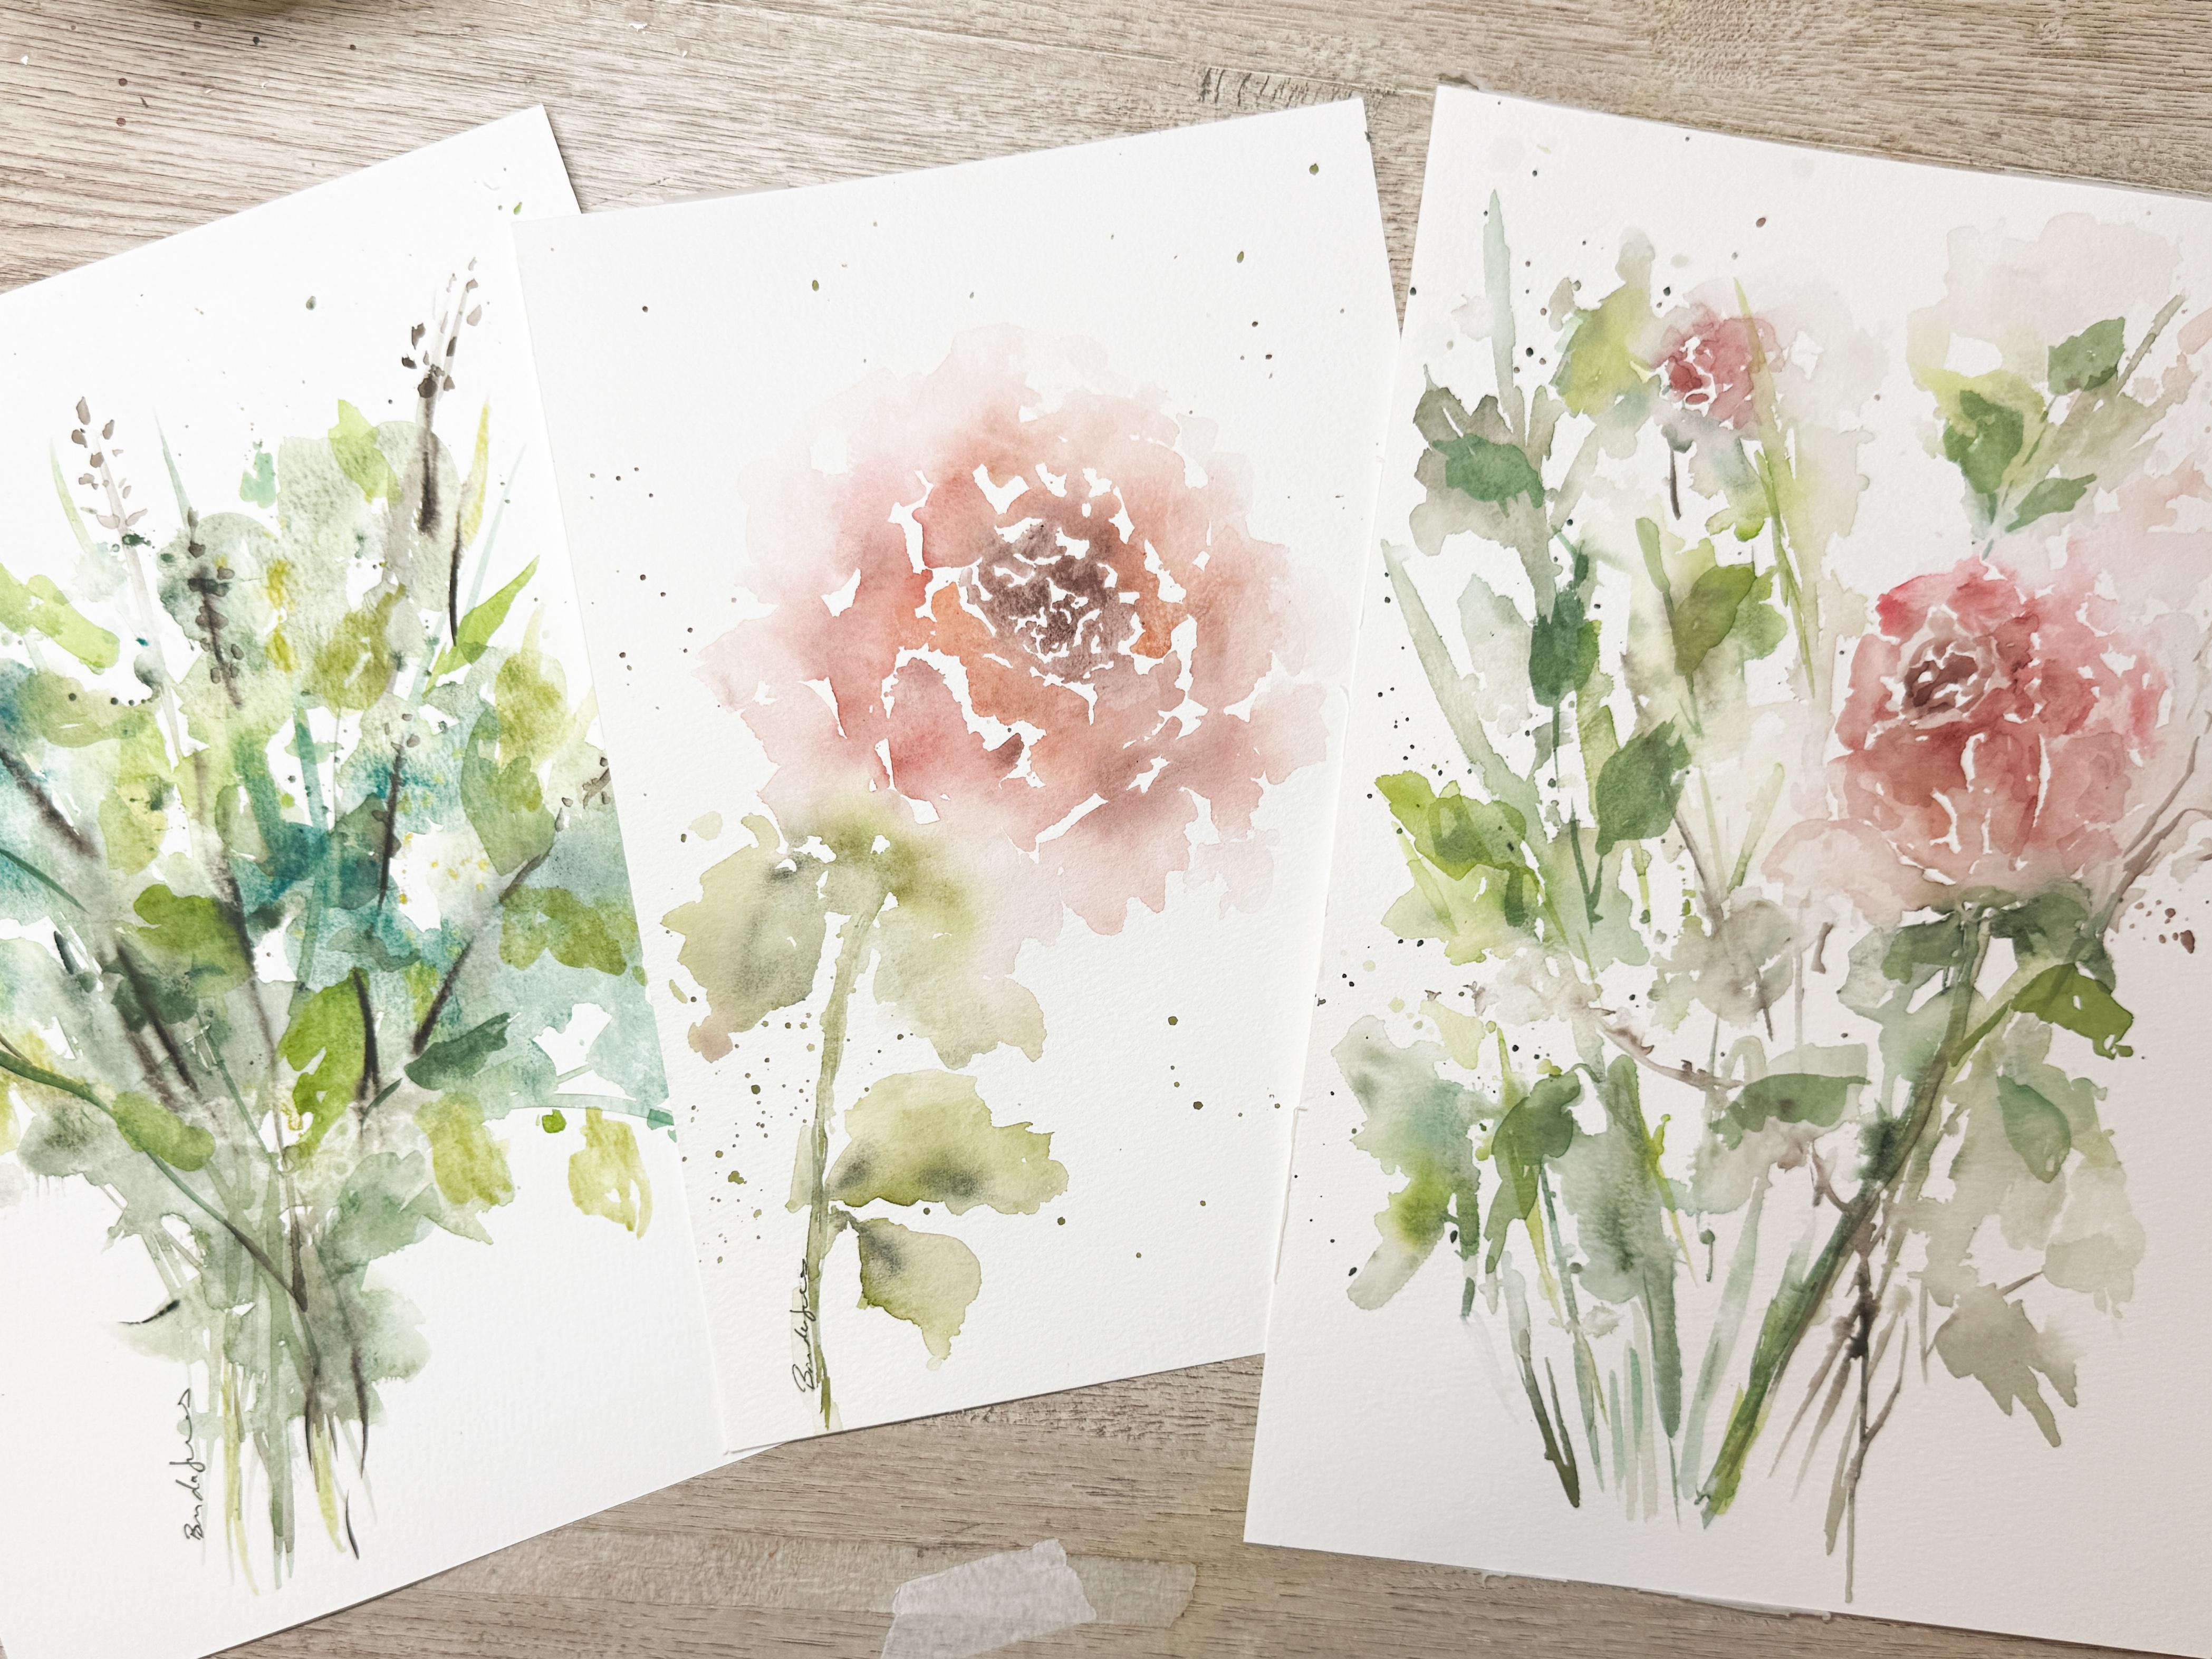
3. Final Thoughts and Project Gallery: We've reached the end of our
atmospheric flower study, and I hope you're feeling
a little bit more comfortable allowing
those petals to stay soft and letting
some edges simply disappear. One of the things I love most
about painting flowers this way is that we're not trying
to describe every petal. Instead, we're trying
to capture a feeling. Sometimes a suggestion is far more beautiful than a lot of detail and watercolor has a wonderful way of teaching us to slow down and
trust the process. If your flower looks different from mine, that's
perfectly okay. Every brushstroke,
every amount of water and every color choice
creates something unique. That's one of the reasons I find watercolors so enjoyable. No two paintings are
ever exactly the same. I encourage you to upload your finished flower to
the project gallery. Even if you decided
to stop earlier, or keep things very simple. I always enjoy seeing the different color combinations and interpretations
that everyone creates and your project may inspire another student to relax and enjoy the
process as well. As you continue painting, you'll begin to notice that these atmospheric
techniques become easier and more natural. Start trusting the water, softening those edges
without overthinking, and discovering that
not every part of the painting needs to
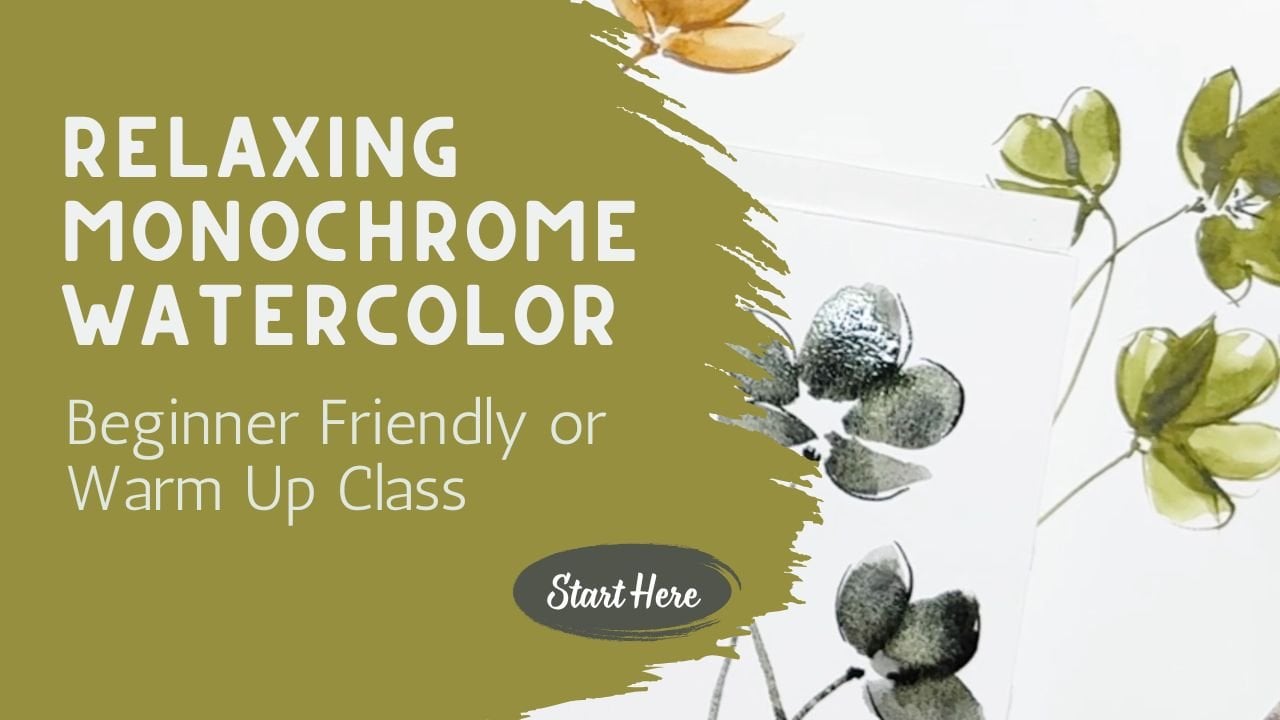
be fully explained. If you'd like to continue
exploring this loose approach, I have more classes
where we can apply the same ideas to
different flowers, different compositions
and techniques. You can simply choose whicheer
class interests you next and continue growing
your confidence one painting at a time. Don't forget to sign your
artwork and try different mats. You never know
which shape or size mat is going to work best
for your composition. I'll see you in the next class.
 Brenda Jones, Watercolor Artist & Teacher