Transcripts
1. Introduction: Isn't it fun when
your two D drawings, characters, and patterns
come to the three D world? Wouldn't you want to
have such a superpower to make your art
come into reality? And do it by yourself
at home without requiring expensive
printing services or even a printer of your own? I'm talking about
glock printing. It is more efficient
than painting by hand, yet it feels more personal and handmade than digital prints. Plus block printing
is very versatile, and you can stamp
different types of surfaces and make many
copies from just one block. Hi, I'm Kate Kit of Freedom. I'm an artist and illustrator, mother of Silly Wolves. I have both creative and
psychological education, and I have been
practicing drawing and painting for
more than 15 years. One of my Instagram pages is dedicated to my original
character, Silly Wolf. And it was him that inspired me to make my first block print. Today's lesson, I
will show you how to create your own block
print out of Lima. We will sketch, choose the
illustration for the blog, transfer and carve
out the drawing, and then try printing it
on different surfaces. As a result, you will learn this amazing and very
accessible technique and be able to stamp your
characters on anything. You can even make your
own collection out of it. It can include clothing, to bags, art prints, postcards, t shirts, patches, envelopes, and even
wrapping paper. And you will have
your unique linocut, which you can use in your
other projects as well. So I'll be happy if you join me. I can't wait to start.
See you in the class.
2. About the Project: So as I have already
said in my intro, our goal is to make a
linocut of your character, which we can use on different surfaces and
for different purposes. First, we'll start with sketching your
character, of course. If you don't have
one, you can take any animal or mythical creature that you like or even draw
yourself in a cartoon style. Then we'll need to choose a sketch most fitting
for the linocut. And refine it, draw it
in the right scale. We also need to make sure we
simplify the drawing enough. As with Lino, amount
details that we can put it in is limited. Next, we'll transfer the
drawing to the lino either using transfer paper or a simple tick that
I will show you, which requires just
pencil and paper. Then we'll carve out the
lines and create our stamp. Next step is to
check if our stamp works well and if we need
to correct anything. We'll be using an inkpad and some scrap paper to check it
and to refine what's needed. Now as our block print is ready, we can start stamping
it on paper. And the last optional step, you can try printing on fabric. For this, you will need fabric
ink. Roller and a tray. Also, prepare
something to protect your table from the ink as
it will be hard to wash off. We will let the fabric dry and then set the ink with iron. So in the end, you
will have a block that you can use in
different projects. At least one your own art print, but most likely more than one, and the experience of printing your liner block on
different services. Can add more blocks
to your design, try different ink colors. Use color paper and experiment
in any way you want. Don't forget to
upload the photos of your experiments to
the project section. I will be thrilled to
see what you've created. Now, let's talk more about the materials and tools we need.
3. Materials: For this project, you
will need a few things, but don't worry, I will explain everything
and where to get it. And also whether you can
substitute any of it. The first part requires just pencil and paper
for our sketches. To transfer, you can
use transfer paper. But to be honest, using
soft plain pencils and the paper worked
even better for me. So transfer paper
is really optional. To cut out a block, you
will need a liner sheet. Can use any old lino you have, but it is usually harder to cut. So I prefer special
lino from ar chops, which is much softer
and it doesn't have this thread on the back side, which also gets
on the way a lot. Although harder lino might
allow smaller details. The choice is yours. If you
have some old lino at hand, then go ahead and
use what you have. For more comfort, check out
the soft one, Lino cuts. You don't need any
expensive fancy ones. I'm just using a
plastic handle to which I can affix
different cutters. There were just two of them
in the set that I bought, and to be honest, it
was enough for me. There's one smaller
and one bigger. So you definitely
don't need a site of 20 different sizes to
start. A cut and mat. If you don't have a
surface that you can cut and not be afraid to damage, I will really recommend you getting a cut and mat if
you don't have one already. It will be useful things
not just with this project, but with many others as well. I think it is a
thing worth getting. But of course, you can put just cardboard under your liner to protect your table if cutting mat is
not variant for you. I know that can be a
bit pricey. Ink pad. If you want to print on paper, end up planning a small stamp. An inkpad will be very handy. They are cheap and very
fast and easy to use. Also, it is a good way to check your stamps before applying them to the surface that
matters. Fabric ink. If you plan to print on fabric,
you will need this one. It usually goes with
block printing kits, but can also be
bought separately. There are different colors, but to start working with it,
you really need just one. Black is the classical choice, and it has a good
contrast. Roller and tray. You will need this to roll out the fabric ink and to
apply to the block. Again, this can be
found in the art shops, and they also usually go in
the line of printing kits. So paper and fabric
scraps to try on. You can use an old T
shirt and blank toed bag. You can take a scrap of fabric and make a
patch out of it. Also, try some colored paper or just thick enough white paper in the shape and the size you
want for the prints and cards. When you already feel confident, you can print on basic t
shirts and other clothes. It can also be a good way to give your clothes a new life. To mask a stain that
won't come off or to freshen up a piece of clothing
that you got bored of. The choice here is yours. Ideally, is to have some paper. And some scrap fabric, ideally, non stretchy one like
cotton. That's it. I know it looks like a lot, but all these things can
be bought in one place, usually in any art shop
or ordered online, and they don't have
to be expensive. Many of them can be
bought together as a kit. The kit that I
have bought when I started cost me less
than 30 pounds. And if you don't intend to print on fabric, it's even cheaper. You just need an
ink pad, really. So I hope you don't feel
intimidated with this list. I assure you it will be fine, and you can go one
step at a time and buy everything in stages as
you need it. So let's begin.
4. Sketching: So let's start with
sketching our characters. If you already have a character that you want to
make into a stamp, start sketching them in
different positions with different face expressions.
Have some fun. Let yourself go. Don't
really limit yourself yet. Just try not to make anything
too detailed because we will be getting rid of excessive details
later on, anyways. If you don't have
your own character yet, just start doodling. Whatever comes to mind. I suggest you draw some
favorite animals of yours. You can use references first, open some pictures of them, and then try and add
some character to them. Make them more cartoony, more stylized, add
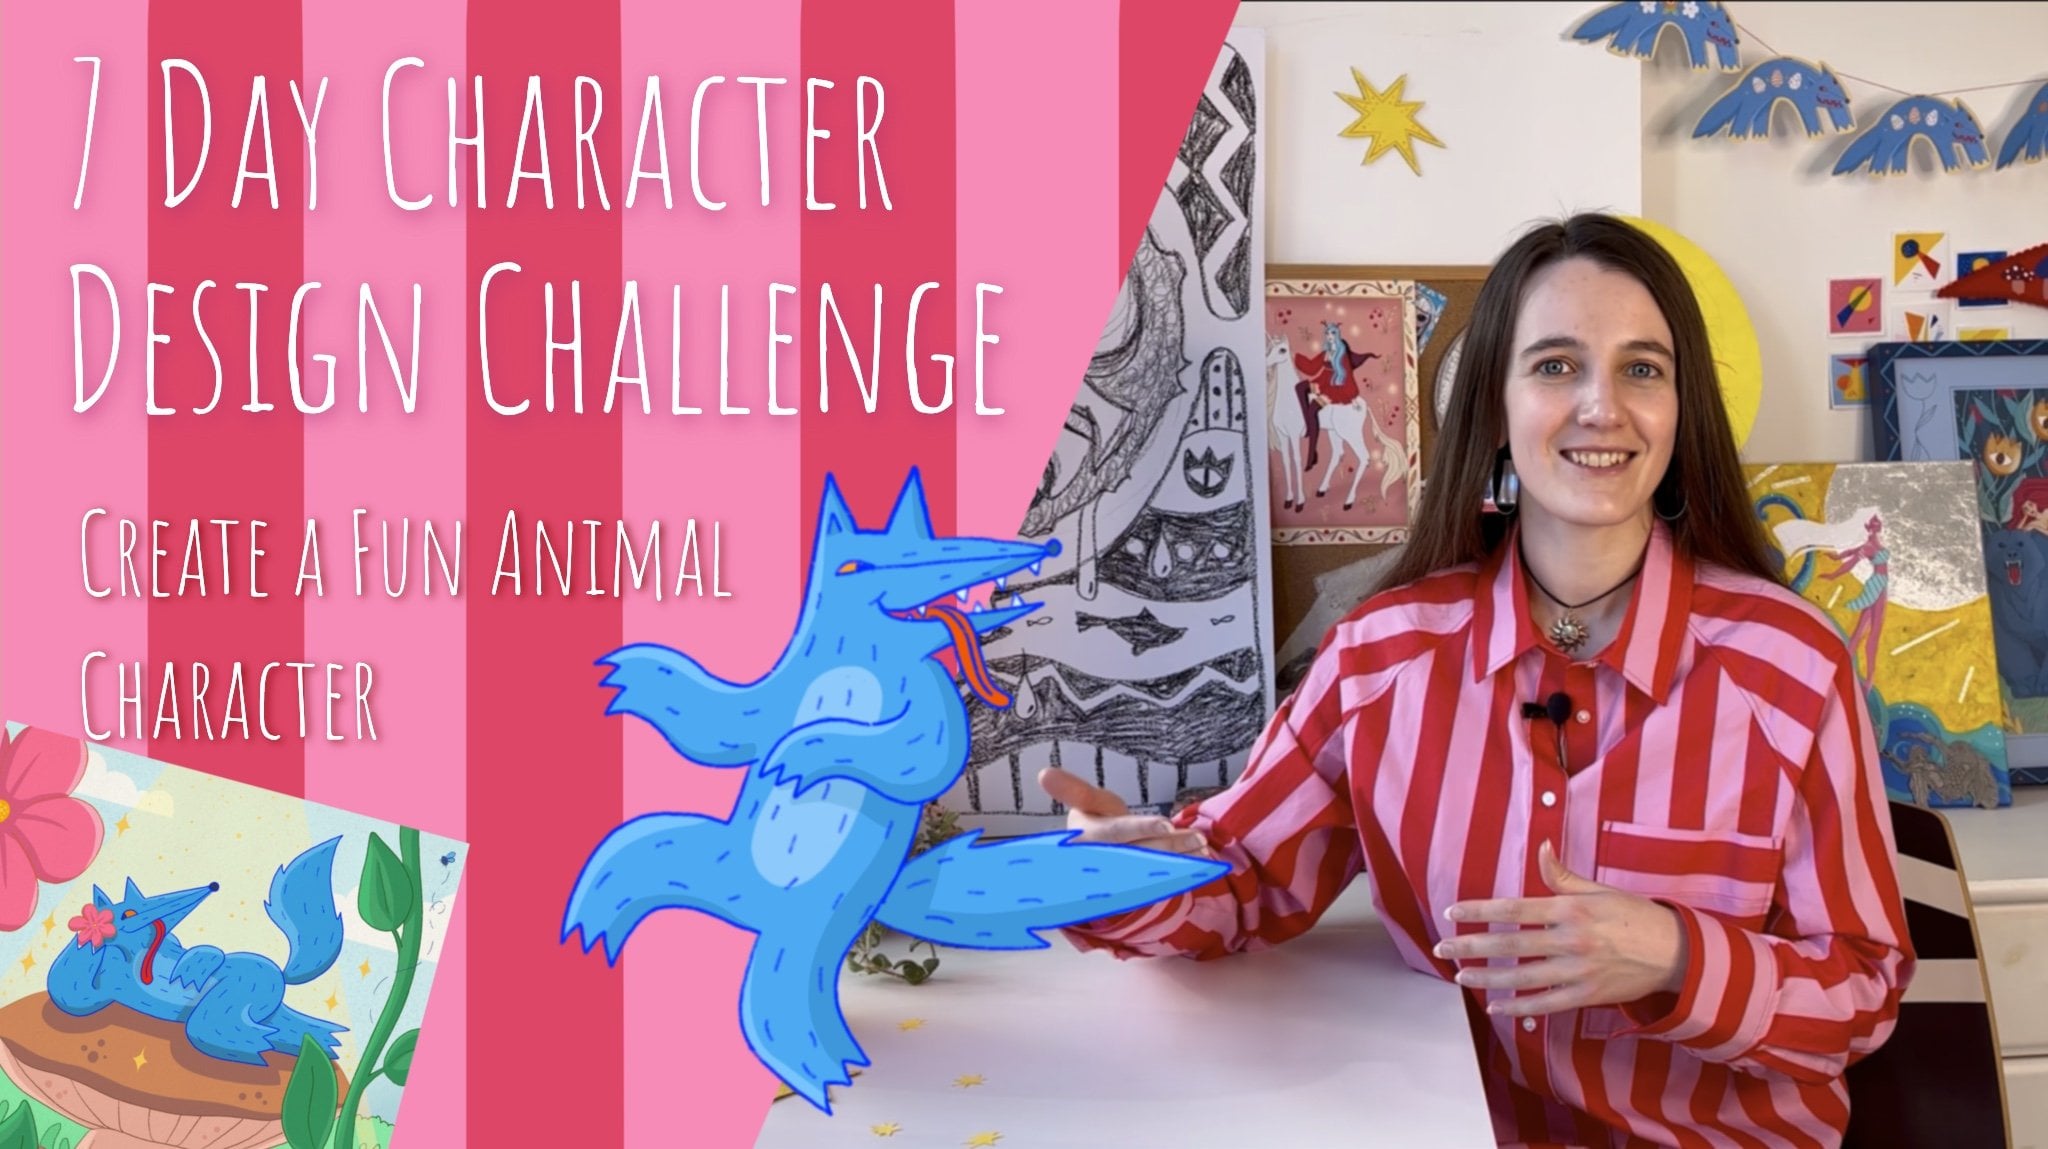
funny expressions. If you want a more in depth
lesson on character design, I have two classes on human characters here on
Skillshare and one class, specifically on creating
animal characters. So you can check them
out if you want to. The stamp, an animal might be
easier to start than human, but it's always your choice. Human stamp can work
perfectly well too. You can make yourself into
a cartoon style stamp. Fill a couple of pages
with your sketches. Don't stay too long
on each of them. Don't try to make them perfect. Just quickly put your
ideas out on the sheet. Now let's look at what we've got and choose the
one that you like the most and the one that fits
our purpose the best. What I mean by that, the stamp
will not be too detailed. It's better not to
add any shading. Remember that with stamp, we are printing with
just two colors, the ink and the white of the paper or whatever
color paper you took, the filled parts and
the cutout parts. Also, while you're choosing,
look for a good silhouette. Try to imagine you field
all your shape with just one color and see if
this shape makes any sense. Ideally, you should be able to guess what it is from
the silhouette alone, and it shouldn't be too
messy or complicated. A messy, complicated
shape will make it harder to read from afar
and also harder to carve. Also avoid loose elements and ones that are connected
with very thin lines. It's definitely possible to do, but let's start simple. You can carve
additional elements and add to your print later. Make them as additional stamps. But I suggest we are
easier on ourselves at first and start with
just one shape to cut. So pick your favorite sketch, and let's think about the size. Depending on what
you want to print, think of the size of
the image you need. There are no rules here, really, but if that's
your first project, I suggest something
on a smaller side, maybe around a five
or even smaller, but it also will depend on the
size of the lino you have. Now redraws catch in its final cleaner version in the right size with the
right amount of details. Don't use too thick
paper for this, as thinner paper will help
us transfer it easier. I'm just using a
simple printer paper. It If you've got your final design, then let's move on further to transfer it
to the line of block. And you can also upload your sketches to the project
section if you want.
5. Transferring the Sketch: A tricky thing to
keep in mind when transferring is that your
print will be mirrored. So we need to take that into account and mirror our
drawing before it. Take another piece of paper, put them together against
the window during daylight. Side of the paper with the
sketch should face the glass. Then on top of it,
put a blank sheet and draw over the lines you see. In the end, you should get
your sketch but mirrored. Next, turn this paper
to another side and fill all the space behind your drawing with
pencil strokes. Use a soft pencil so it
will leave the mark. Perfect. Now, all that is
left to do is to take a lino. Carefully duct tape your reverse sketch to it so it won't move. Oh and go over all the lines of
your sketch again. It doesn't even have
to be a pencil. You just need something
to press the graphite from the other side of
your paper onto the liner. So in the end, we will get
a transferred sketch on it, and it still will be
a mirrored version. You can lift your
paper carefully not to move it to see if
everything caught on. When you're finished, unstick the paper and your line
is ready for carving. If you have a printer, you can just mirror your
sketch digitally, print it out, and then repeat the same pencil trick
we did to transfer. If you also have transfer paper, you can put it graphite side to the lino then put your
mirror sketch on top, and again, go over all the
lines pressing really hard. For me, it worked worse as the
lines were barely visible. You can check if it works
on a small area first, see how it goes before
doing the whole thing. So now try not to smudge the transferred lines on the lino and let's
get to carving.
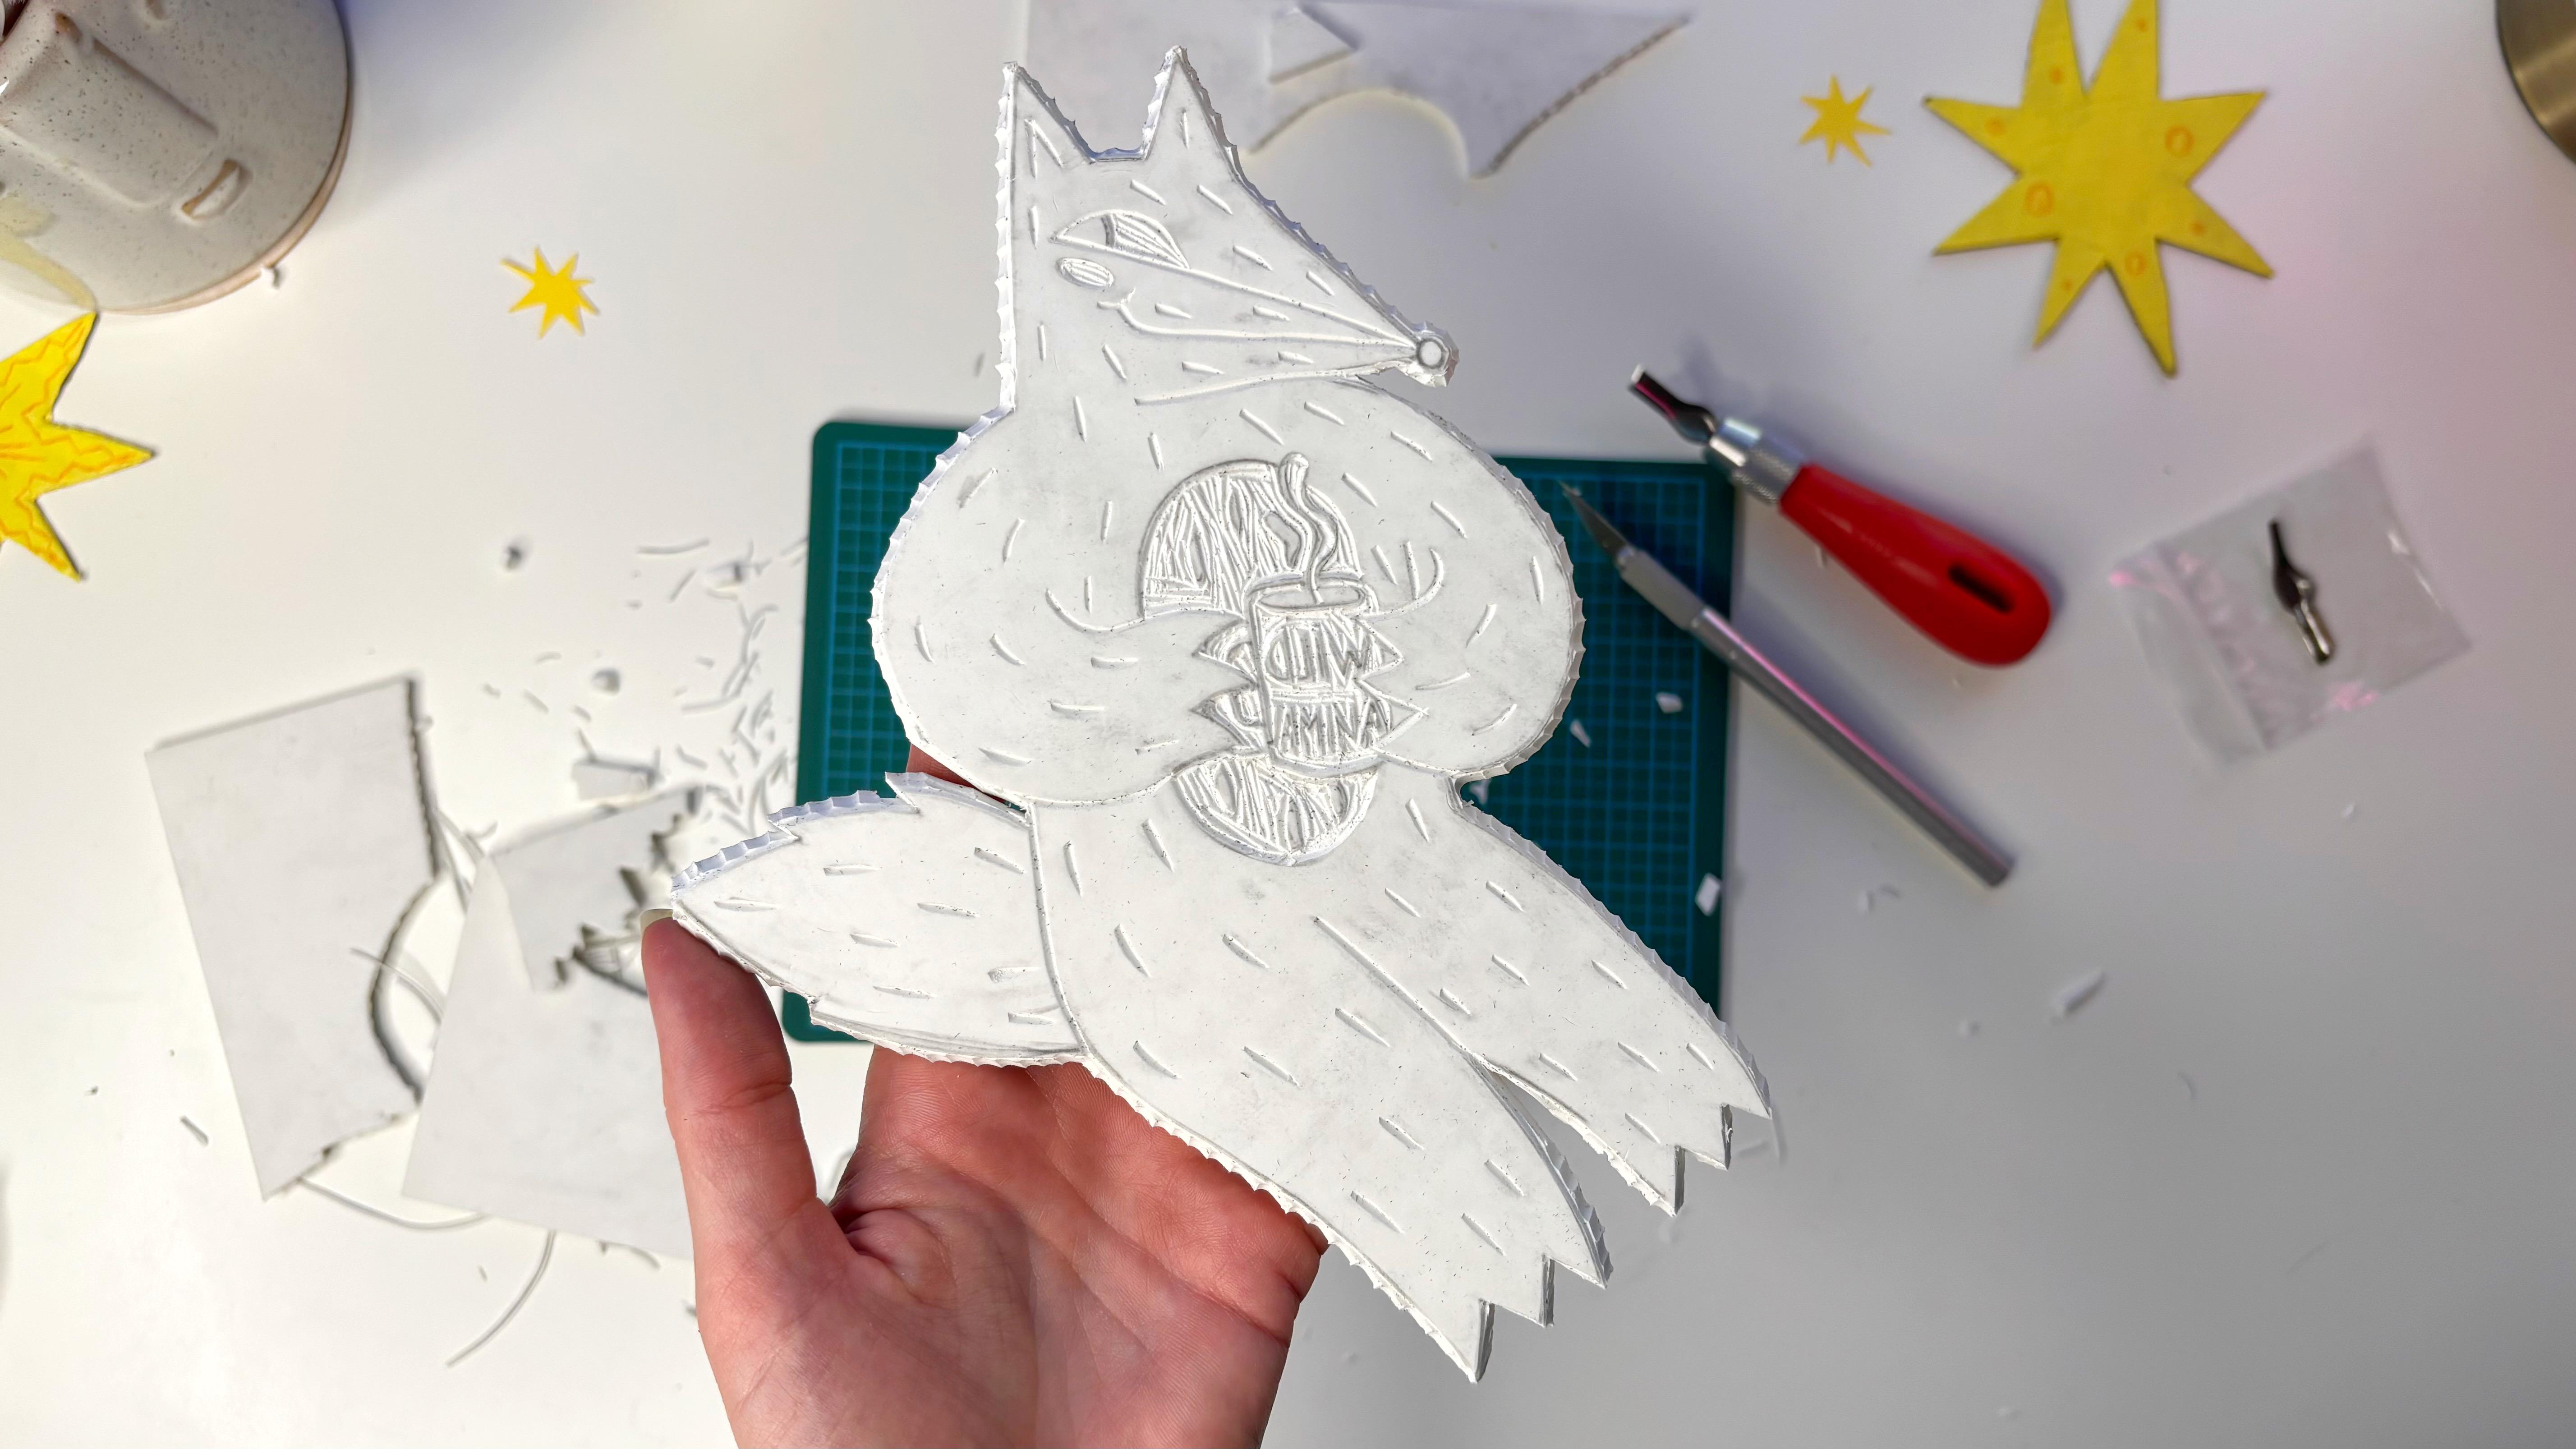
6. Carving the Blockprint: Okay, we have come
to an exciting part. Take out those lino carters
and preferably a cut in mat. Your lines will be
the cutout parts. The rest is untouched parts. Check out which cutter size
fits your lines and take it. Now we need to
talk about safety. Always cut in the direction
away from yourself. Always put your second hand behind the cutter, not in front. Never cut on your knees. Do it behind the table,
sitting comfortably and using the cuts and met to not damage your table surface. You can try it first on
a scrap part of lino. Try to feel how much
you should push. Don't cut too hard or
you will go through. Just cutting the
upper layer of lino reminds me of butter
commercial sometimes. And remember that the
black space is cut out, the white is left untouched. It all is going to be the
opposite once we print, though. I know block printing has
this mind twist in side. Keep going until you cut all the sketch and also cut the whole shape
out when you finished. Do it by using your bigger
cutter and putting it under 45 degrees away from your draw repeating it
all around the shape. All this might take a while. Don't rush, take your time. I find this process
quite meditative. So try to enjoy it. When you're finished,
let's check how it works. Brush off all the shavings. You can even wash your newly
made block print underwater, dry thoroughly,
and let's test it.
7. Printing on Paper & Refining the Stamp: The some scrap paper
first and an ink pad. It will be very
helpful on this stage. Put your block print
on the ink pad face down and make sure it
has enough paint on it. Now, let's make a stamp. And check out if all the details are visible as you want them to. If some lines are
barely visible, you need to carve them a
bit deeper, maybe wider. Correct the mistakes
and try again. Repeat this process until you are satisfied with the
stamps you're getting. And Also, keep in mind that
the print quality depends on the amount
of paint on the block. You need to find
middle ground here. As if there is too much paint, the print will be smudged, details will be lost because paint will get
into the gaps as well. But if there will be too
little paint on the block, it will print badly, some
parts might not print at all. And of course, you need
to apply pressure. Don't rush to take
the print away. Keep it on the paper
and try to push it well into it throughout
all of the block. There are even hand pressures
that help with this. But unless you're making lots
of products with prints, you can get away with that one. And then carefully
take the block away, try not to smudge anything. So when you are already
getting good results, you can start using
the better paper that you intend for prints
and postcards, for example. You can try different
types of paper, take colored one, experiment
with different texture. Don't worry about the
small imperfections. They're making
each print unique. However, if a big important
area has not printed well, you can always add the
color later manually. Just use the same ink you used for the block print
and a small brush. You can add handwritten
text to prints, write funny, inspired
words, greetings, and more. Later, you can carve out
more elements for prints, even add a frame to it. Turn on all of your
creativity here. I'm so curious to see
what you will get. So please don't forget to applod your prints to the
project section. And if you are brave
enough and you have your roller, fabric, tray, and fabric ink, let's move to the hardest part of this
class printing on fabric.
8. Printing on Fabric: Print on fabric will take
a bit more preparation. I recommend to protect your
working surface from ink. Also recommend either
wearing an apron or just wear the clothes that
you are not afraid to ruin, as this ink won't
come off easily. Next, we need our tray. So also use a piece
of glass for it. Before starting the process, make sure you have the
fabric to print on. At first, let's do
it on a scrap piece, just to try your hand. It's better to take
non stretchy fabric like simple cotton. Also, it might be good
to put something under your piece just in case
the ink bleeds through. It can be a piece of
card, for example. Prepare the fabric, and
now let's get to the ink. Take a bit of ink and
put it on the tray. I usually use a
plastic knife for it. Next, take your roller and start rolling the
ink back and forth. It should get to an even layer and make this kind of sound. Be slightly sticky. It means it's ready
for printing. Now, take your lino cut and put the ink over it
with the roller. Try to spread it evenly
all over the surface. Don't put too much ink, not to fill the
cutout parts with it, but also it needs to be all over the outstanding
parts to print well. Next, carefully take your block, turn it, and put it
on the scrap fabric. Now, important thing is not to move it to not smudge the image, but to press firmly and
carefully all over the block, so it prints evenly everywhere. Don't rush. Take your time here. And again, carefully
take it off, try not to smudge and not to drop the
block while lifting. Check out if you like the print. This is good to do before every
printing session you have to catch this right amount of ink you need to
put on the block. If it's too black,
use more paint. If it's too thick and smudgy, put less paint next time. If some details were filled
with ink and are not visible, you can correct
your block print a little bit and carve
the lines a bit deeper. Remember to wipe your
cutters straightaway if they got dirty while you were
correcting the line of lock. You can make a few
more trial stamps until you're happy
with the print. These scrap ones can
also be used as patches, for example, so don't
rush to throw them away. They can be used in
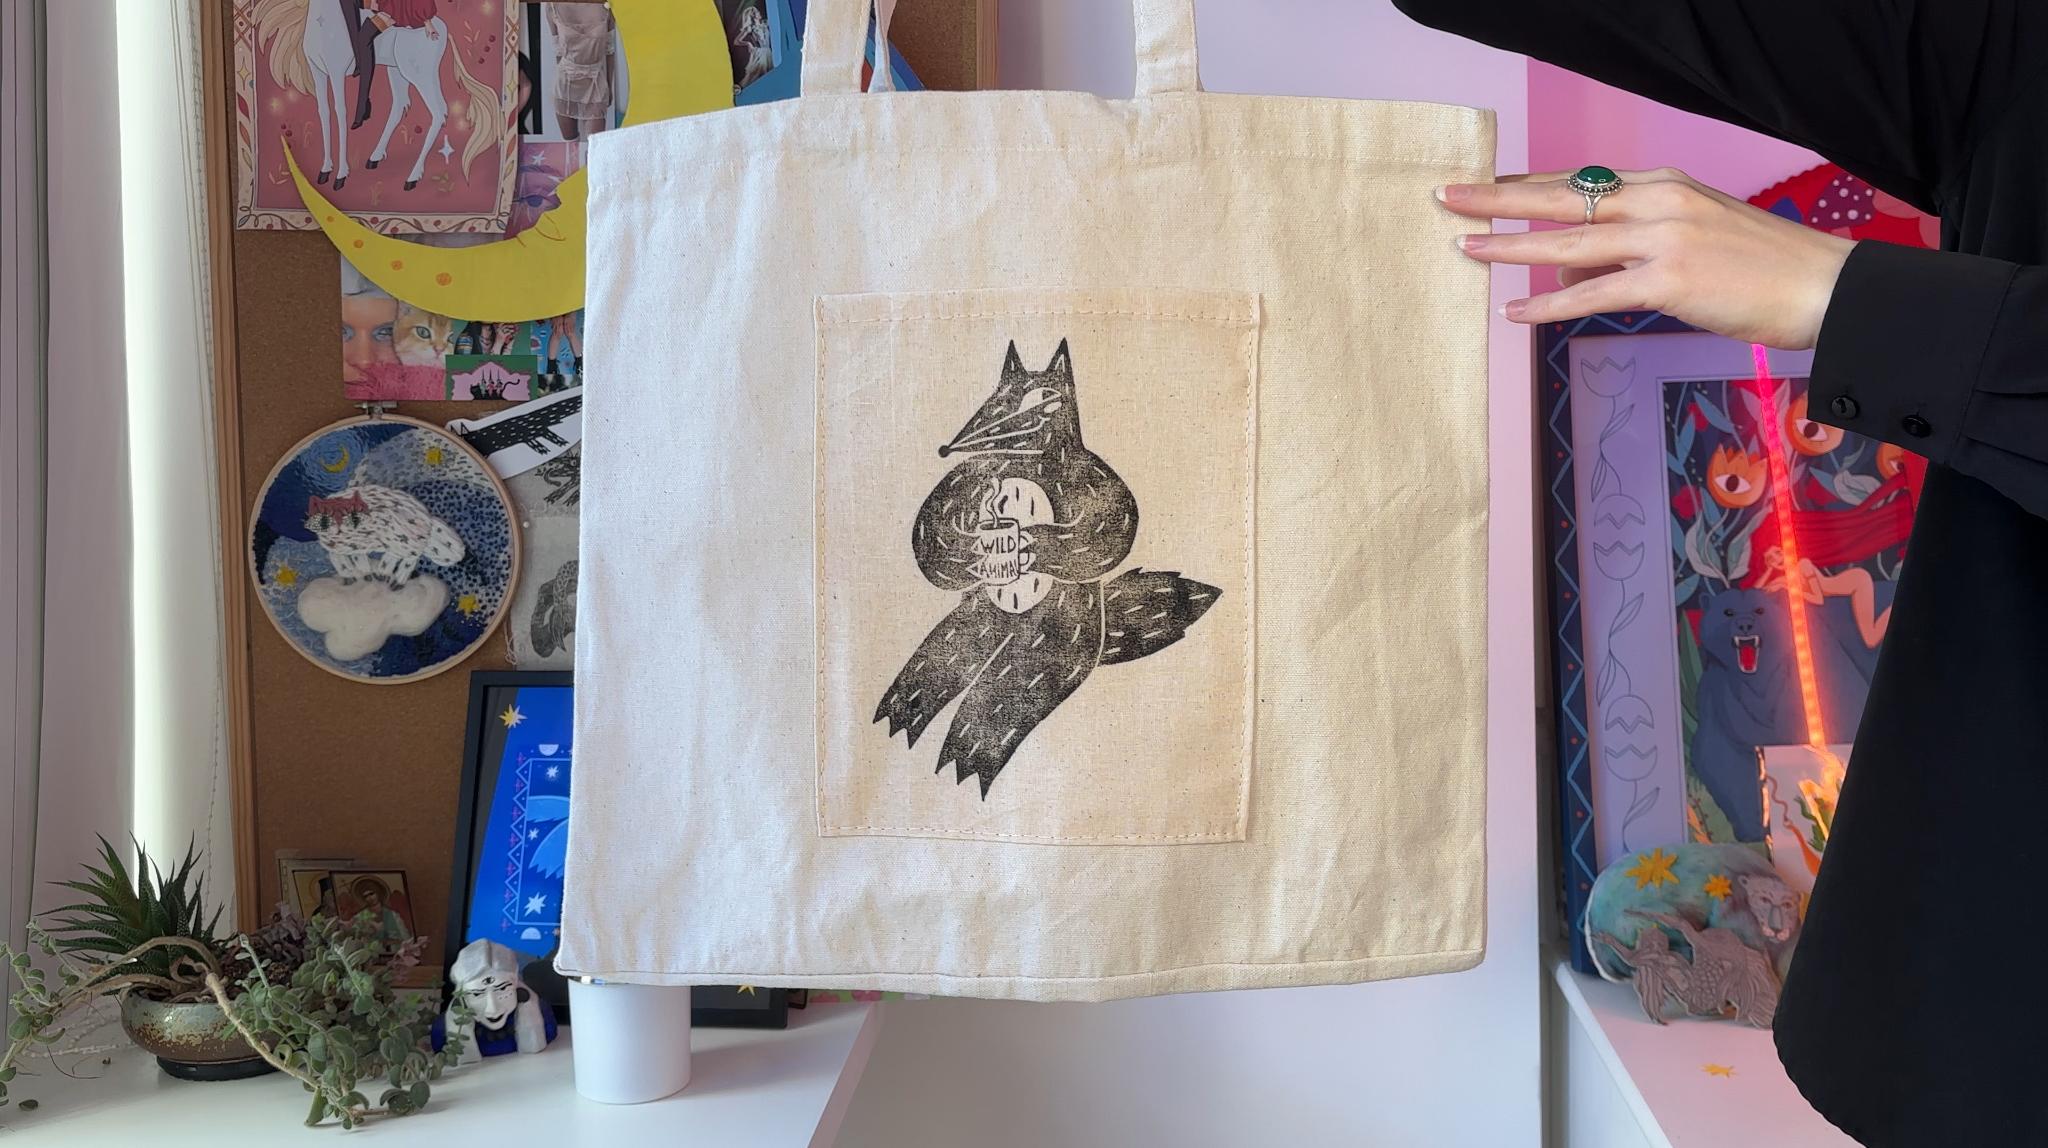
other projects, too. And now we can try it
on a piece of clothing, on a toe bag or a
different piece of fabric. Now, we need to give all our
fabric prints time to try. Leave them spread
out for some time. It may take a few hours or less, depending on the
thickness of the inklay, the fabric, and the conditions. When it feels dry, it's time to set the print. Use your iron. Don't turn on the
steam setting and iron the reverse out of your
image for 4 minutes. There might be an instruction on your printing kit or
on your ink as well. And here you are. Your new t
shirt or tot bag is ready. There are countless
variations for which products you could
use this technique. And also, it's not necessary to print straight
on the clothing. You can print on a
separate piece of fabric and then sew
it onto something. It takes off some of the
pressure not to ruin the thing. It can be a decoration or a pocket for your
toe bag or a shirt, for example, and it can
be just a fun applique. You can add more
decoration to it like some beads or embroidery. Not many limits here, really. So please, please, please
applaud what you've got. I'm so excited to see what you come up with to
see your projects. Even if it came out not
the way you expected it, I still encourage you to share. It is just a first try. It doesn't have to be perfect. The most important part
is that you have learned the new technique and
hopefully had fun doing it. So let's wrap up everything
in the final part of the class. O
9. Summary: Congratulations. You finished this Lincatblog printing class. Today, we have learned how to pick the best sketches
for your block prints, how to transfer your
sketches to Lino, how to carve out
the block print, how to test and
refine your block, how to print on
paper and on fabric. This opens up a huge variety
of projects that you can do, both with the block print
that you have carved today and with the
technique in general. You can make the whole
series of your products, including but definitely
not limited to T shirts, tot bags, patches, postcards, stamps, wrapping paper,
even business cards. Only your imagination
is your limit. I really hope you
enjoyed this class. I was really excited
to teach it, and I will be very
grateful for your views, as it lets me know if
you liked it and what I can do better next
time in my next classes. Don't forget to
upload your sketches, prints, and the blogs themselves
to the product section. Let's share what we have
created and support each other. You can ask me any questions
about the class in that discussion section and also come say hi to me
on my social media. I'm always glad to talk. And of course, check out my other classes here
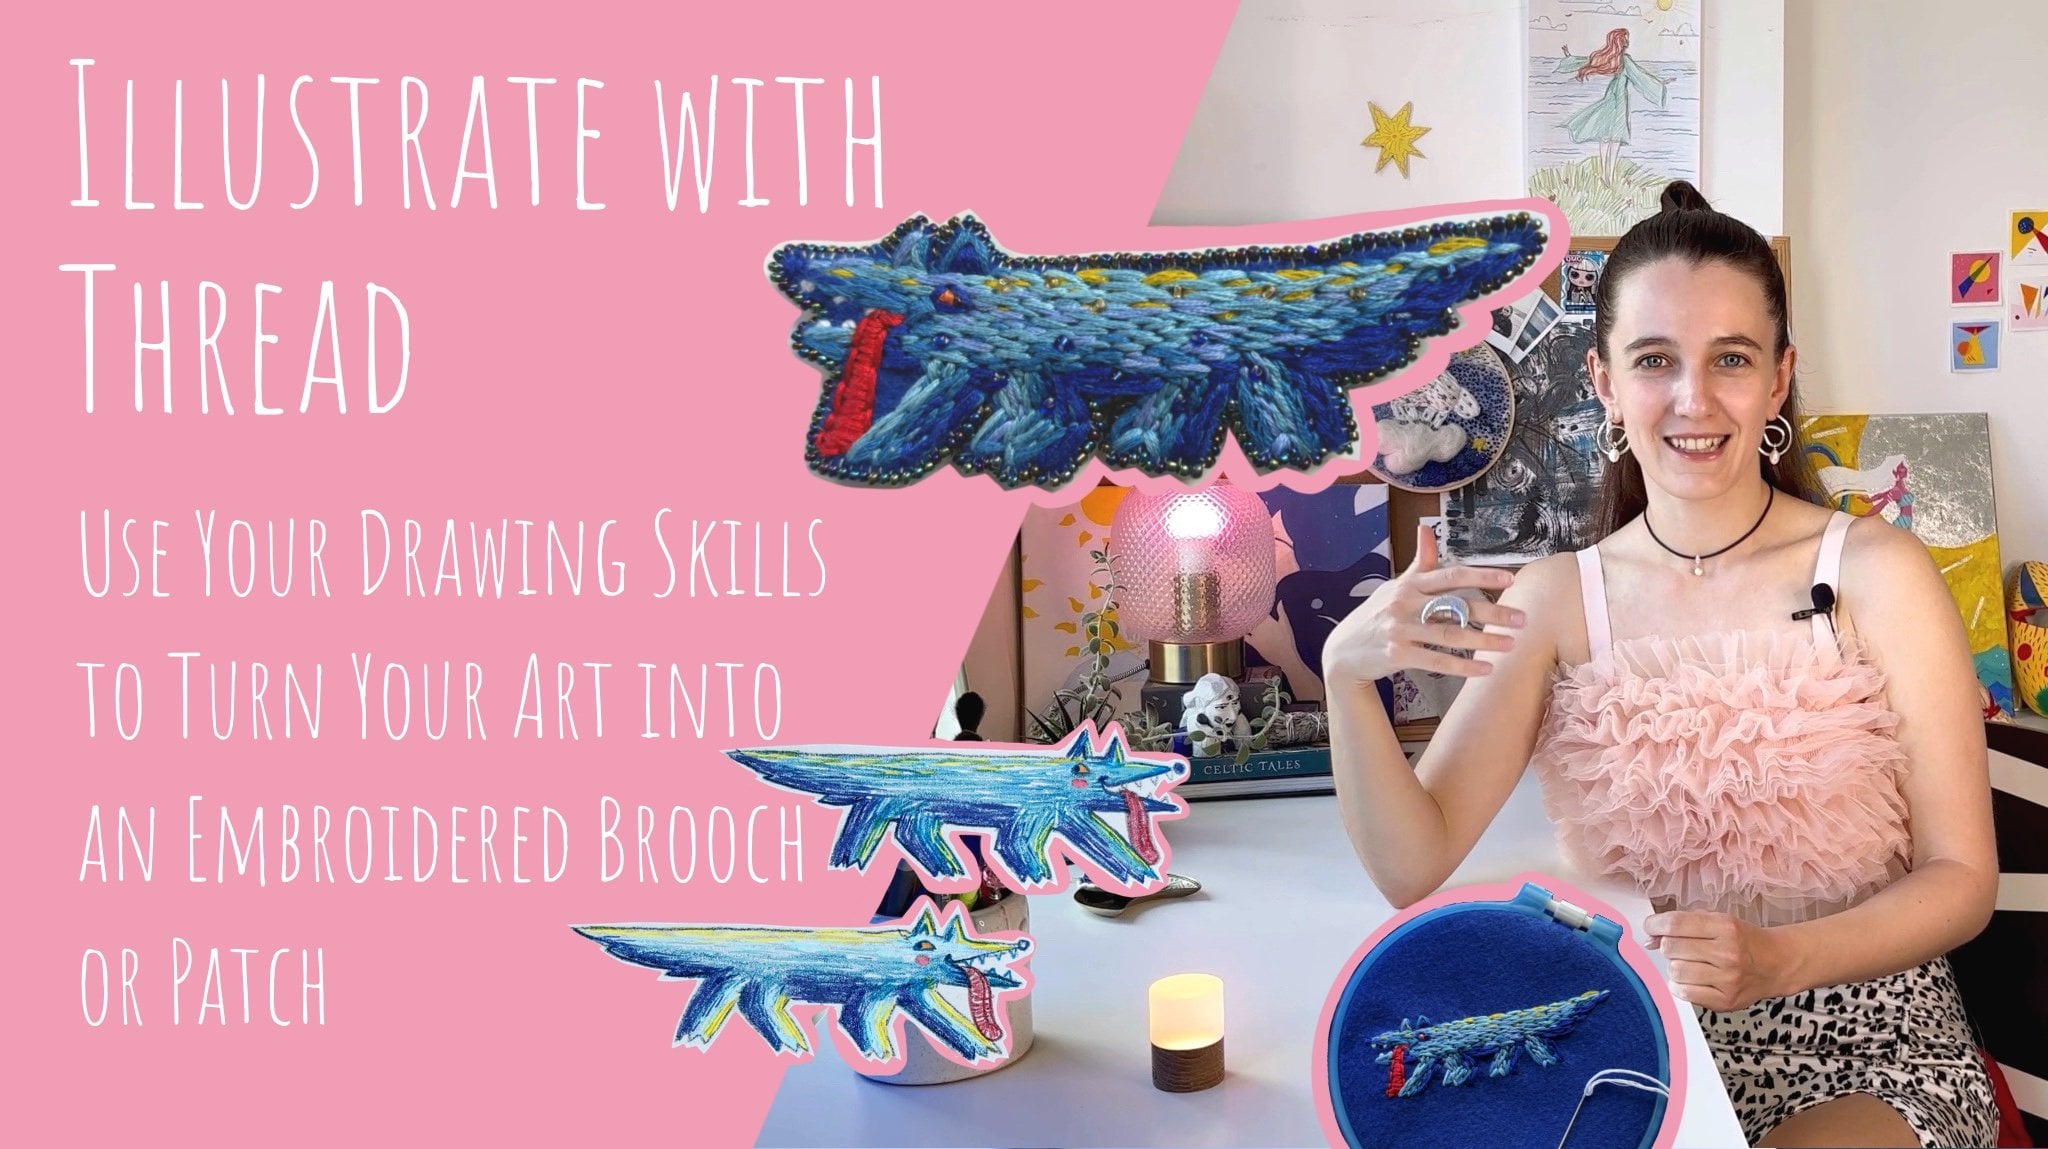
on Skillshare. Three of them will help you
with the character creation. One is about turning your art into an embroidered
brouge or patch, and there are a few classes
about fundamentals, such as color
theory, composition, and a very common
nemesis hand drawing. Good luck to you. Thanks for your attention and see you
in my other classes. Bye.
 Kate Grishina, Illustrator, artist