Transcripts
1. Class Intro: The idea of learning a new
skill can be daunting, especially when it comes
to three D. I love to show you that it
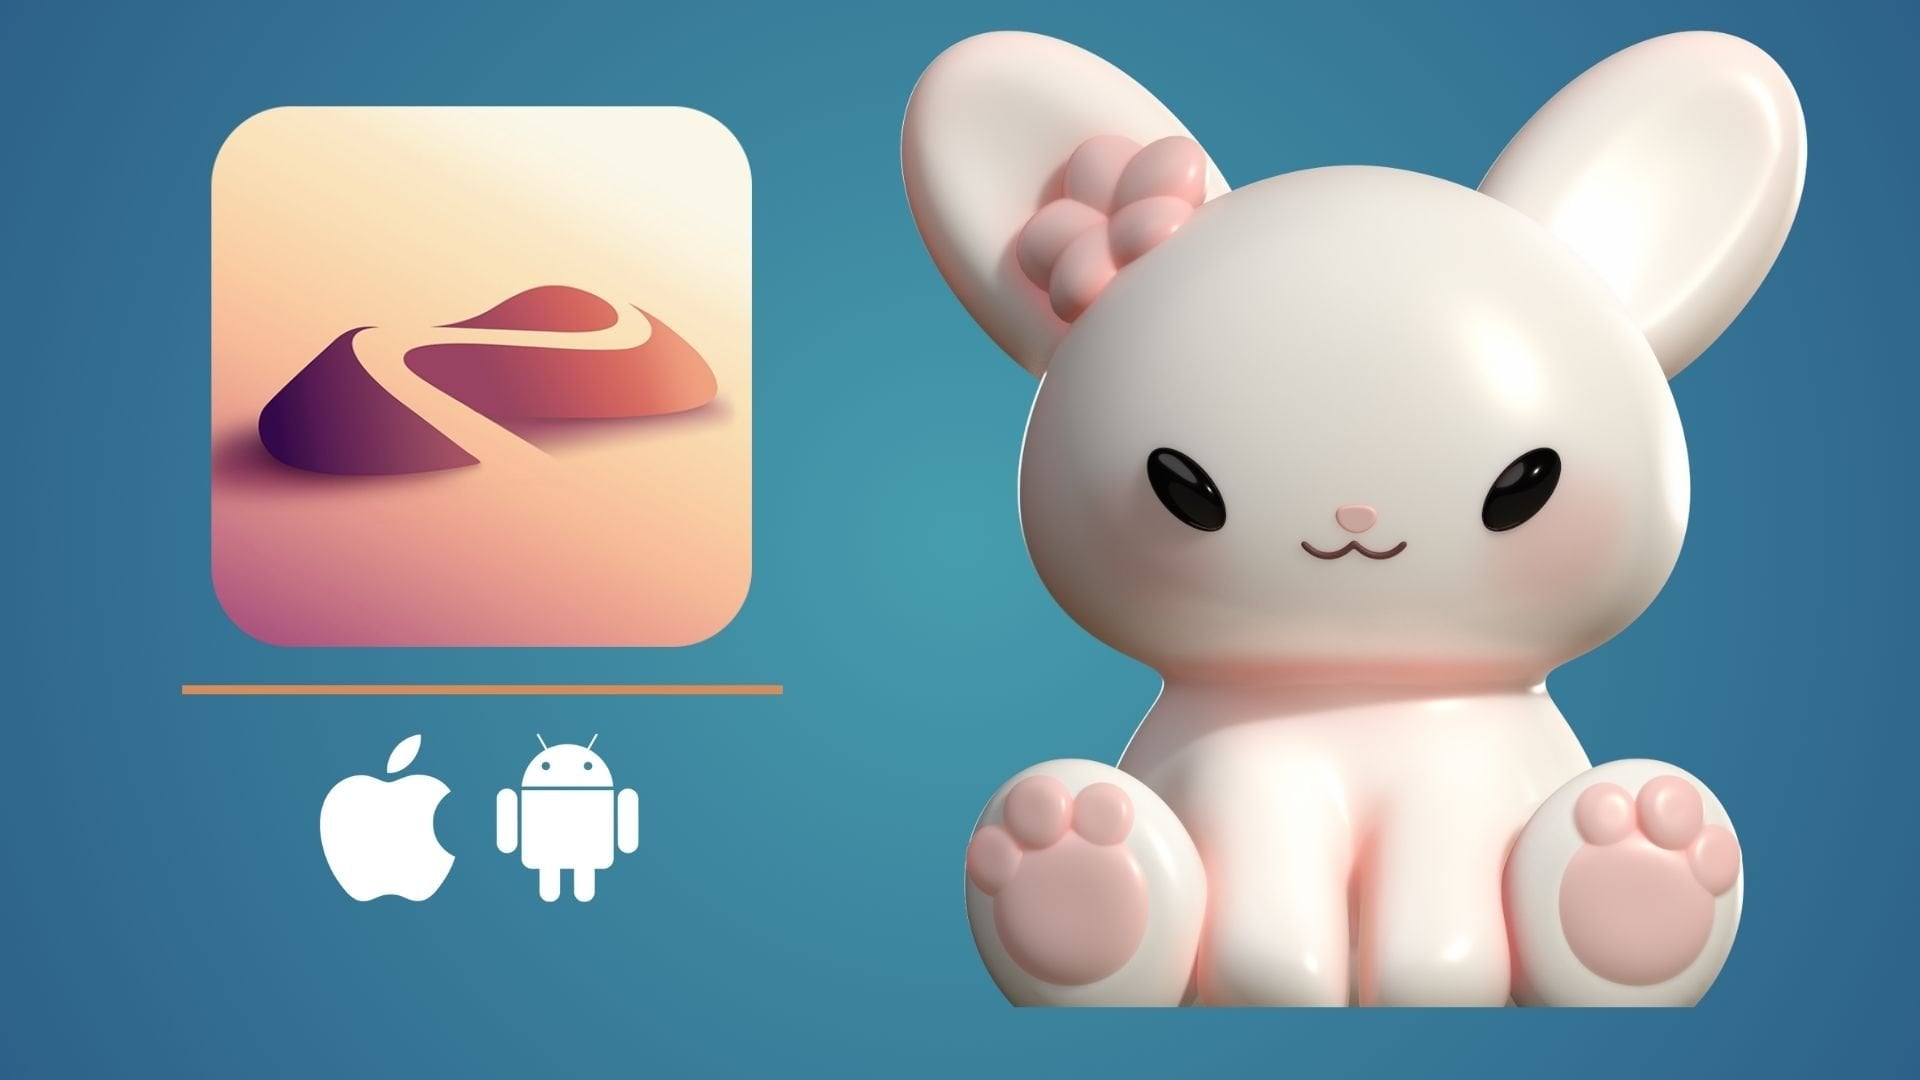
doesn't always have to be. Nomad Sculpt is an incredible
three D application available on iPad
and Android tablet, so you can learn during
your commute on vacation, or even just relaxing
on your couch. I'm Dave Reid, a three D artist and content creator
living in Brooklyn, New York, with my wife, our cat, and our
brand new little one. I'm a lifelong
traditional artist, turned digital artist who now specializes in
three D sculpting. And this 25 minute beginner
course we'll create a super simple character
while learning the basics of three
D with nomad. If you're brand new to three D, this will be the perfect
class to take first steps. If you're just new to nomad, this will be a
quick Start guide. Nomad sculpt is also
perfect for The D printing. Sculpts made in Nomad can 100% be printed and I'm obsessed
with The D printing. You can also send your
sculpts to Blender, which is way more complicated, way less fun, but it
allows for things like animation and
next level renders. So if you're thinking
about what you can create in three D, and let's
get you started. Once again, I'm Dave Reid, better known as Drug Free Dave, and I look forward to
seeing you in class on Skillshare. He's good?
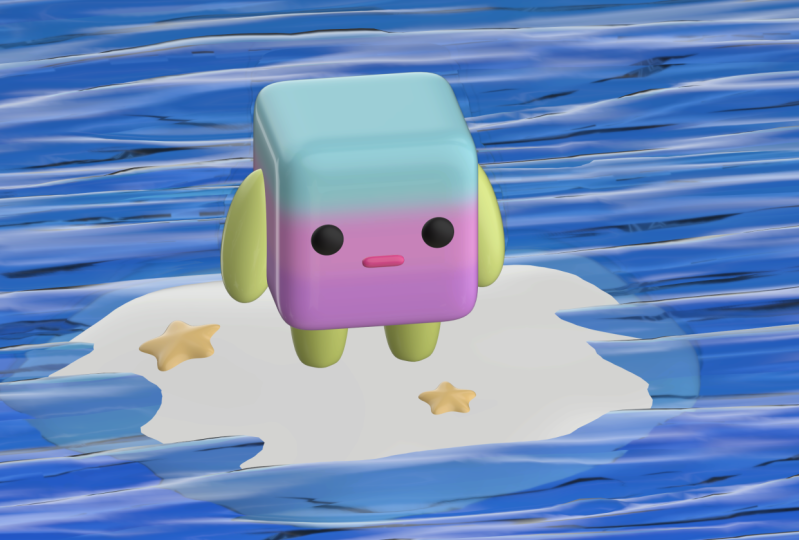
2. Class Project: Today's class project will
be your completed character. Please upload to the Class Project Gallery so I
can see what you made. You'll also be able to see other students' projects from class. I highly encourage making
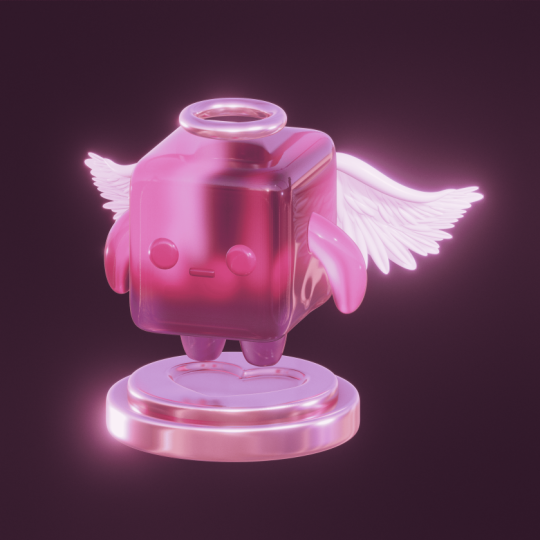
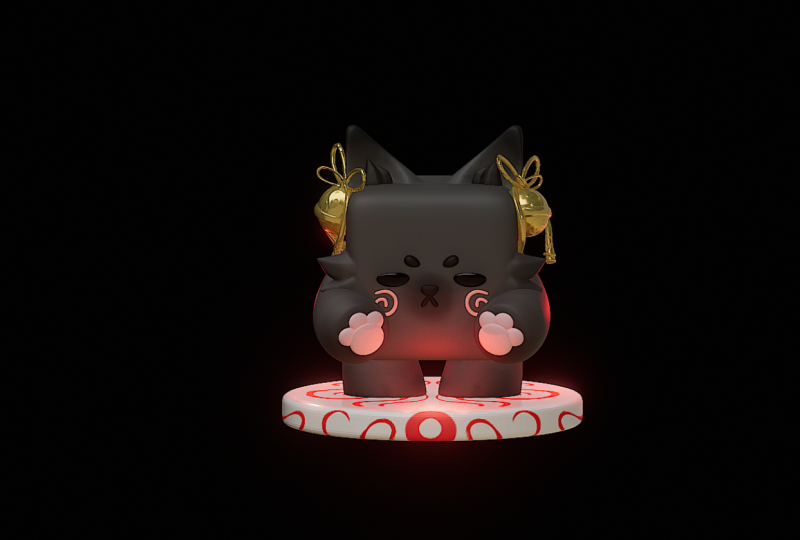
the character your own and adding different
elements to make yours unique. Experiment with colors,
shapes, designs. You can add anything
that you want. As long as you're
having fun with it, I can't wait to see it. Alright, let's jump to our
first lesson cube body.
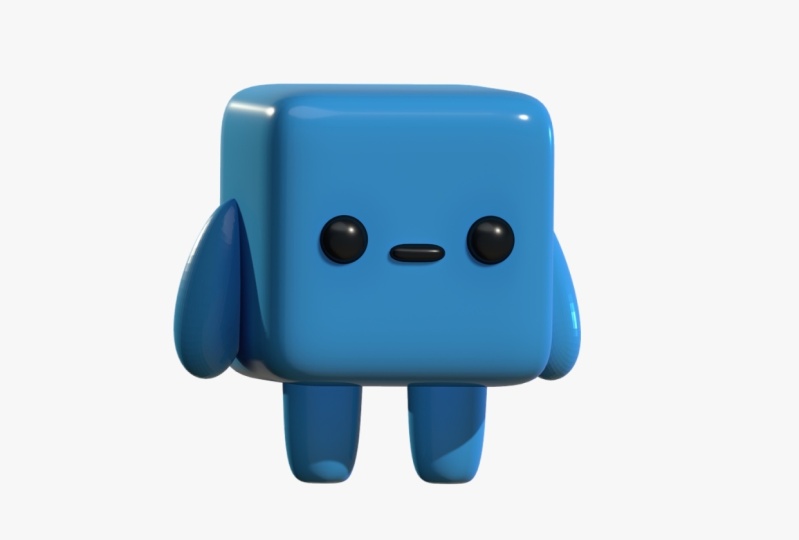
3. Cube Body: Okay, let's open nomad sculpt. So yours might look a
little different than mine. You can change the colors and the background and
all that stuff. So don't worry too
much about that. So here we have our
default sphere, which we're going to delete.
So let's go to the scene. And here you'll see
the default sphere. And we can go ahead
and just delete that. So let's go up to this little
trash can and hit Delete. So now let's add a box. So you'll notice me tap this little snap cube here, and that's
what that's called. It's just a snap cube. It's an easy way, so you'll know which part of the model
we're looking at. So if I tap front, you know that we're
looking at the exact front of our project. So you see you can rotate it and look at all
the different sides, but we are going to
look at the gizmo. So let's tap the gizmo. And this is going to
be our controller. The gizmo is what
you use to scale, which means makes
something bigger and smaller with this big
orange ring here. So you can make it
bigger and smaller. I'm going to tap with
two fingers to undo. And then, of course,
you can rotate with these colored rings. You can move it up down, left, right, back or
forward, of course. And then you can use,
here's autosave. So let's go ahead and save this. I'll just do it
Skillshare, beginner. And if that doesn't
pop up for you, you can just go to this little
folder and then hit Save. And you can save there as well. So if yours doesn't
look like this, if yours looks very straight
like an actual box, just tap on this little
sphere right here. You can go down to
smooth shading. Mine is on by default. Yours might be off.
I'm going to keep it on because we're going to make it more rounded
on the sides. So let's tap these
three dots here. Let's put the post
subdivision up to two and then unbox topology. Let's bring that down
to, maybe to three. And let's bring
this up one more. So now we can hit this X, and we can hit Validate. Okay, so this is
gonna be our body. So we kind of just
made a rounded cube.
4. Arms & Legs: Okay, so this is going to
be the character's body. So if you want, again, we're still using
the gizmo here, and this is the
front, so I'm going to turn so we can
kind of see the side. You can keep it a cube. I'm going to make mine
a little bit thinner. Okay, so let's add some legs. And for that, let's try
using the cylinder. So we'll go back to the scene. Add cylinder. Okay, I'm gonna hit front. Oh, I didn't my So what
I'm noticing here is that the original box and
the cylinder are not in the same position
and they should be. I must have moved my
cube at some point in time when I was showing you the different movements
of the Gizmo, but I can bring it
back to the center if I go to the Gizmo options, and then I hit reset. Then it moves it to the middle,
which is where I want it. There's no reason for it
to not be in the center, so that's why I wanted
to move it back. Now, let's tap on the cylinder, and you can see they're actually occupying the same
space, but that's okay. So once you tap on the cylinder, each part that you tap on
becomes the active part. So once you're on
the cylinder, just move it down with the gizmo. And again, if you
don't see the Gizmo, you can select it here
or here on your toolbar. And here are your tools here. So we'll just move it down. Now, let's use the big
orange ring to shrink it. Okay. Let's move it up. And now let's hit mirror. So once you hit mirror, you can use the red arrow
and just move it over, like so. There's a few
things you can do. You can use this
little green sphere if you want to stretch
these like this, or you can have this
little option here, and this gives you a
little bit more control, so you can stretch it. You can make this a
little bit bigger. You can make this
bigger. So you have a little bit more options there. I think I'm just gonna
stretch this. Mm hmm. I think I like that. I
want to make it smaller, so I'm gonna hit the gizmo again and then just
shrink it down a bit. And maybe I'll just stretch. Now, I mentioned mirror, so I just want to let
you know what that is. So when you hit this option, if we go back to the scene, you can see this
is our cylinder, but it's within a mirror. So that's what happens
when we hit that mirror. All it is is one cylinder, but it's inside a mirror. So if I wanted to drag this out, you can see that it's
just the one leg. But as soon as I long press and nestle it
under the mirror, it gets mirrored to
the opposite side. Okay, and quickly, let's
round these legs out. So the easiest way to
do that is, again, we're going to use
these three dots like we did with the cube, post subdivision up to two, and let's bring
division X down until they get a little
bit more round. Let's bring it down to
five. I kind of like that. I'm going to bring
this up to three. I think I like that. So I'm going to hit front again. I'm going to tap
these little options, and maybe I'll just adjust it to my liking now that they have a little
bit of a different shape. So now so I also want to show you how
to use the tube tool. So let's take the tube tool. And over here are your options. So we're gonna hit path. And let's put the
arm on the side. So what we're gonna do is
tap down on the screen, drag down, and then
lift off of the screen. So let's tap this
little green sphere. Okay. And we can go ahead
and hit mirror again. But you notice, and I want to point this out because
it happens a lot. You notice that
it's already mirred even though we haven't
touched mirror. That's because when we added it, it probably went
into the leg mirror. So if I go here,
you can see that it automatically
added to this mirror. But you can just long
press and drag it out. And then you can
hit mirror, so it gives it its own mirror.
And you can do both. You can bring this
into this mirror, but I'm just going to separate them so it's
not so confusing. So let's tap on
this mirror here, tap the three dots, name arms. Same here. We'll just tap this mirror, three dots, name legs. So let's go to the tube, which is the arm
that's in the mirror. And we want to
make this rounder, just like we did with the legs. So let's just thicken
it up a bit and let's tip these three
dots Post subdivision up to two division X down Okay. Division X down to four. Let's go ahead and put
the Post subdivision up to four, as well. Okay, so now we have
some arm looking things, but we can still kind of
manipulate them a bit. So this orange ring
is going to change the size or this orange
sphere, excuse me. So this is called the radius. So if you look down here,
if I tap this again, now I can adjust the
bottom and the top. And if you tap it three times, if you were to tap on here
and add different nodes, you can adjust each of them. So I think that
looks pretty good. You can kind of position
them wherever you'd like. And I'm gonna tap Snap. What Snap does is it tries to snap it to the
nearest surface. So once I uncheck that, then you can kind of move
it around a bit easier. Okay, so that'll
kind of be the arm. So let's go ahead
and invalidate. So I'm going to use the gizmo, and let's hit front, and I'm gonna kind of move
it over a little bit. And I might even
squash it together a little bit, like that. I'm actually going
to hit a line. So what that does is, if I don't have it on a line, you can see that the gizmo
is not perfectly centered. So if you hit a line, it's just going to align
the Gizmo to the project. That means perfectly up
and down, left and right. So it just can make things
a little bit easier. So if I wanted to move this
directly left and right, you just hit a line, and
then you can do that. But Alex want to rotate
it a little bit. So we'll rotate and maybe
put it right about there. And if I wanted to
add a little bend to it or something, I
could just take move. I'll put the radius
up a little bit, and you can just
kind of push it. Something like that.
Alright, so next, we'll do the eyes and
the little mouth.
5. Eyes & Mouth: So let's quickly add some eyes. So let's go to our scene, add. And let's do a sphere. So you can see it edited
to the arms mirror. So let's tap sphere
and just bring it out. We can hit mirror down here, and let's just
rename this mirror. Eyes. Okay, so I'm going
to tap the sphere. And you can go
ahead and validate it. Let's bring it forward. You can see it's actually huge. We'll shrink it, and
then we'll move it over. And you can actually put
these wherever you want. I think I kind of like
that this spacing. I'm actually going to smoosh
them a little bit and then push them a little bit
back into the cube. Okay, so let's add a
cylinder for the mouth. So we'll tap seen, add cylinder. And I'm going to
undo and show you a little trick because it keeps adding them into
different mirrors. So you can tap on the
scene and then tap box. So this isn't a mirror, so it'll go right underneath that. Add cylinder. Okay? And let's just
rename this mouth. Okay, so I'm going
to move it forward. The big orange ring to shrink. And now we want to turn it. Okay, so we're
looking at the front. We could rotate it
and kind of guess, but we want it to be
exactly 90 degrees. So let's take Snap
and then rotate. So now let's stretch this
with this little red sphere. I think that's pretty good. And we want to make this round. We want the ends to be round, so we're going to go
back into our settings, post subdivision
to two division X. We can bring all the way down until it gets nice and round. So I like four. I think
that looks pretty good. Validate. And then I'm
going to move this into the body,
maybe around there. I think that looks good. Maybe
I'll bring it down some, and of course, you can adjust
it to however you like. But I think that
looks pretty good. Let's go ahead and kind
of clean everything up. So let's tap on eyes, validate. Join children, yes. So arm, we can validate. Legs validate. So we have the box,
which is the body. It's always good to
label everything. And then we have the
arms and the legs. So right now,
everything is separate. There's two ways
that you can join the arms and the
legs and the body together if you want to. You can always select
them all and hit join. So now they're together,
but they're not physically one piece.
So they're together. If you were to move this,
they would all move, but it's not
physically one piece that you can smooth together. So I'm going to undo
if you wanted, say, the legs and the body
to be one piece, you can select them, and then you can voxel re
mesh them together. So you can just go to
here. See this voxel. Okay. We'll tap on voxel, and let's move this
resolution down to 175 and then hit remesh. Multi resolution will
be lost. That's okay. All right, so now you see these are actually
fused together. So you can take the smooth tool. You want to have symmetry on, and then you can smooth. You can smooth everything out. And you notice there's
some topology changes with the cube, so I'm just going to
smooth that as well. So it all really depends
on what you need. I don't actually
want them together. I might want to
change the color. So I'm just gonna undo
that. I'm gonna undo the smooths and undo the
voxel remesh together.
6. Coloring & Lighting: So all I want to do is
select all of these. We'll go to this little
color cube here. Let's make it a nice blue. So maybe something like that. Here you have roughness. So if you want it to be glossy,
you can bring this down. You can bring the
roughness down for gloss up to make it rougher. Of course, you have
metalness as well. But I want this to
be pretty glossy, and then we'll hit paint A. So that will make it
whatever color you choose. The eyes we're going
to tap the same cube, and I think I want
them just to be black, maybe with a little roughness. Okay, paint all, and then
maybe the mouth is the same. So we go back to the
same color cube and just hit pain all. Looks great. So if you want to
add some lights, just go to this little sun here. So you're going to have an
environment by default. You can actually turn that off and then add your first light. So here's the light. It's a directional light
if you look down here. It doesn't matter
where you put it. All that matters is where
this little white triangle is pointing, arrow is pointing. So if you were to
take your gizmo, which is now on the light,
let's go to our scene. We can see lights, and
this is our light. Let's actually rename it. So let's go back
to the sun here. So we'll just tap the
little pencil here, and let's call this key. So the key light is
your main light. So this is going to be the
main light on the character. And let's switch this to
maybe two. Let's try that. You can also scroll here. Maybe I'll do 2.5 or so. So that's good for
the first light. Oh, there's one other
thing I want to do. I like to tap these
three little dots, and let's switch from
fixed to camera. Alright, so that's
light number one. We can go back to all so
let's clone this light. Let's tap the pencil, and let's rename
this one to edge. And if your gizmo
doesn't look like this when you're
looking at the front, you might have to hit a line. It just makes it easier
to move the lights. And then you can move this over. So this is light number two. This is our Oops. Did I just move the
wrong one? Let's see. So you want to make
sure that you're on edge because right now
they're in the same spot. And now let's slide that over and you can see it
says edge here. So what we want to do is
rotate this light until the light is hitting just the
left edge of our character. Okay, I'm going
to tilt it so you can sort of see these rings. I'll take the green
and rotate it. Ooh. So we'll rotate and now you can see it
kind of going behind. I'll hit front again. And you can see that's
actually really nice. You don't really
see it on the legs, so you might have to take the
blue and rotate it up some. So you can see it on
the legs as well, and then we'll rotate again. Something like that
is really nice. And since it's an edge light, maybe we'll make it a
little bit brighter. And also, you have a color here, so maybe let's tap the color, and let's change it to a warm color or a
little bit warmer. Alright, that looks good. And just for funzies, let's clone this one. We'll name this 12. Whoops. I'm gonna
go back to R two. I'm going to drag it over,
back to the other side. I'll move it down so we
don't get it confused. And I'm going to
rotate this one, so it's hitting this side. Well, actually, that
kind of looks nice, hitting it in the front. But I want it to hit over here, not as sharp as this edge, but just seeing it a
little bit over there. I don't want it as intense. And I'm going to
change the color. The opposite of a warm
color is a cool color. So I'm going to change it a bit cooler, maybe
something like that. Looks nice. Let's go back
to our lighting setup here. Let's turn our
environment back on. And of course, you can
tap here and you have different environments
which will change the way that your character looks because it's changing the ambient light around
the character. This is my own one that's
included in this class. I'm going to turn the
exposure down a little bit, maybe not too much,
but just a little bit. Maybe to 1.5 or so. So that looks good for now. In the next video, we'll
turn on post process. I'll show you a
few things there, and then we can export
our little character. M
7. Post Process & Export: So now let's head
up to Post Process. So we'll go here,
this it'll shutter. And I'm going to put my
quality all the way up. I'm going to turn
on Post Process. And I'm going to tap here.
You can save settings. I'm going to go to the
one that I always use, which is DFD, and I'll just
show you the settings here. So I have post process, reflection, global illumination
is all the way up. Ambient occlusion is
pretty much like this. So I'll just pause
here so that you can take a screenshot if
you want to remember these. But you can also fiddle
around with these and make it look the way that
you want it to look. It's a very simple character, so you're not going to see
too big of a difference. But even now you can
see that there's some ambient shadowing going on,
some ambient occlusion. And that's just
really nice shadows that happen kind of naturally. So Post Process is really all
of the calculating to make everything look really good and to make the lighting and
everything look more real. Okay, so we have
this front view. Let's go ahead and
save this view. Let's tap this little camera
and let's tap Add view. And I like to change mine
too just numerical numbers. And let's say you want
to do a different angle. So maybe something like this. It's kind of cute. Tap
there, add another view. Another really cool
thing that you can do is you can
go to the camera. You can switch to perspective, and then you can
adjust You can adjust the perspective to get some
really interesting shots, kind of like this. Okay. I'm gonna go
back to orthographic. Actually, I don't
mind perspective, but not maybe not that much. Let's Let's do about 20. Okay, let's make sure to save. Alright, so if you want
to export your character, let's just go to this
little folder here. And then if you go all
the way down to render, and you do screen, here's
where you can export a PNG. Now, I don't want the interface, and I don't want this
dark background color. So I'm just gonna put
transparent background. That way, it'll only
export this character, anything that we've
added to the scene. Export. And also, these numbers correlate to the top of the
numbers in post process. It'll say sampling. And right now -350 samples. So that's why it's
counting to 350. Okay, I'll just hit this
little share button, and I will save the
image. Okay, done. Okay, and if you want
to do a turntable, let's tap this little
Nomad button here. And I'm on a iPad Pro, so I'm gonna invoke
my screen recorder. Okay? And then I'll
go here to scene. You can change the
speed and just hit Turn table. And
there you have it. Alright, guys, thank you
so much for joining me. I hope that earning
three D has been fun, and I hope that you
continue with it. I have plenty of other beginner Nomad Sculpt tutorials
here on Skillshare. If you want to jump
into more sculpting, please rate and review my class, and don't forget to
upload the project to the class Project Gallery. I can't wait to see
what you guys make. And if you want to
share it on Instagram, feel free to tag me
at Drug Fri Dave. And also, check out my YouTube. I have tons of other
Nomad Sculpt resources and tutorials and
things like that there, youtube.com slash
DRUG FredaV Dave. Keep drawing. Keep sculpting, and I look forward to seeing
you in the next video.
 Dave Reed, 2D & 3D Illustrator - Brooklyn, NY