Transcripts
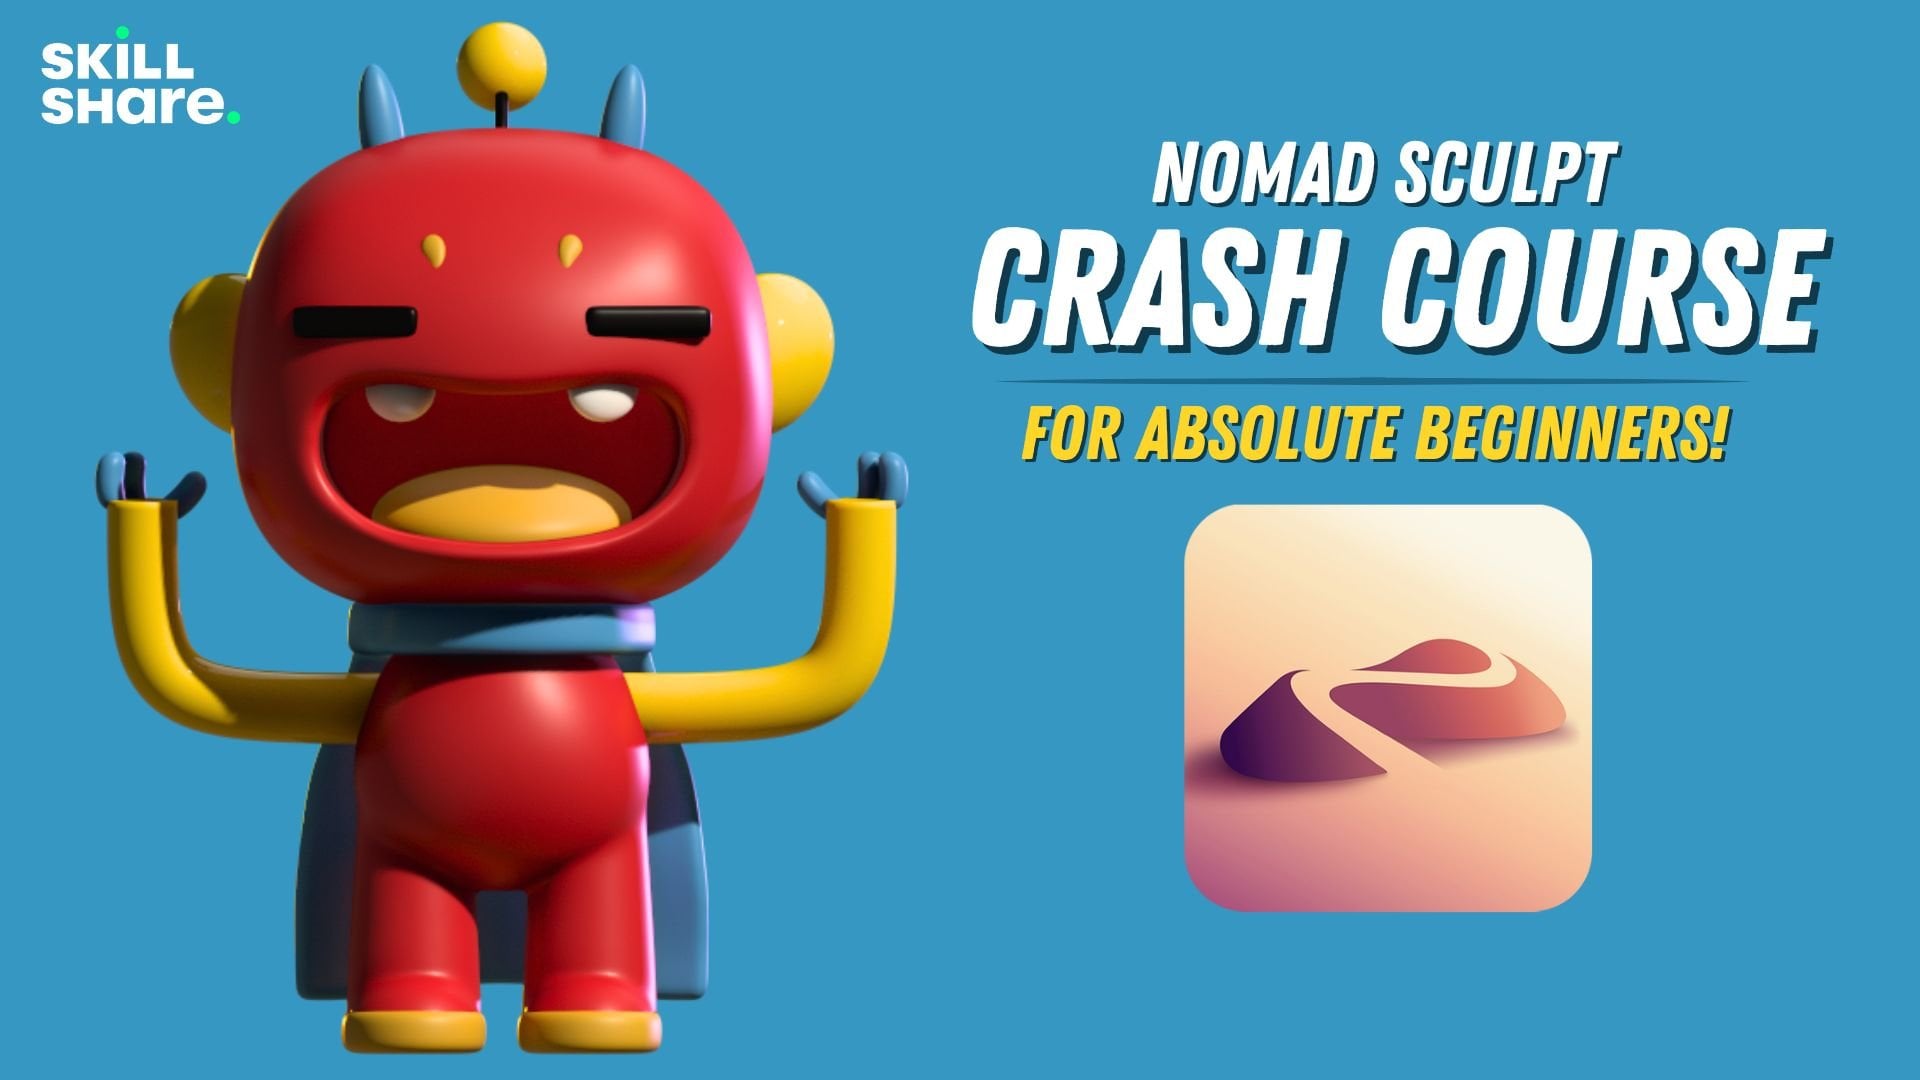
1. Nomad Sculpt Character Tutorial: The D sculpting is as
easy as Procreate. So you should start turning your characters into
three D models. Oh, and while you're at it? Why not three D
print them, as well? I'm Juride a three D artist and content creator
living in Brooklyn, New York, and I love three
D sculpting on my iPad. It's on Android, too, so if you have a tablet,
you're good to go. So for this class, we're going
to focus on. Super cute. Working in three D
is all about using shapes to block out what
it is you want to create, combining some, adjusting others until you get the exact
sculpt that you want. And Nomad's workflow is
actually super intuitive, so it makes three D a lot of
fun for the first time ever. You'll pick up the basics
of how Nomad works, and you also have a super
cute sculpt to show for it. So, of course, I go through the entire process step by step, so it's great for a beginner, but it's also good
for a three D artist that's just never
used Nomad before. And they say I have a
relaxed, chill manner. So if this is your
first time here, I guarantee you'll
feel comfortable. Nomad Sculpt is a great first step into the
world of three D, and honestly, the application
just keeps getting better. That's all I got for now.
Keep drawing, keep sculpting, and I look forward
to seeing you in class. You're on Skillshare.
2. Class Project: Welcome to the class project. So today, we're just going to make this cute little bunny. One thing that I
want to stress is, please be as creative
as you want to be. If this is your first
time, of course, you can make exactly
what I'm making. But as you get more comfortable
or something pops in your head as we're going along and you want
to experiment, you can do that. Or you
can do it at the end. I really love to see
your creativity and making this artwork yours
if you choose to do so. If not, then either way, I can't wait to see how you
do and what you create. So I just have a
few little things that I do to set up my canvas, so I'm going to go through
that in this video, and then after that, we'll
dive into the sculpting. So on my class page, you can go down to
Projects and Resources. And here you find the
download resources, so I'll have my environment, and I'll have the
little bunny reference that you can bring
into the project. So I'll just show you how to
bring it into the project. And of course, here's
where you post your final. Once you're finished, you can post your class projects here. So let's go back to Nomad, and let's import the
reference into our project. So I'll just go to
this little picture here, reference image. You can tap the image there. Import photos because that's where I save my
references and things. You can tap on the little
bunny and the check mark, and it should show
up. Let's see. Where is it. You can hit
transform. There it is. You can hit Transform, and
then you can rescale it. Like so. And then just
tap with one finger, and it goes back
to sculpting mode. I usually sculpt in
orthographic view, so that's without any
perspective distortion. So you can tap this camera here and you can make sure
that you're in orthographic. Okay. Also, if you're finding that your shapes are
a little pixelated, it might be because
of smooth shading. My auto is on, so you might have to adjust that as needed. Okay, so this is our default
sphere. This is our Gizmo. Our tools are up
here on the right. Right now we're using the
Gizmo, which is right here. This is the snap cube, so you might see me move it around and then tap
here to go to front. So as you can see
here, here's my bunny. Ooh, and there's a random
sphere in there somewhere. So this will be
your class project. You can make a little bunny. You can color it
any color that you want. You can make changes. You can change the
tow beeans and you can make a little more accurate to a bunny if you want. You can add little
towbans to the front. There's lots of fun
things you can do. Make sure that you feed into any creative urges that you have while making
this character. Alright, so let's jump
to the next video. We're gonna start
out with the head. We'll do the ears
and the body. The
3. Head, Ears, Body: Okay, so the first thing
that we're going to do is shape this sphere to
be our bunny head. So what we're gonna
do is go to symmetry. And we want X. Let's go all the way down to the
bottom and hit Show line. That will just show
us our symmetry line. So we want X, and we want Z. So all we pretty much did
was we have symmetry going, let's name this bunny. So we have a symmetry line going here and a symmetry
line going here. All that means is that now
symmetry is going to be left and right and
also front and back. So let's take the move tool. I'm going to move
this to the middle. So we'll take the move tool. Okay, we'll make it
a little bit bigger, maybe 275 or so. And all we need to
do is shape this. Kind of like let's make
it a little bit bigger. If you make it a
little bit bigger it'll be smoother overall. So let's just kind of
make something like that. I think works. It's pretty cute. Let's get the bottom
a little bit flat. I think that works. So now we can take the
Gizmo and let's just stretch it a little bit this
way. Let's take a look. Remember, it's three D, so we have to look at
the side as well. Let's stretch it this way a bit. Let's take move and
just make sure that this is kind of going like that. That looks nice. Okay, so let's go
back to our symmetry, and let's turn off Z. Now, we're looking
at the left side. You can see the
left here. And so this is the front. See
if we turn this way. This is the front of the head. This is the back.
So for the front, we want it a little more flat. So I'm just going to press
in the front a little bit. And the back, make this
a little bit bigger. We'll just kind of pull
this out a little bit. Like with our heads, the back of the head is sort of
a bit more rounded. So you can turn it in
different directions and just make sure it looks right. But I think that
looks pretty good. Okay, so the next step is
we want to make some ears. So for this, let's go to
our scene menu right here. Let's add a sphere. We can go to the sphere. We can go down here to the
sphere Options and hit mirror. And then we'll go to our Gizmo and we'll move the
green arrow up. And then the red arrow,
we can move that left. And then we'll use the bigger
orange ring to shrink. Okay, so maybe something
like that works. We can move them a little
bit more into place. Now, we want to make
them stretch a bit. So let's use this green
sphere and stretch them. And then let's use
this blue ring and rotate. So we have
something like that. Okay, so now let's
turn it to a side, and let's sort of just position them kind of where
the ears would be. I'm gonna push mine back some, and I might even tilt
them back a little bit, push them back a little bit, but you can put them wherever it feels, wherever
it speaks to you. Then let's validate. So anytime you bring
in a new shape, like we brought in this sphere, you're gonna have to validate in order to have all your tools. There are some things you
can do before validating, but that gets a bit confusing. So let's use the move tool. I can bring the size
down a little bit. So what we want to do is
push these on this side. So notice we have the two dots. So we're just gonna
push these in, make it a little bit smaller. We just want to push
in in the middle. Just like that. Okay, I think
that looks pretty good. Now let's take
something like inflate. And over here, let's hit sub. So that means subtract. So instead of inflating, it's going to sort of do the
same thing, but in reverse. So we can go to the ear, and then we can just press to take a little bit of
clay away inside the ear. So we have something like
that. And we can use move. I'm just going to make the
bottom of these ears a little bit wider with the move tool. And then let's just smooth them out using the smooth tool. So we'll just smooth
the ears out. Perfect. I think I'm gonna
make mine a little longer. Perfect. Okay, so now
let's make the body, and we can actually use a
similar shape to the head. So let's go back to the head. We'll go to our scene,
and we'll just hit Clone. So where this clone popped up, let's tap these three dots. Let's tap name and
name this body. This is so we don't
get confused. We can do the same
thing with this one, but this one is the head. Okay? And let's go to the
mirror and name that ears. M you can see our sphere
is under our mirror. If we could always take that out and you see it's just one, but if it's connected,
then there's two. So we'll take the
body. We'll use our gizmo. We'll move it down. Let's turn to the
side and figure out exactly where we
want it, how we want it. Let's make it smaller. I think I want to
rotate it a bit. It's actually a decent
size or a decent shape. I want to make the back
a little more flat, so we'll just use move. And then with move, we'll
just bring this down. And it might be nice
to make a floor. So let's go to our scene menu. Let's add a box. We can use our gizmo. We'll make it a little bigger, and then the green
sphere to shrink it, maybe a little bigger still. And then just move it down. And you see that you see how even though I've hit
left, you can see the top. I want to be in orthographic
because that will make it easier to see the floor. So go to your camera here, switch from perspective to orthographic if you're not
in orthographic already. So this is much better. So
we can go back to the body, and we can just flatten this out to the floor with the move tool. Maybe we want to bring this
part out a little bit more. Okay? That looks pretty cute. Okay, let's make
sure we're saving.
4. Legs, Feet, Toebeans: Okay, so next we want to give him some
little eggs or her. So let's go ahead and
add another sphere. We'll use Gizmo. We'll go down and left, and we'll shrink. And remember, we can hit mirror and you'll see it
on the other side. So let's turn it. So these are
going to be the hind legs. So let's say Oops, make sure you touch the leg
so you're on the right thing. Let's say this part of the leg is a little bit bigger and a little
bit further back. Let's clone. So tap clone and let's move this one
up a little further. So let's validate that, and let's make sure
we go into our scene, and then we name this 1 ft. And we name this one thighs. Or it can be legs. That's fine. I'm also going to
name the mirror legs. I'm going to change
the box to the floor, and I'm going to move
that to the bottom. Okay? It's always good to
keep everything organized. So now for this one, I want
to use Move tool again. It doesn't have to be too big, and I think I'm
just gonna push it. So I'm just pushing it in. And then I'll take my
gizmo and just stretch it. I'll move it up some, and then use this blue ring to
rotate it outwards. And let's move it
out to about here. And I might actually rotate it a little bit with
this green ring. Okay, I think I
want to shrink it. So you can sort of adjust
it to your liking. I think that looks pretty good. And for this, I think
I'm going to squeeze it with this ring or with
this little red sphere. So this is the thigh part, and I might bring it
up a little bit, and I might just
tilt it a tad bit. That feels okay to me, I think. So I'm going
to validate that. And the only other
thing I might do is use move and maybe just drag this bottom part into
the body a little bit more. Okay, so now we want
to take the feet. Make sure you're on
your gizmo and clone. And then pull the feet out
so you have double the feet. Use the bigger orange
ring to shrink. And make sure you don't
have it on a line. Sometimes I have mine on a line. So we just want to place them
in the middle of the foot. We can even flatten
them a little bit and just push
them into the foot. And then I'm going to
use this green sphere to kind of make
them a bit smaller. And you can use move to
kind of make it a little more a little more shapely. I think that looks pretty good. So we'll take this little feces. I'm gonna take this out of the mirror and add I'm gonna
give it its own mirror. So scene menu, add
this mirror down here. Okay, so now we have
that. Let's clone. And let's use our gizmo, and we're just
going to make maybe three smaller spheres up here. So these are going to
be like our tow beans. So we can go like
that. Maybe I'll make them a little rounder. And I'm just going to
tilt them so they kind of go along the foot. So sort of like this. I think
that looks pretty good. So I'll clone it, and
I'll move this one over. And then I'll just rotate it, so it's sort of, you
know, so it makes sense. I might make it a little bit bigger since it's
the middle one. Okay, that looks pretty good. And now we'll just clone that
one and do the same thing, move it over and adjust it. I'll make it a little smaller. And then just use your rings. Oops, use your rings to bring it into the foot or your
gizmo, I should say. And I think it's okay
if they're touching. Okay, I think that
looks pretty good. Alright, so all of these, I think I'm going to go
ahead and join them. And these are gonna
be tow beans, so I'm just gonna
rename these tow beans. We'll do a quick save.
5. Arms, Eyes, Nose, Mouth: It looks great. So now we
want to add some arms. So let's actually
do more spheres. So we'll tap our scene.
We'll add a sphere. Let's move it down with
our gizmo, move it up. We'll shrink it with the orange, the larger orange ring. We can hit mirror, and
then we can move this out. Okay, so I'm going to
stretch mine like this. I'm gonna shrink it
a little bit more. Okay, so maybe
something like that. I'm going to tilt it into
the body a little bit. Stretch it a little bit more, and then I'm going to validate. And I'll use move to drag this
section down to the floor. You can even use
Xray if that helps. Okay, I'm just making
him nice and round. Okay, let's turn Xray off
and see what it looks like. It looks pretty good. I'm going to turn symmetry off. So right now we're in this
mirror with the arms. I'm gonna rename
this mirror arms. And I'm going to go
back to the sphere, and I'm just going to
work on this one leg. I've turned symmetry off so we can just move
the one leg freely. And whatever happens
with this leg is going to happen
with the other leg. Okay, these might be
a little bit too big, so I'm just going to use
my gizmo and shrink. Okay, I think that looks good. I think I want the bottoms to be sort of flat on the floor, so I'm just gonna pull
them down a little bit. Like so. But I
think I like that. Okay, so next let's
give it some eyes. So we'll go to our scene.
We'll add another sphere. Let's go ahead and drag it
all the way up to the top. We'll use our gizmo and
we'll move it forward. We'll use the orange ring
to shrink. We can mirror. And I think I want
them around there. I'll shrink them more. And
then I'm gonna pull them. I'm gonna stretch them this way. I'll shrink them a
little bit more, stretch them a little bit more. And I think I'm going to rotate
them with this blue ring. So now is a good
point to hit a line. So once you rotate them, if you just want to
go left and right, a line is easier than
having to maneuver them when the gizmo isn't
pointing left and right. If you do a line, it will
always point left and right. So that makes it
a little easier. Okay, so I think that
looks pretty good. We want to move them into
the body a little bit. You might even want
to flatten them some. And you can sort of
rotate them until they're let's take a line off. That way you can
rotate them correctly. So I'll rotate them
into the body. Like so. I think that
looks pretty good. I'm going to move them
over a little bit more, maybe a little bit higher. That feels about right. And I'll just push them into the head. Okay. Let's validate those. And if you want to, you
can use move on these, and you can sort of push. If I do Xray, with
the move tool, you can sort of push
them and then slide them and they'll kind of shape they'll form to the head
a little bit better. So that's just an optional
thing you can do. We'll turn Xray off. Alright, let's make
sure we give it a save. Okay, so the next
thing we want to do is let's make a little nose. So let's go to AD and let's do. Let's do a little cylinder,
just to switch things up. We'll move it forward. Okay? And actually, we'll
turn on Snap here. It should be on 90, and
we're going to turn it one notch 90
degrees towards us. And then we'll take our
larger orange ring and we'll shrink we can smoosh
it this way, as well. Now, let's turn this
into more of a triangle. So first, let's just tap these three little
dots. Post subdivision. Let's bring that up
to two and bring the division X down until
it's nice and round. So if something
like that is good. And we can go ahead
and validate it. And then we'll take the move. So we tap on this shape.
Looks like it's in a mirror. If anytime you tap
on it and it has that ugly sort of
purple scattered mesh, that means it's
accidentally inside of a mirror. So
just drag it out. I think these are the eyes, so let's go ahead
and label them now. This will be the nose,
so let's go ahead and label that. Okay. So now we can move it
to be where we want, which is a little bit lower. Let's make it smaller. So maybe something like
that. Let's move it in. And you notice I
try to rotate it, but I still have snap, so
I'm going to undo that. That way I can rotate it. But actually, before I rotate
it, let's just take move. We can make it smaller.
We can look at the front. And now let's just use the move tool to kind of press it down. We can make this a little
bit more triangular. Okay, by kind of
manipulating it. I think that looks perfect.
And now is a better time to kind of angle it and just put it on the inside the head, like so. I think I want it a
little bit further up, I believe, something like that. Alright, now let's make
a cute little mouth. And for this, I think we're
going to use the tube tool. We'll use path. Okay, so
you can keep Snap on. So just make it look like this, and we'll tap on the
screen and hold it, and then we'll drag to about
here and then we'll let go. Okay? And then we're gonna hit this little green dot
to give us our tube. Okay, so now we just want
to turn this into, like, a So let's bring this side up. Let's tap on the line. Like so. I think that works pretty well. You might even want
to put two in. That might be a little
bit of a better Okay, I'm going to make it smaller. And let's try to get
these ends more round. So let's tap these three dots down here, post subdivision. Let's bring that to two and
bring the division X down. And hopefully we can get
this nice and round. I think that works. Okay. I'll make it a
little bit bigger. So now I want to hit mirror so that it mirrors
on the other side. And I think that
looks pretty good. So it's up to you
how thick or how thin you want this to be. So it can be
something like this. Okay, so I think I want
to just validate this. So I'll validate it. And
then I can check the size. So I think I want to
I'm using the Gizmo, and you can see the Gizmo
is at the end here. Let's go ahead and hit
pivot Auto, pivot. And you can see that
didn't really help. So let's go to our scene. Let's go to this mouth. Let's name the mirror mouth. Okay, we'll get this fixed up. So first, let's just
tap so both of them are selected and let's
validate join children. Yes. So with the mouth, I think we can just voxel
remesh it. So let's hit voxel. It's also the same
as going up here and then using voxel,
and then remesh. So this is joining them,
making them one piece. I'm going to bring this
down to about 1:50 and then remesh so now you can go in with your smooth
tool and you can actually smooth this out
because it's one piece. Whoops. You want to make
sure symmetry is on. That way, everything will
be nice and symmetrical. It's okay, I'll take my gizmo, and now we can adjust the size. Maybe it should be a
little bit smaller. Whoops. Let's go
pivot, auto pivot. That way, we can use the gizmo and it's
right in the middle. So that'll be a lot easier. Okay, we'll move it a
little bit into the body, maybe up closer to the nose. So maybe something like that. So you can, you know,
feel free to adjust these elements so you kind of get them exactly
where you want them. Okay, let's go ahead and save.
6. Voxel Remeshing & Flower: All right. I think this is
looking pretty good. So now what we'll do, let's
take the feet and the legs. So let's take these
and validate. Yes. And let's vox well
remsh them together. So I'm just gonna slide up.
This is just a shortcut. It's the same as going
here and remesh. As you can see, it's
the same number. I'm going to do 150
and then remesh. And then we can smooth this leg. Okay. Let's do the body. We can probably
also do the head. So maybe we'll do the head, the body, and the arms. Okay? I'm going to
select the head last because I think
that's important. If you select something last, it's going to take that
symmetry point, I believe. Let's see if I make a
fool out of myself. So now I'm just gonna voxel
re miss them together. Let's do it at around seven. Let's do it at 1:50,
like we have been. Okay. There we go. It's perfect. You can
see it's all one piece. So we'll take smooth
and we'll just smooth out smooth all this out,
make it nice and clean. Okay, it looks great. And a little fun thing
we can do is take inflate and we can go to the
body here. Let's rename it. So this is let's just rename this main because it's
the main part now. So if we go to Maine, sometimes
if I have legs like this, I like to there's two
things that we can do. If this was going to be a
little bit more intense, I would rotate the legs out, Voxel remesh them together, and then fold them back in. But that's a little
more advanced. So I think for this, I'll just put a little bit of a whoops. With inflate, you want to
make sure you don't have sub and just kind of
inflate around the leg. And it'll kind of make it
look like this little, like, a little chubby leg roll. I think that's cute. Okay.
Give it a little save. Actually, let me
see let me save as. So I'll save a new
one just in case. Let's make a little flour. Okay, so let's add a
sphere. Let's hit solo. I'll take the gizmo. I'm
gonna flatten it this way. It can make the
whole thing smaller, and then I'm gonna turn
it to the top view and just stretch it this way. And then I'm going to go
to my scene, add radio. So you can see now
that there's four. Let's go to our
scene and make sure you're on the sphere
and not the radio. So once you're on the sphere, then you can see that these
will sort of move apart. We have four of them.
So you have to go back to the radio in order,
like if you want five. So let's do five, like so. And then you go
back to the sphere. Since I have solos, you have to whatever
you want to work on, you have to touch that one last. Otherwise, everything
will come back. But let's undo solo just in
case that's a bit confusing. I don't want to confuse anyone, so I'm just going
to move this up. That way we can just work on it. So I'm going to tap
this little one, and I might rotate
it a little bit up like that. I think
that looks great. And all of these fears,
I'm just going to bring the resolution down a little
bit because out of habit. So I'm going to turn this down. To three, and then I'm
going to validate. And I'm Oops. Okay, so I
think that looks pretty good. So now I'm gonna
take this radio, validate and join children. Mm mm. Yeah, let's join children. So this is gonna be the flower. Okay, so now let's
take our gizmo, and we should be able
to move this down, and let's make it kind of over his little ear or
her little ear. So we'll just shrink
it and move it down. Et's rotate it. Yeah, I think that
looks pretty good. So we'll just kind of put
it there as though there's, like, a cute little
flower. I like it. I love it. Let's
do a quick save. And you can always take move if you want to adjust some of these pieces kind of make it look a little bit more like
they're resting on the skin. You can always do that and
turn symmetry off maybe. Okay so none of them are going too
much into the mesh, so they might look a
little bit more natural. Okay, I think it looks
really, really cute. So feel free to make
some adjustments, and let's finish
this off strong. I'm going to go
back to the square, and I'm going to go
to the materials and turn smooth shading off. So it's just a
regular little box. If you want, you can
bring the division X all the way down to one or zero, actually, and just validate it. So then we just have
this little box here. Okay, let's go Xray. And let's tap on this character. So we want to use
trim and see how the arms and some of the body is probably going
underneath the floor. So we can use trim
and rectangle, and we go right underneath the top of that
rectangle and just trim. You can tap on the legs
and do the same thing. Okay. That way, nothing's
going underneath. You can tap on the ears, and let's use Lasso. See how this piece is
going into the head. You can just use Lasso and you can go like that, trim that. Another little extra
that you can do.
7. Color, Lighting, & Final Touches: Oh, you know, I probably
should have vaxer re mashed the ears
to the head, too. I guess I still
can if I want to. But anyway, let's change
the color of this, so it's a little
shiny right now. So let's just tap this little cube with a
line through it, and let's go to
let's go to white, but let's not have it so shiny. So maybe something
like that we'll paint that we'll go to the
legs. Same thing. Just tap on the color
and hit paint all Ears, tap on the color paint all. And this little flower we can
paint maybe a light pink. Paint that and maybe we'll
paint these the same color. These can be nice and black. Maybe we'll make
those a little shiny. This, maybe we should
use that same pink. So we'll tap the
color, the eyedropper. We can go on this to
get that color back. And if we're on the nose,
we can hit paint all. And then this little mouth, we can maybe just
do a darker color. It always doesn't
have to be black. Yeah, I'll make it a little
bit lighter than black. Make it a little bit more rough, and then we can paint
that. Looks cute. So now on the body, let's go up here to layers, and let's add layer. And let's rename this with
a little pencil reddish. Let's make it blush. And
let's use a reddish color. So let's tap on our color again. We'll go more to this red
here, maybe a little lighter. Okay? We'll tap
our tools, paint. Okay, and then we'll just
paint right about here. Okay? And then
let's go to smooth. And let's bring the intensity
all the way down to zero. And let's see if we can
smooth this out some. Okay. So then let's go to our layer, and let's move the
layer option down so that it's just like a
blush. So you can repeat that. You might want to go
back to the paint and make it a little
bit bigger maybe. And then you go back to smooth. And as long as the
same smooth setting, as long as the
intensity is at zero, it'll just smooth out the color. I think that's pretty
good. Maybe I'll make it a little smidge lighter. And I'm just going to bring up this back up so I don't forget. H Okay. So next let's go to our lighting tab,
this little sun here. Let's turn off the environment. And of course, you have
different environments. Minus included. This is
the one that I always use. But let's turn it off for now. We'll add our first light. Let's tap intensity
and just do 2.5. And then let's go to
this little shutter, and let's turn on post process. Now, here are my settings. I'm going to go down. I
have my setting saved. But you can look
here at my settings. I think that's it. Okay, so you can match those if you want. Okay, so we go back to
this little sun icon. This light, I'm going
to rename this key. So that's our key light. That's the main
light of our scene. I like to go and hear
the three little dots and change this to camera. So now let's tap clone
this little option there. And let's tap name
and name this rim. So this is going to be a rim
light on the other side. So let's tap the gizmo. Let's tap a line and
then move it over with the arrow and
rotate it until you see a nice thin white
line on the other side. Let's rotate it up. See
that nice thin line. Okay? And we can change
the intensity to five. Okay, that looks pretty good. And, you know, let's
clone this one, too and name this one too. Let's move this one over, and let's put a little more
light on the other side. Not exactly a rim light, but just a little more light. We can turn the intensity
down a little bit. Okay? I think that looks nice. So I'm gonna go back to the sun and turn on the environment, and I'm gonna turn the exposure down so it's not so, so bright. So right about there. Oh, no. This is, like, a little
too bright, huh? Okay, so if you want to export
this image, just tap here, go all the way down to render, and then you can render out
at whatever size you want, and you can do a
transparent background. So if I export this, I'm just going to do screen. So if I export this,
this number down here corresponds with this
little shutter at the top, there's samples, and I
just do 350 samples, so it's going to do
350 samples here. See, then you can export this. I'll just airdrop
it to my computer. And if you want to
do a turn table, you just tap this little
Nomad icon on the top left, and you can do a turn table. Looks great. I forgot to do a little tale. So we can just
quickly add a sphere. Let's color it the same
as the other ones. So I'm gonna tap the
color, the eyedropper. I'll grab this color and then go back to
color and paint all. I'll shrink it. Maybe I'll stretch it a little bit and then stretch it that
way and then rotate it. Make it a little smaller. Maybe a little smaller. Okay, so we'll validate, and he has a little tail. But that's about it. It's that
easy to make all sorts of cute little characters in
Nomad. I hope you enjoyed this. I tried to do it as
fast as possible, but still giving you some of the tools to know how
to navigate Nomad. Alright, keep drawing,
keep sculpting. I'll see you all
in the next video. Alright, well done.
Thank you so much for joining me and spending
your time learning with me. I can't wait to
see your projects. Be sure to post them in
projects and resources, and also be sure to
rate and review. That's how I stay alive here. That's how I can continue to
make more and more classes. Of course, if you're
on Instagram, you can tag me at
Drug Free Dave. I love sharing my students'
work on my stories, so I can't wait to see
you there, as well. And also be sure to
check me out on YouTube. I have a lot more
blender material, Nomad Sculpt material,
and anything in between. So I'm there at Drug
Free Dave, as well. Thanks so much again
for joining me. Keep drawing, keep sculpting, and I'll see you all
in the next video.
 Dave Reed, 2D & 3D Illustrator - Brooklyn, NY