Transcripts
1. INTRO FLORAL CLASS: Great job on your
sounds like Atlas. I would drink,
drink some making. Everybody, not just a subject, meditate school with
some sweet memories like watercolors and you don't
be something missing. I feel that. Do you also feel that? That's why I'm coming up
with this beautiful class. Not only a fun, attractive to
paint, but they are also a very good
subject for a pig. Now, to start with. In this class, we will be
learning to paint loose. And as usual as I start
all my class from the B6, this class also, I
will be coming first. Techniques like pushing all the basic strokes. Following the loose florals. It'd be diving
them into details. How the leaves, the petals, how to draw the bird, and what are the different
strokes for different flowers. And in the end, we
will be painting some loose floral. Beautiful. Must show that after this class you'll be **** confident to paint beautiful reading
guides with Florida Senate. Without any further ado, let's dive in into this class and start
painting. Florida's. See you in the class.
2. -What is pushing ?: First let us see
what is pushing. Pushing means. Then we push our color
inside another color. I didn't say another
color or water. Let's first tell me how
pushing is with water. Drawing here. Just wonder, or
beggar with water. Now, I think makes sure
that the sick and dying, the color and to push inside has more pigment and less
water than on the paper. Now I'm pushing, pushing, pushing my color into
the previous color. Now let's look up
the same technique, bushing previous layer of color, how we do pushing in colors. Now just look at the magic. Beauty for pushing. Again, play with it, but different colors. Look what happens. A fun with this technique
called pushing.
3. -What is pulling ?: Now let's have a look
what is pooling. So for pulling, exactly
the opposite of pushing, I'm making a darker
mix of my color. More pigment and less water. Almost the first or
the second value. Putting it in there,
making a circle with it. Now I will pull this color out, dipping my brush in
water, cleaning it. Now I'm ready to pull it out. Look how beautifully
gaba is spreading out. Creating a wonderful fly
with two simple technique. And just maybe the thing, this light pressure, heavy pressure and just
pulling my color out.
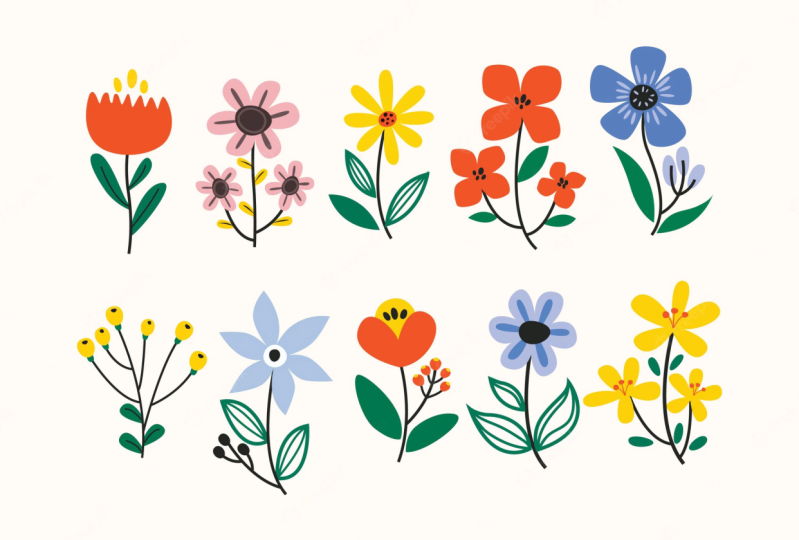
4. -Basic floral shapes and patterns: In this class we are going to practice few basic shapes and patterns which are muslin much
to learn for the florets. So get ready. Mix your colors. Beautiful color, whatever
color you pick a brush, I pointed brush, a nice
brush for number 68, number ten, number
whatever you like. And now, just see the
symbol simply techniques and tips you're going to learn. I'm ready with my mixed color. I mixed a beautiful
crimson here. That just see how
we are going to do is make the tip of
your brush very nicely. After mixing your colors, make sure that you have a
nice tip on your brush. And now I just have to
start with heavy pressure. Keep coming down and
the light depletion. Again, heavy pressure
coming down under pressure. That's it. Heavy pressure. Keep going down. Light pressure. Heavy pressure. Like I'm fanning my brush. Same thing. You have to practice,
practice, practice. Just if your total big no, just practice it for the
one page, one better. Vapor at different angles
and just practice. You just tap to put
heavy pressure. We very meditative, focus on your brush dotted
the better it is going. How it is doing. Make sure that your
brush is that an angle of around 25 to 30 degrees. You're fanning it full body
and slowly coming down. The same thing we can do
with one more technique. That is, first you have the with light pressure and pressure. If you wanted to
make the end round, you can make ground. This. Just make sure to do
a dip is really nice. It again, do it all online. Next, be the shape for that. Again, I'm mixing. This time we're going
to make us eat. Just have to flip your
brush in this pattern. Did they eat approximately
a 25 to 30 degree angles? Again, the same light
pressure, heavy pressure, and just sleep this
pressure, heavy pressure, light pressure
pressure pressure, heavy pressure pressure, pressure, pressure. That's it. Once you have mastered the
heavy pressure, light pressure, light pressure, heavy pressure, and this sci fi. Then we're going to
challenge ourselves with the Next button, dawn, Dawn do practices same pattern until unless you are done
with these two patterns, you need our muscle
memory to develop. The dawn get dishearten. Don't compare yourself, your journey from
anybody else journey. This pattern. What I'm going to do, standing with light
pressure, heavy pressure. Again like pressure. Light pressure, heavy pressure. Light pressure pressure, heavy
pressure, light pressure. I always do his
job board, paper. Do you want we are done with that
thought pattern, shaped pattern for our florals. Let's dive in and
do a fourth button. List Scholar. For this forward button, make a nice mix of green. Going to see the basic
shapes for the leaf. Make a good tip. Once you are done with
these four pattern, only then jump to
this fifth button. Don't be harsh with yourself. And practice it
slowly and slowly it, you can to do light
pressure, heavy pressure. And we linked it
to one more time. Light pressure, heavy pressure, light pressure, heavy
pressure ratio. One more time. Do you think airbrush
see carefully? I'm doing laundry with gap. All comes to the practice. Be patient. And do you develop
the muscle memory? Don't try to rush. Wherever, rush and
enjoy your journey. Had done with a
beautiful leaves. Next, we're going to make
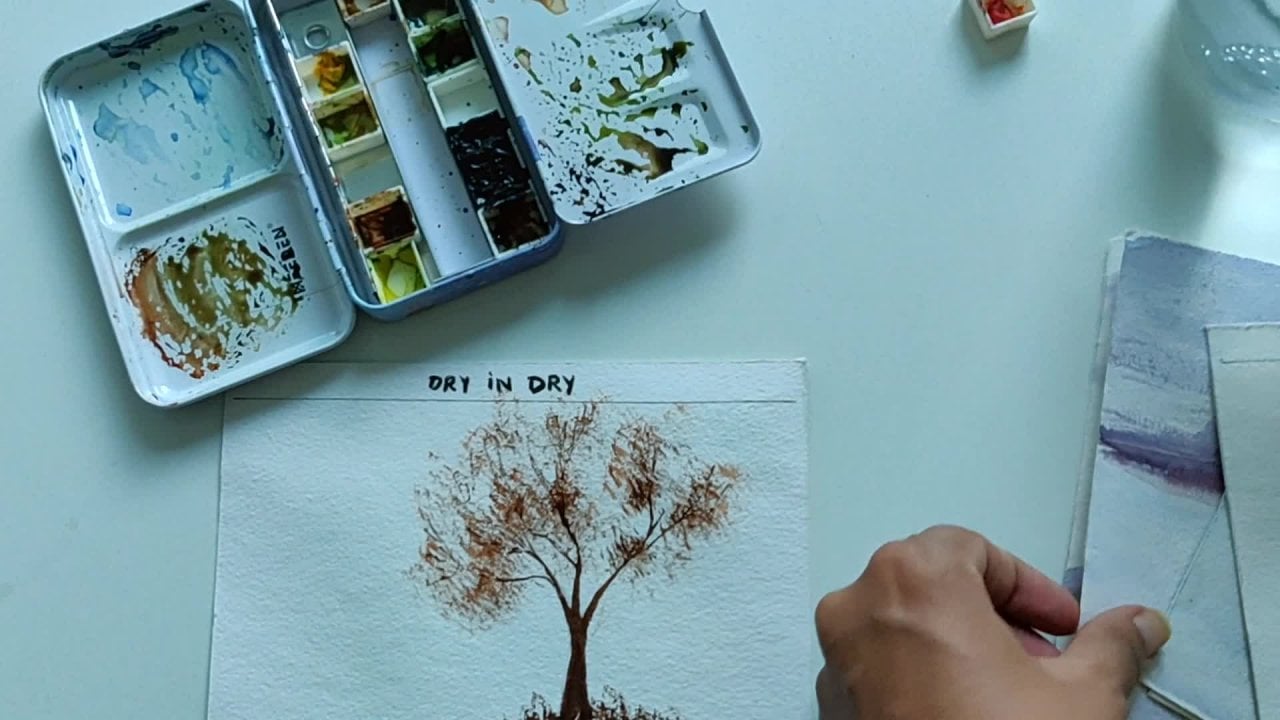
some beautiful buds. My favorite. And very simple. Just wondering if
you have to meet. I have mixed my fellow nicely. Make sure that this water, you have medium grid paper
that this water will collect. Make sure this water
is under margin. Not collecting, but
still your paper is. Now what we're going to do. Going to grab some green color. Green color. On the tip of my brush. Just went to poke it. This is what is formed. Then you just have to make
sure that your colors not flowing daily one more time. What I exactly mean when
I put this my first beat, the water we'd would you
against the head this bead, you can tilt your paper and
see there the water bead, it should not move the bottom. If it did at the bottom, then let's see what will happen. The color will not
flow very nicely. We'll get a totally different
effect from this one. For this, it is very necessary that the
paper is just wet. No water bead at the end. Whatever we'd take
it at the top, then you can but make
sure that it is. Otherwise it has
completely dried. Like in this case. Then you won't be able to
see that pushing effect. Now see, beginner, see any
pushing effect in this. My paper is completely dry. Beautiful, fun,
and good to play. Let's make a round. Believe it This
techniques day and night. Just pull this. See you, good to go. Then my last very
simple technique, this, you have to make a
square with your brush. Squared and omega flower. Later trapezoid shape. A square shape, just this basic shape. Back there's a specific shape, very abstract, very loose. Let's Wonderful. Good to go. And all these 1234567, basic floral shapes are all set and ready
for you to learn. Unexplored. Have a good time
playing with them. Don't stress yourself. It will come with time. It takes time to develop the muscle memory B data
with yourself and have fun. See you in the next class.
5. -Let's create everyday florals: This class we will be
collecting all these basic lose patton shapes and creating
beautiful Louis Flores. Next, get ready and dive in
to creating those Flores. Next, let's mix some water. I want to create a
beautiful peach color. Wouldn't believe me,
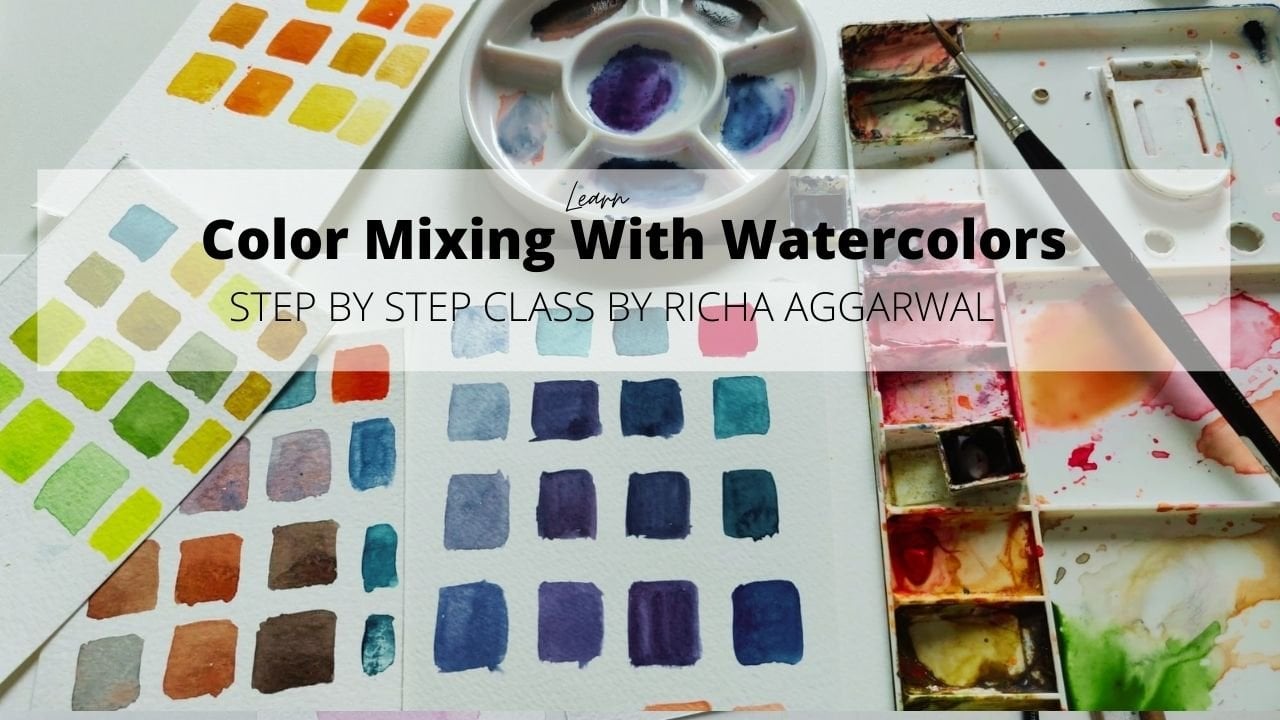
dawn district yourself. With the color palette. You can play with all the
beautiful colors and create your own beautiful colors if you are still worrying
about the color mixing, do have a look at my
glance of columns. I'm happy with this peach color. I'll be creating anymore. And using these shapes. Heavy, heavy pressure. Keeping the sender while the petals have to be
attached to the center. Always change the
tone by dipping your brush and come
into the center or less Come to the center. Now. Again, do blink. This making a darker mix. Beautiful, shining. Anyway. Let's create some
leaves around it. Leaves, I'm taking my fam green, mixing a little blue in it. The same way. I just like poking my head in
there, but it's dirty. We have created these leaves. This very light
pressure of your brush, light pressure, heavy pressure. That's it. And then again, see free to twist your
board on your board. Be gone for two, agreed. See my brush moment. Just combination of heavy and light values. To create the magic, whatever you feel like. Hey everybody share patient and anyone who is ready, let's dive in and do
an under flag that it's almost similar like a rose but a mode
circular shape. Be giving a darker center. And as I go outward, I will lighten my dawn. So here the color, I'm mixing it a little darker. It has a little darker tone. Number three to four. Then just start from the center, creating a thin, Let's
impose she specie. The sheep rounding it. Mean to be using these
shapes to create an endless. Then I did speak my brush, the water and coming over. Don't give too much space. To list these. We have to create a balance. But a big no, you get
always draw oval to just guide you going. Now my favorite step is just using the tip of my brush and bookings and
Kahlo's hidden there. Make sure that your
paper is it is dry, then you Good. One more. You cannot draw with a beautiful peach color,
which I just love. The same way. You always, always,
always draw or one here. If you're not very confident. Using a little darker tone, then dip my brush in water, only the tip part. In 3D or pressure
as you outwards. This practice,
practice this thing thousand times and you
will get a muscle memory. Don't try it in the first run. And don't expect
yourself to get this. Like Moscow if you're doing
it for the first time. We do the same technique. Dropping in there. That's it. We're done with the City. Florida. We will be using
this little spatter when I'm creating
some violet florals, are always free to
use some pensive, some light marks where you
will put your guidelines. Not very confident this
advice in this steep, a brown color,
beautiful brown color. Withstand with the stems. You can use a rigger brush, creating some guidelines
they didn't know. And I have to do is very
simple and very easy. Just going to use
this beautiful opera pink light shade of it. Take a deep breath. It is theta symbol. Maybe three. Very freely, this is happening. Move your brush around and
create this beautiful. Nobody's snapping. Darker. You can always do it like this. Make sure that they're coming to the center, all the petals. That's that's only the thing
you have to keep in mind. That all the petals have to
be attached with the center. Just a labeling if you want to get them to do that, it creates a beautiful center. Now some beautiful leads. Getting the light
pressure, heavy bit smaller, but the technique is C. We're done with that
beautiful bunch of white flowers and let's
create some leaves. What carefully? Using light pressure, finding my brush technique always, always remains the same. You can always spoke in
bulk, That's your choice. Go board values. The thickness of your brush
will determine this size of your brushes take you might have to give it a little
more thick outline. Now let us see how to make simple beautiful wreath
around the flowers. I'm just using a
very light pressure on my brush, keeping us stem, creating a stem and then just putting few dots. Like pressure ratio. If you have not seen
the brush exercise and the strokes of
the brush class, you're most vague.
Glad to see that. Just using the tip of my brush to create
this random Patton's. Give them random, keep
GDI, the toner values. Create magic. I hope you have fun and learn
a lot through this class. And I'm so excited to see a loose floral flavor
of annual leave. Do something called assignments to submit their assignments, even if they're incomplete, even if you're a big num, give a lot of
confidence and you get a lot of love from
the communality. Stone for good, darker
and your centers. Let's give a punch
to the flowers.
6. Final thoughts for you: Member rule was
not mastered that. But I can assure
you is an 100% not. Even I pick up my
approaches August 15th, millions of long gap at
the age of oil in fact, is the better you'll get. Give back to sing, libor to E2E your
until you master it. Made your assignments in the project section so
that I can review them. Again, find me on Instagram. I delete of travel
to maintain key back and being happy
beading scenes. Bye.
 Richa Aggarwal, Watercolor artist, educator and designer