Transcripts
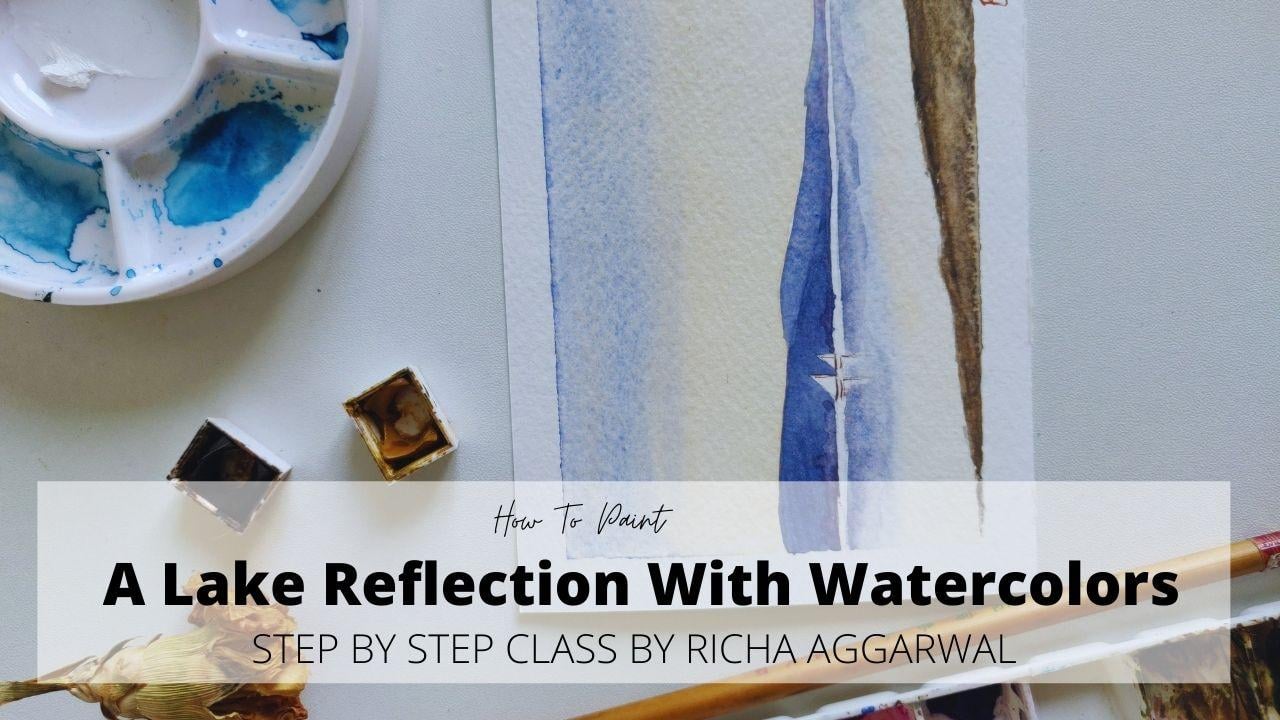
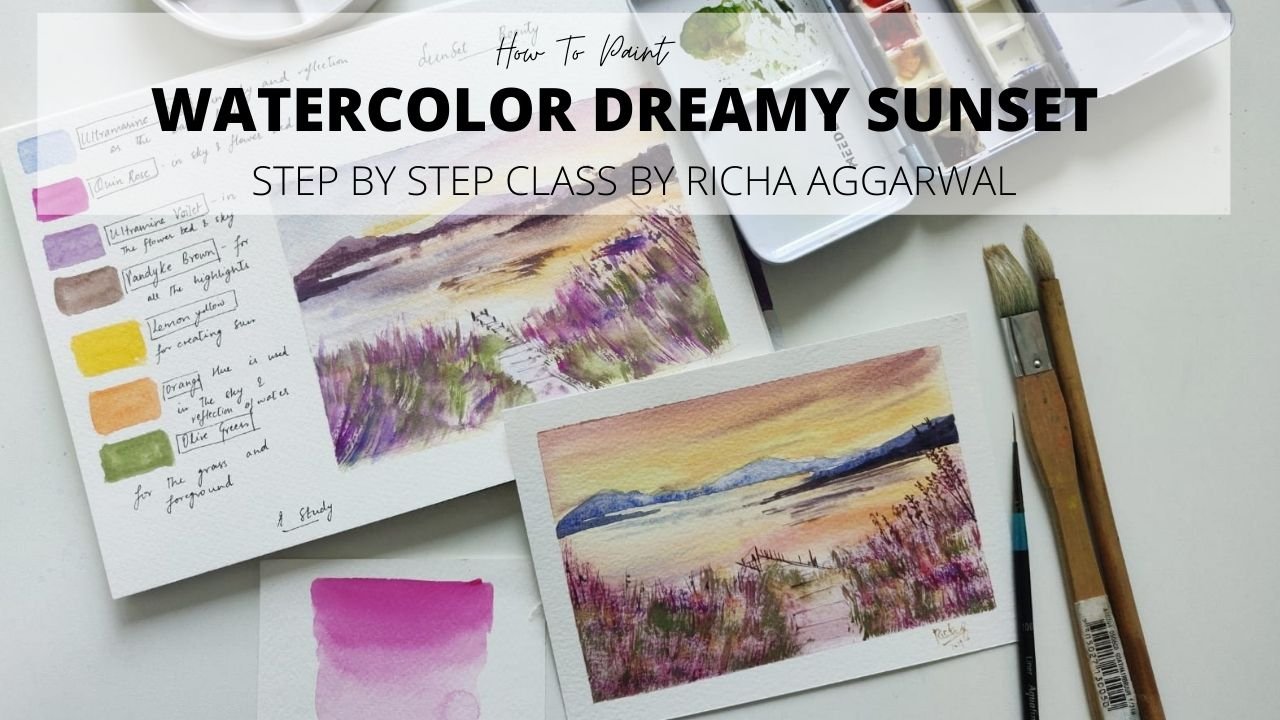
1. -INTRODUCTION: Hello, I'm Liz job. I would rebel who drinks
on making everybody, not just a subject limited school with some sweet memories. So if you love watercolors, you want to dip your
doors in landscape, then this seascape is just, just, just perfect for
you to start with. This seascape. I will tell you all
the hacks about getting us smooth sky into tone. I will also tell you how
to make the mountains, how to make a reflection
of this Mountains, and how to give the distance. So all this power pack
things in one simple class. What are you waiting for? And just pick up your brushes. Dive into this beautiful
seascape class, and submit your assignments. So excited to see your assignments and
give my $0.02 on it. Happy painting. See you in the class.
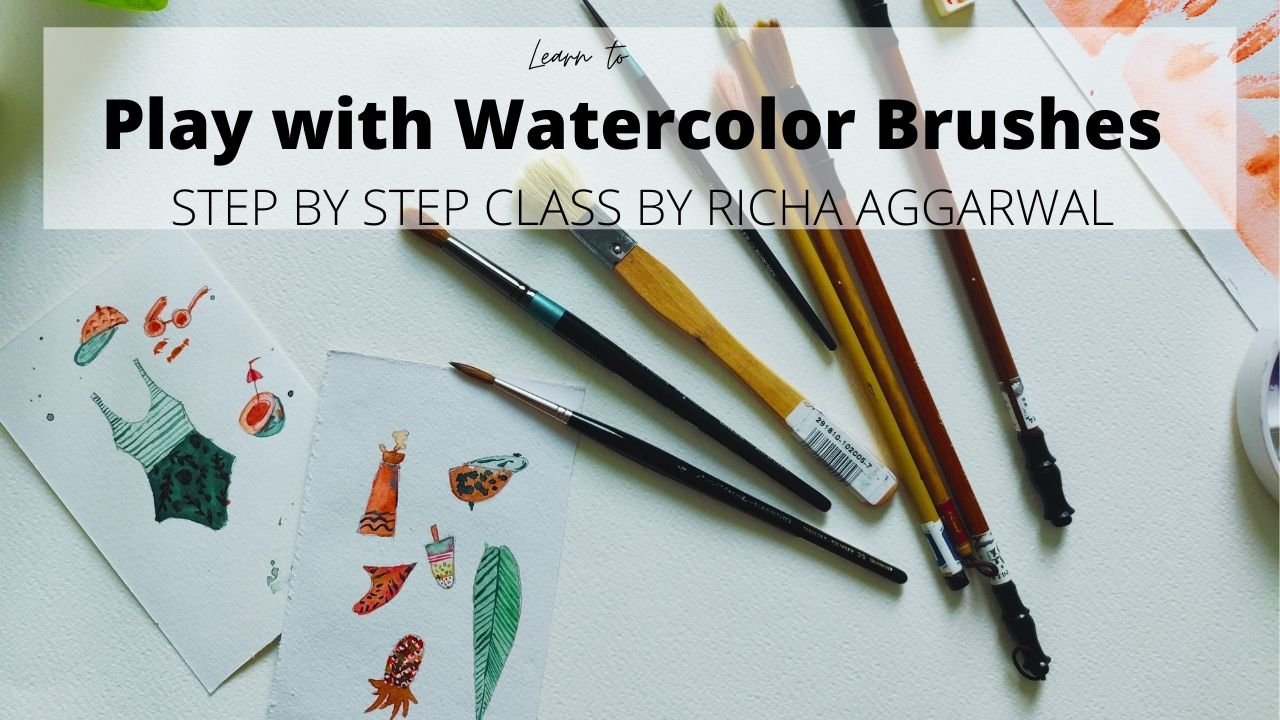
2. MATERIAL LIST: Okay, So now about the material that's on the colors, I'll be using a literary colors in this French, ultramarine, so you can use any blue. I like this venture and trauma R3 or Asiana. If you don't have this raw sienna, you can use any yellow. Yellow code is good or any dark yellow. And then I will be using banana. So these three colors I'll be using. And if you don't have bonds, yeah, then you can use brown. And that is totally fine.
3. -PAINTING SEASCAPE(COMPOSTION ): So let's start our next baby. And that is a beautiful seascape. So for that, I have deep might be, but this is an A6 sheet, but all the big nose and suggests to practice, start practicing on Effexor A5 sheets. Against the last sketching is important. Let me start with the sketching. First, we will draw a horizon in the lower 1 third, but, okay, remember to draw all the soil horizons and the lower one type, but she never draw horizon in the middle of the people. And then after the horizons, I'm drawing my mountains. I'm going to draw here three mountains. And now I'm going to draw the style of my buildings, the sailboats. Okay, so remember to draw these circles also ended the line taught, but it follows the rule of Todd, then this should be enough when tight band. Okay? And again, leave a little bit space here. And some reflections will go here. Same, I'm not drawing it down by very much. And then here some land so that this is all but you have to draw the same board will be our focus of attraction. And this is a whole sketch.
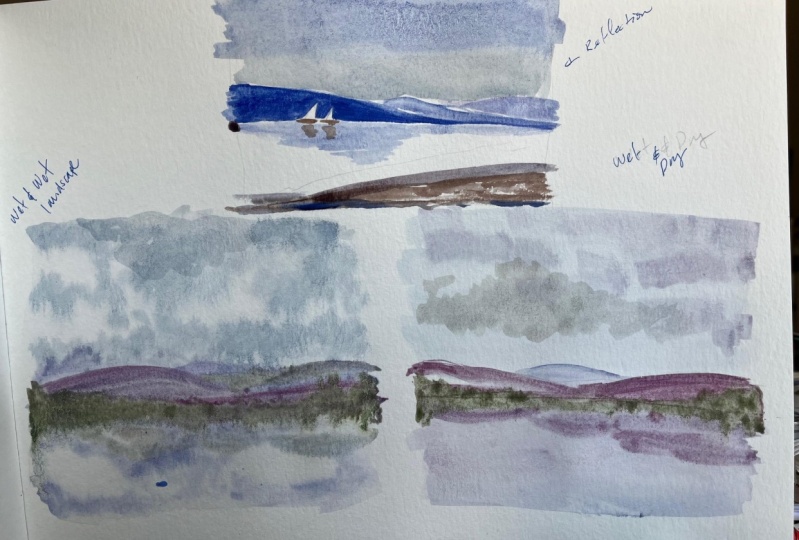
4. - PAINTING SKY: Prepare first wash, variegated wash above and below. And they may be using some dry brushing and flat wash technique. Okay? So now for this sky, for us will be doing our sky. So let's prepare for the sky. Okay. Well, this guy will be done in my beeper upside down. And I'm mixing my wash is soil risky both ratio order for your washes. And I'm also going to use a little red. Okay. So maybe I like to give sensory impressions for the dual washes red and putting an end. To relish. Now I linked a scholar. Just check it on a Psalm of people like it or you don't like it. Make enough because you have to do it in that water also. Now this is enough. This is my bon voyage. From a thickened. And this wash brushes. You can use either flat brushes. Begin use round brushes, big mop brushes. They're also very nice. I'm adding a little bit too much red. It should look like it should not. Just yellow, but could I find it a little darker? I'm diluting it more. The sky wash has the least ordinal value. Okay? You can bet your paper beforehand as well if you're not very comfortable with the washer. Okay. But make sure that it is dry. It might be good to go. I'll be doing my yellow wash is upside down on 3D and then I'll be using my blue wash is take a deep breath. Relax and slowly and slowly. Now that we're done with this and started my wash. And we're just going to clarify. Just a little, mixing it in the skies, ready? Dry, and let it mix.
5. -PAINTING MOUNTAIN & LAKE: Okay, So by the
time it is drying, let me prepare my color
for the mountains and keep this upside
down, don't disturb it. The mountains which will
be a little darker tone. The same colors, ultramarine
blue, tint of red. I am a fan of working
with limited palettes, and I love to work
with limited palettes. Bring so much harmony when we
work with limited palettes. Scholar and check. And for the mountain, it will be not. You will be using a darker
tonal value, then the sky. And for the syllabus, you can always put
masking fluid, let it dry, and
then do a mountain. Or if you are confident enough, then you can just
do it directly. Okay, make sure your color is enough to do the full mountains. So now I'm good to go. Just put it in balance Schrock. Be careful around
disabled or you can always put a masking fluid. This is a great idea. Somehow I like to work
with my spontaneity. It is Swanson, I'm not
do the masking fluid. Okay. Yet done
with this mundane. Now I will just dilute
it a little bit. And do the second mountain. A little lighter
than the first one. Like you're doing
the gradient wash. And we have done in
a previous project, this side of the mountain
is the darkest latest, sorry. Okay. Now we're done
with the mounting. A little red, just dropping a little shoeing t. Now let this layer
dry completely. And then we'll work
on our next layer. We can start now. Seems dry. Watercolor, great
medium to have a sip of coffee in between or you
enjoy your favorite drink. Because they give you
lots and lots of freedom. And you have to be
before every next layer. So now we'll be doing water. The water will be via
using the same washing we have prepared the sky. I just dip your gum color for this, but
rewarded reflection. Just make sure that you
leave a little line here to make sure For the what. Okay. I'm just leaving a
little bit here. About leaving a little
white space here. Then doing my yellow wash. It's very light in the sky. Okay. I guess we
had done one step, which we have to do quickly. Take a thirsty brush. And the color from my syllabus. You can use masking
fluid as well. And now I'll be using the same
color which I've used for mounting and make reflection. Since it is wet in wet, we'll be using wet
in wet technique for the infliction of mountains. Make sure this layer
is that enough. Otherwise you can
wait till it dries. And then do your mountains. Don't hurry up. If
you're not confident, you can always read it again. No need to panic. Got anything. You gambit. Blending I'm doing with them.
6. -SEASCAPE( PAINTING FOREGROUND ): Okay. So now I'm done with my washes. I can wash my brushes. Jeff kept for my
wash. And now I've prepared a darker
mix for my land. The land I'll be using again, this portion blue. Sienna. See I got a nice green
and burnt sienna. If you don't have
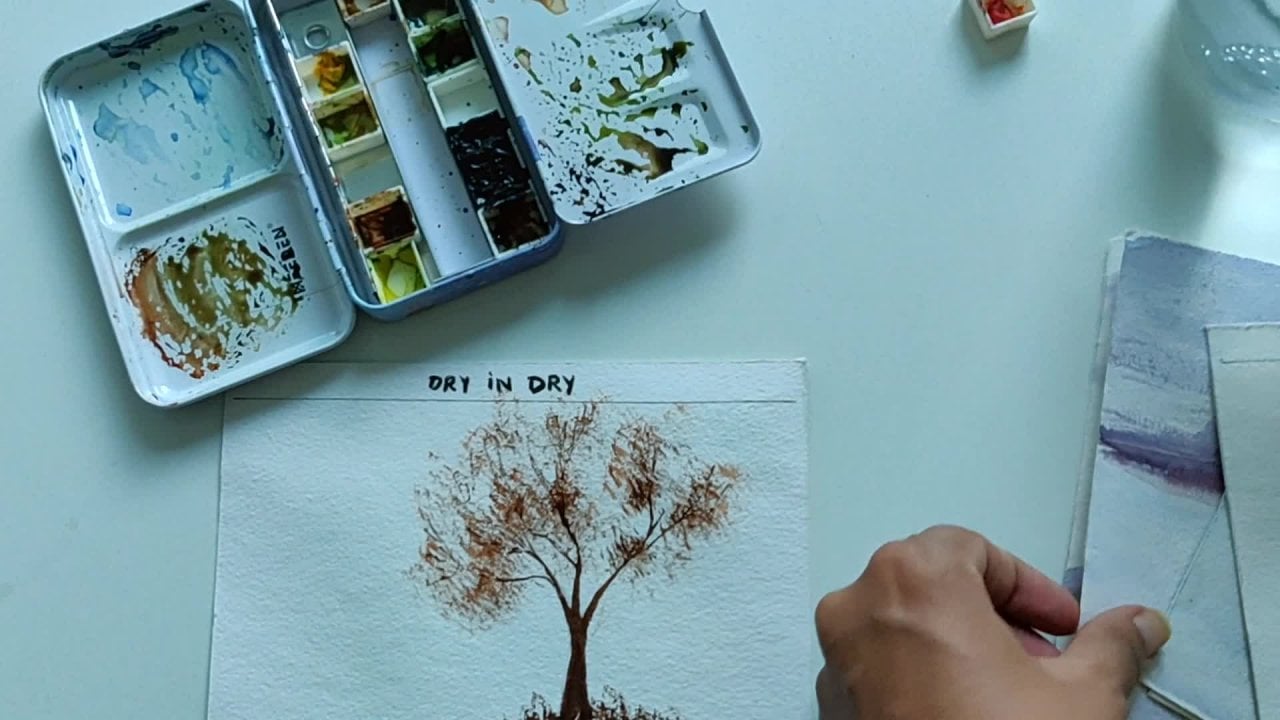
all these colors, you can directly use brownouts just for the color harmony. Mixing these three colors. This time, I'll be giving a broken washer dry
brush technique. So getting it so it
is not a juicy make sticking all the
color in my brush, which I have mixed. And putting it here with
the naked eye. So good. If you want to darken
it a little bit. Mixing a darker mix, just to give some highlights. This is still a dry
brush technique. This technique a lot. You're good to go. Just one
more last step will be doing. After trying this up. Before that, let's
finish our syllabus. Take brown color,
a very thin brush, rigger brush, and just give a
little brown and red color. Definition is to add one more last step. And that is called glazing
because I'm taking a very light wash off raw sienna. And then just
putting a door here. The lower layer is dry completely
before you do glazing. And they are almost done. Let's wait for the
time it is dried. And we can anticipate
and sign up paintings. We're already too and tape it. See the technique carefully at 90 degree angle.
Medicare for me. And dentally. Use a blow dryer. If you're feeling later date is getting stuck anywhere and
not coming out from ugly. Oh, yes. Wow, this is so beautiful
and relaxing and so common. I can just leave it how it is a scam waiting for
your paintings, deposit on the Facebook group. And one last thing, don't forget to sign it. Very, very important to take the prestige of making
this beautiful piece. Okay, with that, we're done. See you in the next class. Bye. Is ended a beautiful beauty.
7. Final thoughts for you: Remember, Rome was not built
in school and mustard, but I can assure you, is an 100% not in Egypt. Even I pick up my brushes
after 15 years of long gap at the age or
the more you practice, the better you'll get. And keep practicing is equal to e to be your
until you master it. And do submit your assignments in the project section
so that I can do. You can find me on Instagram at the rate of transfer my
ten, keep practising. Have you been doing since Bye.
 Richa Aggarwal, Watercolor artist, educator and designer