Transcripts
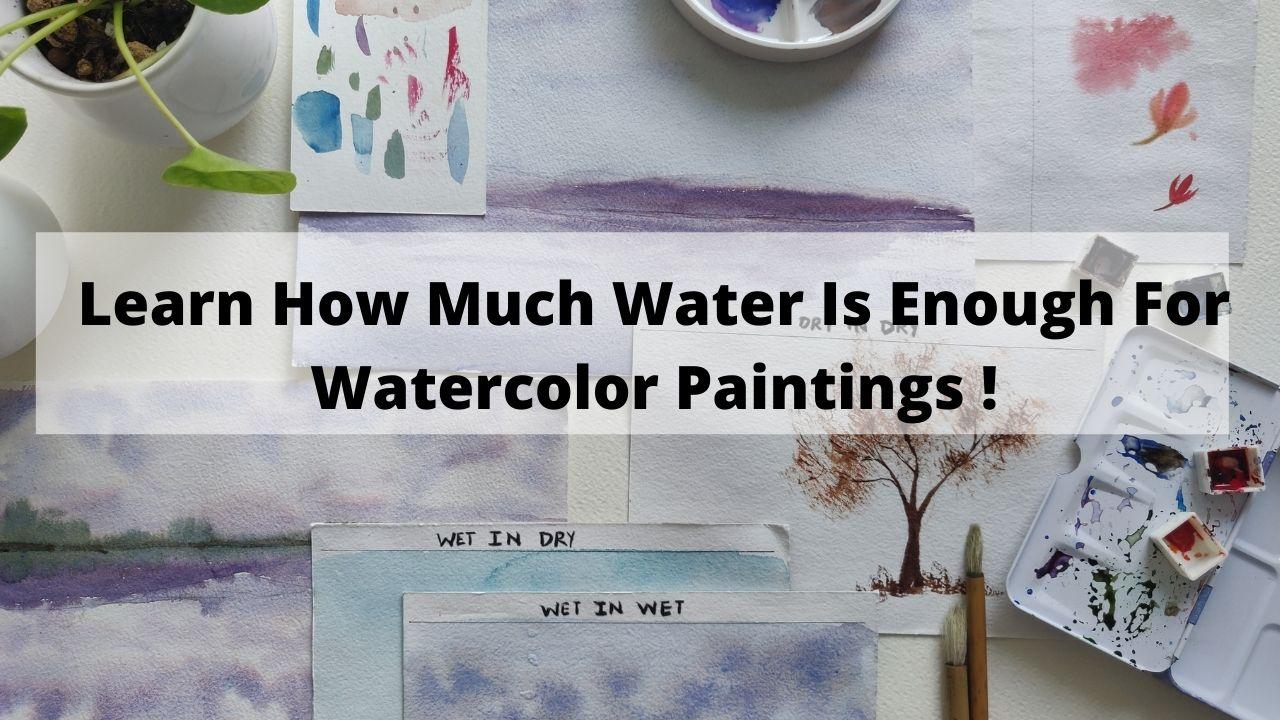
1. -INTRODUCTION : Oh my God, What? I would dribble. Who drinks on me? Everybody, not just the subject minutely school with some sleep memory. Watercolors. They are made up of water and color. But as a big now, we are always scared of two things. Putting water on the people and putting color on the paper. Even funny. So in this class, I'm going to take all your fear of the water and soil, all your queries about how much water is enough. I'm going to play with what? To play with water. We will be doing different exercises like dry and dry, dry and wet. Wet on wet and wet and dry. Not only this, we will be painting two landscapes. One in the dry paper and the other one will be on the wet paper. Through all these experiments, you will learn how much water is enough for your painting. How the word of Lee's important role and how to control it and live with it. So this class is perfect for anyone who is struggling with the question, how much water is enough? So let's get to play with water and see you in a glance.
2. Wet in Dry technique: The first technique which we're going to see is wet and dry. What do you married in dry and wet into dry is when your paper is dry and you put weight gallows like the colors that a lot of water on the paper. So we have not read. The full paper is dry anytime we put red on it, color and water. That is technique is, they didn't bet. This is mostly seen in a lot of washes. Ligand landscape. If you're not very dangerous landscape, then it is. All the washes are wet and dry. In flowers, anything barrier paper is dry and you're just putting your color pigment, watercolor directly on it. So let me show you this with the dry. So Tennessee and my color is quite wet. So all the washing seamlessly create using red and dry. Flat wash, gradient Rosh, variegated wash. Although we can make them invaded bit as there. So let's see how we can do them in wet, in wet. So I'm loading, the first step is I'm loading my brush. And now I'm just going down taking water. I'm going to see can you see? So this v, I have created a wet and dry loop. Very good technique for creating, creating pushes. You can use it with one color or two colors. This technique can also be used for creating leaves and flowers. I'm using a red pigment directly on a dry paper. I have not wet my paper before putting my pigment pigment. So anything anything anywhere where you put your colors directly on the paper without wetting it. That is wet on dry technique. Okay.
3. Dry in Dry technique: Next is dry in dry. So the same as before, wet and dry. My favorite is dry and the only thing which is more dry, socket. So it is very subjective to written read. It assumes the pigment which I am using the larvae as juicy as safe. So my mix will have more pigment and less water. This is mostly done when we use dry brushing technique on, when we worked in layers. Are we give highlights and the details. For example, let's create a dry edge, three new thing, this dry and dry technique. So I am just drawing a little light drawing. First of our three exists a normal dry or DOM tree, creating boundaries of the tree. And now I'll be using dry and dry. Like I will be having more pigment and less water. I'm not having a very juicy mix and yet some dry masses. So this technique is mostly used for highlights and logging in layering. Detailing. This can either directly be used on paper. We have a layer beneath it, a lighter background layer beneath this pigment. Just an example. You can definitely create various things by using this technique. And some Dr Rushing. Dry and dry. I am again taking a dry brush. It's almost dry. Putting some pigment in it. This has been Tana. It's not at all, at all. A wet brush. And I'm just giving using it with the method of direct dry brushing, leaving my tree and little definition some down. So my color almost dry and my brushes. And my paper is a little literary. Three rotors darker. Near the branches. I'm taking my rigger branched smallest phase brash, a very thin brush. And we'll be giving some details to the tree using seen drying dry brush technique. That can be given only when your first layer is dry. Ground layer is that we are not going to use this the dealing. So these are the detailing and the highlights. We have lambda new technique called dry Andre and learned also to make a beautiful tree.
4. Dry In Wet Technique: Dry invent. This is very subjective. Too. Wet in wet. Dry and wet is when I layer bottom layer of the paper is wet and we are using our dry color mix over it. So dry wit can also be called as a control vetting bit. As we saw in wet, in wet. The top layer, which reveals the second layer which we use, has lot of water, although less than the fourth layer, but it has water. But in dry and wet, the second layer, which we will be using is more concentrated with pigment. Okay, Now let's see this with an example. So far, dry and wet, we have to take care of two things. First, the bottom layer is also not that wet. It is just a glaze. I'm just putting a glaze. And you can see it is not a father of water on the paper. I'm just glazing my paper with water. Here, I can see a glossy sheen is enough. And secondly, my color also don't have very much water. It has to be more pigment concentrated. So now what happens? Let me show you. If it has more water. Either on my brush, I'm wrapping paper and use low latus. See, when I'm putting my color loaded brush to paper, the water wherever it is going is not in my control. So this is not a dry and wet technique. This is mortal vet admitting. For dry and wet, which is a more control technique. I have more pigment and less water or that we are taking our pigment and the ER, all the extra water from the belly of my brush. After that, again, taking a little bit of color, checking it at my paper. Yes, it is dry enough. Now, if I put it on the people and still getting a diffused look, can you see? I'm not getting any higher margins, but now when I'm putting it on the paper, it is much more control. I can control it more. Still getting diffused. But it didn't not getting diffused in all the directions. The colors are in my control. So this is a technique called controlled within wet or we can also called dry and wet. In wet in wet. I cannot control. But in drying vet all we can say control with it. We can control, but we live and get these hard milestones. When it's completely dry and dry, we get this hard margins. Can you see the difference of the margins there in these two flowers? So if I want to make a diffused margin flower, then I used control wet in wet on dry method. But if I want a sharp Flavel, then I use dry in driving. This is a major difference. And what are the two tricks? First of April should just have a belief and the water on the brush should be very less. If you think there's more water, just slightly extra water from the belly of the brush. And then carry on. I hope you enjoyed this technique. Have fun with it, experiment with it, and let me know in the comments how you like it.
5. -WET IN WET: Okay, So let's dive in in the next week. Mean there is wet in wet. So I'm going to you the red mix of color with water. And my background will also be red, like my people will also be red so that people can do it either with water or with a light wash of Alcala in water. Okay. So for this, I'm going to demonstrate you the light wash of color and water mix. I'm going to use this one. I'm using ultramarine blue. And I'm mixing it for the first layer. This is going to be my first layer. We're working in wet. In wet, it is advised to mix border layers in one hand. And this is going to be my second layer. So burned in verbal layers, as you can see, there is water and pigment and I'm going to mount this one thing you have to take care of that. And the first lenders more water as compared to secondary. This will definitely come with a lot of practice and patience. So let's create our first layer, link layer. I'm using here a live mix of color and water. You can also be done by using just a plain water, a very light wash. And now I will take my next color and go wet and wet. So this is a dendrite. Can you see what are the results from within BET we get a very nice, smooth margins. These margin, they are perfectly blended and really smooth and nice. Leader favorite for creating the sky. And the clouds is technically used a lot in what? This technique is also used a lot for creating florals and many other subjects. But this is just a good example of trying and learning wet in wet technique. Suggestion. What if they didn't wet? It is wet color pigment or the red background. So the background can be of plain water on a light wash of color. And then the second layer over the top of it has to have a little less water and more pigment. Then the first premix, your board doublers bought the washes and industry first wash and the second wash and you're good to go. Practice it. And let me know. Any query and submit your assignments.
6. Landscape on Wet Paper: So in this class, we are diving into wet in wet technique as compared to wet and dry side of evading my PHP file. And we'll be working mostly they didn't. Becky's office will be I dove into the water or the Surface UV wet, a light wash of color. So again, you any answers very interesting technique when you are going to have little happy accident and lot of fun. Just, just relax and have fun with this technique. Sketch. For this technique, I have a big man. I was suggested is premix your colors that we can work faster to mix your grades and make cell blue. So in this, we will be having our first layer wet with water and then we'll be working in Baden-Baden control wet in wet, which is also known as Dr. inlet. Select me wash, give a wash to my BFA. First. I'm giving it with the clean water. I want to leave some white spaces for the clouds. And the way you can visit here before with a light wash of blue also, they can be linked numerous possibilities, bleeds and how you want to experiment. Just give a nice smooth wash to your paper. Welcome back. So if you feel so good, Just remember that the color on your brush should be more, then the water are, you can see the water in your brush should be less than on the paper. Then you will get a beautiful sky. Little shadows to make loud. And now my load glands, this time playing with within bit played till the time you think the colors. And get ready for happy surprises and beautiful, beautiful scenes. Okay, and family, LexLeader people for really making an affliction sky. Dinner listed their board. Say down to how feel how the things work in wet, in wet. Now I'll show you something else, also hygiene clean. Even the misty feeling of mtDNA signal that is also a bite of a dendrite. If he ever will degrade them. Since I've got the statistical dry spread out. And you gave a very misty feel. Mountains. The asset doublet, that means it is getting spread and giving a ms TV to the amount as you go down. But still you can have that listed a few. I'm using a lag term 2, 1 here. Don't stress about the tonal values or anything here. As we are not learning that, we'll be focusing on tonal values. Definitely in the class. What is the adjusters focusing? We can even create beautiful tree then deflection using this technique made in it. One of my favorite Disney. And I'm showing with it also love it when sealed into high bouquets. Then you just wanted to play more and more mentors. Just a little reflection of the mtDNA. Not much as we have gone live in the trees. And this all working in that, in that my paper is still wet. See how we can create a simple, beautiful landscape using this technique. Do you add a few feel that this landscape is not beautiful and difficult and can definitely make it more beautiful. But I'm just stopping myself and I'm to focus on the techniques. Giving a little highlight with my rigger brush. On the horizon. This, you can do it in MIT, are written Dre. Okay, so we're done for this class. Enjoy this beautiful technique within waved and Somalia assignment. Let me know. What do you have learned?
7. Landscape on dry paper: In this class we will be painting a simple landscape in too easy but like for one, but I will be keeping my people dry. So I will be painting, written dry and dry and dry. And for the other part, I beekeeping by people wait and I'll be painting wet and wet and dry, wet. Okay, and now let's make a quick sketch. Drawing and sketching. I will raise them. The mountains. Let's say we're going to show sky and water and mountains. So the whole point of this landscape is to give you an idea how to paint wet and dry. So in this view, we'll be diving made industry. Again, select mix our colors first. And using her ultramarine blue. My favorite color for this file. And read just a pinch. It's just put this. And then water and water. Make sure you have ample amount of water and B3 to play with it. Now getting some gaps between the first ones. In dry. By the time I sky is drying, let's paint our water as well. But that I will be tilting my board and painting it upside down so that I get my gradient wash and the feet relax and have fun. Maybe are painting with watercolors. Enter wet in wet and wet and dry. You can always that again, give dark in your layers. Anything you can do, possibilities like never-ending. So we are done. Now have a look. A beautiful background is ready with our wet and dry technique. Let's meet for it to dry. And then we do need a mountains because we are using wet and dry. So you waiting for among teens to paint till the time both the layers get completely dry. Dry. Now, I can start working on the mountain. The mountain that a delay. And as we come forward, they get a little darker. This is, again, they didn't dry. So don't mix your colors. Hand. The tighter than spreading because the layer is still little bit of it. But I like this effect and it creates a shadow. On its own. We are giving the reflections. So the whole book, whether this exercise is not to get perfect colors or anything, just to have fun with Betterment. With whatever technique you are following. This to get the hack of it. Drawn the strain yourself from anything else. At this point. To see how your colors are flowing. You're getting different effects. With this effect, you can only get emitting tray. Just lifting a few colors from the need statement. I can see that a beautiful background is ready, even just the simplistic, neat. That is, that in dry. And there are numerous possibilities to make this composition more interesting and have fun with it. But others now just play with your colors and have fun and get the half of this technique that is called wet and dry. See you in the next class.
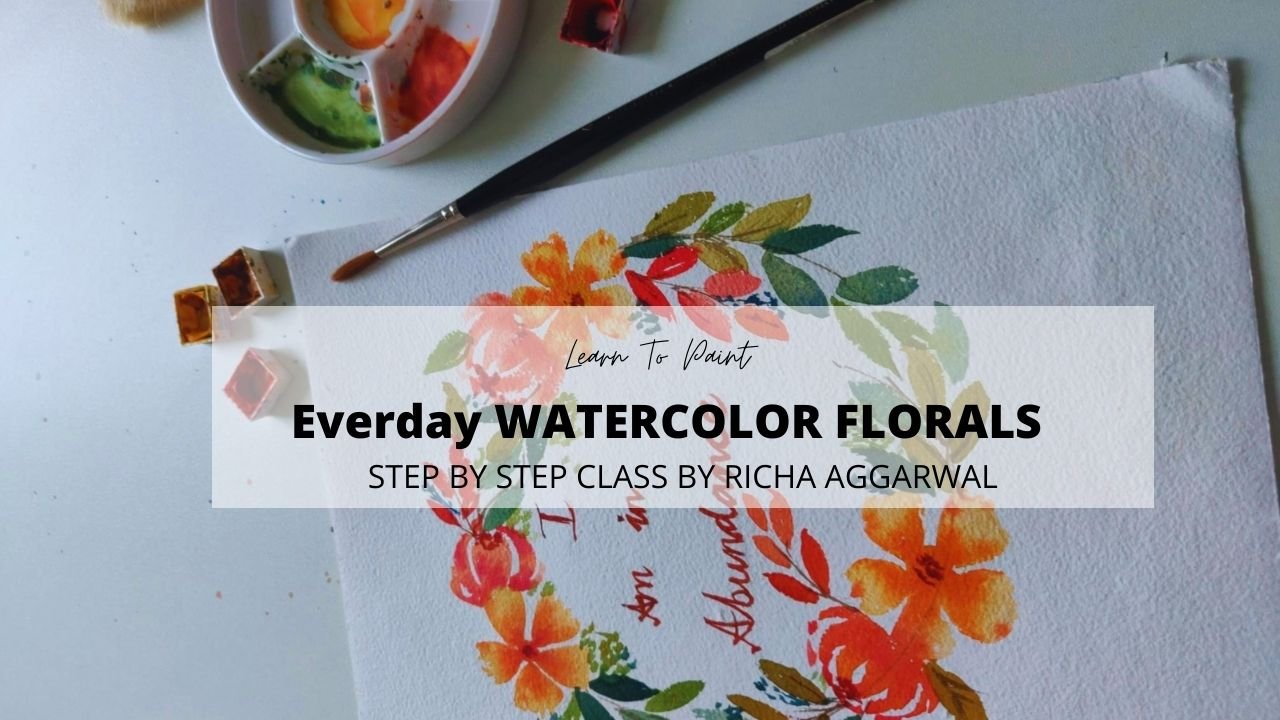
 Richa Aggarwal, Watercolor artist, educator and designer