Transcripts
1. Introduction & What You'll Learn: If you are keeping
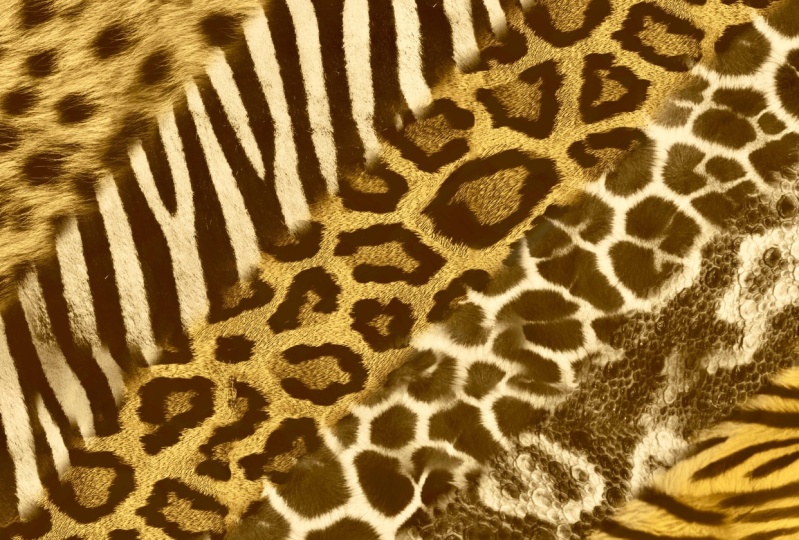
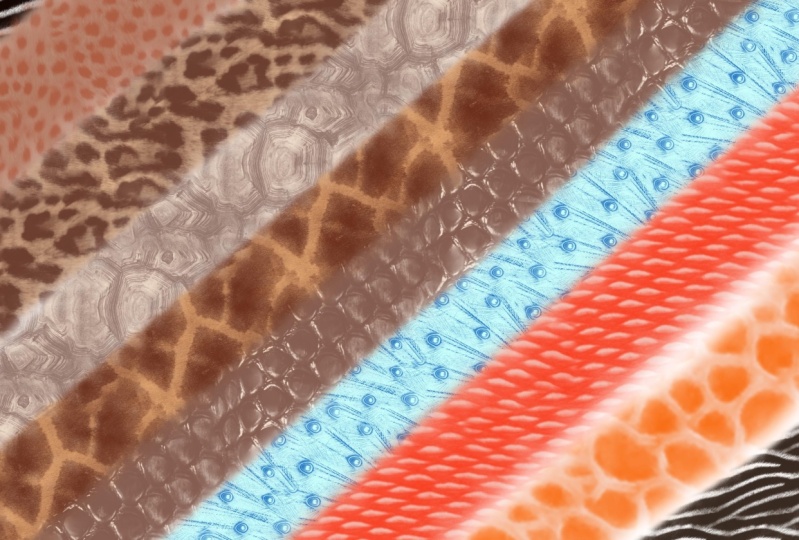
up with the trends, you know animal skin patterns
are popular right now. These brushes will
help you streamline your creative process by making it easy to add
intricate details and patterns to your
digital illustration. Hi, I'm Vinita, an illustrator and a
designer based in Singapore. And in this class, I'm going
to show you how to create a dual color animal skin
brush in Procreate. These brushes are
perfect for creating stunning prints for surface
pattern design, mockups, or even selling them on
platforms like Creative Market, es or even your own website. I will start this class by explaining how a dual
color brush works, and we will create a dual
color cheetah skin brush. That will serve as
your base brush for creating a variety of
other animal skin brushes. There are plenty of
examples, resources, tips, and tricks to help you design these beautiful
brushes effortlessly. So let's create some
beautiful skin brushes in Procreate. See
you in the class.
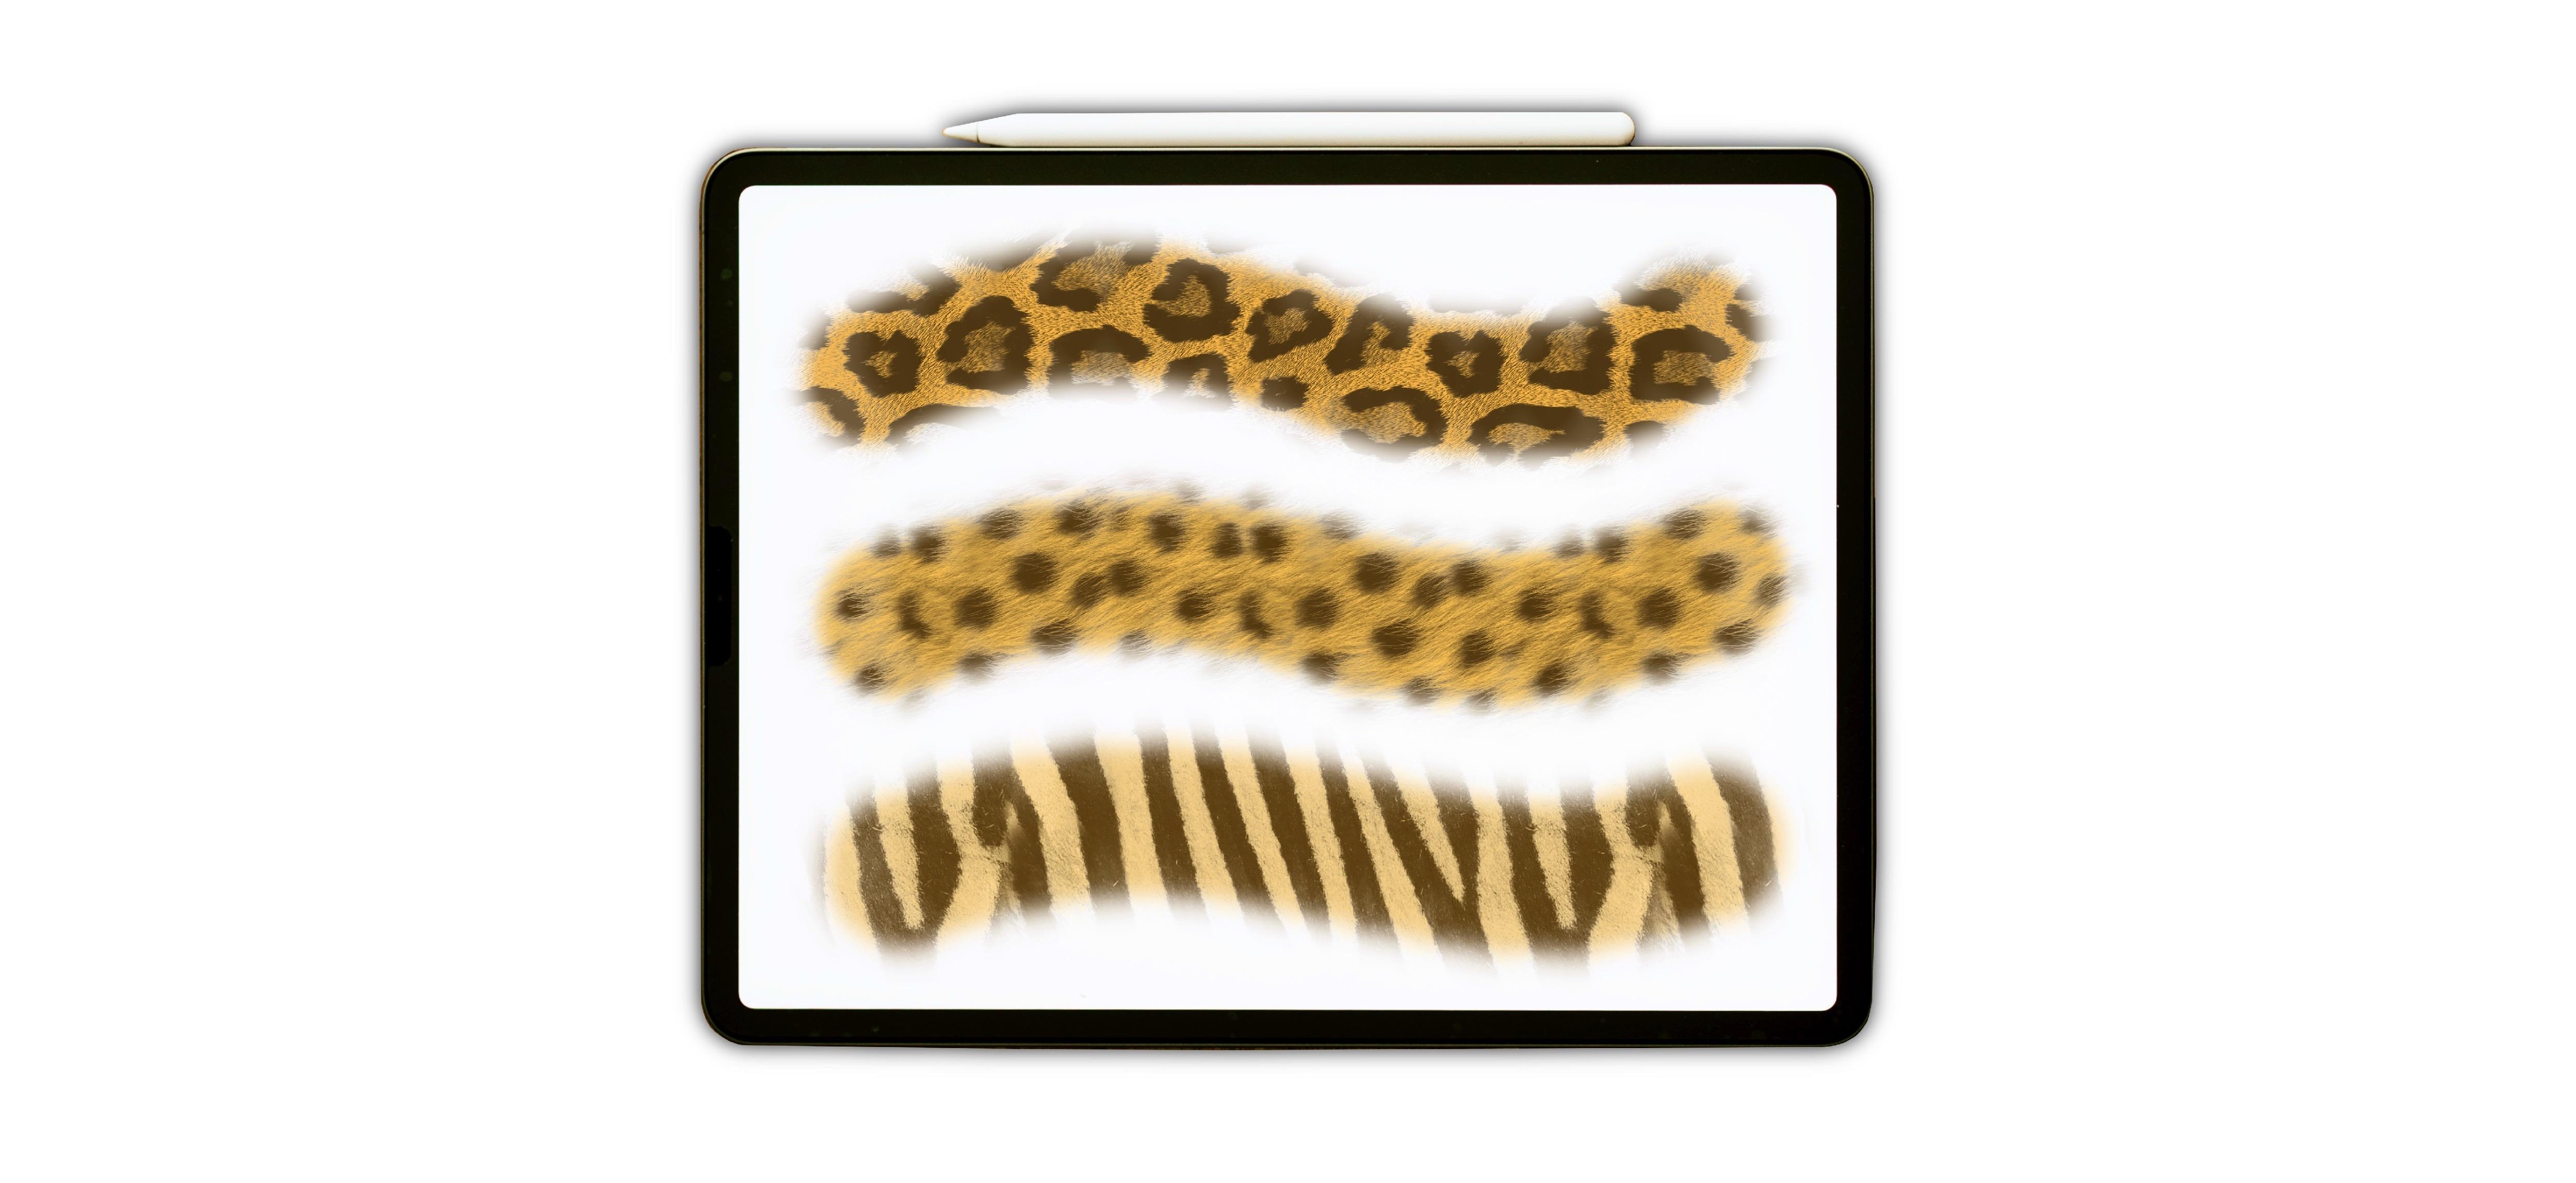
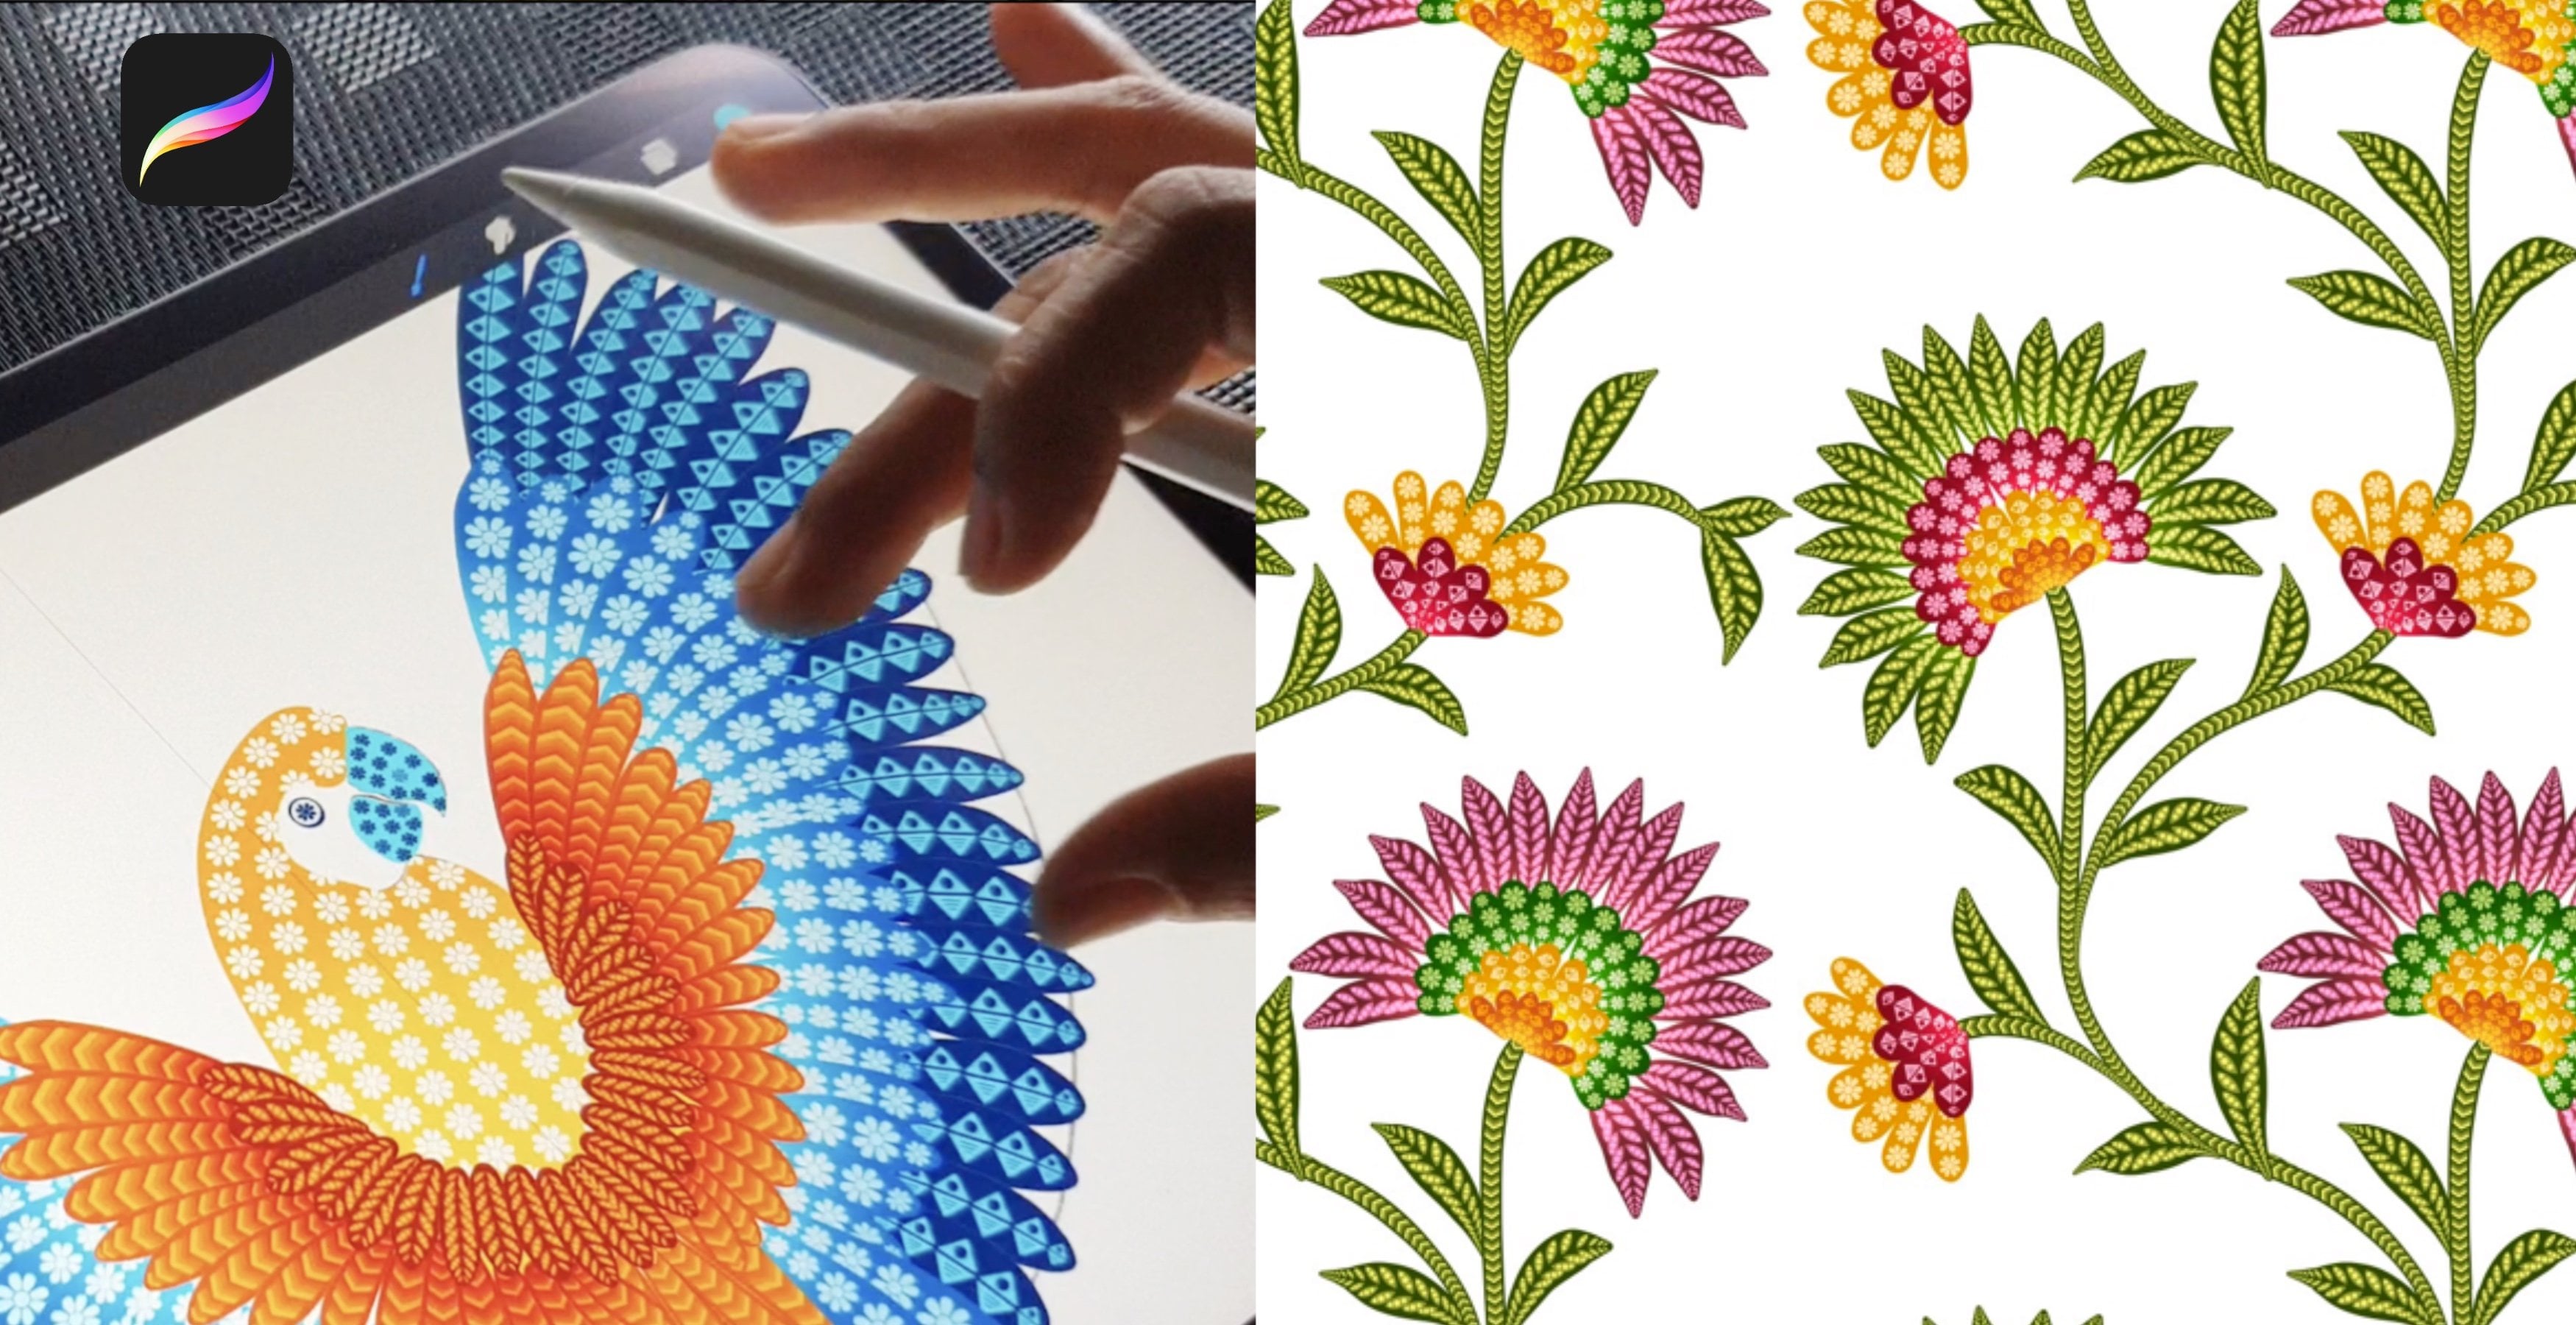
2. Creating Dual Colour Cheetah Brush: So let's start with our dual
color animal pattern brush. When you open the procreate app, this is how my
gallery looks like. Our first step is to create
a new Canvas for that, I'll tap on this plus sign. Again, on this tiny plus sign, the standard size I follow to
create a brush is 3,000 by 3,000 pixel with 300
DPI and tap create. Now, our next step is to
insert our animal skin image. For that, I'll tap on
this wrench icon menu. Under Add Option, you'll find this option called
Insert a photo. Tap on Insert a photo, and you can insert
the image from your photo gallery.
Tap on the image. And now the image
is on your canvas. I want to select the
section of this image, which has less shadow
and more even texture. I will select this image and
stretch to fit the canvas. The parts of the image that is outside the canvas
will be cropbed. So you have to be careful
while placing this image. I feel this side looks too
dark, so I'll crob that. Oh. Now, once you're happy with your
selection, tap D select. So this is the image
that we will be using to create our
cheetah print brush. Now let's move on to
creating our brush. Our first step is to
copy this canvas. For that, I'll tap on
this wrench icon menu. Tap copy Canvas. This will copy everything that
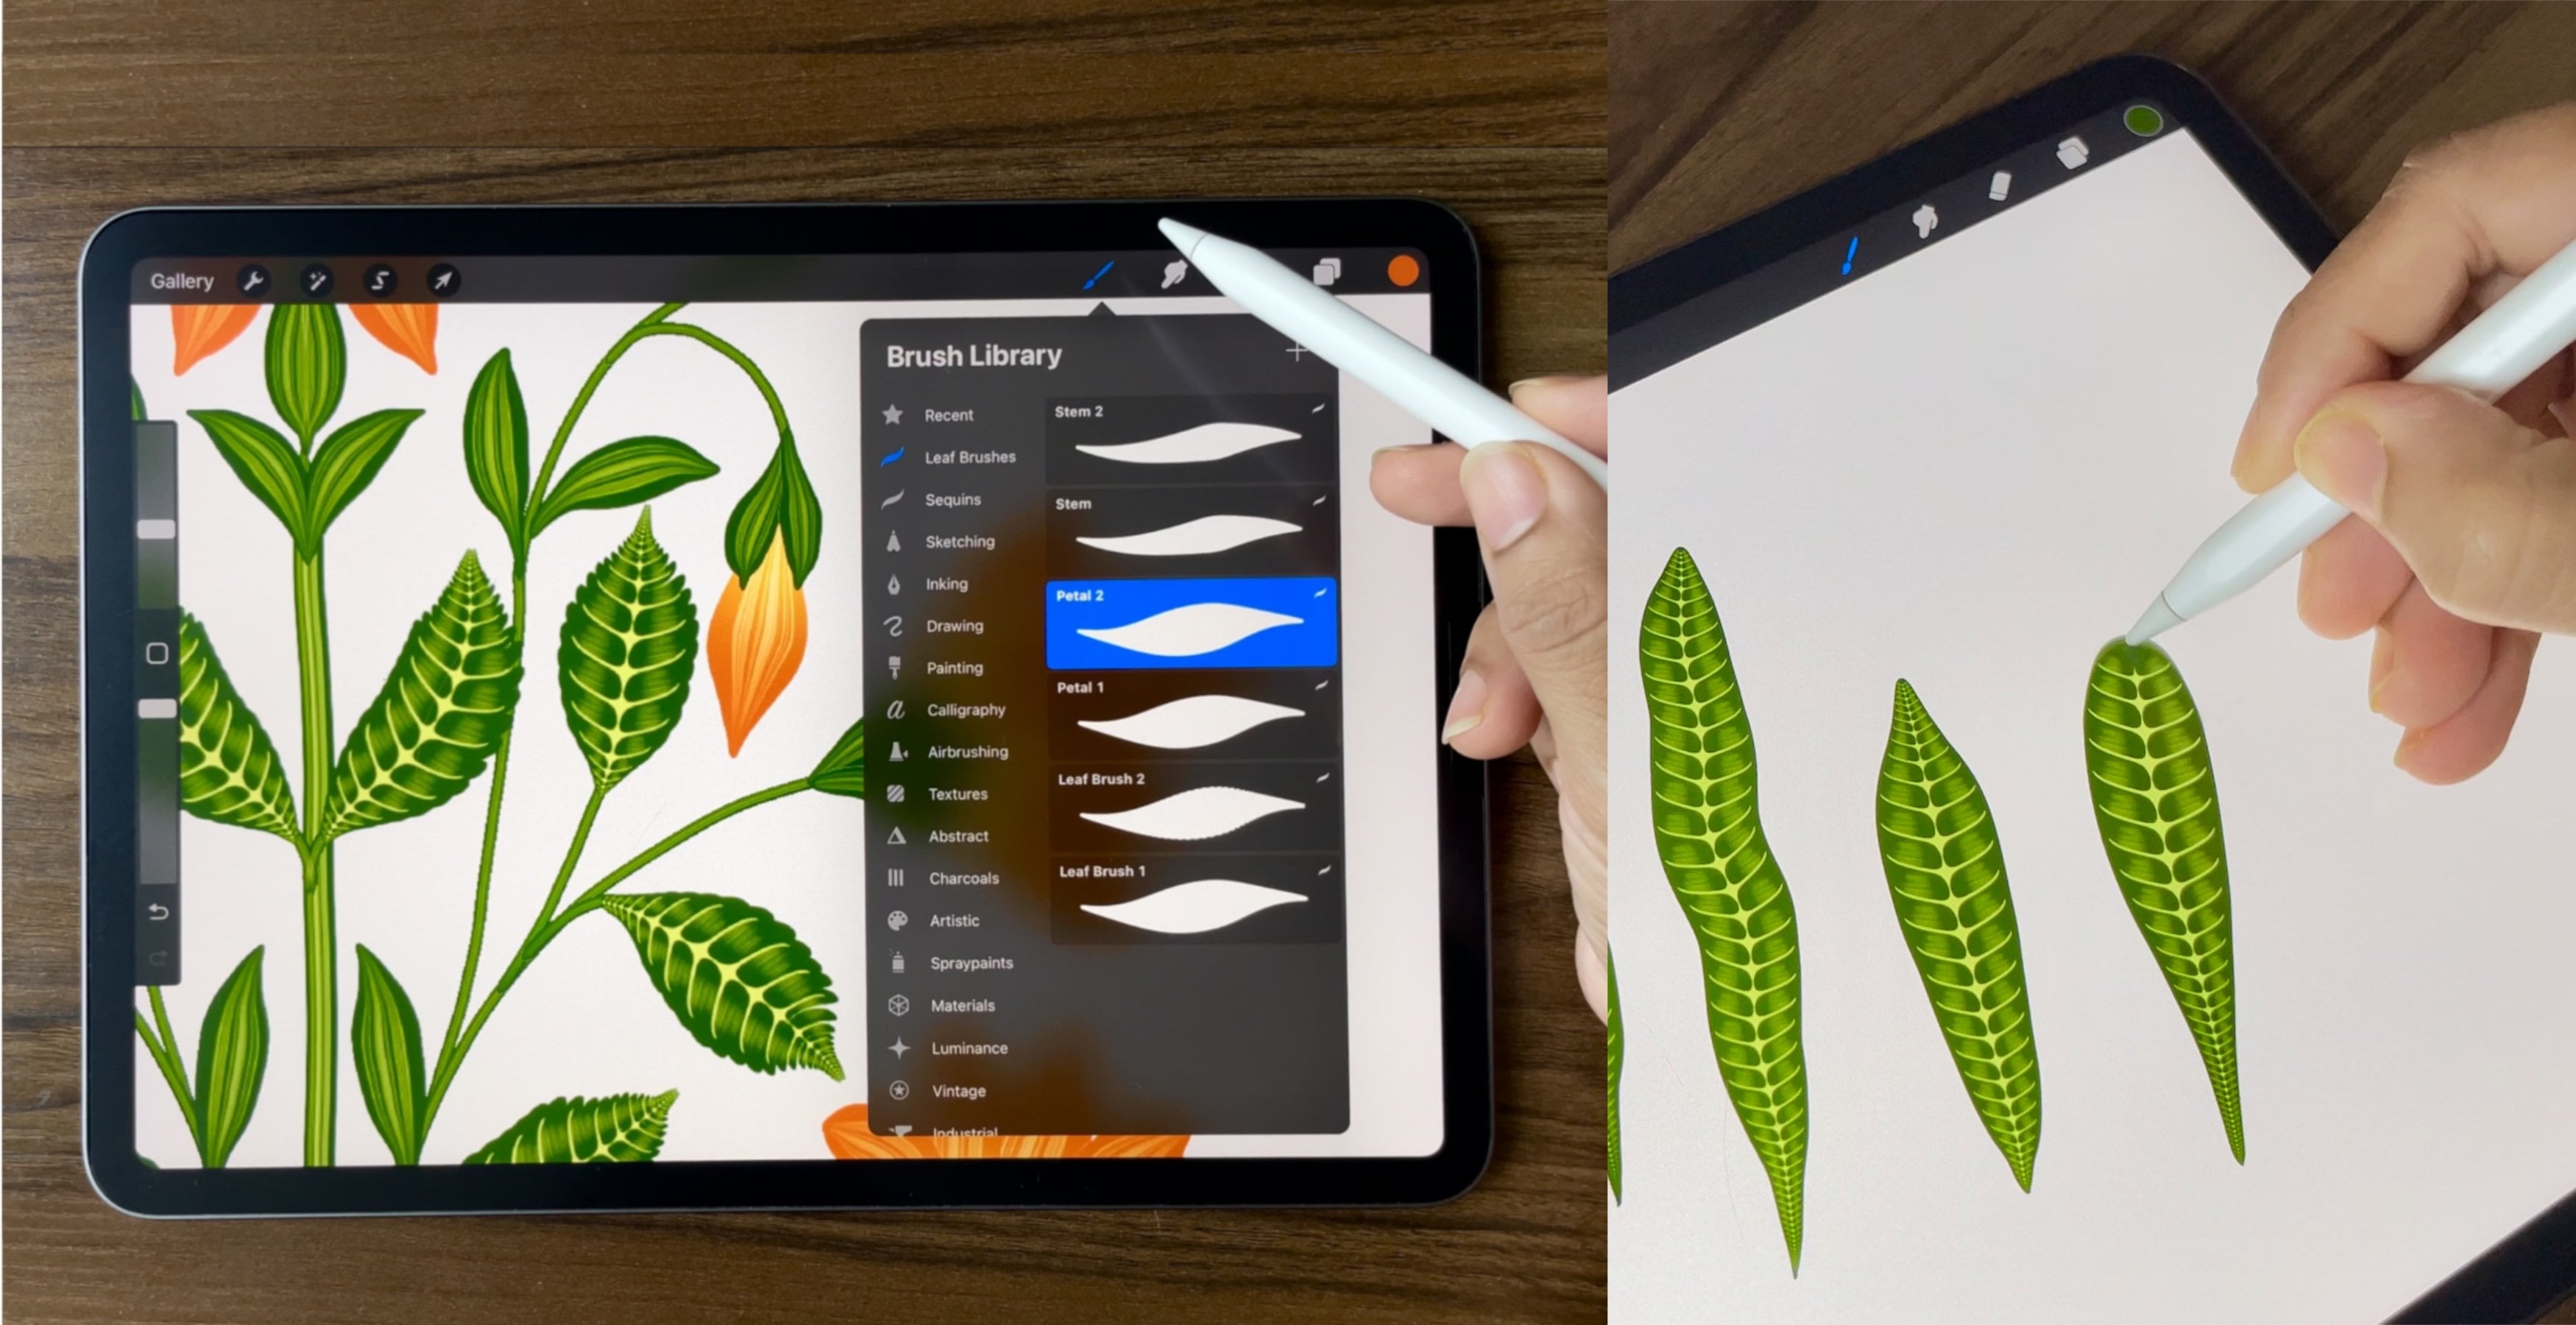
is visible on the canvas. We'll tap on the brush library. And here we'll create a new folder for our
animal skin brushes. For that, you'll find
this tiny plus sign at the top of your brushes. Tap on this, and you
can rename your folder. I'll rename mine as animal skin. Now your folder is ready. Now under your folder, you'll find this tiny plus
sign on the right side here. We'll tap on this plus sign, and this will open
all the settings we need to create a new brush. Now here, let's start with our first step that is
adjusting your spacing. Make sure you're not
using this slide, and you are inserting
the number here. Keep this as 5%. Next we'll tap on shape. Here tap on dit,
Import, source library. Under source library, you'll find a lot of option
for the brush. From here we'll select medium. You can even experiment with
other shapes too tap done. We'll move on to
the next section that is grain, tap on grain. Here, make sure you're
under this option called. Make sure you're under moving. Tap edit please. Here under import, tap paste. This will paste the image
you copied from the Canvas. Next here on the image. We'll tap with two finger. This will invert the image. Next, tap on this option
called auto repeat. This will convert your image
into a seamless pattern. Here at the bottom, you'll find these options to
merge these lines. For example, if you slide this option called
border overlap, you can see the difference
in merging these lines. I'll keep mine as
Mx and tap down. H Here under grain
when you move down. You have to minimize the option called Zoom, make it none. Move down again, and there's an option
called offset jitter. We will total off this option. Next, we'll tap on rendering. Under rendering, make sure your uniform glaze is selected. Next, we'll tap on
color dynamics. Here we'll move do Under
stroke color Jitter. We'll maximize the option
called secondary color. Under color pressure will maximum the option
called saturation, brightness and secondary color. Under secondary
color, you'll find this option called
Max, tap on max. Here you'll find the two
option under pressure. You'll find this tiny node, make it flat horizontal. Next, we'll tap on Apple pencil. Here, the opacity will
be minimum, none. Now we'll move on to properties. Tap on properties. Here, orient to screen
will be switched off. The maximum size of
the brush will be max, and the minimum will be 10%. Here at the bottom, make sure your minimum and maximum
opacity is max and tap done. Now, we are done with the
first part of the brush here. Let's move on to the second one. We'll duplicate this brush, swipe left and tap duplicate. Tap on the second brush, the one at the bottom. Tap again to open
the brush setting. There are very few setting that we need to change in this brush. We'll tap on grains, edit, tap with two finger. For this part of the brush, we need the image to be
the other way round, tap on auto repeat and tap down. Now, under the same section, we'll move down, the blend
mode here will be linear burn. Next under color dynamic, will move down under
color pressure. The saturation will be
50%, under color tilt. The saturation will be max. The brightness will be on the
opposite side that is -100, and secondary color will
be max. And tap done. Now, here we are ready
with our two brushes. Make sure the first
one is selected, and then you select the second one and tap this
option called combine. Now, let's try this brush. We'll go to the color panel. Now, here, you'll see there are two options for the color. We'll tap on one
of the rectangle, select your first color, and for the second one, I'll
select a dark brown color. Now, before you leave the panel, make sure your lighter shade is selected and showing
at the top here. Let's try it on the canvas. This is how the
brush looks like. When you zoom in,
when you zoom in, you will see this very
natural skin texture. This couple of tips
that I want to show is when you have
a patch like this, if you add these shorter
brushstrokes that can be fixed, The next one is when you add this continuous brush stroke. It can get darker like this. If you have a darker
patch like this, you can just add
another short stroke with the same size of the
brush and the same color. So we are ready with
the brush here. Let's try out another
color combination. I'll hide my first
layer, add a new layer. Go to the color panel. I'll select a darker shade of pink and a lighter
shade of pink. Make sure my light is selected, and this is how the
brush looks like. Now, once you have your
first brush ready, you can use this
as your base brush to create all the
other skin brushes. You don't need to repeat
all the settings. Let's see the steps
that you can follow. Tap on the wrench icon menu. Here, make sure
you're under add, insert a photo, and you can insert your second skin
from the brush library. We will fit this
image on the canvas. So everything that is going outside the Canvas
will be cropped. Once you're ready, they select. Next, again, we'll go to
the wrench icon menu. Here we'll tap on copy canvas. Go to the brush setting and
duplicate your first brush. Tap and open the setting. Here we'll tap on grains. Go to edit, Import and
paste your new skin here. Tap with two finger
and inort the image, or to repeat and tap done. Because this is a dual brush, we need to paste the image
in the second brush too. Go to the second brush, grain, import, and paste. Tap on auto repeat and tap done. And again, we'll tap Done here. Now, let's try this
on the canvas. I'll hide my image.
Add a new layer. I'll select my color. When you zoom in, you can see this natural skin
and hair texture. Now, to rename your brush, you have to tap on the bruh, tap on about this brush, and you can rename here. You can even insert your
image, name, and signature. And. Let's move on to the next section
where I can show you some tips and tricks. O
3. Tricks & Tips: Let's see some tips
and tricks that you can add while using
these brushes. This canvas is 3,000 by
3,000 pixel with 300 DPI, and I'll go to the brushes. I'll select one of my brush. Make sure my color is selected. And the lighter one is showing at the top here before
I leave the panel. I'll be adding these animal skin patches on different layers. This is the process I follow to create a seamless
pattern in Photoshop. I'll move on to the
next animal skin. I'll hide this layer,
add a new layer. I'll select my
second animal skin. I'm just creating
this random patch, but you can plan and
create in your own style. Now, the third patch, I'll add on a new layer. This time, I want to
add a zebra pattern. I'll select a different
color combination. This color palette is available in the resource section two. I'll select an off fit and
a darker shade of gray. Once you're ready with
all your patches. I have three patches
in my layers. Next, we can export this. For that, we can tap on
this wrench I can menu. Make sure you're under share and share this as a PSD file. I directly air drop
this on my laptop. I open this file in my photo shop with
the pattern preview. Arrange these patches. And I combine this with a
set of botanical elements, and this is how the complete
seamless pattern looks like. Now let's move on
to the second tip. Now here on the Canvas, I have two sets of
mock up sketches. One is with the bag, and the other is
with the sandal. Let's start with the bag first. I'll open this group. Here I have one layer
with the whole sketch. And the second layer is a white base color that I
have only on the bag area. So we can start by
adding a new layer. Tap on this layer and
tap clipping mask. So this clipping mask is
on the white base layer. Now I can go to the brushes. I'll select any of the
animal skin brush. Select my color combination, and I'll add this pattern
on my clipping mask layer. Now, let's see few
options to recolor this. I'll tap on this selection tool. Make sure your free
hand is selected. I will randomly
select few patches. Tap on this tiny circle. I'll select again and
the third selection. Tap on feather.
There's an option called feather at the bottom. I'll increase this to a 20, 21%. Now we can go to adjustments,
tap on adjustments. Here we'll tap on hue
saturation and brightness. You'll find few options
at the bottom here. We can start with the hue, where you can change the color, saturation, where you can adjust the saturation, and
the brightness. Let's start with the hue first. You can see the color changing. I'll keep mine as this
nice dull turquoise. I feel it is too bright, so I can decrease
the saturation here. You can even adjust
the brightness here. Once you're happy with
your results, deselect. Now, I want to adjust the saturation of
the whole pattern. I'll go back to hue
saturation brightness, and there is no
selection done here. So the whole pattern
looks brighter. So we are done with the bag
and the recoloring here. Let's move on to the sandals. To the sandals, I'll
quickly show you how you can add shadow
and highlights. I will follow the same steps to add the pattern like
we did to the bag. I have this sketch layer, and below that is a base
layer that I have here, a white base layer. So we need a
clipping mask again. I'll add the same
leopard pattern here. Next, I'll be adding a little
shadow at the bottom here. For that, we'll tap on
the selection tool again. Make sure your free
hand is selected, and I'll select this
lower area here. Now tap on feather, and I'll increase the
feather to around 2020 1%. Go to the adjustments,
select curves. Here, make sure you're
on the first option, and you can pull this down
to get the pattern darker. And this can create a shadow
effect to your illustration. Now, I'll repeat the same
steps for the highlights. I'll go to the selection tool, and I'll select a little
area in the center here. Add little feather
to the selection. Go to curves again, and this time, I'll pull
it up instead of down. So you can see it creates this lighter highlight
effect to your illustration. And this is one way you can use these brushes to create
your mock up illustrations. Now let's move on
to the next step. Sometimes when you create
a particular skin pattern, it might not repeat seamlessly. It might create some
patches or blur areas. For example, if you see
here, it is not clear. It creates this blurry patch. Because when we create our
brush and go to auto repeat, it might not create a
perfect repeat for us. Another option to create a
good quality brush is to create a seamless pattern on
your image on the Canvas. You can follow the same
steps that you follow to create a seamless pattern
with your illustrations. I will not be explaining every step of the
seamless pattern here. Otherwise, the class
will be too long, but I can show you a quick demo. I'm using the split method here where you split
the image into half. Make sure your snapping is on. Merge both the split layers. And here we will be
using the Clone tool. Go to adjustments, and there's
an option called clone. You'll get this
tiny circle here. Now you go to brushes. Make sure from airbrushing, one of the soft or
medium brushes selected. Now wherever you place
this tiny circle and you add brush stroke. It will clone the area
where it is placed. We need to get rid of this center line and add
this seamless effect. This clone tool will help us duplicate the hair and
the pattern effect. Once you're happy with
the seamless image, you can paste this in the grain section of
the brush setting. This will give you a clean,
seamless pattern brush.
4. Project & More Examples: For your class project,
you can create any animal pattern
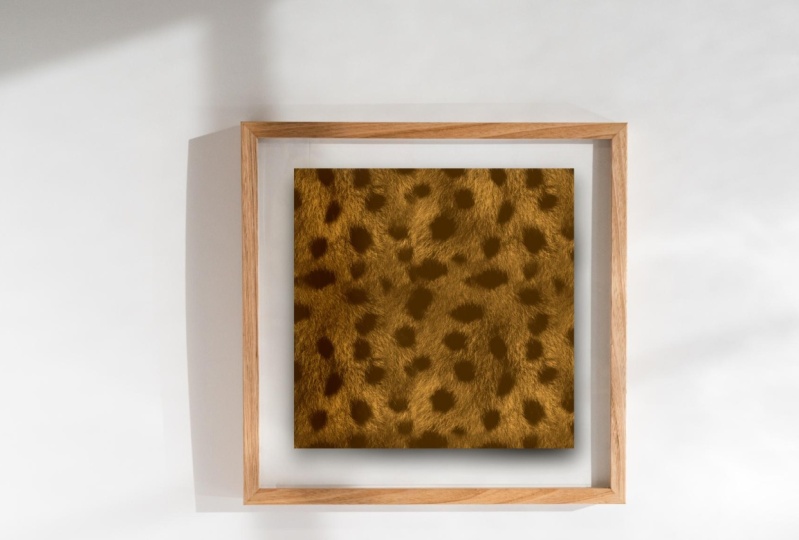
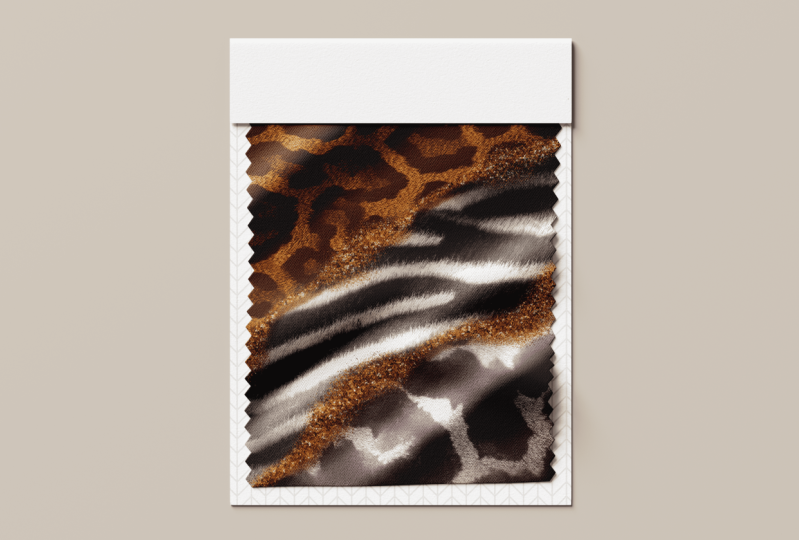
brush of your choice. I will be showing you a few more example of these brushes. This is an example
of a leopard skin. This is the same brush with a different color combination. I have prepared a set of 13 animal print brushes
and listed on my sea shop. This is a giraffe
skin pattern brush. This is a zebra
pattern skin brush, where I'm using a combination of an off white and a dark
charcoal black color. I hope these examples
have inspired you and helped you in deciding your own unique
animal pattern brush. I have attached a
reference image and a color palette in the resource
section of this class, which will help you achieve the best results while creating
these procreate brushes.
5. Final Thoughts: Congratulation for
completing this class. To recap, we learn how to create a realistic animal
skin pattern brush, how a dual color
pattern brush works, plenty of other
animal skin examples, and a lot of tips and
shriks on creating a seamless and a good quality
animal pattern brush. I hope this class has
been beneficial to you. If you have any
question regarding this class or the brush
creating process, please feel free to drop a question in the discussion
section of this class. I will be here to assist you. I will be looking forward to your beautiful
animal skin brushes in the project section
of this class. You can follow me on
Skin share to get notified when I
publish a new class. For more tips and tricks
and behind the scenes, you can follow me on Instagram. Your feedback through
reviews helps me improve and plan
my future classes. Thank you for taking
this class with me. See you in the next class.
 Vinita Upadhya, Illustrator & Pattern Designer