Transcripts
1. 00 Introduction: Hi everyone, I'm Sara, and in this course I'm
gonna be teaching you how to make this crunchy. So this spot, it's
grungy it specifically. But you can also have some
fun with Scratch trees with different
colors or patterns. I'm really just going
to be teaching you the basics of how to
make your own crunchy. But I wanted to do
something a little bit with the design of it. So I'm also going to be
doing this polka dotted one, but it's totally up to
you what you decide to do with the base pattern
of this course. So the great thing about
his country is that literally the only thing
you are going to have to need to know to do this is a basic knit stitch
in the round. Everything else I'm going
to walk you through. I'm going to be teaching
you a German twist cast on. It's a stretch to your cast on. I'm also going to be
teaching you how to make seamless edge on
this crunchy as well. So I'm going to teach
you how to bind off around the elastic on the inside so that you have that seamless edge and grungy will come
out the right way. And this is just a great course for anyone who wants
to do a small, easy project in-between bigger
projects or because they have that ever
mounting collection of scrap yard, they don't
know what to do with. This is a great one because it doesn't use a whole lot of yarn. So if you just have
those tiny little balls of yarn lying around, you don't know what
to do with them. This is a great
project to work on. Be sure to take a picture of your finished
crunchy and put it into the project section of
this course so that I can see the designs and
colors that you came up with. But let's get into the course.
2. 01 Project Materials: This course you're
going to need, well, so I have my base color, but also some accenting
colors because I'm going to be doing some good
out patterns on mine. You can just stick to one color or you can pick whatever
colors you want. Really just have
some fun with this. It is a great project, using up any scrap
yarn you have in those tiny little bits
that you have left after a project and you don't
know what to do with them. This is a great
project for that. So whatever you have
lying around and whatever colors you think
work nicely together, you're also going to need a
set of double-sided needles. So all five of them, I am using 4.5 millimeter ones, but you can use an
upper ones you want. Bigger ones are going to have this project done a lot quicker. Smaller ones are going to
take you some more time. Think about the weight
of your yarn to when you're thinking about which size needles
are going to use. You're also going to need
a flexible measuring tape so that you can get
the right width. Two years, crunchy
and inelastic. That's the most important part of this project because you're going to need that on the
inside of what you're knitting. You're also going to need a tapestry needle and a pair of scissors for when
we're binding off. And that's all you need
for your scratchy.
3. 02 German Twist Cast On: We're going to start
off this project by casting on our stitches. So I'm actually going to
be taking the opportunity to teach you a really
stretchy Caston, I call it the
slingshot casts on. That's what I always
knew would ask, but I think it's also called
the German twist cast on, but it's going to give you
a little bit more stretch. And with something
like us crunchy, where you're going to want
to have that stretch. I thought it was a good time
to show you how to do that. If you want something with
a little more stretch than the normal
long tail cast on. So it starts off the same
way and that you're going to have a long tail to work with. And we're going to be
casting on 20 stitches to four of our needles
so you can put one of the needles
aside for right now. So make sure that the
tail that you make is long enough to do
all of your stitches. If you decide to change
the number of stitches, just keep in mind how big your elastic is when you
stretch it all the way out. You can always measure that and then decide how many
stitches you need. But I always go with 20
on four of the needles. So 80 in total, that always seems to
work really well for me, but I've also made
quite a few of these with the same kind of elastic. So I have a pretty good
eye for it at this point. But yeah, just stretch it
out and see how long it is. And then that'll be what you'll use to measure for whatever
weight of yarn you're using. So to start this cast on, you're going to just
make a normal loop to start off and you're
going to have that onto your first needle. So that's our first
stitch, pretty easy. Now, the next thing
is you're going to make this C-shape with, in my case, my left hand. But whatever your less
dominant hand is, whichever hand
you're not going to be holding your needle in. And that is gonna be the key
to maneuvering this one. You're going to use that C-shape to hold the two sides and then just grab the strings at the
end with the other fingers. So this very important
shape to have, because that's going to be
the whole twist of this. So we're going to start off with our thumb and we're
going to curve this over to make a
loop over our thumb. And then with our needle
we're gonna go under that loop to have those two strings over
top of our needle. And then we're going to
put the needle through the loop on the upper side. So we're gonna go under
it to pick up those and then over-the-top
into that loop. And it's gonna kinda hook around into this figure eight shape. And then you're going to take the yarn that's on your index
finger and you're going to flip that over like you would if you were
making a normal knit stitch. So you now have three stitches, sort of sitting on your needle. And you're going to take
the one side of the figure eight and it's going to
go over and over the top. And then you're
just going to pull that tight and that's
how you cast on. So I'm gonna go over
it one more time. I know it can be really,
really hard to get this, but once you've
practiced it enough, it really becomes muscle memory
and it's so much easier. So again, back to that C, where we have the rest of our
world and the other hand. So we're going to make
a loop with our thumb. Then we're going to
take our needle and go underneath that loop. Then we're going to take
our needle and go over the top inside the loop to make
our figure-eight shape. So just to figure out like that, then we're going to
put our yarn over with the yarn on our index finger
and then just pull that, figure it up and over that
yarn and pull it tight. So it is going to take
some time to get that. But trust me, it's
a really cool cast on to learn and it's gonna
be a lot stretch here, then the long tail cast on. So it's great for
hats, scrunch, ease, mittens, anything that
has a ribbing pattern. So that's how you do the slingshot gas
thought if you're me, but also the German twist.
4. 03 Polka Dot Pattern: If you're going to do just a solid color
for your crunchy, Then you're just going to
plain knit in the round until you get 1.5 to two
inches in length. You really want to make
sure that you have enough to fold over your elastic. So however wide you want
your finished crunchy to be, you need to double
that length for what the final length
of this knitting is. Keep in mind that the shorter
you have to work with, the harder it's going
to be it to seem the two sides together at
the end to make a tube. So in this instance, speaker is probably better
if this is your first time. It'll make it easier for all
of that weaving at the end, if you're going to do the polka dot pattern along with me, then you're first going
to just knit all the way around for the first row is going to give you
a nice foundation. And it is going to help you when we're weaving the tube
together at the end. So just plain knit which
I've already done. And then we can get into
the actual spot pattern. So this is basically
just alternating colors. And the great thing about the crunchy is that you're
going to have a backside. So the inside where
the elastic is gonna be that no
one is going to get to see it's going to be
cut off from the world when we end up seeming
the edges together. So you can really have fun
alternating your colors. For this pattern. I'm only going to be
alternating between two spots and then
our main color, just to keep it really simple, but you can really
go crazy with this. You can do stripes, you
can do, fair, I'll, but we're going to stick with some simple polka
dots for this one. So the first stitch on our first and needle
is where we're going to first switch our wool. So here's how you're going to switch your colors
to first start off, you're going to find the end of your wool and you're just
going to make a loop with it. It's going to seem very
strange and unstable, but trust me, it'll be fine. You're just going to
make a loop and put that over the top of your
normal knit stitch and then just knit like normal and then you drop
your other color. I know it feels very unstable, but we'll come back
to it and make sure that it doesn't come
undone in any way. So then you're gonna go back to your main color and we're going to stitch a three stitches. And then once we
have those done, we're going to switch
back to our color. So you're just going
to pick it up, make sure that you don't pull too much because you don't
want to pull the loop off. And you want to make sure
that you give yourself enough space that you aren't
making this really tight. So we want this grungy to scrunch up once we
have the elastic, but we want it to be
able to stretch out too. So if you pull a lot on this stitch and make your
stitches really tight, the whole project is going to
start curling in on itself. So you really wanna make
sure that you're loose. You let the yarn on the backside lay the way that it would
when it's all stretched out, then you're just
going to knit like normal with that other color. And then we're going
to switch back to our main color for the
next three stitches. And that's how you're
going to continue for this whole row. You're just going
to keep alternating every three stitches
of your main color. And the fourth stitch
is going to be whatever your first color is going
to be for your polka dots. And you just keep
switching until you go all the way around. So let me finish
that up super quick. So once you've gone
all the way around, we can go back and stabilize this little string that we have from when we
switched our color. So just make sure that nice and snug on your needle
not too tight, remember, but it's still nice tight stitch because we don't want a big gap at the
beginning of our work. So you're going to take
that piece of string and your main color yarn, and we're actually just
going to tie that together. So just like a
normal tie, again, not too tight and then
we'll tie one more time and that will keep our stitch secure so that it won't come on down or
anything like that. So now for the second row, we're just going to knit all of our stitches all the way around with whatever your
main color is. And then we're going to do the second set of spots
that are slightly offset. So just go and such
all of your stitches. So now that you've knit
all the way around, we can start with the
second color for our spots. So we're going to
start by knitting the first two
stitches of this row. And then for that third stitch, we're going to switch colors. So again, taking whatever your other color is
and making a loop, putting that over your needle
and just knitting through. And then we're going to at
knit the next three stitches, just like we did before. And then switch to the next color and then
back to our main color. And you're just going to do
that all the way around. So three stitches with
your main color and then switch all the way around. So you're just going to
keep going with that. And then for the next row, you're just going to knit all of your stitches
all the way around. And that's the full four row
pattern for these spots. So you're just gonna go back to when you used your
first color and again, first stitch in
your other color, and then three stitches
and then switch and then a row with
just your main color, and then two stitches to
start and then switch colors, and then three
stitches and switch, and then a plain knit row and your main color and just
keep going until you have 1.5 inches to two inches
for your school crunchy. And that's really all it is. And then we're going
to do the bind off where we will seem the two sides together over the elastic.
5. 04 Adding Elastic & Binding Off: Once you have the
thickness that you need, we need to finish off our
scratchy and actually make it into the elastic that
you can actually wear. So the first thing you're
going to have to do is flip your work inside out. So you're going to just have
to make it so that you can see all of those carrying
colors for the stitches. And just make sure that you
keep track of the string from your cast on because that is the beginning of the
bottom part of your bro, and that's gonna be
important once we start to stitch the two
sides together. So you're going to want to
make sure that you have your elastic handy for
this because we're going to scrunch all of this
together as best we can. And then you're going
to take the elastic and put it over the top. And I like to make
sure that I actually pin down that string from the cast on into the elastic because I find that it
gets tangled up sometimes. So I want to make sure I know where that
beginning of the row is, but I don't want to get
caught up on that string. So once you have your elastic with your
scrunched up knitting, you're going to cut off a
long piece of your wall. You're going to need
enough that you can weave all of your
stitches together. So you want a lot
of wool to work with when in doubt,
have to match. And then you're
going to put that through your tapestry needle so that we can start to weave the two ends over that elastic. So you're going to find where you left off with your stitches. So you're working yarn still. So this is the
beginning of our rope. We were still knitting. This would be our first needle. So what we're going to do
is we're going to take our tapestry needle
and go in as if to Pearl into that first stitch and pull our yarn
all the way through. And that's just to
set up that stitch. You want to make sure
that you kinda loop the yarn around through the bottom so it doesn't
get all caught up in your needles
for the next part. So you're going to find where
that start of your row on the bottom is because
we're actually going to fold these two sides over. We're going to stitch the
stitches on our needle to some of the stitches on
the bottom of our work to have this folded
over the elastic. So on that bottom
part you're going to find where you started
and go to the side of it. If you did the spotted one, you're going to see one
of your first spot. That's also gonna
be the first row and there'll be a
stitch under it. You can tell each stitch by
this V shape that you'll see. So you want to pick up both sides of the
V of that stitch, the first stitch of that row, and you're going to stitch into it going in the direction
you would have meant. For me. I knit right to left. So I'm going to
have my needle go in towards the left in
the same direction that I was knitting and pull
your yarn through that stitch and really
pull it tight because that's going to be probably the loosest one and it's
going to be a lot easier to keep your work closed
firmly as we work around. But now we'd get into
the actual pattern. That was a nice little setup. So now we need to do the
actual weaving pattern. So for that we're
going to go into the first stitch as if to knit. And we're actually going
to pull that stitch off and make sure that we pull our yarn all
the way through. And then it's nice and tight. And then we're going to go
through the next stitch as if to Pearl and
polar yarn through. And then we're gonna
go to the back. So to the bottom of our work
so far to the next stitch, next to where we
stitched in before, again looking for
that V shape stitch. And we're going to
pick up both legs of the V going in the
direction we were knitting. And then just pull our yarn through and make
sure it's nice and tight. So that's the weaving pattern. And it's really going to bring
those two sides together to basically we're creating another stitch over
those two sides. And that's going to make this
invisible seam on the end. So I'll go over
it one more time, just make sure you've got it. So we're gonna go in to the
stitches on our needle. First one as if to knit, pull that stitch
off of our needle, and then pull our yarn through. And then we're gonna go into
the next stitch still on our needle as if to Pearl and pull our urine through
and make sure that our urine doesn't get
tangled up in our needle. It'll be easier once you get
through your first needle, you won't get caught as much on that needle right next to it. Then on the back
we're looking for those are V-shaped stitches and we're going to pick
up both legs of the V, going in the same
direction we were knitting and pull our yarn through again, making sure it's nice and tight. And that's going to weave those two sides
together for you. And you're just going to keep
going until you've done all of the stitches
around the outside. And then I like to tuck the tail leftover
from weaving inside because we do have this inside part where we can hide our strings
and what have you. And then that is it
for your scratchy.
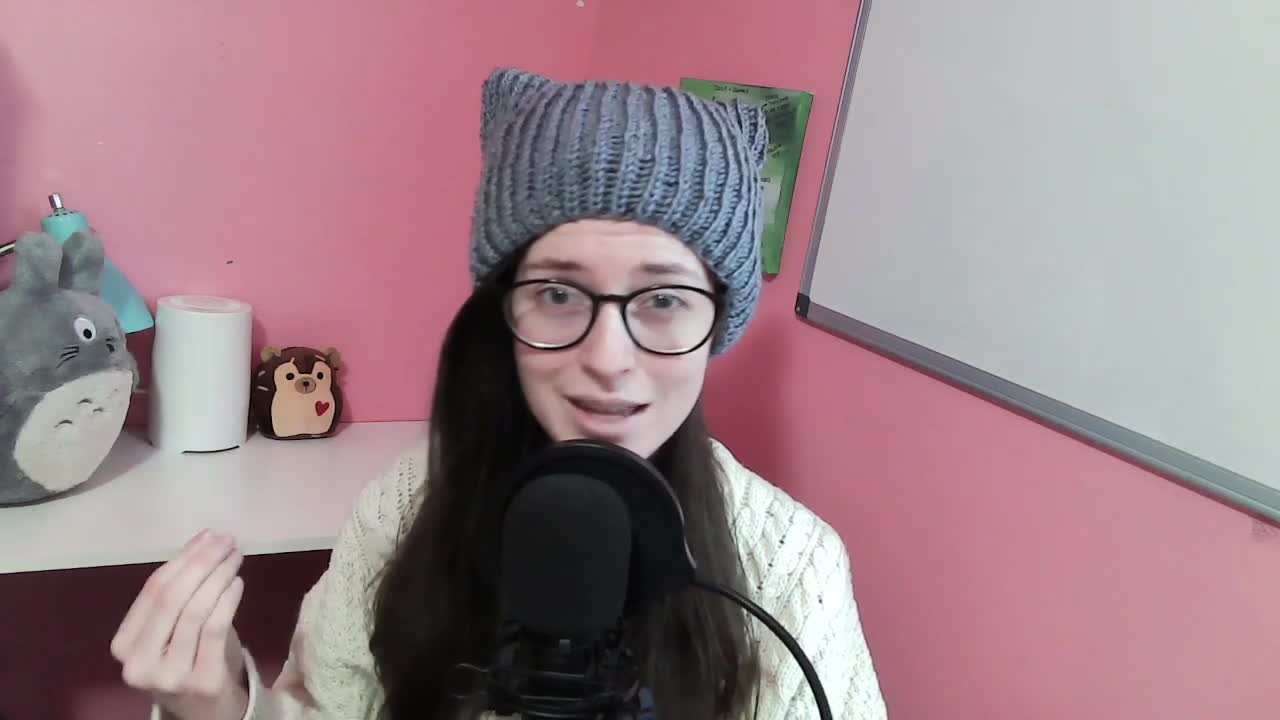
6. 05 Conclusion: Congratulations on finishing
your skirt crunchy. I hope that it came
out really nice. And you can go on
and make a bunch of different funky designs or
color patterns that you want. It really is a great project. If you want to give a gift to someone or you're
just wanting to work on something easy for an afternoon going in-between
different projects. I hope you had fun making
this little project. Make sure that you
take a picture of your finished
crunchy and put it into the project section of this
course along with any kind of questions or issues
that you run into. So I can help you with that. And you can always check out my other courses
here on Skillshare. I add new ones regularly, so there's always going to be at some new stuff for you as you are learning about knitting or looking
for your next project. And I will see you in
the next course. Bye.
 Sarah Carswell, Fiber Artist