Transcripts
1. 00 Introduction: Hi everyone, I'm Sara, and in this course
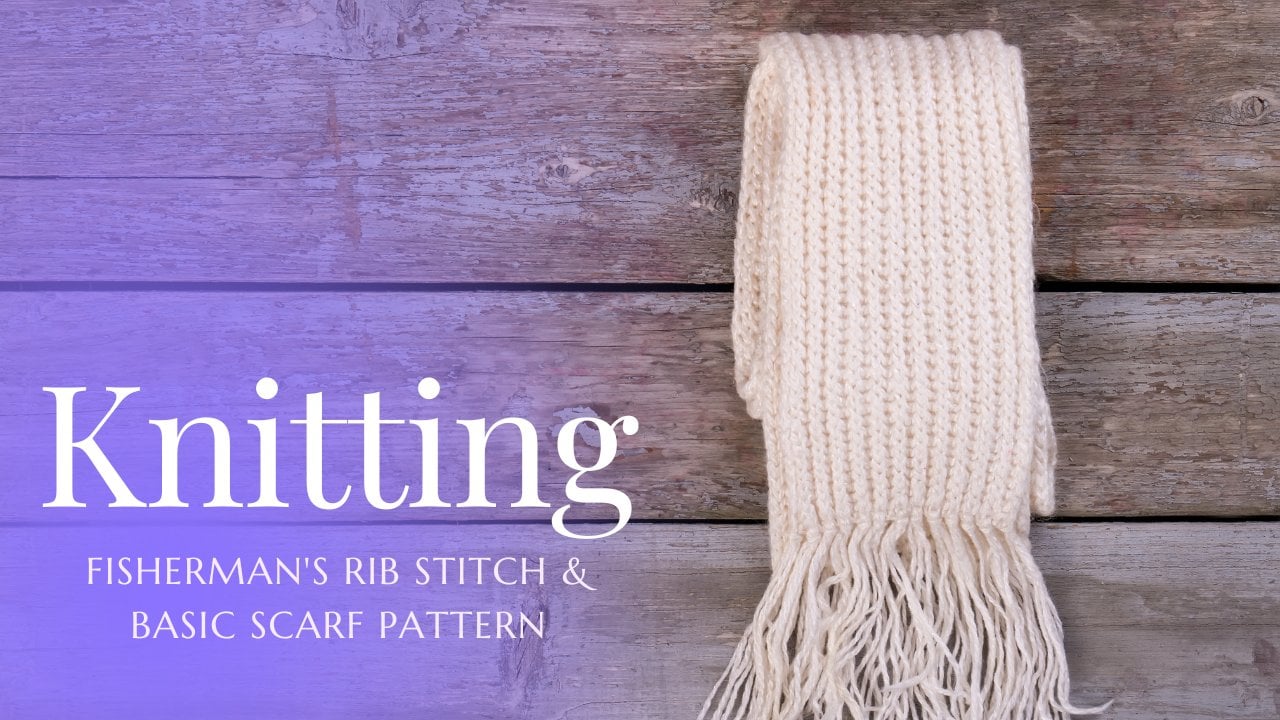
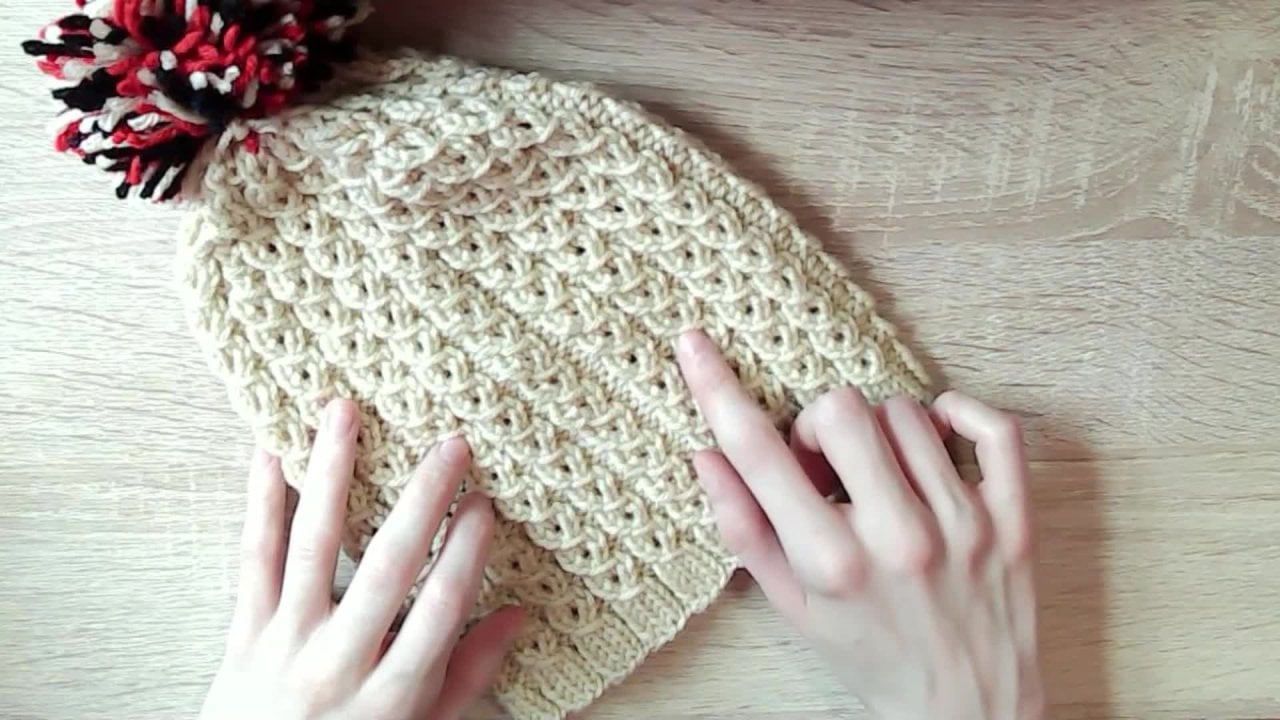
I'm gonna be teaching you how to make it this kitty ear hat with the
fishermen rib stitching. This is one of my
favorite stitches because it's super stretchy, so it's great for a hat
because you can have a base pattern and
then it can fit lots of different head
shapes and sizes. It's also just really cute
with the little ears on top. And it is basically
two layered patterns, so it's super warm income V2. For this course, I'm going
to be teaching you how to do the fisherman's
rib in the round. I've taught it before,
but how to do it back and forth for a scarf, but it's different for
working in the rounds. So I wanted to teach you
how to make a hat with it. And I'm going to be
teaching you how to use proactive lifelines. That is, so you can
have a place to go back to if you drop
any of your stitches. And I'm going to
showing you how to bind off by weaving the ends together and how to weave in your ends at
the end of the project. For this course, you are
going to need to already know how to do a at knit stitch, a pearl stitch and a
long tail cast on. If you don't know that yet, I have classes
here on Skillshare already where I walk
through all those. If you want a little
introduction to the fisherman's rib
stitch as well, I have a course on knitting a scarf using it so you can get used to what the pattern is, even though it's a little bit
different for this hat and, but definitely go
and check those out before you start
to do this course. Be sure to include pictures of your kitty hats in
the project section of this course along with any questions or things that you would like clarification on, I can't wait to see them. They're super cute. But let's get into
the first lesson.
2. 01 Project Materials: In this project, you're
going to need some wool, a set of five double
sided needles. I'm using four millimeter ones, but you can choose
whatever size you want a crochet hook for
when we're picking up any dropped stitches that
you might have a set of scissors for cutting
off the ends later on, tapestry needle for weaving in the ends after we're
done the project. And a flexible measuring
tape so that you can measure your
garment and make sure that it is the right size.
3. 02 Casting On Stitches: The first thing
we need to do for this project is to
cast on our stitches. Now this is just going to be
a normal long-tail cast on. Nothing special going on here. So you should already
know how to do that. You're going to take
your wall and start casting your stitches
onto your first needle. And we're going to have 20 stitches on each
of our needles. While I'm doing this
example project, you can cast a different number. It'll depend on the size of your needles and how big
you want the hat to be. One thing to keep in mind
is that you need to have an even number of
stitches on your needles. So any changes that you make, indeed make sure you
have an even number of stitches on your needle. Another thing to keep in
mind if you're changing the number of stitches
is that this is a very stretchy pattern. So probably you are
going to have to aim for a smaller
width for your hat. Then you might think, because it is going
to stretch out a lot of the thing that
I liked the most about making hats with
the fisherman's rib is that it is super stretchy. So even if you have people
with varying head sizes, you know that that is going
to fit really well for them. So let me just finish
casting on my stitches. So now you should have
20 or an EBIT number of stitches on four of your needles to
complete your cast on.
4. 03 Foundation Row: Now that you have all of your
stitches on your needles are going to have to
do a foundation row. So this is going to
be a row that we only do once for the first row. And then we can
actually get into the fishermen ribs pattern
for working in the round. So for the foundation
stitch, super, super easy, we're just going to do a
knit one Perl, one pattern. So a one-by-one Rib. But just for this one row, you should already have
some practice with the knit and Pearl stitch. We're just going to start with our first needle and
our first stitch, which is always
the trickiest one to get everything in order. But we're going to
knit our first stitch, then Perl for our second stitch, and then knit then a pearl. And that is what you're going
to do all the way around. That's why we needed to have an even number of
stitches on all of our needles because
you need to end each needle with a pearl stitch. So let me finish up
this foundation rep, your foundation row should look something like
this when you're done, don't worry, if you've
got a bit of gap between those two needles marking
the end of your row. So that's why your tail
from your long tail cast on is going to mark for you as you
work in the round. That's gonna close
up as we start to get into the other rows. But now you're already to learn the two row pattern for working the fisherman's
rib in the round.
5. 04 Row 1 Pattern: So now that we have our
foundation row all finished, we can finally get into the
fisherman's ribbed pattern. The first row is a lot like doing the fisherman's
rib for a scarp. So going back and forth. So what we're going
to do is we're going to start there first stick, which is going to
be a knit stitch. Instead of putting our needle into that stitch like
we would normally knit, we're going to go into
the stitch at the bottom, going directly into
that bottom stitch. So there'll be a little
v-shaped pattern there. You're gonna go right
into the center of it. Then you're just going
to knit like normal, putting your wool over and knitting like it's
a normal knit stitch. I know it can be a little
bit scary at first because you feel like you're dropping a stitch or something, but it'll be totally fine. Then you're going to
put your wool over. You're just going to
Pearl the next stitch. So that's going to be a pearl
from our foundation row. And you're just
going to pro like normal since the next
stitch is a knit stitch, we're again going to go into the middle of that stitch
underneath our needle. And then just init as normal. Next stitch is a pearl stitch, so we'll put our will over
and Pearl the next one. And then one more time we
have a knit stitch will over. And then we're going to go
into that in the center of that stitch underneath and
then just knit like normal. That's how you're going to continue the pattern
for this row. You're going to keep
knitting into that bottom stitch and then Perl for
all of the pearls stitches. So that's why we have
our foundation grow to really set that up for us. So you're just going to repeat
that all the way around. Once you're done your first row, you're going to see the
pattern start to take shape, but it's when we get into
the second row that things really start to show themselves
for the fisherman's rib.
6. 05 Row 2 Pattern: The second row is
really where things start to differentiate
themselves. For the fisherman's
rib in the round as opposed to back-and-forth
like on a scarf. So the second row is basically the reverse
of the first row. Let me tell you what I mean. For all of the knit stitches, we're just going to
knit like normal. But then for all of
the pearl stitches, we're going to go into the bottom stitch
underneath our needle. So our first stitch is
going to be a knit stitch. Just knit like normal, going into the loop
on your needle. And then for the pearl stitch, it wrap our yarn over. And then instead of going
into that loop on our needle, we're going to go into
the loop under Neith. Like I said, the reverse
of that first row. And then just Perl like normal. Then we're going to knit normally that next stitch
and then yarn over. And to Perl, we're going
to go in to the stitch underneath our needle
and then Pearl, Nick. Then pearl but into
that bottom stitch. And you're just
going to do that for all of your stitches
all the way around. Once you weren't finished
that second row, it should start to
look like this. Now you're just going to
repeat those two rows. So row one and row
two ending on row two when you have eight inches, or at least how long
you'd need your hat to be to fit on the head of who you are making this project for. So you can measure that with your flexible measuring tape, just making sure that you
end on the second row.
7. 06 Using Proactive Life Lines: One thing of it, the fisherman's rib in the round is that
it's actually really difficult to pull back your knitting if you actually drop a stitch or
anything like that, I'm gonna be teaching you
a bit proactive lifelines. This basically means that
you're going to be putting in little lifelines for yourself while you're going
through your rows. So if you do drop a stitch or make a
mistake in this pattern, you can rip your work back to that lifeline and then just keep going
with your knitting. So it sounds a little
bit complicated, but it's honestly
the easiest thing. It's gonna take
you a few seconds. It's a really, really simple. So I have some
crochet cotton here, but you can use any kind of
contrasting a will or string. Dental floss also
works really well. You just want something that
is going to contrast with your color of wool you're using so that you can really
clearly see that lifeline. So you're just going
to take a bunch of that string or wool
or whenever it is, you want to make sure that
you can get through all of your stitches and then cut
yourself a nice big piece of it and then get
your tapestry needle to put your wool
or string through. So now we have our needle and our string
and all you're going to do is I like to start after
I've done a second row. So after I have paroled into the bottom stitch on
that row are going to do is take your needle and
put it through your stitches. Make sure you don't pull your stitches off of
the needle itself. So you're just going to thread that stringer wool
through your stitches. And you're just going
to keep going until you get to the end of all
of your stitches. You're going to just keep
going until you have all your stitches
through that string, just like I did
with this needle. And that basically means that this string is going
to hold your stitches. So if you do drop a stitch and you need to
take apart your work, you can take apart to this row and you know that
you're going to put all of this suggests back
onto your needle and then start by knitting into
the bottom stitch. So doing that first row pattern, you might want to put these proactive lifelines
in every inch or so in your work depends on how worried you are that
you're actually going to drop some stitches. But that is a
proactive lifeline. It takes a couple of
seconds and it can really save you if you're not super confident with
the stitching yet.
8. 07 Binding Off: Know that you have your hat to the eight inches
of that you want. We're going to be
doing the bind off. Four. Usually you'll do
some decreased rows to create a bevel at the top. But for this one we're going
to be using the corners of the hat as the
ears of the kitty. So it is just going to be
basically a big square. Now, you can go about this
two ways with binding off. You can bind off
as you would with a scarf and then stitch
those two sides together. If that just is more
logical in your brain, then by all means go for it. But I'm actually going
to weave together, abuse two sides so that they blend really
easily together. But also it does the bind off and a stitching together
all in one step, which is something
that I prefer. So what we're going to do
is cut our working yarn. You want to make sure
that we have a lot of space because we want
to make sure that we're able to bind off all of our stitches and also give us some room to maneuver
with our needles. So I'm just going to cut off that end and then put the end through my needle so that I can start to stitch all
of those together. What I'm going to be
doing is basically we're going to have our front needle, the needle that is
closest to you, and the back needle, the needle that is
farthest away from you. So we have to do a bit
of a setup stitch first. So for this we're going to take our tapestry needle and
we're going to put it through the first stitch on
the needle closest to us. And we're going to put
it in as if to Perl. We're gonna go in
from the front as if the pearl and then pull
that all the way through. Then once you have that, you're going to go
to your back needle, the needle farthest from you. And in that first stitch, we're going to take our
tapestry needle and go in as if to knit and then
just pull that through. We're not taking any
stitches off yet. We're just setting up so that we can get into
the actual bind off. Now that you have that setup, we're going to start
the actual pattern. We're gonna start with
our front needle. So the one closest to you. And we're going
to go in as if to knit on that first stitch, pull our needle all
the way through. And then we're going to
take that first stitch off. You can just slide it off with your darn ego
or sometimes I just push it off with my thumb and
my one hand holding them. And then with the next stitch
still on that front needle, we're going to take
our tapestry needle and go through as if to Perl. We're not going to
pull that stitch off. We're just going to pull
our yarn all the way through and then leave
that stitch on our needle. Now moving to the back needle. So the one farthest from you, we're going to go into that
first stitch as if to Pearl, pull it all the way
through with our yarn. Then we're going to pull
that first stitch off. You're going to want to
not be too tight with your stitches because if you do you're gonna
get a curling. So just keep that in mind. It's okay if you're a
little bit loose with it. Then with the next stitch
still on our back needle, we're going to go into the
next stitch as if to knit. And we're not going
to pull that off. We're just going to pull our
yarn all the way through. Then we're gonna move
back to our front one. And that is the pattern you're going to repeat over and over again until you don't
have any more stitches. So let's go through it one more time just
to make sure that you've got all of the steps
on that front needle. We're gonna go into that
first stitch as if to knit, pull our yarn through, and then pull that stitch off. And then we're gonna go through
the next stitch still on that front needle as
if to Pearl and pull our yarn all the way through
and leave that stitch on. And then we're going to
shift to the back needle. And we're gonna go in
as if to Perl that first stitch and pull our
yarn all the way through. Then we're going to
pull that stitch off. Then in the next stitch still on that back needle we're going
to go in as if to knit. Then pull our yarn through. Again, make sure that you're not tightening those stitches
too much because you don't want the ears to start curling it and you want
it to lay nice and flat. So you're going to just keep going until you've
done all the stitches. The last couple of stitches
are a little bit different. So you're gonna
go until you have two stitches left and one
on each of your needles. So let me just finish
up binding off the stitches so I can show you that little alteration
at the end. Now that you've found off
the rest of your stitches, you should only have two left, one on each needle. And for this one you're
really just going to go through the needle
that's closest to you. You're gonna go in as if to
knit as we normally would. And then we're gonna
go into that back stitch as if the pearl
as we normally would. And then you can just pull these two needles
out of your way. And what I like to
do is before I fully pull the yarn through
those stitches, I like to take my
tapestry needle and actually pull it through
to the inside of the hat because that's
where we're going to be weaving in our ends
is gonna be on the inside where no
one can see them. So having your yarn already in that part of your hat is going to make it a
lot easier later. Just pull that through so
that it's on the inside. And just like that, your hat should be bound off
and laying nice and flat.
9. 08 Weaving In Ends: Now that we've
bound off the top, it's time to what
we then our ends. You're going to flip your hat inside out so that
you can get at all of those strings that are hanging off that we
need to deal with. So weaving in your
ends is kind of a two-part process
for this because we have two different
types of stitching. We have these, the ridges
from our knit stitches, and then we have
these inner weaving from our Perl stitches. So there's kind of two
steps to weaving it. So you're going to take
your tapestry needle and put the end of your thread through so that we can use that while we're
threading through. And then you're
just going to try and get as close to where that end comes off as possible. For these are the
ridges that we have. You're going to do is just take your tapestry needle
and go through both of those loops and just pull
through with the yarn. We're not gonna do anything
fancy with that one. It's basically just a way of moving our yarn
farther to the right. And then on the inside, it's gonna be a
little bit confusing, but you should see these little arches that are
in side of that stitching. With those. We're going to go up through two of those arches in
the middle, looping up. This is a lot like
weaving in for just normal knit stitches
if you've done that before. And then beside that, you're going to see
a little part of the weaving That's right
next to those views. And you're going to go
through that and then back through the bottom most arch
that you went up through. And then pull your yarn
through both of those. Then we're just
going to go through those two movies to move
over to the next one again. One more time. I know this can
be a little bit confusing, but we're going to
find those two arches and go up through
them to loop up. And then we're going to go
through that little piece of wool in the stitching
that's right next to those ridge of these. And then back through the
bottom most ridge that we went up there to begin with
and pull all the way through. And that is how you're
going to weave in your end. Just keep going until you're far enough over that you
cannot cut off the end and you're gonna do that
with both the top from what's the excess from
binding off and the bottom of your hat with the excess of the long tail cast on and that's how you even
all of your ends.
10. 09 Conclusion: Congratulations on finishing
your cute kitty ear hat. I hope that it went well and you learned some
cool things about proactive lifelines and using this amazing stitch I've loved the fisherman's
ribs so much. Be sure to include pictures of your cute hats in the project section of the course so I can see them along with any
questions that you have and clarifications and
make sure that you go and drag out my other
courses here on Skillshare, I add new ones regularly. So there's always going to be some new stuff before you to work on as you continue
to learn about knitting. And I hope to see you
in the next class. Bye.
 Sarah Carswell, Fiber Artist