Transcripts
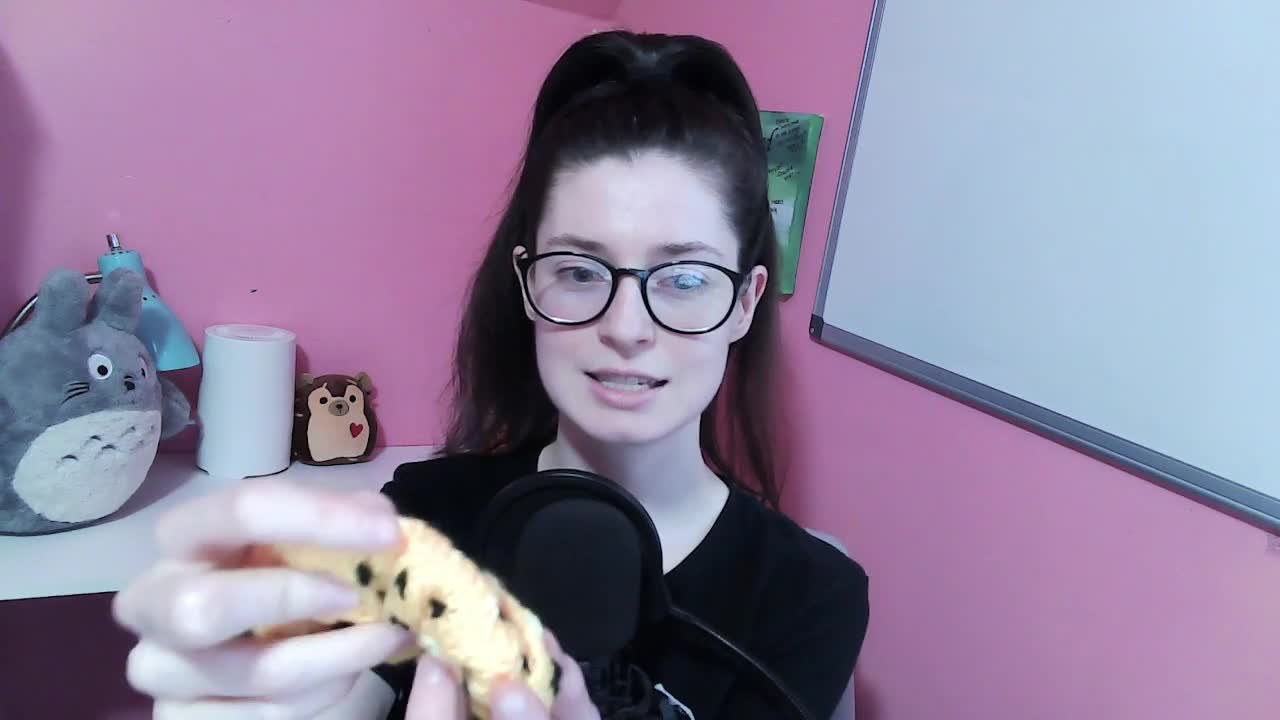
1. 00 Introduction: Hi everyone. I'm Sara. And in this course I'm
going to be teaching you how to make this own pouch. I put my phone in it so you
can kind of see what it's like when you actually
have your device in it. And the only thing
that you're going to need to know to do
this project is a basic knit in the round
stitch and a pearl stitch. Everything else I'm going
to be walking you through from the Judy's cast on. So that basically means
that we're going to be casting on so that we have this seamless bottom that's
already attached so you don't have to stitch this
together afterwards. There's no stitching
whatsoever in this. The only thing that
you're going to need a tapestry needle for is to
weave in your ends after. We're also going to be using
a magic loop for this, it's a lot easier, but you can use double-sided
needles if you want to. It's just gonna be a
little bit tighter. So getting something
like a magic loop means that you're going to
have a little bit more flexibility with it. So I'm going to be showing you some basic things of how to use a magic loop if you've
never used it before. And also, I'm going to
be teaching you how to bind off this straight edge. But in pattern, this is still a stretchy top to it
because it has the ribbing. So I'm going to be teaching
you how to do that bind off so that it's still
stretchy for you. I think this is a
great summer project, especially since in the summer, I always find myself in outfits where I do
not have pockets, having a phone like this
where I always put a cross the body strap on it
so that I can have my phone with me when I don't
have pockets is amazing. So this is a great little
project that can help you keep track of your phone and also makes an
excellent gift, but it's also super
easy and quick to do. So make sure that
you put pictures of your finished phone patch
in the project section of this course along with any
questions or things that you ran into so that I can
help out as much as I can. And let's get into the course.
2. 01 Project Materials: To make your phone poach, you're going to need
some wall at magic loop. So I'm using a 4.5
millimeter one, but it's a lot easier
to use the magic loop. You can also use
double-sided needles, works also is just a little bit hard to maneuver with them. This gives you a little bit more flexibility with the magic loop. So I recommend that,
but you don't need it. I also have this little clip
that I'm going to be using. It just helps me keep
track of my rows. Since you're actually
going to have the tail from your cast
on inside of the work. So I like to just put a little
pin just as a nice visual. You can also use a paperclip or just something to mark
that edge for you. You're also going
to need something to cut with some
scissors of some kind, and also a tapestry needle to weave in
any ends at the end. But that's all you're going
to need for this project.
3. 02 Judy's Cast On: We're going to start
by casting on, and we're actually
going to be using Judy's cast on for this. This is basically
a way of creating connected sides to make a rectangle shape as
opposed to a circle. So we've made tubes before where you just
knit in the round. This is going to connect the
bottom so you don't need to weave in the bottom to
have it altogether. And you can just start
knitting to make the shape. So you won't need to do any
kind of weaving together to actually put the
work together is just weaving and ends at the
end to clean things up. So the Judy's cast on, also it has a long tail, the long tail cast on. So we're going to take your
wool and we're going to be having 16 stitches
on each side. That's kinda my rough
estimate for you. Make sure that you also measure
whatever phone you want. So if you have
something bigger or smaller that you
can check for that. But good thing is, is
that you only have to get through a couple
of rows of doing this before you can actually test how big it is next
to your phone. Also keep in mind
that there can be a little bit of stretch
in the work too. So basically what we're going to start is what you're
going to hold our two needles side-by-side
for this cast on that, we're going to put our yarn over the farthest from you
and then take your tail. So not the piece that is connected to the rest
of your working yarn, but the tail and we're
going to pull it around to make our first loop. So the long tail is going to be going over the
back of that back needle. And then you're working yarn is gonna be out of the front. Now we're going
to make a C-shape with our hand and that's
going to help us cast on. So we're going to
have the long tail on the back and the working
yarn on the front of that C. And we're basically
just going to do loops around our two needles. So we're going to take
our index finger with our long tail and we're going to go through the middle
of those two needles, loop over the needle in the front and then
cross back over. And that's going to
create our stitch. So now we have one
stage on each of them. So then we're going to cast
one onto the back needle. And we're going to
do that by taking our working yarn on our thumb. And we're going to
put that yarn through our two needles and then over that back needle and
then back around again. So that's the pattern
forecasting on our stitches. So I'll go through
it one more time. So to cast onto
our front needle, we're gonna take our long
tail on our index finger. We're going to go through
both of those needles over that needle in the front
and then loop back around. Then for the back needle, we're going to take our
thumb and our working yarn, go through those two needles, wrap over the top, and then go back to the front. And that is the Judy's cast on. You're just going to
keep going back and forth with those two
loops over both of your needles until you have 16 stitches on each
of your needles.
4. 03 Phone Pouch Pattern & Knitting with a Magic Loop: So now that you have your
stitches on both of them, what we can start
into the actual row. So the first thing that
you need to do is you need to basically secure this
last stitch that you did. It you're going to do
is you're going to turn your needles towards you, going
counterclockwise. And that's just going to
cause a little bit of a twist in the yarn so that it
doesn't come undone. You're going to have your long
tail facing away from you. And that's going to
keep that stitch in place long enough for us to
actually start our rows. So unimportant thing
about our cast on is that you can
hold it this way. Well, it's up, but
if we flip it over, you're going to see the
ridge from when we cast on. Now that ridge, we want to be on the inside of our work so that it covers up those
bumps from our work. We want to just have the nice clean V stitches on the outside. So to do that, we're going to knit into
that back needle first. So you're going to take
the needle closest to you in the front and
you're just going to pull it. This is why it's
easier to do this with a magic loop
because you can make this kind of weird figure eight pattern while
you're knitting. If you have
double-sided needles, you're just going
to have to take your third needle
and start knitting. So what we're gonna do
is we're going to take our free needle now
and we're going to put it into that first stitch
and just knit like normal to get our
first stitch going. Now for this first part, we're actually
going to knit into the back of our stitches. So we're going to knit with that back needle and we're
gonna go into the backup, the loop instead
of into the front. And that's just going to
be for this first row. So just going into the back
instead of the front as we're knitting and yearning over with just a normal knit stitch. And we're gonna go all the
way across those 16 stitches for that first row before we
turn to do the other side. So now the tour done
knitting that first slide, we need to get our
stitches onto our needle. So you're just going to pull on back of your magic loop to pull your needle up and then you can shimmy
those stitches up. It's gonna be a little bit tight because it's the first row. And then we're going
to turn our work. So now the needle that we just stitched
all of our needles on, we have our working
yarn coming off of it is facing towards us. And now we have our other
needle in the back. So again, we're going
to take that needle in the front of our
work and we're going to pull it through so we
can start knitting with it. And then you're just going to knit across like
normal so you don't have to knit into the back of
the stitches for this one, you can just start knitting like normal and it isn't going to mess up the pattern
or anything like that. And you're just going to
knit across until you finish all 16 of your stitches. And now you have your
first row finished. You can see that this
will be the outside and then the inside has those urges. I'm going to take my little clip and I'm going to put it onto this side so that I know where the beginning of my row is as I start to
work on the round, because you can see that we have our long tail on the
inside of our work. So he won't be able to use it as a good marker for my rows. But now we're just going
to pull our loop through again so that we have those
stitches on our needle, turn our work, and then pull
our needle through again. And I can start just to
knit that side for row two. And that's basically
the whole pattern for this bone pouch. So you're just gonna keep
going back and forth, knitting both of these sides until you get a
little before you actually want the length
because we're going to do some ribbing around
the actual outside. So you want to end inch,
maybe half an inch. It depends how much of
that ribbon you want, but it's just going to
give a little bit of flexibility so that
you can stretch the work at the top to make it easier to
put your phone in. But that is going to
be the basic pattern. So just keep knitting
back-and-forth with those sides until you get about half an inch to
an inch of where you actually want the edge of the
porch to be on your phone.
5. 04 Rib Edging: Now that you have your knitting about an inch short of the
length that you actually want. We're just going to do some, a one-by-one rubbing around the top just to give a
little bit of stretch. So it's easier to get your
phone in. Super easy. We're just going to pull our needle through like we
weren't getting before. And we're just going to start by knitting the first stitch, and then we're going to
Pearl the next stitch, and then the next stitch, and then perl the next stitch. So just a standard
one-by-one ribbon. You can do two-by-two
ribbing, so tune it. And to Perl if that's what you want and you're
just going to continue with that ribbing until you get to the length
that you want. I always aim to have a little bit of
clearance on the top. I just think it looks
nicer to have the phone fully sitting with a little
bit of extra room at the top, but totally up to you. And then I will
show you how to do the bind off with a ribbon
so that it's still stretchy.
6. 05 Binding Off in Pattern: Now that you have your
ribbing all done, We can bind off the top so we want to have a nice
edge on the top, but we still want
to maintain the stretching us of our rubbing. So to do that, we're going to pull our needle through so we can
start our new row. And we're basically going
to follow what it's like to do a bind off with
a normal knit stitch. But we're going to be
doing it in pattern. So we're going to knit
the first stitch in pattern and then perl
the second stitch. If you're doing
two-by-two, obviously, you're going to still be doing a knit stitch and
then we're going to stitch these two
stitches together. Now the reason I say stitch kind of vaguely is because
it's going to match whatever the
second stitch is that you just put onto
your working needles. So for me, I just paroled. So I'm going to put
those two stitches back over onto my other needle. And then I'm going
to wrap my arms around as if to Pearl and Pearl, both of those ditches. Now if you're doing
two-by-two rubbing, you'll knit those two because the last stitch that
you did was knitting. Then I'm going to put my
yarn over and I'm going to knit because my next
stitch is a knit stitch. And then because that
was a knit stitch, I'm going to put my stitches over into the back
of that needle so that I can yarn over and knit those two
stitches together. So then my yarn
back over because my next stitches,
a pearl stitch. So I'll Perl it as normal and then I'll put those two stitches over to the front and then yarn over to Pearl the two together. And then one more time, my next stitch is
at Knit Stitch. So knit that next stitch. And then I'll put my
stitches back over behind my needle and yarn over to
niche those two together. We're getting this flat
edge on our work and it's still going to be stretchy because we're still
doing it in pattern. So you're just going to
continue with that where you're continuing to either knit together or pull
together your stitches. And then you can just snip off the end and we've in your ends.
7. 06 Conclusion: Congratulations on
finishing your phone pouch. I hope you had a lot of fun
learning about magic loop if this is your
first time and also getting to do all
those fun things with the bind off in the
ribbing pattern, also with the Judy's cast
on and make sure that you share your phone pouch with me over in the project
section of this course, along with any straps or lanyard or anything
that you put on it. And he funky designs that
you did for this one, there really are a lot of versatile things you
can do once you have the basic pattern down from
doing stripes, polka dots. It's great for fair, I'll, because there's an inside
that no one is going to see. And you can also adapt it
for things like tablets. And also just make a nice
little purse with this too, just with changing the number
of stitches that you have. So there really are a
lot of things you can do once you have this
basic pattern down, but I hope that you
had fun with it. Remember to share your designs in the project section
so I get to see them and make sure that you check out my other courses
here on Skillshare, I add new ones are regularly, so there's always a new
stuff going on here. And I will see you
in the next course. Bye.
 Sarah Carswell, Fiber Artist