Transcripts
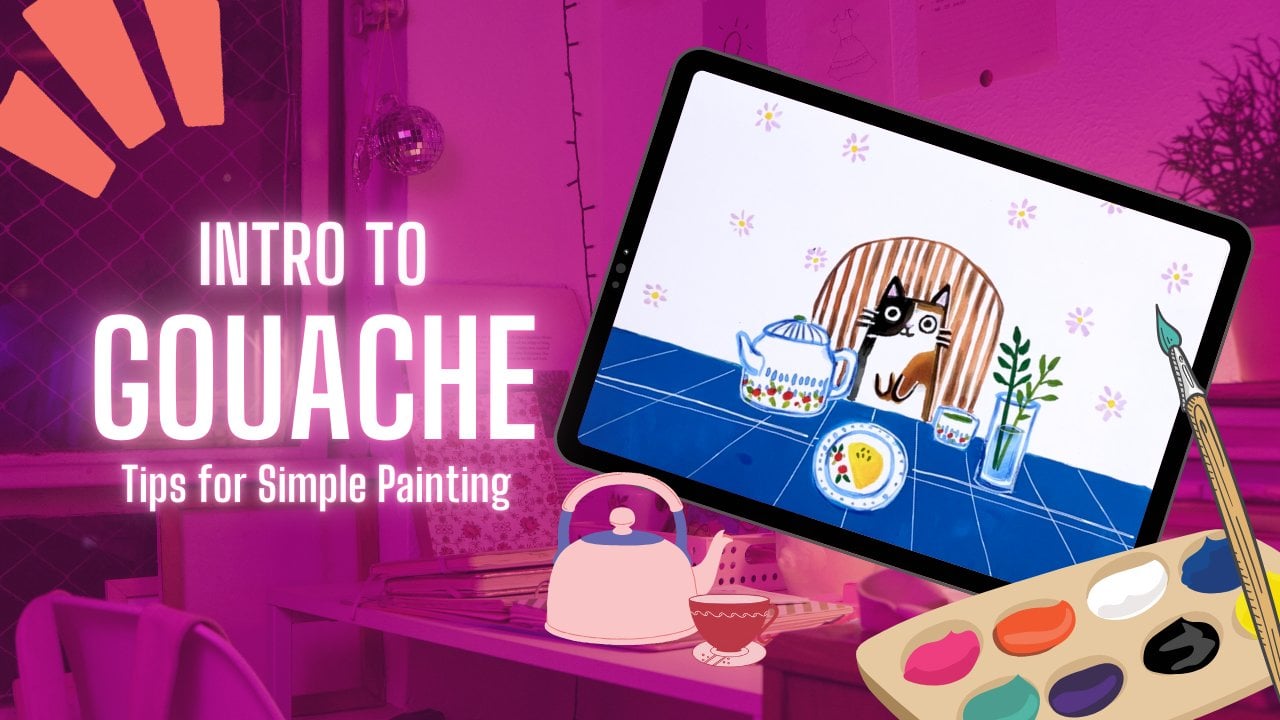
1. Intro: All artists like to create and it's no secret that we'd like to try out new mediums and skills to exercise our creativity. While after trying out watercolors, Catholics, and some of those regular art mediums, you're bound to come across squash and gouache can be very intimidating as a new medium for most artists. Well, if you're watching this video, you're probably curious about whether gosh is right for you isn't worth your time and energy to learn it. What are some basic tips you should know? Is there somewhere I can check out a demo and get some samples of how it looks like. Well, these questions are some of the things you've been thinking about this class for you. My name is Sharon and I'm a mother, teacher, pharmacists and artists. After trying so many different types of art mediums over the years, I must say cautious, one of my favorite mediums. In this class, I will try to answer all those questions you have about gouache and more. I can't describe how excited I am about those because quash can be so much fun then has brought me so much joy over the years. And I really hope that I can share some of those things I learned and hopefully bringing more joy into your creative life too. So let's get started.
2. What is gouache?: So what is squash? Well, to keep it short, wash is a water-based medium, kinda like watercolor. It's been around for longer than like over 700 years is strangely enough, it's not really well known. It's composed of a mixture color pigments, water and binding agent that's usually like a gum Arabic or dextrin. But it's often seen as a kind of like a cousin to watercolor. Love people like wash a lot because it's opaque by can become a little translucent when you add water to it. And it also kind of dries with very bright radiant contrast colors that can be very appealing for those of you, especially doing illustrations. Or you're pining on scanning your artwork has it does dry these beautiful colors and it's Matt as really look studying when you take pictures of it.
3. Gouache vs Watercolour vs Acrylics: The next question you might be thinking about is, what is the difference between watercolor, gouache, and acrylics? I get that. It does seem very confusing. Efforts, quash comes with like a combined flexibility of a little bit of characteristics of watercolor and also acrylics. For, in terms of like the difference and similarities between wash and watercolor is that gouache and watercolor. They're almost like cousins like I mentioned before. They're similar in that they're made from similar material As seen preparation and clean up and making US together. And you can add little bit of water to mix it to paint both of these types of medium. But what you will notice is that guage, it will dry, opaque and more matte finish, whereas watercolor is more transparent. You're going to notice that galoshes little thicker and watercolor, It's a little bit more fluid. The colors for guage are a lot more bold, I would say. Whereas watercolor, I think, is, allows for more easy blending. But overall, those are some of the things that you can think about when you're considering difference between gouache and watercolor. The next thing is, you're probably thinking of what's the difference between acrylic wash. While in comparison to acrylic squash, generally dice a little bit more quickly and you can rework it back to the surface by adding water. Whereas for acrylics, he can't really rework area once it dries, it dries and that's basically it. It end of story. Acrylics is very versatile and that you can paint on many days of medium, whether it's Candace or keeper or a squash is mostly limited to more like a paper. By guess he could add it and layer it on top of acrylic for canvases as well. So those are some things to consider for considering difference between wash, acrylic and watercolor.
4. Traditional Gouache vs Acryla Gouache: When you go to the art store, you get a notice. There's a section for traditional wash versus acrylic base squash. So what's the difference? Well, traditional, gosh, you should know, is more kind of water-soluble, more like watercolor. And you can reactivate it with water after it dries. That means you can rework the area, let's say a day or like a week later just by adding water and continue working on illustration and different periods of time. The downside to it is that if you paint on top of one layer, it might get mixed with the color you're using. And the other type of wash is called acrylic based squash. And that's the type of wash I use. Once it dries, it doesn't activate. But I really love acrylic space squash because it combines both watercolor, having a little bit of translucency when you add water. And also the opaque and madness that comes with acrylics as well. And you can kind of layer colors on top. But you really need to experiment difficult which brand new find something that works well for you. There are various brands that you can look at with very range of prices.
5. Brushes: In terms of brushes, wash brushes, I would say is basically watercolor brushes. I use the same brushes. They tend to be more natural or synthetic fibers, but they come in many different shapes and sizes. For me, I tend to use brushes with round tips a lot because that way I can kinda push the quash and the colors on the paper and use the broader part of the round brush for thicker show and the tip off the round brush for kinda more finer stroke. One thing I would recommend is always to keep your brushes wet as you work. And that will really help you spread the quash and make it more workable as you paint. So here are some samples of the brushes that I use. I usually use the shorthand know I find it's easier for me to maneuver warfare. And there's very different sizes. I usually use a small round brush and a thicker round brush. So I usually start with the bigger brushes for the background. And as I move towards the foreground, I use them. More pointed brushes.
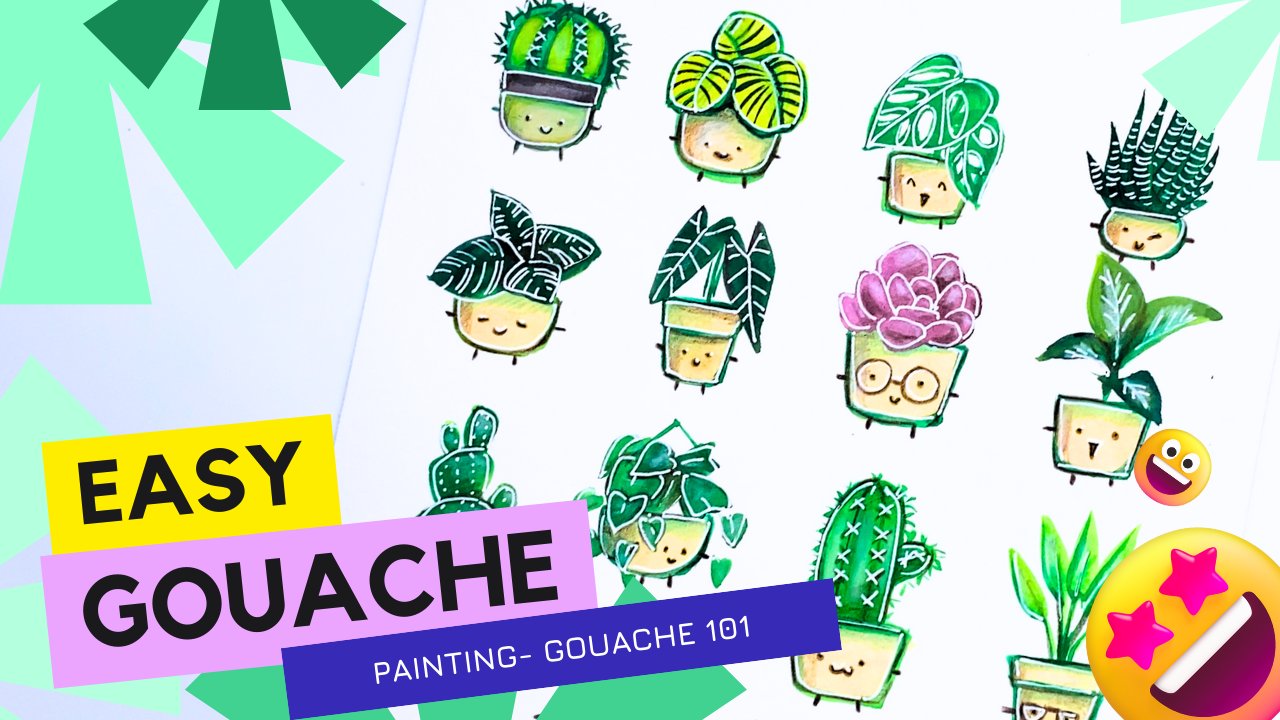
6. 4 Tips for Painting with Gouache: So here are my top tips for using wash. Number one is to limit your palette. If you're new to quash, try painting with just a limited palette and white. Of course, you can focus on just either using simple warm colors are cool colors. When a starting using wash, I just picked up the basic wash set that was available at my local art store. And I had just a limited color of some ultramarine blues, Kanye yellow, some black whites and all. I'm a jack time. I had so much fun with at. So make it simple for yourself. Try to paint a picture with less than six colors. And I think that over time, you'll kinda get the flow of how to P of quash and you can add more color to your palette. The second tip I would say is to remember that it's opaque. Layers are used to height. There's underneath. Very similar to painting with acrylics. So for PWA, she always paint from the background to the foreground as you can layer colors on top. The next tip I would say, is to use plenty of pain. I know that gouache can be expensive, buy little bit does go along way. It's important not to skimp out and try to squeeze out with enough when you start that way, when you're painting your sky color, you're not out of paint halfway through and a half to mix more because it's very hard to get the same value sometimes. Because remember that line going wash dries. The dark tends to be lighter and then the light colors tend to be darker. Last but not least, that one of the great things about quash, and it's a final tip I want to add is just have fun and combined it with other mediums. Quash plays well with a lot of mediums. And what I do a lot of times is African wash dries. I would use color pencils, oil pencils, pastels, collages, or archival ink to add details on top of it. And it's usually really receptive because gouache dries of a matte finish. And it can make it a lot more fun for you to kind of mash up some of the different types of meanings that you have.
7. Supplies You'll Need: Now we'll be practicing some of the tips that we mentioned in the previous video. For this class. For this particular project, you'll need the following supplies. Some watercolor paper here I have some while I couldn't paper that is six by eight inches as a heart block. But you don't necessarily need an art blog. You can use get any watercolor paper. I'm going to use a small dish to put my paint on and some brushes I have here, just a variety of sizes. I usually use the thicker precious and work my way up to the thinner brushes. As I get closer to the details on the foreground as opposed to the background. You'll also need a water can hear. And it turns a pilot. Like I mentioned in the previous class. It's important to keep it simple when you start off. Let's choose a limited palette. I'm going to use this red here, a yellow. Also going to use this mint green and another green there. And I'm also going to add white on top, but all modeling paint with four specific colors.
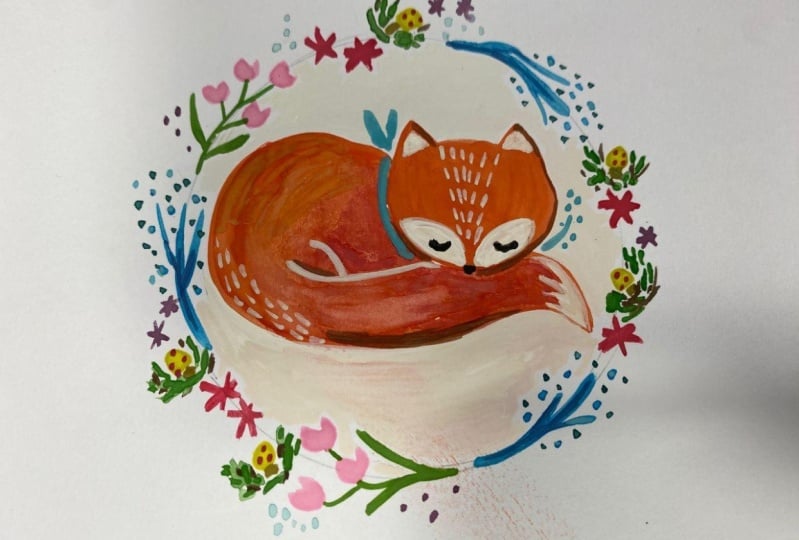
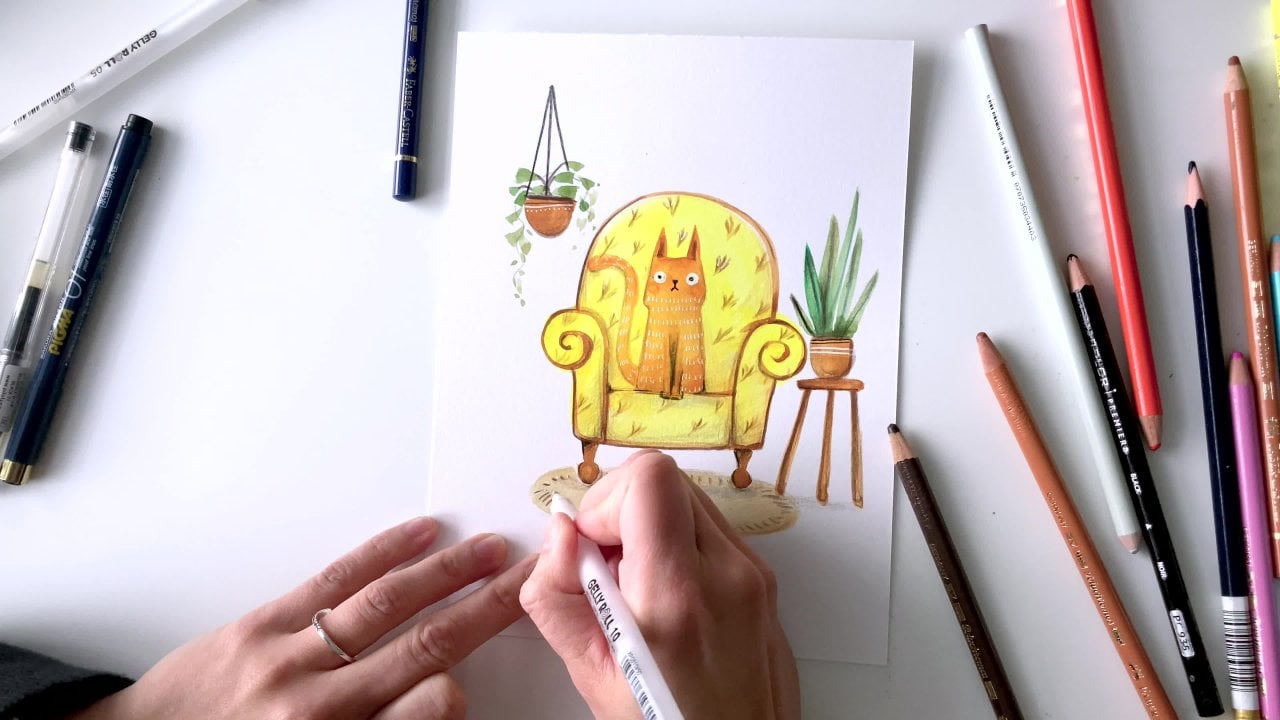
8. Painting the Fox: To start off, we're going to start by painting the animal that's in the center of the painting. I'm going to put my colors and my coloring dish just isn't a small quantity at this time because I know that I will only be painting the animal and the piece of paper I'm painting it was quite small. Use my bigger brush, I'm going to start blending the colors. They can add a little bit of water, you can see here mixing the red and the yellow to make it orange in between. And I'm pushing the colors of my brushes and adding a little bit water to spread out to make the fox shape. And then I use a smaller brush to add in details. As I like. Now I'm going to just dab a more contrast colors and areas where he wanted to be a bit darker and let the water do its work and help me spread the colors. Look at those radian colors. Once this dry, the lighter colors going to try a little bit darker and the darker colors are going to dry a little bit lighter. So that's something to consider. Again. Just take your time and enjoy the process.
9. Painting the Floral Reef: The next part we're going to color and pain the fluoro brief. And we're going to start with the red color that I have initially put out for the fox, adding in a little bit of white to blend the red to create pinks as well. This is a very fun part. Has this really hard to make mistakes of it. But you can add in little, some flowers or stars or just little dots or circle around it. There's no real rule I have added in the lease of mint cream. Of course, you can always go back and add in the red afterwards or you feel there isn't enough red or some levels pop color. And now I'm adding in branches are various shapes and colors. And you can see that like with the limited palette that I chose is actually makes a lot easier and less intimidating when you start painting. Well gosh. And I've decided to add some more stars and some flowers, butterflies, just to kind of fill up the space. And I tried to balance the colors on this farm reef so that everything is quite even and not to read on one part, not to clean on another. And last but not least, I use with a white to add in the details. Now you have to wait till the previous layer dries before you can add in the way or else the white is going to blend right in. So waited a sufficient amount of time before adding in the white detail. You'd always use a hairdryer. You like to help hasten the process, but letting it dry and adding on the white details now, and this is actually one of the really fun parts for me. I may give a scarf to this low Fox and then you'd let it dry before adding any more details, the scarf or the rest of the fox and weep for the layers to dry, including the eyes. Adding in a little bit of the yellow that I had initially. It's really making it pop and looks very ready for a photoshoot, Ahmose. And here's what we have so far, perfect for spring, autumn, or a winter greeting card of your choice.
10. Adding Dark Outlines: Last but not least, we're going to work on adding the darker outlines. I've given it sufficient time to dry. I say the drying time really depends on how much water you add an initially, but you can also use a hairdryer to help hasten the process by let us sufficient time to dry and the darker colors. In order to get that I blend a little bit on my mint of my olive green and also my red together to get some of that darker colors rather than using black. I find that block can be a bit intimidating and also doesn't add as much dimension. So I'd like to blend in law my colors to create the darker colors. And there you go. It can continue to add shadows by adding water to that darker color. And it creates a shape and more dimension to the character that you're adding. And here we have the final piece. I would say.
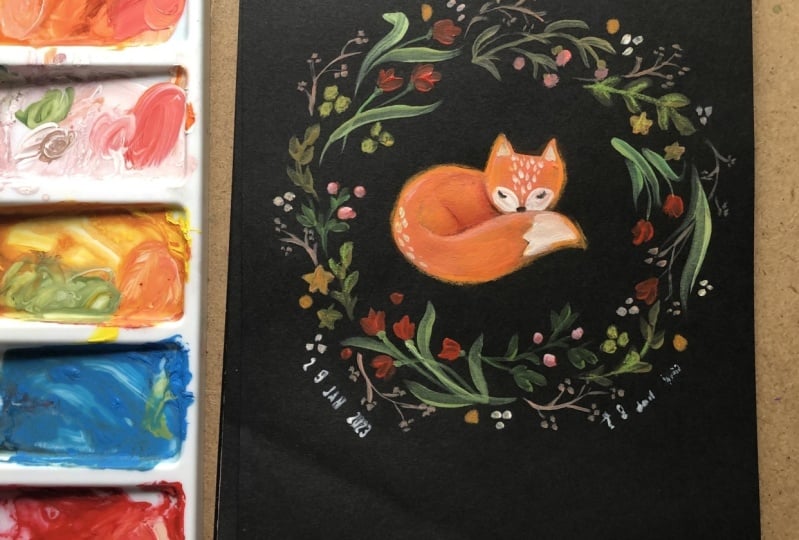
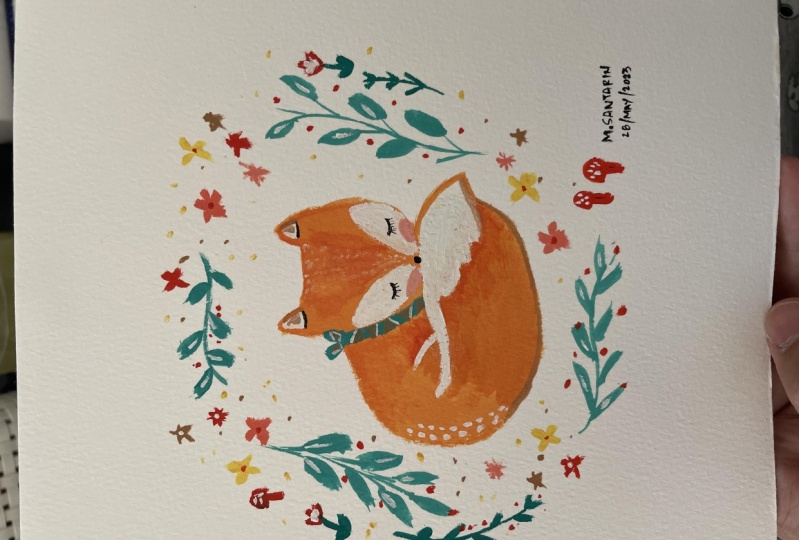
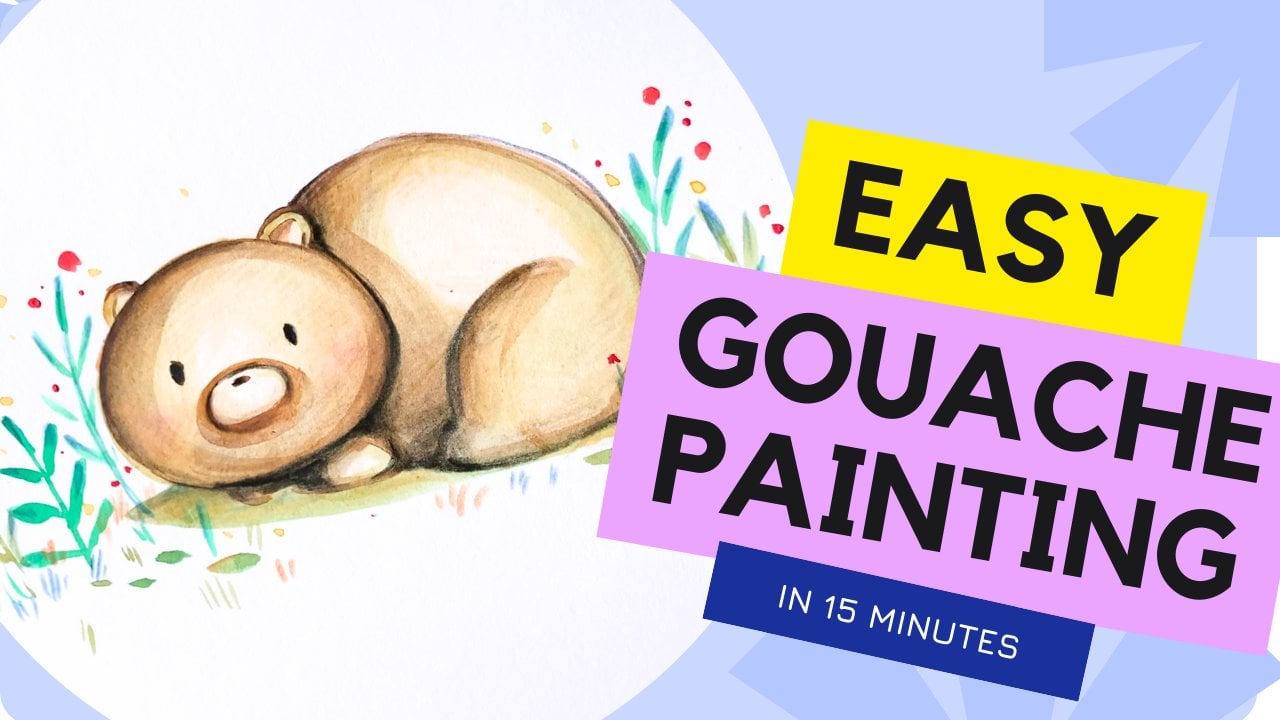
11. Adding Details with Mix Media: The last part is to add on detailed using mixed media. I love to use my pencil crayons, which could be oil or water bays and also use my jelly roll or Sharpies. So here I'm actually adding in black ass. I find that the color I mixed in after it dried, like he mentioned, the darker tones actually dry, lighter than I expected. So I'm going to use a little bit of black and then use my jelly rolls add highlights, a swale. It's very communion. This Jelly Roll pen by secure. It's also archival, so that's very convenient as well. And this is one of my favorite parts of drawing, finishing up with these mixed media. And if you have a stash of these artworks ready go, you can even bring it to a coffee shop and just add in the details slowly enjoy the process. And that's it. Here is the fox piece that's finished. I hope you enjoyed this process and I hope you can try out using wash and paint with the four tips that I mentioned about, you can choose to do a fox or animal of your choice and just choose four basic palette colors that you love. And also quite it can do a bear or whatever animal you like, and then put in different types of flowers and shape. But you prefer. I hope you enjoy this class. Thank you so much.
12. Final Notes: So for my final notes, I hope you enjoy my round up of all the basic things you need to know when you paint with gouache. Some final things I like to do when a painting of quash is to play, playlists, awesome, my favorite soundtracks, and then make it into a routine and collect my drawings over time so can look at it by trends and like how I've progressed over time. I would love to see everyone's drawings with some of these squash tips that I have brought up. So please remember to share them. I would love to see your artwork. And one final note is to remember to have fun, because life can be very serious. So remember to have fun with your artwork. Thanks for joining my class. And if you're interested in more demos and also costs us on how to paint wash. I have a couple of other classes available here on Skillshare as well. Well, that's it for now. Happy reading everyone, take care.
 Sharon Leung, Life is serious, so have fun with art!