Transcripts
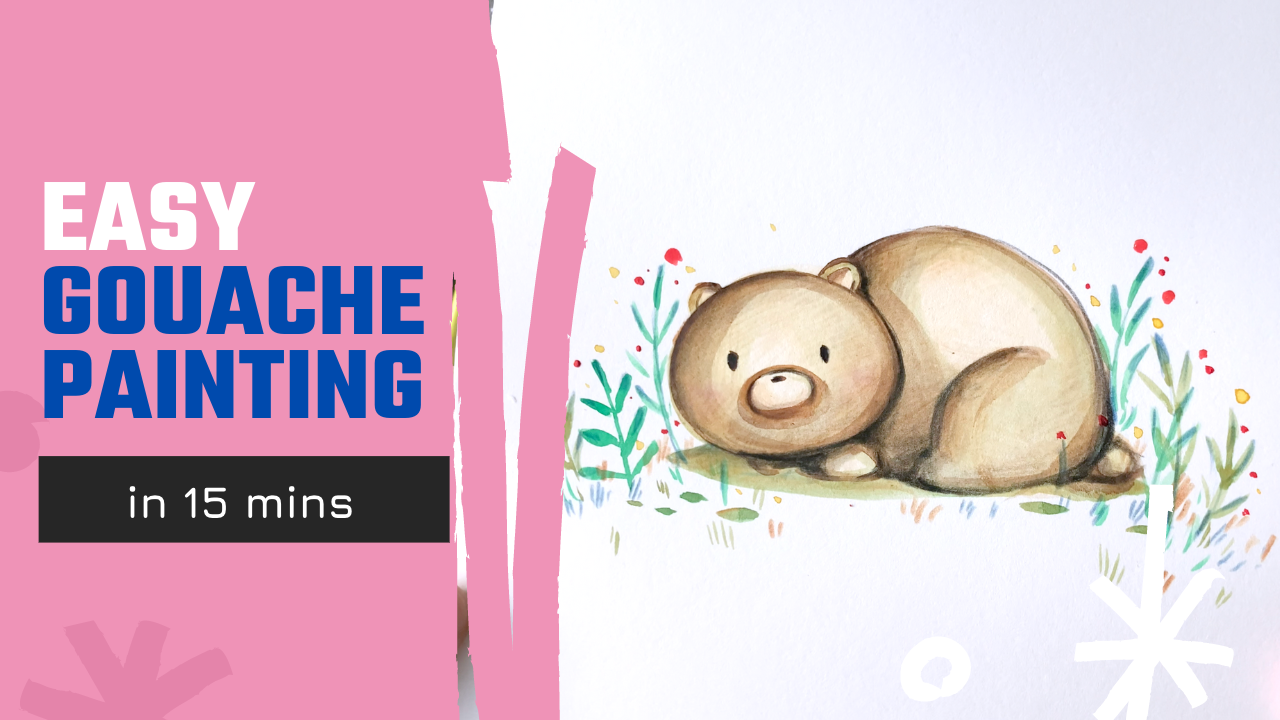
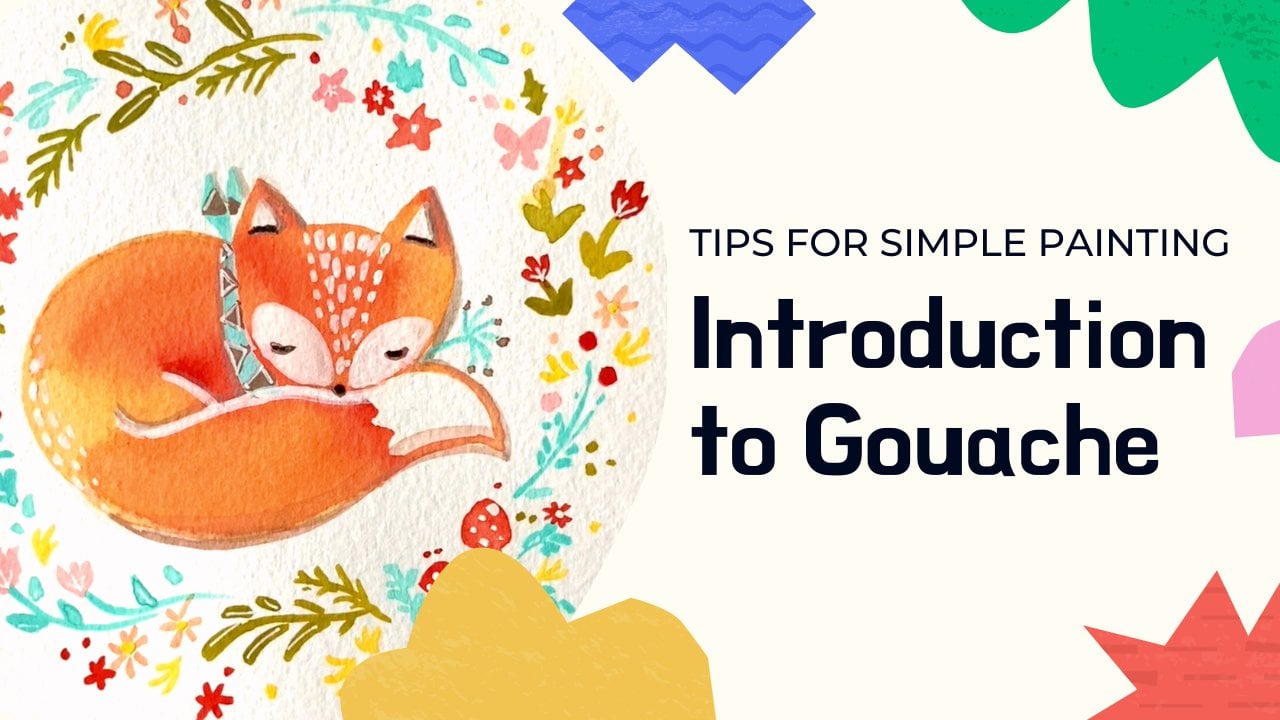
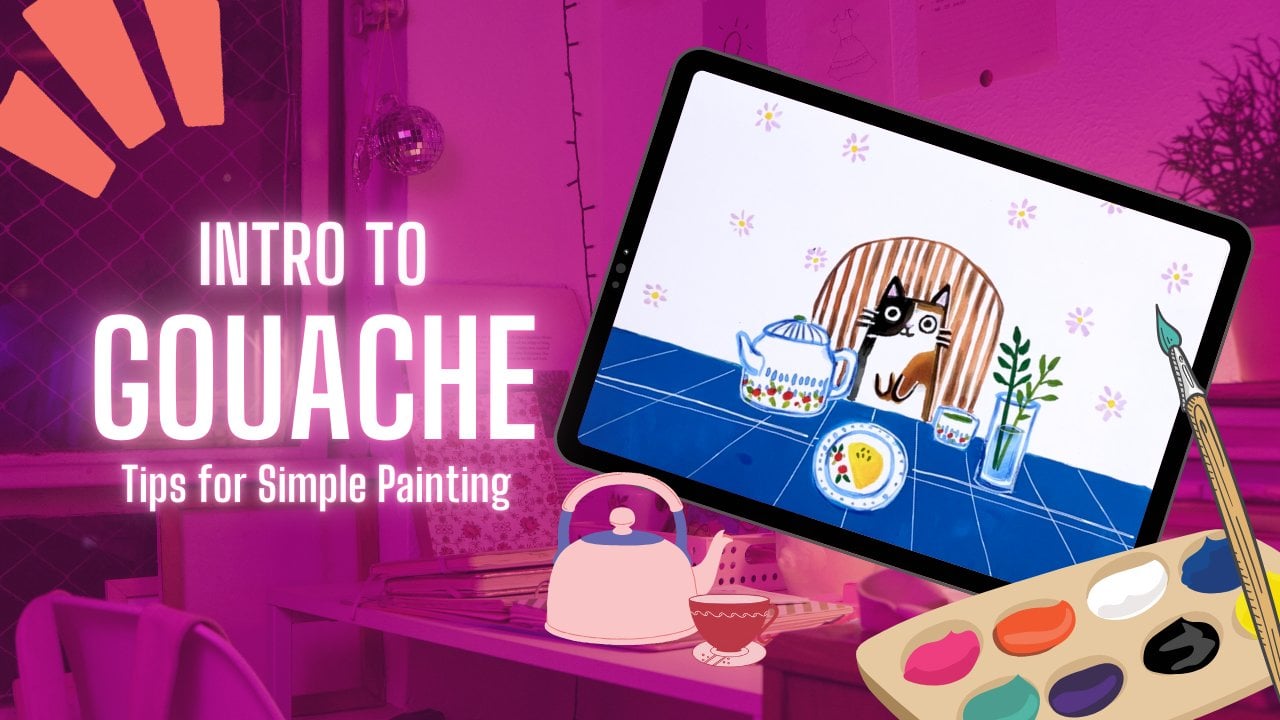
1. Intro: Welcome to this tutorial on uh, one oh one, an easy guash
illustration for beginners. Hello, everyone. My name is
Sharon and I am an artist, a mommy, a healthcare provider, and also a teacher. When I am not busy with my kids, I like to paint a
lot and I go and do present a lot of my work to
galleries and also art shows, um, all across the country
and also globally as well. So I'm really excited
to be sharing my experiences with Quash
with you in this class. This class is really meant
for beginners artists who are interested in
exploring the medium of guash. Throughout this class,
I hope to showcase to you about some of
the tips and tricks and also just run through
with you the step by step guide on how I would
do a typical guash drawing. I hope that you find
this workshop helpful. And in particular
for this lesson, my goal is for you to come out more confident about your
ability to paint with quash. And also the project for
this class is to learn to do a easy drawing that
will be helpful for a greeting card you can do for the holidays or something
for a birthday. Something hopefully will be
transferable art skills you can use in multiple art
projects to come in this class, I'll show you how to do an
easy step by step guide on how to do a fourt steam
illustration using quash. I'm really excited to
show you how you can do this painting of an
illustrated forest with a forest creature, which I have a bear here in less than probably 15 minutes. So are you ready to get started? 'cause I am. Let's get started. And I look forward to seeing
some of your projects coming up and I'll hope to see
some of them posted below. Last thing, before
getting started, we should go over
what you should expect and how the class
will go in terms of outline. So I'm going to
start by painting the general bear figure and afterwards I'm
going to do the plants. And then I'm also going to
wrap up by showing you how I can use mixed media and some tips and tricks
along the way. So that's what you should
expect for this class. I'm really looking forward
to showing you how Guash can be such an
amazing experience and such a wonderful medium
to play around with. Let's get started.
2. Materials : Materials. That is
the first thing I'm going to go
over in this class. Before we even get
started on the step by step drawing on
how this all works, the first thing you'll need
is some watercolor paper. So I have a water color
paper block here. Of course, you can pick up different types of
watercolor paper. There's hot press, coal press. There's mixed media plate paper. And there's definitely
plenty of options. But let's not get
overwhelmed here. Picked up any watercolor paper, or you can get ahold of
what you'll find about watercolor paper is
that it doesn't buckle as easily and will absorb
water a little bit more. The next thing you
need is a brush. Now, I don't think you need a whole lot of different
types of brush sizes. I usually just use one brush and I usually
use a round tip, and that seems to
be easy enough for me in terms of brushes. I really like round brushes because I love how
they have pointed tip, that makes it easier
for me to find details. And then if I really want
to push hard on the brush, I can use the thicker end of the round brush to
get broader stroke. I also don't like brushes
that are super long. I usually go for round brushes that are a little bit
on the shorter side. Next, you also need a water
cup to contain your water in, which can be a yoker
cup, recycle cup. Anything you really
like, doesn't have to be anything super fancy. In addition to that, I'm also
going to be using guash, which is really the highlight
of this entire video, teaching you how to use
this wonderful medium. I have my acrylic wash here, which has like a
more acrylic base. It dries permanent compared
to traditional guash. And then I'm also going to be using some pencil crayon here. I'm going to teach
you how to use some other mediums and using
mixed media for this piece. And it just makes it
so much more fun. So those are the materials that you need for this drawing. I'm really excited
to get started. There's also one more
thing I forgot to add, which I will show you here. And that's this
little dish here. And that's basically what I used to mix all of my guash paint on. I'm using really
a soy sauce dish that you can pick up
at any supermarket. But of course, you
can get fancier kind of plates for you to
do your mixing on. I prefer a dish that's a
little bit on the whiter side, so you can see how the color mix and what the colors will
look like on white paper. So of course, it's up to you, but that's the last item
I want to highlight for you that you need to include
it before we get started. Of course, you can
make this more fun by adding on other mediums, you can add on acrylics, you could add on
like archival inks. The sky is the limit, but
let's just get started. A.
3. Choosing a Color Palette: One of the first things
we have to do is to choose a color palette. This will help you decide on the color scheme
you want to use. One of the first things
I usually use is a white color guash because
I think it's really great for blending and also getting some lighter shades
if you just want to invest on a few darker
colors of guash. So here I have an example. An olive green, I think
like a green shade will be really nice given this
forest theme illustration. There's quite a
number of greens that you'll find at your
local art store. But of course, I
think for starters, it'll be good to just choose
a primary green and then use your whites to mix
whichever colors in between you're looking for. And because I'm doing
a forest animal in particular a bear, I'm going to need some brown. So you can see I have
some burnt umber. I have some sienna color. I have quite a few,
but don't feel pressured that you
have to have all of these colors for me, I'm actually a more
seasoned guash painter, So naturally, I've collected quite a few
colors over the years. You can see that I also have some cute lilacs and pinks
that are really good If you want to add a bit of highlights and flowers on the
background for this piece, Of course, if you don't want
to buy all the guash colors, picking up a pencil crayon that similar color
can also be helpful. And I'll show you how you use mixed media later
on in this lesson. Here you can see a
couple greens available. Again, I really implore
you to just choose one primary green
and then we'll try to mix different shades
of green later on. Or use mixed media such
as color pencils to kind of make up for
those in between colors. Because after all, quashes gets quite a bit in terms
of like pricing, quite expensive if
you want to get all the colors
available at the store. So I'm going to really suggest that you
start off maybe with three to four key colors to
limit your color palette. And it's also less intimidating for you as you start off
painting on your own. But of course, I think a
titanium white quash will be a really good addition to add to your three to four key colors. And of course, the other
thing to consider is whether you're going to choose a cooler or warmer palette. So here are two
different yellows. The primary yellow is
a little bit cooler, whereas the other yellow here, you can see it's a bit warmer.
So it's really up to you. I think that everybody has their own preference
for our color scheme, but it is a really fun
process and I hope you enjoy kind of
mixing and matching and figuring out what
color works for you.
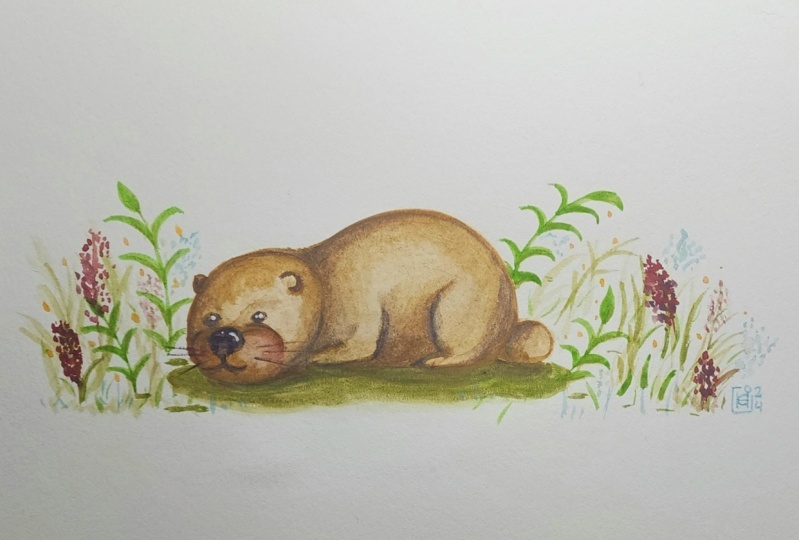
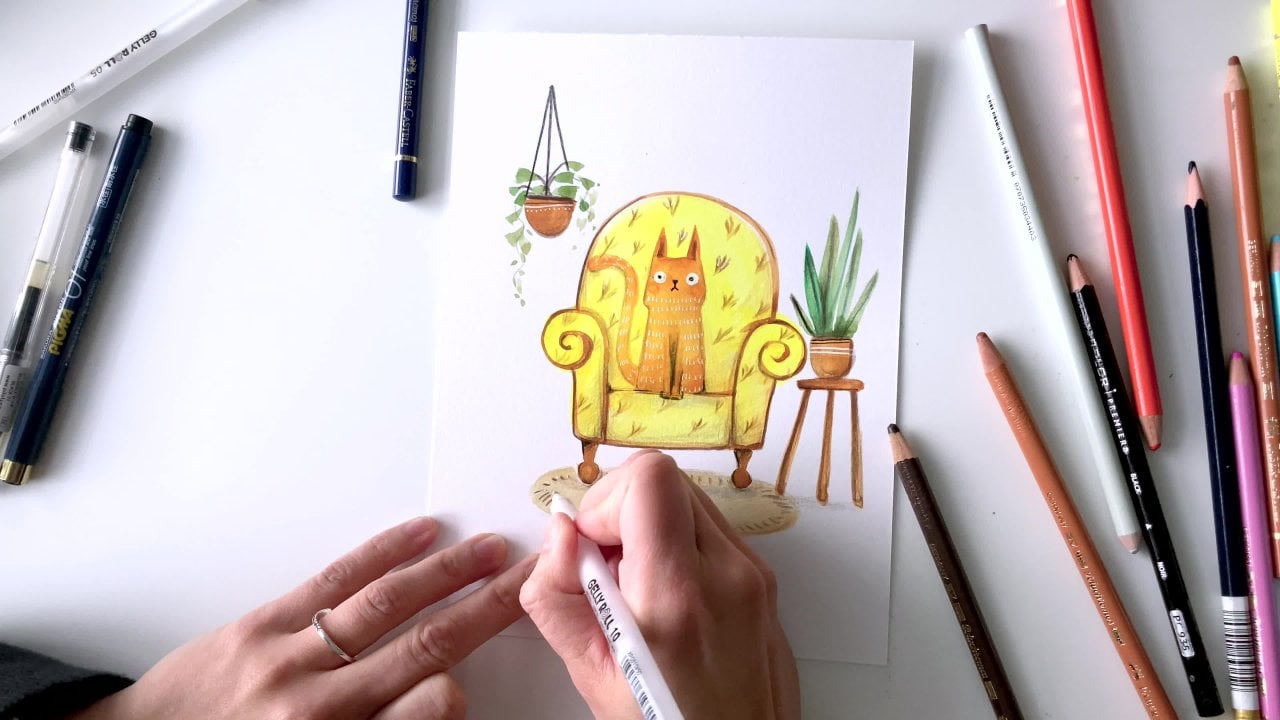
4. Painting the Bear: Now coloring the
general shape of your forest animal
or forest creature. I'm going to do a bear in
my particular painting. Feel free to do other
animals if you would like. You can see I'm not using a lot of guash here, just a tiny dab. I'm going to dilute it
with plenty of water. Just to paint the background of roughly how the bear is going to sit, how
it's going to lie. In this part, I diluted quite
a bit with lots of water, almost with this
translucent effect, similar to water color. But as I go on
with the painting, there's going to be less
and less water ratio I'm going to add to the paint. And that's going to
create the opacity, that really saturated color
that guash is known for. So here you can see I'm
adding plenty of water, just like scoping out where
the bear is going to sit. Of course, if you feel intimidated in terms
of painting a gash, you can just paint the same
drawing that I'm doing. You can do a bear
exactly like I'm doing, or you can try other
animals that you prefer. I usually start with general round shapes
and simple shapes. For my drawings here, I'm doing two kind
larger circles, one for the body of the bear and one for
the head of the bear. You can see it's a little
bit more flat on the bottom because my intention is for the bear to be lying
on the ground. There's really not
too much pressure at this point in terms of
getting the perfect shape, because later on we're
going to add outlines. And this background is just
kind of laying out where you want everything to be staked out on
the piece of paper. Once we have the
general orientation of this bear centered
in the middle, we're now going to work on
adding plants on the side.
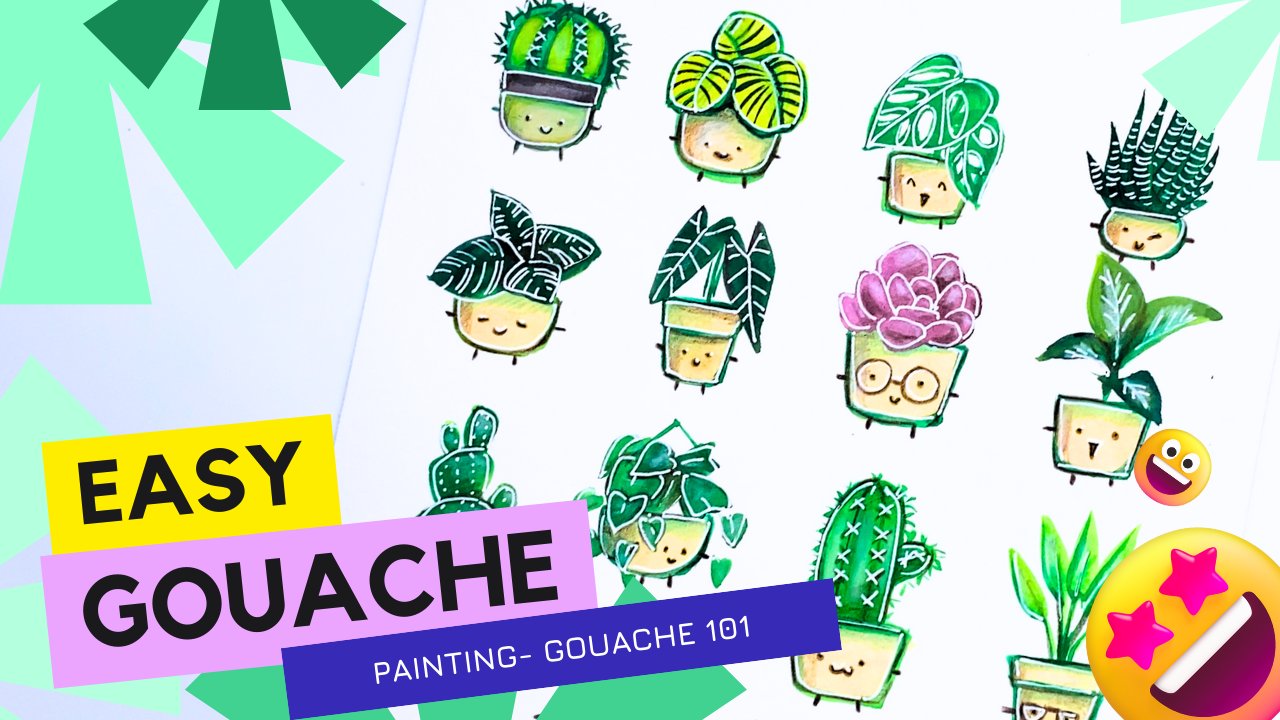
5. Painting Plants: Illustrating Green
Illustrating Plants. For this portion of the lesson, I'm going to be showing
you how I'll be adding some green leaves
and greenery as background for this
forest creature. You can see I just put
a tiny dab of green. I'm mixing it a little bit with the burnt
sienna that I have, which is the same color
I use for the bear. I find that it's really nice when you're painting
the background to integrate some of the colors of other parts of your drawing. So that's not just
a solid green. And they all blended
a little bit nicely for the
green I have here, blended in a little bit of the brown that I
used for the bear initially in the last
portion of this lesson. So here I'm just
painting in some leaves. They're pretty random
at this point. I usually start by just painting a long
stem in the middle. And then using my pointed brush, I first ab, lightly on to
make the point of the leave. And then I push
harder onto the brush to use the width of
the brush to create leaves that are a little bit broader in the
middle so you can see. You can add branches on different parts of
the background here. And then use your imagination, you can do different
types of leaves in different shapes as well.
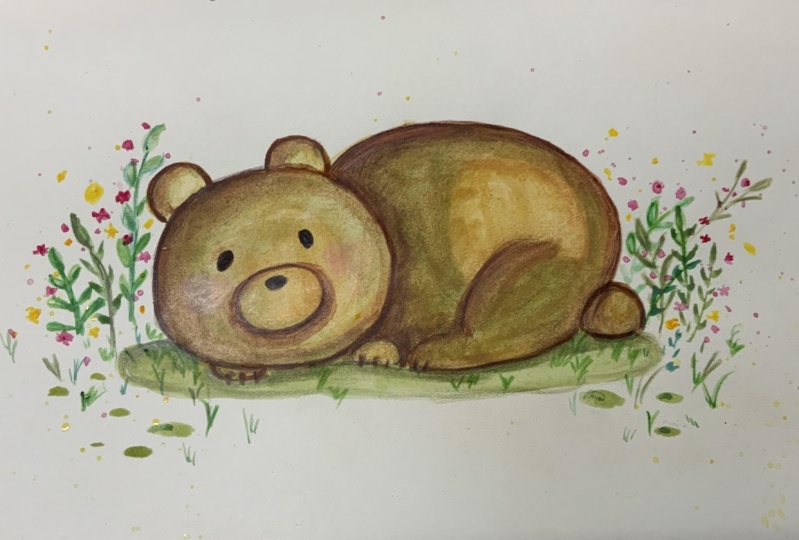
6. Adding Shadows: Adding shadows.
Next, I'm going to add on a little bit more
shadow for the bear. For the ground portion, I'm using a little
bit of the green that I have mixed in with
the brown, with the bear. Definitely a greater portion
of the brown from the bear. So we can see that the
shade is generally more olive color and
a little bit darker. So these are some
of the great ways that we can just get a
limited palette and still get assortment of different
types of greens without buying the whole spectrum of colors that you
see at the store. So here you can
see where the bear connects with the white
portion of the ground. I'm just going to add
a general line to mark where the shadow is
and that creates a little bit more
dimension to your piece. We're going to get back
to the bear and we're going to do some
general outlines. And your forest creature
is just going to come to life a lot more
clearly coming up.
7. Adding Outlines: Now we're going to add
outline for your bear. Now, without adding as much
water to the guash paint, I'm actually going to add directly the guash
right onto the paper. I'm going to start drawing
the outline for the bear. You can see I have one
year ready drawn out, and then another semi
circle for the other year. They don't have to be totally symmetrical and
equal on both sides. And then I'm going to draw a general oval shape
for the bear's head. It doesn't necessarily
need to be perfect. I'm going to add a little
bit of water so that I can create the shadow on
the side of the head as well. It looks a little bit
more three dimensional. Again, adding water to the guash will make it a
little bit more translucent. I'm going to do a smaller oval
in the middle of the face, like the snout in the mouth of the bear where the nose is set. I'll continue to do
that for an outline for the bear's body as well. Again, if you want really
sharp pigmented outlines, you want to add less water. And you want to add more water to create more transparency. So that will look better
for the shadow and create more dimension for
your little forest animal. Next, I'm going to go back
into adding in more detail for the greenery and the little leaves
are around the bear. One thing that I
should highlight is before you do the
outline of the peace, make sure that the
bottom background layers are totally dry. Before adding it on
here you can see that I have the raw
sienna and the green. I want to win a
mixed toes together. I can get the beautiful olive. And I'm using that color
for the shadows and such. But like I mentioned before, it's so important that you
wait for the previous layer to dry before adding on the next layer and
adding the outline, or else they are
all going to blend and look very messy
and mixed up. I did find that the outline that I've done for the bear is
still not super pigmented, so I decided to add on a little bit of a darker
brown that you see here. So this burnt amber color, I don't really look like, enjoy using like
jet black colors. I think like some darker browns
are kind of more warmer. Darker tones will look better. For this illustration,
I'm adding on less water ratio and doing the outline
for the bear again. And then I'll also add on the eyes and the nose of the
bear at this point as well.
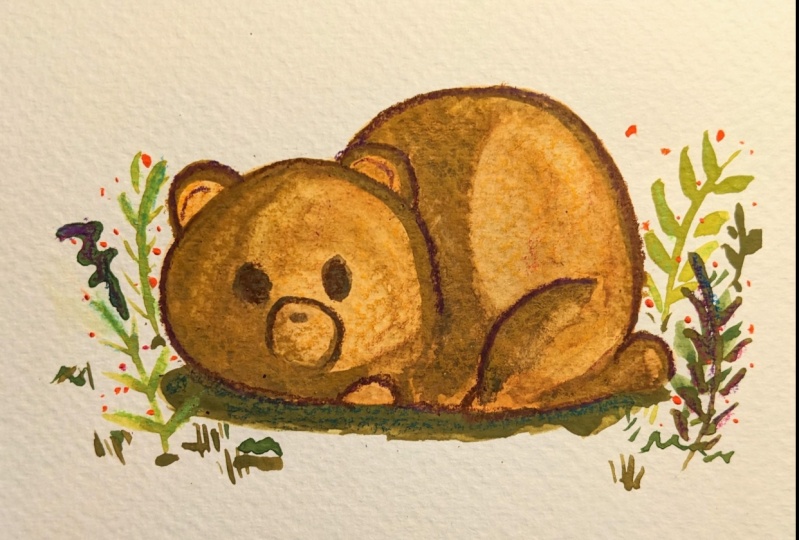
8. Adding Flowers: For this next portion,
I'm going to add a little bit of flowers like little daisies or maybe like different types of flowers
on the tips of the plants. I think adding a bit
of highlighted colors will make the drying
pop a lot more. And it's a little bit more
playful and whimsical. I've decided to use
more of a red color. You can use white or
like periwinkle or blue, different colors
that you would like. But I think adding some
high light colors will make the drying look a lot more playful because right
now the colors are quite muted with these olive
greens and brown colors. Of course, at this
point you can be creative and you can
draw different types of flowers rather
than just these dotted flowers that I'm doing. And you can also choose to have the flowers overlap onto
the bear itself as well. That's it for this
portion about the flower. We are going to have to wait
for the painting to dry a little bit before going on to the next step and
adding on mixed media. It takes approximately around 5 minutes to 10
minutes for it to dry. It really depends on
how much space or how large your painting is and how much water you've added to the painting
at this point. This is probably
the part that takes the most time once you
wait for this to dry, and you can immediately star on the mixed
media portion next.
9. Adding Mix Media: The next portion of the lesson, I'm going to teach you to
do mix media to your piece. Now, my piece has fully dried, is probably around like 10
minutes into the drawing. I haven't added a lot
of water to my piece. I'm using a palette
knife just to get my watercolor paper off
the watercolor block. This might not be
something you have to worry about if you didn't
paint on a watercolor block. One of the advantages of painting on a
watercolor block is that everything you don't have a tape down your
watercolor paper, the piece will
buckle less easily. And it's easy for
you to transfer the piece if you choose to
draw in different places. So anyways, now I'm going to
start with my pencil crayon, one of my favorite
portions of illustrating. I think it's great to add on gradient and shading
using pencil crayon, especially of your
beginner guash artist. It's hard to control the portion
of water to paint ratio. So sometimes because quash
dries opaque and matt, it makes it really easy for you to use other mixed mediums, such as pencil cryons, create gradient, and to add other colors that you don't
have in your guash palette. The tip that I would
recommend is to blend in your pencil crayons lightly and slowly in order to get
really darker colors. Try not to hard on the pencil cron just to
get these darker colors. If you do it slowly,
layer by layer, the colors will look a lot
more natural and blend a lot nicer Here, I
just want to show you. You can also use a black
pencil crayon to add on the outline for the bear's
eyes and nose if you feel that will be a little bit more comfortable for you
rather than using Guash to draw in some
of those light details here. I'm just going to speed
up the process for you for how I use my pencil crayon
to create high lights, ingredient and
depth to my piece. So I'm just about to
wrap up my piece, you can see I'm
using a little bit of light pink to grind, create kind of blush
cheeks for my bear. And I've decided to use different
types of kind of color, pencil crayons to do to add a little bit of
grass beside the bear. It doesn't necessarily
have to be green, can be like blues or
different colors. I think it's nice
to kind of mix in different types of colors
in the background. Besides just green
leaves and like olive green vegetation
in the back. Really depends on what kind of color scheme and
what the purpose of the piece you're looking for. Here you can see I've decided
to use a darker shade, pencil crayon the color or shade in the ends
of some of the leaves, so it creates a little
bit more gradient. It makes a painting or illustration in general just
so much more interesting.
 Sharon Leung, Life is serious, so have fun with art!