Transcripts
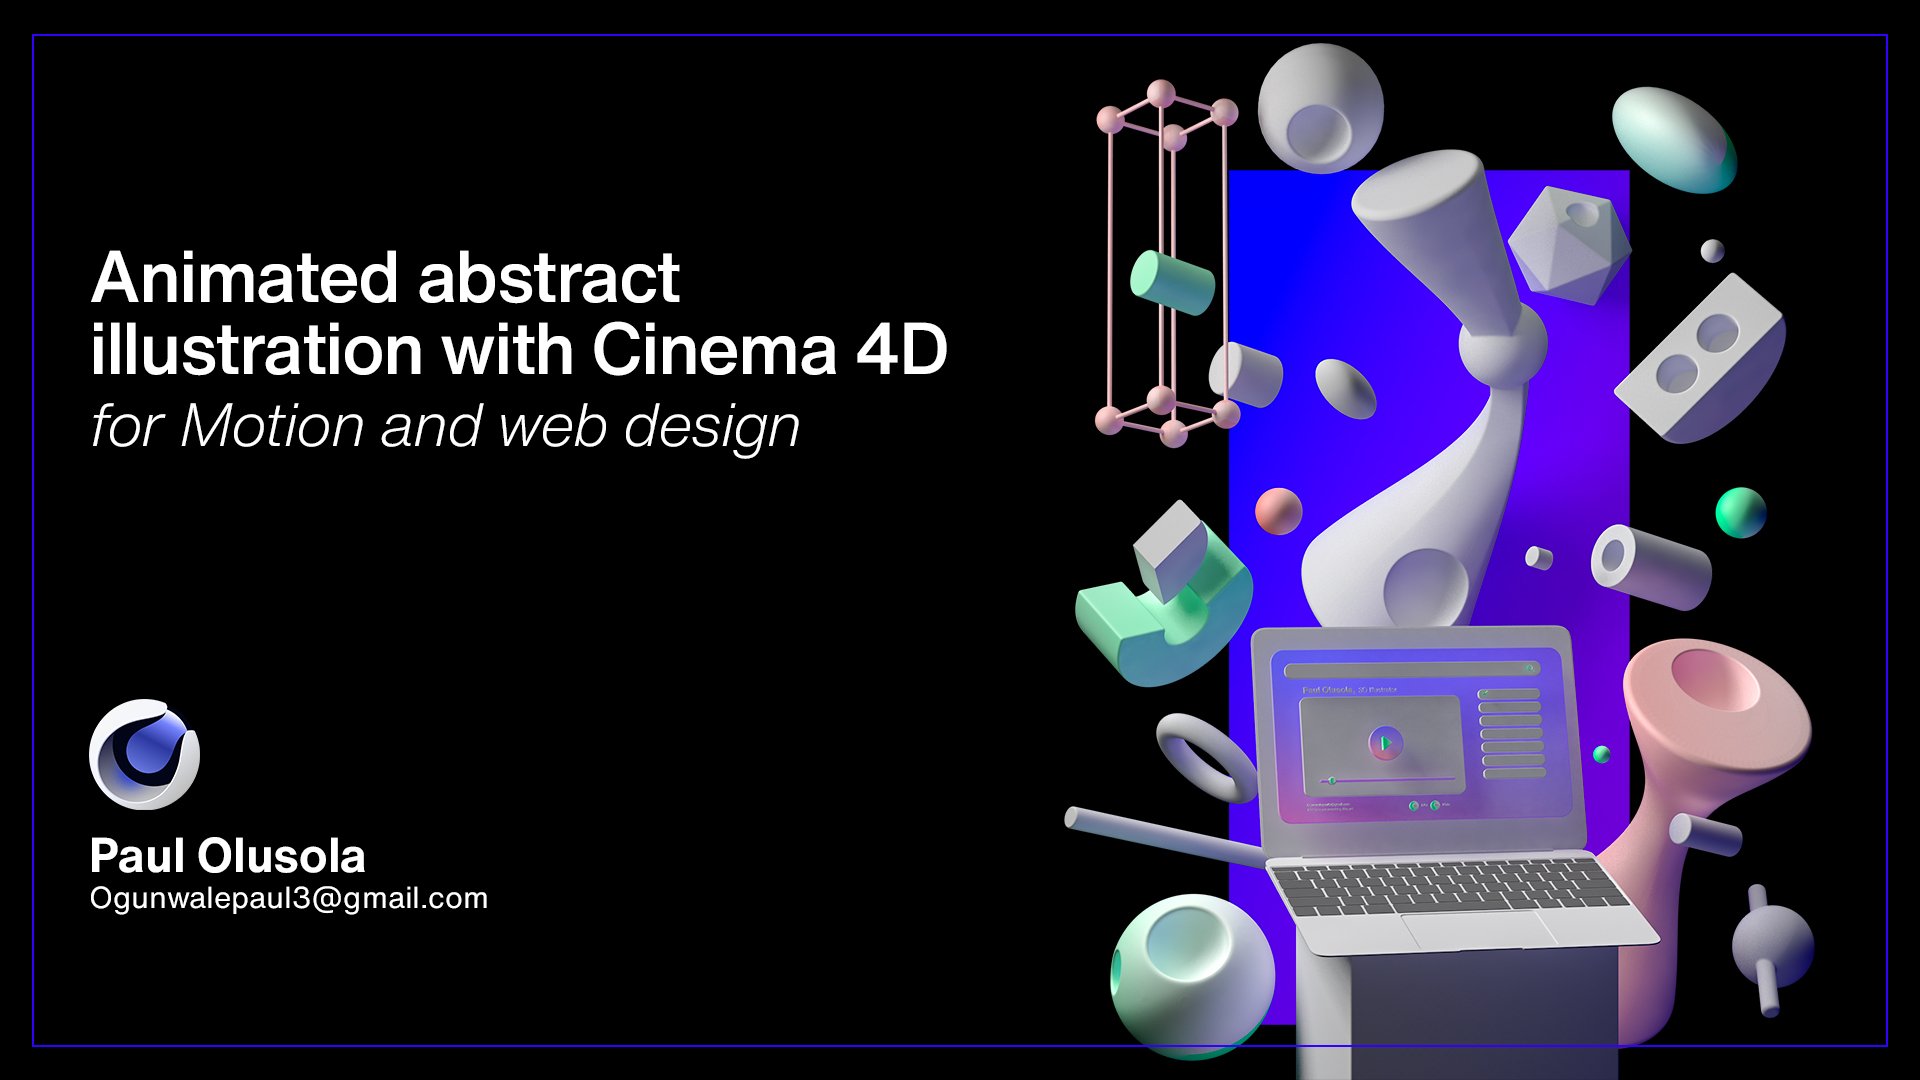
1. 01 Introduction to the course (reel): Hello, my name is Paulo
Luciana, 3D artist. In this introduction to 3D
composition uses Cinema 4D. You will learn about my 3D
heart creation process. Three-dimensional composition is visually attractive or ligament or
three-dimensional objects. There can be made from
fundamental geometric 2D sheets, such as Koons, keeps or Pentateuch
from, from visit ships. Modelling will be covered. Lightning bolt with
native rendering, hinging and also taught
party rendering engine, Vireo, texturing, rendering and post editing and photoshop will
also be covered. I'm really looking
forward to this course because it's project B's. If you ask enthusiastic as I am jumping, unless get started.
2. 02 Introduction to CInema 4D: First introduced it
towards Cinema 4D. After that, I'm going to talk about how you can get
started with Cinema 4D, which is the primary tools
that is used in Dili. To told you. Before
we get started, this is the interface
of Cinema 4D. I'm using Cinema 4D out 2030. This is Luke lie. Now, let me go to
the official site. So this is the official website
of what's in my 40s year. You can see all the necessary definition they give on to heat, which is meant for
design, motion graphics, Webex, AR, VR, game
development, etc. So there's different
opposite of ease. You can see the strength. What makes it special, which meant that it is easier
to learn and easy to use. And to be honest, I can guarantee that
it is easier to use compared to some of
his contemporaries. Talking relative to delta
of Maya or 3D Xbox. You can see some amazing walks or you can just hop
onto the website, get inspired by the strength
of the, of the software. What is the requirement for
getting started in the soil? There are some necessary
requirement in relative to our you can get started
with the soap. These are more recent, recent update from Cinema 4D. I know some of you may
download one or maybe I'll run it in R 15
somehow detailed one. There is one I'm using this out. 23 is because it's
clues EITC well, more recently because
and do I know it can create lots of problems in terms of getting some
tutorials for them. But I'm something that is
not too much differ from the former deputy as consistently closer
to the previous one. So just get one dot you are able to Kuwait
and get started. Yeah, that is all about some affording the nest and I'm
gonna be talking about veery. Yeah, let me, Let us look into their home website
also. For Cinema 4D. This is another software
that is called a login. So it is what is useful rendering one of the
amazing occipital DCS, that dose and my 40
hours its own needs. Standard rendering this
is competitively faster, also deliver amazing result. Another aspect there is
also a GPU occipital. Another third-party rendering
data's maximum just acquire Sudan that is redshift ear doesn't know
the amazing proved or those. So it's also a GPU renders
renderer, I'm sorry. This is viewer, you
can check it out also. It's amazing software
and amazing software. So we're gonna be using that. And also if you want into
12 ourselves to verify, we're also going to be
using the standard result. There is no cause for
alarm about tutorial. We employ you to first get started on YouTube. Just watch. Just introduction to or you
can type the same thing, just introduction cinema
for the alternative three. So you can give that
a shot In C on which some tutorials just be careful because some tutorials
are not for beginners. The medial head tick off of YouTube because you can
get easily confused. Because they applauded him only brings some relative tutorial. So you can watch this
window, it is 60 years ago. There are still some
that are more recent. You can compute tied to
be specific that okay, I'm only looking for
relevance in relative to DCM. And starting YouTube is going
to give you some amazing Also you see this one
is absolutely beginner. Just be careful that you are going to be
watching this beast. And also just for you
to get along with the navigation and
also the interface. It is very simple, trust me, unless even in the causal
tutorial document, you'll see that it is also
easy. It's, it's also easy. I think that 3D composition, this is also a half in 3D. I was really inspired
from bum guy, I forgot any 3D composition. Will be phi always get started. I'll try to get inspiration
from holder causes. It mean order works. It is important
because to be honest, creativity is not nothing. It is from something. So it is important for
you to always do that. Years might be hands account
is my Behance account, yet is my Beyonce account. You can see here
some of my work. This is important
sometimes not only for you personally want to
beauty carry-on for me, it's also important
for you to look for inspiration
from other people. Now if I typed in
year 3D competition, Cinema 4D, you are going to be seeing previous
walkers from people. So we can see some, some projects are some people
who have been, I mean, I've done this project
really is powering this one. I think it is just way website. You see that the two WSU software database uses
semaphores, octane render. Some afford the US these trends on a lot of folks who literally get them
saved US with it. And because it is integrated
with Adobe software also. Apart from Behance,
for inspiration, you can also draw
inspiration from Instagram. This is where Instagram page. Then you can follow me. I'm also going to follow
you back, honestly. Yes. So the walks that I've done
so really rewarding thing, Years War and most of them. If I'm able to play. You can see this is all
done with Cinema 4D. You guys really want to know
how this one is also done. Well, it's a triathlon also be requested or so about this. So yeah, the last, please. Well, from drawer inspiration is impending interests
bend interests is amazing. We see a type three
decomposition. I can just get as many
references as I need. And that's what
creativity is all about. You can just draw your
own board of imagination. You can just pick
one big to let me, You can cost on such some
specific with dribble. Thus, sorry, which
depending first another nucleus also dribble
on some other website also, which we'll come to in details. I believe your you're able
to get started at least with these few introduction
because that's the point. I don't want to bog you
down with a lot of tools. This is the Cinema 4D interface. To navigate this as rotation, you can just drop a cube. This is rotation year
zooming in and out. I'm using the graphic
stuff as well, though. I don't want to generalize
that we often navigate. You also can use a mouse. Adn health. Your left multiple. I didn't. I believe you convert
it to zoom on pond. Three is rooted, so it is
relatively easy, this easy. Let's get started together. See you in the next one.
3. 03 Modeling 1: Guess that it would've
murdered him. If you open the beginning, C and D. So this is just a simple Nothing,
Nothing much tougher. This is just about
to get started. We want to look to the view like switching back
and forth from here. So we're going to please
our camera view like this. Let's change. Just
follow along, please. We were using Let's cover them. We'll create the cube. Works. Just like bees. Change our orientation. Let's remove the protection Fisk reduced. By holding Control. Those enough to look
at exactly what you come away at this, you see the move is killed at routed two years they routed to non-nuclear reached
out by person. How will your keyboard? So if you select it in, this blue is going to be
rotating on the zeta oxygen. Wouldn't shift is going to
make it to incrementer. You hold control when you
use set it on our budget. Going to create that
object in the same amount. Who didn't hold in to make sure that that told you it
folds inside directly. Got it from the top bunk again. Select Order. Again. Remember it doesn't have to look exactly the same. Just trying to get the process. It's simpler model. Now
this is actually been done. Denotes skill is to kill me. It Again. Select these one of them to create the exact
same thing again. And we can duplicate
by holding Control where I'm putting control. Then you see the mark. In that case, we can group together. Going to object,
ungroup, object. To rename it. Whatever you want to remain it
to, just call it T2. Then. Let's see, getting
to cover costs. This is too small,
so let's increase. Let us go back to this one also. Increase the reduce dc2. Both skill more smaller.
So I'm delighted. The orientation is wrong. So to correct that, but I'm going to click this. Exists. We can make it longer. Taught. Choose to
live up to these. Change your rotation again. Just looking at the camera. Didn't shift. Drug it. Just like a buck on fraud. Since we are not
given dimension. Also want to figure it out
on the best way to do that. Just select the non
goo.gl comfortable with. I guess that everyone there is just too small. It did we get indeed, again, control. Convict these 1414. Most model. So choose a custom
synthetic game, stolen, killed again. 92 degree. Being selected, go up to cylinder. Smaller. Doesn't have to be the exempt. So just tell me just get
the process and outings. Rubin Dohnanyi. Unjust. I mean, that was what
creativity is all about. You can just do deals from, I think we need more space. So we need to zoom this
a little bit. Perfect. Script the ball for you to be able to
place these rightly. Come over here to the top view. You can see we're almost true. To create these. All we
need to use the same books. Go back to the camera view. We did cubing selected the
exact cube. Over here. Sorry, go over to the atom. Atomic memory we taught. Instead of 1.5 lambda. One can make it a little
bit more bigger engine on what you feel. Something you don't
have following week. So I think we'll be done
with at least the primitive. That's the point,
just to show you the arrangement.
Middle together. So complicated, just correct. The camera view again. Select the camera,
then 0 these out. You see if bonding box area, if you can notice there's a bounding box
that's going to be showing our hear
your view, please. This rendering now, you can see those are the hearing
aid only rendered. Believe in the next one,
we are going to be getting much more D2 using some mall to create
these. These together. Let's see in the next one.
4. 04 Modeling 2: Guys, let's take the modelling little bit, much more fraud. Let's go to our camera view. We are going to be
importing some fights. So 3D phonics is known
as history that you wouldn't have written
in your software. So I'm going to be
teaching you on, you're gonna be doing
that right now. Just go to files. Just leave on hopeful New York. You're gonna find in a project file called
impulse of Vx, vy. So this isn't an FBX format. Joseph lived the settings. It's creating new Cinema 4D
food or you go over here, you're gonna have
seen opened one. Select this centered
important DES to follow. So you can select it all
control C, Control Z. You can see our files yet. Compress. And some
good adopt course we want to do is
this one to replace. We can delete that one. Then. 9090 degree. Always to do this, but I don't want to
bother you guys. Four D's are those moments because there's
some laptops.jpg. Not be able to do the exempt. I'm Randy exert tolerable to use because I think I use
a plugin called mesh. Enough for the measure,
takes a lot of polygons. Evaluate Zoom. I mean, you can see how dense
these polygons. Careful, be careful
because drug, because the multiple
polygons on a valid until you zoom out of an object and trying
to zoom into it. Or maybe you're using
these trying to figure out the exotic,
I split what it is. The hopes that you'll find, you'll get some press S. Then it's going to zoom to the focus. That is not working the
first time, second time, just make sure that
you correct that you can do the skill. Make it one sheriff to
remember it doesn't have to be exactly So you can make phone which we'll get
to this with men the same. So the point is just, so here's our flow drug. This one doesn't need
to be much more bigger. Scale it up. Great. Now, let's cut out to those old. You can see, so all zeros
and we get to time, we are going to
produce effective. Again this critical year. Let's control. Drag these ones. Just to give it more
subdivision. Been selected. I'll look for the
ball to conceit him. Look for the triangle, this triangle over here. So we drag it holding your left mouse button
so you drag it on. If it is all walking, you can, maybe you drag it above. You'll switch it and
you're switching. Supposed to work. Now
we have a CO2 out. So we can do the same
thing for these. Likewise, we can copy
these by holding Control. Changing the orientation. Scale. Click this again. Let's go look for a book. We didn't look for. It's wrong, guru.
Linda, we have it. We don't know who care we teach. You can reduce your skill. You can just have fun with this. There's more thing to worry
about, naughty, complicated. Let's increase the
subdivision over here so that you don't increase
the subdivisions of an object and you render, recruit these render,
you see sharp edges. And we don't want that
in our rendering tool. You increase it. So you just ought to be careful because so let us
you don't increase it too much because
the more you increase the mall shield computer
to process those edges. So be careful, be
careful, be careful. Be careful. We want to produce
this slice effect. Just go to the slice on. Let us make it to 7303060. Make your whole orientation. We can just rotate this 90. Nothing complicated. It's important for you to
always group your layers. I'm Sophia, I'm not doing that. I'm just trying
to and we can see it leaves you can
process of really works. I think we are, we are, we are closer to eat
we occlusive thing. These are to be at the
center. To center. Like I said earlier, there's
not using other skills. We are just guessing. I think we're doing
pretty good job. Yours may be clues, may not be as close as
these two, not necessary. Just, just get a point. Thus, does the beauty. I think we need to
create this effect or Soviet anything
that's going to be acquired, some modeling. So there's not a lot, so just follow along. So again, let's duplicate this Control. D S1, selecting this one, then make it removed from an object to move
an object moody 0. But you need to be
able to increase. What if we click this? You can see tick. The option of the
attribute is no longer. Maybe you'll be afraid. I'm
not going to be edited. It would be LSPs. There's lots of two-step nicht. Mean easy to do almost
the same teen more. Make it editable. So we make it editable. We can go over here following
the tibial and common. I think we can remove the cups. Just remove these. One wonder of border
without any longer. Just make it open it up. Drug these on our gain. It is going to be due to again. These are the tux not fully
opposed to create some, some toxic, some
unnecessary song. We don't really need to just
select it all and delete. Usually don't delete it,
there's no problems. So if we just go to your polygon here,
we have two polygon. We have the Pharisees
and the point. So we just go to the
polygon tool, select once. Press L to select. I can delete. I think that's
It's easy honesty. We select this again. Reduce it. Scale only for us. This, I just want it to
be reducing these axis. Go back over here. Check
these one buck again. I don't want to show
you all to extrude grid that these extrusion
is true, mean ocean. So go back to the polygon, press Control E, then D is going to give
you these options. Are these options, then
we are going to be, what do we really need is just to offset the offset. You can just say not if
you click 2.5 anti-causal, you extrude it out. You can read automatically
by president. After you press Delete,
you can just go to the polygon highlighted
area and drug. Multiscale can see that if you want to see it with
the proportion of D, Let us just on this one
buck in those two dots, two simple, central
to much more view. Let's go back to our camera. I think we're done
downloading, modelling. Fund your time to play
along with these. Need to be much more fun. We cannot dissolve
division here. You will notice that
Tokyo is going to create the late I said, sharp edges. When you view heat is
going to be sought sharp, you can just go select that one long as illustrated for you to whatever
written in a subdivision. Because if you do, it's going to increase the rendering time. Going to take a lot of time
to randomize your computer. Careful like I said earlier. So go over year
subdivision within hosts. You can see how
smooth it out for us can increase the city to be close enough to
be something crazy. I think we're done. I don't want to model
it. I know you're here good to learn how to input
files is done necessarily. You Moodle everything
by yourself. You can just input
some existing files. Supported rent values
for dx will be J. Cinema 4D file is also split
along with these, please. We see in the next one.
5. 05_Lighting: Guys, I'm glad that path with amazing process
to the head. Thank you very much. View vividly remember
what you've been doing. From the introduction
towards Cinema 4D is told about to some
of these plug-in. One only clogging
up and I'm gonna be using to each region. Also, we talked about modelling, which is also very
important on whiter, on how you can create some of your models and we
can also import some. Likewise, it took
about lighting. We talked about that
lightening lighting, also wheat with standard
and talk about texture, which is also
applying materials. Talked about rendering. Conclusion. An expert, I really wanted to talk about
post-production. See, not only didn't want to achieve this detailed
another medium window compared to the warm
when we export it from even the whole
party random. Important to know
the importance of poof production and
post-production. We often use Sigma,
Adobe Photoshop. Elite, who I am just
going to brush through. Just brief for VTE
and that's all. You can pick
something out of it. This is our view. Rerender can just say
open with Photoshop. Photoshop. The easiest way is just for
you to go to the Camera Raw. Just mixed the
lightness too much. The highlight is too much
just to bring that lead to detail you want to try to hold true what most of the time
with those into workshops, you can try the auto
them, walk it downward. Like now that I've
selected the whole going. Bring this one down, then lower the shadow. You can walk like that
Monday that they're not just going to bring
it into the daylight. Increase. Contrast the loo, thank the fibrin. So I'm gonna make it.
They also lead to, doesn't necessarily have
to be exact because see, the difference there
is what make it yours. Not exactly. On that we we saw I think I'm okay
with these for now. You can add some vignetting. If you really fun. Just to bring more dramatic. Now, you will have
taught Pathway. Plug-in for color
correction often use skin. Gabby preset already. This is the before,
this is after. This is the reverse, can see those indifference. It's a bit of a difference. You also can provide, you can just play along with
some amazing preset year, some amazing the delta. You can also try yourself
just by dragging your costs on top of it just
to see it turn out, well, this is another easiest way
rather than just trying to do a written by yourself, since it's meant for
Instagram post or possibly it's really meant for a brand of work to be done. So I'm certain there still this is still a
similar processes of yours. Just do you say I think
I'm okay with this. From here, we can export it out. We can even try the same and
also standard one likewise, can just outlet some first
if we were hokey like that, then this tutorial is not
for post-production of 3D. So that's the reason why
I'm not going into details. That's the reason I'm
not going into details. Reason why I'm not
go into details. Can also add some vignetting. Standard Windows. This is the one that some group of lights and differences, but at least they are homeless, able to deliver similar results on everyone in comparison. We left. You see almost that there is almost no particular difference. It's something that you
can go back and forth, just mixing necessary
collection, just to match it up together. I'm so glad your path, all these creative process. And I hope to see you next time. Whatever you may, you
please tag me on Instagram, tacos just tag me on Instagram and Facebook targeting Mr. Ghana and I will post polio. Thank you very much. I hope to see you. Thank you. Thank you. Thank you very much.
See you in this study.
6. 06 Texturing: Welcome to this one. We are going to be
out in materials. Wouldn't be making sure that
look exactly as the sole. There's different materials
that you are able to analyze this Colab theme
that is followed, I'm going to be January
trick whereby you can follow a color theme that is going to give you
an amazing window. So I'm going to be adding
some starting materials. So let's get started
in the first study, recent one that I just computed, the last episode
you'll notice is that we create a base materials. So we just create a simple the amine
Cinema 4D very material. To add more. Let's make this one
more materials. We can change event shedding
tears, just come DOD. So you can see
different shadings. Differentiate these
different ones. Different one. What I'm
sticking with this one. So we can create a new
material. New one. Double-click opponent. This diffuse the reviews is
that which change the column. Ready able to change it
as easy as possible. So you can drag it
the background, so the background can get
that automatically Cinema 4D, we'll assign it to the
background yet body, it is more efficient if you can just delete the
group as a whole. I'm going to show you the reason why it is more efficient light that we can adjust that 1. First use the exact color
the US in the reference. Are they using the
reference that if you click this image
signal for to give you the opportunity to add on to
extract coal out of that, to look for the render, you're going to see
that render frame. So if you drag the icon, you're gonna have seen the
exact color which was used. Isn't that amazing? That is super amazing. So it cannot many, we can get a lot
of color palettes. So Alpha we said this one, we can select another
one that knows that it is another main
color that is used here. I think this one click on
select this orange syringe on. It will not be accurate, is not necessarily accurate. So just something that completely and just some other way to create
your own magic. Another way to create
your own magic. I think those are the three
main colors that were used. Three main colors that
will immediately stick. Let me do that again. Quickly. Let me do that
again and then truck the plus sign again. Just select this one. Then we can control,
remember countries, what you used to get. This will nest. Last one. We can follow along with the
reference being used and just assigned as materials
to lease to those present. I think they also
use main color here. Let me sketch this. So there are different
ways you can go over and just do your magic by yourself or an RGB and you can do the method
that I just showed you. So I think there's one
more vibrance saturation. We can start assigning
these two layers. Drag it over, drug this one. So select these bees. Come over here, click, click on Apply over here, and just drag it. Drag it. We can just
come to the fluff, visit these other flowers. So we'll want to check. Is that the flowers you
can just assign this also. If you notice let
me be interrupted. Rendering can see it. You'll notice there's a white, which is not what
we are looking for. We are looking for
something more that the yellow is going to
take the whole speech. So that means it is, the matter is only assigned
because you will use a Boolean to sodium material. Julia, keep notes
of the cylinder. We put it over. Just only about the arrangement. I think nicely It's still display moment points,
these two points. Also to the mutex. Properly arrange your files. You will be doing the same
thing that I'm doing. This drug. I think we are cool. I think the next one that is
left is the Yoda materials. Now I'm gonna be showing
you how to do this. Also, click on Materials,
double-click on it, then go to dive use then
on the textual click on the species and the project file being given
you are gonna be seeing, you're gonna be seeing
these materials, images and texture
so that these images and these are the two
main matters that useful. Just select this one for now. You can duplicate these again. Were able to have
those two also. The last one that the
materials we use, the glass effects, it
must behave differently. So just follow along. We'll make this white is
going to make it transparent. This is different, not
as application both. Put them on emotion or reduced grid. Something more magical,
something called a while. I think I'm lovin it lays. You can assign these
to glass element. Every element here can
be adjusted at any time. So it is nothing like presumed good also
here, the orange one. Letting response can keep on dragging its either
you are unable to drug directly to the object, the nest and you can
just do is just go to the layers and do that properly. So you can just provided
like this over here, like this one, this one
what grouped, good, I'm going to do delta
one after the harder. So can drag this
material, right? There's different where you're
going to apply material. There's no one single way. I think we have about S2
materials to almost everything. So let's, let's see how
we can do interactive.
7. 07 Texturing and lighting with native render: Guys, let's do the
lighting on the material. Using Cinema 4D. You need to render him to do that load to create the light post as good
to the light here, and choose the PBR lighting
using a needs more, I mean, Cinema 4D, you
maybe are 70 minutes out. Pbr. Think it started
with outrun the opcode. So let's look at it. Let's add the UK did not see on target
with the animation, but I think you miss it
with somewhere around. It does look for it. It is there's always
a drug target. I wanted to be able to
do similar thing like we did. Let's drag that. Would control Foxconn light, will go and also do the
same thing. Let's add. You'd be bigger by pressing. So I can drag that over. When we look at our camera
a midway We've render to see to see that we almost get this MAN
exact, exact same thing. So let us go to the
settings. Oh sorry. Let's change it from
theory to stand that standard and wondering why
it takes a long time also, let's render that again. You can see it, right? Did that We almost got the same same output
that vary over a year. Let's go to create a
grid in new material. I can double-click,
double-click also, create a new material. Let's just simplify to
just render that again. Just to see the lighting. Consider Daisy hash
a sharp shadows. You can correct that by
given our shadows here, soft instead of area can give you the
software side tomorrow. So let's run that again. You can see that the sharp, the heart shadow is half. Descend is a little
bit more brighter. As you can see. I live only
you can experiment with it. You can make sure that
this one, no shadow. No shadow. Just
see how it looks. There is only one shadow. You're gonna see. You
consider difference. The only fish and light is the only one that cast
shadow what I'm doing, I'm not going to be doing that. That is up to you.
So you can do that. Let's create a materials. We can create a new Algeria, double-click on it and
do the exact same thing. Just click on the mixture you on column on this image icon. Then let's add our
getting the exact portal. Double-click that. The next column. We DO click that again. These except color. With this in mind, we can, with this, looking
at our reference, we can start assigning
the materials. We can even create
the rest. Awesome. Let's assign these. For now. Let's create
the rest materials. Can just go to the texture, texture, click on it, and choose BS1, and
double-click the also. Let's create the
glass new material. You will notice that we have
the color then transparency. Transparency is immediately recruited
grass, I mean the glass. So you can see also
there's different glass. You can completely
whichever one. I'm just going to choose.
Just the simple gloves. Think that's all good. Now looking at it with our reference stata assigning
the material. I think. In this one and see
it more clearly. This one we assign the material. So you can just drag that
over and seamlessly here. Let me check something
that is a form. This one, we have to make sure that on top of it so that at least to
recover heavy written, you can uncheck
the camera so that you'll be able to see clearly. Just go in there and just magic. And I assign a glass. Glass, think based on the glass. Here. You can change any material. Like for example, if you select
this material that okay, maybe I made a mistake, you can delete it and
just assign another one. So make sure you click
on the texture dark. If you don't want to do that, you can just drag the new
material on top of that. You will see these inserts. So that's another
way to do that. Quickly. Assign this
as fast as possible. It's not necessarily you
follow everything like Heidi mind so you can experiment
with our phone with you. Yeah, it goes down just
showing that it is also possible the same way that we use very possible with these guys in the drag and drop doesn't work. Just make sure you look at
the whole select the objects in the many years and
just drag it over here. And we can look at the
background and just drug binds work with
their mandate is beautiful, beautiful, loving it. This is just something
you cannot phone week. There's nothing crazy. No visit into local to you can just come in not doing that. And it mutex. Mine finished. I think that's Randy legs. To render this one
after you go to the render settings because
settled on standard. Let's just give you
a brief rendering. Give you the pre-print. See that these really
come out beautifully, just almost like this. Almost, almost. Someone could render
this out and just do the rest on them with
Photoshop and yours, increase the saturation,
give it more balance. I mean, this is beautiful, so you want to get more
creeps are beautiful, render Marc Rich one. Then you have to use a physical. These ticks a lot of time, a lot of times I'm going to
show you the difference. If you use physical
visit and you just make sure that it
is not in adoptive, you make it become
puts the progress progressive is that the computer will keep on rendering
like for habit. When you're cool with that
picture, then you can stop. It's all it is
progressive prohibit. You're going to set it to fixed. Let's use medium. Just leave the settings
as it is and just render. As I said, it takes
more time you consider these one is just
taking one of the box and it's just you
need to want to honor the time on at the time. You can notice that our render, this few greens compared to standard, compared
to standard. About to give us this beautiful render
that we're looking for. We come, I mean, on the global illumination, this is a, it's an
amazing settings, but it takes just good. In fact, it takes more time. Don't do any other city,
just put global elimination. So just make sure it is
checked and just leave the settings as a T so you
can choose any present, you can take objects. This one also will give
us more beautiful render. Elect to use objects, but you
may just use the default. It doesn't matter. So let me just use
the defaults for now. Let me use the
default IDE if you want to reduce rendering
time, there's different. G2 can use. One of them is
that it can reduce the, the output width. Screen. Going choose any of
the presets here you can choose something
a little bit more, more daring before your margin. And also the anti lazy. If you are using standard
advice that you check, this one needs to best because it will give
you the creeps, render that as automatically
be sold with physical. For you to save your output, you can click on Save, then select which
pleasing want to save it. Export. Doesn't names done? Just give it a I'm
going to save as PNG. If you click Render now, going to take his
time to render. So it takes about
five minutes to two seconds to render to
the location that I say R2. So let's look at, this is a little bit more
clear than the former export. These are you doing it on standard post-production
come to do? I mean, can be done with
Photoshop, so yeah. Thank you.
8. 08 Conclusion: Guys, I'm glad that path with amazing process
to the head. Thank you very much. View vividly remember
what you've been doing. From the introduction
towards Cinema 4D is told about to some
of these plug-in. One only clogging
up and I'm gonna be using to each region. Also, we talked about modelling, which is also very
important on whiter, on how you can create some of your models and we
can also import some. Likewise, it took
about lighting. We talked about that
lightening lighting also with standard and
talk about texture, which is also
applying materials. Talked about rendering. Conclusion. An expert, I really wanted to talk about
post-production. See, not only didn't want to achieve this detailed
another medium window compared to the warm when we export it from
even the whole party random component to know the importance of poof
production and post-production, we often use Sigma,
Adobe Photoshop. Elite, who I am just
going to brush through. Just brief for VTE
and that's all. You can pick
something out of it. This is our view rerender
congestion. Photoshop. Photoshop. The easiest way is just for
you to go to the Camera Raw. Just mixed the
lightness too much. The highlight is too much
just to bring that lead to detail you want to try to hold true what most of the time
with those into workshops, you can try the auto
them, walk it downward. Like now that I've
selected the whole going. Bring this one down, then lower the shadow. You can walk like that
Monday that they're not just going to bring
it into the daylight. Increase. Contrast the loo, thank the fibrin. So I'm gonna make it.
They also lead to, doesn't necessarily have
to be exact because see, the difference there
is what make it yours. Not exactly. On that we we saw I think I'm okay
with these for now. You can add some vignetting. If you really fun. Just to bring more dramatic. Now, you will have
taught Pathway. Plug-in for color
correction often use skin. Gabby preset already. This is the before,
this is after. This is the reverse, can see those indifference. It's a bit of a difference. You also can provide, you can just play along with
some amazing preset year, some amazing the delta. You can also try yourself
just by dragging your costs on top of it just
to see it turn out, well, this is another easiest way
rather than just trying to do a written by yourself, since it's meant for
Instagram post or possibly it's really meant for a brand of work to be done. So I'm certain there still this is still a
similar processes of yours. Just do you say I think
I'm okay with this. From here, we can export it out. We can even try the same and
also standard one likewise, can just outlet some first
if we were hokey like that, then this tutorial is not
for post-production of 3D. So that's the reason why
I'm not going into details. That's the reason I'm
not going into details. Reason why I'm not
go into details. Can also add some vignetting. Standard Windows. This is the one that some group of lights and differences, but at least they are homeless, able to deliver similar results on everyone in comparison. We see almost that there is almost no
particular difference. It's something that you
can go back and forth, just mixing necessary
collection, just to match it up together. I'm so glad your path, all these creative process. And I hope to see you next time. Whatever you may, you
please tag me on Instagram, tacos just tag me on Instagram and Facebook targeting Mr. Ghana and I will post polio. Thank you very much. I hope to see you. Thank you. Thank you. Thank you very much.
See you in this study.
 Paul Olusola, 3D Motion & Illustrator