Transcripts
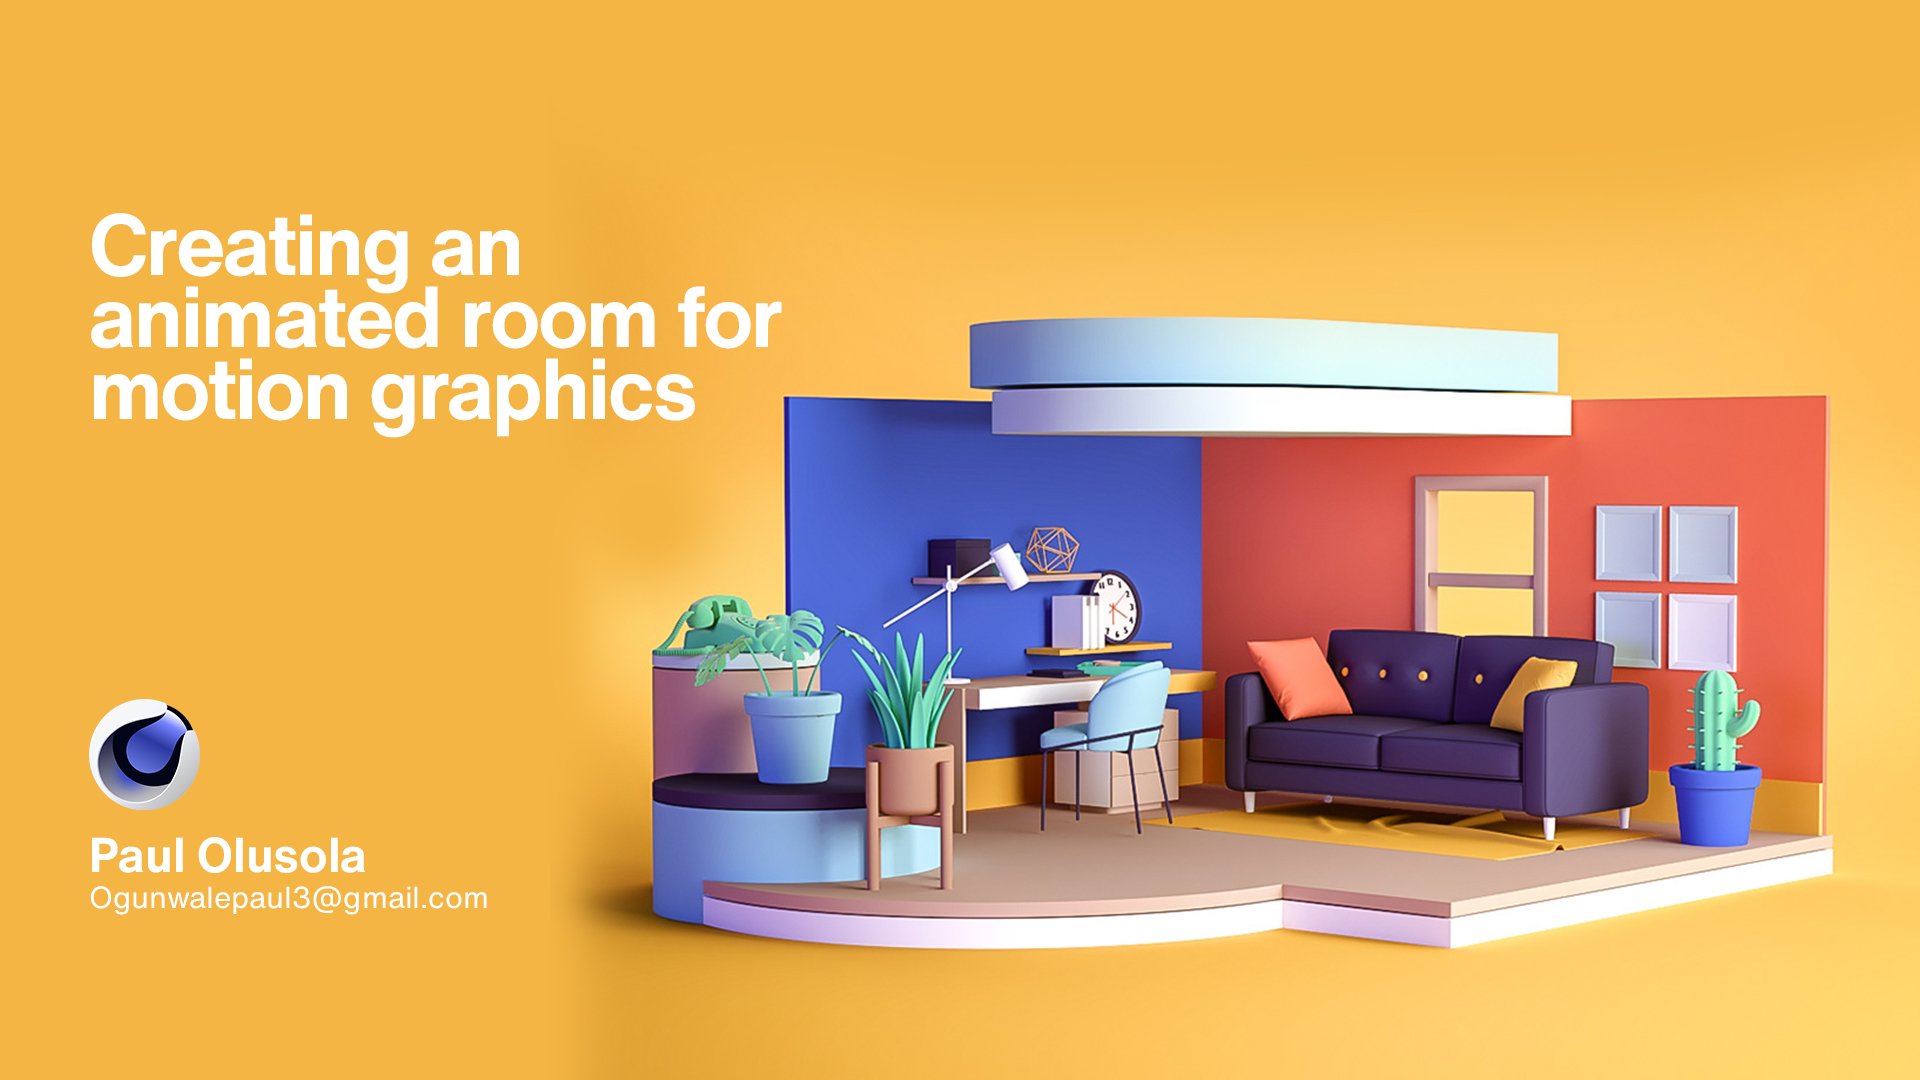
1. Finance app 3D animation course promo: Hi guys, my name is Paul Michel. I'm a three D artist
and animator. In this course I'm going
to show you how to create this cinema Phd after effect. In this course I'm
going to be showing you my home method and how to keep frame and also simulate using particles
using cinema phodi. This is the right course for both beginners and
professionals. If you're looking for something simple and
straightforward to lane, here is the right
course for you. With no further ado, let's
get started together.
2. Episode 2: introduction to coin animation: Welcome guys. This episode we dive into the fundamentals of animation and explore the powerful tools
available in cinema. Fody animation is the
heart of bringing steel object to life by creating a series of
images that when played, subsequently give the
illusion of movement. And understanding the
principles of animation, such as timing, spacing, and anticipation among the rest, is essential for creating
a compelling motion. There are te, principles
of animation. I will personally advise
as we get started that if you are not yet used with the 12th principle
of animation, that you can go and such and get more better
information on it. There's a lot of
resources that are made available about the term
principles of animation. Now let's explore
the animation tools and layout in Cinema 40. We will navigate through
the graph editor, learn how to set up key frames and explore the futures
like Auto King, these tools will be our guiding light as we
bring our creation to life. We open the project
file that is made available and you're going
to find these models, that is the key and the coin in Cinema Four D application
after you load it up, can find every necessary
tools that are needed for animating overhead to set up keys in cinema 40. All you just have
to do is anytime you click on the object
at the attribute editor, you will find the parameters
that are possible to be animated available
over any parameters that you see, this symbol. That is, you can
key the animation. For example, if we want to set a key frame for the coordinate x of this coin in our time line at our
initial position zero. We can set a key over him and drag it to the particular time
that we wanted it to end, and set another key. Now we are able to set a simple animation just by
animating the coordinate x. Any coordinate parameters
that you see with this particular symbol
that it can the animated. This is not only specific
to the coordinate, it also goes down to any other attribute that
is made available in your attribute editor to delete any key frame
on your timeline. All you just have to do
is select the keys by holding ship and select the multiple keys
and right clicking, Delete, set to key frame. All you just have to
do is come over to the auto key and you have to
set your initial position. Anytime you manipulate
or move your object. Cinema 40 will automatically
set up the keys for you. This can come in handy in optimizing your
animation work flow to avoid mistakes or Hero. It is advisable that after
you have set the key, you turn off the auto key. Over here we can find
the timeline which is the time line sheet and also
we can find the timeline. Now you can select our object. And right click so that it can show
in our timeline. Now, here is the cove. F Cove is a very powerful tool in any thread, the applications. By setting up the coves, you can make a lot of changes. Setting up additional
key frames over here, you can move the curve,
you can extend the keys. And we're going to learn more as we continue
in the project. Before we dive into
animating our scene, let's break down
our reference shots into manageable sections. This will help us
to stay organized and focused throughout
the process. In this first section, we notice that the
coin was thrown hop, then it flicked, then it
drop inside the piggy. It is important to break
it down in simple terms so that it will hit our blocking whenever we
get started and emitting. Now, let's go back to Cinema
40 and let's get started. Now, in the cinema phone, the little set top of our camera as a output, I provide
1920 by 1080 full. At the frame rate, we're
going to be using 25 frames. At the project setting, it is important to
set it as 25 frame. We are going to keep the
initial frame of our coin, which is zero in
the wide position. At frame 25, which is 1 second, we want it to be
shown in the camera. Then at film 50 wanted to drop. Right now we can
turn on the auto key so that anytime we make any correction and we fold the
concept key automatically, we can come over
to the rotation. We may want it to rotate 360, that is a total complete
circle before it reach peak that we need
to set the key. Then because auto key is on, eta will chain set
up the key force. So here at pm we can
start to rotate. It's based on our
reference said, the initial only 2020. As we can see that
with just simple keys, we're able to get the basics and the blocking
of our animation. In the next episode, we're going to be diving on
to more deeper animation, where we're going to be
cleaning up this animation. And we're going to be
animating the second modem. See you in the next
episode. Thank you.
3. Episode 3: Coin and Piggy animation complete: Welcome back guys.
In this episode, we'll continue our journey in
animating our second model. Before we do that,
we are going to be applying one of the
animation principle called timing to the first model
that we just block out. Now looking back
at our reference, we notice that after our
coin was flipped up, it stayed for a while
before dropping stay for a while before dropping stay for a
while before dropping. That is what we are
going to be doing. We're going to make sure that
it hang for a while before then the nest Moody comes in then it's
disappear from the scent. So right here we
can add another key and we can adjust the curve, we can increase the spec. I can set up another key here, so want it to be
deleted while then it's rooted, then it's flipped. But what I'm doing is that I'm increasingly spacing
between two frames. So that it can increase the amount of frames that
is in there so that it can give us a little
bit of more time to see the animation anytime you
wanted to frame your coves. All you just have
to press is each. So now let's bring
in the second model and start animating it. Can drop it in your group. So what we need to do now
is to check the timing and also had some additional keys to match the piggy with a coin. So we can check the
curve of these likewise, and we can make some
correction to it. As we are polishing the shot, we ought to remember
that animation is a constant process of refining Each trick bring
us closer to perfection, making our creation come alive with personality
and charm. You can keep on harding additional keys and to make
your animation feels better. Now let us animate the rotation. So it is now for the coin, we want it to disappear instantly as it dropped
inside the piggy. What we are going to
be doing is animating the visibility at frame 42. We want the coin to disappear. Come over to the
coin section here, over here can keep it, can keep it off at this particular frame that
we wanted it to disappear, which is frame 42. And set the keys it's frame before we can
keep it on then, because we have the auto
key horn is going to set it up for horse, let us play. So we can see it once again. As we can see this is already closer to the reference
that we're using. But one thing that
we hold this advice is that anytime you're
setting a key is you keep on refining it
so that you can get the best of the shot
that you are intended. So without wasting our time, we're going to move
to the next episode where we're going to be
talking about the simulation. And I'm going to spend more time in refining
my home shots. And we advise you also to
keep on refining yours. So see you in the next
episode. Thank you.
4. Episode 4: Emitter simulation: Welcome back guys. In this episode, we will dive into the exciting world of
simulation. Using Cinemaphodi. Simulation allows us to create realistic motion and
interactions within our scene, adding depth and complexity
to our animation. One of the important
simulation tools in Cemaphodi, which
is called the emeal. Now we can use it to create the second animation which is the second shot
in our reference. Let's get started together
to simulate inmap. You can find the
appropriate shoes here in the Simulate here, you can find the forces. We are going to be focusing on the emitter over here
with the emitter. Anytime you had the
emitter to the scene and you press plea on your timeline, you're not seeing this particles emitting from within
the confinement. This square also work with the
size of the emitter. Here is the beauty of this tool is that any
object that you make, the child of the
emitter, the emitter is going to emit it out. Let us create a simple
ship that is square. Let me do that again. When we make this cube
ide of the emitter, the emitter will be
displaying it out, but we are unable to see
anything yet because we haven't told the tool
to show the object. Yeah, over here we can make some necessary
changes to the birth rate. That is, we can increase
the birth rate, we increase the amount of the object being
emitted by the emitter. Here we can correct
the visibility. You can randomize the set. We can give individual
its own relative speed. And not only that. Another important
thing is the lifetime. That is the amount of lifetime we wanted to give the
individual particles. If we increase our time framing, we are going to see
that it consistently emits particles and
keep on showing on our viewport
six on the frame. We don't need that a lot, we are going to make
some changes to that. Likewise, over here we
can control the speed, the rotation, and
also it variation. By the end of this episode, you have a solid
understanding of simulation techniques
using a meter. So let's get started to
continue in the second scene. So we can continue from the previous previous
scene that we stopped at. Here is mine. All we just have to do is
to extend the timeline. Oh, let's create our emitter. Get oh, okay, let's
keep it down. Now we can make our coin, the child of the emitter. We can correct the
start emission because we are starting
our home frame from 76. We can tell it to start from 76. We can stop the emission by 150. Also, we can increase
the bad rate, so value, we can
reduce the speed and you can increase
its variation. Likewise then the rotation. So we can see that just by
setting the simple generator, by using the emitter, we can easily simulate our coin falling
down from the sky. Using keyframe. To achieve this may prove
a little bit difficult, but this is made faster and easier by just
using the emitter. You can keep on playing
with your own simulation. In the next episode, we are going to be setting up
a simple lighting and we're going to be rendering this
out for after effect. See you guys in the next
episode. Thank you.
5. Episode 5: lighting and render: Hey guys. Welcome
In this episode, we are going to be illuminating our scene with intermaphody. If you're using red
shift or you are using another third party rendering engine
just like octane. You can also follow
along because the lighting is simple and I'm certain you're going to get almost the exact same
output like mine. Also, if you're using
tmaphody, standard rendering, maybe physical rendering,
you also can follow along. Rendering is the process
of generating images from our three D scenes
while lighting set the mode and atmosphere
of our dimation. We will start by setting
up the simple light using HDRI and Doom light and answering the
visual appeal of scene. Then after that, we're going
to be adding a touch of realism by applying a simple
texture to our object. Finally, we're going to explore rendering settings with V, ensuring that our
animation looks stunning from our handgle that
you're viewing it from. Let's get started together
to set up a simple lighting. The first thing
I'm going to make sure that I set is the camera. Since I'm using, I wanted to
set up a view camera tag, physical camera tag
to a camera and select V as our rendering G.
I'm going to be using V GPU. Just leave the rest only just make sure that you
turn on the auto exposure. To simply set up the HDR
high using the Doom light, you can set up the
Doom light over here. Another way of
doing that is going into the light and set
up the Doom light. You can import your texture, the HRI inside here, but I'm going to be using a
different method for mine. I'm going to be using the O, I'm going to look for HDRI, I'm going to be using the ones that I've downloaded earlier. Anytime I send it to my scene, it will automatically
reach the doom light for me and also include the HGRI over. The nesting we offer to do is to set up a
simple material. Guys, we need to add some
simple materials on it. How I came up with
this material, they are simple materials. I choose this particular
color because I know it is closer to the brand of the
reference that you're using. Then add a little
bit of a reflection. They're not. Another fastest way to go about that is also
looking at the library. I use the chaos
as you can search ending and material that you
are interested in using. You can find ceramic depending on the kind
of texture that you wanted to apply or you
can create yours also. That is how I come
about with these. And to create your
own materials, you can use the Node materials or you can use the standard one. I'm going to apply
the materials to the model, the model. We can make our Doom
light invisible, can give it like intensity. Now let's see it in
interactive render for now, whenever you are test rendering, it is important. Sometimes depending on the
hardware that you're using, you can keep the
resolution lower, it can render more faster. Anytime you wanted to
do the final render, you can pack it up to the appropriate
rendering settings that you wanted to use. You can keep on
increasing the settings. I mean, took in the settings to get the exact view
that you wanted. I can add another light to light up the scene and
to give it a little bit of depth whenever I'm okay with the lighting
and I really want to proceed into
rendering out my scene. This is how you can render your scene faster
in cinema folding. All you just have to
do is come over here, select all frames, That is to
render it from frame 0100. You can select exact place
you want to save your file. We are going to
be saving this as a image sequence, as a PNG, and make sure you turn on
the Alfa and street alpha so that we can have a
transparent background whenever we want
to import it into. After effect, you can choose different sampler type, either bucket or progressive, depending on which one you
really want to go for. I would suggest that
you can keep it simple. After you're done with that, I wish you change back
to the original frame, 1920 by Nighty Select where you wanted to
save your filing, then anytime you are done, you can click on the Render, then Cinema Four, we instantly start
rendering your scene. In the next episode, we are going to be
importing it into after effect and we're going
to be fine tuning our scene. We advise at this point if
you have any difficulty, you can put it down in the class and just read it out to me. And not only that
also you can watch the previous classes and get a more clarity
of the course. So see you in the next
episode. Thank you.
6. Episode 6: After effect and conclusion: Welcome guys to
the final episode of our animation journey. In this episode, we
are going to be taking our animation to the newer
level using after effect. Before we start after effect, we advised to get
this free logging called Animation Composer. This is a very versatile
plogging that is very effective and it is really popular among
motion designers. Um, you can get the
first, the free version. Animation Composer is
an effective plugging that can really help you to add a lot of motion
graphics element. Faster, animate your text without doing it organically
in after effect. This is going to
save you a lot of time and this is
very, very effective. We encourage you to download it, to download the free trier, since we are going to be using
a lot of the preset in it, we are going to be importing our footpage into after effect. So I'm gonna make it
a 15 second long. I exported my batches, that's the reason why I'm
importing it in different form. You can import it if
you export it in full, then you can cut it
in after effect. The first background here, we're going to make
it a solid white. I can just use a
ship make it white now because we
exported our footage with Alpha channel and
we're able to create something that with
transparency and PNG so that we can trick our
background as we see it. I'm going to create the text, I'm gonna make the texts blue. So we're going to
duplicate that by pressing control C and control
the second layer. Oh, we can reduce lens. Now for the second
shot we're going to be creating over here, we complete with the layers tied by adding
ingredients over Y. Then I'm going to
change the color of the text so that it
can be more visible, can drag it downward. Then I'm going to be
adding my last scene, which is the texts just may be different so I can rename the ship
Leos. When I've study order. Oh, Can just delete
the go here and create an ellipse too. Just create a simple. I'm going to do that again. So, over here we can animate. We can start by
animating the background f shape I wanted it
to be animated from. I wanted to admit its skill. So I can press on the icon here, the skill icon for me to see. The skilled properties
I have to press S, it's going to bring me
the skilled properties. Then I'm going to e
this frame from zero. I want it to be maybe 200. Yeah, 100% After we have set the
skill properties, it is advised for us to
select these boot keys and right click, then set ease. And then what we can
do is to reduce, we're going to bet this. So we can change the
color of the first one, something around this color. Then we can change the
color of the second. Then the last one can be white. Now that we're
almost done with it, the purpose of this
is just to show you the general workflow
on how to do this. Of course, there's
more efficient way to work with after
effects and there are numerous resources that
are made available online. I just want to show you
the process of doing this fast and without bothering
with a lot of details. Then I can quickly animate some of the
ships and even the text. Just by coming to the
animation composer, I can look for the text. I can select the first one
that I wanted to animate, which is save more
than double click. It's going to help me to
add that animation to it. As you can see,
there you have it. I'm going to do the
same for the rest. Also, I'm going to look for
the precept that I love. I think I love this one. And you can adjust the
timing with the in and out. Then I'm going to
animate the last text. So this is just a simple way of approaching this project
without going much into De. And I'm sure you have learned
something from this course. As we conclude this
tutorial series, I want to extend my gratitude
to everyone that has found the time to
really go through all the series, all the Court. Remember the journey of learning never stop
and it never ends. You spend the time on honing your craft, the
better you become. We encourage you to work with the class project and submit
the completed course. And also feel free
to reach out to me in any of my social
media platform. You can find some here. You can share some of your
works with me on Beans. Yes, my account on an also. You can reach out to me
on Instagram like this. Also, you can reach
out directly to me on my email account. I look forward seeing what
you really make out of this. You can keep on working on these by adding
adjustment layers, correcting the color correction, and exporting it out
from after effects. If you want to
export out instantly with after effect just
to press control, I can send it to
the media encoder and you can export it out in the resolution that
you're looking up to. Thank you very much. I am ogualipolgill and hope to see you in my nest
course. Thank you.
 Paul Olusola, 3D Motion & Illustrator