Transcripts
1. Introduction: Do you enjoy painting
watercolor landscapes, but sometimes
struggle with getting the sky or the background
to be completely smooth? You sometimes get hard lines and wonder how you're supposed to
avoid that from happening. If you have struggled
with these scenarios, then this class is just for you. Hi. My name is Madeleine. I'm an artist and content
creator based in Los Angeles, and in this class today, we are going to
talk about how to paint the perfect,
smooth watercolor sky? I'm going to share with
you the watercolor supply that makes the most
difference and the types of
techniques that really ensure that our skies
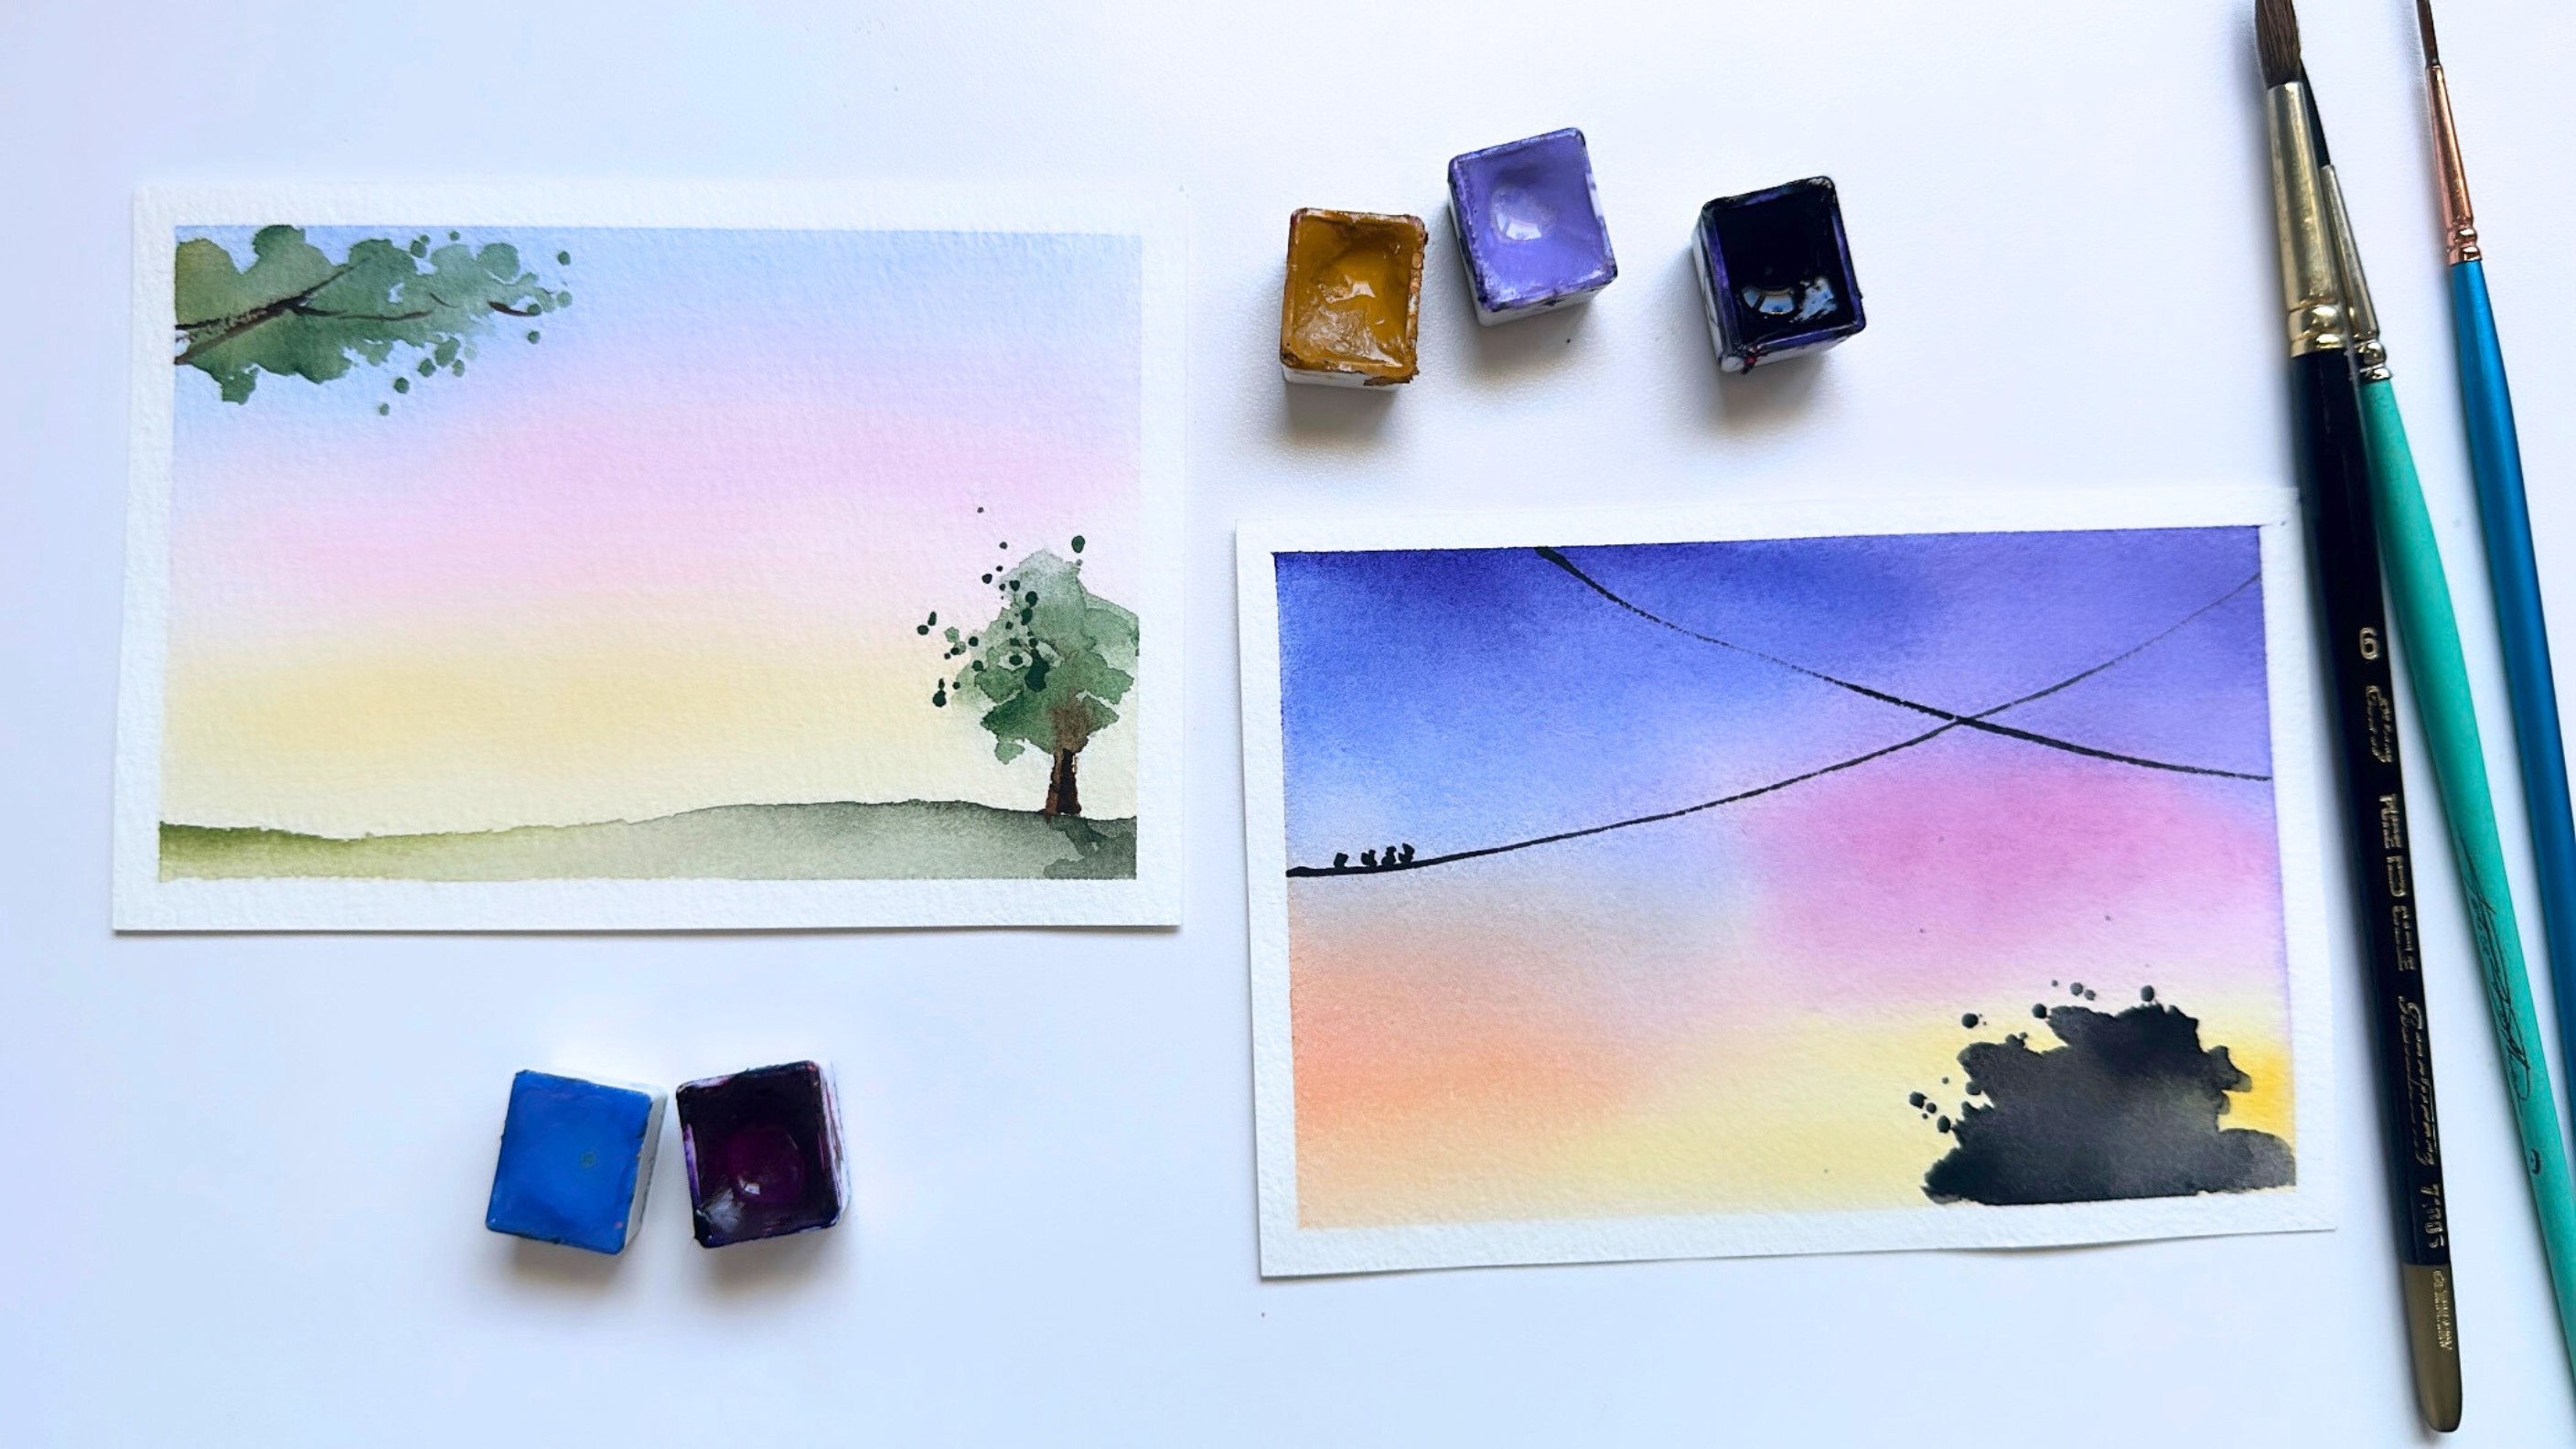
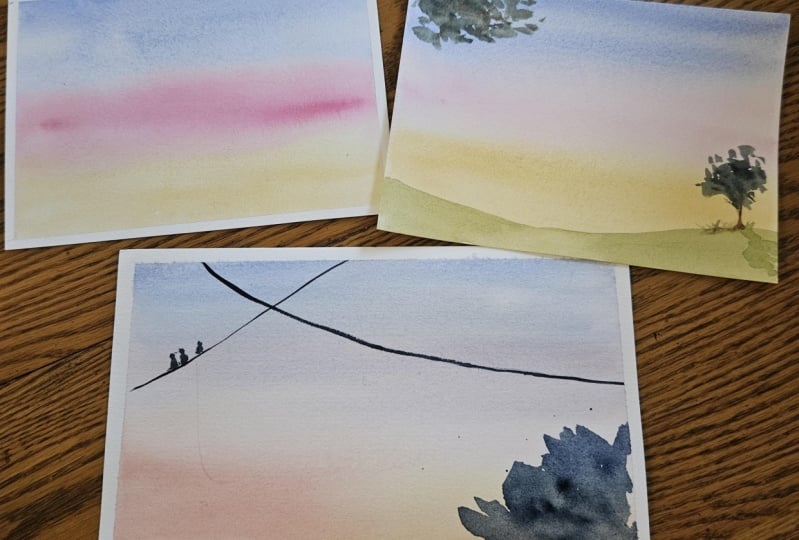
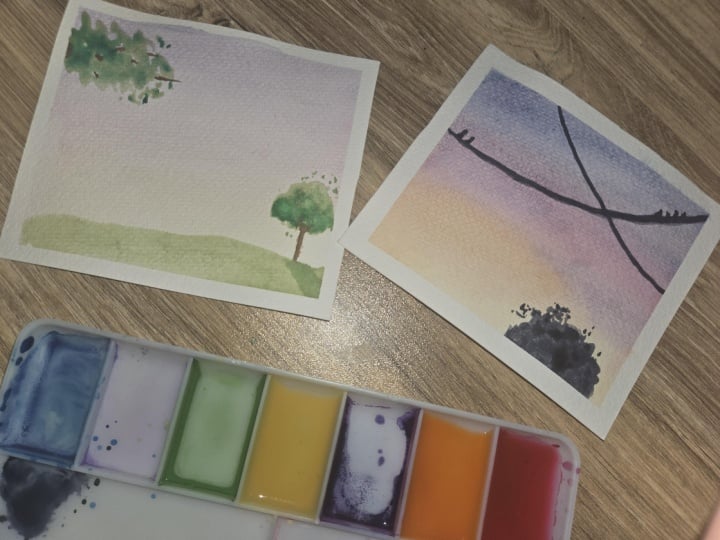
are always smooth. And these are the two examples that we will be
painting together, a morning sky and
an evening sky. And without further
ado, let's get started.
2. The One Supply You Need: In this lesson, we're
going to talk about the most important
supply that is going to determine if you're going to be successful at painting a
smooth watercolor sky. And that is the
kind of watercolor paper that you're painting with. When I first started
learning watercolors, I was really drawn to
how watercolors seemed to have this effortlessly
beautiful feel. Like all the colors blended
together while they were wet. But if you were like me,
when I first started, I turned to the Internet, and I searched for a good
watercolor sketchbook. And this was one of the most popular
sketchbooks recommended. So I bought it and
I started painting. And I'll be honest. I
had a hard time with it. A lot of the classes
I was taking kept recommending 100% cotton
watercolor paper. But what I didn't
know at that time was that this sketch book
was not 100% cotton. If your watercolor paper does
not say it is 100% cotton, then it most likely isn't. And if it isn't, it's
usually made up of some cotton and some wood pulp or what they call cellulose. And cellulose paper and 100% cotton paper perform
very differently. And it wasn't until I switched
over to painting with 100% cotton paper that it completely changed
my painting game. 100% cotton paper allows water
to absorb into the paper, and in turn allows your watercolors to
perform at its best. When you don't paint
with 100% cotton paper, the water can sometimes just
sit on top of the paper, and it can cause a lot of hard lines when
you're trying to paint. Now, there are a lot of
brands of 100% cotton paper, and most of them will give you a much better painting
experience than cellulose paper. But these are the
two brands that I enjoy the most that allow
me to paint the best. I also prefer cold pressed
or rough grain paper, which usually has
some texture to it, unlike hot press paper, which is completely smooth. The brand on the left is considered student grade
and is more affordable, and the brand on the
right is considered professional grade
and is a bit pricier. But both of these papers perform so well and I cannot
recommend them enough. The next lesson, I will go
over what techniques that you will need to paint
smooth watercolor skies.
3. The Techniques That Help: I. Let's talk about techniques that will help us to really achieve those
smooth, soft skies. And the very first one is making sure you are always using
wet on wet technique. Wet on Wet technique
is when you evenly wet your paper with clean water before adding any type
of watercolor paint. So my paper is nice and wet. I'm picking up some yellow, and you can see that the yellow diffuses softly into the paper. We don't see any hard lines. And as I pick up a
pink, a second color, you can see that this
pink and this yellow very evenly blend
together very smoothly. And because the
entire paper is wet, I can add multiple colors, and they will all blend together and create that really,
really smooth sky. The second technique that is very important in helping us to achieve smooth watercolor skies has a lot to do with
how you dry your paper. So it's always very important
to dry our paper evenly. So you'll see that I wiped the edges of the tape where
water had sort of polled. And if you use a hot
air tool like me, you want to make
sure that you go over the paper
evenly when drying. Hot air tools can oftentimes create hard lines if
you're not careful. The next technique that I
will be talking about is something that you need to be really mindful of as
you are painting, and that's the importance of
not overworking your work. So with this example, I am creating a gradient. I'm using a dark purple, and I am bringing down the color so that we
have a very smooth fade. You'll see that I just used one stroke of my brush
all the way down. And a lot of times the key
to achieving that really, really soft smooth gradient
is to not overwork it, to not bring your brush
back and forth too many times so that it
creates a hard line. Next thing that I am
always mindful of when painting smooth skys is the
type of paints that I use. So when I want a
really smooth sky, I will intentionally choose not to use granulating paints. Granulating paints are
paints that have particles, whether it's from two
different pigments or possibly a heavier form
of a particular pigment, and those heavier
particles will separate out and a lot of times create
a really nice texture. That texture can
sometimes work against us when we're wanting
to paint a soft sky. We're not going to
want, you know, little we're not going to want our paints to
separate out as much because that can sometimes go against what we're
trying to achieve. So a lot of the paints
that I use when painting my skies I know are not
granulating colors, and that helps me to
achieve that really, really beautiful, smooth sky. Last thing that I want
to share with you, and this is more of a tip
rather than a technique is to always be mindful of how and where your
paper is drying. So in these examples, I'm using really small
pieces of paper, but if you are painting something
on a much larger scale, say a nine by 12 inch
watercolor paper, then you're going to want to
be aware of what parts of your paper are drying
and to be mindful of not overworking the
areas that are already dry. Usually, what dries first
are the edges of a paper, the center, usually, or it
takes the longest to dry. And the brush strokes that you do also affect
the drying times. So if you are going over a particular part of the
sky with a lot of colors, every brush stroke
that you bring in is going to be a brushstroke
of water and paint. And so that particular part of the paper is going to be more wet than another
part of the paper that maybe isn't
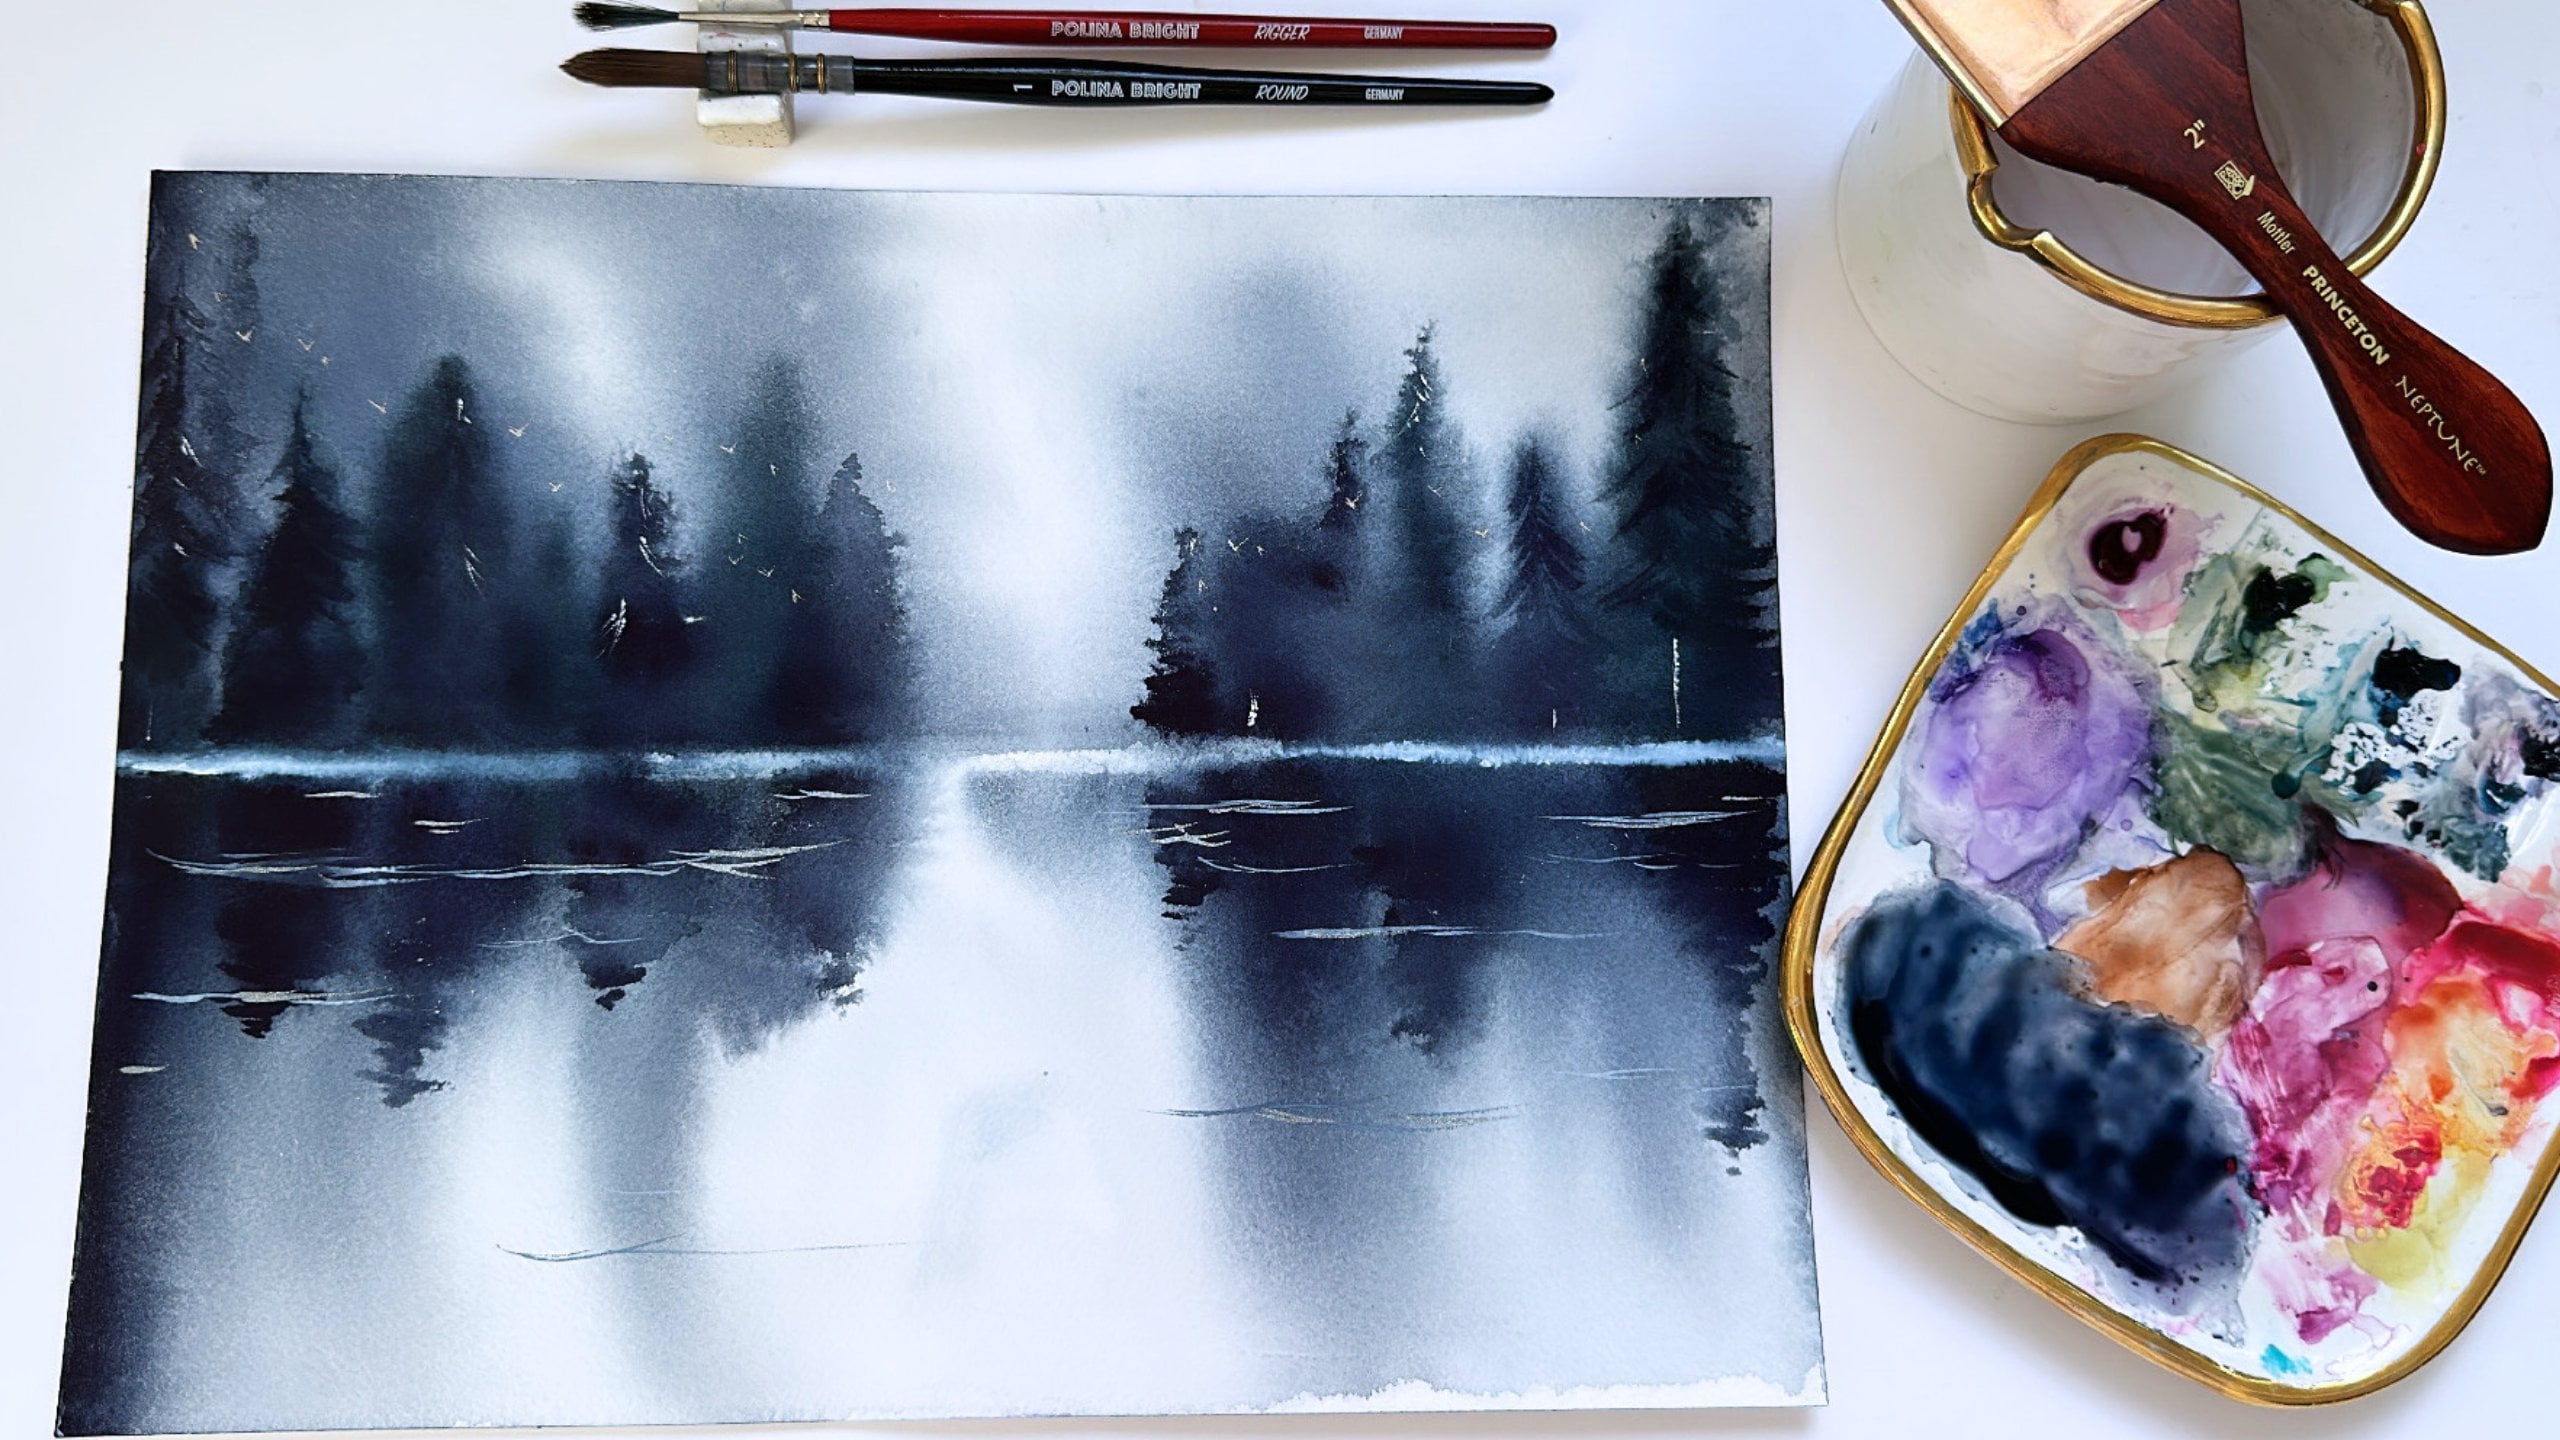
getting any paint. So in this example, I'm painting a night sky. I'm adding in some
darker colors, and I'm actually using my
paint brush to lift some of the center where I want
it to sort of look like the moon is kind of I'm going
to paint the moon later, but I want the part where the moon is going to be
to be a little bit lighter. And so I'm adding darker
colors around and I'm using my paint brush to lift where
I want the moon to be. But you'll see that the
brush that I'm using, I'm picking up and I'm
lifting some of that paint. So if you were doing this
on a larger piece of paper, you want to be mindful that lifting paint is going to cause that part of the paper to
dry a little bit faster. And so you'll just want
to be careful to notice and pay attention when the
paper has started to dry. You don't want to work that part of the paper anymore because that is going to start to create some hard
lines and edges. One tip to avoid, having to work against
the clock is to sort of paint on
a smaller scale, and with painting smaller, it's also easy or to paint
more quickly as well. Those are the tips and
techniques that help me to paint perfectly smooth
skies every single time.
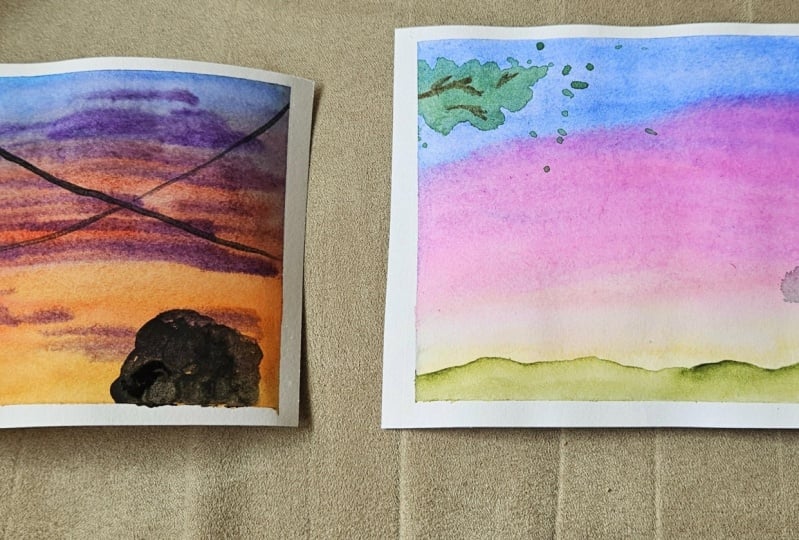
4. A Morning Sky Example: A Hi there. And welcome to the first example landscape
for this class. Before I get started, I just want to briefly mention the materials
that I'm using. This is 100% cotton
watercolor paper. This is the brand that I
mentioned in the supplies class. This is Bau Hong
rough grain paper, and I'm taping it down with
some masking tape right now. I will be primarily
using two brushes, a softer non synthetic brush. It's the Renaissance line
by silver brush limited, and it's their round
six animal hair brush. I find that I can get a lot of paint and
water with this brush, and it's just very versatile. And the second
brush I'm using is a firmer synthetic
brush that is going to allow me to paint
some of my details. And the last brush I
use is a liner brush, and it's by Kristy Re, and it's just for me to
get some fine lines. So the first thing
we're going to do after our paper is set up is to wet our paper
completely with clean water. Water is the foundation of getting a smooth sky
with watercolor. And the reason is because
when the paper is wet, when the canvas is
completely wet, our watercolors
can blend together and create a new color
all entirely almost. And as long as the paper is wet, we are able to get very, very, very smooth skies. So I'm picking up
some yellow ochre, and I'm bringing it down. This is going to be
a really soft sort of Sunrise morning sky. And before I grab some pink, I do want to mention
that I do rinse my brush between each time
that I pick up a new color. And that's just because this
sky is so light that I don't want my paint brush to be holding too many colors because I don't want my
colors to get muddy. Now I'm picking up some lavender and now some ultramarine. The ultramarine is
going to be very light. I'm not using very pigmented
pigmented brush strokes. And the reason I'm able to
get such light colors is because I'm not picking up a whole lot of paint each
time I make a brush stroke. That's also something that
can help you to achieve that really sort of soft
light and airy feel. So I'm grabbing a few
different light blues. I want the top of my sky to feel darker than the middle
and the bottom of my sky. I am grabbing a
little bit more pink because I want to add
a little more color to that right side. Another tip that I
want to share if you use masking tape to
tape down your paper. You'll notice that on the
edges of the masking tape there is a little bit of
paint that does accumulate. And if you use a hot air tool, you always want to be
mindful to make sure the masking tape is completely clean because once you
use your air tool, that can really dislodge
some of that water, and if that water gets
onto your landscape, it is going to
create a hard line. So that's just something
to also be mindful of. I very evenly dried my paper. And now I'm grabbing my
firmer synthetic brush, and I'm grabbing a sort
of dark olive green. And I'm bringing sort of I'm painting like a hill
sort of in our foreground. I'm diluting my paint brush, and I'm picking up a warmer, almost green, yellow,
a greenish yellow. To paint the left
side of the mountain. And I want the middle part
of the mountain to feel like maybe that's where the
sun is the strongest, and so we're using that lightness in the middle
to create that sunlight. Now I'm going to switch
back to my softer brush, and I'm going to paint
a very small tree on the right side. I'm picking up some green. I rinse my brush
and am sort of just softening the bottom of
this tree right here. I want to add a sort of like a dangling branch over on the upper left hand
corner of the landscape, just to sort of frame our sky. So I'm picking up several
different greens, and I'm just sort of letting
them blend together. And I am going to grab a little bit of water
and sort of just create some green splashes
to really create this loose overhanging
tree branch that we have right here. I want the tip of that
branch to be sort of light, and Now that I've
dried both of these, I'm grabbing my liner brush, and I'm just very lightly kind of painting in a tree branch. Now, using that same brown, I'm going to come over
to the tree that we have on the bottom
right and just kind of lightly paint in a
tree trunk for this tree. Now I'm going to switch
back to my softer brush. I'm going to pick up a little
bit more green to sort of a darker green to create a little bit more
depth in this tree, and I'm also going to do just a few splatters to kind of add a looseness to this tree. I'm going to dry this tree off, and I do want to create
sort of like a shadow. As we said, the sort of center of the sun is at the
middle of our landscape, so the shadow is
going to be kind of coming out to the
bottom right like that. And I like how that looks. And so I'm going to
dry everything off. You want to wait until
your entire paper is completely dry before taking
the masking tape off. Otherwise, sometimes the paper can rip if the paper is wet at all and you're
pulling masking tape off. If you're not using
hot air tool, I would say just waiting an hour or two or even the next day if you're one of those
painters that sort of puts it down and comes
back to it much later. This is our example
of a really soft sky. You can see that
I have multiple. There are no hard
lines between the. We have a very, very soft and
blended smooth sky. In the next lesson, we are going to paint with
some darker colors, and we will continue this lesson on how to get smooth
watercolor skies.
5. An Evening Sky Example: Welcome to our second
landscape example. We will be painting a
darker evening sky, and I will show you how to create effortlessly
smooth watercolor skies, even with darker colors. Be using the same
supplies that I used in the last landscape. This is Bau Hong paper, and I will be using a silver brush limited
renaissance round six. It's a non synthetic soft brush, as well as a liner
by Kristy Rice. After my paper is
completely taped down, I am going to wet
my entire paper, which is always
the foundation for creating smooth
watercolor skies. We always always want
to start wet on wet. After my paper is
completely wet, I will grab my brush, and I'm going to pick
up a warmer yellow, and I'm going to
start at the bottom. And in this landscape, we're going to paint
a soft evening sky. I'm picking up some red, and I sort of just
want the colors in this sky to be a bit darker
than our last landscape. And it's just to sort of give you an idea that no
matter the colors, no matter the darkness
or lightness, you can still achieve really, really smooth watercolor skies, no matter how many
colors you use. I'm going to pick up
some darker ultramarine. I'm picking up more
pigment than I did in the morning sky, and you can see that there is a much deeper
tone to the blue. I'm also adding
some of my purple. This is like a dioxazine
purple to sort of get the upper parts of our
sky a little bit darker. And now I picked up a
little bit of an orange to bring some darker color to
that yellow at the bottom. I'm grabbing my hot air tool. I'm evenly drying my paper. And then now I'm going to
pick up some neutral tint, and I'm just going to
paint the silhouette of a tree sort of just right here in the bottom right hand corner. A and add a little bit
more black because I wanted to feel like the
sunsets further away from us, and then we just have a
tree in front of us and we just see the top of the
silhouette of that tree. I'm going to do a few splatters because I feel like it just adds a looseness to the
tree that I really like. The final touches for me for
this landscape are going to be painting some
electrical wires that we see in the
sky in the city. I'm grabbing my liner
brush and I'm just really slowly of creating
two lines like that. I'm going to add for interest
because I love birds, just a few little birds sitting on this power line right here. And this is just a
really simple landscape. And I just want to
illustrate to you that if you follow the principles
shared in this class, that you'll get smooth watercolor skies
every single time. And it's just one of my favorite parts and
aspects of watercolor. You can create that
smooth blend with just very little paint
and very little effort. And it's always
just so beautiful. In the next lesson, I'll share with
you how to upload a class project and
where to go from here.
6. Next Steps: You have made it to
the end of the class, and this lesson is to share with you how to upload
a class project, how to leave this
class a review, and where to go from here. To leave a class project. All you do is go down on the class page and head over to the project and
resources tab, if you're not already on it, and go over to the purple button that says Submit project. It will bring you to this page, and right here, you
can upload an image. Once it brings up your files, you can pick your photo, and it'll bring you to this little screen where
you can crop your photo. I find that landscape
photos upload a little bit more easily
than portrait photos. And then under project title, I like to put my name, and under project description, you can share anything about the project you
would like with me. But if you enjoyed the class, I advise against writing
a review right there. You can do that later
in the review section. Simply hit the green
published button, and it will publish your class
project to the class page. To leave my class a review, you head over to
the Reviews tab, and similarly, there is a purple button that
says leave a review. If you enjoyed the class, I would really, really
appreciate any review. These help my class
to get more traction, and it will tell the algorithm to recommend it to more people. If you enjoy my style teaching and want to take
more of my classes, you can head over to my
teacher profile page. I will always have my
latest class there, along with other categories
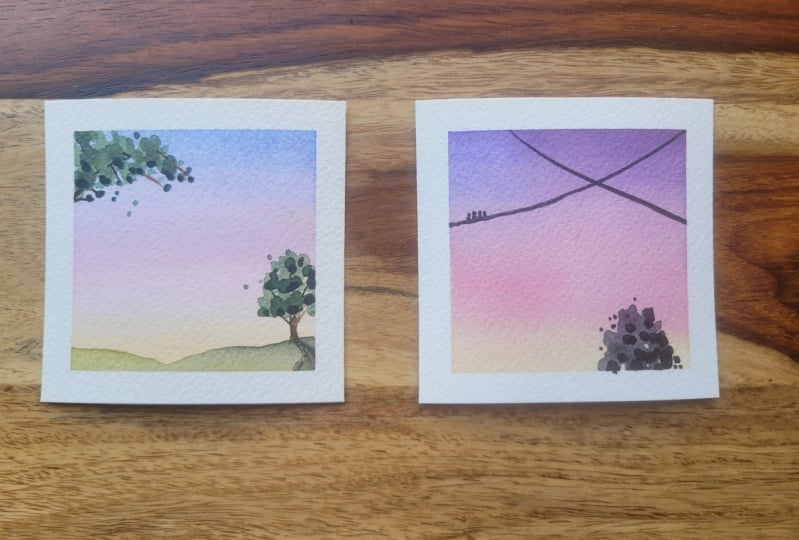
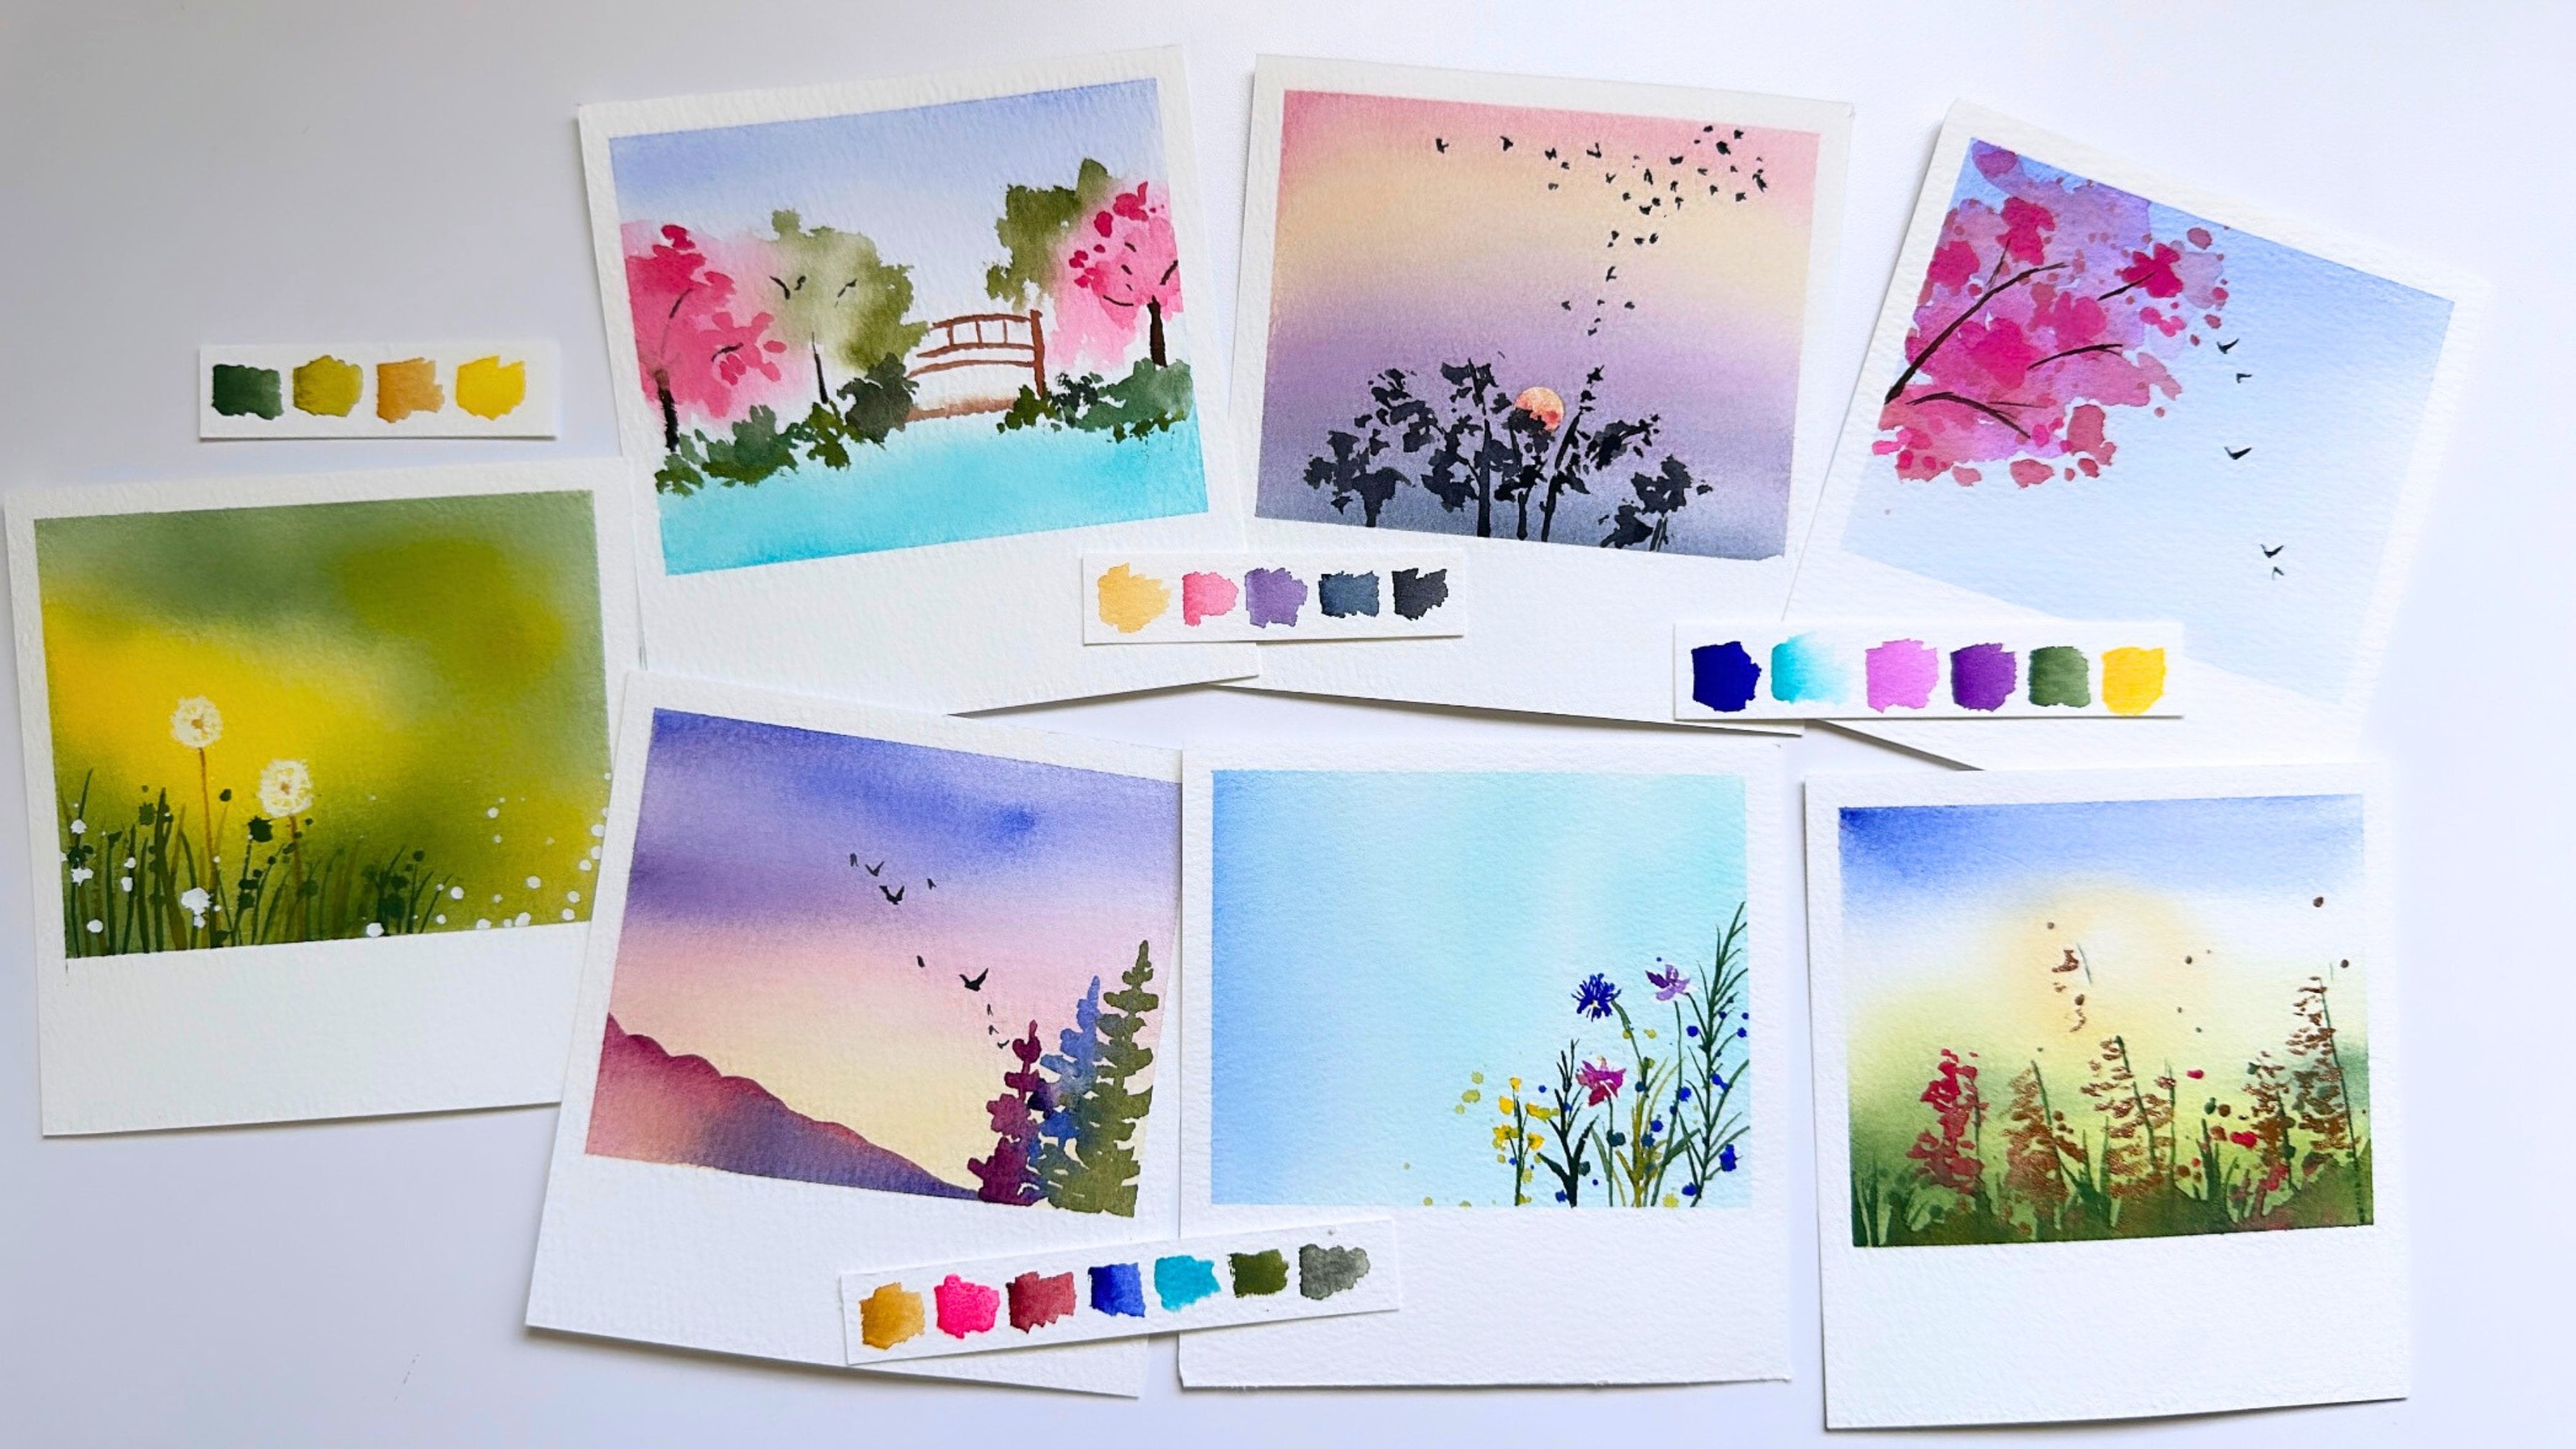
of classes that I offer, I have a polaroid
landscape series, as well as a handful of other
loose watercolor classes, and I hope you find
something that you like.
 Madeline Kerrii, Watercolor Artist