Transcripts
1. Introduction: Hello everyone,
Welcome to my class. In this class we'll
be learning how to create beautiful mini
sketch books from scratch. If you have ever wanted to create your own sketchbook
and paint on it, then this class is for you. The best part about
these sketchbooks. Or you can add as many
people's eyes you want, as well as you can remove any of your work which
you are not liking. By the end of the class, you will have two beautiful
mini sketch books. And that would be
your class project. Don't worry if you are
accompanied Vigna, you don't require any skills
to create this class. I'll be walking you
through each and every thing in detail
throughout the class. I have already created
this sketch book in the past and have done so
many paintings on top of it. I knew all have loved it. I thought why not share how
to create it with you-all? I'm hoping you all are
excited about the class. Hello, hello. I am a full-time
artist, art educator. Screenshot each of
you to go from God, all of my work and
announcements on Instagram under the handle at the radar to share algorithm. You can also check out, find videos on YouTube. My page name is faint. Alright, that's it for now. Now, go grab all your materials
and let's get started. I'm really hoping to see
you all in this glass.
2. Materials required: So before we start, let's talk about the materials that we will need
for today's class. First, let's talk about paper. As I work mainly
with watercolors. So I be using Bruce
draw 100% cotton, 300 GSM cold press, A3 size watercolor paper
for my sketch book. But whichever medium
to work with, you can choose your
people accordingly. Great. Next tab, you will need a ruler or a scale to
measure your paper size. You can use a longest
or shortest gain, whichever scale
you have with you. Next, you will need a Dr. or a Caesar to cut
down your paper. I'm using scissor, but you can use whichever you are
comfortable using, then you will need
a binder ring. You can find these on Amazon. It is called as binder ring for sketchbook
or a scrapbook, which are easily
available on Amazon. So such this, and you'll
be able to find that. You don't get it in different
size like two centimeter, three centimeter,
four centimeter. But as we will be making
smallest sketch before we'll be using two
centimeter by enduring. Next, you will need a pencil to mark your measurement
on the paper. Then you will need
a punch machine to punch the hole on the paper. Now, this one is
completely optional. You don't need this, but as I have this IP using it, so this is a corner cat, dog and we will be using it to round all the
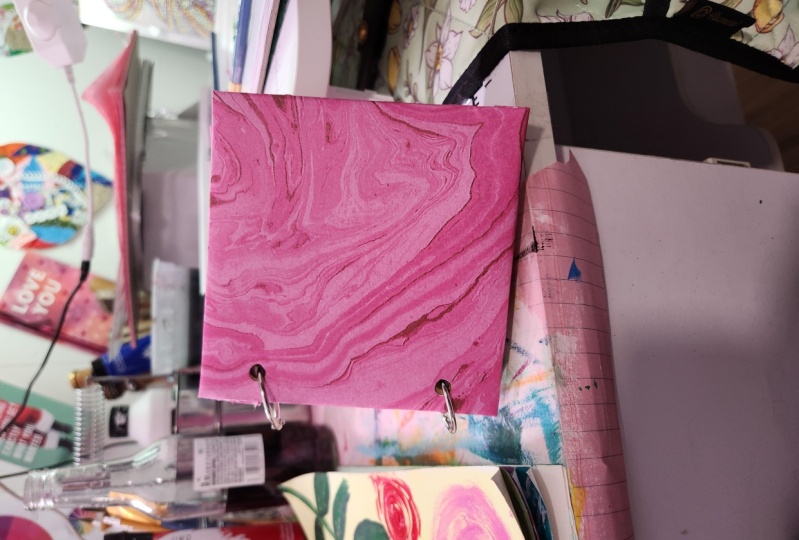
edges of our paper. Now you see the cover
of the sketchbook. It's a bit hard, so we'll be using are thin cardboard sheet
to make them cover. So you can use any
cardboard sheets which are usually available
when you order something. If not, you can always use
the cover of your sketchbook. As those people are
also pretty big. Don't worry if you
find it a little bit, then I'll show you how you can make them thicker. In the class. You'll see I've briefly
cover for my sketchbooks. So this is nothing, this is just a people which
are readily available. So I have lot of designed
and I'll be choosing two of them to make the
cover of a sketchbook. If you're doing have things
fancy paper, don't worry, I'll show you the trick, which you can create your
own sketchbook, gaba. Alright. Lastly, you
see I've covered all those cardboards and April with the plain white paper. So you will be needing or
thin white paper to do so. You can use any branding papers or any plain white
people to do that. Alright, so that's it for oily materials that you will
need for today's class. So go grab them and let's make
our own mini sketch books.
3. Cutting the Paper for the sketchbook 1: Alright, so let's cut down the paper into the portfolio
times will be one. Your LP using Bruce true, hundred percent
content-oriented GSM, cold pressed watercolor paper, as I'll be you majorly working. But what fallows on
my sketchbook with activities and I'm
using watercolor paper. But if you walk with modal, with Walsh or any other medium, then you can use that people. Alright? So we will be cutting
the paper into this size. As you can see, it's an
entry signs painful. So not all the would
be of the same size, especially the last one. But that's okay for me. I don't mind a bit
inotropy hook. So what I'll do is you
can see that it is more than 16 ", almost 12 ". So what we can do as I've been, got to be equal
to a square size, which will be 4 " by 4 ". I'll take my pencil and mark. At 4 " 8 ", 12 ". Last one, leave it as it is. Same way I will do it
on the bottom part. And once I've done that, I will connect all those dots each other and create
a straight line. Do we use this method? It will give you the perfect straight
line which you want. Your pictures drawing three
dots for each line, you, if you're not confident, you can even draw
by more, by dome. Three years, totally fine. So once I've drawn two dots, I'm just connecting all
the three dots with each other and you'll see I'll get complete straight-line. Once this is done through the same thing
horizontally and again, mark on dot add 4 ". Your return would
be like 4 " 8 ". And last I will
leave it as it is because it's more than
11 " and less than 12 ". When we get to just
do not 4 " 8 ". And status then again, connect the dots
with each other. And we will get this
straight lines. Whichever size paper
you are using, you can measure total
inches on horizontally and vertically and measure
your paper in a way and I'm not there is minimum
amount of waste. That's what we have done. So behalf caught
almost 48.12 boxes. Now it's time to cut the paper. You can use your scissor
or Carter to do that. I'm not comfortable housing or cutoff for the small screen. Hi, find it wage gap. I'm just using those dual
cut oil boom peoples. All you have to do
with just water, the lines be as
accurate as possible. Now the last phase
of the people was like login and oranges. What we wanna do it again, monkey toward orange and remove the excess people
from this site. Again, very simple, just Incan ruler and Monk yard part that 4 " and then connect the dots
to create a stream line. And then all you
have to do is use your scissors, cut off. No time to waste. And we are done. We called the bench
boxes of four by 4 ". Ready? You pick people
for their first sketch.
4. Cutting the paper for the Sketch book 2: Now usually you
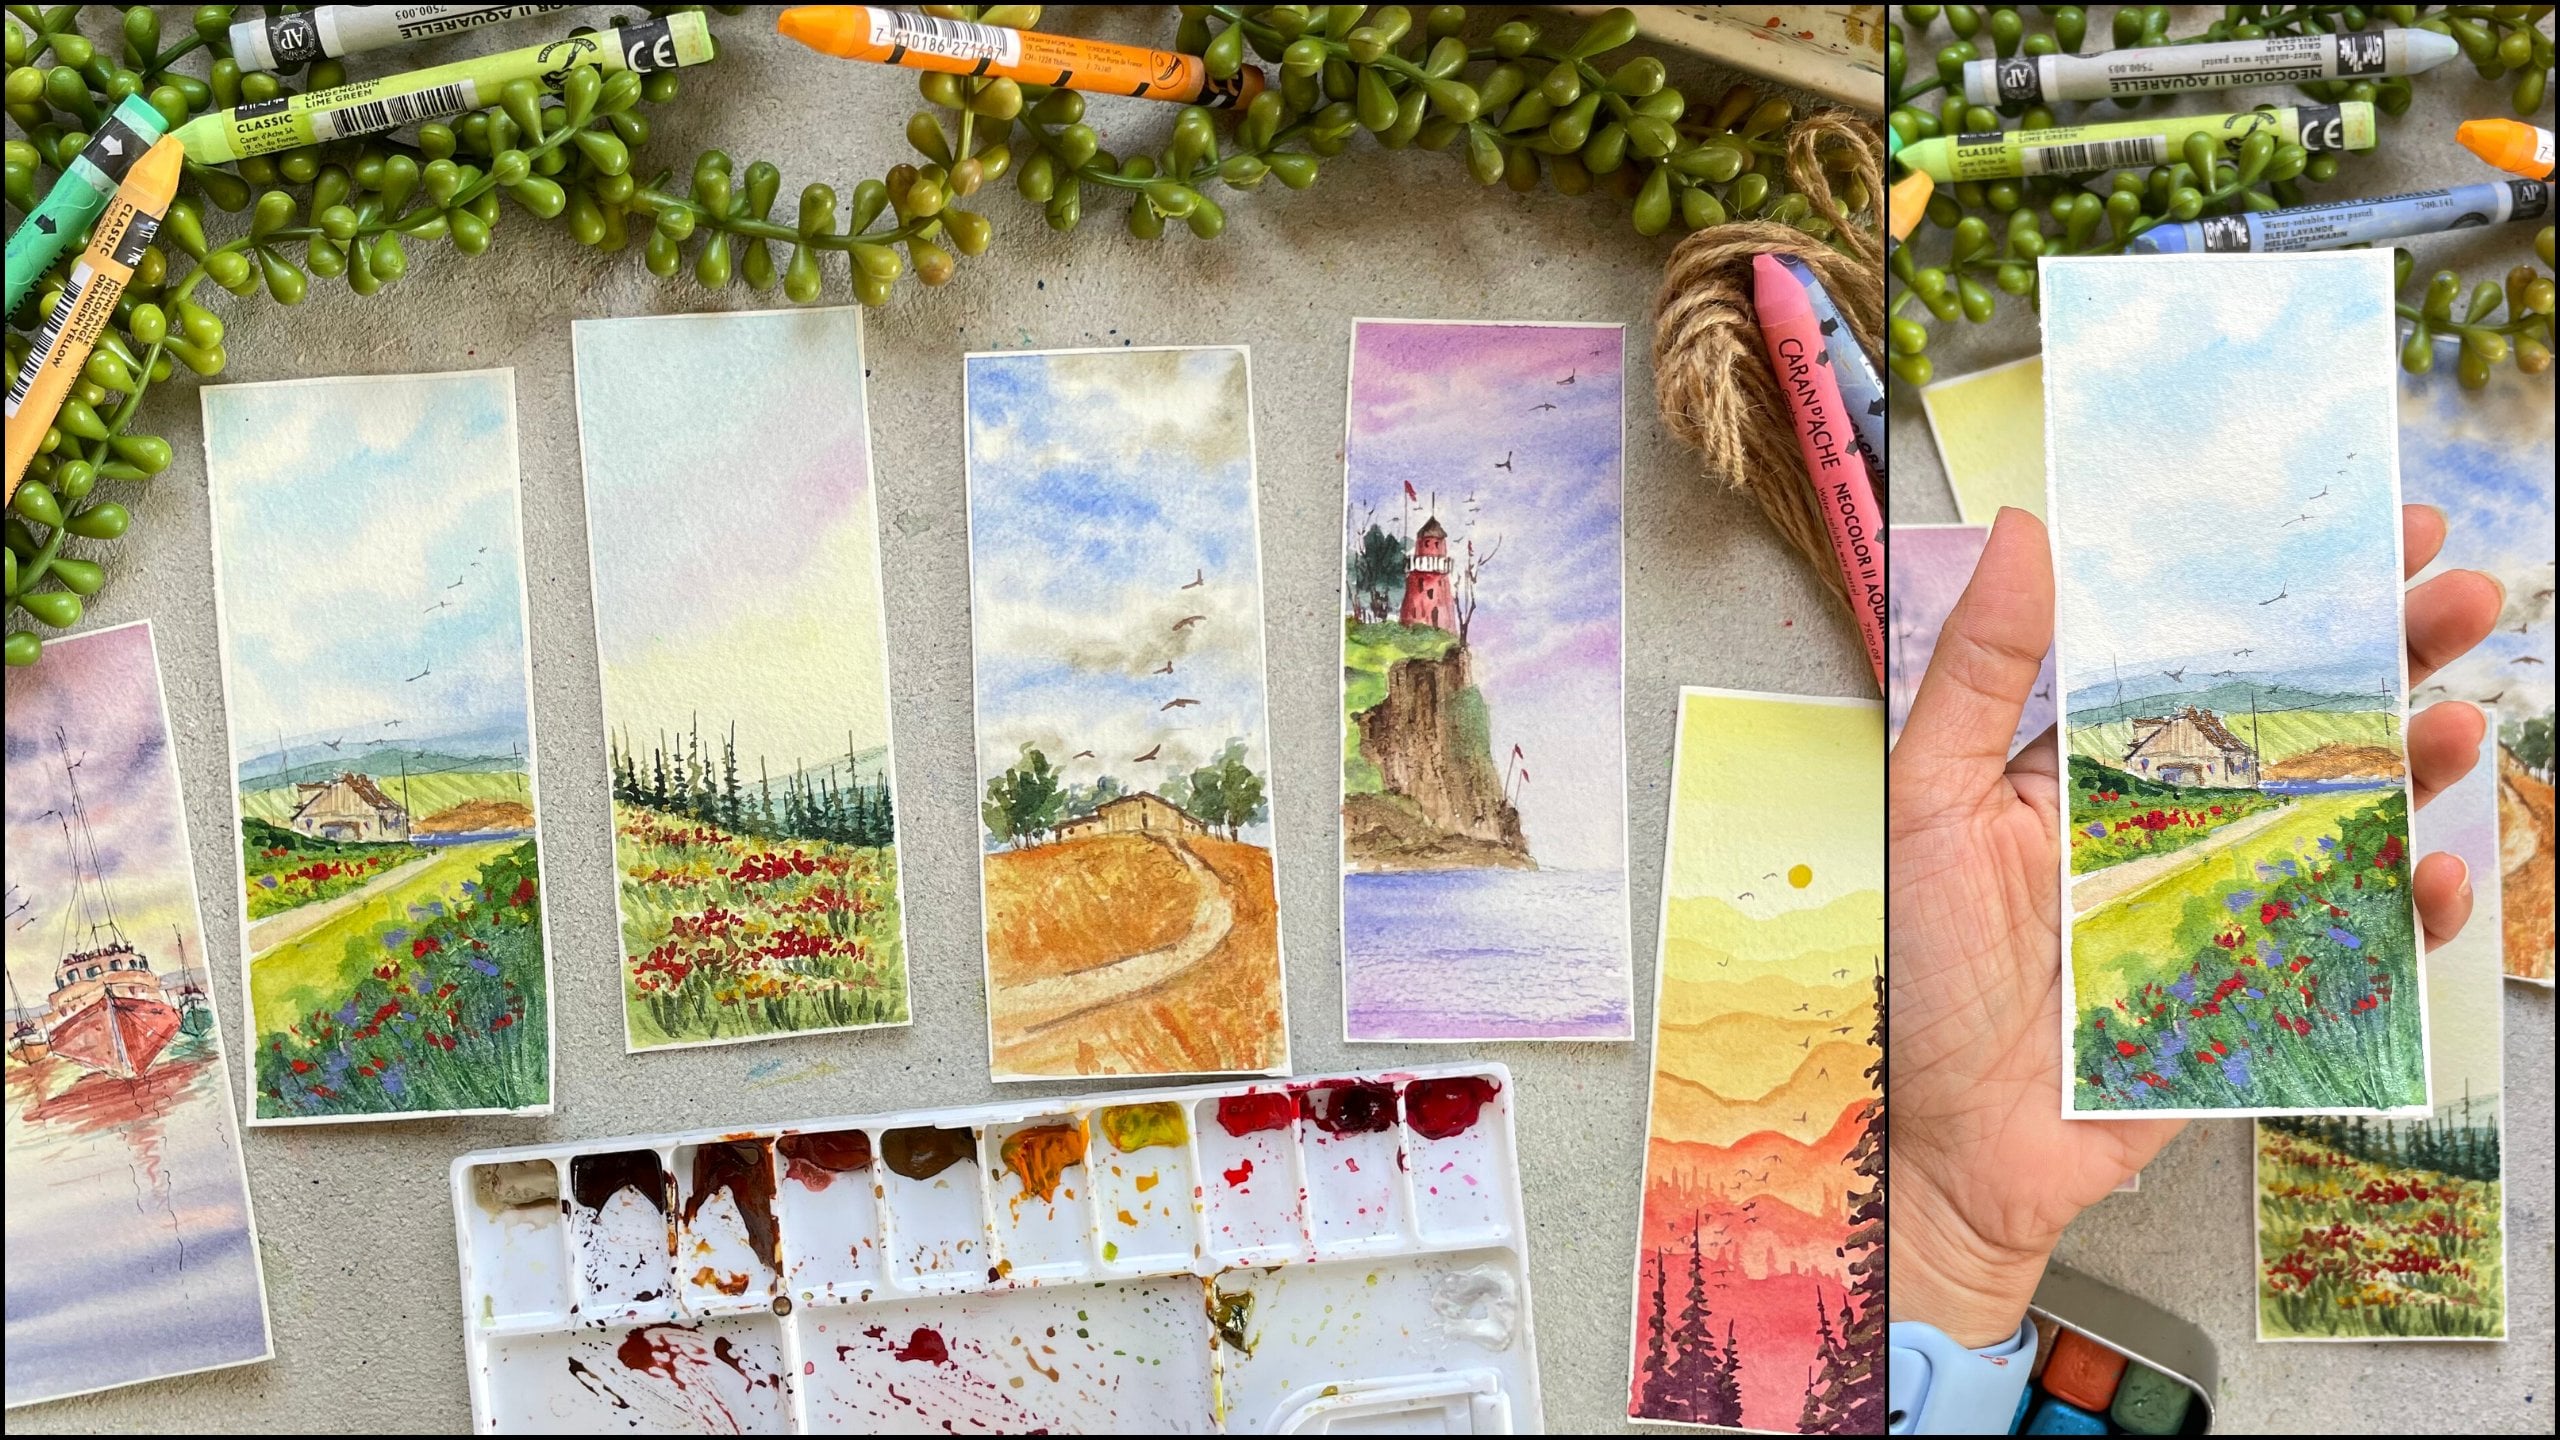
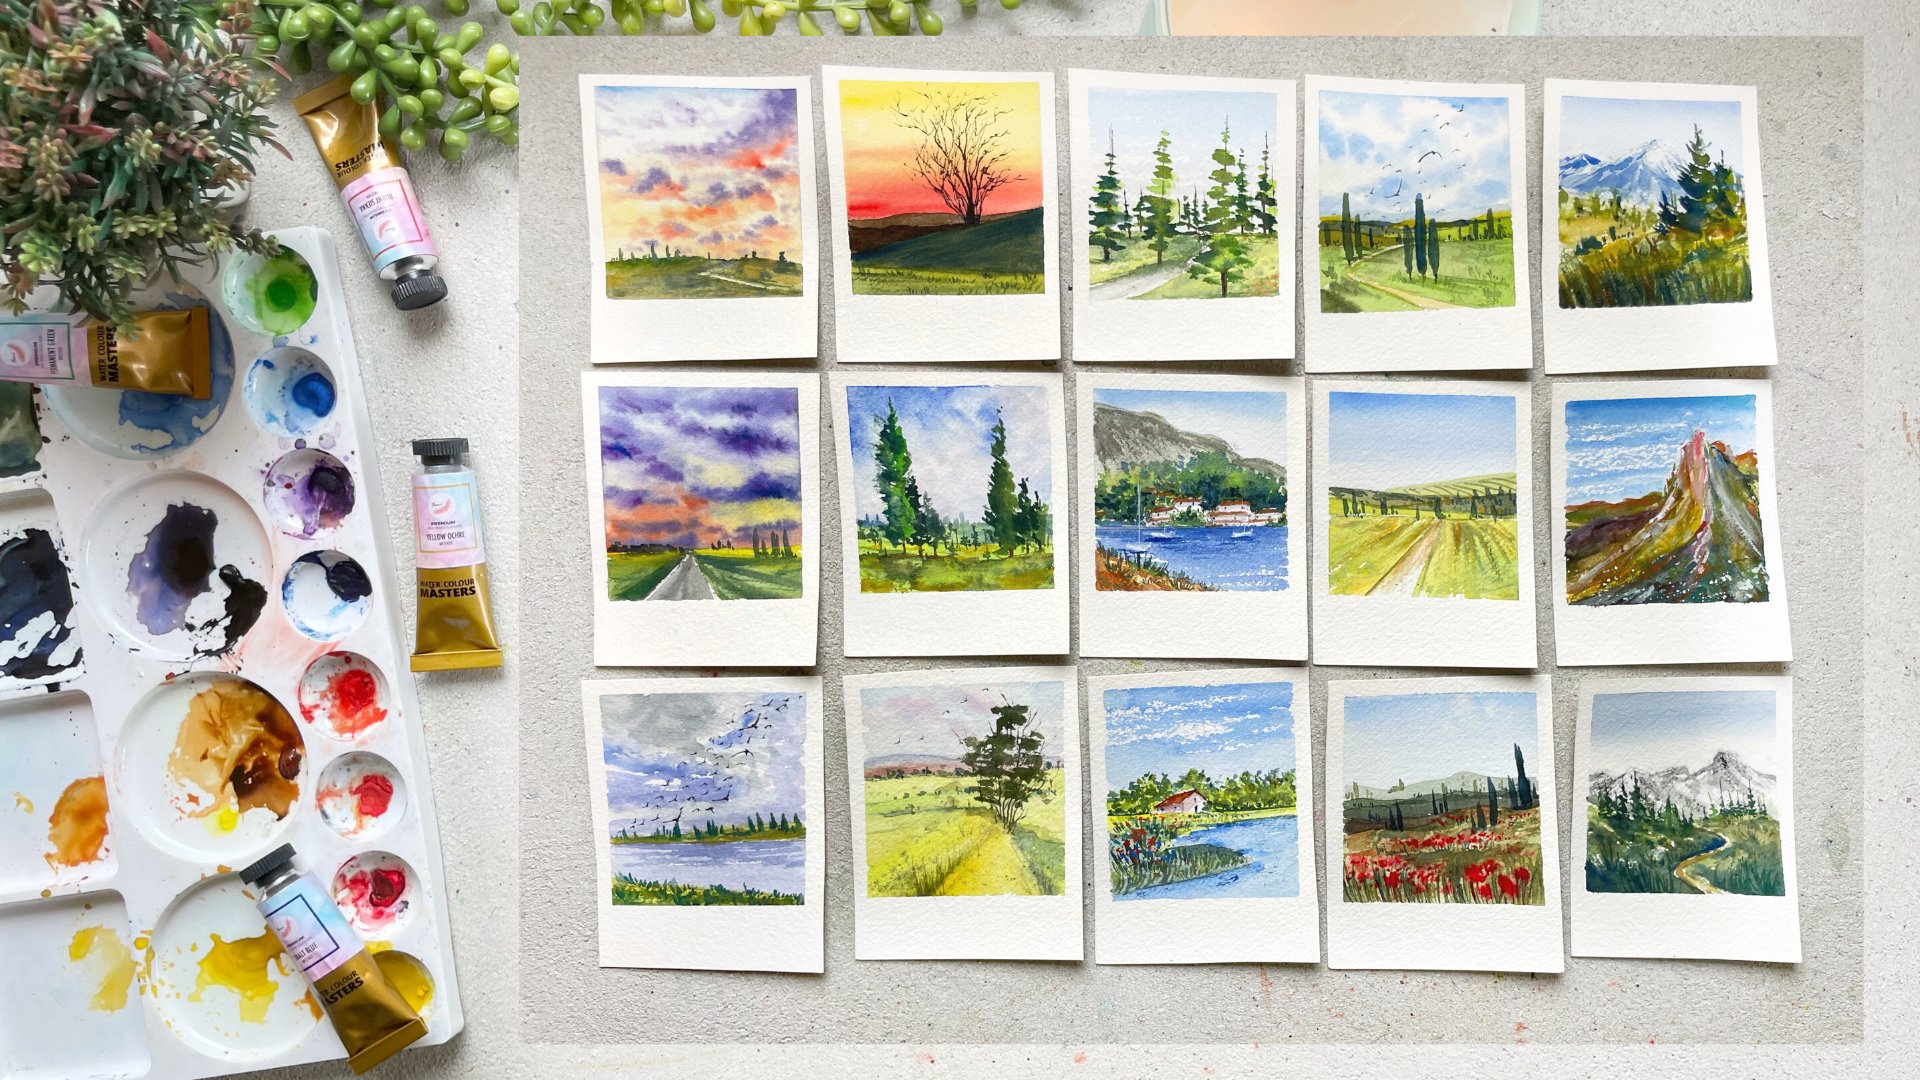
have created many, many paintings in the bust. And I really loved the idea of painting for just
10 min in your day. And greed this nice
reduce the ghetto. Scattered everywhere. I don't mind no unclean
or mini schedule where I can paint
these mini landscape. So that's the idea of grading. The monies can move, but you can use this gadget able to ping or even
swatch to Canvas, or great small illustration
while traveling. I mean, you can do anything. It just depends on your style. So let's create this one. So what I do with lastly, times the 4 " by 4 ". So this time we will
be doing 2.5 " by 5 ". So your mark and
2.55, 74.5, then 5.5. And that's the scheme. Right? So we'll repeat the
same thing at the bottom part. And once we have
created all the dots, will connect it to create
the string length. Like we did earlier. Fun thing which I
forgot to mention is if you're not
comfortable using, since they're all
contours small, I would highly request you do your sister on my
door or anyone else, which could help build, just cut the people into
decides which you want. Once I've drawn the
working online, I will do this
game horizontally. Again. I'll be marking and do
bind five engines, 5 " 7.5. Then repeating the
same steps again. Again, not necessarily interim create sketchbook in
the square format. You can make it
rectangular as well. All you have to do with just change the size and you can get the science which you
want the right to you. Or I'm just connecting
all the dots. And you'll see I caught in all four boxes from
an A3 size paper. And the last two lines from both designs like
vertically and horizontally. I'll just keep that
paper to swatch my colors when I'm working with watercolors and those people, we won't be adding it
to another sketchbook. Right? So I'll go first and
then we will The box as far as I'm hoping you're enjoying and it's not
getting them moving. Believe me, you will have so much fun creating
your own sketchbook. The best part is you can hide it as many
people as you want. You can remove the
paper while you are painting and later you can
add it in your sketchbook. It to so convenient
and so handy. Just dried wind, tried
to one side for now. Use it and you
will see there are so many benefits
of creaky thing. A sketchbook using
a binder ring. Alright, so we are ready
with our 24 boxes. Now. In the next class, we will punch them on. We will also round all the edges using the corner contour. So I'll see you guys
in the next class.
5. Cutting the corners: So in this class we will
be cutting the corner of all four sides of the paper. Like you see, it's a
little bit too round. So we will be using a
condom catheter to do that. If you don't have Conduct
partner with you, you can totally skip this step. This is just to make it
look a little bit better, but it doesn't affect any functionality of
the book or the paper. If you don't have
gone to cuddle, just skip this step. So what you have to do
is take a corner Carter. Now you see that
this conduct culture has three different sizes, small, medium, and large. So I will be majorly using
size medium for all my paper. Because small is
small and largest, quite big for the paper
size which we are using. Medium would be the perfect one. We'll be using size medium. It will cut the corner of
all four sides of the paper. All you have to do is just put your paper inside
the medium side and just punch it
on all four sides. The spins take a
little bit of time. But it's a fun process. In case you're wondering, where did I buy
this new character? I bought it from Amazon. The best part about this
conduct that there is a thick paper as
300 GSM with ease, which was very important
for me because I work with 300 GSM
or sometimes higher. So that was one of the important feature
which was must for me. Just remember one thing
whenever you are buying it, just read all the reviews and everything before you
purchase from Amazon. Right? So you
already I'm counting all Endo sheets from all four sides using
the corner codon. The same thing, I will repeat it for those smaller paper as Ben. So for this model people also, I'll be using those size medium to the paper on all four sides. By watching the video, you can easily tell how easy it is for me to use
the condom cardo. I'm just punching it
once and you're just starting to people with so much. Yeah, that's the best
thing about this one. So by the end of this video, we will be ready with
papers or we have to do with punch and then create
the color of my sketchbook, which weren't being
is so much fun as everything is
coming together. And you will have your own tiny little sketch
book by the end of the class. So excited for them, right? So we will punch older
call news of the people. And in the next class, we will be painting the holes
on this beam. Right here. I'm just comparing the size of my previous mini landscape, which was about 2 " by 3 ". And it was a rectangle. Just comparing it. And there you go. You're already with people. I'll see you guys in
the next class where we will punch the holes
on those people is.
6. Punching the papers: Now to place the ring on
those sketchbook and to bring all the paper and the covers
together and make it look like we will have
to punch the holes. Or an old people's sexual
know that it's really simple. All you have to do is
think of punch machine. Once you have taken that, you've seen the size
of the paper and the punch machine
is almost same. You have to do is
take the center of the people that we put inside the punch machine and
just push the button and you will see you
will get clean looking. Hold onto paper. I'll be repeating the same steps for all the other peoples. Remember to take center of each people and then
punch the world. Otherwise, you will get the points are all
different areas which will not make
it look pretty when you attach all the
papers with the ring. Remember today, the center of the people
you see whenever I'll put bond people on the other two
holds our exact same area. That is very important
for Destiny. Lightly urine
there, that's fine. But just be careful when
you are punching it. Has all the peoples
are of same size. That won't be an issue. Now, let's punch the hole
on the smaller people. You see that the bunch machine
is quite big then though. People. So what I'll do
is I'll use my finger to finger gap on both the
science and punch the holes. You can see I just
measured the gap between the paper and my finger and I'll repeat the same step
at the bottom side. Finite repeating the same stem of keeping the gap of one finger on both the sides for
all the papers and you see attached paper together. I'm getting the whole
exact same size, right? So just eyeballing. Use your finger or use the pen. However, when you walk
comfortably doing. But the best approach
would be just using your finger because it would be much more easier
for you to do that. Be very consistent while doing
this on to be in any rush. Because if you will, you know, ruin the voice of the
people wouldn't know, completely dishonest job
and you attach the rings. So be sure that you
do it properly. I and we are done. Now, let's move on to
making the pretty colors of things whose sketchbooks and the names glands. See you there.
7. Making the cover of the sketchbooks: So now we have the people's
ready for a sketchbook. It's time to create
the hard cover. So to do that, we will
go tin cardboard sheet. Use any cardboard
sheet which you have. You can even use the cover
of your book to do that. So they'll cover has to be slightly bigger than the
people which we are using. So I'm just taking the
big book which we have. And I will mark the
lines on all four sides, just making sure that
it is a little bit bigger than the actual paper. Then I will use my ruler
and mark all sides. And then all you have to do with Degas and X2 and cartilage. As this sheet of
paper are quite thin. To make it a little bit thicker, what I'll do is I've got two people instead of one and I will
stick it on top of it. So instead of two card portion, we will need four for each site. So once I have
those signs ready, I will just place
it on the cardboard and factored with my system. Okay, So I'll be repeating
the same step one more time. But as you will need four sheets of cardboard for each site, if you're not sure how
much bigger it should be, then it should be almost
half inch on one side. So what emphasize people
which B are using? You can see it's
four by 4 ", right? So what you can do is
you can take 4.5 " by 4.5 " to create the cover
of your Sketchbook. Slightly less.
That is also fine. Just make sure that it
is little bit bigger. Now we have all the
four cardboards ready. It's time to stick them. You get those. So you are I'm taking my tool
and we will stick though. Then cardboard sheet together. You see that this
is a little bit of my theocracies as you will have to spread the
glue that your hands. But if you're not comfortable
using your hands, you can use a silicone brush or any kind of prayers while
you can even use and ice cream stick to
spread the glue on all the four sides as
well as in the mantle. So you will have to apply the glue properly
on all the signs. And then all you have to do risk sector or the
cardboard on top of it. This way you can make the cardboard sheet a
little bit thicker. Once you have pleased to do
hints of cardboard together with the glue to make sure
that it doesn't know. What I'll do is I will put a little bit of weight on top of the sheet so that the glue gets completely stuck
to the cardboard. So I'm using my
two water jars and to place it below that and I will leave it
there for 10 min, might be on making dog cover
for our mini sketch book. Do. Alright, so the process
remains completely same. You have to make the
cardboard slightly bigger. So instead of an half an inch for this moist my sketchbook, you can take a
little bit less than half inch on each side and just draw the lines and then use the scissors to cut
the cardboard sheet. Again, you will need for cardboard sheet as
we will be sticking. It will do get them. All right. So once you have mark that with the pencil line,
use your scissors. No, God, butch. We have four sheets
of cardboard. It's time to stick
them together. Again, stick them together. Once it is completely stuck, use a little bit of weight on top of it for at least 10 min. With that, it has completely done each other and then there's no chance
for it to move. Alright? So this is it for this class. Once we are ready with the
cardboard, start making no. Ricky cover in the next class. So I'll see you guys there.
8. Sticking the printed covers: Now, as we have the base of
our sketch book cover ready, it's time to cover it with a
pretty April on top of it. You are. I'll be using the printed paper which
I already have with me. The presents remains
the same as we will be covering the four
sides with that painful. You will have to make
it slightly bigger. That is, you will have to cut to being poor, slightly bigger. So you will have to leave about less than a little
less than half inch on all four sides. Got it. Now, again, if you don't
have these sheets with you, you can always customize
your book cover. You can just play the simple white
cover on top of it and then you can
paint on it all. You can do some kind
of illustration or pattern on that clean paper
and make it completely yours. I do have things shins with me. So you are I'm using it. Also if you don't want to paint and don't want to
create something of your own. What you can do with any
pattern from internet, you will get much different
buttons on Pinterest. What you can do with
printed on your paper. And then you can use that
pattern as your book cover. Right? You have so many
options, right? Yeah. So you're I'm cutting two of these sheets will
need from both sides. And for those
Wallace gets broke. I've been using different
kinds of print. Again. The process
remains the same. You will have to get
it slightly bigger than hardcover as you will
be covering the food side. So yeah, Your I'm
just cutting though. People according to the size of the cardboard which
we have got to tell you. Once you have those ready, it's time to stick
it on the cardboard. Don't worry if you have irregular shapes
on all four sides, as we will anyways
be sticking though, clean sheet of white
paper on top of it. All right, So let's first stick to a base of two cardboard
with the people. Let's dive is done. Let's
take the remaining being. Gobbled the edges
of the cardboard. So first I will just
cut all the corners and then stick that people
on the top of the cardboard. All you have to do is
once you have come to call new inches folded, apply the glue and stick
all the four sides. So we will be painting
the stem on the other. The cardboard as well as
for our larger sketchbook. Remember to put a little
bit of weight when you put these people on low tin cardboard
sheets with that though, flu gets completely
stuck to the board. And people, right? So never forget to put a
bit of weight that will help to speed the process. And we're done covering no
paper on mini sketch book. So now I will put
it aside and put a little bit of weight
on top of it so that it gets stuck and you see how pretty
they are looking right? Now. Time to repeat the same process for
our yeogiyo probable. As I'm repeating
the process, again, I will leave you all
you have to do with the cardboard base and then got all the corners and stick
it over to God. On banks. We're almost ready,
but the cover of a sketchbook now it's time to
give the final few touches, which we'll be doing
in the next class. But before we do that, don't forget to put a
little bit of weight for at least five to 10 min
on top of which sit back, the glue doesn't come off. Alright, so I'll
put a better fit. And I'll see you guys in
the next class where we will patch the hole and
attached to people to ask it.
9. Adding final Touches : Before we move on to punching dome cardboard or the cover of the sketchbook and
placing all the papers. It's important to stick a clean sheet of people inside
cover of the sketchbook. Because that way,
although April lines and everything just
gets hidden off and it looks so much
more neat and tidy. Alright? So for that, all you have to do is
take a plain white paper, cut it the size of your
sketch book cover, and then all you have to do
with Ticket with the teal. Now, I've already cut
it down to the size of the sketchbook and all I have to do with ticket with Mike, do alright, so let's do that. Once that is done. Again, I could replace a
little bit of meat on top of it so that it gets completely
stuck to do cardboard. And then we will move on to painting the whole
attaching the rings and all the people's will complete the whole sketchbook
in the next class and all the hard work
which we have dentin now. When come together. I'm hoping you all are excited
for the next class where we will pick the
whole sketch book. Alright, so stick to people, put a little bit of weight
on top of prejudice. And Weinstein is ten. I'll see you guys in the next class where we
will finish everything up. All right, I'll see you then.
10. Making the sketchbooks : All right, So now let's punch
the hole on our Space-bar. Again, it's very simple. For the bigger one, take the center sketch book
called War bunch. Now for the smaller one, again, it's a little bit tricky. So what are the ways I will use my paper
on the sketchbook? I will mark it with my
pencil where the holes are. And then I will place
it on a bunch machine. And then I will use the bunch
of machines to bunch it. Right? Repeating the same
steps for the bottom. I spent it on put the cover. Once we have punched the hole, it's time to add though rings
and attach all the papers. So please still cover side-by-side
and attached to a ring on the weight on both the sides. I completely forgot to
do it at the bottom, so I'm just removing the
paper and doing that. Once you have a ring, it's very easy to open the ring. All you have to do is put the signs and you will
see that it will. Once you have opened the ring, you will start adding people. You see how convenient
it would be. Brilliant, but you
want to paint. You can remove the
paper and paint on it. You can also painted while it is there
on the sketch book. You can also add papers. You can also remove the painting which you
are not liking it. And knowing that has too many options with
the sketchbook has, it is always easy to remove
as many people as you want. Once I've added all
those people is because we have made and
I will use the ring. You'll go, your
sketchbook is ready. It's looking for it. Now all you have to
do is paint on it or illustrate whatever
you want to do it. I'll repeat the same step for those smaller
sketchbook as well. We will add all the peoples
and kills the ring. That is done. Let's see
our sketch books on. I'm hoping you
enjoyed watching and learning how to create
your own sketchbook. Now let's see, I don't do make your own sketchbook
and post that in the project section
of the clients. I would love to see
what you create. And I'm really excited to see the outline
of your sketchbook. Do post it in the project
section of this class. You go, we have our small
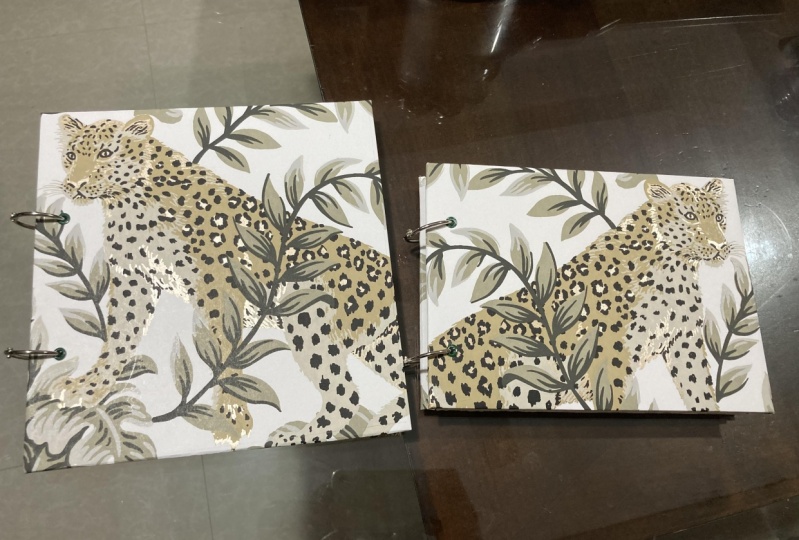
sketchbook which provides, I'll be using to make
mini landscapes. Pause, watch my watercolors. This is how both of us
kids books it looking. You see, how was it easy
to move the paper around? This is the one. I
may not really have. The paintings and
you see it's cooking them pretty right, that's it. For now. I'll see you
guys the last class.
11. Thank You : Thank you for taking out the
time and watching my class. I'm really hoping
you all enjoyed. Now it's your turn to create your own sketchbook and
start painting on it. I'm really excited to see all of your sketch books,
especially the covers. So if you create to post it in the project
section of the class, I would love to see them. Also, if you like the class
or if you have any review, then do post it in the review section of this
class as it will help me improve as well as reach
more number of students. Alright, that's it for now. I will seek you guys do really soon in the next class. Bye.
 Shreya Gada, Artist