Transcripts
1. Class Introduction: When you see those
beautiful flowers painting in galleries, in homes, or when you see those
flowers in the gardens, do you ever say to yourself that I wish I can
paint them well, my friend you can, and I'm going to teach
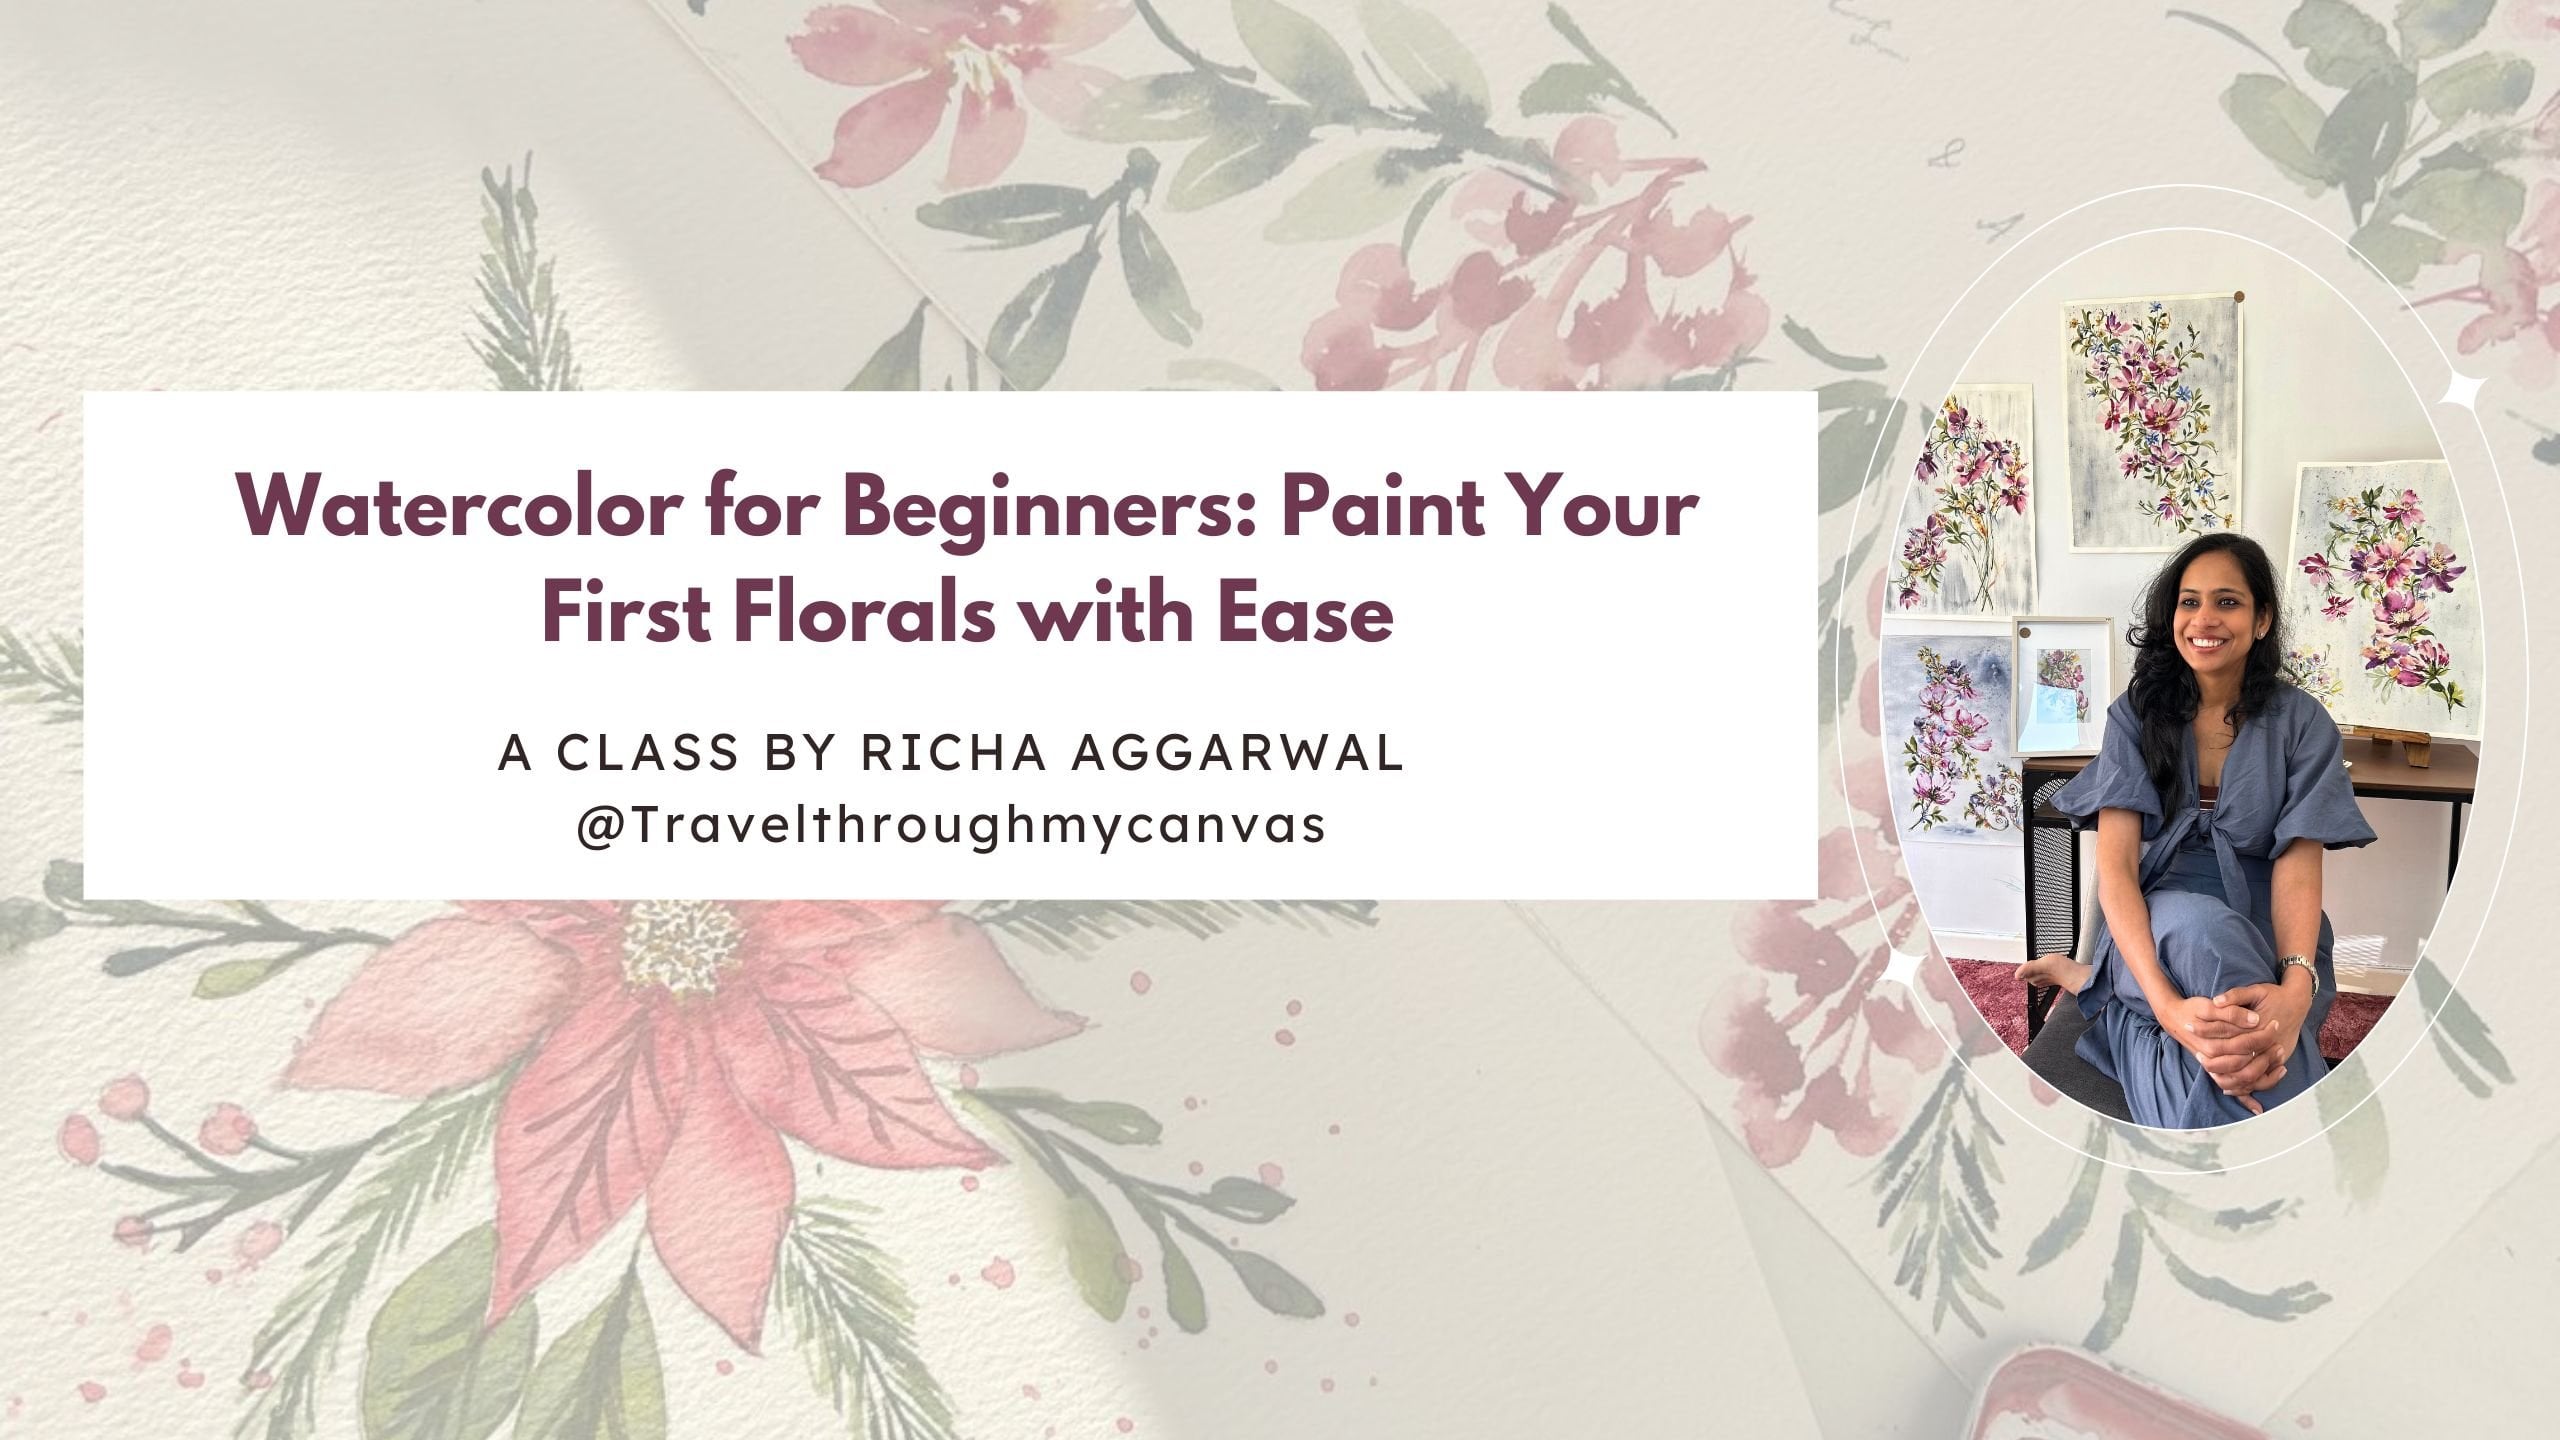
you how to do that. Hey, I'm rich and I'm a loose
floral watercolor artist, designer and teacher Over the past five years
by embracing art. Not only I have learned
to live my life by design and to the fullest, but I have also helped
thousands of students to learn watercolors
in a simple, fun way. I'm teaching germ
since my childhood, and I'm so passionate about
making things simple and fun. I'm so excited to welcome you in my brand new
skillshare class, in which I will teach
you how to make your painting from
flat to fabulous. If you're new to my classes, I must tell you that
you are in to learn in a way so that you can
form a strong foundation. You will get mind blowing
tips, techniques, and lots of Aha moments
in this class because I'm a core believer of
forming a strong foundation, learning basics, and doing
a lot of experiments. In this class, we
will be breaking complex things in
simple, fun way. I would advise you to watch this class once,
fully absorb it, and then rewatch it and start painting as I'm a core believer of learning one thing at a time, mastering it, and then
chal***ging myself again for new things
like, that's how I learn. The same way, I would
advise you to go slow, absorb, and start painting. In this class, I will
teach you two main things. One, how to stop
overworking your paintings, and second, how to give
depth to your paintings. Once you learn these two things, your paintings will immediately
start looking fabulous. Like your flowers will have
the depth your flowers will a natural feel and they will start
popping out of the page. This is just one
of the modules of my In Depth yearly
subscription Co, the Flourish Art Club, in which I teach
artists how to paint watercolor flowers
in their own style. Like not only from
other artists, tutorials all reference pick
but also from life subjects. And to make their
own composition. And to finally find their style that they
can flourish and have their own business and start earning them with all
the basic techniques. In my course, I equip them
with all the basic techniques. There are a lot of creative
play, there are chal***ges. And each month, I teach them one new painting which help them to move out of
their comfort zone. Basically, the whole
course is focused on small consistent
steps each month. The main aim is to
help beg artists and intermediate artists to paint flowers in their style so
that they can start earning. This course is open for
you to join as well. You can check all the
details in the legs below. You can DM me on Instagram at the rate
travel through my canvas. Make sure that you follow me on Instagram at the rate
travels through my canvas so that you can get access to all the new information and about my all new
classes coming up. In today's class, we will learn all about monochrome study, like how to paint flowers, how to give depth to
flowers in one color. I will give you one secret, one secret that you can apply to all your paintings and that will make
them fabulous. Also, you can apply that secret to any painting or to
anything which you are doing. This class is for you. If you are a nature lover, if you are obsessed with flowers and so eager
to paint them, you might have bought
your new watercolor set and eager to paint it, or you have been
painting from a while. This is a total bigger
friendly class. Whether you just bought your watercolors or you have been painting them for a while, you will have a lot of fun and a lot of learning in this class. This class is perfect for you
if you are a flower lover, if art recharges your soul, it's your happy place. But you don't know
how to learn more. I was in the same boat, don't worry my friends. It's just a process. Five years back when I moved to Singapore from India
and I decided to paint. I decided to pick
my brushes again. I had no clue from
where to start, but one thing which I did
was that I hold my vision. I keep taking small baby steps. I joined dozens of classes. I painted consistently. I used to paint like
when my baby's nap time, I was a baby. You what you say
nap time painter. I had no family support. My husband was
busy with his job. But yes, I keep taking small, consistent steps,
slowly and slowly. I found my style. I learned a lot in watercolor. I made my first collection, I found my brand travel
through my canvas. I sell in various craft shows. I did amazing commission work. I did a lot of collaboration
with various artists. Now I'm helping thousands of students as well to
find this style, to master what I call flowers. It is such an amazing journey. Art is not only a source
of income for me, but also a fuel to
recharge my soul. Whatever is your goal, whatever is your desire, I want you to take
your art seriously. Craft time for it
in your schedule. Fulfill your dream. My friend, hold that vision and keep moving towards it one step at a time. I appreciate you so
much for taking this, for taking time, for making, for taking time
for your desires. Let's dive in into this
class and learn to paint flowers in one color. And learn to give a lot of depth to your flowers. Happy painting.
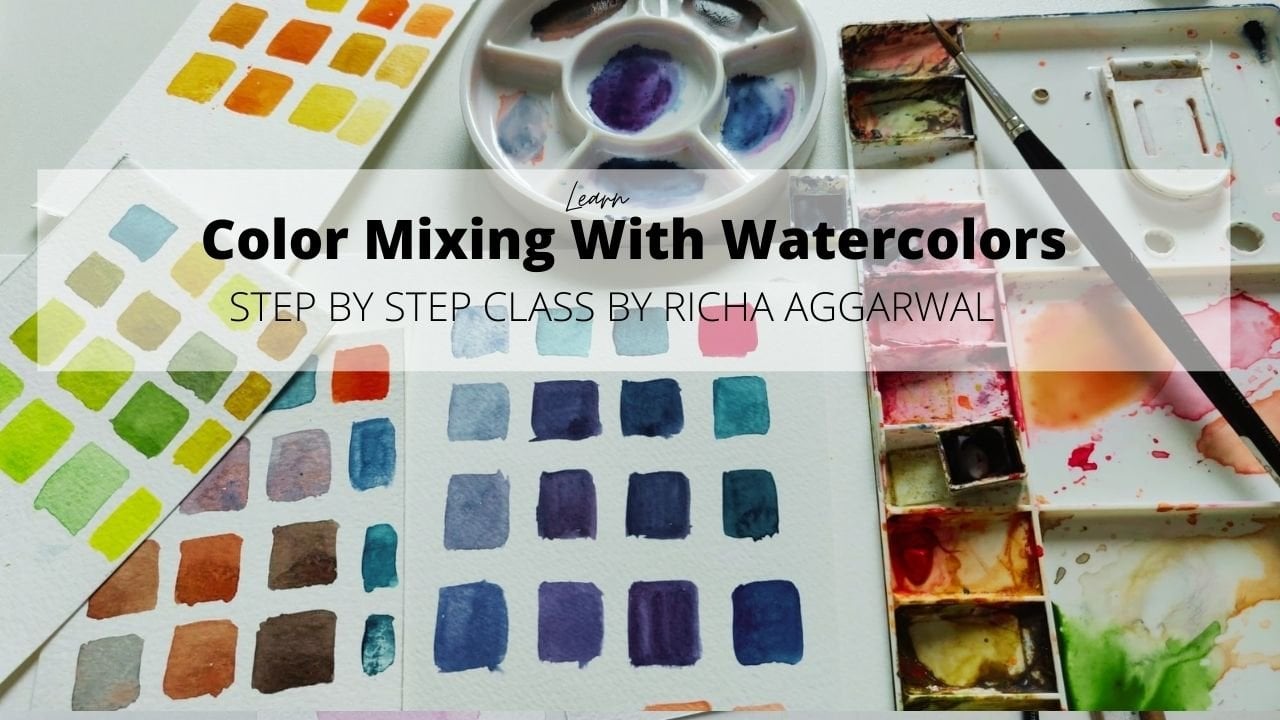
2. Supplies you need: So let me first tell you about
what we are going to do. We are going to paint
this flowers and study tonal values and monochrome study to
via this flowers. What all you need. First, let me tell you about
the material supplies. You just need some papers. This pitch size paper is
also okay for the study. It is approximately five. Okay, 54. Any size of sheets, you can check. Just few papers. I have more paper
because there's something bonus for
you in this class. One mixing tray and
just one color. Okay. And just one color
and one good point brush. Can you see the
tip of this brush? One good point watercolor
brush, obviously, water can I suggest you keeping two water cans that's you
need and some paper towel, some rough sheets
of paper to try your color and tonal
values. And that's it. Just one color, one
brush and few papers in a mixing tray is good
enough to go. Okay. Regarding color, I
want to tell you that you choose either
darker shade color, either you choose a pine gray. If you have a Pinera, if you don't have a pin
Scra, that's totally okay. Choose any shade of
dark blue you have, like the darkest blue you have. I would say to avoid yellow, red, green, and any
other shade of color. Why? Because they are the little lighter
colors and you will not be able to judge your monochrome study completely
through those colors. It is always best to use pine gray or the Persian
blue or the ultramarine blue for your
monochrome study, okay? Never do your
monochrome study in the light pinks and
blues and yellows, Okay? That's not a very good
choice, I would say. Okay? Yes.
3. How we will learn !: Hey friends, this is
just a small intro. What we are going to
do in our next class. In our first class, in the upcoming class. In the next class, I'm
going to break the flower. I'm going to break the
flower into simple shapes. What a flower is made up of? It is made up of a
circle and petals. And to dive deeper, a circle center
is just a circle, and the petals are
the triangle shape, or you can say a
tear drop shapes. We are going to break
the complex things into simple things, and we will be
learning how to give the three tones
first in a circle, in a triangle, in a teardrop
shape, in a square. And from there we will
collect them all and learn how to give a three
tones in our flower. As I promise I'm going to break the complex things into simple and make it
fun and easy for you. So look closely in this class how I'm
mixing colors, right? How I am taking my
colors, even in my brush. That's also important to note. I have explained it
in a very simple way. But look closely, look closely
at how much water to take, how much water I'm
taking in my brush, and how much darker
each color should be. How much lighter each
color should be. Like you can reach, you can slow down, but look closely
each of my step. There are lots and lots of
hidden tips and techniques. So I'm going to break them all. I'm going to simplify them all. Yeah, that's the other thing is that once you learn
the basic things, it will be very easy for you to combine and form a flower. And even can form
more complex flowers. Always have a strong foundation. That's like one of my core
code belief in all my courses. Yes. If you don't know
what is tonal value, what is brush movement, and what are the basic
floral shapes and patterns? I have other classes on scale. You can definitely go and
watch them if you have any confusions regarding brush
movement or tonal values, I have explained them in much deeper and detailed
weight in those classes. Do follow me your
skillshare so that you get notified about
all my classes. And also an Instagram at
the Sol through my canvas. But along with that, let's dive in into our next class where I will
be really teaching you, simplifying the steps for you. I'm so excited. See you there. Bye bye.
4. Breaking complex things into simple things: Okay, the first
thing first which you have to do is take a paper and we are going to do
some simple shapes. And we're going to practice some very basic and simple
shapes for our monocomtudykay. How you have to mix color. Just look closely,
but all I'm doing, so you have to take water. Okay. First, take
a lot of water. Approximately three or four times I've dipped
my brush in water. Then I'm taking a color only from the tip of
my brush. Can you see? Yeah, on the tip of my
brush I'm taking and I'm putting that color in water. As you can see the mix, as you can see that my
mix is a juicy mix. It's a very liquid,
any juicy mix. What do you have to do now? Once you're ready with your max, you just have to draw a
simple shapes like circles. You can draw it previously
with a pencil as well, but I'm just filling a circle. I just made a circle
that's clear. Then what I'm doing the next
step, just watch closely. Okay, let me check out this color from my pan because we're just
using one color. And I'm keeping it
here that can see it. Yes. Now I'm taking just
the tip of my brush. I'm just putting the tip of my brush in my color directly. Make sure that
your color is wet. And I'm putting it on the edge. Okay. As you can see, I'm putting it on the edge. You will see that the
color is spreading. You can, you can push it. I just play with it. Okay. You'll see we have
got a lighter and darker. This is called tonal value. Then again, I did
the same thing. Again, I have just put
the tip of my brush. I've just poked the tip of my brush in the color
my color is wet. And same way I'm poking the tip of my brush
in the circle. Just the outer rim. Okay. Just the outer rim. Observe each and every
stroke very carefully. How I'm doing, how I'm holding my brush, I'm poking the color. I'm just using the tip of my brush to poke the
color inside this circle. Again, see we have
got three shades, lighter, middle,
and darker, right? These are called tones. These are called tones. When you have three, lightness and darkness of
the color is called tones. And the total value, If you have membership, you have a complete
class over it. You can go and
check it out, okay? Yes, you have to practice
this multiple times. I'll do it one
more time for you. You can do it in a circle. You can also do
it in a triangle. I've just now choose any one side and
just poke the color. You can spread it if you
want, you can spread it. Then again, in the same manner, we'll poke it again on the side. We will get it three
shades and it dries. We'll get three sheets. Do this exercise on the
full sheet of paper. Fourier take ten, 15 minutes and do this
exercise completely. Okay, for those who don't
know about tonal values, I'll tell you one more time, this juicy mix is
my lightest shade. Okay? This is my
lightest tonal value of a color in water colors. We don't use white, we just mix water and
changes the tone changes, make it darker and lighter. I've put a little
color in that one, and I now see the color is dark. If I again poke my brush in my color and put more
color in this mix, I'll get a third darker tone. If I poke more color, I'll get fourth darker tone. Okay, If I put, I'll get you, keep adding
color into this mix. You will keep getting the
darker and darker tones. I would say that the more
water, less pigment, the first tonal value, the lightest tonal value, Less water, more pigment. You will go towards this side, the darker the tonal
value will be. Okay, now you know
what is tonal value? The tonal value is
the lightness and darkness of a color
on a gray scale. Okay. If you don't add white, you don't use white
in water colors. We make the lighter and the darker tones
by adding water to it. Okay? When we give all the
three tones in one object, then it becomes, it gives a
depth to that object, right? Because as you see, this
circle is so boring. But as you add these
colors, oh my god, it has become so juicy, so depth full, and it's already looking
like a moon, right? There's one more step
to monochrome study. That is light and shadow, which we are not
focusing right now. Don't worry that how to put it, where to put it,
what's the shadow? We are not discussing
light and shadow here. The aim of this class is
just to tell you how to get the tones and to make
your paintings in depth. Okay, so keep practicing this. And I'll tell you
one stroke which we are going to use
for our flowers. Practice that stroke as well. So what I'm doing,
I'm putting my brush, pressing it hair and again, I'm doing the same thing. Okay. If you are in
membership again, you have a complete class on the floral shapes and patterns. You can go and
have a look at it. All the basic tools are
available in the membership which you can use in
all your paintings. Okay, one more time, I'm going to tell you
what you have to do. Just one basic step. You have to keep your brush at an angle approximately
25 degrees. Start from the tip, press it, then pick it up. Then again, press it slowly
and slowly and drag it. And pick it up and
just see what happens. Just leave it, do it. This exercise, it is
such a mindful exercise. Such a beautiful exercise. It doesn't come in
one time, my friend. It takes a lot of muscle memory. Don't be harsh on
yourself if you're not able to do it in one go. It comes with a lot
of muscle memory. You have to press your brush, press your brush, and slowly, and slowly and slowly
pick your brush, then again, press your
brush and your brush. Be mindful that how
is your brush moving? I have done this mistakes
in the past a lot. When I was doing this exercise, I used to focus on how
my petal is coming, rather than you have to focus on how your brush is moving. Okay, try it. You might be doing the same
thing if you're like me. But I always, in the beginning, I always petal, coming
around quite round shape. How is it coming? No. When you're doing this
exercise pressing, just be mindful that how your brush is
moving, where is it? I am picking it, dragging it now with all the whole
body of brushes on paper. Okay. Now, slowly,
slowly, slowly, I am picking it up and only
the tip is on the paper. And okay, a good exercise, a very mindful exercise. It's relaxing. That's why I tell
my members all the time that whenever you
start with painting, just do this basic
strokes exercise in our happy painting
session in membership. As we always start
with basic strokes, it's so relaxing, so meditative. And the more you practice it, the more your muscle
memory will develop. Be gentle with yourself, practice it a lot of times. Then move forward to
the other section.
5. BONUS- how to test -Is your paper is good?: Before that I want to
give you a bonus tip, which I want to give you a bonus tip about
analyzing your paper. Okay, so I have got
a few my color, I've got a few samples of paper. I will tell you
how to judge that your paper is a good
one or a bad one. Okay? This will just blow
your mind. I'm telling you. Let me tell you, take any paper because this is confusing
and all the companies, they don't mention all
the things that it is 100% cotton or not
being 100% cotton. Also, there is a
lot of confusion and a lot of things which
come into making paper. I think the variation
is there how I check my paper and it is important when you're going to
work wet and wet today, we are going to
work a lot in wet. In wet, we actually put
wet in wet three times. Like first we put a thin layer, then a second layer and
then a third layer. When you're working wet in wet, then good paper is
very necessary. Most of the time
we get frustrated, we end up using a bad paper, and we think that we are bad. But no, it is the
fault of your paper. Okay? Now, let me show
you what I mean by a good paper when I
am using this paper. The first paper, okay. Can you see? There is a water beat. Okay. This is a sign that
your paper is not a very good and classy paper because water is
collecting on one side. Being a train artist, I know how to manage it, how to manage it, but it takes
a lot of time and energy. You will see when I
put second layer, it is not spreading that good. Okay. First of all, the sign of a very good paper is that you will see a water. So instead, if I use this paper, which is 100% cotton, 300 GSM and more, you won't see a water
beat that prominent. Okay? The whole petal is wet. The spread of color
is also much better. Whenever you see a water
beat collecting at the end, that means that paper
is not so very good. This is a medium, medium paper. Obviously, if you put a lot
of water on this best paper, then you will see the
water beat there also. But in these papers, which are not very good, first of all, they
get dry very quickly. And secondly, you always
see a water beat, even when I'm
spreading the color, because the water has not uniformly absorbed by the paper, the color is not
spreading very uniformly. Being a train artist, I can still manage it. I know how to manage it, but as a beer, it's frustrating. And you can see the difference. You can see this is one, this is second, this is the third when I work
with a very good people. Okay, always check your paper when you're planning to add something like this
monochrome study or when you are planning
to add more layers in, wet and wet, then having
a good paper is a must. Otherwise, you will
definitely end up frustrating and not getting the reserves and
blaming yourself, which I don't want
and you don't want as well if you are in membership. Again, we have a
complete supply list, even I send a supply list to all my email subscribers
and weekly tips in that. Also, we have everything
we discussed a lot in our E mails as well about the
paper and all these things. I hope if you are in my
mailing list or member area, you will get the
supply list or else I will send you a
complete supply list. My favorite papers
and everything. And yes, if you are in the membership jump on
the Facebook group, take a snap of your take
a picture of your paper, the front of your paper. Okay. From what do you mean by, I mean by front of the paper? This book of the paper, the complete picture and
posted in the group. I would love to see what
paper you're using. This way we can share because in every country there are
different papers available. When I moved to UK, it was still a struggle for
me to find my best paper. Cheese you will get
everywhere, no doubt. Yes, that's very, but
that's very expensive. They are medium range
artists paper as well, which are good If you're
in the membership just come on the
Facebook group and share which paper you're using. Just take a snap off the front of your
paper and just posted. That's it. Take complete
snap and posted. Tell me, do you like that paper or you don't like that paper? Okay, if you can find out, but it'll come slowly.
Don't worry about.
6. Give Depth to your Flowers: That okay? This will
happen and it's okay. I'm just going to practice some blots strokes
and I'm just going to see what happens
with my paper later on. Whenever I get time, I can order the best paper
for myself and do it. Don't give your brain a chance
to make an excuse that, oh, I didn't have the best
paper. I cannot practice. No, no, no, no. You're
not going to do that. Okay. I hope you have
practiced enough about these shapes and how to
give the three tones. Okay? Any confusion. You can always DM me, mail me, or come in the members area, ask your question, we'll discuss in our happy session
painting session. Okay? So one thing I have told you, what are tones, okay,
That you all know. Now you have uplift from not knowing what are tones to knowing what are tones. The second thing you
know about the paper, how to judge your paper
that's in today's session. You have up, lift
yourself from not knowing how to judge a paper to knowing
how to judge the paper. The third thing, you
have also learned to give depth to your
flowers, to your circles, and now we'll see how
to give it the flowers, and how to add
three tones in one. How to add three
tones in one object. That also, you have learned
three things already, done in the first section. Congratulations for
taking this class and lifting yourself up. Lifting your skills already. You know so much about it and now you can
avoid overworking. I'm going to tell you how to put the tones in the flower, okay? Let me first tell you
what you're going to do and observe these
flowers, okay? Every flower, we're going to leave some white space which
will create first tone. Always leave some white space. Okay? That is
create one tone and the second tone is created
by the thinnest layer. Okay? Then the third
one is by poking. Okay? And the fourth one is
by these darker lines. Okay? So if this is a little
confusing, just stay with me. I'm going to tell in more depth. This will stop overworking
once you understand this also your flowers
will have a depth. Okay? To start with, just remember, first thing that wherever
we are painting a flower, we're going to leave
some white ******. Okay, that is so important. If I don't leave
by white ******, I mean the gap
between the petals. I also leave sometimes the
white ****** within my petals. This also creates a lot of interest because it's
just moving our brush. Don't worry about giving it
too much hair because that we will learn when we'll come
to brush stroke class, which is mostly the next month. Don't worry about
that at all, right? Now we are just focusing
on monochrome study. Okay. This is a study
when we always do, whenever we are going
to paint a flower. Yep. So we have to keep in mind the white ****** being a winger. I will suggest you to
take out your pencil, which I use very
rarely, but Yes. Let me grab my pencil as well. We're going to do a little
marking on a paper, a very light and a
little markings Okay. For you. I will do with a
pen what I'm going to do, I'm going to put a dot that
will decide the center. Okay. I'll show you. I'm going to make, okay, I'm going to put a dot. I'm just going to
make it big for you. And then I'm going to make this hang me, can you see this? Hang this one line, one line hair
slanting like this. I can say a star shaped, just because this will guide us where we have
to make our petals. We'll put our
petals around this. Hangman so that we get
a five petal flower. Okay. Again, I'm
saying that we're not going to judge or
flowers in the last, but I'll try my best that you'll learn
alongside something. But yeah, don't
judge your flowers. Okay. I'm making
this star shaped. I hope you can see, give it a little markings on your paper,
leaving some space. I hope that's clear. Let me move this
distraction for you. Okay, I've given it second
here, so there are no rules. You can just follow
your heart and give it a little bit here and there. You can always
practice it again. So don't think that we're
going to make a masterpiece. No, we are just playing
and enjoying the process. Okay. I have given this
much in a random fashion. Always remember to leave some white ******
while we are doing. Okay. Just observe
what I'm doing. And later again, I'm
going to mix a juicy mix. Whenever you start a flower, you first make a thin mix. The first wash which will say, okay, then I'm starting it from here, a little away from the center. Okay. And I'm pressing my brush, dragging it, the movement
which I told you. And again, if that
bead is there, take that bead along, spread it. It's okay if it is anywhere. Let it be a little bit. Water bead will be there. That's perfectly
okay. Happy accident. We can deal with it
later on. No worries. Then I'm just poking my tip of the brush and I'm putting
it near the center. Okay, just near the center. Okay, that's it. Just repeat thing with me again. Take color, the thin wash, put it on the paper. Poke your brush in and
just see the spread. Okay, just see the spread. Give it wherever you want it. You're free to twist
and turn your paper. Leave the white ******. Keep leaving the white
****** between the petals. Now you can paint along with
me if you have seen enough. And just put it near the center. Okay. And a little bit
on the side also we can, when you are experimenting, then you experiment
in every corner. Like when I was on this
experimental stage, the more you experiment, the more you will get that how it is happening
and what is happening. Like if I'm putting only in the center, it will
look like this. Okay, let me try a little bit. Putting at the top as well. Okay, Then it will look
like this. Like that way. You can experiment here. I will tell you if you want
to follow go by the rules. Just put it near the center. If you want to be a
little experimental, you can always put
a little bit on the top as that's okay. Thin wash, quickly dipping my, poking my brush in the
color no water we are using and poking it near the center. Okay. This has to be very fast because we are using
wet and wet techniques. Now, if I feel that
this juicy X is less, I'll add more water
for the second flower. And the same way I'm
going to repeat it. If your paper is very good, then you can make all the
five petals together as well, like I am doing in this. Then poke the color, the second tone of
color, It will stay wet. But if your paper
is not good enough, then you have to make
one petal and poke it. Poke the color, second
tone immediately. Okay, now for my third
star, again I'm mixing. We can see that now
there's a depth. Now there's a depth because already we have
given three tones. We have left the white ****** a thin wash. And
the second poking, which we have done, just
this, we have to do. Okay, Less is more
in water colors, don't never overwork
your painting. This will avoid the
overworking in your painting. If you'll just give a thin
wash first then poking the second tonal
value, that's it. Okay, See, just leave it. Okay, we'll come one more time when our flowers
will dry to it, but now we are
leaving it to dry. If you feel that your
mix is not juicy enough, you can definitely add more
water to your juicy mix. But when we are poking, then we don't add much water. Any water. In fact, I
will say to my brush. Okay, just enjoy this. Now, if you are
in my membership, I want all of you to come to a stage where you can
paint in monochromesfter. For your monochrome study. I have told you that you have to use a darker shade
like a Persian blue. Are fine gray or
ultramarine blue. Okay, just have fun with it now. Try my friend. This will give you such a nice feeling
to see your flowers. So much depth and
so much beauty. Don't worry about the shape. I'm telling you again and again just with whatever
strokes it is coming. Even if you are making
the five circles, that is good enough. But see that it has depth Now, one thing at a time, right? Just observe how I am doing, even if
you have water. As it's okay a little
bit. Color is spread. Don't stop yourself if you
don't have a very good paper, because now you know that
it's not your fault. I just told you that so that
you don't get frustrated. I blame, although the blame, the fault was in your paper, okay? Now this is done. Now, what I'm going
to do, again, look carefully, once you have painted the flowers,
the whole page. Now I'm going to dip my brush directly into the color
and it is a little wet. This pan is a little wet. It has a color on the top. It is not a dry one. It is already a mix thing. I'm just dipping my
brush in the pen, the tip of my brush, and I'm going to make the stems. If you are not very confident with using this brush as
to create your stems, which is totally okay as
a big use a thin brush. Okay? Use one number brush or a two number
brush and just make this little curvy stems lines. Enjoy. Okay, We'll come to
brush strokes and everything I have told you just tip the
tip and make the lines and then a little stems to it. Because we are going to leaves, we're going to make leaves. The aim of making this is
that this should be thin, little curvy, and a thick one, not a very light one. It has to be a thick one. That's why I have not
mixed much water. I just do it my pan
with the color, with the water and
I'm putting it okay. During the whole process, my friend, be gentle
with yourself. Enjoy the process. You can always wash this class. Come again. Just enjoy. Okay. Don't judge yourself. That will be too hard.
You're already doing a great thing by learning
new things. Okay. Once I'm done, I again
make a thin wash. Okay, I have again
taken a thin wash. And the same thing
I'm going to do, I'm going to make
leaves just one time. Now. Again, poke a
little bit color near the center.
Okay, that's it. In one stroke, if your
paper is not very good, then you have to poke the
second color immediately. Otherwise it will remain
wet for a few seconds. Just enjoy this process. Make pig as make small leaves. We're giving a shape
to our painting. The whole process was beautiful. Not only to see the end results, that's what art
teaches us, right? Which we can apply everywhere in our life to enjoy the process, not sitting on the dinner table and waiting for dinner to come. But in the meantime, enjoy the time with your family. Enjoy the time with your, enjoy each and
movement of the life. Because this is the best part, the present, be more observant. Okay. Now this is
done. This is done. And now we'll wait for
our paintings to dry, when they're completely red. Then we are going to
do one more thing which will add more depth. Okay, we are going to put
the last tonal values.
7. Secret to STOP overworking: Before we move to our next
class of giving highlights, I want to tell you the
number one secret, which you have to follow, and give depth to
your paintings. And this thing will stop
making you overworked. This will literally bring a transformation
in your paintings. It has done the same for me. Listen carefully and
be ready to listen. The simple rule, it is just a very simple
rule that I learned from my masters that
how to put the highest, like the darkest tonal value, the middle tonal value, and the light value in the
perfect ratio as a pig. First of all, we don't know
about the different tones, about the different shades. And secondly, we
don't know the ratio in which we should
and have to put it. Now since you know that there are different tones, there are, I would say the,
the darkest thing, the medium thing, and the lightest thing of
a color in a painting. Which give them depth. Now you are ready to learn how to put them in the right way. Your lightest tone consumes the most part of your painting. Your lightest tone
is going to be the 70% in your painting. Your second tone, your
medium tone is going to take the 20% in your painting
and your highlights. Your darkest thing which we will be giving in the next class is going to take the 10% part
in your painting, right? Isn't it amazing like when
I learned this thing, it totally changed my game. And I can see the
depth in my painting. And I stopped
ohokingsernlwaysutr a dark medium and
light in a ratio in 7,020.10% 70%
being the lightest, 20% is the medium, and the 10% is the darkest. I hope you absorb it nicely. And it is apply it, let me know in the common
section, in the section. Is it a game changer
for you as well? See you in the next
class. Bye bye.
8. Highlights: Completely dried. Once
it is completely dried, and I'll take a thinner brush. And I'll take my dark
tone, the 10% one. I'm directly wetting my pan. I'm taking the darkest tone. And what I'm going to do, I'm just going to
add a little lines. You have to dip your
brush again and again, but make sure that water very less and it's mostly the color. Okay. I'm just
making these lines. What I'm doing my brush, I'm just making these
lies in the center, okay? Just these lines that will give a definition to
your flower, okay? A little lines and few
dots here and there. These lines are
in that direction of the petals and a
few dots we're giving. But you have to do this once your painting is
completely dried. Okay. In a very random fashion. That's how we add, give depth to our paintings. We avoid overworking,
We use stones, we do monochrome study to
take away from this class. I would say that at
least a month to apply, to soak in all these things. Don't rush. Okay. Oh my God,
I have to paint. Pooh, see this flower was
not completely dried, so I couldn't get
that same result. To make sure that your
painting is completely dried before you are
adding this final layer, it takes ten to 15 minutes
to get it completely dried. You can also add a little
veins in the leaves. But guys, this is all
about the Brokes. We are not focusing much on
the brush, the main name. Always remember to give tonal values to learn about how to give depth
to your paintings. Focus on that today. Okay, so I am happy. I'm quite happy with
this beautiful piece and how I have
added tones to it. How did the tonal values study and how these beautiful
flowers have come in the end? Always sign your paintings. Let's give you a lot of confidence and help you
to own your paintings.
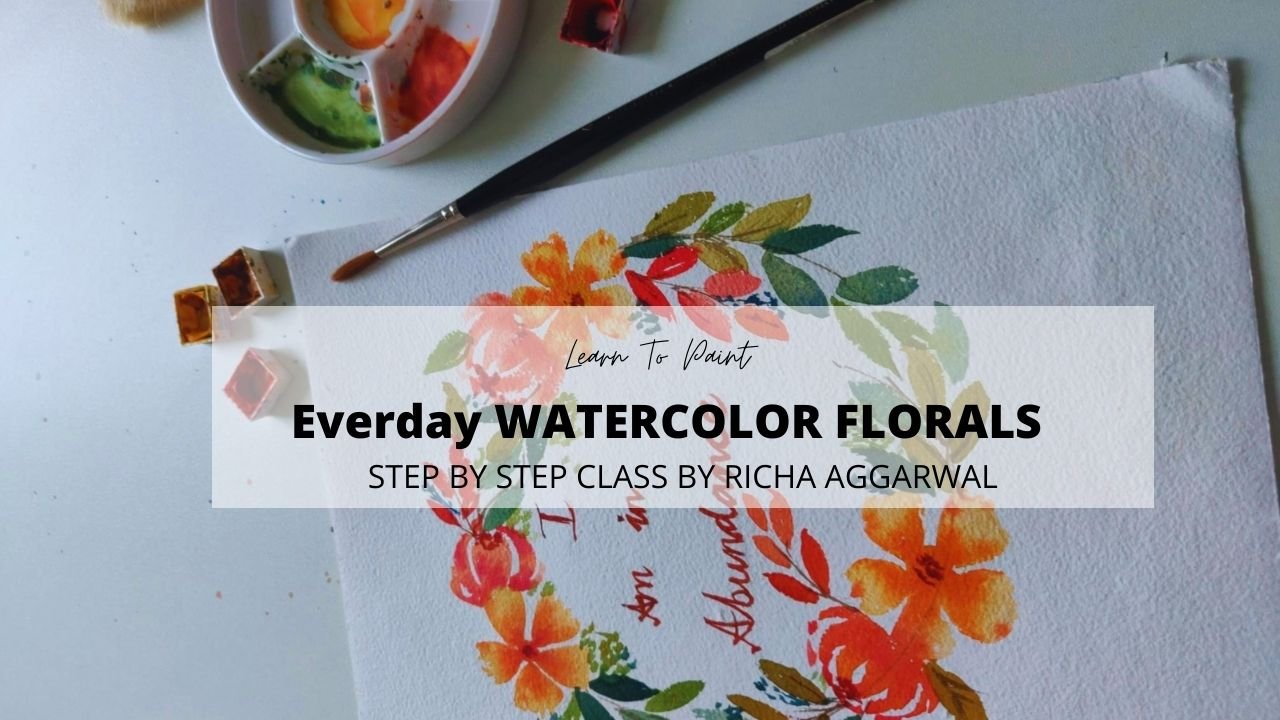
9. 10 FLOWERS you can paint with one color !: Class, I'm going to
show you what all you can create with just one color. If you're wondering that
just with just one color, what I can create, this class is for you. This
lesson is for you. We can not only create
this flower pattern, which we have learned
in our class, but I'm going to show you six more paintings which you can create with just one color. This is one of them. In this, I have just
used the tonal values. I just keep darkening
the tonal values, and this is how I get
a beautiful rose. This definitely can create, this is another
beautiful piece which I just created with one color. You can see I have used
just the white and gray. A little bit, pink
and yellow are there, but it is just had a little, I would say, variety. But it is mostly
created with a gray. I will soon be making
a tutorial on white. So stay tuned, leaving
aside the white flower, this tulip can also be
made with just one color. And just adding
the tonal values. And this cherry
blossom, oh my god, this is totally a
beautiful flower to try with just one color. Don't think that it is
not something great. How about these,
all these flowers? It is just now a thing of doing brush
movement and everything, and you can create this beautiful, beautiful,
beautiful flowers. It's just one color. The story is not end here, we are doing this a
lot in our membership. This is also another
flower which you can do just one color at it. Need some more
inspiration for you. Just one color and beautiful. See last but not the
least, this beautiful. All the pieces are amazing. And with stay tuned, I'm going to make a class on ten flowers with just
one color. Stay tuned. Make sure that you follow me so that you can
get my e mails and new classes uploaded and
you're ready for all the fun.
10. Monochrome Skillshare finale note: Oh my God. Many, many. Congratulations for taking
this in depth class. I'm so proud of you. And you are among those 1% of people who not only make
goals but they finish it. So I totally appreciate you. Whatever you have
painted good as for your expectations or you
feel that it is not so good, not as for your expectation, but you are a hero to me. Patch your back, Be
proud of you have done a great job by finishing this class and taking
time to learn. Right now it's time
to show the world, right, that you have done it. Don't say around. Don't keep yourself under
the covers however it is, however your art is. Quickly, take a pick
of your artwork and submit it in the
assignment section. Please listen it carefully. Write a note under that, How you feel Wild. Create because I
really want you to focus on you felt rather
than how you did. That's the focus. That's
my main core belief in teaching in my all your
portals and classes. If you can write
your Aha moment, if you can find your Aha moments when you are taking the class, what is that you don't
know and you know now? And completely change
your game to share all your learning as well so that you can
inspire many people. Many fellow beginner
artists write, you are an inspiration to many and you are really awesome. Okay? Now if you wish to
learn more from me, if you like my painting
style and if you are as to form a strong foundation
in watercolors, okay, I have something special for you if you want to find
your style and you want not only to paint from only the paintings
all the time, you want to paint
from the reference, you want to paint from real
flowers in the garden. More than that, you
want to find your style and start earning from your art. Then you're most welcome to join in my monthly subscription core, the flourish art clove. It isn't hard a catch me where I teach everything about
watercolor flowers step by step until you master it and you find your style
and you start earning. And that's the main aim of this yearly
subscription course. So that over a year you start earning and
you find your style. Because I, and I can guarantee that if you're
committed, you take action. Then in three months, you will see the
difference in your art. In six months, you will see the difference in
your art in one year. My friend, not only your
art will be transformed, but you will be totally
a different person. Click a link in the
project section, see all the details. Or you can also DM on Instagram at the
rate travels through my canvas and be ready to fulfill your desire
and flourishing artist. For best results for this class, I would for your journey. My last message to you is
that be gentle to yourself. Take things slowly. Rome is not built in a move. Slowly, what you can do to master this class and to get it fully that you have
to watch it first, absorb everything, then
rewatch it and paint it. Every time you will
watch this class, you will definitely
learn new tips and techniques that you can
apply in your painting. Keep learning, keep learning. Give up your hope, hold
your desire style, and keep painting
before I leave you. I would like to say to you that, don't be a stranger. Stay high To me on
Instagram at the day, travel to my canvas. I would love to have a chat. You also follow your
skillshare that you get notified where I
upload my next class. My next class will be
coming about painting ten flowers in one color. It will be a second level
class to this class. Be updated, Follow
your skillshare and Instagram so that you can continue learning
in an amazing way from well, then keep painting. Take care yourself
and I'm so thankful. And so, so I appreciate
you for taking this class. Lots of love. Have a
great day. Goodbye.
 Richa Aggarwal, Watercolor artist, educator and designer