Transcripts
1. Welcome!: I want to make some earrings
that look really impressive, but are actually
surprisingly easy to make, then you are in the right place. Hi. I'm Ia rafter. I've been a polymer clay
sculptor for over 11 years now, and I love creating
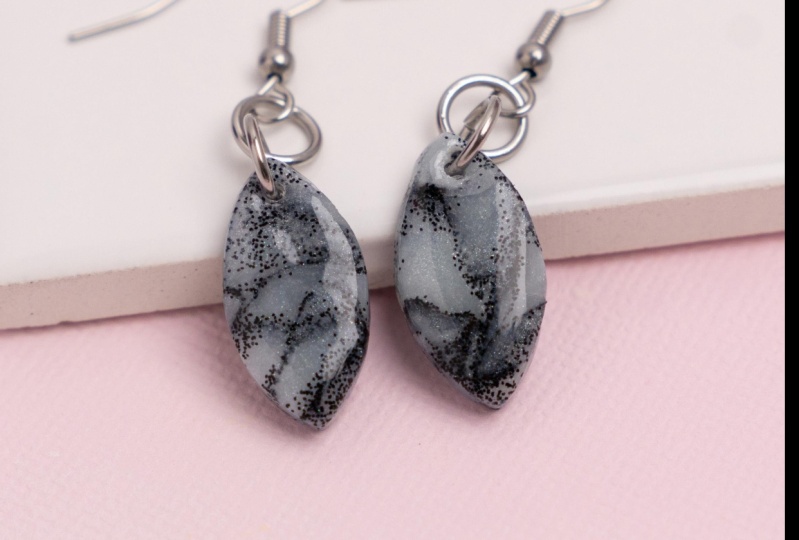
realistic miniature art. In this quick course, I'm going to teach you exactly what it takes to make this super
simple marble design, which looks fancy
enough to sell, gift to family and friends
or keep all to yourself. And without further
ado, let's get started.
2. Materials + Class Project: For this class, you will need
a basic understanding of polymer clay and optionally a basic
understanding of resin as well. I have intro classes on both of these topics that you can
watch before this one. But if you are ready to sculpt, here's what
you will need. Polymer clay, liquid
polymer clay, or bacon bond, earring hooks
or posts, clay cutters, UV resin, and any
decorative embellishments, such as acrylic paint, Mica powders, glitter,
and gold leaf. For your class project, I want you to create your own
pair of marbled earrings, using at least one
color of polymerclay, and at least one
additive of your choice. In the upcoming demonstration, I'll be making a few earrings using different
decorative materials. You'll get an idea of what some combinations can look like. But I'd recommend
experimenting with additional polymer
clay safe materials and getting creative
with your designs. Now, let's start sculpting.
3. Marbling the Clay: First off, I'm going to
start extra easy by making a marble design using
only one color of clay. Take some conditioned
polymer clay in any color of your choice and flatten it slightly using
your hands or a roller. With a blade, slice the
clay up into chunks. These pieces do not
need to be even, and honestly, it's
better if they aren't. Then separate the chunks so that they aren't
touching one another. Now you can add any clay safe decorative material
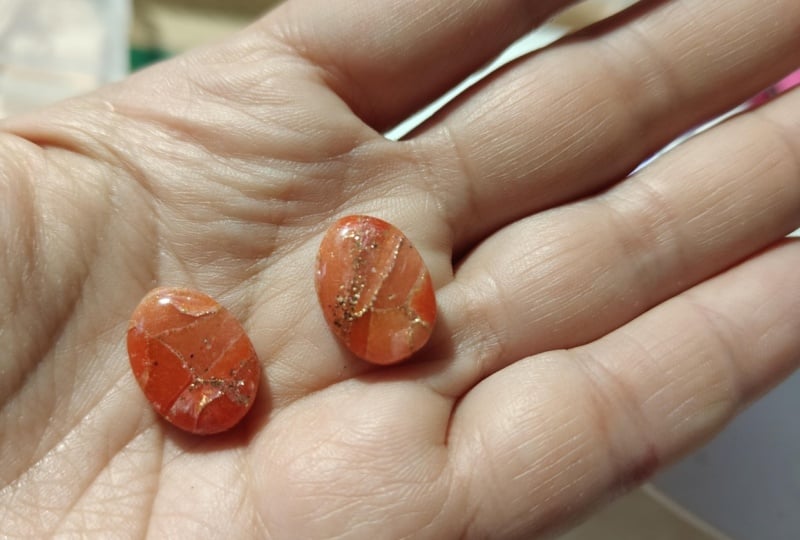
of your choice. For one of the mixes on screen, I'm using chrome powder
and for the other, I'm using black glitter. Roll the bits of clay
around in this material and try to cover as much
of them up as possible. Then push the pieces
together into one block. You can also use
some liquid clay or bacon bond to hold
the clay together. Then use a blade to cut
out some thick slices. And place these slices together. The end pieces
will be completely covered and that can
mess with your design. Sometimes I like the
way that this looks, especially with Mica powders, but you can leave
these pieces out for a more clear marble appearance. With a clay roller,
flatten these pieces. You could also run this through a pasta machine if you'd like. Just make sure not to roll
the sheet out too thin, or else your earrings will be flimsy and they could end
up breaking later on. If you're worried about
the clay holding together, you can lay your
pieces over a sheet of translucent clay before
fully rolling them out. Then using some clay cutters
or small cookie cutters, cut out some shapes
for your earrings. If you want to turn these
into dangly earrings, you can use a small dotting
tool or needle tool to poke out a hole. If you're using two or
more colors of clay, start off by flattening and chopping them up just
like we did earlier. Then you can cover
these pieces with any additional material
of your choice. This time, I used some
white acrylic paint. When using paint,
you ideally want to coat all sides of the
little bits of clay. It helps to wear gloves for this because it
gets pretty messy. Afterwards, leave the
paint to completely dry. If you combine the pieces
while the paint is wet, it will smudge the design
and ruin the colors. While drying, you may even
want to set the pieces on a different surface than
the one you mix them on. Something like waxed
paper can also be a good idea so that they
can be removed easier. After the paint dries, you can bring all the bits
together into one ball. Again, you can use liquid clay to hold
everything together. If you used multiple
colors of clay, make sure you mix
these pieces up well. Then go ahead and slice
up your marbled cane. And roll your slabs
out into a sheet. If you have small pieces left over after cutting
out your shapes, you can squish them together, re roll your clay and
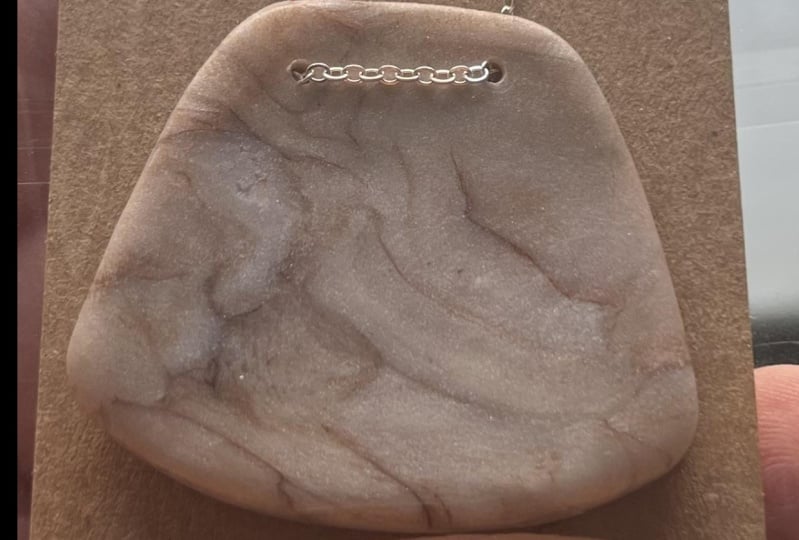
cut out some more. Then bake your clay according to your brand's instructions. If you want to make holes
in your clay after, let the pieces cool off, then you can use
a small handrill to make a hole near the top.
4. Securing Stud Earrings: After baking, you can put
your stud earrings together, and to secure the metal
posts to the clay, you can use one of two methods. For the first, you can use glue. That being said, the posts
are very smooth and shiny, so smooth that if
you were to try and glue them to the clay
the way that they are, they would easily break off. So to make sure that
the glue adheres, I use some rough sandpaper
to scratch up the metal. You can also do this
with a craft knife. However, it's really easy for the knives to slip on the metal. If you choose to do this, be slow and very careful so
that you don't cut yourself. Then if you feel
like the back of your clay piece is too smooth, you can gently score some very shallow
lines into your clay. I like to do this as a precaution for all
of my clay studs. Lastly, glue the two
pieces together. I like to use super
glue for this, but you can also use e 6,000. If you're still worried that
your posts will break off, you can always just use liquid clay to
secure them instead. To do this, flip your
polymer clay piece over and place the metal
post in the center. Then take any liquid
clay of your choice. I am using translucent
liquid sculpy and coat the circular part of the post
and the surrounding clay. Use a small tool or brush to
spread the liquid clay out. And do your best
to not get any of the liquid clay on the skinny part of the
post that goes in the ear. You want this layer to be thick enough to coat everything, but not so thick that it domes. This is the side that
will touch skin, so you want it to be as flat as possible so that it isn't
uncomfortable to wear. Then bake these according to your liquid
clays instructions. After baking, the posts will
be embedded into the clay, and it will take intentional
effort to break them off.
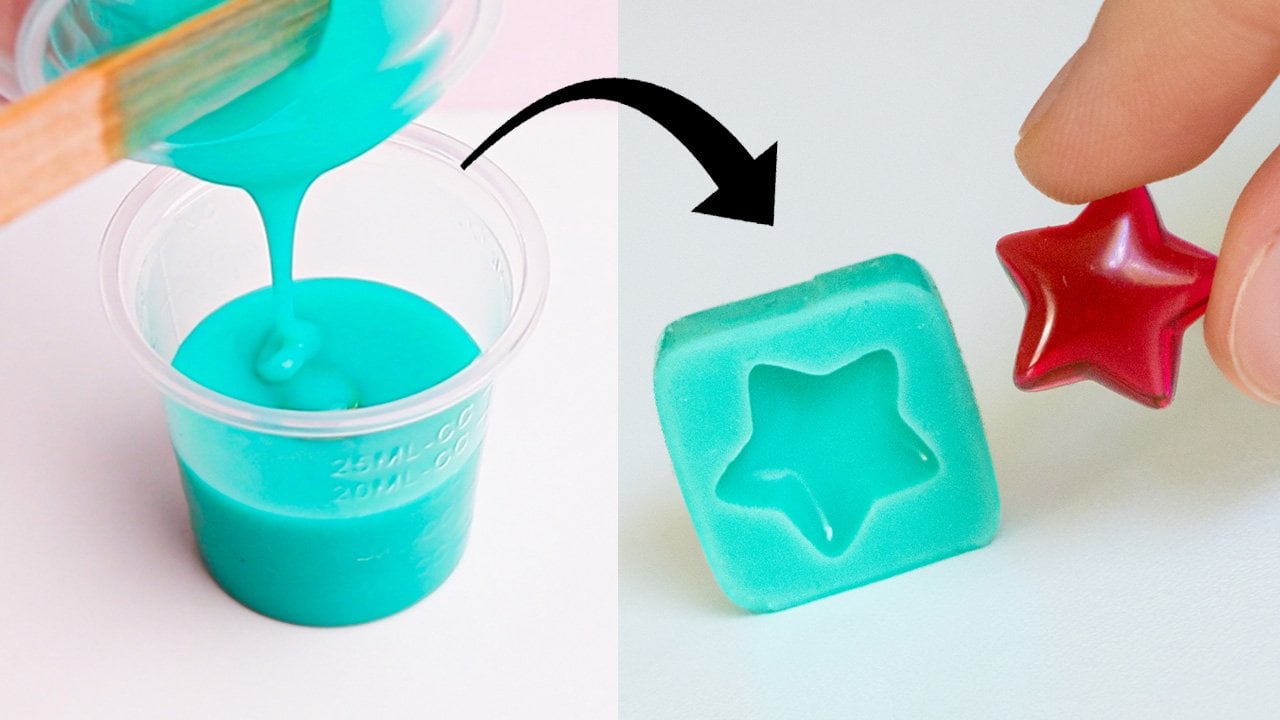
5. Resin Coating: The pieces a bit sturdier
and to make them really pop, I like to coat them with resin. If you don't want to use resin, you can sand and buff
your pieces instead. They won't be as shiny as resin, but they can still
look really pretty. Before I coat my baked pieces, I like to use some
scrap polymer clay to hold them up so that I don't
make a mess with the resin. For stud earrings, I like
to shove the metal post into the scraps so that the
clay side is facing upwards. Then I coat the top and
sides with some UV resin, and I spread it out
with a silicone brush. Make sure to avoid covering any holes you've
made in your pieces. Once the resin is smoothed out, fully cure the side
with a UV light. Then you can remove
the scrap clay, flip the pieces over and
add resin to the back. I only do this for
dangly pieces. I like to keep the stud
pieces uncoated on the back side because
some people's ears can be sensitive to resin. But you can coat the
back if you'd like. Then make sure to fully
cure this side as well.
6. Assembly + Final Thoughts: All that's left
to do is assemble your earrings using some
jump rings and hooks. For the studs, I like to
use some rubbing alcohol to clean off the posts just in case there's any raw
clay left on them. But other than that, they
are now ready to be worn. After you make your
own marbled earrings, you can show them
off to the class by submitting a project. Also, I'd love to hear what
you think of this course, and you can let me know
by leaving a review. I'm still super new to teaching, and I can use all
the help I can get. By leaving feedback,
you help shape my future classes and make
me a better instructor. And if you have any ideas for what you'd like to learn
next, let me know. If you want to see
more of my art, you can check me out on
Instagram, TikTok, and YouTube. Thank you so much
for being here, and I hope you enjoyed.
 I The Crafter, Sculptor & Content Creator