How to Create a Seamless Faux Linen Fabric Texture in Procreate | Geetanjali Behera | Skillshare

Playback Speed


1.0x


  • 0.5x
  • 0.75x
  • 1x (Normal)
  • 1.25x
  • 1.5x
  • 1.75x
  • 2x

How to Create a Seamless Faux Linen Fabric Texture in Procreate

teacher avatar Geetanjali Behera, Surface Pattern Designer | Illustrator

Watch this class and thousands more

Get unlimited access to every class
Taught by industry leaders & working professionals
Topics include illustration, design, photography, and more

Watch this class and thousands more

Get unlimited access to every class
Taught by industry leaders & working professionals
Topics include illustration, design, photography, and more

Lessons in This Class

    • 1.

      Introduction

      2:00

    • 2.

      Part 1 : Creating the Faux Linen Texture

      4:30

    • 3.

      Part 2 : Making the Texture Seamless

      6:23

    • 4.

      Bonus : Using Faux Linen Texture in Adobe Illustrator

      3:05

  • --
  • Beginner level
  • Intermediate level
  • Advanced level
  • All levels

Community Generated

The level is determined by a majority opinion of students who have reviewed this class. The teacher's recommendation is shown until at least 5 student responses are collected.

103

Students

6

Projects

About This Class

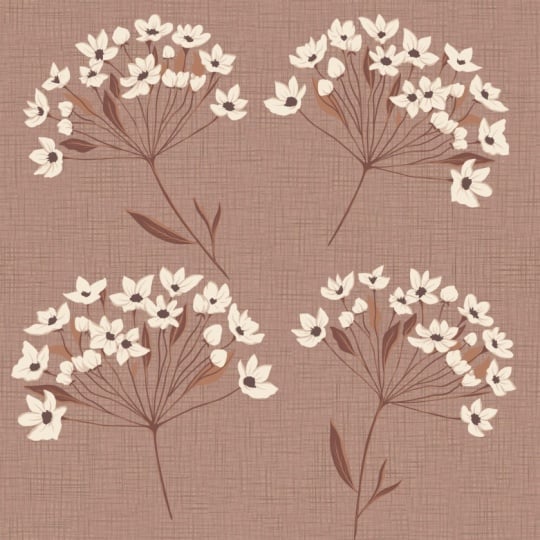
Textures have a way of transforming a design. A flat illustration can instantly feel richer, more natural, and more alive with the right texture.

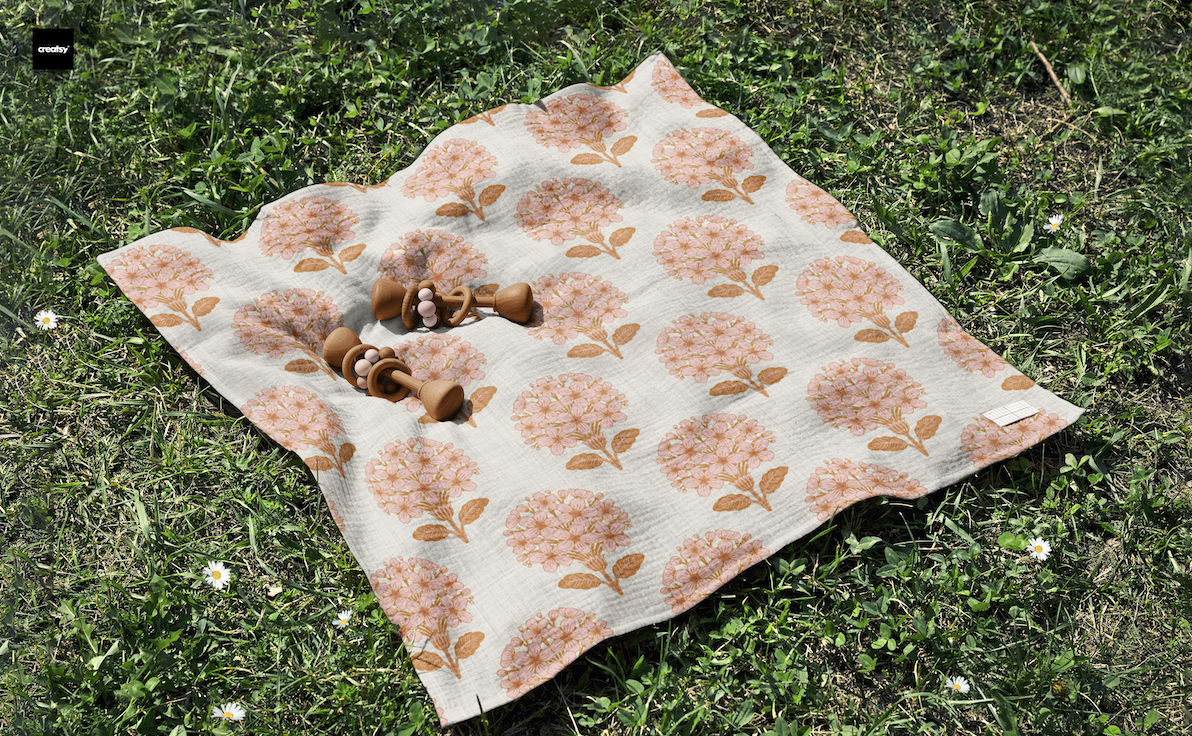
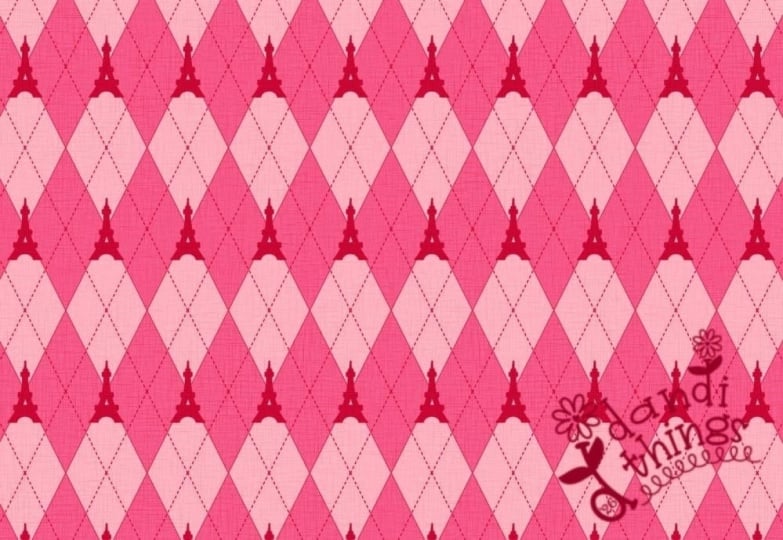
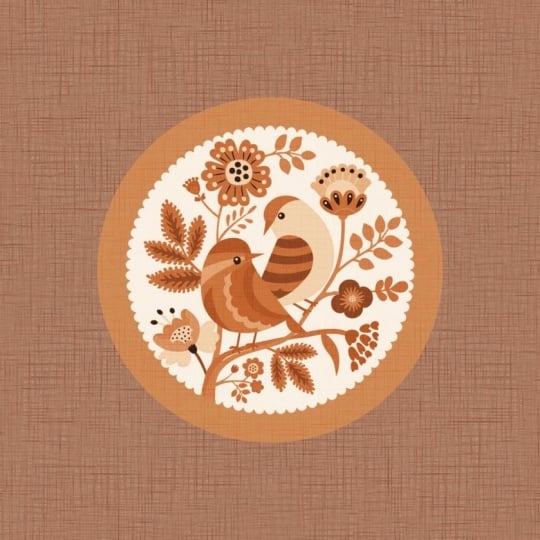
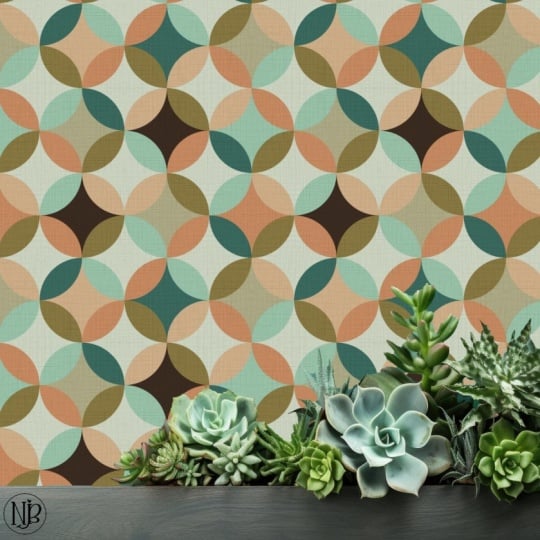
Among all textures, linen has a very unique quality. It’s subtle, slightly imperfect, and has a beautiful woven look that makes it incredibly versatile. In surface pattern design, linen texture is incredibly versatile—you can use it to add depth and enhance your patterns, or create textured solids that make great wallpaper options and classic blenders for your collection.

And the best part is—you don’t need any complicated tools to create this. We’ll make it step by step in Procreate in a very simple, beginner-friendly way.

Hi everyone!

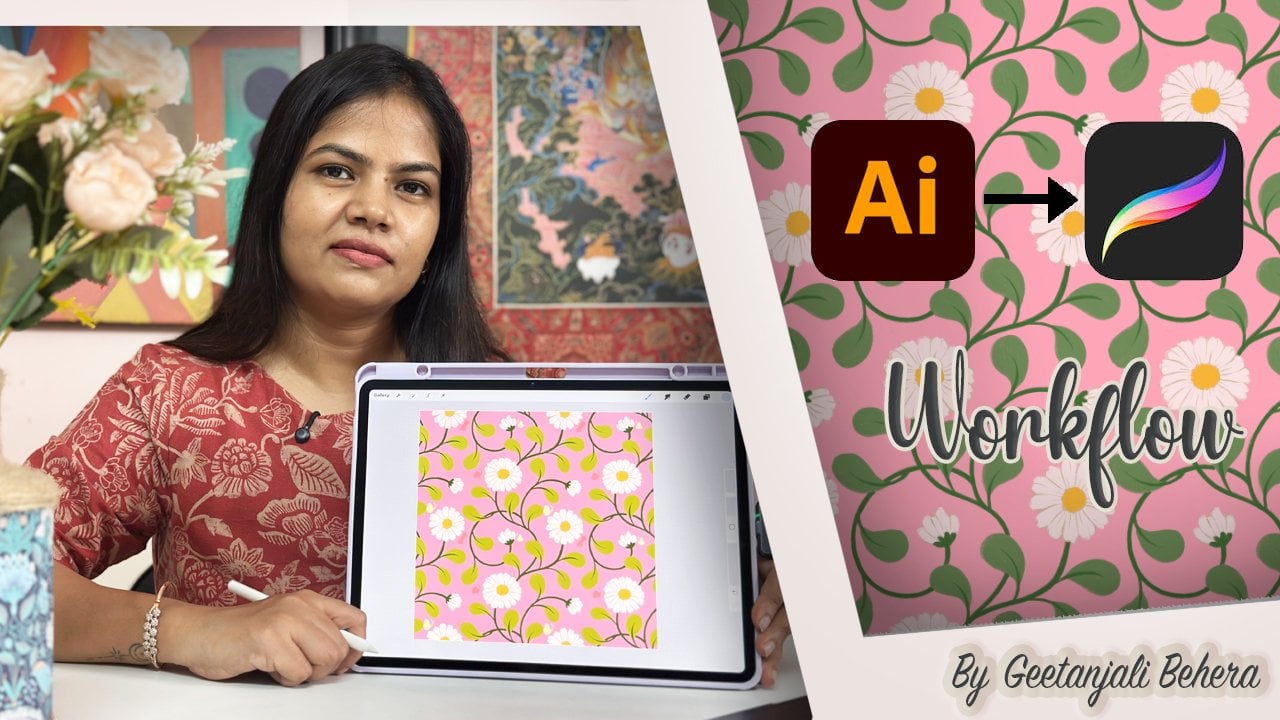
I’m Geetanjali, an artist, illustrator, and surface pattern designer based in Goa. Over the last few years, I’ve designed patterns for clients, licensed them to brands, fabric companies, and sold my designs online on print-on-demand sites like Spoonflower

This is a project-based class, so we’ll be creating the texture together step by step, and by the end of the class, you’ll have a seamless linen texture tile ready to use in your own designs. You can use it as a background, overlay it on your patterns, or even build an entire collection around it.


The class is designed to be quick and easy to follow, so you can complete the project in one sitting without feeling overwhelmed.

This technique is perfect for adding a soft, fabric-like feel to your artwork—whether you’re designing surface patterns, illustrations, or textured backgrounds.

We’ll walk through the entire process step by step, and by the end of the class, you’ll have a fully seamless linen texture tile ready to use in your own work.

This class is designed to be quick and easy to follow, so you can complete the project in one sitting without feeling overwhelmed.

In this class, you’ll learn:

  • How to create a realistic linen texture using noise and motion blur
  • How to build a woven effect using blending modes
  • How to make your texture fully seamless
  • How to fix visible seams using the clone tool

This class is perfect for beginners as well as artists and designers who want to add more depth and texture to their digital work.

WHAT YOU'LL NEED:

  • Procreate App
  • Ipad

Start your Print on demand journey with:

Spoonflower

For useful resources and tools Check out this amazing site 

Creativehowl by Jonas Welin

Surface Design News by Stacie Dale

If this sounds like fun, Join me in this creative journey!! 

Thank you !! ❤️

Meet Your Teacher

Teacher Profile Image

Geetanjali Behera

Surface Pattern Designer | Illustrator

Teacher

I am Geetanjali, aka Gee! I am an Illustrator, Surface pattern designer and Thangka painter living in Goa, India.

As an artist, I'm known for Complex compositions , Colourful and Intricate patterns.

I began my career as a freelance fashion illustrator creating technical drawings and fashion illustrations for apparel, handbags and accessories.

While working with clients around the world, I also got the opportunity to try new projects including illustrations for adult coloring books, surface pattern designs, graphic prints and more. In the year 2020, I got my first ever Coloring book, Mindful and Meditative Coloring published.

My journey as a surface pattern designer started in 2016 when I joined Spoonflower, I had done a few pattern design projects ... See full profile

Level: All Levels

Class Ratings

Expectations Met?
    Exceeded!
  • 0%
  • Yes
  • 0%
  • Somewhat
  • 0%
  • Not really
  • 0%

Why Join Skillshare?

Take award-winning Skillshare Original Classes

Each class has short lessons, hands-on projects

Your membership supports Skillshare teachers

Learn From Anywhere

Take classes on the go with the Skillshare app. Stream or download to watch on the plane, the subway, or wherever you learn best.

Transcripts

1. Introduction : Extures have a way of transforming a design. A flat illustration can instantly feel richer, more natural, and more alive with the xture. Among all textures, linen has a very unique quality. It is subtle, slightly imperfect and has a beautiful woven look that makes it incredibly versatile. In surface pattern design, you can use it to add depth and enhance your patterns or create textured solids that make great wallpaper options and classic blenders for your collection. The best part is, you don't need any complicated tools to create this. We will make it step by step Ippriate in a very simple beginner friendly way. Hi, everyone. I'm Geetanjali a surface pattern designer and illustrator. In this short class, I'm going to show you how to create a seamless linen texture in Procreate. This is a project based class, so we will be creating the texture together step by step. By the end, you will have a seamless linen texture tile ready to use in your own designs. For your class project, you will create your own seamless linen texture in Procreate. Once you are done, share your final texture tile in the project gallery. You can also upload a mockup or a design where you have used your texture. I would love to see what you create. Without any further ado, let's get started. 2. Part 1 : Creating the Faux Linen Texture: O. Let's get started by creating a new canvas. I am setting mine to 1,000 by 1,000 pixels at 300 DPI. And for the color mode, you can choose either RGB or CMk based on your workflow. I'm keeping a RGB. Once your canvas is ready, go ahead and fill the layer with any color you would like for your linen texture. This will be the base we build on. Next, go to adjustments and select noise. Make sure your layer is selected and not the pencil tool. Tap at the top to conform. Set the scale to around 30% and keep both octaves and turbulence at zero. Then tap on the three dots, turn on additive and choose single. Now using your pencil, drag from left to right to increase the noise amount to around 70%. You will see the percentage at the top. Once that is done, go back to adjustments and select motion blur. Again, drag your pencil from left to right, trying to keep your stroke as horizontal as possible. Set the motion blur to around 30%. You will start to see soft hazy horizontal lines forming. Keep in mind, the direction of your stroke controls the direction of these lines. So try to keep them nice and as horizontal as possible. You can adjust the percentage depending on how long you want the lines to be. I will keep mine at 30%. Now duplicate this layer, select the duplicated layer, go to the transform tool, and rotate it by 45 degree twice, so the lines become vertical. Next, tap on the layer. Then tap on N to open the blending modes and change it to darker color. You will immediately start to see that linen like wave texture coming together. You may still notice some stripes pattern along the edges. So let's fix that and make it seamless. First merge the two layers, then go to the transform tool. Make sure the snapping and magnetics are on and tap on any blue node around the bonding box to scale it up slightly. I am setting mine to 1,100 pixels, which is 100 pixels more than the original canvas size for both width and height. Now align it to the center using the orange grid lines. You will notice the striped edges are now cut, and it already starts to look much smoother. If you're using this as a placement print or a background for an illustration, you can use it as it is. In the next part, I will show you how to make it scaless so you can use it for repeat patterns. 3. Part 2 : Making the Texture Seamless: To make it perfectly seamless, go back to the transform tool. Now scale the image down to one fourth of its size and place it in the top left corner. Duplicate this layer. Move the copy to the right. And flip it horizontally. Then merge these two layers. Now duplicate this merged layer. Move it downward, and again, flip it vertically, merge everything together. At this point, you might notice a visible center line that looks a bit too mirrored. To fix this, we will use the clone tool. Go to Adjustments and select clone. You will see a circle which is your source point. And you will also notice small stars around the brush icon when the clone tool is active. Now, open the Procreate brush library. And under lettering, choose the lorikeet brush. I tried a few brushes, but this one works really well, probably because its texture blends nicely with the woven lines. Select the clone tool and using the lorikeet brush, drag the circle or the source point to an area you like. Then gently paint over the visible center lines to soften them. Try not to overdo it just enough to break that symmetry. Keep changing your source point as needed until it starts to look more natural. Once you are happy, let's do a final scene check using the offset method. Duplicate the layer. Move one copy to the left. So the edge aligns with the center. And move the other copy to the right, keeping the alignment precise. Merge them, and you may notice a faint mirrored line in the center. Use the clone tool again to fix it. Repeat the same process vertically. Duplicate this layer. Move one up, and one down. Merge them and clean up any visible horizontal scenes. And once that is done, you will have your final seamless linen texture. Now you might be wondering why we scaled everything down and mirrored it earlier instead of just using the offset method from the beginning. The reason is that when we use the clone tool, it slightly softens or blurs the texture. When the weave is larger, it becomes much harder to fix the seams without making those areas look blurry. Working at a smaller scale makes it easier to blend everything more naturally. If you're using this as a background, it doesn't have to be absolutely perfect. But if you plan to use it as a blender or a coordinating pattern in a collection, taking the time to refine these themes really makes a big difference. And that's it. You now have your own seamless linen texture ready to use. Use it as or layer it with another pattern to add more depth. Thank you so much for joining me. I hope you enjoyed this class and found it helpful. If you followed along, don't forget to upload your texture in the project gallery. I would really love to see what you create. And it's always inspiring for other students as well. If you found this class useful, you can follow me here on Skillshare to stay updated on my future classes. Thank you so much for taking this class and spending your time creating with me. I will see you in the next one, Happy creating. 4. Bonus : Using Faux Linen Texture in Adobe Illustrator: In this bonus lesson, I will show you how to use your four linen texture as a background for vector patterns in Adobe Illustrator. Start by opening a vector pattern that is roughly similar in size to your texture file. Here my pattern size is 12 by 12 ". Next, create a new layer and place your linen texture on it. A little bit of scaling is absolutely fine. Just adjust both so they match in size. I will scale the texture to 12 by 12 " and align it to the center of the artboard. For now, turn off the pattern tile so we can focus on the texture. Select the texture image, then click Embed. You can rasterize it to reduce file size, but since this file isn't very large, it is not essential here. Now, draw a rectangle the same size as your texture. Apply a fill color. Any color is fine for now. Remove the stroke and align it to the center of the artboard. Place this rectangle below the texture. Go to object, arrange, and click Send to back. Select both the texture and the rectangle. Now go to Window and open transparency panel. Now, click Make mask. Turn on clip. You will immediately see the texture, take on the new color. You can also try the invert mask option to alternate the colors of the weave and background. Now move this layer behind your pattern layer and turn on the pattern layer. From here, you can easily change the texture color using the swatches panel to match your pattern. You can also experiment with the recolor artwork tool for more variations. One thing to keep in mind, your pattern may be transparent at this stage. So make sure to add a white background behind it or export the final design as a Jfec. This is a quick and flexible way to recolor your texture and integrate it seamlessly with your vector patterns. I hope you find this useful and I can't wait to see you in the next class. Oh.