Transcripts
1. Introduction & Class Project: The houndstooth pattern is a classic bold
design characterized by its distinctive broken checks or abstract four pointed shapes. Whether you are
designing for apparel, home decor or stationery, houndstooth can add a
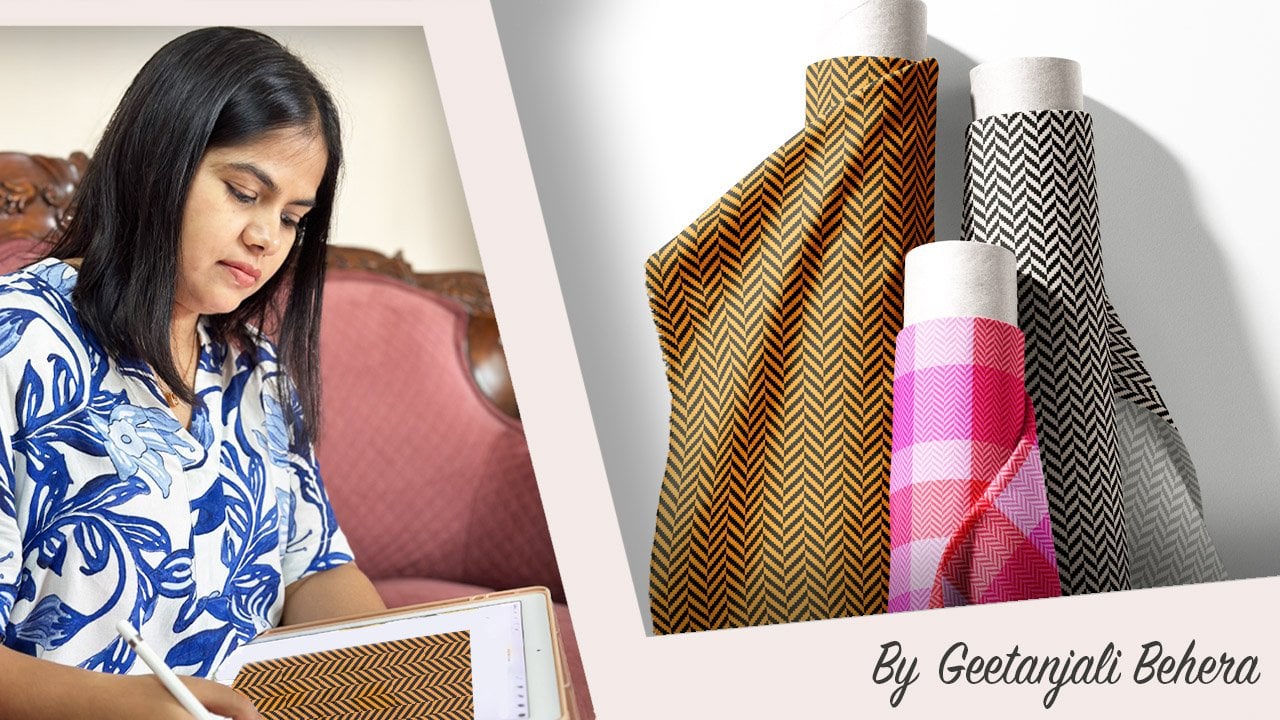
sophisticated and dynamic touch to your design collection. Hi, everyone. I'm Giangl
an artist, illustrator, Tanka painter, and
surface pattern designer based in the beautiful
coastal state of India, Goa. I was thrilled by
the amazing response to my plat pattern class, which inspired me to
create this new one. In today's class, I'm excited
to show you how to create a hound stroke pattern entirely inpcriate using two
different methods. We will also add
some special effects to give it a cozy
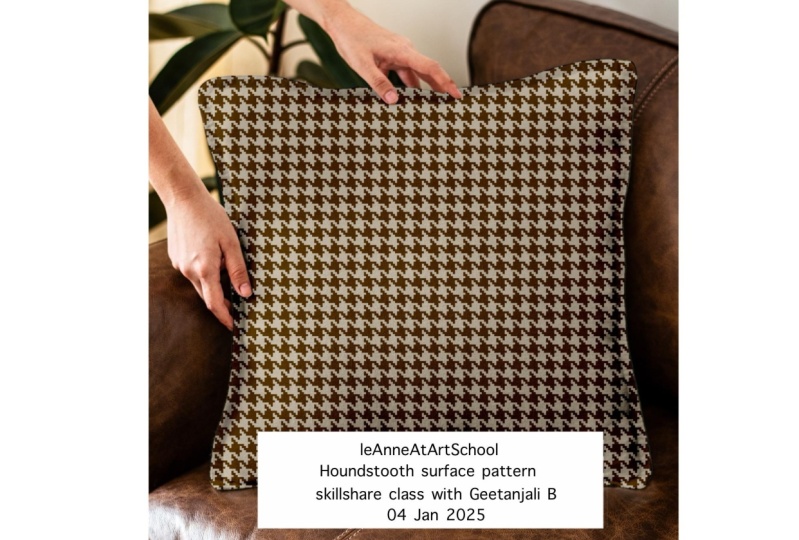
wool like texture. For the class project, you
will follow along to create a houndstooth pattern in Procreate using one or
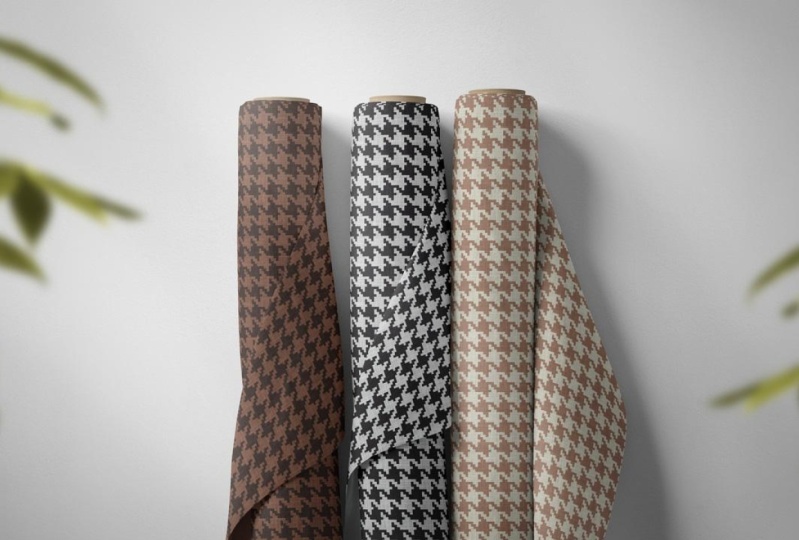
both of the methods shown. Try experimenting with
different color variations to make the pattern
uniquely years. Export your artwork
as a JPEG file and finally share your patterns in the students Project gallery. I'm excited to see your
beautiful creations. Let's dive in and get started.
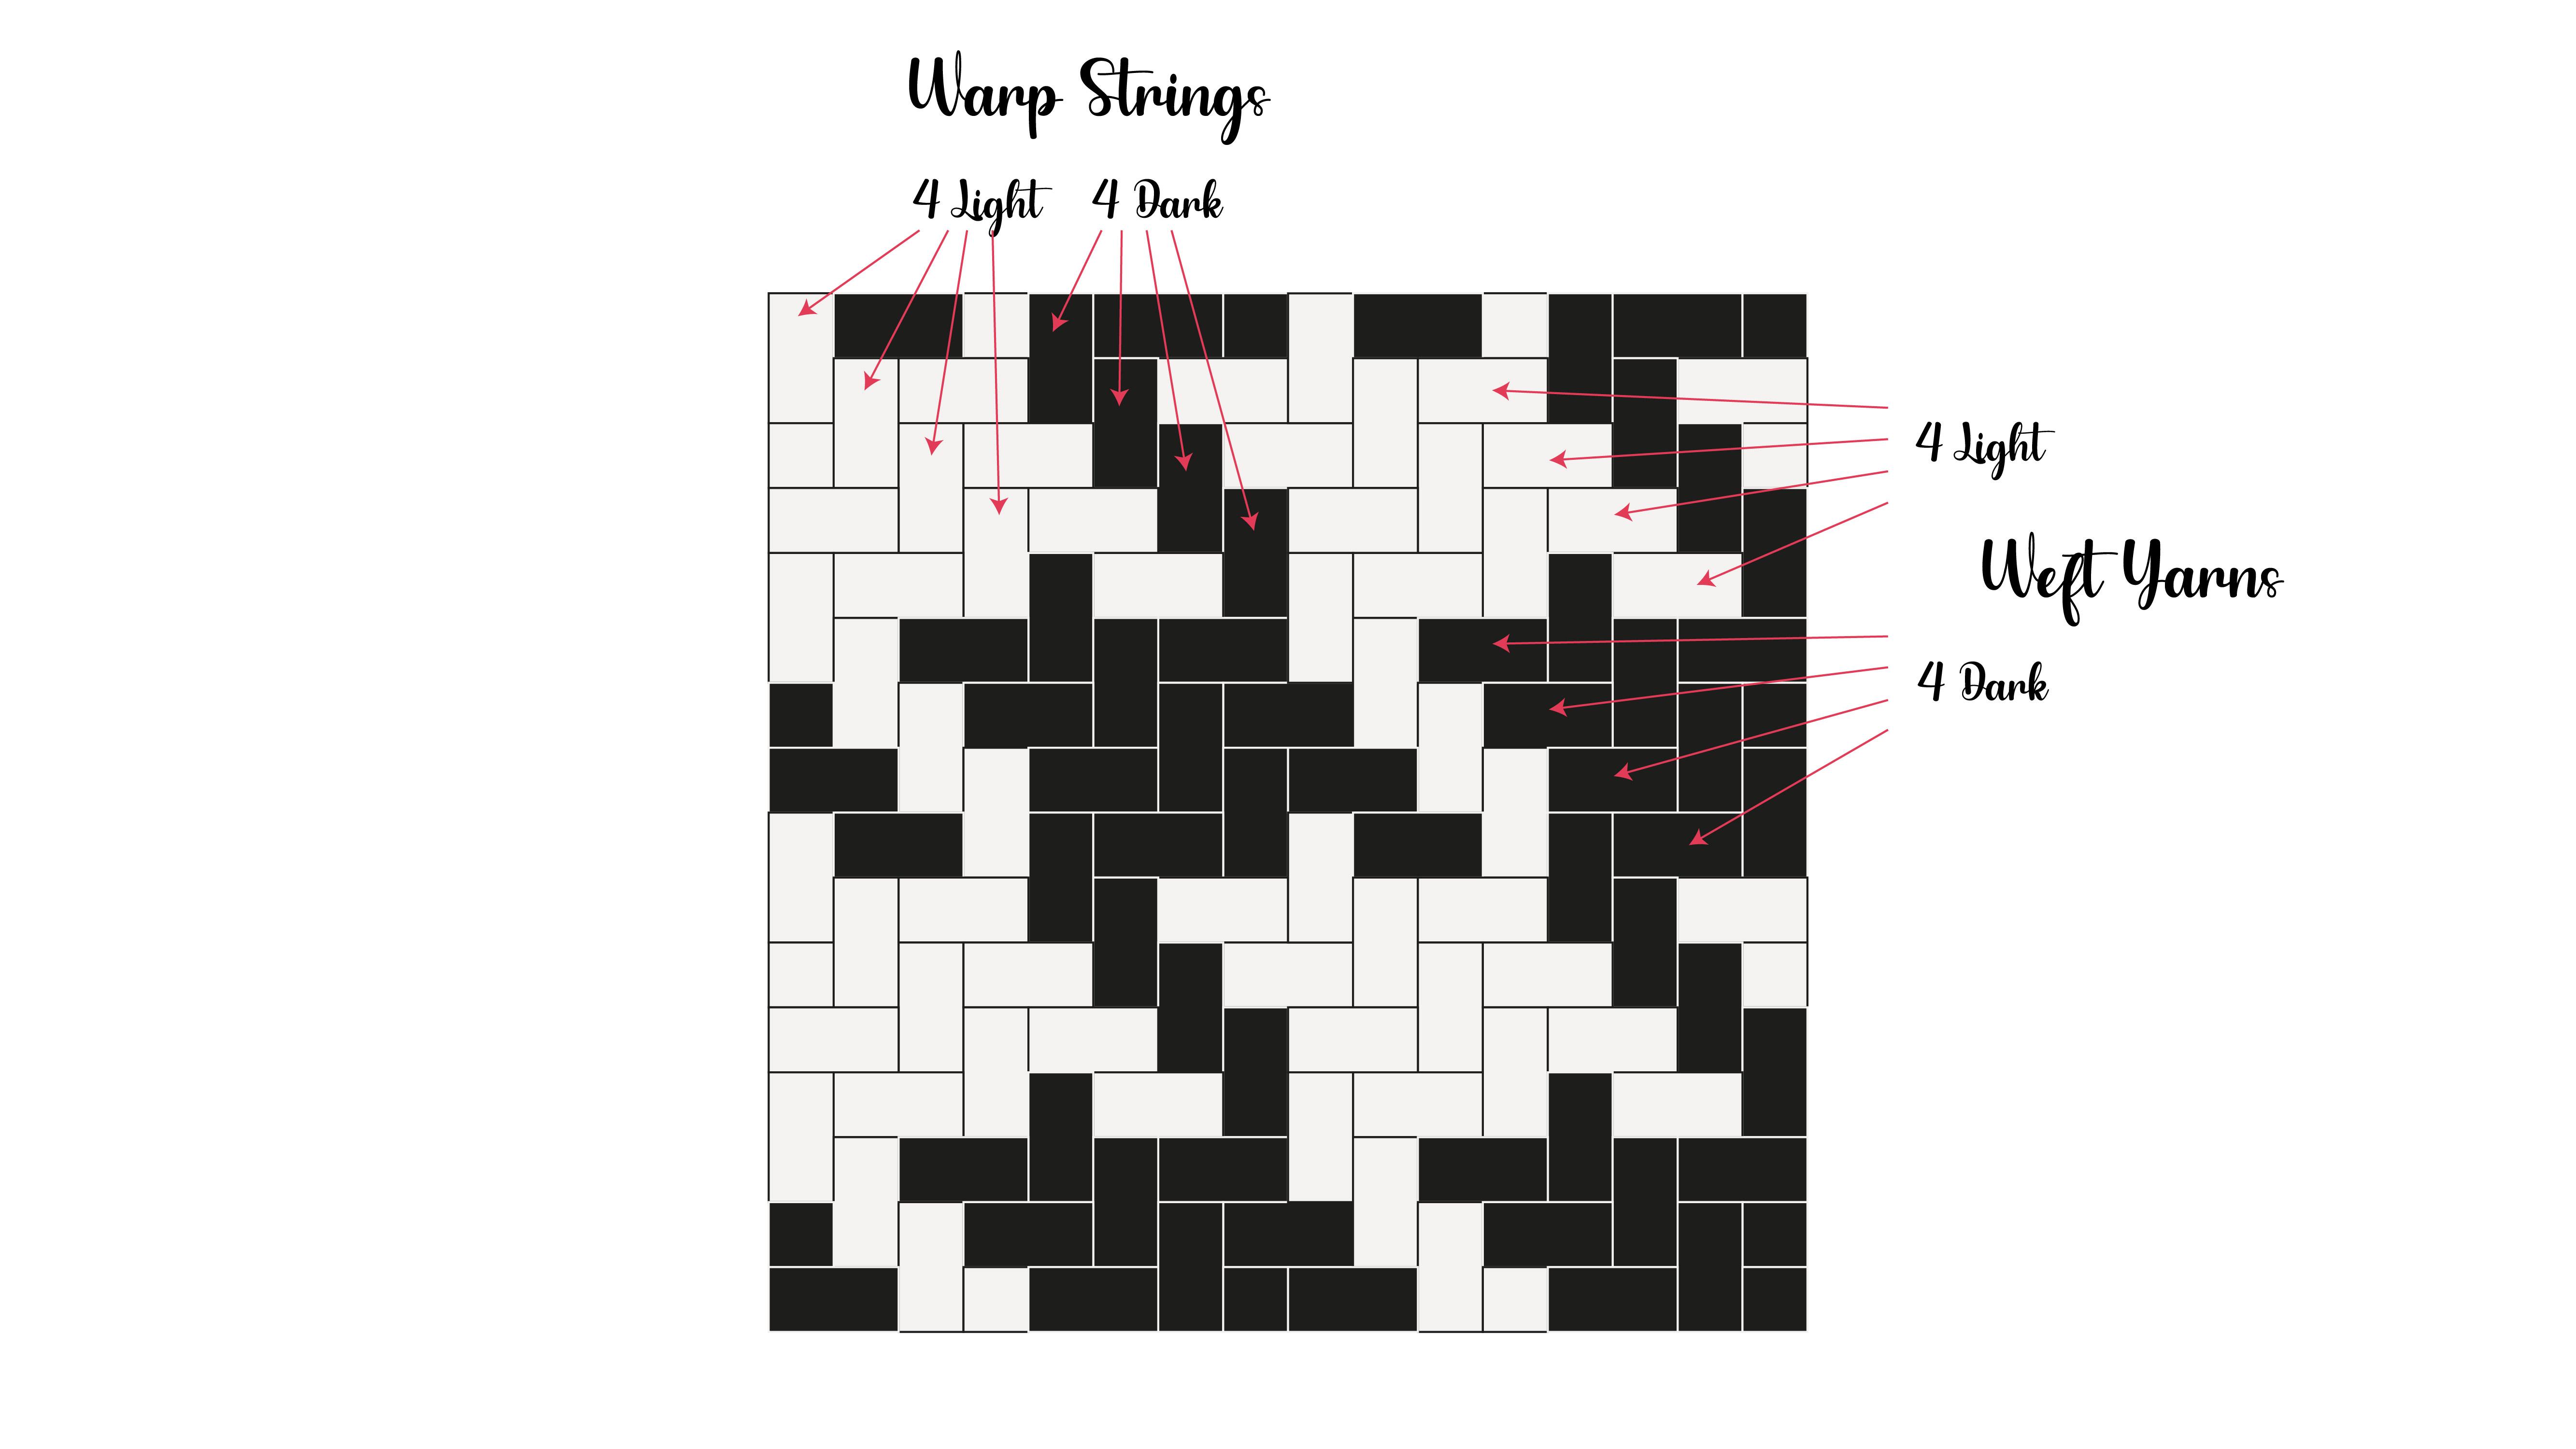
2. How to Create a Houndstooth Pattern in Procreate: Oh the houndstooth pattern is a timeless textile
design characterized by a repeating arrangement of broken checks or
four pointed shapes. Woven in a twill weave, the structure enhances the
pointed shapes in the design. Due to its abstract
four pointed form, this pattern is also known
as shepherd's check, dog tooth or puppy tooth when smaller
variations are used. We will create this
pattern using two methods. The first method results in a simple flat
houndstooth pattern, giving it a clean
vector like appearance, similar to those
created in Illustrator. Let's get started by opening Procreate and creating
a new canvas. Tap the plus sign in the top
right corner of the gallery, then tap it again to
create a custom Canvas. In the Canvas settings, enter 1,800 by 1,800
pixels for the size and set the DPI to 300 for
a higher resolution output. Here you will see the
maximum number of layers available based
on these settings. In the color profile section, choose RGB or feel free to pick any profile that
suits your needs. Once everything is
set, tap create. To create a houndstooth pattern, you will need two
contrasting colors. I'll use a light and dark
blue for this example. The first step is to make
the jagged square tile. Start by selecting
your first color and dragging to fill the canvas. With the layer selected, tap the arrow icon to open
the transform settings. Choose uniform and make sure
snapping and magnetics are on with distance and
velocity set to the maximum. Next tap rotate and
select fit to Canvas. This will turn the square
into a diamond shape. Now swipe left on the
layer and duplicate it. Select the duplicated layer and scale it down
to half its size. As you adjust, you will see the orange guidelines
appear when the bounding box
aligns to the center. Move the smaller diamond to the center and apply
the second color. Duplicate this layer and align the new copies center to the top left corner
of the canvas. Change its color to the
second or contrasting color. Then duplicate the
larger diamond shape and align its center to the
top left corner as well. Change its color to
the opposite one. Now select all four layers and move them to the
bottom right half of the canvas as we only need one fourth
of the complete tile. Move the tile to the top
right corner of the canvas. At this stage, I
suggest creating two separate layers with each
layer containing one color. This makes it easier to create
color variations later on. To do so, select the layers and pinch them together to
merge them into one. Alternatively, select
the top layer, tap on the layer
thumbnail and choose merge down from the
options that appear. Now use the selection
tool and in the settings, choose automatic. Make sure add is selected, tap on one color and drag
to adjust the threshold, setting it to around 80%. Once you have the selection, tap copy and paste to paste the selected
shapes onto a new layer. Select the original layer and repeat the process
for the second color. After both colors are
on separate layers, hide the original
layer to check for any gaps or missing
pixels along the edges. If everything looks good, delete the original
merged layer. Now duplicate both of these layers and move them to the opposite
corner of the canvas. Flip the duplicated layers
both horizontally and vertically to ensure the
stripes alternate in color. Create a new layer and fill
it with the first color. Drag to scale it down by half. Now create another new layer and fill it with
the second color. Drag to scale it down by half, then place it diagonally
opposite to the first color. This is the final tile for
your houndstooth pattern. Once the layers are
merged by color, rename them as color
one and color two. The next step is to get the ripe scale for your
houndstooth pattern. Start by duplicating each layer, one for the first color
and one for the second. Select all the layers and scale them down to
half their size. Now move one copy to the right so it aligns seamlessly
with the original. Merge the layers
with the same color. Next, duplicate the layers
again and this time, move one set downward to align perfectly
with the original set. Merge the layers with the
same color once again. Repeat this process
of duplicating, scaling and aligning until you achieve the desired
scale for your pattern. Once you are satisfied
with the scale, merge the final layers and rename them as color
one and color two. To change the direction
of the quill, select the layers and
flip it horizontally. You can save this
file as a template. I will name it as houndstooth
pattern template. To recolor the pattern, duplicate the file and select the color one layer and
create a new layer above it. Fill this new layer
with a new color and tap on the layer thumbnail
to choose clipping mask. Repeat the same for
the second color. This way, you can easily create multiple color variations
using the same file. The second method builds
on the plat pattern tile, specifically using the two
by 212 weave technique that I demonstrated in
the plat pattern class. The first step is to create
the Twilwave pattern. In the canvas settings, enter 1,800 by 1,800 pixels for the size and set the DPI to 300. You can choose any two
contrasting colors. I will use black and pink
for this demonstration. Start by selecting
the first color and dragging it to
fill the canvas. Then tap the arrow to open
the transform settings, select the uniform option and ensure the magnetic and
snapping features are enabled. Set the distance and velocity
to their maximum values. Now scale the square
down to half its size. Swipe left on the layer
and click on duplicate. Select the duplicated layer and drag it to the
bottom right corner, forming a checkered shape.
Merge the two layers. Now duplicate this merged layer, select both layers and scale
them down to half their size again and move one layer to
the right by one square. Merge the two layers. Now
duplicate this merged layer, then move the combined layer to the right and down
by two squares. Next, make another copy and move it to the
bottom left corner, ensuring one square is
positioned at the corner. Finally merge all
the layers together, and you will have the basic tile for your 12 weave pattern. The next step is to create a complete tile for the
houndstooth pattern. For this, we will need
two full checks and two jagged checks placed diagonally in
alternating colors. Since we have already created one jagged check in
the first color, duplicate this layer and move
it to the opposite corner. Then change the color
to the second one. Next, create a new layer
filled with the first color, scale it down to half its size and position it in the
bottom left corner. Duplicate this layer
and place it below the twel weave tile with
the alternate color. Then create another layer
filled with the second color, scale it down to half its size and position it to
the top right corner. Duplicate this layer
and place it beneath the 12 weave tile with
the alternate color. This is our final tile for
the houndstooth pattern. Next, let's create the houndstokPatn swatch
at the correct scale. At this point, I recommend
creating two separate layers, one for each color to make it easier to adjust
the colors later. Select all the layers and pinch them together to
merge into one layer. Then repeat the color
separation process we did earlier using
the selection tool. Once you have the two color layers, scale down the layers by half, select both layers and make a copy and move
them to the right. Select the layers with the
same color and merge them. Repeat these steps until you
reach the desired scale. Once you are happy
with the scale, merge the final layers and rename them as color
one and color two. Save this file and name it as houndstooth pattern template. To recolor the pattern, duplicate the file and
select the color one layer. Create a new layer above it, fill it with a new
color and then tap on the layer thumbnail
to choose clipping mask. Repeat the same process
for the second color. This method allows
you to easily create multiple color variations
using the same file.
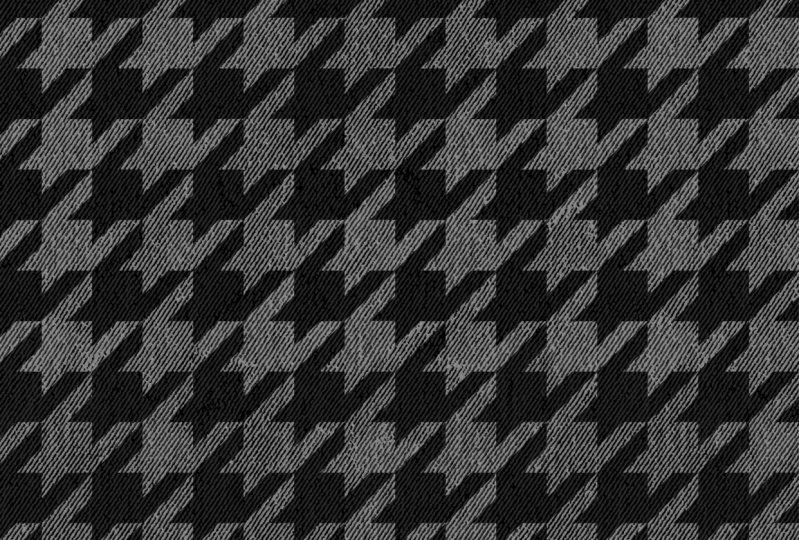
3. Adding Textures & Final Thoughts: These next few steps are
completely optional, but they will give your pattern
a cozy wool like texture. To start, we will add a
noise texture to the design. Create a new layer and
fill it with black. Once done, select
the layer and go to the adjustment menu,
choosing noise. Keep the clouds option selected and adjust the
settings to 25% scale. Then bring the octaves and
turbulent settings to maximum. Slide your finger across the screen to adjust
the noise value. Personally, I like to go up to around 300 person for a
nice textured effect. Next, go back to the
adjustment menu, select motion blur and
set it to around 10%. Duplicate this layer and
rotate it by 90 degrees. Tap on the end to change its
blending mode to lighten. Merge the two layers and change the blending
mode to soft light. You might notice a
slight color difference after applying these
blending modes. But this will give your pattern the soft textured look of wool. Once you are happy
with the result, go ahead and save your file as a JPEG or PNG file and don't forget to share them in the students
project gallery. I'm really excited to see them. Thank you so much
for joining me. I truly hope you found
this class helpful. If you have any questions, feel free to drop them
in the discussions page. I'll be happy to assist you. Please consider leaving a review and sharing it
with your friends. If you enjoyed this class, check out my other
class on creating versatile plat patterns
using Procreate. Don't forget to
follow me here on Skill Share to stay updated
on my upcoming classes. Until then, happy creating.
 Geetanjali Behera, Surface Pattern Designer | Illustrator