How to Create a Versatile Herringbone Tile Pattern in Procreate
 Geetanjali Behera, Surface Pattern Designer | Illustrator
Watch this class and thousands more
Watch this class and thousands more
Lessons in This Class
-
-
1.
Introduction & Class Project
1:34
-
2.
How to Create a Versatile Herringbone Tile Pattern in Procreate
10:00
-
3.
FAQ's & Final Thoughts
3:27
-
-
- --
- Beginner level
- Intermediate level
- Advanced level
- All levels
Community Generated
The level is determined by a majority opinion of students who have reviewed this class. The teacher's recommendation is shown until at least 5 student responses are collected.
91
Students
3
Projects
About This Class
ABOUT THE CLASS:
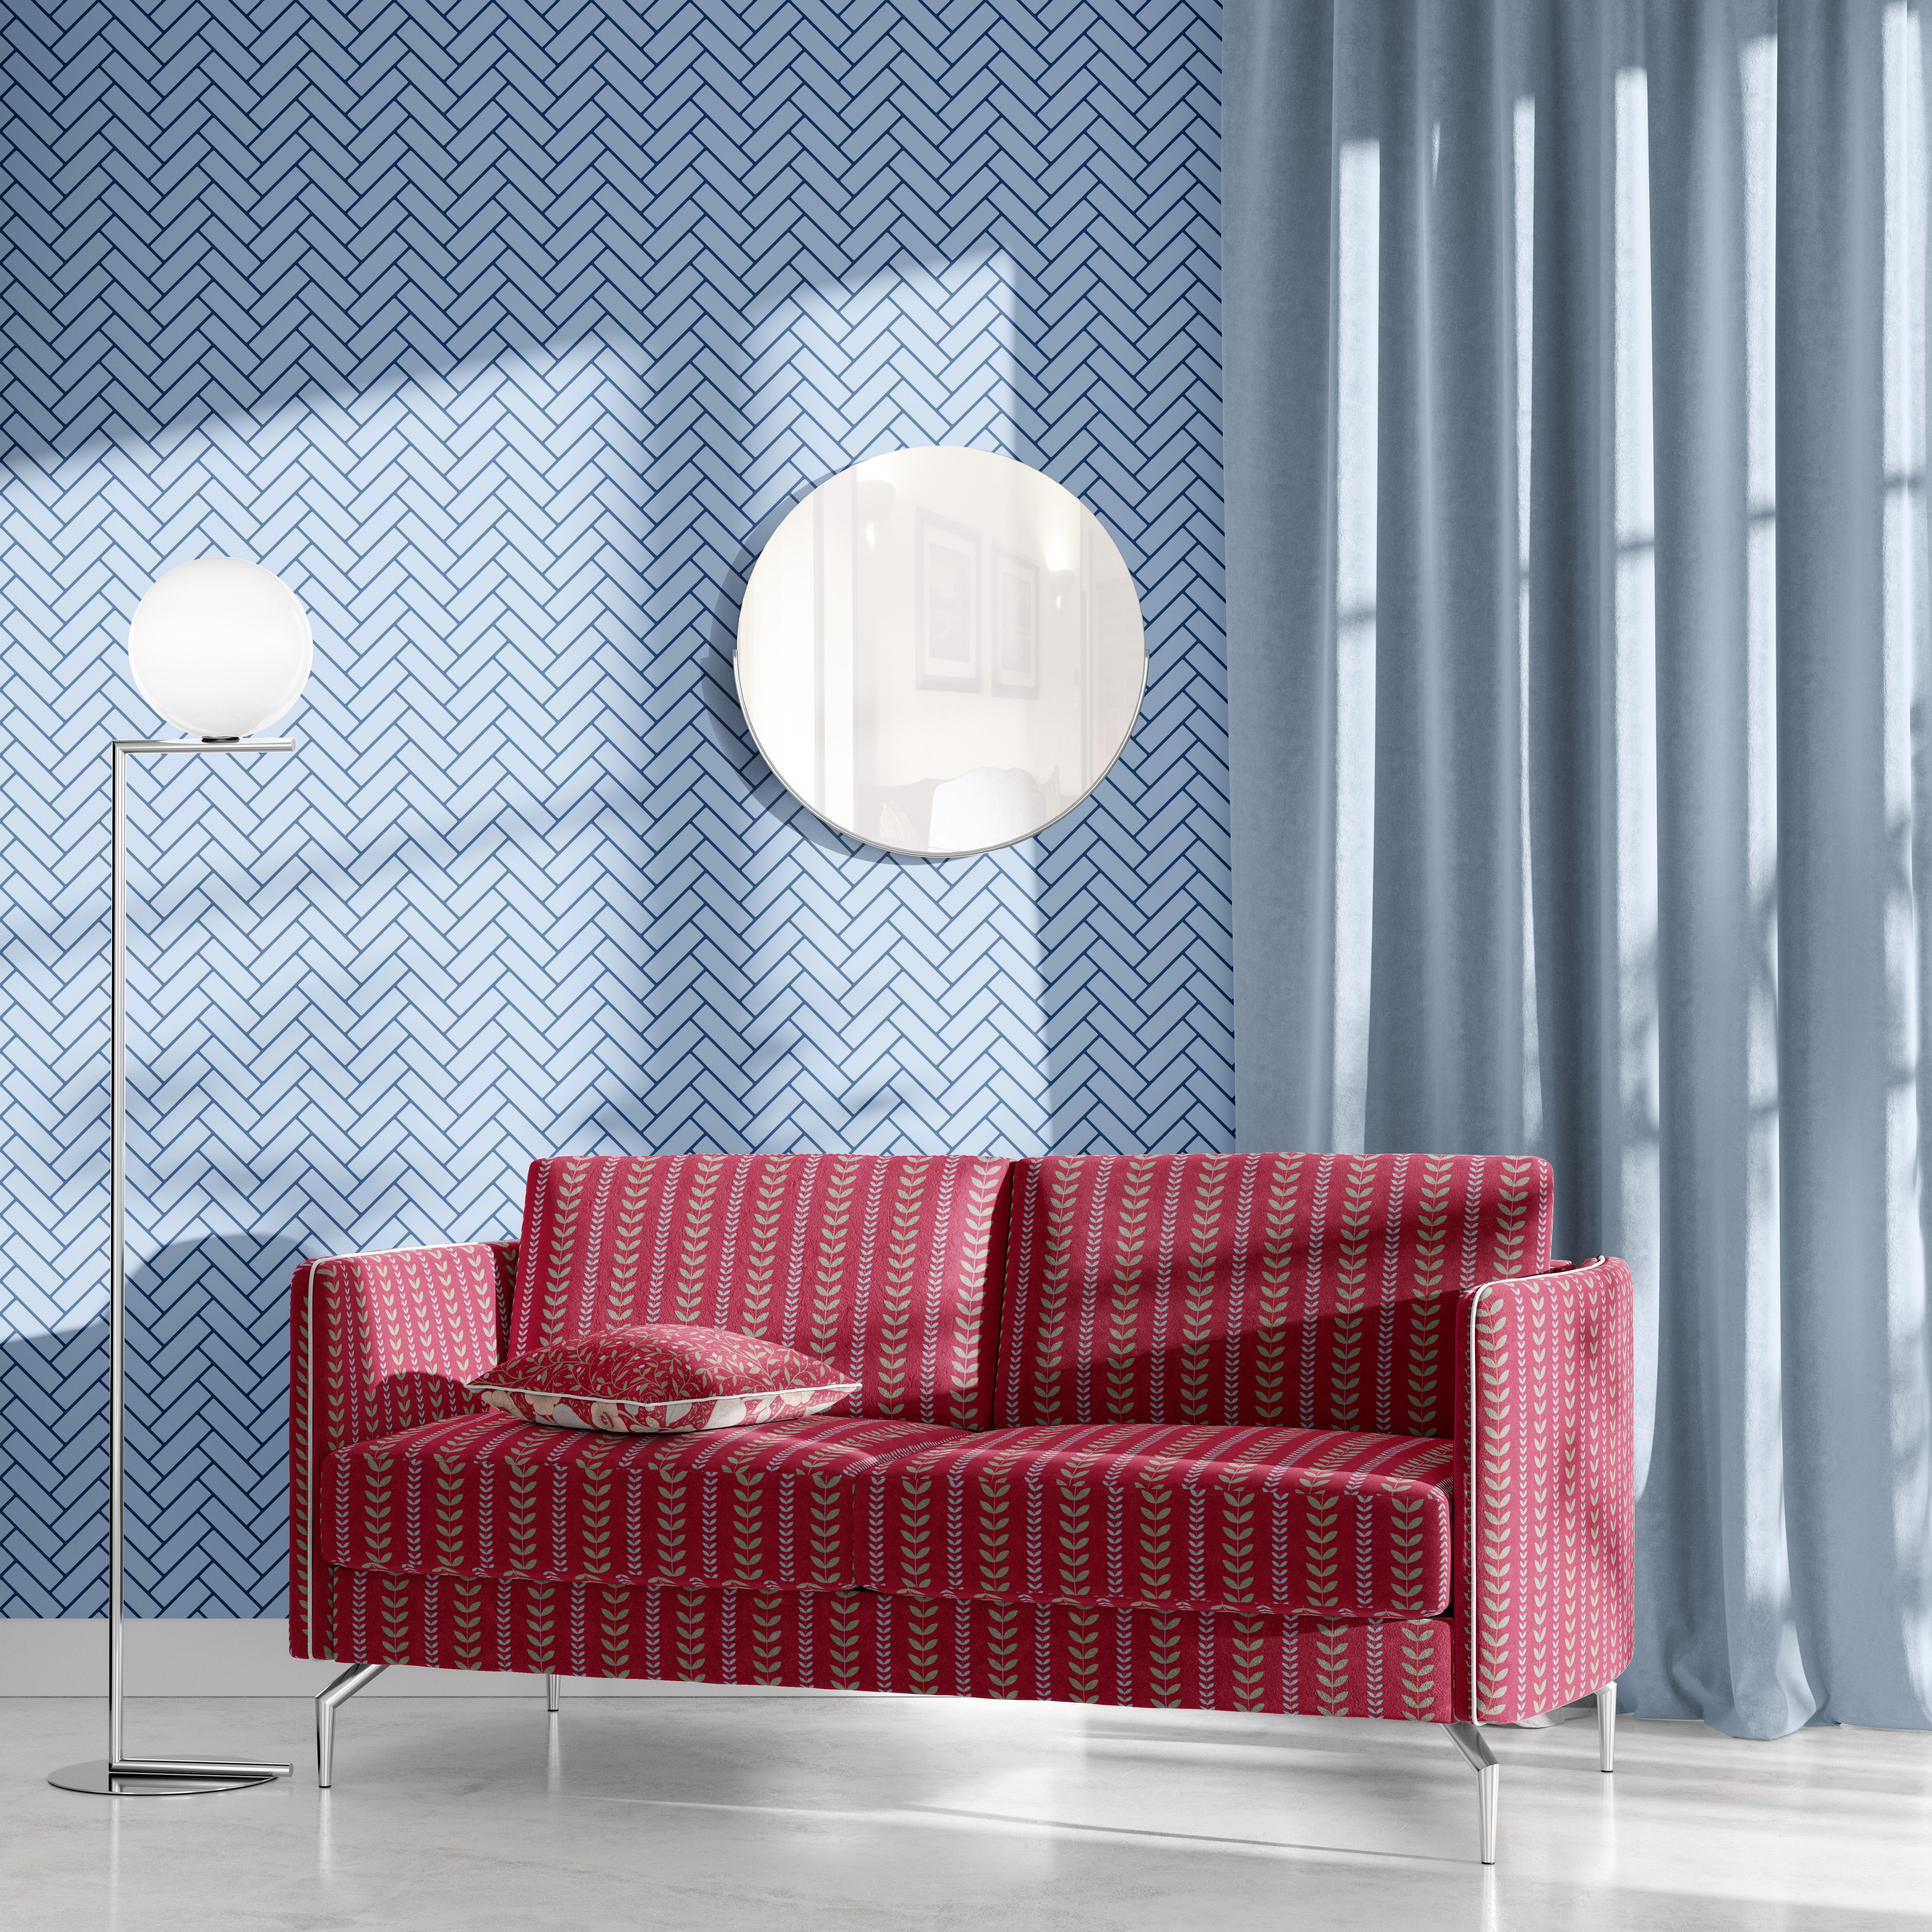
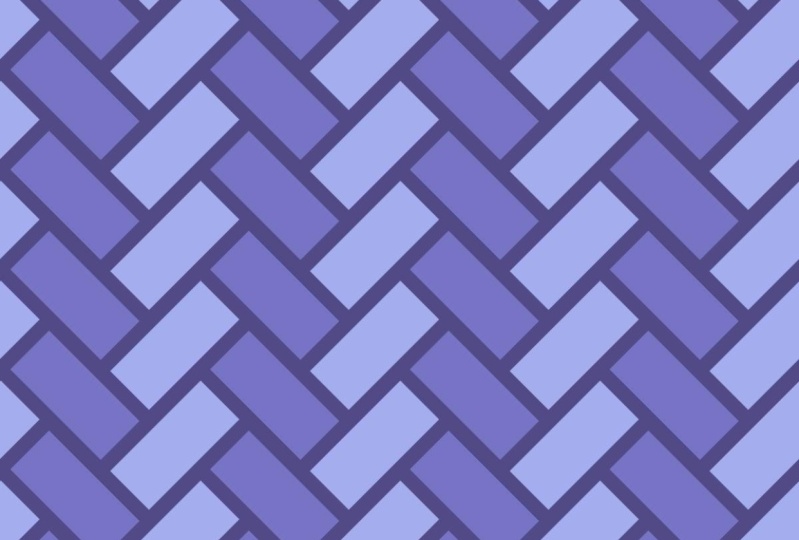
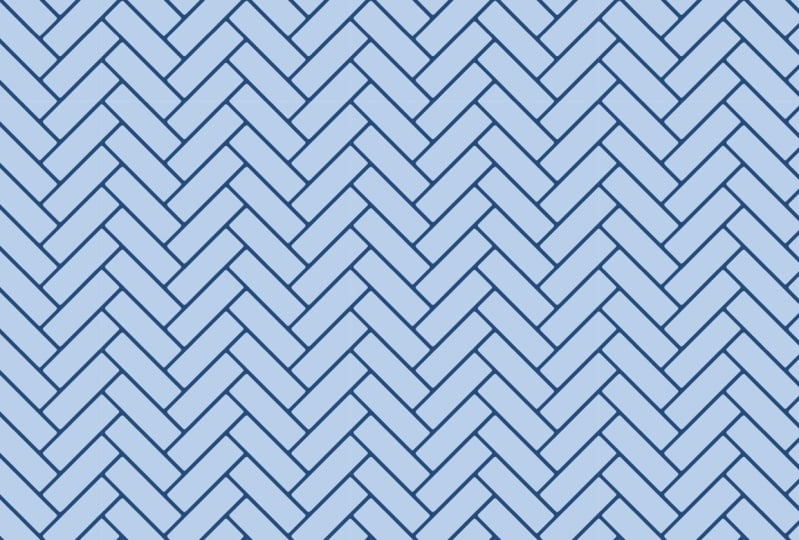
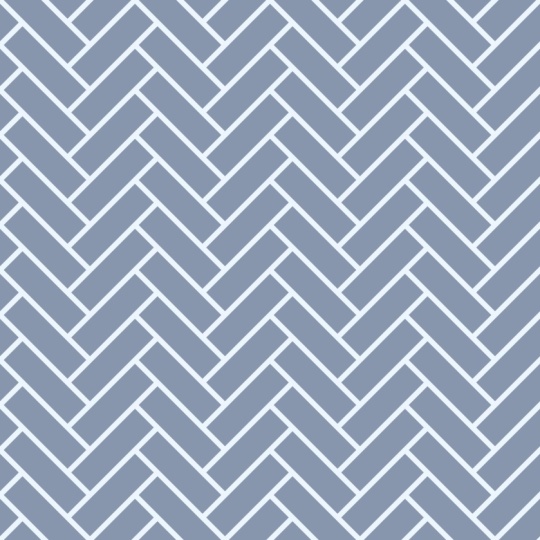
Embodying timeless elegance, herringbone tile is a classic choice that will instantly elevate any room. Laid in a staggering zigzag pattern, these tiles offer visual interest by creating a sense of depth and movement. Herringbone tile patterns are created by laying tile at a 90-degree angle in a staggered zig-zag pattern. Herringbone tile layout is created by using equal size rectangular pieces.
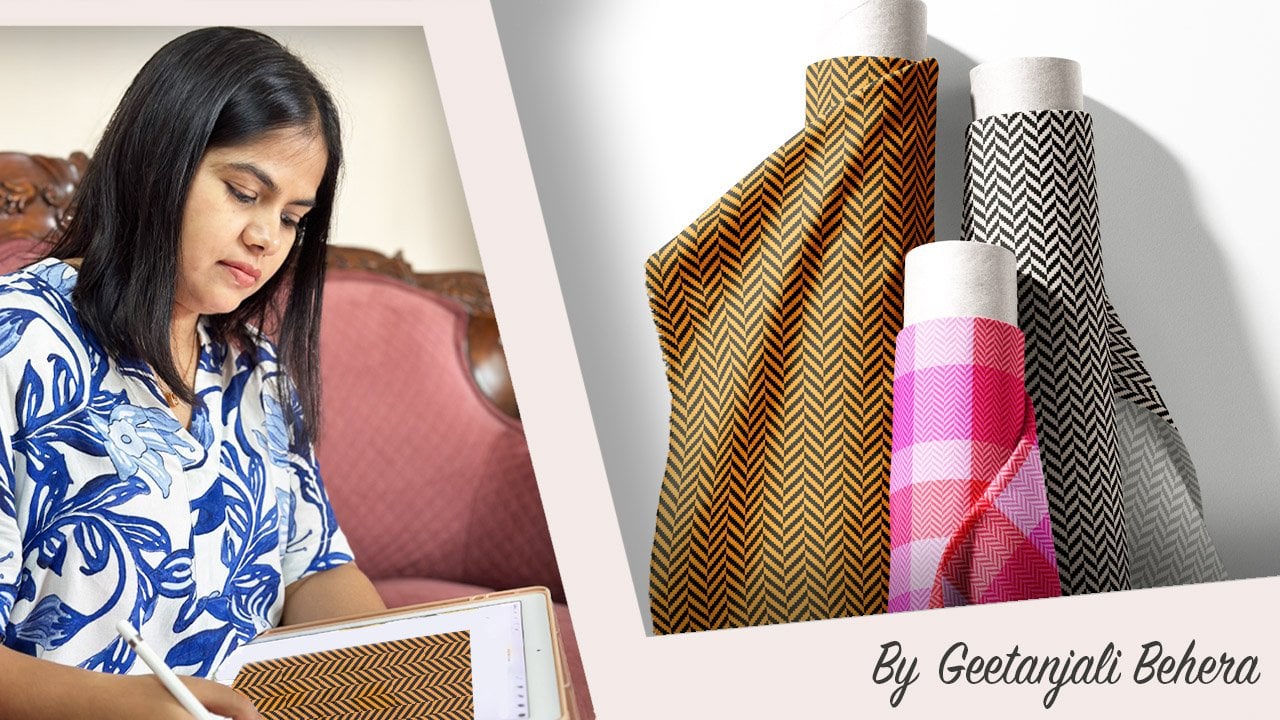
Hi everyone!
I’m Geetanjali, an artist, illustrator, and surface pattern designer based in Goa. In todays class we will create a versatile herringbone tile pattern in procreate.
Whether you’re just starting out or already have some experience, this class is crafted to make the process simple and enjoyable. I’ll break down every step to help you confidently create your own unique patterns.
WHAT YOU'LL NEED:
- Procreate App
- Ipad with pencil
CLASS FORMAT:
Quick, under-15-minute class
Pattern Style: Geometric rectangular tiles,
Skill Level: Designed for Intermediate level students familiar with Procreate
Applications: Ideal for wallpaper, flooring, fabric and digital project designs
OTHER SHORT CLASSES IN THE SAME SERIES:
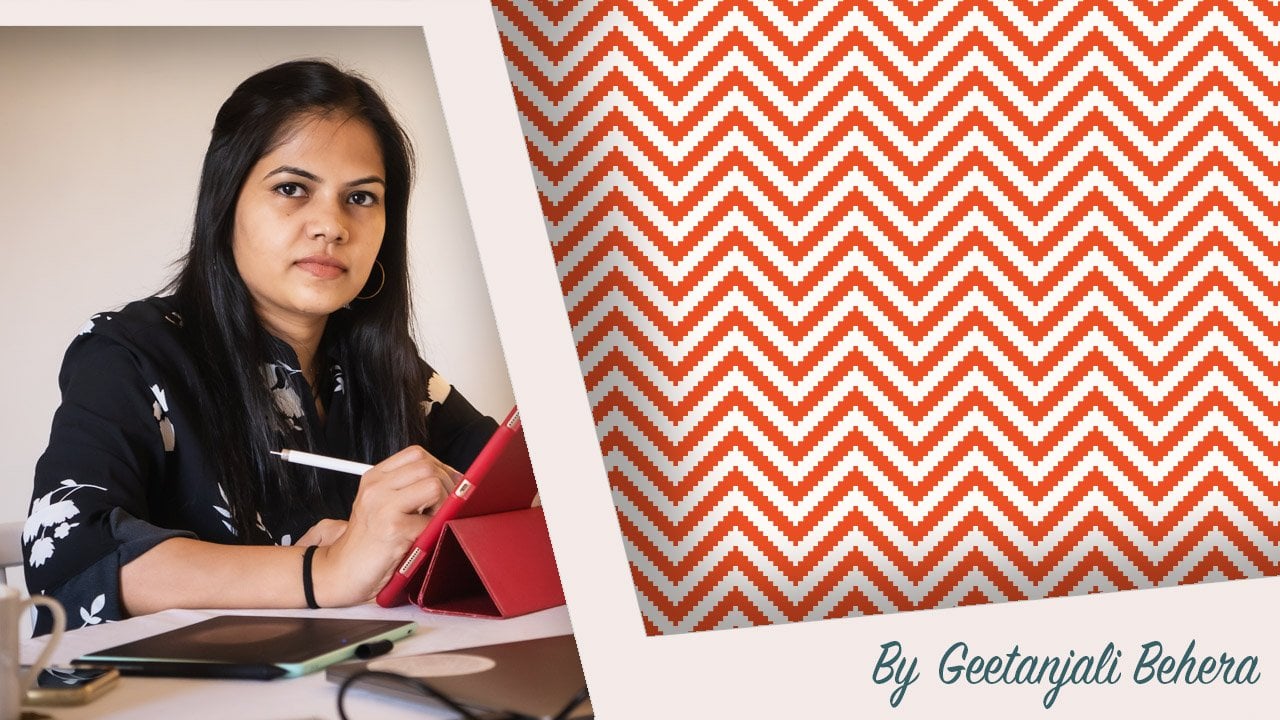
- How to Create a Versatile Chevron Pattern with Twill Weave Texture in Procreate
- How to Create a Versatile Plaid Pattern with Twill Weave Flannel Texture in Procreate
- How to Create a Versatile Herringbone Pattern with Twill Weave Texture in Procreate
- How to Create a Versatile Herringbone Pattern with Twill Weave Texture in Adobe Illustrator
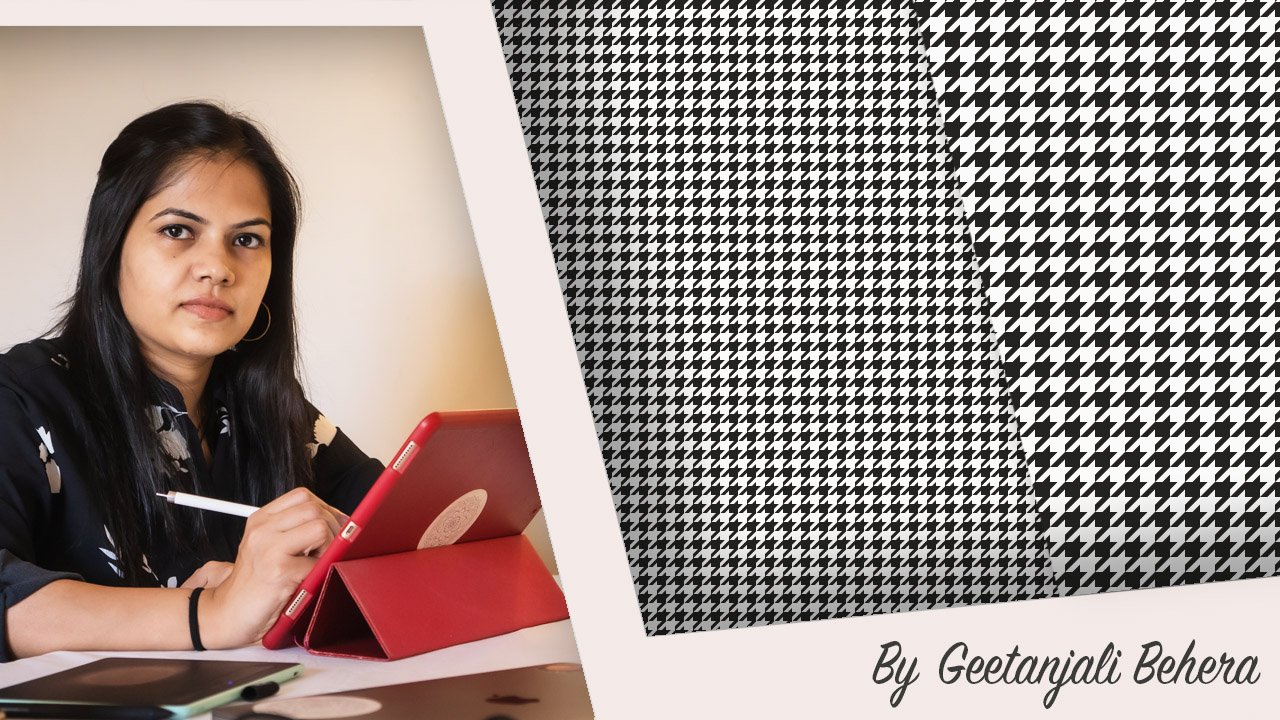
- How to Create a Versatile Houndstooth Pattern using Two Different Methods in Procreate
- How to Create a Versatile Chevron Pattern with Twill Weave Texture in Adobe Illustrator
- How to Create a Versatile Plaid Pattern with Twill Weave Texture in Adobe Illustrator
Start your Print on demand journey with:
For useful resources and tools Check out this amazing site
Surface Design News by Stacie Dale
Interior Mockup by Creatsy
If this sounds like fun, Join me in this creative journey!!
Thank you !! ❤️
Meet Your Teacher

I am Geetanjali, aka Gee! I am an Illustrator, Surface pattern designer and Thangka painter living in Goa, India.
As an artist, I'm known for Complex compositions , Colourful and Intricate patterns.
I began my career as a freelance fashion illustrator creating technical drawings and fashion illustrations for apparel, handbags and accessories.
While working with clients around the world, I also got the opportunity to try new projects including illustrations for adult coloring books, surface pattern designs, graphic prints and more. In the year 2020, I got my first ever Coloring book, Mindful and Meditative Coloring published.
My journey as a surface pattern designer started in 2016 when I joined Spoonflower, I had done a few pattern design projects ... See full profile
Hands-on Class Project
Your project for this class is
- Create a herringbone pattern with a tile effect using procreate.
- Export your final design as JPEG.
- Share your pattern in the Student Project Gallery.
Share your questions and doubts in the discussion tab, I will be happy to help.
Class Ratings
Why Join Skillshare?
Take award-winning Skillshare Original Classes
Each class has short lessons, hands-on projects
Your membership supports Skillshare teachers
Learn From Anywhere
Take classes on the go with the Skillshare app. Stream or download to watch on the plane, the subway, or wherever you learn best.