Transcripts
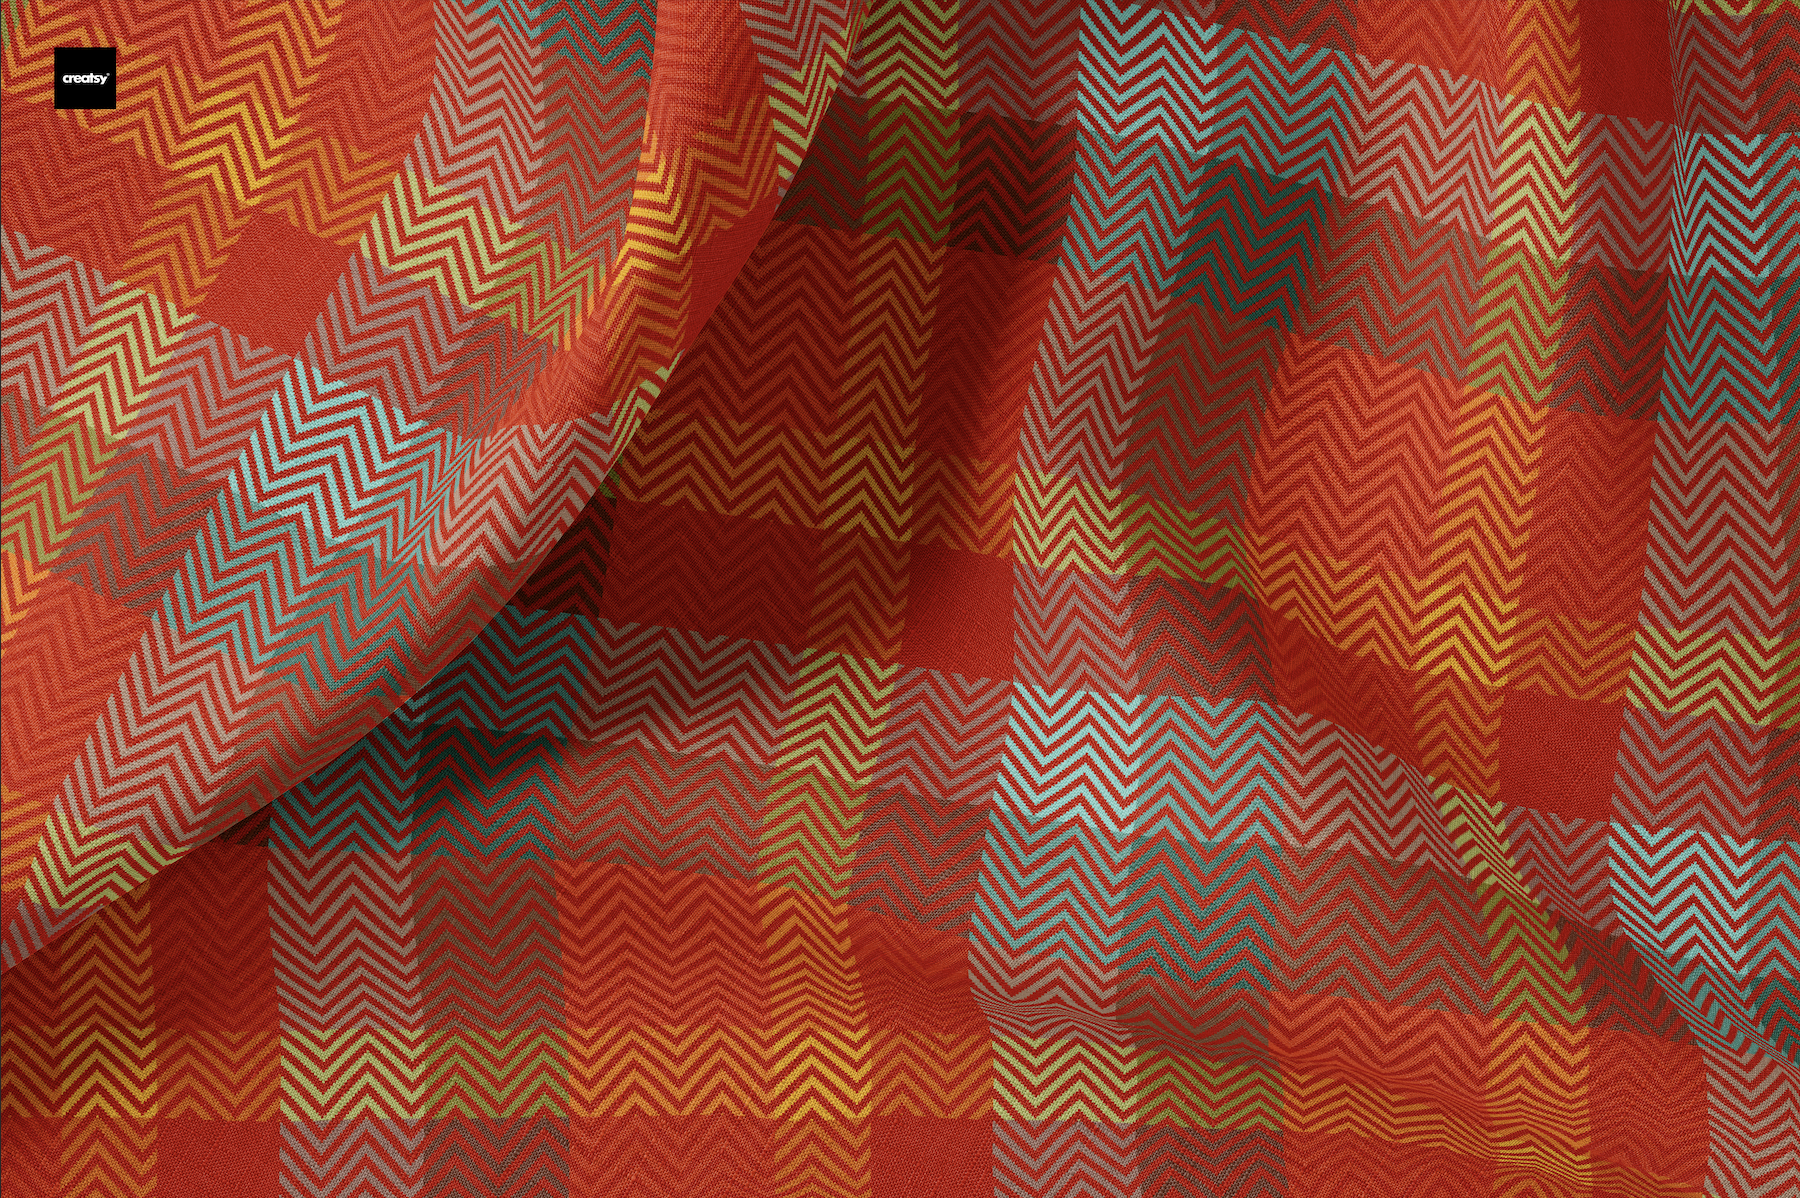
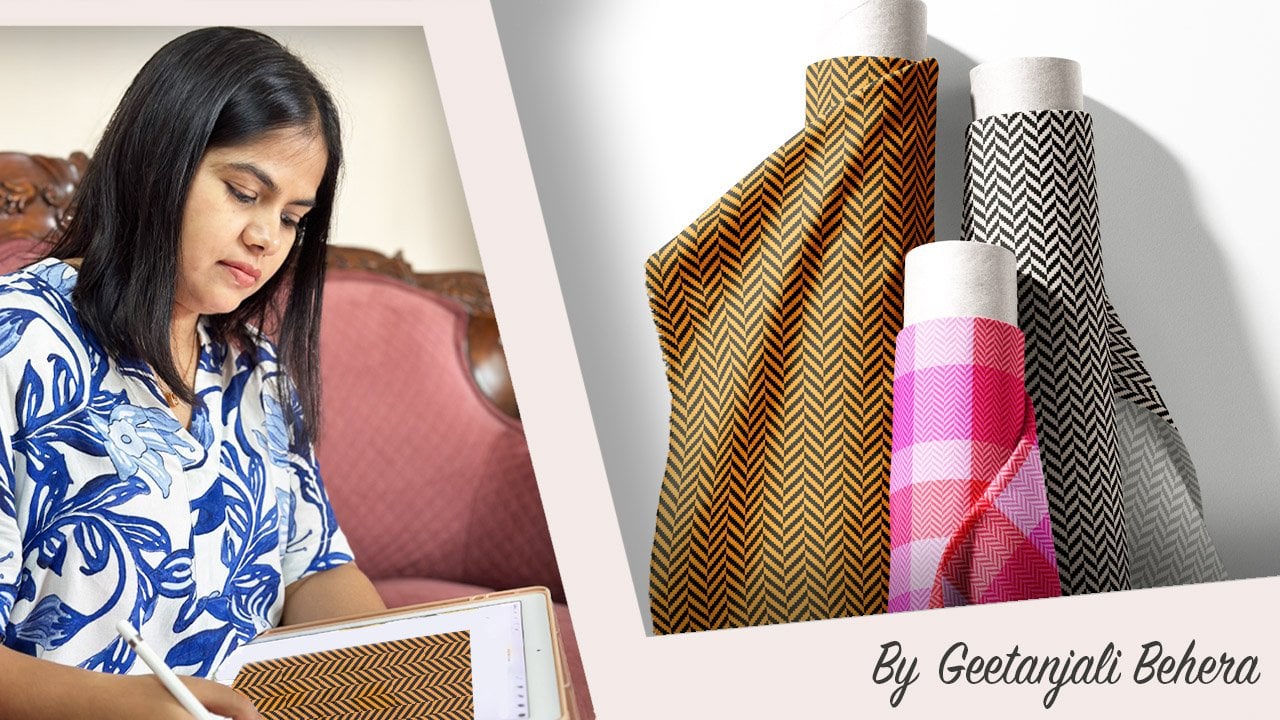
1. Introduction & Class Project: Chevron beef patterns are a classic textile design characterized by a
bold zigzag structure. Its distinctive V
shaped arrangement adds depth and visual interest, making it a popular
choice in fashion, home decor, and upholstery. Hi, everyone. I'm Gitanjl
an artist, illustrator, surface pattern designer,
and Tanka painter, based in the beautiful
coastal state of Boa, India. In today's class, I'm excited to walk you through creating a versatile Chevron pattern with a twel weave
texture in Procreate. If you would like to explore the weave construction
in more detail, I recommend checking
out my previous class on how to create a
Chevron weave pattern in Adobe Illustrator. Whether you are just starting out or have some experience, this class is designed
to be easy to follow as I guide you
through each step. For the class project, you will create a
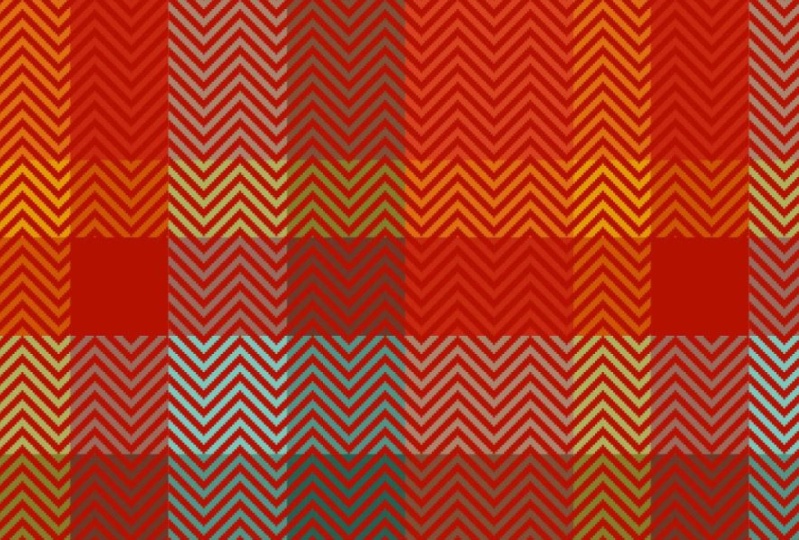
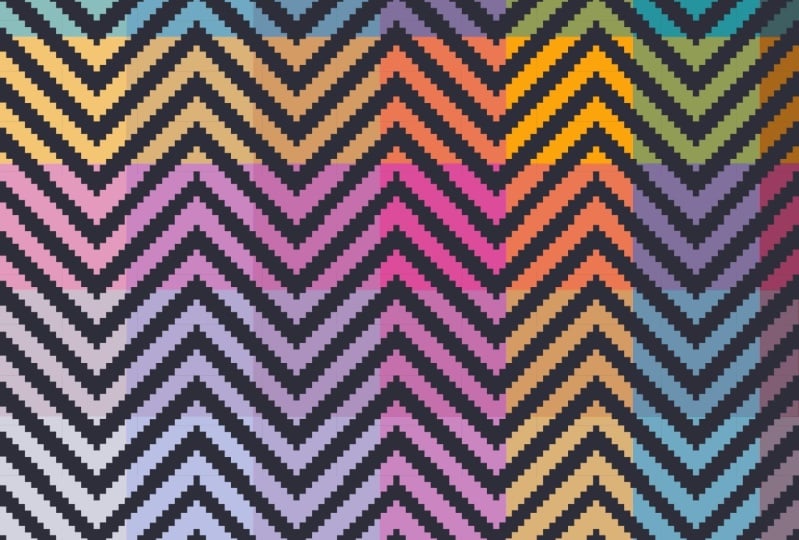
Chevron pattern with a twill weave effect
using Procreate. Experiment with a few color
and design variations. Export your final designs as JP, and finally, share your patterns in the students project gallery. I can't wait to see the amazing
designs you come up with. Let's dive in and
start creating.
2. How to Create a Chevron Weave Pattern in Procreate: Once you have a good
understanding of the basic structure and
construction of the weave, creating the pattern inppriate
becomes much easier. The first step is to
decide on your file size. I recommend starting with a larger canvas and a higher
DPI for better resolution. A good baseline would
be a square that is at least 100 pixels or 1 " if you prefer
working in inches. Next, based on the weave type and the size of
your square unit, create a canvas that is at least double the
dimensions on each side. For example, if you are working on a three
by 312 pattern, set your canvas size to
at least 600 pixels by 600 pixels or 6 "
by 6 " at 300 DPI. For this example, I will create a four by 412 weave using pixels as the
unit of measurement. To create a four by
four Chevron pattern, we need a minimum of
eight rows and columns. To create a wider Chevron, we can add additional
set of four, eight or 12 columns
on each side. I will add eight extra
columns on each side, making it a total of 24 columns. This brings the
canvas width to 2,400 pixels with each square
being 100 pixels wide. For the height, we will
need at least eight rows, which will be 800 pixels. Now let's move to step
two, creating the grid. Open your Canvas settings, enable drawing guides, and
tap on edit drawing guides. Keep the two degrades selected and adjust
the grid size to 100 pixels or 1 " depending
on your Canvas preference. You can also customize
the grids opacity, thickness, and
color as you like. Make sure to enable
drawing assist. It will help you align
the squares accurately. Step three involves filling
the square with color one. There are two
methods to do this. Start by drawing one square that perfectly fits
the grid size. That is 100 pixels
by 100 pixels. There are a few different
ways to draw rectangle, but here is how I do it. Select your color and then
drag it onto the canvas. Next, open the
transform settings and turn on both magnetics
and snapping features. Adjust the velocity and
distance to maximum. Tap on the blue dot on the bounding box to set it
as a point of alignment. Then enter the square dimensions of 100 pixel by 100 pixel. Now align the square to the
left side of the center line. Make three more copies and stack them on
top of each other. Alternatively, you can
draw a rectangle that is 400 pixels tall
by 100 pixels wide. Make sure the rectangle
aligns perfectly with the grid as the other copies
will snap to this one. If the first rectangle is misaligned, the rest
will follow it. Next, make a copy of the
rectangle and move it to the left offsetting
it by one square. You can turn off the grid to
double check for any gaps. Repeat this for the
remaining columns, continuing to create
the diagonal line. When the rectangle
extends off the top, simply move it downwards so that each column has four
squares with each color. Once you have finished, merge the layers except
for the center one. Now make a copy of the shape, position it on the opposite
side of the center column, and flip it horizontally to
complete the mirrored design. For the last column,
duplicate the center column. Move it into place and
align it perfectly. You can make an extra copy
of this layer and keep it aside in case you would like to make the
pattern even wider. Once you're done, merge all the layers and rename the layer as
Chevron weave pattern. Lastly, change the background
color by simply selecting the layer and choosing a color that compliments
your design. Save this file and name it
as Chevron weave pattern. To add different colors, simply add a new layer on
top of the weave layer, fill it with a new color and apply a clipping mask by tapping on the
layer thumbnail. You can either change
the background color directly or add a new layer with the color of your choice. This gives you the
flexibility to create multiple color variations
within the same file. Let's explore how we can adjust the diagonal width to make
the pattern more versatile. But before we proceed, let's create a duplicate
of the original file. Start by clicking
on the wrench icon to open the Canvas settings, select crop and resize, and then click on settings. I'm going to add four more
columns on each side, making the total canvas
width to 3,200 pixels. You can keep the
number of rows same, but I will add more rows to the grid to
create a variation. Let's make the height also same as the width that
is 3,200 pixels. Align the Chevron weave layer to the center and now extend the pattern on both sides using a copy of the
layer we saved earlier. Once you have finished,
merge the layers. Now make a copy of the shape, position it on the
opposite side, and flip it horizontally to
complete the mirrored design. For the last column, duplicate
the saved rectangle copy, move it into place and
align it perfectly. Once that is done, merge
the layers together. To keep the pattern consistent, you can simply make copies and place them
below this pattern. But to create an
interesting variation, I will replace the colors of selective zigzag rose
with other colors. This will give a
nice striped effect. You can be as
creative as you want, but make sure to
maintain the offset and be mindful while changing the colors on top
and bottom edges. To see how it looks
as a pattern, swipe down with three
fingers and select copy all. Now, click on the wrench
icon and choose Add. Click on Paste. Now make additional copies and scale them down to get a
clearer preview. Another variation you
can create is by adding colorful stripes and checks
to the Chevron weave texture. To do this, you will need
the Chevron weave pattern with a transparent
background on its own layer. Next, duplicate the
layer and scale down the pattern until it resembles the scale
of a fabric texture. On a new layer, draw a
few colorful stripes. Then merge them together. Make a copy of the stripes
and rotate it by 90 degree. Reduce the layer opacity to 50%. Now merge the two layers together and tap on
the layer thumbnail, choose clipping
mask to apply it. This will give you a
beautiful checkered pattern with a Chevron weave texture. Play around with the
background color to see more variations. A Thank you so much for joining me. I hope you enjoyed
this class and I can't wait to see the
beautiful patterns you create. If you have any questions, feel free to drop them
in the discussions page. I'm happy to assist you. Please consider leaving a review and sharing the class
with your friends. If you like this class, be sure to check out
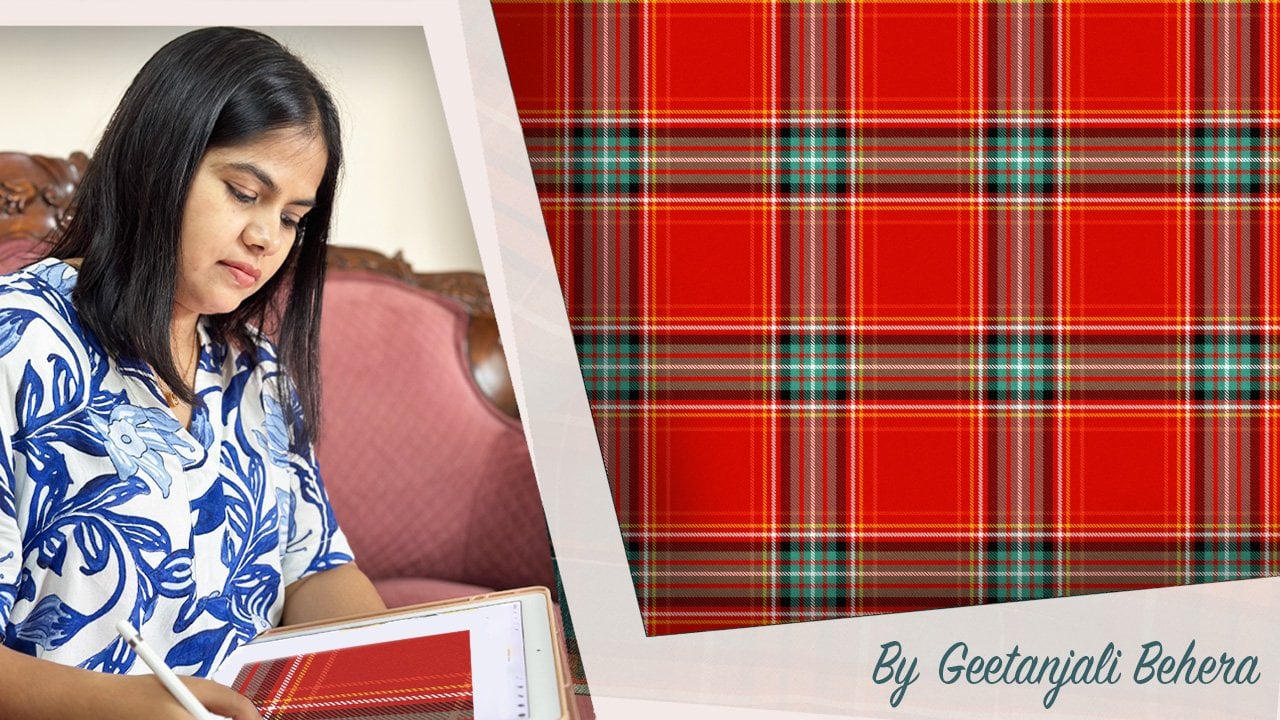
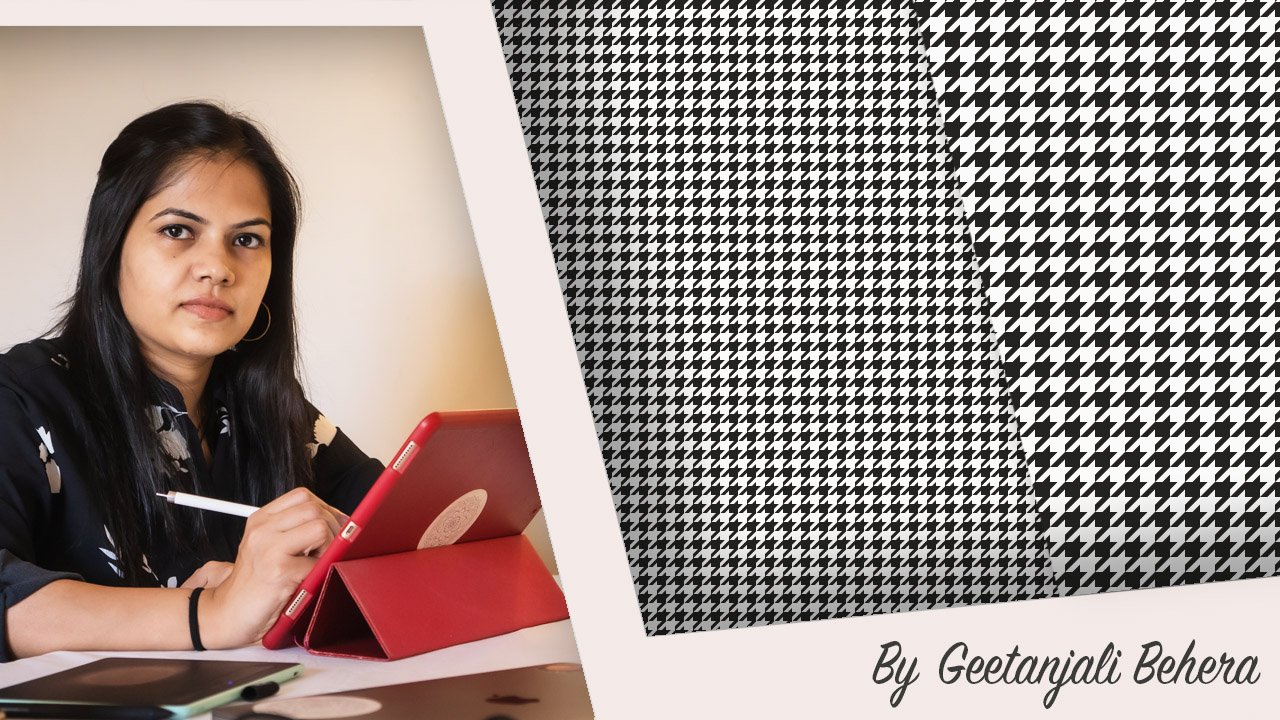
my other short classes on creating plaids, houndstooth, and herringbone
using Procreate. Don't forget to
follow me here on skill share to stay updated
on my upcoming classes. Until then, happy creating.
 Geetanjali Behera, Surface Pattern Designer | Illustrator