How to Blend Watercolors Smoothly
 Bianca Luztre, Watercolor, Productivity, Color Mixing
Watch this class and thousands more
Watch this class and thousands more
Lessons in This Class
-
-
1.
How to Blend Watercolors
0:51
-
2.
Blending Techniques
3:07
-
3.
Factors to Consider
4:29
-
4.
Mini Landscape
1:17
-
-
- --
- Beginner level
- Intermediate level
- Advanced level
- All levels
Community Generated
The level is determined by a majority opinion of students who have reviewed this class. The teacher's recommendation is shown until at least 5 student responses are collected.
128
Students
18
Projects
About This Class
How do you blend watercolors smoothly?
Let me show you how in this short class.
What is this class about?
If you struggle with...
- getting a smooth transition from one color to another,
- determining the amount of water and paint to be used, or
- not knowing that the quality of the paper affects the behavior of pigments.
Then this class is for you! We'll tackle these concerns in this course.

What do we do in this class?
I will share with you a simple yet effective way to blend your colors smoothly so you will have a lovely gradient.
We'll start with:
- the different blending techniques that you can apply on your watercolor projects
- the factors that might affect how the pigments behave on paper, and
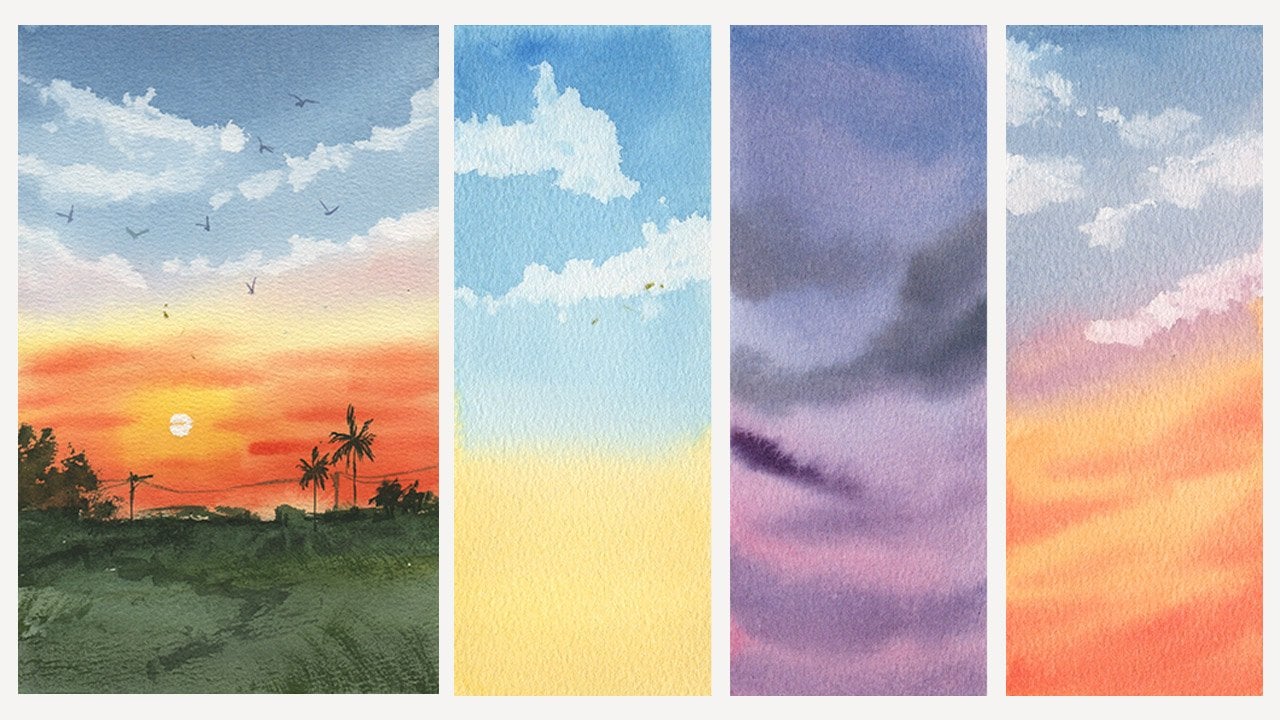
- finally, create a mini landscape project using the smooth background we just demonstrated.
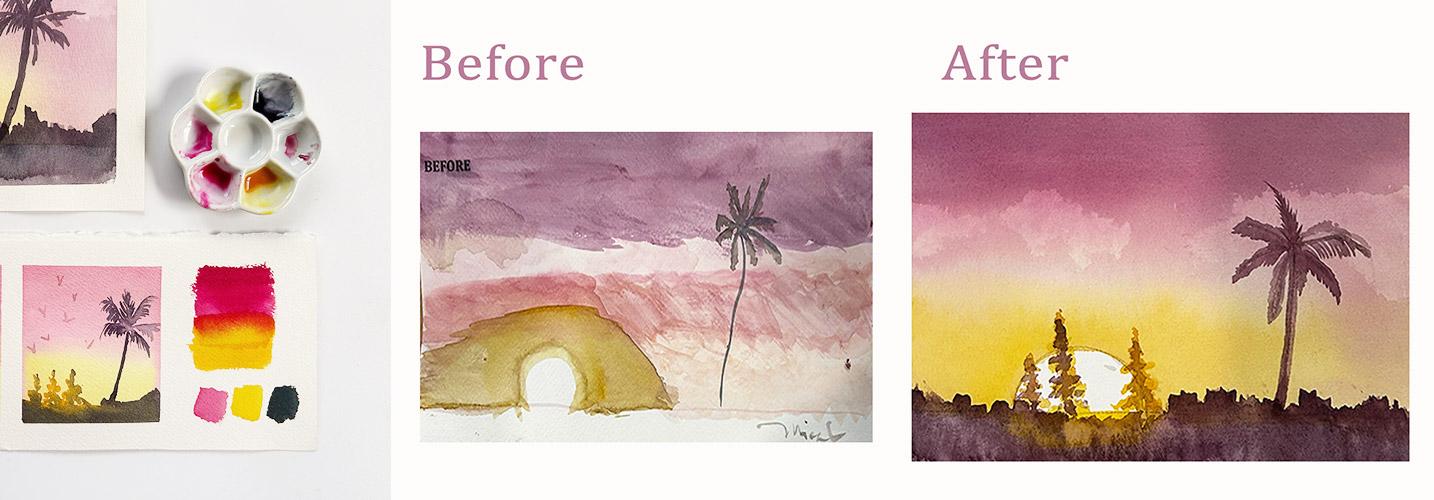
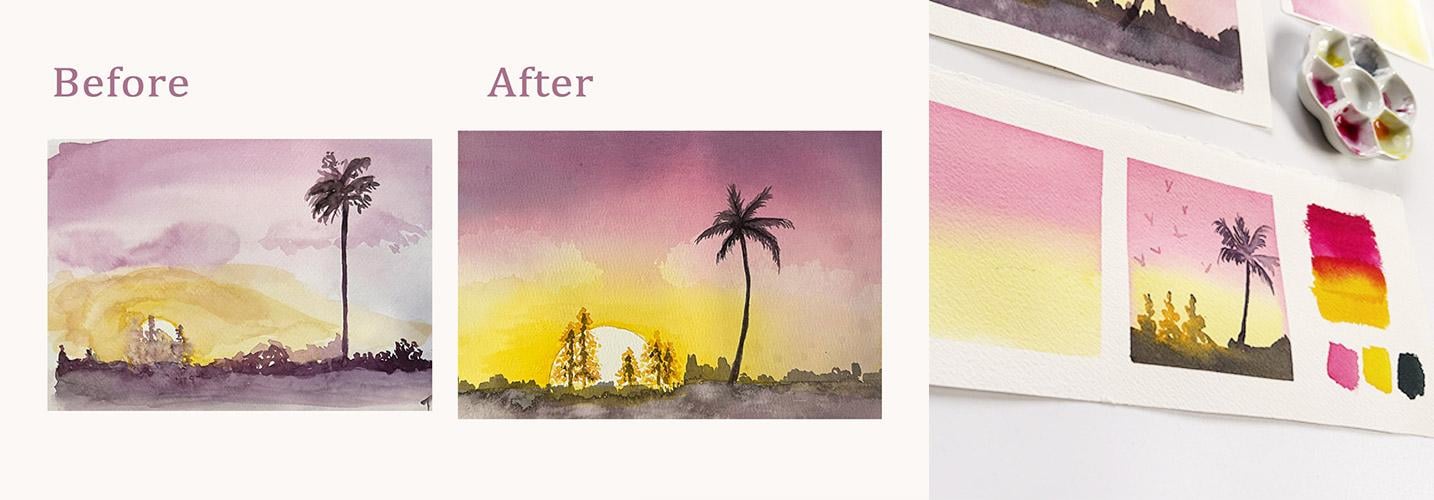
Here's a proof that the technique is effective.
A before and after the workshop work of one of my students.
If you'll look closely, the blending of the "Before" project is a bit harsh compared to her "After" the class work.
This is also to encourage you to share your mini landscapes later. :)
Who is this class for?
This class is beginner friendly but everyone's welcome to join the fun.
Whether you've been wanting to try watercolors for the first time, you're a hobbyist or an experienced artist, I invite you to join this short class.
What do I need to get started?
Please prepare the following materials:
- Watercolor paper (preferably 100% cotton)
- Watercolor paints (colors used are Gamboge Nova, Quin Red and Payne's Grey)
- Watercolor brushes (flat and round brush)
- Masking tape (for crisp border)
- Water jar and paper towel
- Your passion for arts and learning new techniques!
If you're ready, see you in class and let's make this world a little bit more colorful with our artwork.
Music by: purple-planet.com
Meet Your Teacher

Hello, I'm Bianca Luztre, an aspiring watercolorist from the Philippines.
I've been painting with watercolors since 2018 and I made it a habit to practice painting every single day (even for just a few minutes).
I'm still a learner but I love painting so I'm happy to share everything I've learned from books, tutorials, workshops, classes, observation and experience.
I look forward to painting with you!
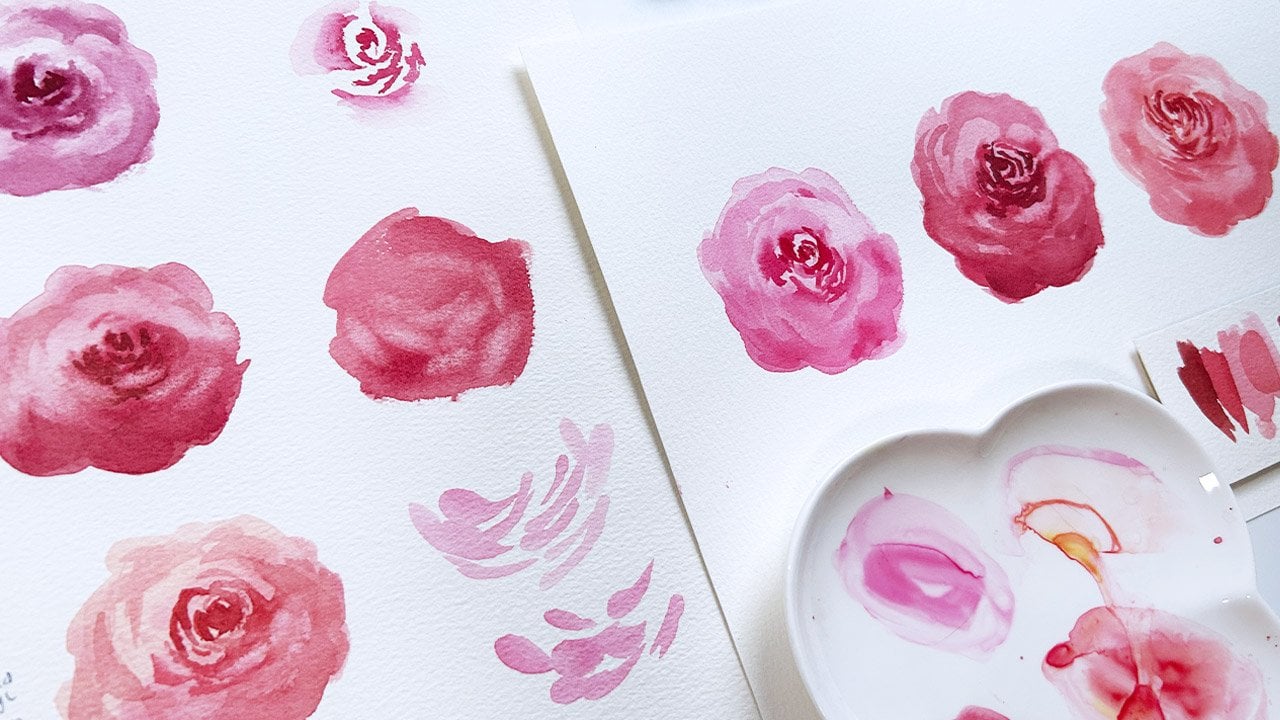
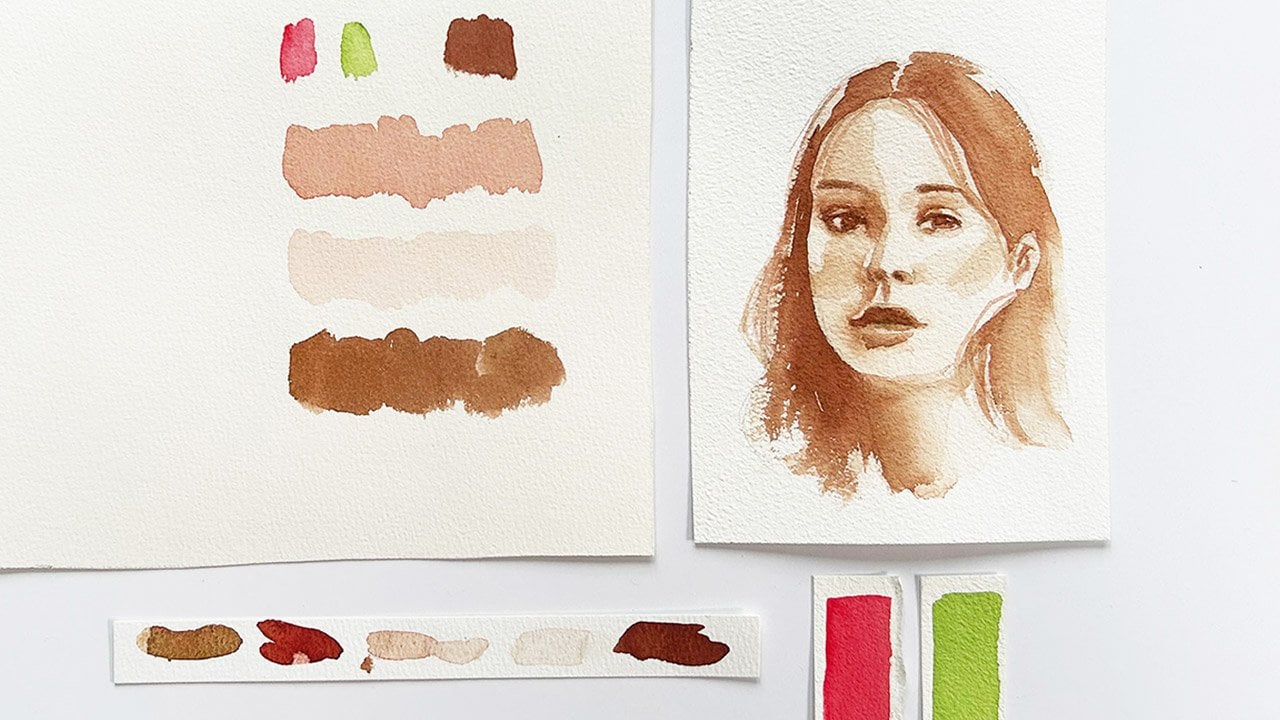
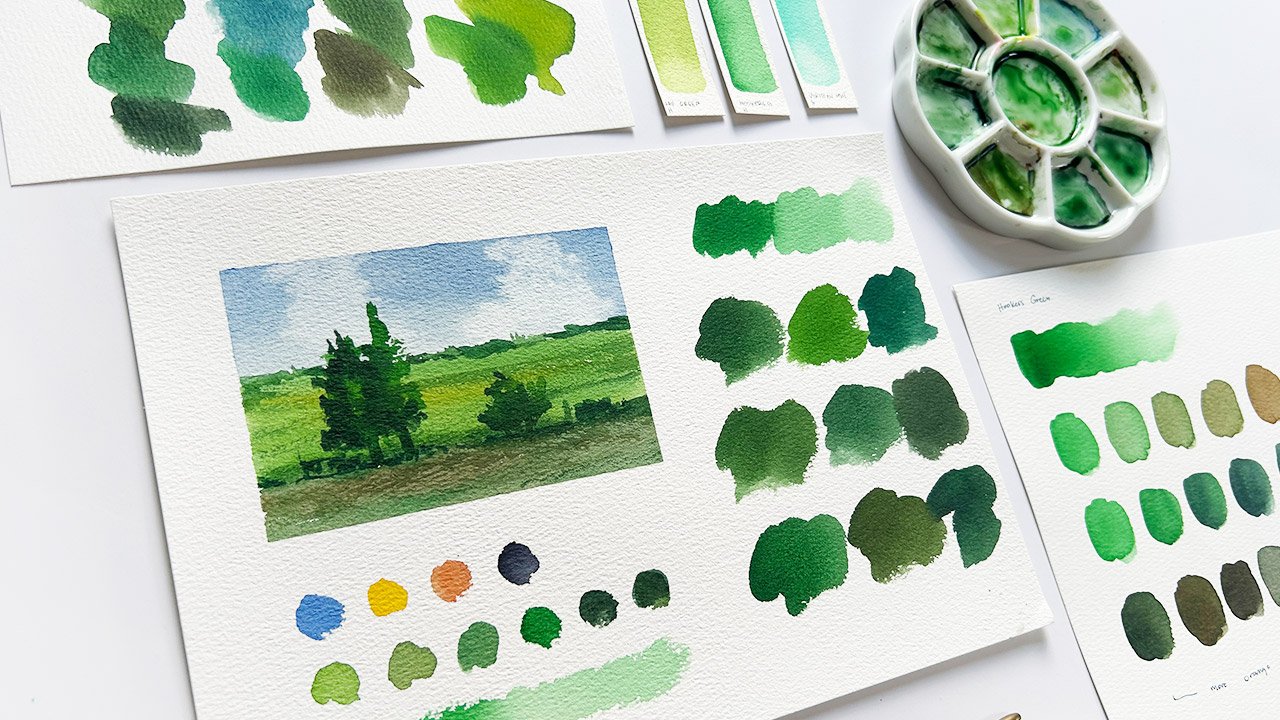
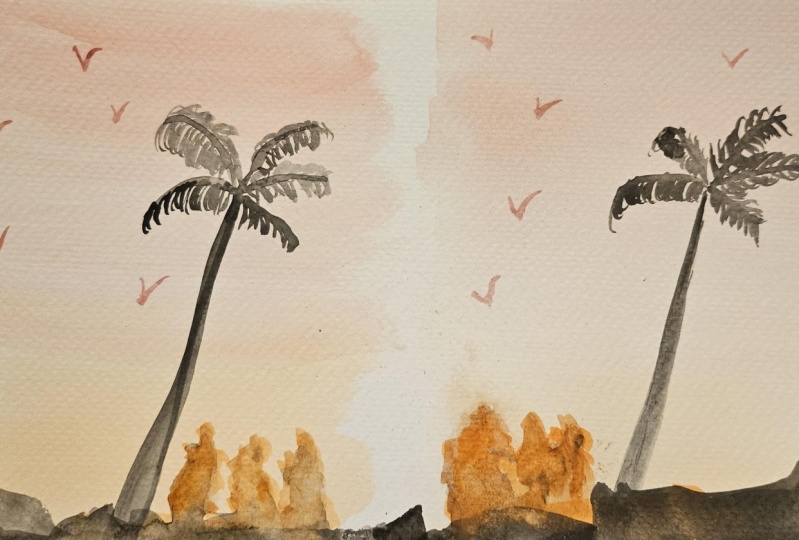
Here are some of my recent paintings. As you can see, I am fond of painting flowers in a loose style. This is the style that I want to develop but I also love painting landscapes and still life (as you see in the classes I offer).
Hands-on Class Project
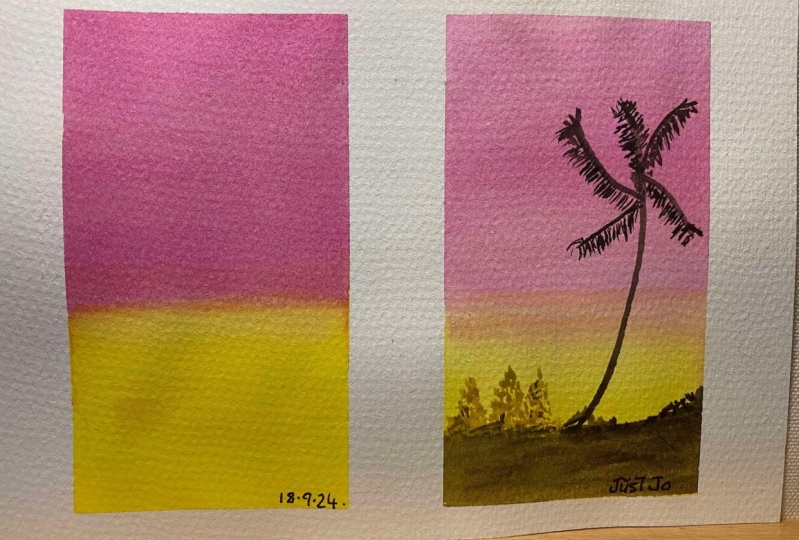
Paint a small square by blending two colors together.
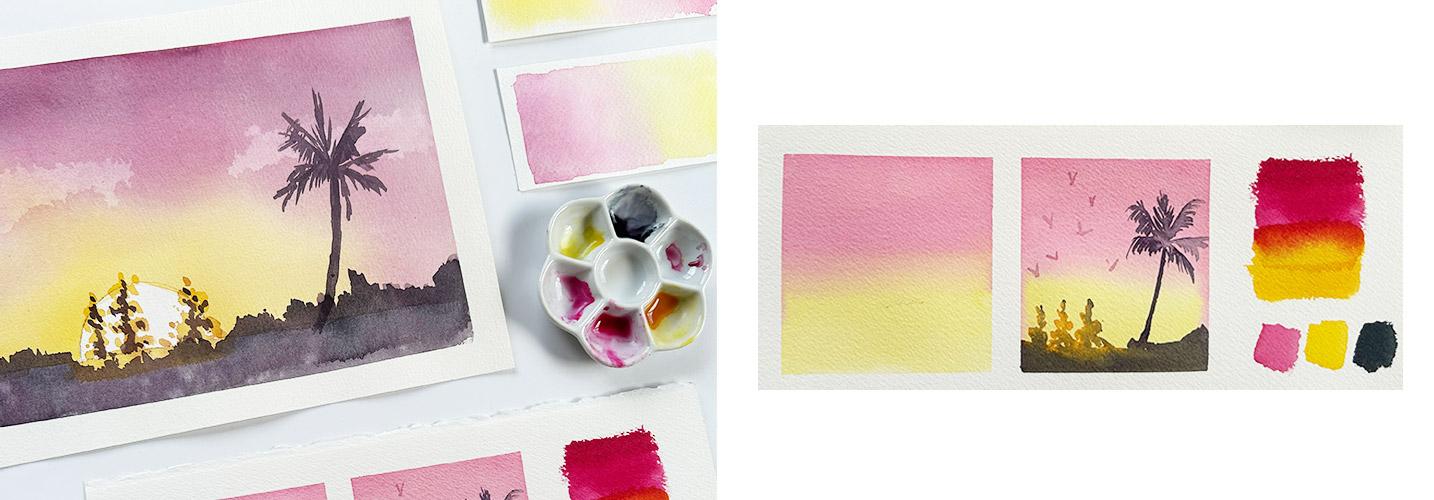
To create the project for this class, follow these steps:
- Choose two colors.
- Prepare the paper with water.
- Drop your colors and let them blend.
- If you wanna go extra, let the first layer dry.
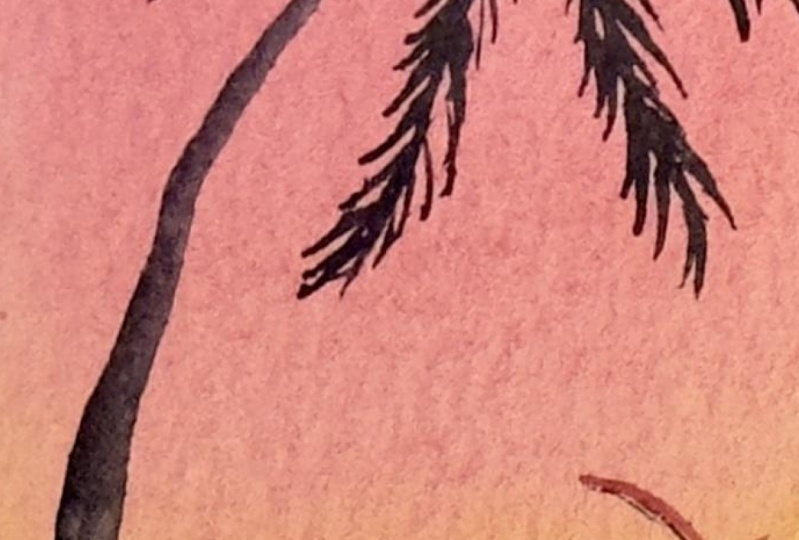
- Then paint a coconut tree, pine trees and birds
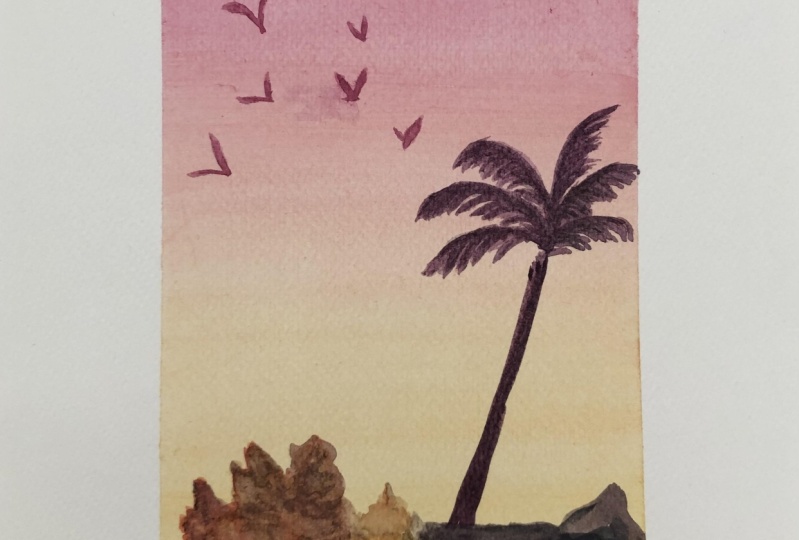
Don't forget to share your projects in the Projects Gallery.
To inspire and motivate you to share your project, take a look at this artwork made by my in-person workshop student.
Class Ratings
Why Join Skillshare?
Take award-winning Skillshare Original Classes
Each class has short lessons, hands-on projects
Your membership supports Skillshare teachers
Learn From Anywhere
Take classes on the go with the Skillshare app. Stream or download to watch on the plane, the subway, or wherever you learn best.