Transcripts
1. Intro: Hi, my name is Gets, and you probably
know me as SBLGA. I'm creating short animated
videos on social media. Know who my father is?
Mother didn't tell you. Excuse me. Could you tell
me the Wi Fi password? You need to buy a drink first? Uh, what's wrong this time? Excuse me? How much
do you charge? I charge $1,000 to
answer for request. Yeah, I create a lot of those. I get a lot of comments and questions how I
create my characters, why they look so
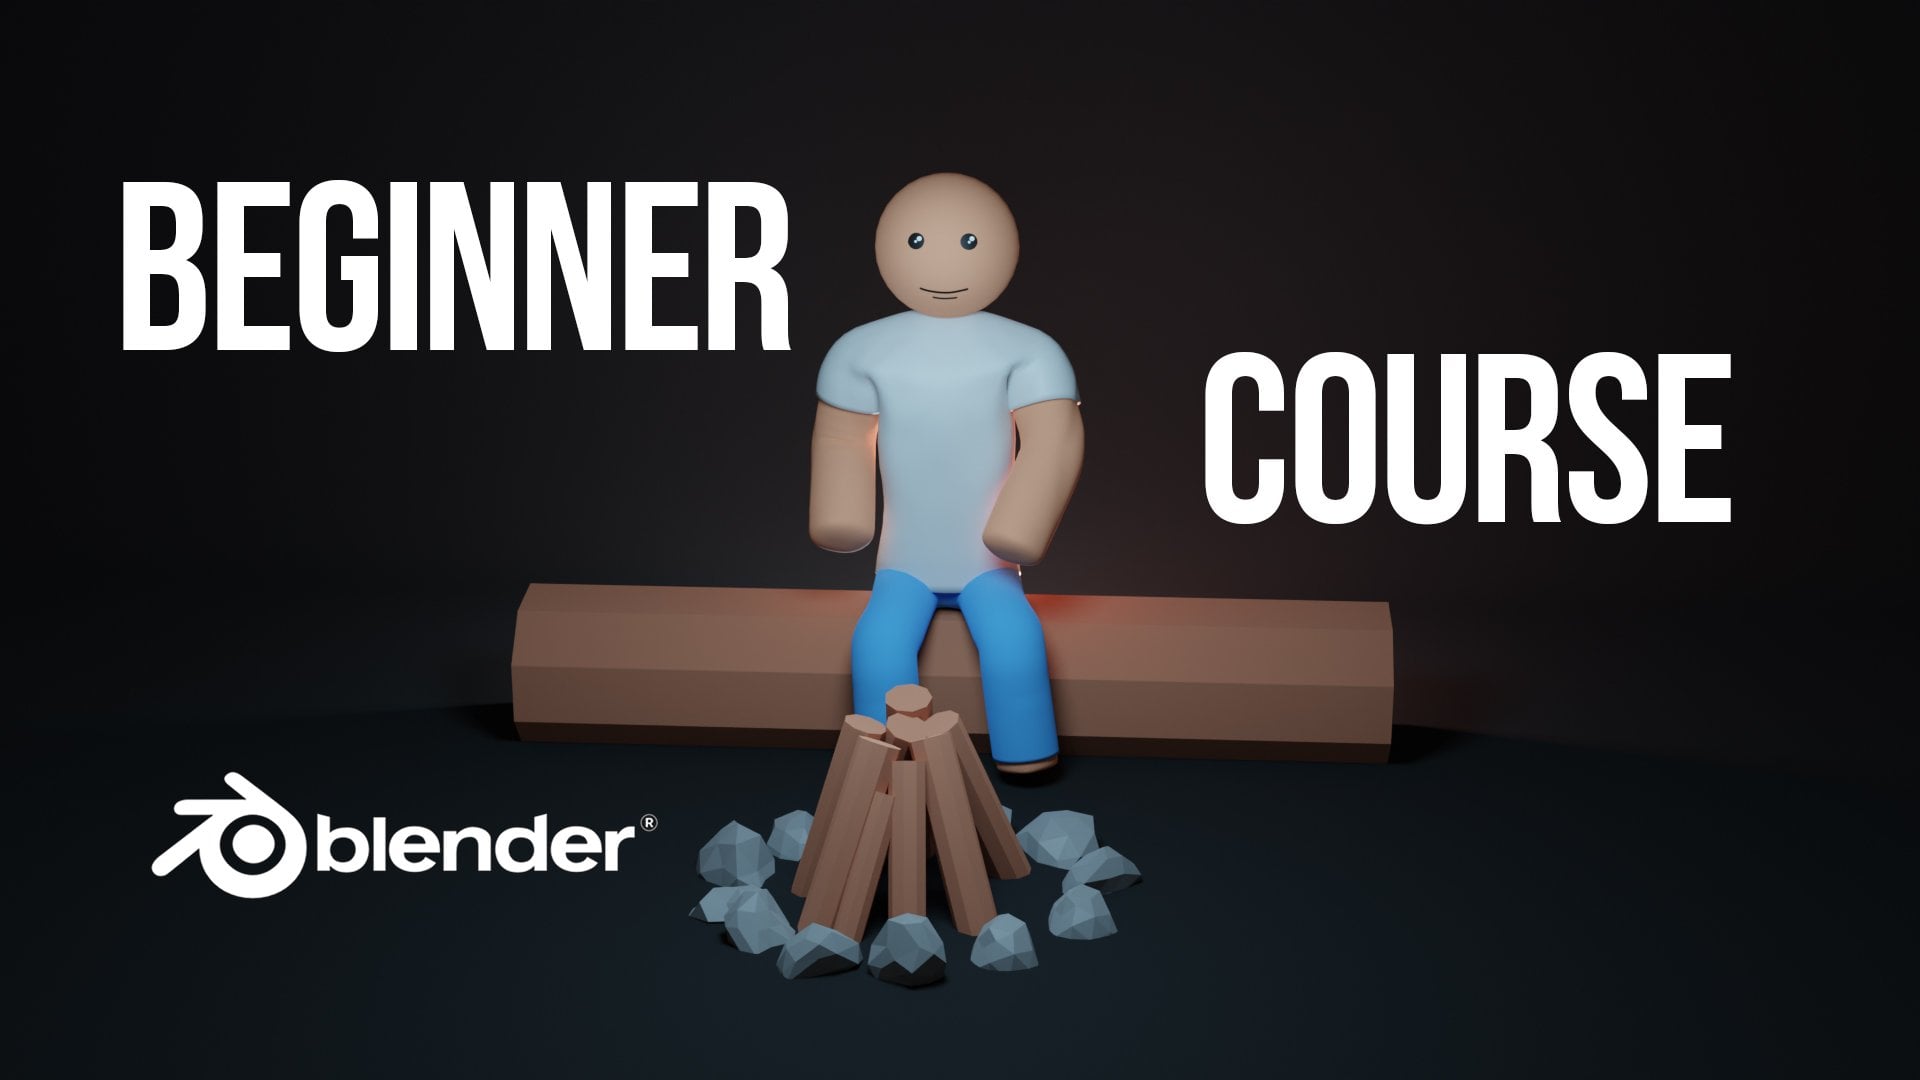
cute, et cetera. So I decided to make a course on how I
create my characters. You probably noticed that my
characters are very simple. And there is a reason for that because it's easier to animate. That's why I choose
this simple style. And I would like
to show you how to create characters like
that in the squares. That's enough for an intro, and let's jump into the
class and start learning.
2. Reference: So I will start this course
by setting up a reference. But I have, before that, I would like to delete all
the objects in the scene. So I will press a and
I will press Delete. By the way here you can see the screencast keys and you
can see what I'm clicking. So it will be easier to follow
the course and that way. Okay, great, so I'll
press numbered. Want to see my scene
from the front view. I will go to my reference. You will find that
attached to the scores. And I'll just drag and drop it. So I'll drop it here. And I'll zoom in a little bit. And I will select it and
I'll press G and I will move it in the center of my
scene, something like that. Let's go to this
image properties. And here we will
change some settings. I'll move this
down a little bit. First of all, I will decrease the opacity of my reference. So we'll select that opacity
thing and I will decrease it to something like 0.60.7 met probably will.
Setting for me. We can adjust that anytime if it's not comfortable
to watch at it. And I will add another object just to
see what's going on. So for example, I will add a simple cube in the middle of my picture and
I'll get back to my front view by
number num bed one. Again, I will select the image, the reference image that I have. And maybe I will move the cube
a little bit to the side. We'll move my image to be
center as much as possible. If you want to move
everything very slow, you can hold Shift. And for example, if I press G, it is moving like mad, but if I hold Shift, it is moving very slowly. So it's easier to be accurate on things
when you hold shift. So that's good. I have my image in the center. I don't want to select
it accidentally. For example, if I select
my cube like mad, I accidentally, and if I
move, everything moves away. So I don't want to
do bad and I don't want to accidentally
select my reference image. So I'll go to the Filter button and I will select this arrow. So I will select back. And it will give
me another option. If I deselect that on my empty, I will rename this to
reference to be more clear. Now, there is no way how I
could select my reference. Of course I can select
it here and I have this options for my reference, but I can select
them in my viewport. So that's exactly what I want. That's amazing. I would like to change a couple
of more settings. One setting, but I
would like to change, I don't want to watch
it with reference when I'm moving in my viewport
promises, for example, from this angle, I want to
see this reference only when I'm in front view
when I press number one. So to do that, I can then press this
only access lines. And now I can see it only when I press
one or control one. So from the front,
from the back. And that's really good. For example, if you want to look at only from the front,
you can select this. Or if you want to look at only from the bag,
we can select this. Great. Another thing there now, I need this cube. I will move it to
somewhere here. I would like to select
my reference again. I would like to see
my reference even if I have an object
in front of it. So I will change with
depth setting to front. Now. I will see my
reference no matter what, if I am in front view so I can model and follow my
reference way easier. That's why I need this opacity. If your object is
not bright enough, you can decrease the
opacity for your reference in your original
object will be bright. But 0.6, something like that. That works very well for me. So that's it for my
preference settings. And we can go to the next lesson and start creating our Stickman.
3. Modeling the Body: So now we can delete this cube. And I would like to start creating my Stickman
from the leg. And I will create a very low poly cascade
for my Stickman. And then I will add a subdivision modifier
to make it small detail. I will start modeling
from the circle. So I'll add the circle. But it is to detail. If I will model
from 22 vertices, my Stickman will be, will have a lot of polygons. It might be hard for computer too to process all
of those polygons. So I'll, will reduce
both drastically. I'll change both to six. If you don't see this. Both options, for example, you clicked anywhere
before changing mat. So you need to delete this, add another one and
another circle, and you probably
see it like that. Expanded, reduce the vertices. You can reduce a radius, but we will change that later. So I'll go into edit mode by pressing Tab and I
will press numbered one to see everything from the front and to
see our reference. So when I'm in edit mode
and that's important, you need to be
invaded mode because we need this pivot
point in the middle. We will move this to the side. So G and X, I will move it to
somewhere here. And I will scale it
down a little bit. And we'll press X and I'll move it to
somewhere here. Great. We have a base of the leg, but my character is
going to be symmetrical. It will have basically
the same things in one side and averse. So I will use a mirror
modifier for bad. So I will go to this
branch and add a mirror, mirror, mirror, mirror, mirror. Where's my mirror?
Here's my mirror. And now I should
have two circles, which hexagon, I
think if I'm right. Okay, so let's go back
to the front view. And now I'll just
extrude the legs. I will extrude it to some way
here to this orange area. So I'll press E and I'll just move it
up just some way here. I'm maybe even more to
somewhere like that. I think will be good. Now, I would like to
rotate this a little bit. You probably know that draw T2 can press R and
just rotate things. But if I will rotate this, the top will become
narrower than the bottom. So that's not the perfect thing and that's not what we want. But luckily, blender have another tool which is very cool. This shear tool. And if I click this, I get this gizmo. It has shortcuts, which
I don't remember. I'll just click this and
I'll just rotate this. I have the same width but
my legs now rotate it. So I'll get back
to selection mode. I would like to connect those. And one important thing we need to enable clipping
in the mirror modifier. I can go into this edge select mode by pressing to Unwin
on my keyboard, or I can just press this. And I want to select
those three vertices. Only both free. And I will extrude
them on the x axis. I think I do something wrong. I'll get magma Control Z. Okay, let's try again, p and x. Now it's working. Maybe I miss clicked
something last time. So that this is really good. Now we have this area
which looks quite good. And yeah, that's awesome. Let's get bank. Let's get
back into the front view. I would like to select
this loop so I press Alt and on the edge and beds. I will do this again. And that will select the loop. And we'll extrude it
to somewhere here. So I'll press E and I'll just extrude
it, something like that. Let's see how it looks. It looks very stiff, low poly, but that's okay. Now I will select two of those. And I'll get back
to the front view. And I will extrude
bows some way here. I would like them to
be in the same height. So I'll press S, Z and 0, and that will 0, the scale of those two edges. I don't know if
that makes sense, but just try s, z 0. You can do that on
all of those x's, but at this time, I need it to do that on v z. Okay, so let's
select both again. Or if you already have them selected,
that's perfectly fine. I'll press free to
go into a side view. And I will extrude
this on the y-axis. X-axis. No, come on, extrude on the y-axis. And again, I would like
to make them even. So S, this time I will
use y-axis and 0. That's a great tool to remember. I used that a lot. I will select both and
I will fill the gap. So I just select those and I press the shortcut
for filling. And I'll select this edge and I'll press F and vet
will fill this gap. Here is going to be the part where we where we will extrude our arm doesn't look very good and four vertices is
not enough for the arm. I would like to have
eight vertices like I have in my leg. So I will add a couple of lupus. So I will add one loop
guard here, so Control R. And that will give
me a loop cut. And I will add
another look at here. So control are in here. Great. Now, this gap
is too big vertically, so I'll go into a side view
by pressing numbered free. And I'll select this vertices
and I will move it down. So somewhere here, I
think that's good. And I may be move this up. So G and Z. And I'll go into vertex select mode
again to the side view, I will expand both and I will
get those in a little bit. I would like to form that hexagon shape
that I had in the leg or something like that. Maybe we can increase the
size of it a little bit. So I'll press Alt and I select all of this and I always
scale it up a little bit. Just like that. I know I'm adjusting a lot. And that might be a
little bit annoying, but I would like to make it
bright from the first time. Okay, let's select this loop. Again, Alt and select this. And I'll go into a front mode. And I will extrude it a little
bit, something like that. That's quite good. I would like to
rotate it a little bit to get to that angle. And I will extrude it to
the end some way here. And let's see how it looks. I think it looks okay, Let's get back to the edit mode. We have this gap, this, so select all of
this by pressing Alt and on the edge like that
and press F to fill. Let's do the same with the leg. The leg is also empty. So F and realistic
men looks quite good. Maybe before moving
on, we can make. More edge loops because it's not a good idea to
have rectangular. We would like to have both square shapes
as much as possible. I'll get back into
the front view. I'll go into edge select mode, and I'll add couple
edge loops in here. So Control R and I will
add three edge loops here. So we have our shape
made from quads. Maybe I will add a
subdivision surface, modify it to see what we have
and what this modifier do. I'll select join to
go into object mode, and I will disable
reference for awhile. So let's modify increases
the level of polygons. And if I click this, I can see how many
polygons now it has. Now, this way smoother. And that's really
good in our case. But it rounds all of
those ends of limbs. For example, the end
of a hand and in the hands of the leg.
I don't want that. So I'll just tab and go
back into edit mode. And I will add a loop
cut at the end of those. So I'll press Control R to confirm bad with the
left mouse button. And I will move that to the side until I'm
happy with the roundness. I'll do the same with a leg. So Control R. I'll move it down. And this one, I will level
up with this as z 0. And now our model looks
way, way, way better. But still, I would like to
add a little bit more mesh to the leg because now if I will show you
my optimal display, we don't have quads in here. I would like to have quads
like I have any here. So I will add more mesh into the legs and arms because
here we have rectangular. We don't have those quotes. Okay, so I'll press space again and I'll go
into the Edit mode. Into the front view. I can re-enable my
reference and I can see in my reference
I have free markets, so Control R,
Something like that. I can select this, again, make it straight. So z is 0. We made this combination
0 so many times. So you, should, you probably
remember it already again. Here we have pre-market, so I'll do that control are we'll increase the number
of guts with the mouse, and I will keep those as B. Let's have a look at
this model right now. It looks like that. I'll just simply reference. And now I have closer
to the quads mesh. Now we can easily
adjust the mesh. We go into the Edit mode. For example, I can
select this edge. I will, I can move it up. So G and Z make mat neck
area a little bit higher. Again, I would like to move this this area a
little bit lower. We raised beds. I need best if you can select something just
disabled subdivision. And Matt will be easier
and move at G and Z. Just some way here. I want to say Muslim division
to see what's going on. G and Z, That's quite good. We can also move this
one a little bit. G and Z, somebody like that. And now if I enable
subdivision modifier, I think it looks better. Maybe I can decrease
the waste a little bit. For example, I can press this
and I can scale it down. On the x-axis. Probably it's a good
idea to know Matt. And with this as x a little bit. So it has a little bit of shape. And let's see how it looks. It looks really good. I really like with this model. And I'll just press right mouse button and
I'll shade smooth. And it doesn't work. Now it works Shade Smooth.
4. Fixing Potencial Errors: Before moving forward, I would like to check if I don't have any mistakes made in
this modeling process. So first I'll press N and N. N. And I will check if
my scale is 111. If it's not, I'll
just select memorial and press Control a
and apply the scale. And bad we'll even be scale
for the for memorial. For example. We can change but that's
met will be totally fine. Now, my modal dimensions, it is 3.5 meters high, so that's way too high. And I can press S and I can
scale it to something like, I don't know, what's the
height of the model. We've honed head would have had something 180 and
without when 60, something like that probably. And as you can see, my scale is noun not 111. So now I can press Control
a and apply the scale. And this scale is 111. That's not very important, but it might give you some
problems in the future. So I would recommend to have this habit to check the scale
or just apply the scale. Once in awhile, scale will
changes if you scale your, your objects in object mode, if you scale them into the edit mode,
that's totally fine. Nothing changes. So we check this. We can press N and
remove adds to the side. Now, I would like to
see if my normals, looking at the right direction. I can just click on this and check face orientation and
snot. This should be blue. It happens when
we extrude things from weird shapes like
we did from the circle. And we create basically all of this shape from the circle. So again, we can
easily fix that. We can go into the Edit mode, press a to select all and Control or Shift
and press Shift N, and that will
recalculate normals if you want that vista
be in the other way. For example, inside like we did, you can press this and that's how you can recalculate
normals to insight. So that's good. We have our normals and going
to the right side is blue. We can disable that
face orientation. And the last thing that I would
like to check if we don't have duplicates one
on top of another, for example, double faces, one on another bed. Something happens if you
extrude something and you cancel action and you forget
to get back with control Z. And that might cause
some problems. When new animator character
on when you move it, you can select all, you can press M and
managed by distance. And it showed me that
it removed 0 vertices. And that's awesome. It means that this model
didn't add any problems. But if it's removed any vertices for you,
well, it's good. You had some mistakes
and bad fixed it. Those are just a couple of steps at the end of
a modelling process, which can help you to avoid
problems in the future. And at last, let's add the head. I don't want to make a
separate lesson format. I will enable the reference. It doesn't make sense now, so I will just delete it. We don't need this
reference anymore. So I deleted. I will name this
circle to the body. So that's our body. And I'll add a UV sphere. And I think I will keep the same segments and
the Rings for RBIS, and I will go into edit mode. It's important to go to the
edit mode and scale it down. Now, this scale thing, one change for you. It's 111. So it's a good idea. And I will move this
head to the place where the head should
be in the edit mode. So my pivot point will be here. So GZ are G and Z. What do you think about this? Is it too big, too little? I think it's good. Shade smooth. I think it's good. So bad. So base of our Stickman.
5. Clothes: Okay, now let's create some
clothes for this Dickman. And I will select the body. I'll go to Edit mode and
let's create a t-shirt verse. I'll go into this
toggle x-ray mode. And I will select probably both. Select edges. I need
to select faces. So I'll do that again. I need to select both and votes. Let's see if it's selected all of the
phases that are in want. Basically, I want to select all the faces at
the startup hand. And till here. I think it's good. You can disable the X-ray
mode and check a few, select everything that you want. And now press Shift
D to duplicate. And as you can see,
I duplicate it. I will cancel the action
by right-most button. I already have duplicate. And now while
everything is selected, I'll press B, two
separate selection. Now I have another object plugin will go into object mode, and I will rename
this to do short. It is made in the same
size as my character body. I would like to make it
a little bit thicker. So I'll add another modifier that this is going to
be solidify modifier. And if I go into, if I go into negative side, as you can see, it increases, it just solidifies
a mesh that I have. So I will increase it
slightly, not too much. And that's going
to be my t-shirt. Maybe I can go into
the Edit mode. I can disable,
solidify for awhile. Select, go into
edge select mode, select all this edge and
you know the comment, how to make it even. S z is 0. Again, I will
re-enable solidify. And my T-shirt looks like that. Let's create the bands on genes. So let's go to this. Let's select the body, go into the Edit mode. I will hide with t-shirts. By now. It will be
easier to see the mesh. And I will select faces, and I will select both phases. But at first I need
to be in x-ray mode. So both pieces, this one is not, it's not just one. Come on. I'll disable x-ray
will be easier. So now all of those
selected, again, shift D duplicated both
canceled reaction by Riley, right mouse button. Be separate selection. You have another
body which is genes. We have genes that
go into object mode, select the genes,
go to Edit Mode. We can select. We need to go to
Select mode again. And again. I would like to add
a little bit of solidifying intervene
negative side. So our genes should be
thicker than our legs, but not as thick as our t-shirt. So we don't want genes to
stick out of a t-shirt. And I think the head is
a little bit too small. So we can go into edit
mode and press S and G. Now it's better. Now it's way bad. Okay, we can save our file
before moving forward. So File Save As and save
it to your location. I will name it character
for the course v1. And let's save it.
6. Colors: And now it's time
to add the colors. We can go into this mode,
viewport shading mode. And let's select the body
and go to this pole, which is the materials tab. And I'll just press New
and I will rename it to skin and choose this color for the skin,
something like that. Probably. I will increase the roughness
so it won't be reflective. And I think the
skin color is good, which can make a
dark room weekend. You can make it lighter. It's up to you. It's your
character. Do what I want. I will select a t-shirt and I
will create a new material. I will name it t-shirt. I will keep it wide. Like mad. Again. I'll increase the roughness. And I will select the
genes new material. So I'll keep very,
very simple materials. Let's change the base
color to something bluish. Something like that. Will increase the roughness. And I will choose the head. I'll press New and this time I already have the
skin materials, so I'll just select the skin
material from the list.
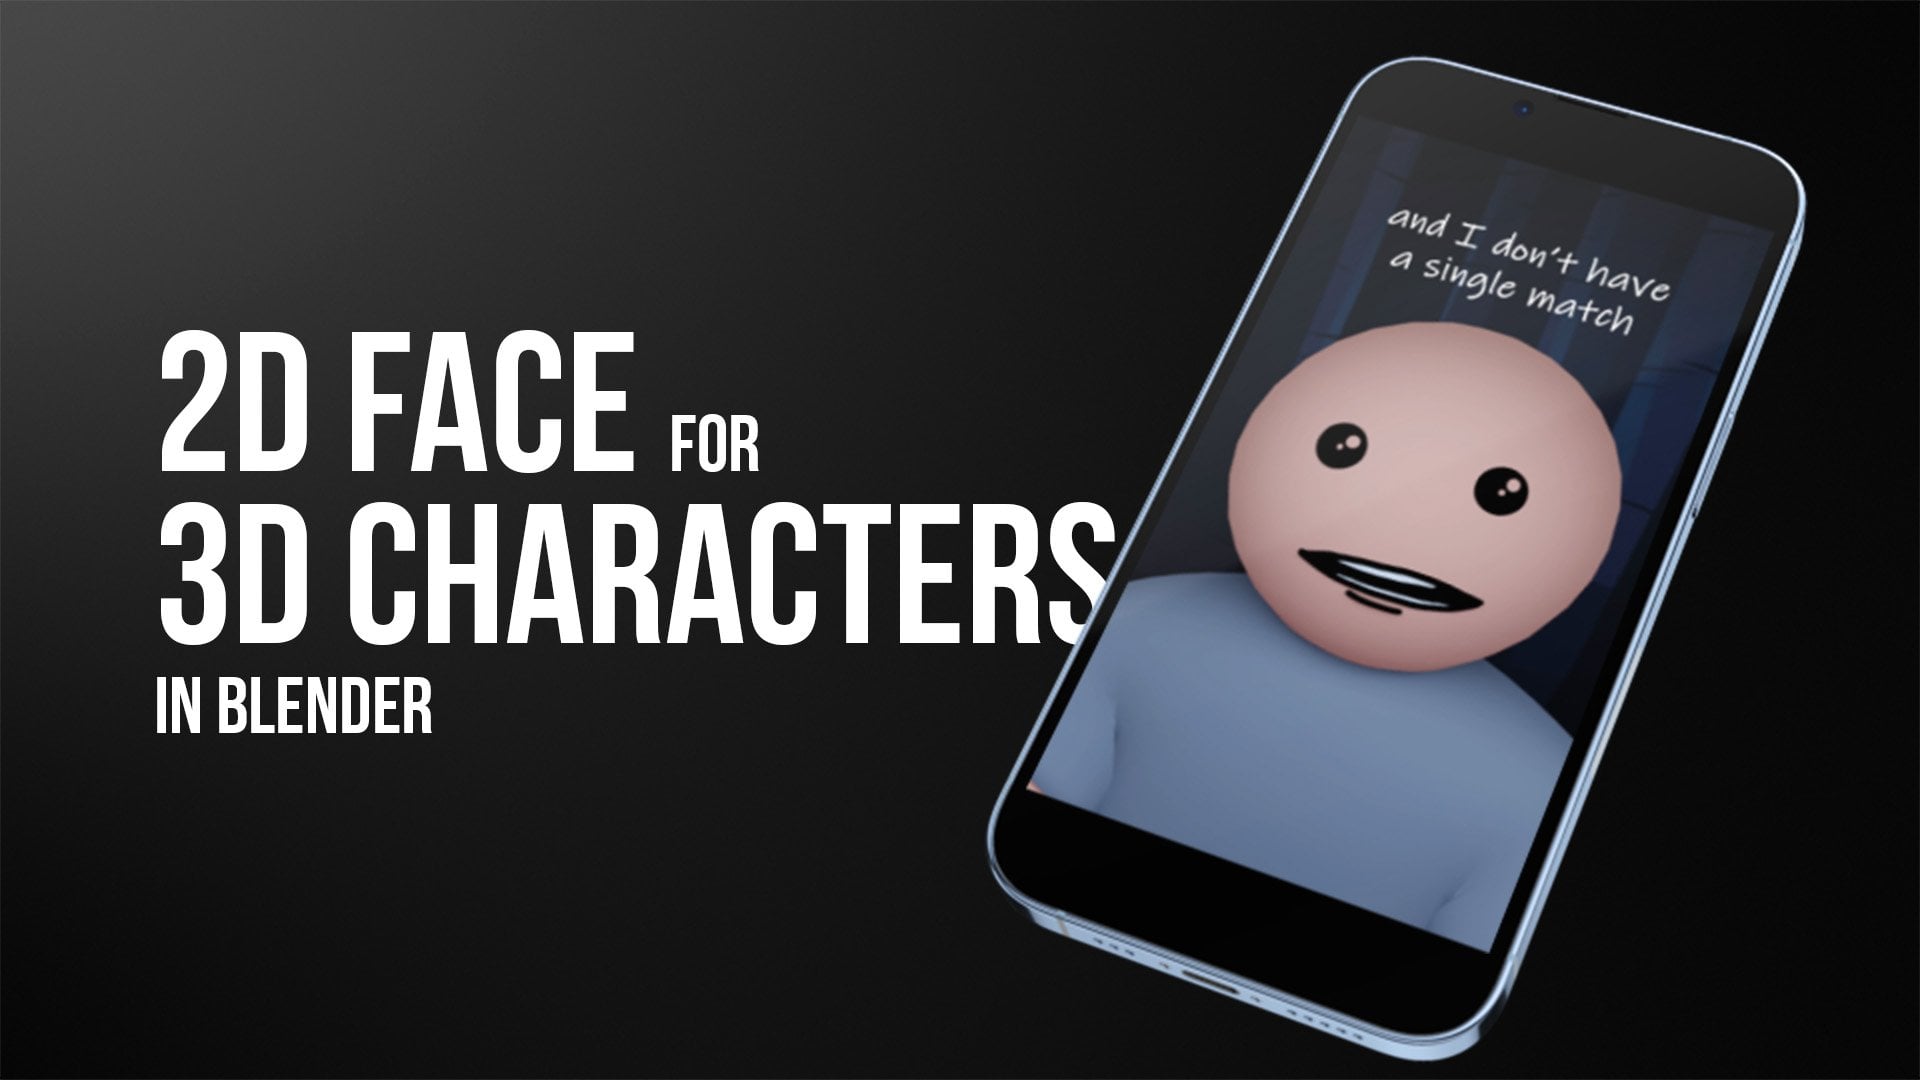
7. Face: So now let's create the
base for our character. I will press numbered one
to go into the front view. And here is the front
of my character. And I will select the head and I will go into the edit
mode by pressing Tab. In the edit mode, I will select the
faces in the area where my eyes of a
character should be. So I will go into
face select mode and I will drag it to
something like that. I'll click and hold here. I will, I have more options. For example, circle select. I will take that option
and I will hold Control, and I will deselect
those spaces. And I would like to share
a symmetrical selection. So maybe I could select those. I'm not sure. Let's keep it in this way. Let's have four phases in, in the left side, and let's have four
pieces in the right side. So I will click Control
and deselect both faces. But Ireland need, let's
see how it looks. I want to be sure so I will select one more over here
and one more row here. So now, whoa. So now I need to click Shift to select and
control to de-select. Again shift, whoa, it's
selects like crazy. Okay, So it's good. We have five phases in both sides and that
should be good. So I'll click and hold this and I will go to a box select. It's more usual way
of work for me. And you know, this technique already we grade
something like that. We did something like fat with the t-shirt and with the bands. I would like to
duplicate those phases and separate them from the mesh. So let's do that. Let's press shift
D is duplicate it. I will cancel the action
with right mouse button. I have a duplicate right
on top of this mesh. And I will press B and
separate selection. And now I have had zeros, 01, which is going to be ice. Great. I'll press Tab to go into object mode so you can
see I have my head, I have the eyes, and now I need the mouth again. I will press number one to
go into the front view. And I will select the head, and I will select the
faces for the mouth. I will go into edit mode. I'll select most basis. Again. We'll go into
circle select mode. I will deselect those. I need to select this
and deselect both. I think for Syria should
be enough for the mouth. It should be good. So
let's do the same. Shift D, right mouse click it, it jumps to its place and
P and separate selection. I will rename a
stroma this tomorrow. I have capsule enabled, and I will press Tab to
go into object mode. So I have eyes, mouth, and head. We need to add the
texture for boats. To do that, we can go into the shading tab and we need
to enable one plug-in. So let's go to Edit Preferences and search
for Node Wrangler. So node, and you can see we have
this add-on Node Wrangler. Let's enable it. It's great item which
helps to work with nodes. So just click here, enable it and you can close it. Lender will save
it automatically. So here we have our skin material and it's
the same like, like here. We have the same options
were same settings. We will add a texture
for the eyes. But before doing that, you can see this number for n. It means that the skin material is already used on four objects. And if we, we are
going to change it, it will change on
all the objects. So for example, if I do this, it will change this on
all of the objects. I don't want that. I want to have a separate
material or for the eyes, for the mouth, skin and
the head can be the same. We need to create
a new material. We can do that just
by clicking on this for if you just click, it will create a new
materials given zeros 01 and that's gonna be ice. We'll rename it to be clear. And we can add another node. For example, shift a
adds things everywhere. So we can go to texture and image texture should
be something like Matt. You can search for an image. I will add those for you. So I'll add the face. And I will connect, connect color to base
color and alpha to alpha. And now it should work, but we need to adjust it
because it's huge right now. We can go to UV Editing and we can go to this tab to material preview
tab and select this, and select all by pressing a. And you can see that this is the area of ice that we created. If I create, if I select
all, you can see it. For example, if I move it, I can move it to here. You can see one I, I I would like to move it in the middle and I would
like to scale it, so I'll press S and scale it up. So now it looks like that. It doesn't look good. We have some problems. It's black. And that's because
of some settings in the, in the EV, in cycles. It should work fine right now. But in the EV we need to go to Materials tab to the settings and blend mode to Alpha hashed. Let's change that. Maybe alpha blend. Yeah, alpha blend
and shadow mode. Let's change that to none
because it will cast shadows. And now we have eyes. And I think both eyes
might be a little bit too close one to another and maybe we could move them
a little bit down. So again, I will select
all of those spaces, press a and I will scale this
up because I will do that. Ice will come closer and we
will be a little bit smaller. So S, what you can see
how it's changing. So maybe let's make it
something like that. And we can move all of this up so our eyes will be
a little bit lower. So g, z locking on the z-axis. Axis isn't working. So you can just move it about any logging to
something like that. I think that looks good. I think that's
perfect. Okay, great. Let's go to the shading tab. Now. Let's select the
mouth right now. Again, we have the
same skin material. I will press on this free because it's used on
the free areas here, here in the mouth. And now we have a new material and we'll
rename it to mouth. And this time I want add it
like shift a texture, etc. We enable Node Wrangler
and I can press Control T, and it will give me even
material. Right now. It gives me more options, more settings, more nodes. But I don't think that
I need it right now, but it's good to have actually. So let's open face, mouth. Great. Again, this
looks terrible. Let's go to the settings. Blend mode to alpha, blend, shadow mode to none. Okay, Let's see what we
have in. You'll be editing. So let's select all. And let's move again
to the middle. Let's scale it up to something
like Virtual Writing. Know what we are doing, and it's still black. Okay, let's try to change
this to Alpha hashed. It doesn't work. Let's change this
to alpha blend and let's get back to shading view. We forgot to connect Alpha. And if we will connect
alpha to alpha, it should be fixed. Yeah, it's working fine. Again, I will go to UV editing. I'll select all. And I can adjust the
size of the mouth and the position of a mile by
changing those rectangular. So I will scale it up to
make the mouth smaller. And I will adjust it. Blake met. So let's save it. And we will move to the
rigging in the next lesson.
8. Transform to Female Character: So now when we have
a basic character, it's easy to transform it and to create a different
kind of character. For example, we have
a male character and it's not that
hard to convert it to maybe not converted to transform it into
female character. So let's do that. In this lesson. Four of a female character, we don't need those
bands are both genes, so I'm going to delete it. And I will select a t-shirt. Press tab. I will disable the
modifier that I have. I will disable solidify and
I will go into a box select. I will select, I will select. I need to go into
edge select mode and I will select
the bottom edge. I am. I'm going to extrude it. So I will extrude it down. Something like that. And I think we need to scale this on busy on the
y-axis, at least. So S and Y. And maybe let's move it on
the y-axis a little bit. So G, and why would
something like that? Maybe let's kill this
edge a little bit. And let's add one more
loop carton here. So control, control are in here. And that's basically it. Maybe the skirt is a
little bit too long, so I can select this and
press G and Z and move it up. And let's do the same
with this loop gets. That's really, it was so easy. I will re-enable
solidify modifier. And That would be my team like female
character in the animation.
9. Rigging: In this lesson, I will show
you how to create the rig for characters so we could
move it and pose it. Let's get back to Layout mode. And we have our character. I think we need another add-on. So go to preferences to add
ons and search for rigging. Let's enable it and enable it. In object mode. Press Shift a and two to
do here in the amateur, you can see that we have
different kinds of bones. The single bone, human,
metal rig animals. For example, we can create
very big for birds, cats, horse, etc. But we need basic
human met her rig. So let's press this. And we have basically the rig. It is a little bit hidden
inside of our character. For example, if I press G and X, you can see that this rig, if I gave us the humanoid, I'll cancel this by
right mouse button. And while I selected the rig, if you deselect it, you
can select it here. I will go into the
bones or maybe here, probably here and
Viewport Display. And I'll press it in front. And now we'll see those
bones from every angle. Now, I would like to adjust for REG
based on my character. Because you can
see, for example, hips are way too high
compared to my character. And we have way too many bones, which we don't need
for our character. Let's get to work. I'll press numbered one to
go into the front view, and I'll press Tab
to go into edit. Rig also have the edit mode. The first thing that
I'm going to do, I will delete all the
bones in the left area. I will do bad because
I will delete those. I will adjust the
right area and I will add those bones later
with symmetrized options. So we will see why we do that. So I'll select those bones. Select this one, and I'll
just press Delete and bones. Again. I'll do the same thing
for both x and bones. We don't need this
one. X and bones. We don't need the breastbone. For example. If you press this on the bones, it should show you
what this bone means. For example, breast mode,
we don't need that. So x bone, we will
delete that at all. And the face, we don't need
all of those space bones. We have created our face with the image texture and
we will move our face. We will animate our face
in a different way. So I'll select all
of those x and bones and we need to
delete all of those. Just don't delete anything
in the middle yet. Let's delete most ears bones. Years. Great. So we have this, this is the spine. If I move it you can see that we have another bone
which is phase bone. It is hidden a little bit. I'll probably will need to
move this and select this. You can see this
is the phase bone. And if we are not
going to delete this, it will break our rake. So x bounds, I will select this and get back
to a middle grade. Our character do
not have fingers, so let's delete those fingers. We need this hand bone, but we don't need any
of those finger bones. So let's select those bones. Let's select most x bones. Let's select those
one-by-one and beds. Great. So basically, we can delete anything more because
it will break our rig. For example, can delete this heel bone
because the brick if I want to add the break for us, but that's the bare minimum. What we can have. So I'll press numbered one, and now I will move those
bones and to replace, for example, I pray, I will press here and
I will move it down. So G and Z, this one to G and Z. And we'll select those g and I'm not liking on v,
z right now, maybe g. Well, let's move this a
little bit to the side. Let's select all of those
and move those to the side. That looks good. Maybe we could move this a
little bit to the front elbow. I'm not sure if it's
in the right position, but it should be
what we have Spine. Spine. Spine. That should be fine. We have a lot of spine bones, but we can't really delete rows. Here is the shoulder. We can move the shoulder,
shoulder a little bit. Side. Quite wide. Shoulders. For our character. This is the upper arm, the forearm, and the hand. Let's go to the side. Let's press number three or
maybe let's go to the front. Number seven. We need to adjust your hand and we need to adjust
it by quite a lot. So let's adjust those. Let's adjust the elbow position. Let's adjust this and this. Okay, that's good. It's
good. That's great. And let's look at
the rig from beside. This one I think needs
to go a little bit back, for example, if I press free, I can move it to here. But I am worried a little
bit more about business, where my knee is going
to be, maybe here. Let's move this a
little bit down. And that looks quite good. I think it's good. Now we can select
all by pressing a. Let's go to our armature and let's find this
symmetrized option. Here it is. Let's just press it and we have all our
bones in the both sides. So that's really
awesome if we select all and if we need
to select all, we just need to select
the object mode. And if we go to the skeleton
mode and to the rig, if I option, we can
just generate rig. And we have the rig for
reify generated by rig. If I actually we don't need this thing anymore
metric, we don't need it. We can hide it, we can leave it. I recommend to hide it
because sometimes we need to readjust things and
it's good to have those. Let's select all by
pressing a and at the last, I will select the rig if firing. And now if I press Control P, I have an option to
peer into armature to my mesh with automatic
weights. I will do that. I'll press this and
it should work. Let's select the rig. Let's select another mode. Previously we had object
mode and edit mode. Now we need the pose mode. If I select this, for example, I can select my bones and see how my character works with it. I can adjust my character
with those bonds. Let's do this. Let's select the arm. Works quite well. How about legs? It moves, it's good. So you can play with your
character and see how it works. One more thing, I
will press this in front and now I will
see all the bones. I don't want them to be here and I'm not going too deep into the ringing process
and weight painting. In this tutorial,
maybe we could go to, to, to, to both
properties in the item. You can see that
Rig main properties if both options are
too much for you, you can disabled, for
example, some of those. You can disable f k of arm, f k of legs. Those tweaks events
too much for you. Arms tweak, that should
be a cleaner rig to play. I'll select all,
I'll go to pose and Claire transform for all. And I'll just get back
into my main post. And in the next courses, I will show you more tricks. How to animate the eyes, mouth, how to create
different rigs. And yeah.
10. Outro: Thank you for
taking this course. I hope you liked it
and I hope you learned something new and
useful in your case. If you create some
kind of a character, feel free to add veteran
in the class project. Or if you add it
in social media, please tag me as SB LGA
on any social media, I love to see what my
students work online. I would love to see your work. If you finish the
course and if you have any useful feedback, maybe some impasto video or some parts of the
course was harsh follow, or maybe they were
too fast, too slow. Maybe I talked too much at
some parts of the course. Feel free to leave a feedback, maybe send me a
message or anyway. Anyway, that
comfortable for you. And I would like to make the
score says good as possible. So all your help and all your feedback
would be appreciated. I'm lending. Also. This is not the final
version of the course. I'm learning new things. I'm searching for things how could improve my
animation process, my character creation process. If I will add something new, I will update you. I will update the course and
I will send notification. So make sure that you
subscribe for both. Yeah. That's probably it
for for vista time. And thank you again. And see you in my next course on maybe in the updates.
I don't know. So thank you. Bye.
 Gytis A., Motion designer