Transcripts
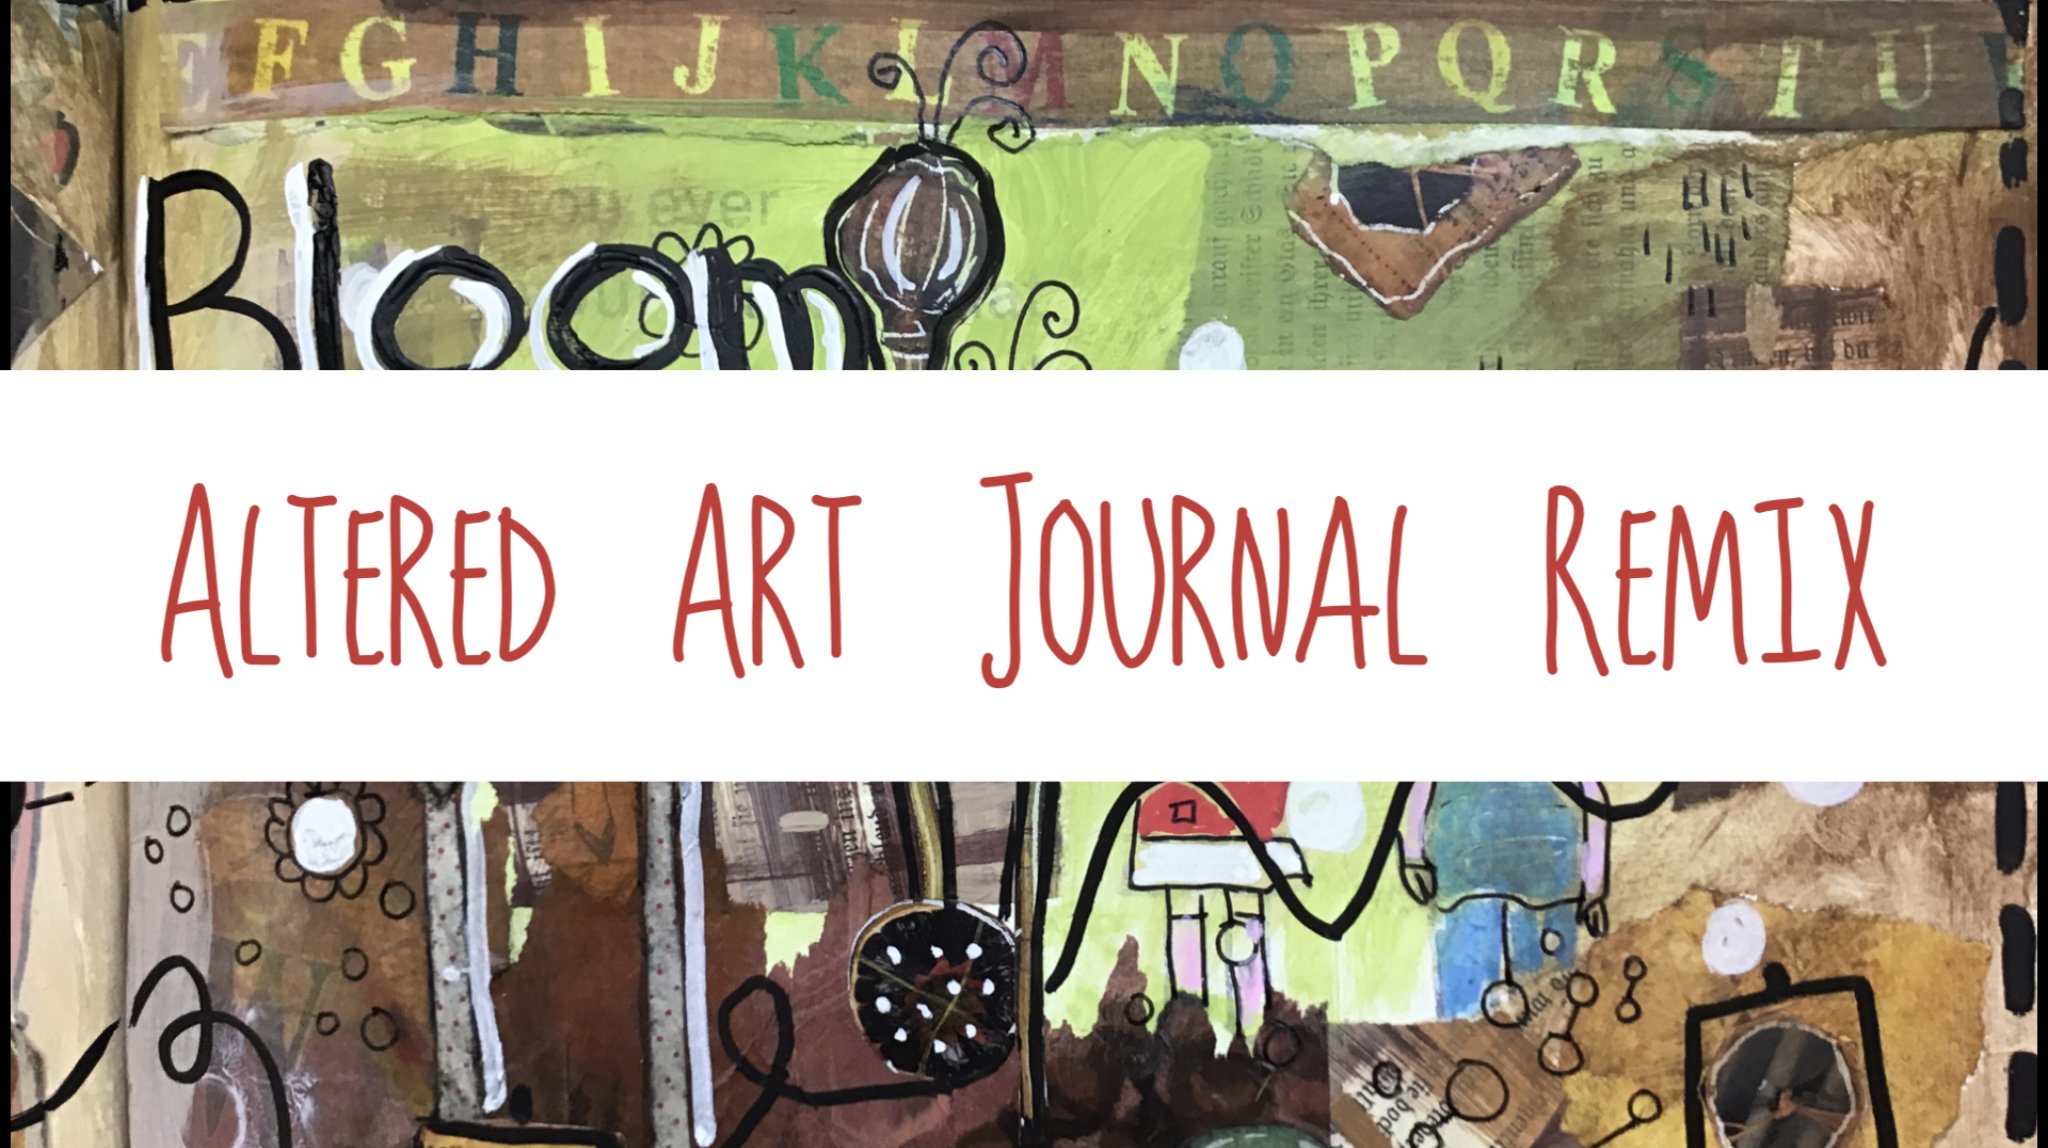
1. Getting Started in Altered Books: Are you excited? Because I am. Oh, my God. Altered books has literally altered my life. I have been doing art journaling for at least four years now, and, you know, it was starting to get a little bored with it. It's like, OK, you know, kind of did that. I really want to do something totally new and what I found Waas. I didn't have to do something totally new. I could just extend the skills that I have learned and start faltering books instead. The's air actual books used books that I have taken and put fits covers on and done some stuff inside the pages. And now I'm ready to get you started altering books, our pet. So in the first course that I recommend that you take is my ultrabooks giving started. And in that course, you're gonna learn about the supplies that you need to get. What are the optional supplies where the absolute necessary supplies that you need, you're going to learn about what kind of books you will work well for alter books. What? Once they're going to be a little more frustrating to have to deal with and I'm gonna walk you through a complete project that is going to show you how to do this. It's not hard, really. You could totally do this. I can't wait to get you started on the creative soul journey of altering books, so I'll see you in the classroom.
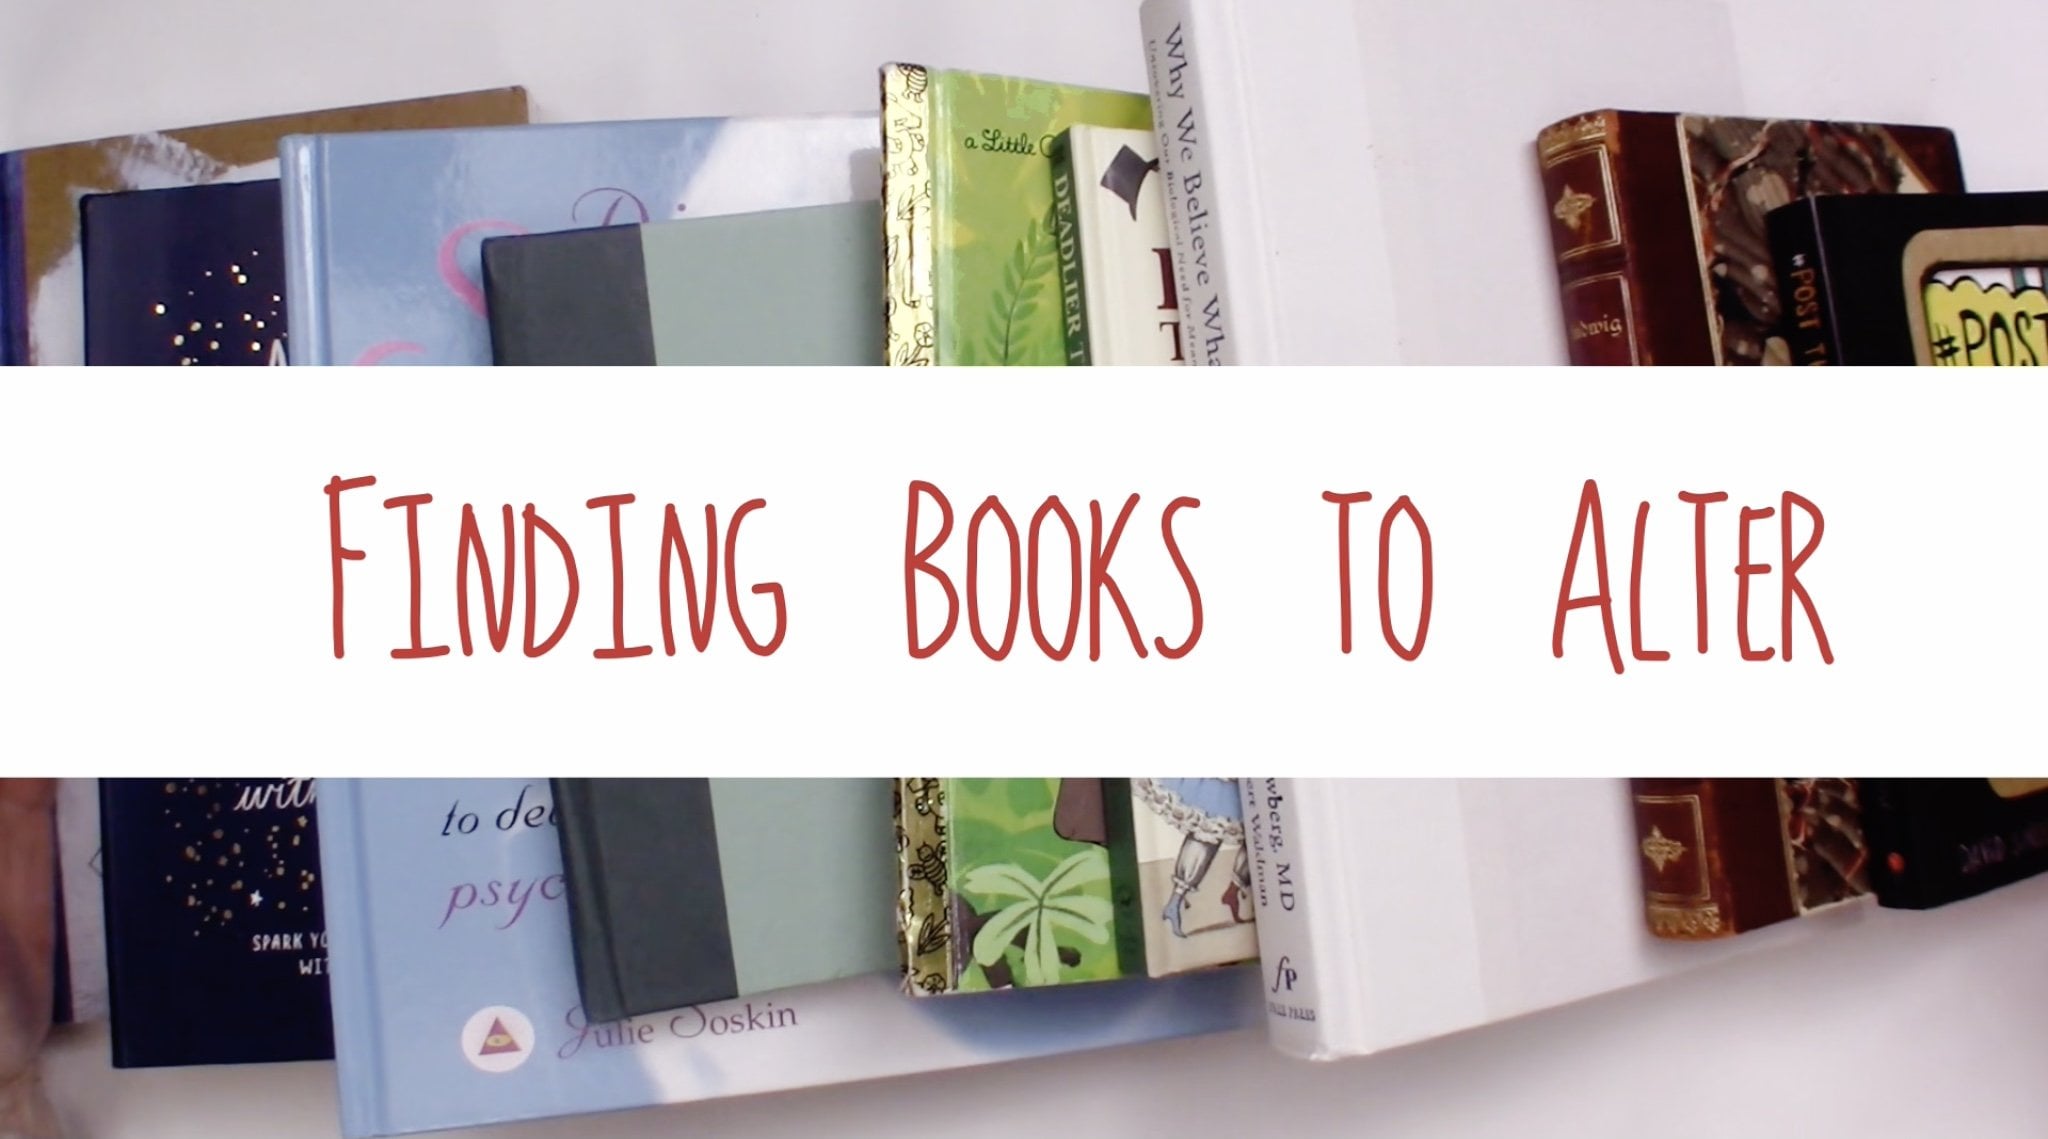
2. Finding the Perfect Books: the first thing that you're going to need to do is you're going to need and you might want to check out your local library at mine. I can get hardback books for 50 cents. Look for a book that's got a surface on it. That is a matte finish. You do not want a glossy finish. You're going to have a much harder time putting a cover on a glossy finish. So look for something that has a matte finish on it. You're also gonna want to look for a sturdy finding. Try to get one, get a book that doesn't have the back broke on it. You can tell when it's broke, because when you open it up, it naturally wants to just fall open in a certain place. Um, also look for pages that are fairly sturdy, although you're going to be most likely gluing several pages together. Uh, nothing to look for is books that have, um, unique bindings on them. This it happens to be a leather binding on it, and it's got this great marbled paper. This is a ah book that's in a foreign language, which I think makes for a really interesting background on the pages. So I really like this. And other things to look for might be a book that has a cover on it that's already unique. This one's got, like, a fabric find. Other things to look for in books are, um, unique graphics. Maybe on inside that you might want to include in your final. Um, this is a book that I picked up 90% off. Um, it's got some really fun. This is kind of a kids book. Another great area to look for. Look for the Children's books. So our young adult books, Um, this is actually a great school book, but all that really fun pages in there are fun. Find funds. So look for a book that has a nice, dirty, binding matte finish cover, no shiny covers. Okay, this one is sort of shiny, but, you know, the inside of it is worth it. I'll deal with it. Um, look for things that have have a special biting. Now, this one, I probably won't completely cover. I will go ahead and let this be the cover of the book. Uh, look for books with, um, not glossy pages to I forgot to mention that. Don't pick any books, have glossy pages. You're really going to hate working with glossy pages. Um, and look for different sizes and get, you know, two or three Pick up a few of them. You don't pick up a few more. The 1st 1 that I did totally ruin it. So I just expect that just expect to be running books on and just be okay with that. Okay, So that's your mission. You're gonna go out there and you're going to get your first set of books to alter in the next video. I'm going to get you started on altering those books. All right, great.
3. Altered Book Supplies: Okay. Are you ready for the supplies? Now? I don't want you to think that you have to go out and bile kinds of crazy stuff. I know it's fun, and I know it's a big crowd, and I know you probably can't stop yourself, but you might want to hold off a little bit because you need to find out if this is something did elect doing first. And if you're a crafter like me, you probably got a ton of stuff around that you can use, and you are gonna need to get anything more. Except for maybe you're hardback book. But I go over some supplies because these are some things that you are gonna want to gather up whether you have them around and you need to go out and get them, you're going to want to get a few supplies put together. This is my go to glue. I want to take it up a notch. I get a data posh who love the day. Capaz. This is just one brand ha. One more glue sticks. Glow sticks are awesome. Michaelis ticks don't always, I think minor getting old. Okay, so I don't think you're gonna want to get together in and it's on paper. Says I love these really cheap ones that you can get these air. Great. Um, and all sorts of sizes. You can usually get picked these up from the crafter section. Get a variety pack, you'll be set. Everything they're absolutely gonna need is says, Ah, if you have troubles with arthritis, I recommend the kind that is has ah, spring there, spring loaded. You're gonna need I'm not gonna say you're gonna need it, because this is really a preference, OK? I do a lot of things with, um craft. Nice Exacto plates. OK, um, And if you get one of these, you're gonna need one of these two. You're gonna need a cutting man. Um, And now where those big ass coming mounts, either you want something that's little that you can that you know, fits into a book because you're gonna be cutting out windows. Okay, this is when I got in a dollar store. So, you know, I have spent a lot of money on it, but if you are not comfortable using really super sharp late, don't don't, don't. Just don't do it, okay? Opt for? Ah, good pair of scissors like this. It's got a really nice sharp point on it. These work, if you do go with blades, you can, of course, get the standard one. Um, I like the fisc er's blades. They have a very funny little handle on it. But what you do is you put your finger in here and you see, this is I feel really safe using this. You're gonna need some craft paint, you know, anything expensive, get the cheapest. You can get these air like a buck apiece. Okay, Just get at least three colors that can go together. Okay, Now, you don't have to buy a special types of being pants. I just happen to have this fabulous Distress, Inc. Another thing that you're gonna need along with that is you're going to need either one of these little tools. It's got a little Velcro and on. And do you stick these well here, these old things on their sponges. OK, you stick him on there and swirling around in the ink in any way, we're gonna be doing a lot of that fun stuff. Um, but you could get away with, um, cosmetic sponges. Okay, Now they come in two kinds. Basically, your cosmetic sponges, these little triangle things. Great. OK, they also come in flat circles. I have some around here somewhere. Another thing not necessary, but it can be really fun to have are some stencils. Stencils are Assam, and I use my when I do stenciling. I used the cosmetics punches. This is my go to tool. Why she tape is so fun. You know, I probably forgot a few things below this video. You're gonna find a little list, and I forget stuff, you know? So get the list. All right, so that pretty much covers the basics of some materials. If you don't have something, though, that I'm using. Don't worry about you don't need to go out and buy it in order to achieve results. Okay, use this course as a way to kind of get started. And once you get started, you're gonna have a locked of your own fabulous ideas to get creative. It's all about the creative energy and binding that and using that and exploring yet. So there you go. There is the list. Get to work.
4. Painting Pages with a squeegee: welcome in this video, I'm gonna show you how to use ordinary cheap craft paint to cover your altered book pages with some very nice, transparent coloring that you wouldn't normally get from inexpensive craft paints If you used a brush, This is the only way that you're going to get it on thin enough that it's going to be. You're gonna be able to see through it and see the page underneath. And it adds a just a beautiful effect. One of the things I want you to notice in this video is that underneath the pages I have paper. Now, these air just scraps of, uh, printer paper that I put underneath there and they are so important that if you don't add them, you are going to be so sad because all of your pages are gonna end up kind of stuck together because they're gonna have glue along those edges. So you really got to protect those pages underneath. Another thing you'll notice is that with this paint, I'm able to go over and over it and over it several times. The finished product is just beautiful. And in order to keep these pages from sticking together as they dry and wrinkling up. I'm gonna put a piece of wax paper. I'm gonna push it into that crack. I'm gonna put wax paper on in between the pages and on both sides of the pages, and this is going to protect the rest of the book. And it's going to allow those pages to dry nice and flat without gluing themselves together . So that's about it for that, see in the next video.
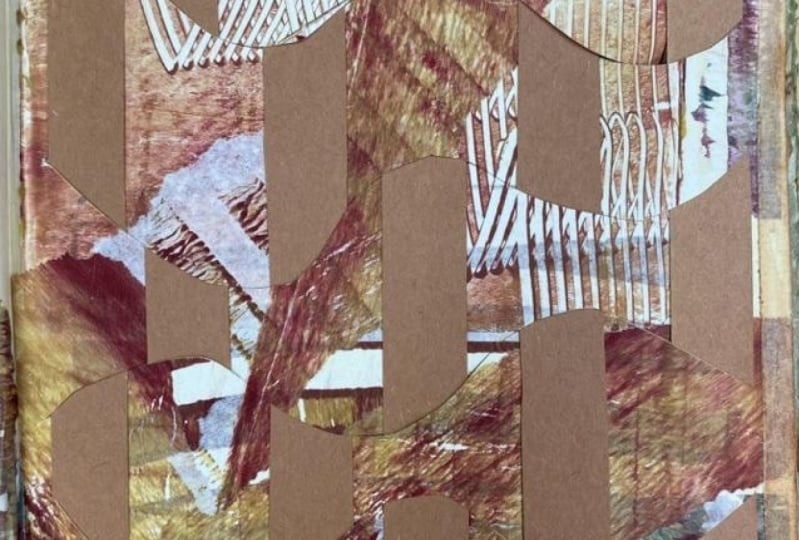
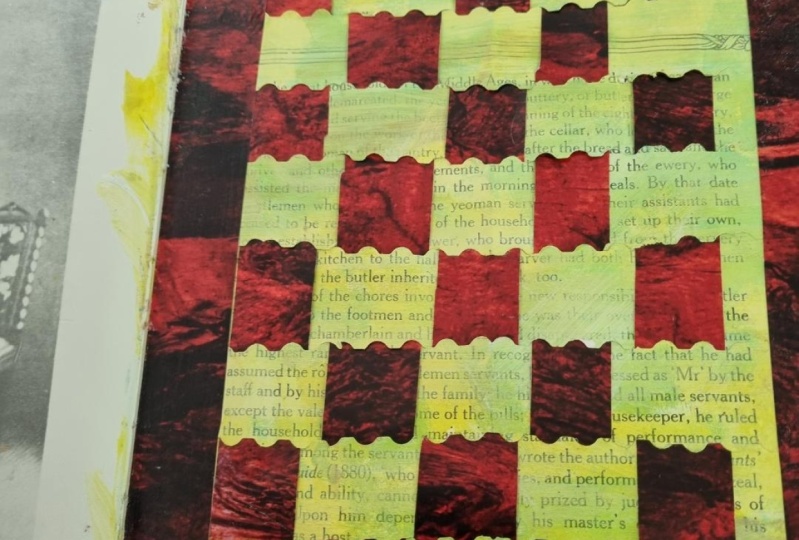
5. Weaving paper Altered Book Tutorial: in this video, I'm going to show you a technique that involves weaving paper. The first thing I'm gonna do, as you probably just noticed, was I put down a cutting Matt. That's because I'm going to use an exacto blade to cut into the paper, and I don't want to cut the pages underneath. Now, when you do this, you can cut, um, wavy lines like I'm doing here. Or you could just cut lines straight across. I suppose you could even do zigzags. Okay, Now that my page has little slits in it, I'm gonna grab another piece of paper and I am going to measure this paper out on the page . So I know how tall the little strips that I'm going to cut need to be. And then I'm gonna go ahead and cut trim off this page so I only cut strips that are the height of the page. Having a large, um, cutting mat like this one that has measurement marks on it can really come in handy, as opposed to the little one that I stuck in the book. So now that I have my my paper cut down to the height of the page, and I have the edge trimmed off and discarded. Now I can go ahead and start cutting my strips. I'm gonna want I want my strips to be even, um, you don't have to make them even you could make them different. Um, what did they call that? Like? It would be narrow at one end and fatter at the other. But that's that's gonna add a little bit of trickery to weaving them. So for your first time doing this, I recommend that you cut your strips. Strict. Now, that doesn't mean that they all have to be the same size, though the same width as you can see. Here I am varying the width, not a whole lot. But, you know, making it just toe add a little bit of interest to it. All right, now that I have all of the strips cut and the slits in the pages, I'm ready to weave. No. When I first did this, um, in another book, I started on the edge of the page and what I found was that by the time I got to the last strip, it was really hard to put in because I was, there was no way to get my my hand around it and guide the paper through. Anyway, it's kind of hard to explain. You'll know it when you do it. But what I recommend is that you start weaving your strips near the spine. Now you can see there. I just was I was just taking my scissors and cutting, um, the the slits because some of them weren't even so, it was causing the strip to not be even in the page. Now, you I could have marked that when I started cutting, but no, I was just kind of free forming it. And then that's Ah, that's a nice way to go about things. Um oh, this is hilarious. E. I just realized that the paper that I was working with has two different sides. So if I alternate them like, oh, wow, I wasn't even thinking about that at all. So that was a really nice little surprise that I got, um, that that was that was pretty cool. Um, OK, so I'm going to keep weaving these in, and I'm alternating the site that it really does add some some interest to it. Um, when I did this, uh, in recently in my senior group, Um, I found that not all of the paper back in front matched. And sometimes you had Teoh grab another sheet of paper to find when that really looked good . So, you know, it doesn't necessarily have to be two sided paper. Um, but you do want to work with card stock when you get to this weaving part. If you have the regular scrapbooking paper, um, you're going to find it much harder to weave through. So you do want that thicker card stock paper to do this with and you can see I keep pushing those strips in to tighten them up, which really does make a big difference in the final version of what you're working on. It gives it a really nice finished look. Another question that came up in the group was, um do you need to paint that the paper first, like I did with this one, these air pages that I have painted And if the answer is no, you don't you don't have Teoh, do. You don't have to do anything first. If you don't want to, you could glue pages together to strengthen them. Um, and then cut your slits. Um, but it z totally not necessary. Um, another thing that came up to Waas that in this video I did this with an Exacto blade. And in our class, most of us don't have blades or a cutting mat. So I came up with an alternate version where we used scissors and that involved cutting folding the page in half so that you could cut nice street, um, slits into it on you could even get a little creative and do some zigzags. Or some, um, some wavy lines so they didn't come out like these wavy lines, But, um, it was fun. T Just use a pair of scissors and not have to worry about the technicality. Okay, so in this part of the video, you're seeing what I'm talking about when you want to start your strips in, uh, near the spine of the book and not near the edge because you're You could see I'm having a much more difficult time trying to weave this paper in, Um, because it's a much tighter, uh, it Z much tighter, you know? I mean, I cut that strip almost to the exact size. And you might have to cut down your strip a little bit before you start going through the last, uh, the last part or cut a special one just for that whip. But having that edge that I could get my hand around and guide that through was really critical at that point. Well, there we go. Um, I hope you enjoy this video, and I want to see what you've done that by.
6. Altered books alternative cutting technique: in this video, I am going to show you an alternative way to cut the slits in your cages that does not require an Exacto knife or a cutting mat. This is by far the simplest way to make thes cuts. You're not going to get the nice curves that I did in the original one. But if you don't have a cutting Matt, this will certainly work. So it's really a simple assists. Take the page that you want to cut the slits in. Fold it in half in towards the center of the book, take a pair of scissors and cut. The only thing you need to keep in mind is where your cuts and you want them to be all barely even. They don't have toe Be the same with you could make a nice wide one. You could do a really skinny one, but you do want them toe all come out to the same place. If you don't. If that if they don't come out to the same place when you put your strips in there, you're gonna end up with some uneven nous, and that's really not a problem. You can always go in and go up that when I need to sniff a little bit more there, I need the snip a little bit more here. And, um So once you feel finished cutting all of your strips, just straighten it back out, and you're ready to go with leaving your paper in there. No.
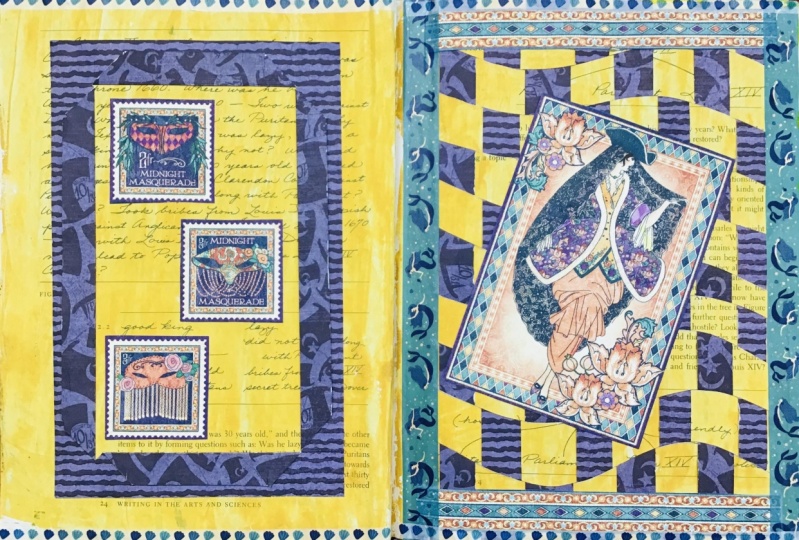
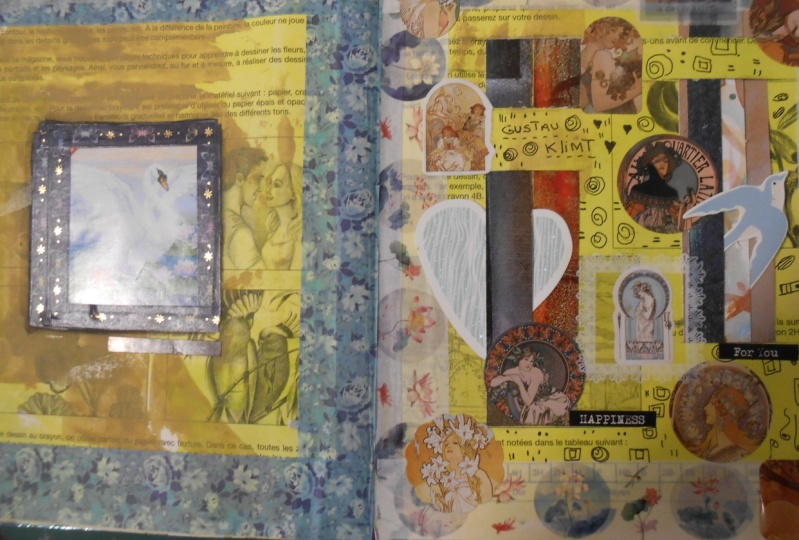
7. Decorating your woven page: in this video, I'm going to show you some of the ways that you can decorate your woven page, as you can see underneath here And here is the woven page that we just completed in the last video. And I have taken things like washi tape and put them down to create a border on this page. And I took another piece of paper that I had that had this really cool design that just seemed like it really matched. I'm really looking at color when I'm doing this. Um, but the purples and the blues and I got purples and blues and a little bit of yellow to match in there, and it just really just made it look like it belonged on that page, almost as if the woven, um, design that I did in the background became a frame. And then I framed the piece of art in the middle on the opposite page. I've taken just some of the leftover paper from from leaving and some of this more of this kind of paper. This it's like a scrapbook type of paper and, um, just kind of glue them down in here, made another little frame and a little bit more washing tape on the top and bottom. So this is just one idea for decorating. I have another one that I've done here, and, um, on this one, I have the weaving on this side and more of, Ah, just a framed piece of art work over here and again. This this is actually a image from a stamping magazine. So you can find all kinds of resource is for finding images. Um, that will really add some booth to your sheltered art book. Another technique that I wanted to point out is on this page, I did the weaving and then because it was just done on a single page and it comes out kind of weak. I glued several of the pages on the backside onto this one. So now it's pretty stiff right now. So it definitely added some, um, strength to it. Another thing I did is in the middle. I took a piece of paper and I glued it in for the spine. Um, I was having troubles with this book starting to fall apart. So another technique is to use a paper, um, glued in there. You might be tempted to use washi tape to do this part, but it's not gonna work very well. It's not going to be very strong, and the washing tapes will tend to come up. You can glue it down, but you still have issue with strength. So I'm just using scrap of paper to glue that down. So this is just another example of what you could do with these this woven page technique there really is no limitation to the possibilities.
8. Altered books class project: I really hope you enjoyed that class. I very much enjoyed doing it. This is my very first Gil shares classed, and it took me over a year to get this published. So thank you for for watching and hang it into the end. And now it's your turn. It's your turn to find a book, to alter and get some supplies together and make a woven page posted in the classroom. Thank you. I'll see you later by
 Karen Dawn, Creative Soul Journeys