Transcripts
1. Introduction: Hello and welcome. My name is Karen dawn. And in this class we are
going to dive into a, an altered book,
art journal Remix. Now let me explain
a little bit about what this is all about. This is about combining an altered book with
an art journal, but in a way that This just use an altered book
as an art journal, it actually uses some
of the artwork that you have created in
previous art journals. The reason for this, and this is the real
power in this class, is that by reusing
your previous artwork, what you're doing is
you are bringing in part of your old story and the new story that
you create from this remix is going to
help you to move forward. Some of the things that
you are going to learn in this class are
going to be how to reuse old journal pages. I am also going to be covering some really basic skills and getting started
with altered books. And then we're going
to dive into creating a collage using materials
that you have created, the old art journal pages and some collage papers that
you have also created. Why is this important? Because when you reuse
art that you have created in the past and bring
it into the present moment. You are giving yourself
an opportunity to rewrite your story and move
forward in your life. Move beyond those stories. This class is about recycling,
reusing, and re-creating. Who is this class for? This class is for
you if you have been an art journal
or for awhile dabbled in altered books, or maybe you're completely new to the whole art
journaling thing. You're going to learn a lot of different skills
in this class. The way I work is
very intuitive, so I don't always know the direction that
we're going to go into. So I really hope that you
are up for an adventure. Let's get started.
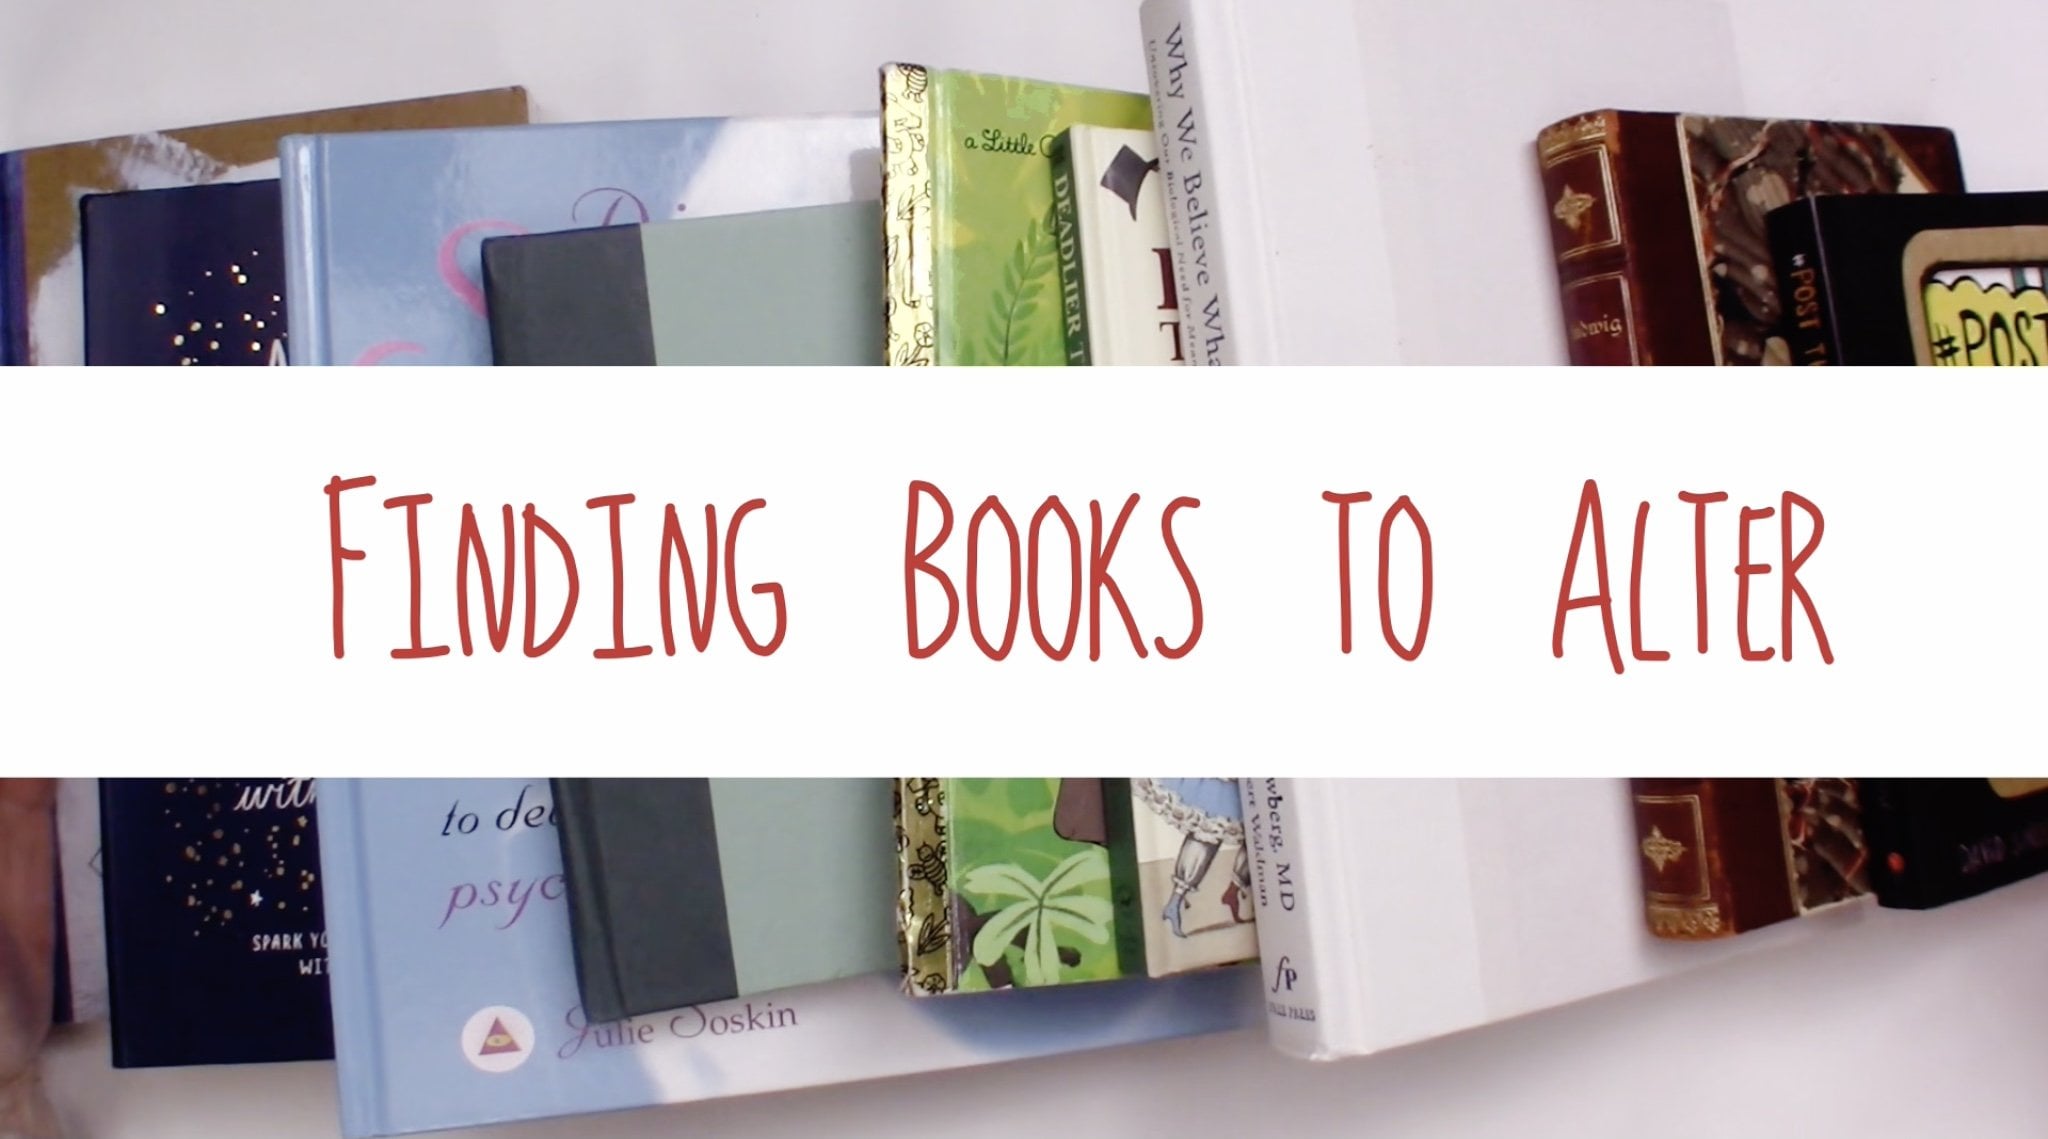
2. Selecting an Altered Book: Let's start by looking at some of the supplies that you
will want to gather. I have here a collection
of altered books. I really only need one, but I wanted to show
you some options. This is an altered book that is one that's got
some images in it. It's kind of a kid's book and it'll a little bit of
an older kids book. These make really great altered
books because they have images in them that can be included as part of your story. Here is a book that I
haven't done anything in. But it also makes a
really great candidate. And it's because it's
a very visual book. It's got lots of words
and lots of images. In this class, I'm going to
show you how to incorporate the background of your pages With the page that
you're creating. Now here is an altered
book that I have been working in for a
little while and it contains a few examples of what we might encounter
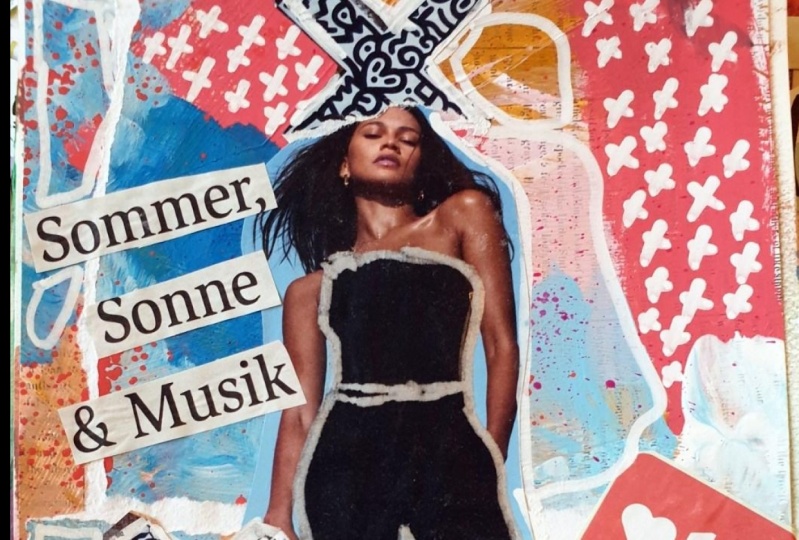
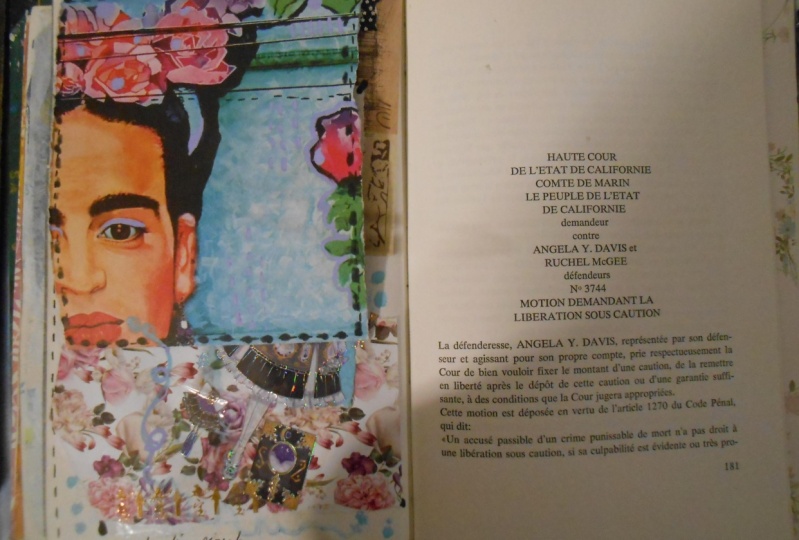
during this class today. Here's a page spread
that incorporates artwork that I've done
in previous journals. Combined with the background of the original images
that were in the book. This book is a children's book. I really think that books like this ideal because
they contain a story. I honestly believe
that when you pick an Ultrabook or if it picks you, whatever you pick, it
contains something that is a part of the story that
is going to unfold for you.
3. Other Supplies to Gather: Some of the other supplies
that you'll want to gather and this is optional. These are homemade
collage papers. These are actually made
from an used book. So some pages that I've taken out of a book and
just put some paint on some of your old
art journal pages. These are pages that I've taken out of an art journal
that I'm going to use in this new
art journal spread. Now, you don't have to sacrifice your art
journals like I did here. You could make
photocopies of them. Another option is to grab an art journaling magazine that contains somebody
else's artwork in it. I know that when you
use your own images, there is going to be a lot more power behind them because
they are your images. But if you select
images from a magazine, even the images that you select
out of it is going to be relevant to your story
because you were drawn to those images. You will also want to have
a variety of craft paints. I prefer to use these craft paints that have
a matte finish on them. You'll want some sort of glue. Elmer's glue all
is excellent and also some sort of matte medium, one or the other
or both are great. You will of tourist want a
variety of paint brushes, something to scrape,
paint on width. This is just a used gift card. A variety of black and white. The hens. Now I have a variety
here because I want different thicknesses. So I have a couple of Posca paint pens and he pink
pattern brand will do that, have a nice fat tip on them. And then I have a
uni-ball Vision fine pen. This is a waterproof pen with
a fairly good tip on it. And then a jelly roll. I use the jelly roll ten. It's a much fatter tip than
the typical Jelly Roll pens.
4. Starting a New Page Spread: To get started, pick a page in your altered
book to work on. Now, I don't tend to work
in a linear fashion, so I don't start on the beginning page and
work my way through. I generally kind of
flip through it and see what Paige wants to
come and play with me. This one feels
good for me today. The first thing that I'm
gonna do on this page, and I've already
forgotten to tell you about another supply
that you might want. You might want to get
some scrap papers. You will want to put
these scrap papers behind the pages that
you are working on to protect the pages
behind them from getting glued together or
getting paint on them. I usually start off with either a white paint
you could use Jess. So if you wanted to, I just used in a craft paint for this. I will start off
by putting some of my paint down onto my pages. Then scraping them. Just makes the images that are on the original pages Beta little bit into
the background. This is not necessary. It is optional. You can add a little bit of color to the
background if you like. So you don't have to just
have the white background. If you want to go ahead and
add a little bit of color.
5. Adding Background Collage: The next thing that I'm gonna do is I'm going to
add a little bit of collage to the
background. For this. I'm gonna be using my
homemade collage papers. There are a lot of different things that
you can use for this. Please feel free to
use whatever you have. I'm also going to be
using matte medium. I like to put my map medium into a little jar to make
it easy to use. And of course, my paintbrush. I'm gonna start by just
tearing my collage papers and just placing a few
around on the page. When I glue down my
collaged pieces, I try not to think about it. Overthinking things is
going to slow me down. I don't think it
really serves me. Try to do this in a
way that is intuitive for you, playful, unplanned. You'll also notice that
I am putting brushing on my map medium on the
top and on the bottom. If you're just
using regular glue, you can do the same. But if your glue is
really, really thick, you might not want to
do this top layer. One of the things that I am being a little aware of is I'm putting these down
are the images that are in the
background on my page. I noticed I started
to cover one up here. And I really don't
want to cover up all of the images on here
because I want them to peek through as a construct
and put together my story. You might also not want to cover up some of the words
that are on the page. But of course, covering things up and not
covering things up, It's totally up to you. There's no rules around this. Have been in play.
6. Prepare Old Journal Pages: The next thing that I'm
gonna do is I'm going to start incorporating some of these art journal pages
into my new page spread. I'm going to set this aside
to allow it to dry a little bit while I consider what I
might want to reuse on these. Now one of the things
about art journal pages is they have two sides to them. And I really liked
this other side. I might not want to
use it as it is. One way that you can
do this is you can try to peel away the
layers of paper. You can photocopy them. Kind of like this, this peeling method
because it's not perfect. You can't get it exactly right. And there's some
whimsical things that can happen
when you do this. But basically what you're doing
is you're trying to split away the pages so that you end up with
the back and the front. Like I said, it doesn't
always come apart the way that you might
think you want it to. But I think that's
part of the magic. Now I'm gonna save
this other side because it's kind
of the backside. I'm gonna save this
for another project. Here's one that I'm not that
precious about on the back, but it's got these these foam
stickers that are kind of bulky so that these are gonna be problematic
to glue down. So I can try to split it
apart or maybe I can just peel off to those stickers. Not quite sure which way
is going to work the best. Like I said, this might be
hard for you to do, you know, tearing apart pages
that you've done in the past might not be for you. Making photocopies. That's all good too. I do find it very interesting. Which pieces went to come
up and which ones don't. The home thing I wanted
to reuse on this one, it says this edge.
7. Glue Down Journal Images: And now I'm going
to bring back in my page that I've
been working on. It's a little sticky, It's a little wet but I
don't think it's too wet if it's your pages
are really soggy. They got a lot of glue on them. You might want to let
it dry a little bit. Before you move on. I'm gonna take mine
and hit it with my heat tool for a few minutes. I'm going to bring back out my matte medium, my paintbrush. Now I want to start
placing these pieces I salvaged from my art journal and see where they might fit. I can further take these, tearing them or cutting them. Seeing where they
might fit on the page. Sometimes I like to work
with the hard edges. If you have a straight
edge or corner. Sometimes I like to see, Oh, does it want to go up there
in that corner right there? I think I will I think I
will put her up there. Since I'm really collaging
some of these pieces, I might have to get underneath
the edges of some of them, get them to go back down. Because in that
peeling up process, some of those previously collaged pieces
wanted to come up. The whole time that I'm working. I'm staying open and curious to the story that
wants to come forward. Knowing that this story is made up of pieces of my old story. Staying open to it might want to be transformed
or changed.
8. Before Going On...: And now I'm going to want to
either allow this to dry for a little bit or go ahead and
hit it with a heat tool. Also, you might want
to peel up your pages because they might get stuck to your background
pages and you don't want them getting glued down.
9. Layer on Some Paint: With my page somewhat dry and I can't say
it's completely dry, but it's dry to the touch. It's stole a little bit
sticky, but that's okay. I just don't want
it to get to soggy. The next thing that I'm gonna do is I'm going to add some paint. Now the way I like to select
out paint is I'd like to reuse the colors that
are already present in it. So I have selected out a
green that matches some of the green of
brown and a yellow. Now, I don't have to be
limited to just these colors, but this is a really good start. This next part is like, is what I like to think of
as incorporating the images. And when you can add a little
bit of paint that matches the images and paint
over the background. It kind of brings it together
because right now it just looks like a glue
down a bunch of stuff. I want to try to make
it look a little less like a bunch of things
glued down to the page. For that, I love doing this
little painted method. Doing this painting simple. As simple as putting
down the paint and overlapping the images
with the background. Being careful not
to cover up some of the more prominent
images that you might want to keep and bring forward. I guess you could
say I'm primarily covering up some of
the collage images in the background and
some of the images that are just kind of
part of the background, not part of the story that
I wanted to bring forward. Some kind of painting around. Got a little too much
paint down there. How is it good idea to
have paper towels on hand? Pick up any excess, any spills. Using that paper
towel to kind of blend down some of
that background color.
10. Make Making with Paint: Now for this next part, you are going to
absolutely want this to dry because I'm gonna be
taking some pens to it. And I don't want
to ruin my pens on my recently somewhat
wet paint store. But if you don't have patience to let it dry and
you want to keep going. You can use paint brushes and
paint for this next part. Let me show you what
I mean by that. So I can do this next part with black and white paint
as opposed to pens, just using a piece
of pallet paper. Let's put down a little bit of black and a little bit of white. I'm going to take some fine
paint brushes by fine. I mean, it's either
got a small tip or another one is something
brush that is flat. The end. This one's a really
small flat one. What I can do with this is instead of drawing
lines with the pen, I can draw lines
with my paintbrush. I'm going to do
some dashed lines. One of the things
that I liked to do when I'm considering
how this story, how this page spread
fits together, is I like to create a container. I do this by creating a border. It's kinda like saying, this is where my story is. This is, this is the
picture that I'm painting. It's all contained
within this border. This is also a really
easy way to get started drawing and making
some marks on your page. Because it doesn't
require a lot of thought or artistic skills. This can be done, of course, whip, paint, pen, your brush.
11. Making Connections: Once I have my
border done on it, the next thing that I like
to do is to start making connections between the
images on the page. So lot of times when
I start doing this, I'm not necessarily making
these conscious connections. I'll start off by drawing a line and just kinda
see where it goes. This is where the paintbrush
becomes a little bit more challenging to do
because you run out of paint. So it's easy to lose the flow of what you are trying to connect. That's when the paint
pens come in handy. So what I'm gonna do is I'm gonna go ahead
and draw this a little bit with my heat tool
so that I can use my pen with my background,
nice and dry. I can go ahead and
use my paint pen. I'm just kind of
intuitively going along and making these lines. See what I mean about
the pen flowing so much better than the paintbrush.
12. Drawing into the Page: So now I can kind of step back and look at it and go, wow, I've got this girl and she's connected now I've connected all of these little flower buds. I think I want to bring those flower buds
out a little bit more so they stand out a
little bit more on the page. I'm just going to outline them. I find that when I
do this outlining, it adds an element
of importance. It's like, okay, these are the important
elements on the page. I'm not being too
precious about it. I can switch colors, so I can switch
over to my white. Outlining some of
these other elements. Bring back out this flower. By redrawing the petals
that are missing. Maybe just making
some more marks as I intuitively feel called to do. Lot of times when I'm
doing marks like this. I think of it as this
meditation time. If at anytime you feel
like your paint pen is losing its ability to paint, It's probably picking up some of the paint from on the page, try to clean it
off on a surface. It's really important to know your materials and
know what you, how far you can push them. Without ruining your pens. If you're new to this, you probably gonna ruin
a few pounds at first. Don't be afraid of that. If you don't definitely
don't want to ruin anything, then you will want
to make sure that everything is super, super dry. I'm just going to be
drawing a little bit into this and bringing out some of the elements that
are on the page. So I've got these
little flower buds. I'm going to add some
little stamina to him. Keep them a little
bit of growth there. I'm using a finer
pen now to do this. Draw into some of the
images that are on here. Bring her out by drawing
into this this girl. Sometimes when I'm not
too sure what to do next, they'll just start making
marks on the page. It's just a form of meditation. Two different kinds of marks, different kinds of marks, different shapes
feel differently. They're going to add a
different feel to your page. Doing all of this intuitively. Not needing to know
what my marks mean. You may choose to
bring out some of the original images that were in the background
of your page. At some point I might
start to ask myself, what's going on on the page, what stories wanting
to come forward? Just tracing over the images
that are on the page. It might help me to see something or feel something
that's happening. I didn't see before, I think it's interesting to see if you can find
connections with the original images that are on the page with the images
that you put down. Let's see if there's
a connection. There may or may not
be a connection. I'm adding another
dashed line in here because I want to connect these two background images that were on the original page. Now I have those connected. Just doing some doodling.
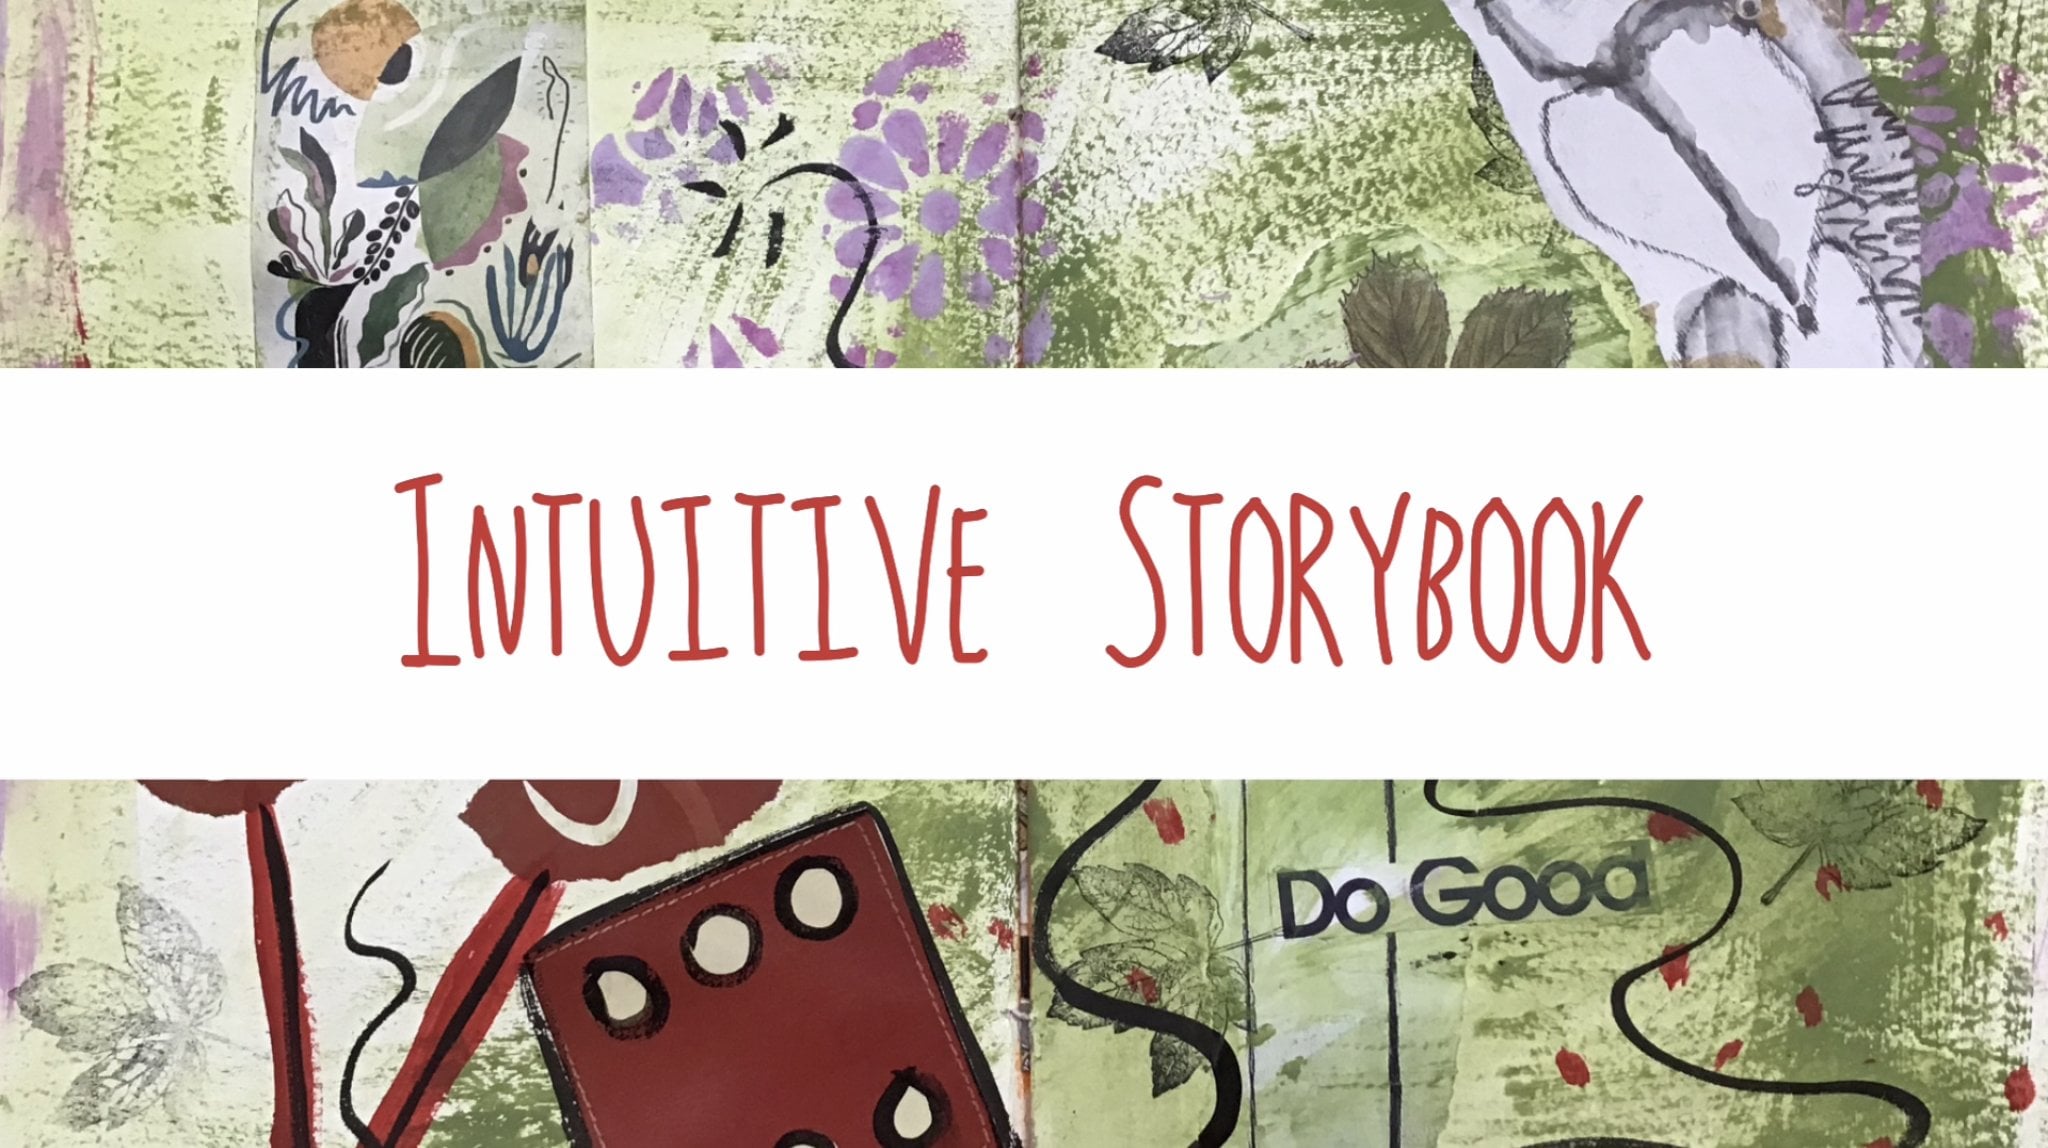
13. Refining and Finishing: These look like little signs, like signposts starting to have a little map quality and the signs are just
kinda little signposts. So that could be like
milestones on a journey. Journey of growth, journey of discovery, playfulness, transformation. There's, there's definitely a, I'm really strong images in
here with the flower buds and the open flower opening up. A lot more closed flowers. Just feels like there's, there's a lot of possibility. I could go in here
with more paint and maybe bring some color to these images that are in the background to kind
of bring them out. There's this girl, She's
wearing a hat so I can give her a pink, pink hat. Maybe the boy who's
got a blue hat, give her a red dress. This is why I like to cover up the original images
in the background a little bit with the
white paint, the start. Because it gives me an
opportunity to paint into it, to color it, make it my own. Sometimes when you're using
paint pens like this, you might need to
cover things up. Like I covered up her face. I can bring that back out
when the paint is dry. Now I can bring
back out her face. Maybe some of the other
elements that get covered up. Even draw in some new elements. Could even go back over it and add a little bit more paint. If you're having troubles
putting yellow down, like I am right here, try putting a layer
of white down first. Once you get some white
down and the white dries, you'll be able to
put the yellow down. It's going to show my paintbrush actually has some yellow on it. So these are coming out a little yellow while I'm doing this. But this flower right
here feels important. So I want to do a little bit of work on it to bring it out. Now my yellow is going to sit really nice on top
of that white. If you're ever working
with transparent paint and you're really struggling to have it come
out, put down some white. To finish it off. You might
want to give your page title, a name to it. Absolutely not necessary, but if a word or something
is coming forward, you might choose to write
that down on there. You can do that in paint
or in with your pens. For me, the message that is wanting to come
forward is to bloom. Think is really relevant
because there's so many of these flower buds that
have yet to bloom. Maybe allowing myself moving
forward to open up more, to allow those
flowers to open up. Since this is the
title of my page, the main message, I'm gonna
make it nice and bold. Really bring that out
so that it stands out. Now the way to
make it stand out, especially if it's on a
busy background like that, is to take a little
bit of white. The last thing that I like
to do is put a date on it. Just down here in the corner. Nothing really big. I'm just going to
put today's date. There we go.
14. Time for You to Share :): Last but not least, I would love, love,
love, love, love. To see what you have
done with this lesson, to see how you've reused and recycled and recreated
in your altered book. It's reusing journal pages, whether they're
yours or borrowed. I'd love to see what
you came up with. Everybody is going to do
something different and I think that is the fun of doing
this type of journaling. So please share
in the classroom. I look forward to
seeing what you create.
 Karen Dawn, Creative Soul Journeys