Transcripts
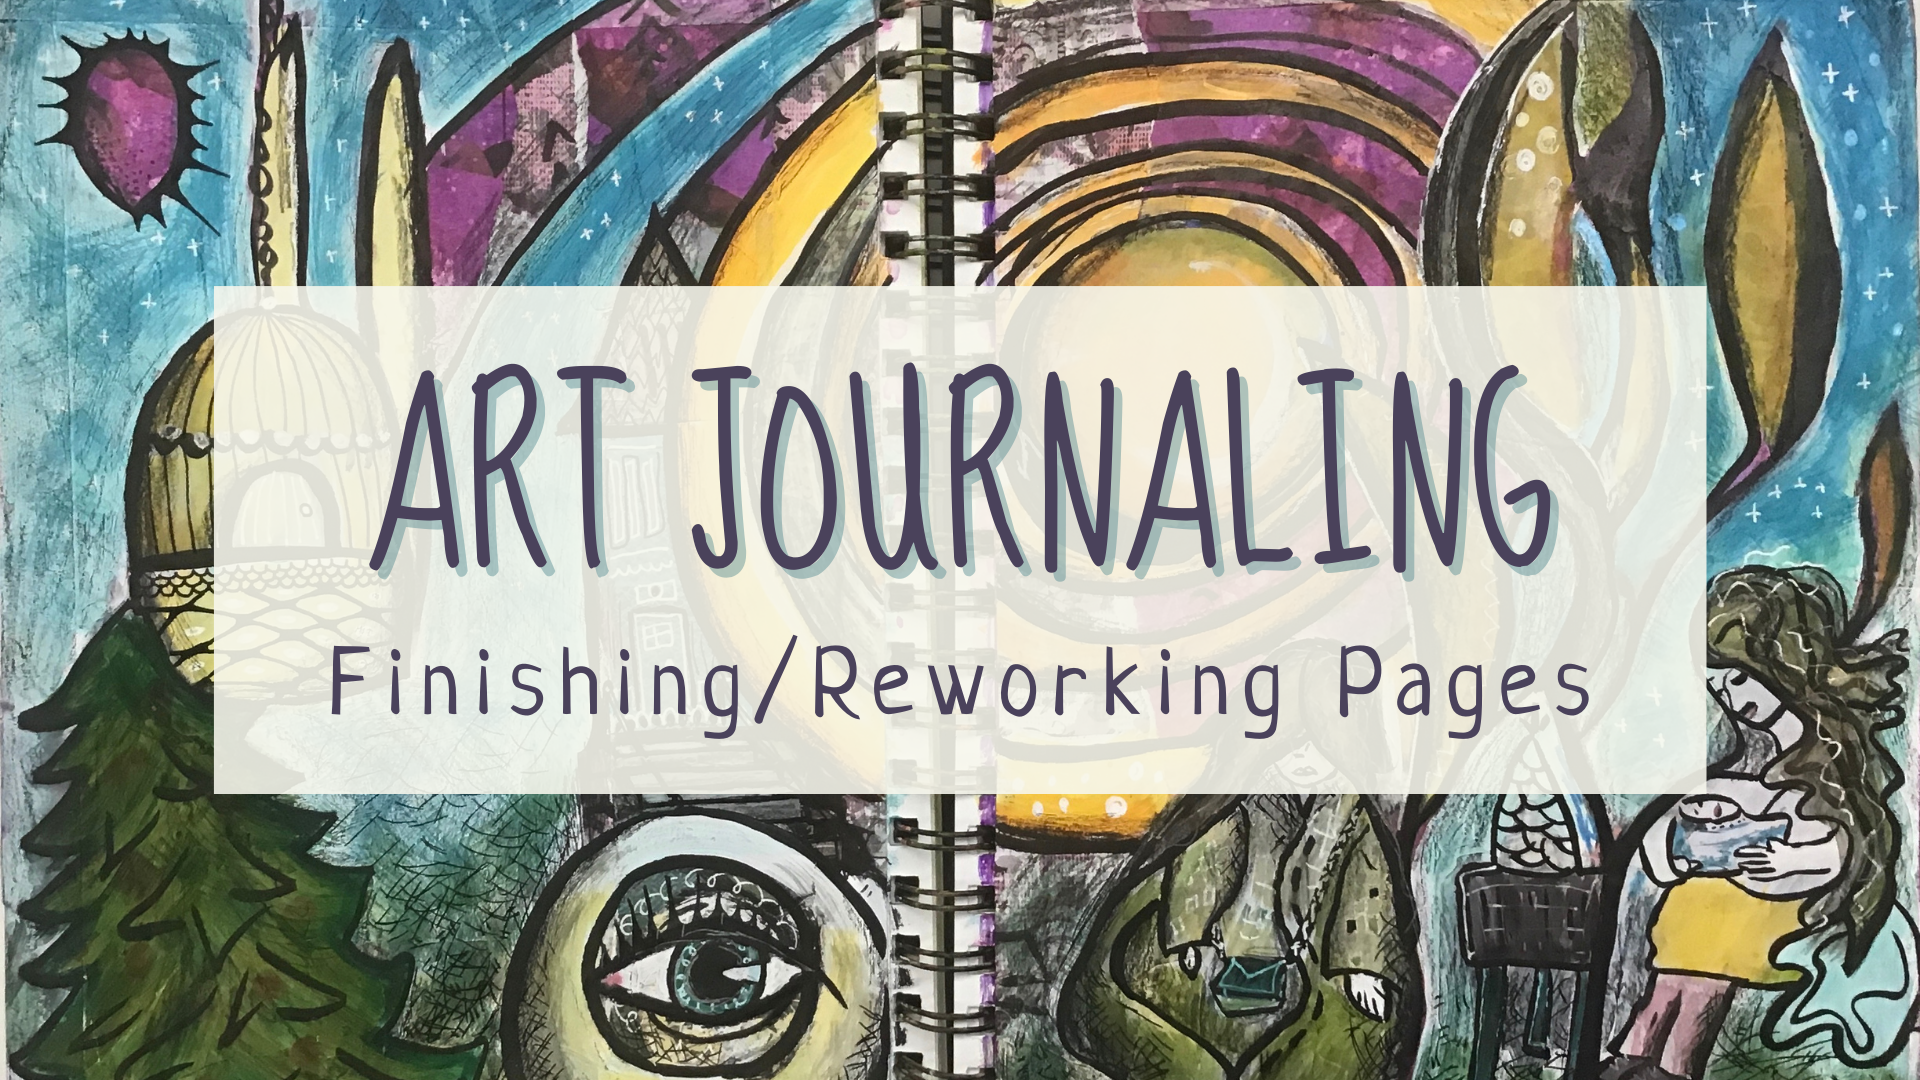
1. Introduction: Hi Karen down here. I have been teaching our journaling since 2015. And during that time, I have learned that we all have this amazing access to creativity, which is one of the most powerful energies that I know how to use. This class is going to be structured as a demo. As I walk you through a process of reworking an old journal page. Through this process, I will help you to learn to let go, gain a new perspective and possibly get a deeper meaning from your journal pages. This class is for anyone who has dabbled in art journaling. Or if you're just curious, but it is most helpful if you have some old journal pages that you either didn't finish or just end, end up liking. And you want to do some rework on them. For the class project, I would love it if you could share what you have done with the class, share one of your reworked pages, and share one or two insights and takeaways that you got from going through this process. I think there's a lot of power in our sharing of this experience. Okay, are you ready to get started? Let's do this.
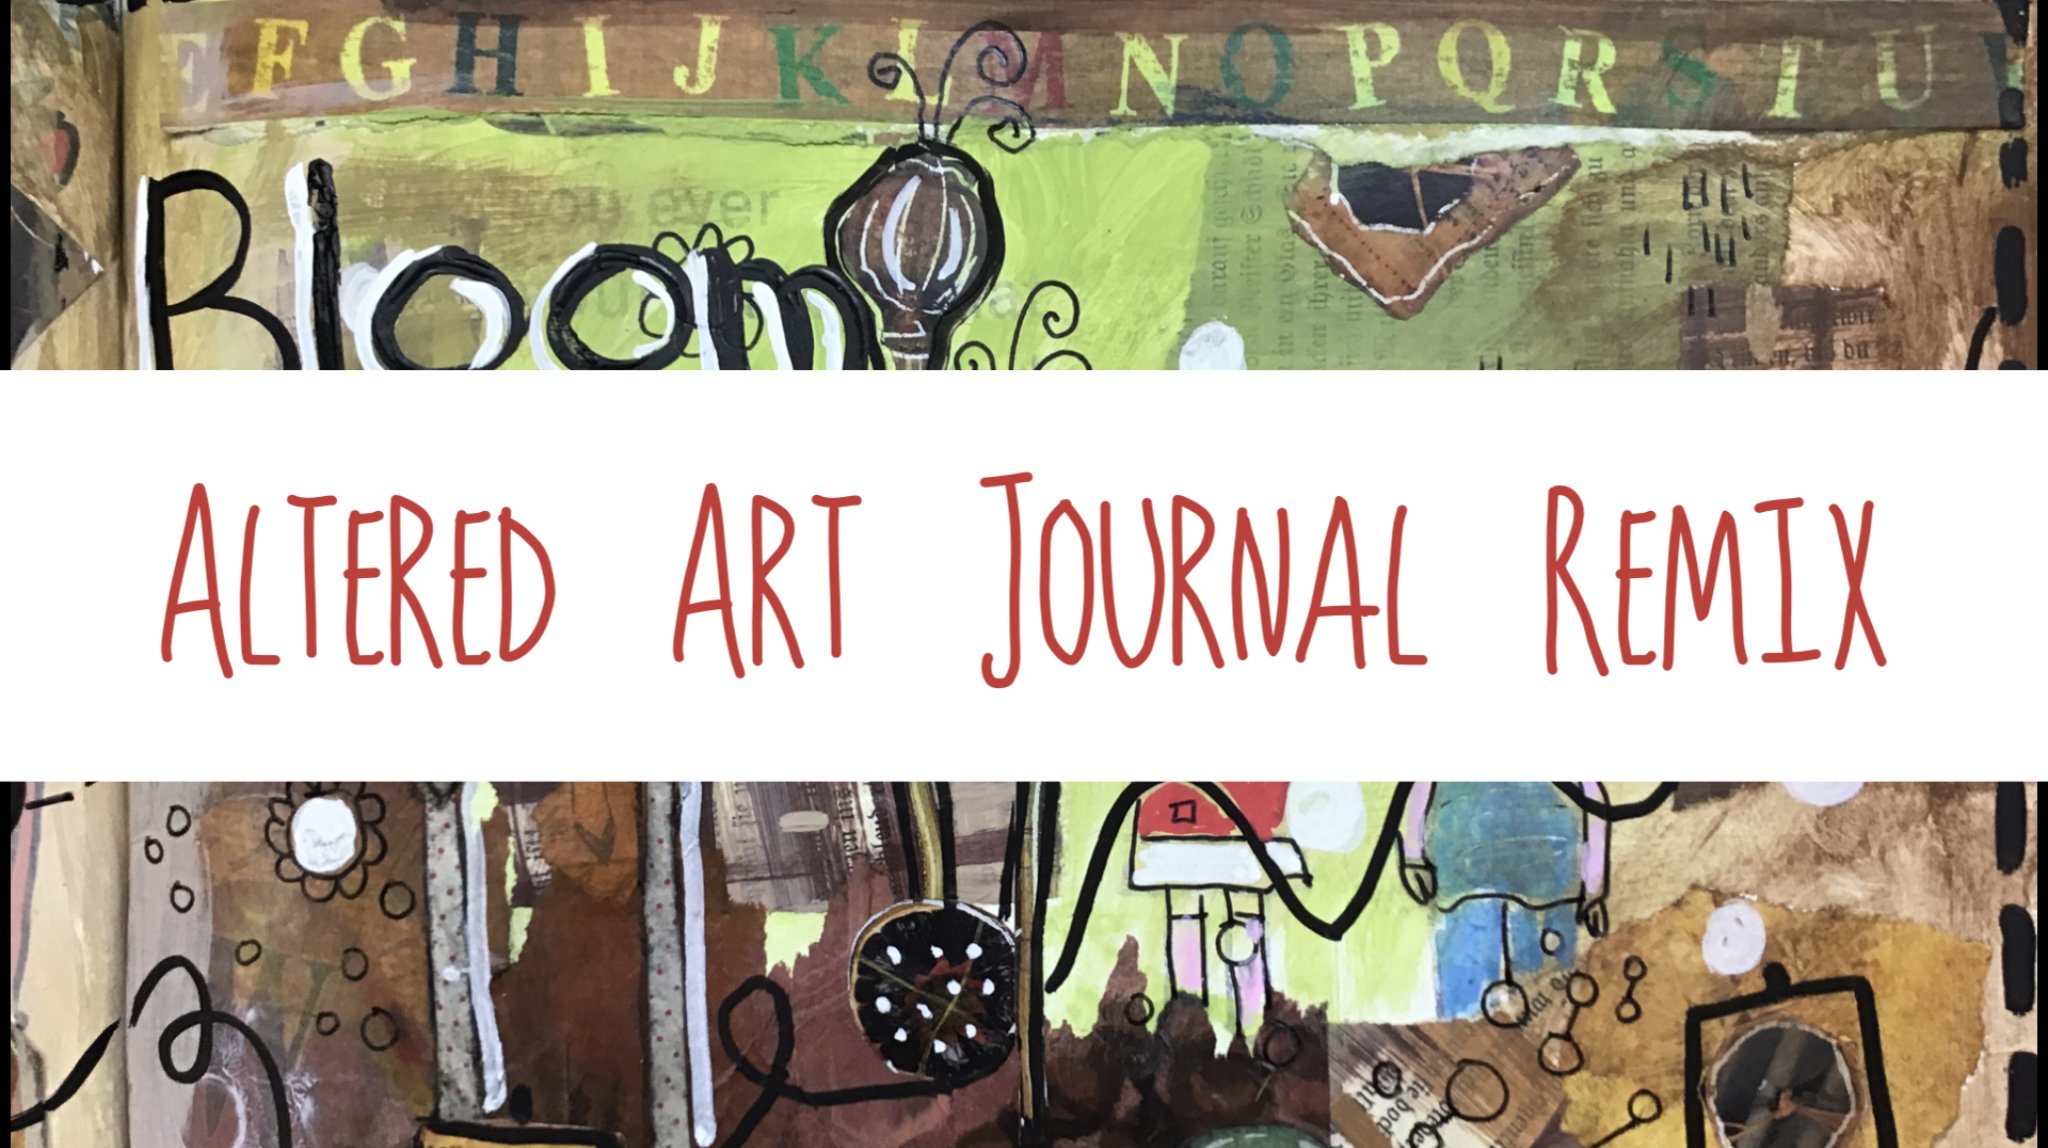
2. Before You Get Started: Before you get started finishing or altering of page in your art journal. Take a photo or take a photo. So you have a before shot. Here's one of my pages that I have not finished. I started to write the word passion in there and I never finished it. So if I wanted to rework this page or finished this page, I would want to take Petro first. Now the reason I say to finish or rework it. So because, you know, I did this quite a while ago and maybe I want to do something different with this page. Maybe passion isn't part of what I want to bring out in this. I may still choose to use the pee on it and rework something around that. But it's all open for interpretation at this point. It's a new page. I can consider this a fresh start. Let's take a picture.
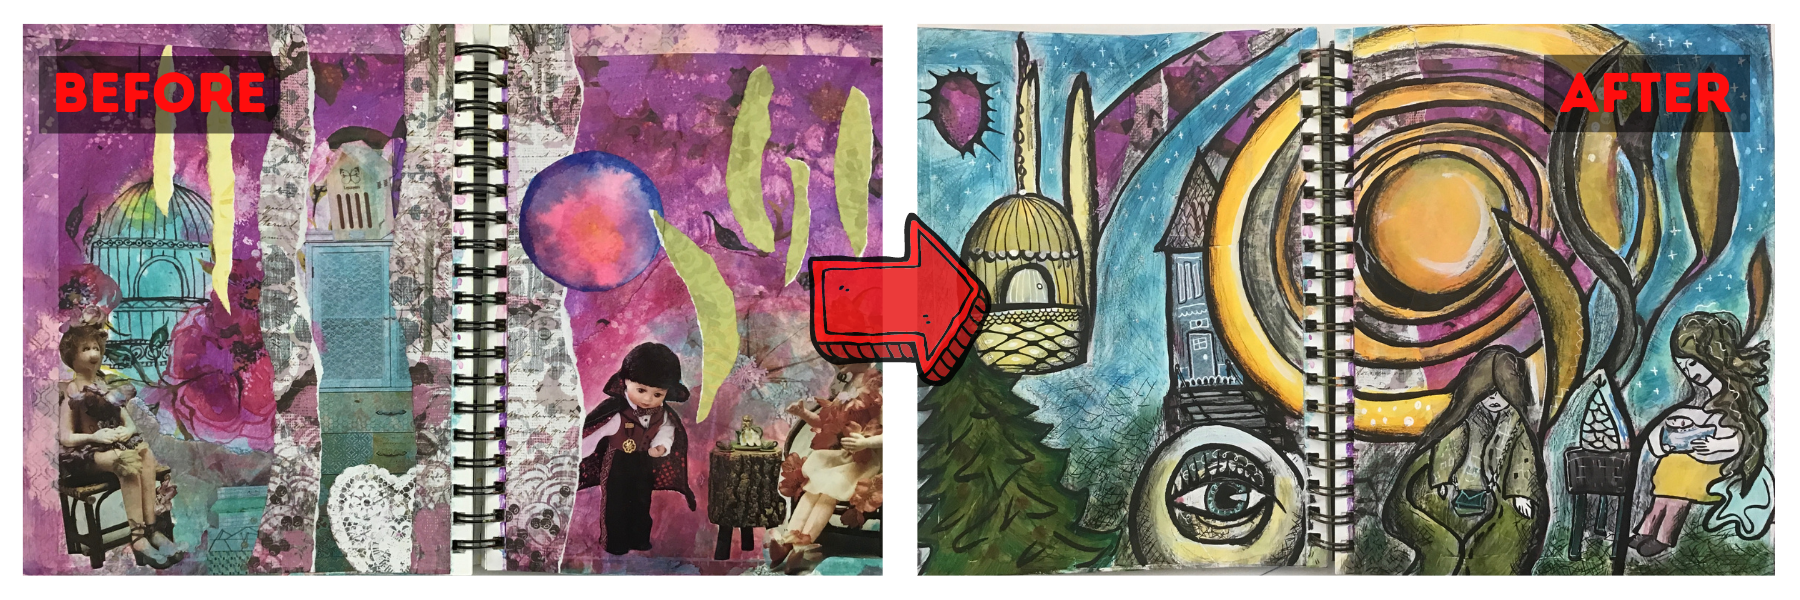
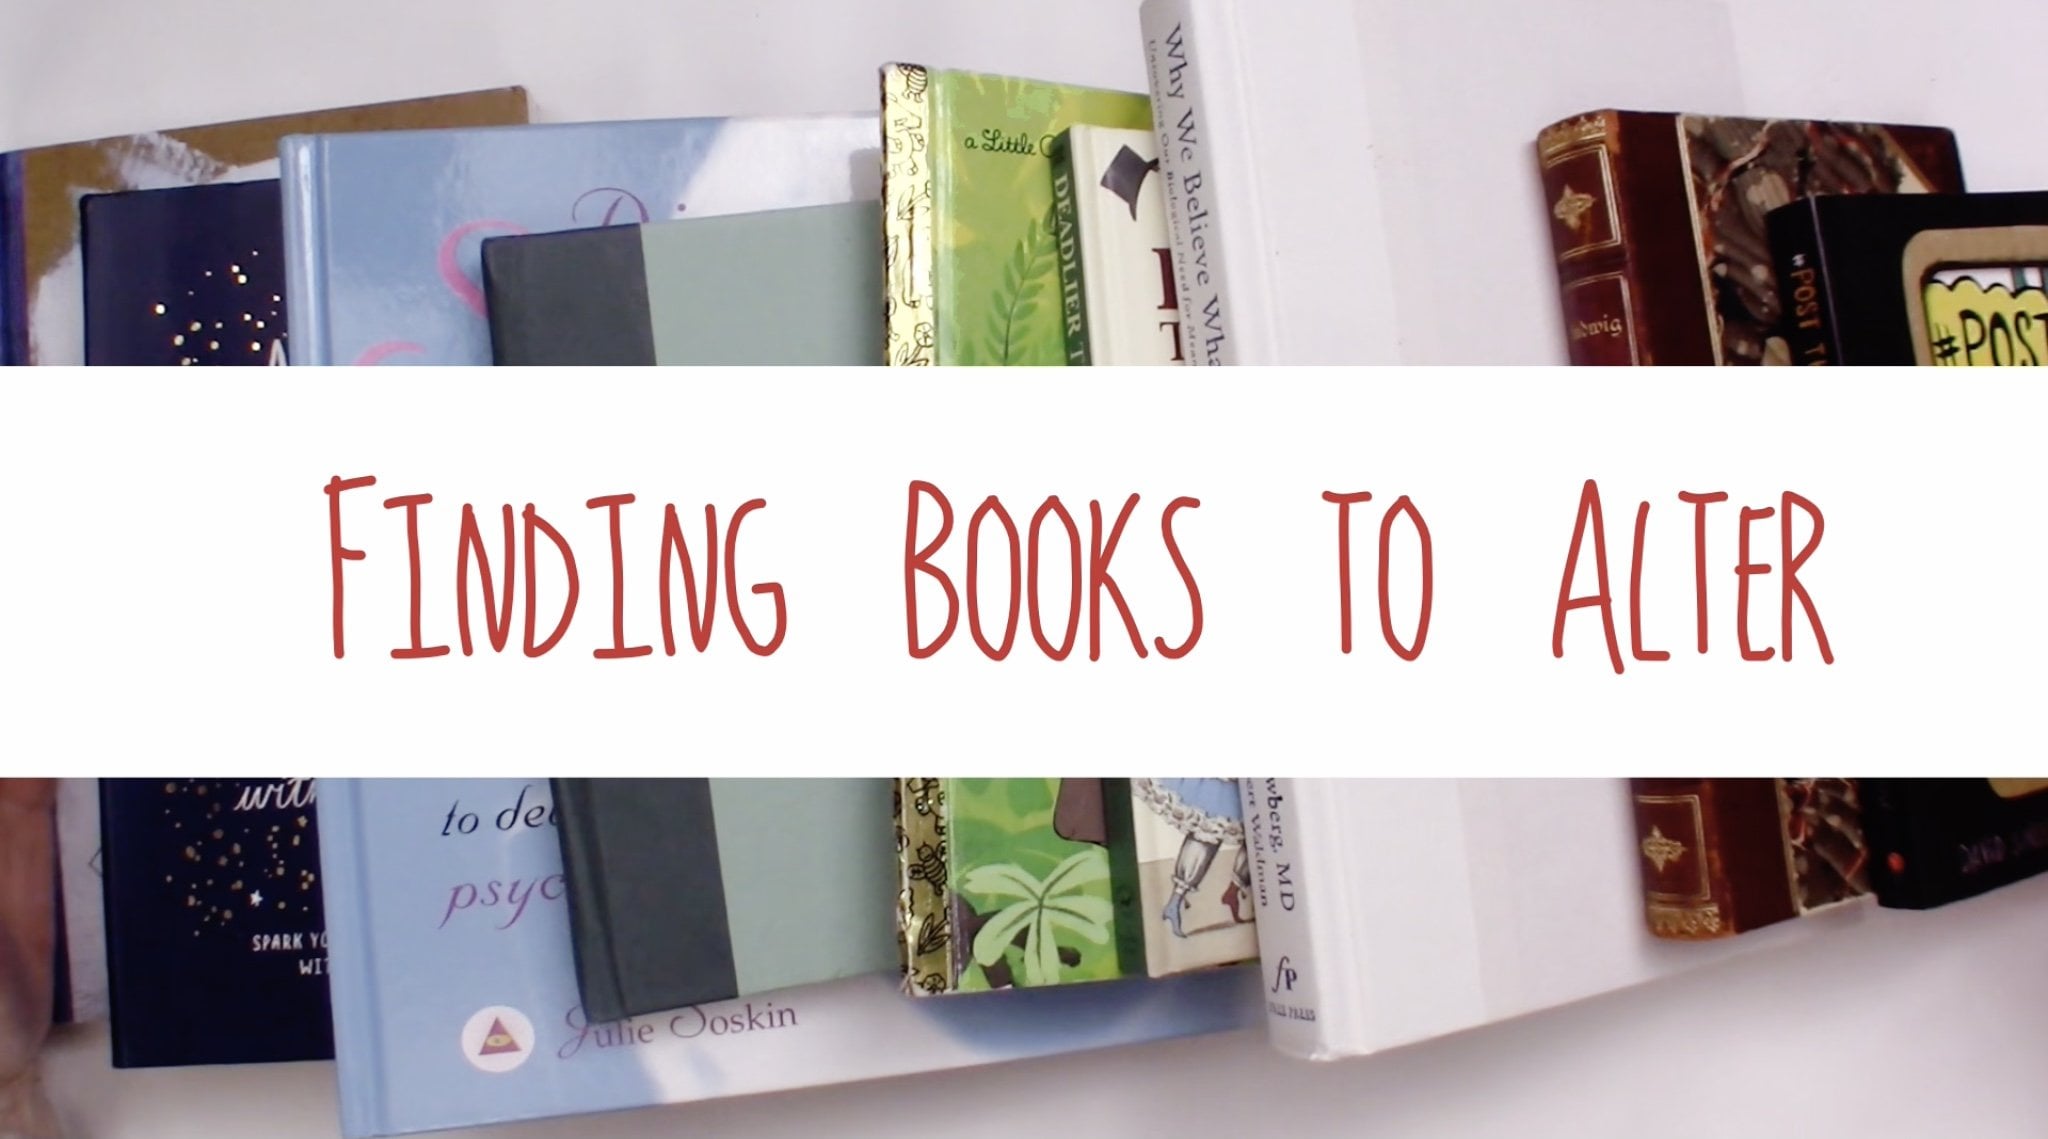
3. Examples of Rework: After doing art journaling for five years on a weekly basis, I have a lot of pages that are either undone, finished, or I just didn't like them. So what I'm doing now is I'm going back through my art journals and I am transforming them. This particular page I actually liked, but I knew that I wanted to do something more with it. In the video that I'm going to show you in this class, you're going to see how I transformed that previous page into the one that you see here. It radically changed. I know that. But at the same time, I was able to bring out a lot more meaning than it once contained. And I found it to be more relevant for what I'm going through now. Before we get started, I just wanted to just show you one more example. It's got a lot of negativity in it. But at the time this was really important for me to get out on the page where I could see it, where I could feel it, where I had some sort of control over it. Journal pages are an amazing tool for transforming your emotions. And as you can see, I continued to transform this at a later date and gleaned some new meaning from it. Something that was less negative and more positive. Something that I really felt in alignment with this class will help you to continue to make those transformations that you want to make through your journal pages.
4. Getting Started: I think one of the things that makes finishing pages a little challenging is i 1 b. We often get stuck and we want to keep at it. But doing that just makes us more stuck. I find that if I can walk away from the page for a day or a year, in this case, three years. I can come back with fresh eyes and do some things that I might have been otherwise afraid to do. And one of the techniques that I'm using on this page is I'm covering things up. And right after you've finished to page, you've got so much invested in it. And it's hard to cover it up. I mean, you don't want to cover it up. You you your inclination is to keep going, invest more into it. But I have found a time after time that it really is about letting go. And so that's what all of this white paint that I am putting down. It's all about covering up and letting go. So if your, if you finish to peace and you just don't feel like you can start to do this part. That's okay. You don't you don't have to I mean, you don't have to ever. But you might find that if you can walk away from it for a little while and come back to it. And that is the wonderful thing about journals, is we can keep coming back to them. We can keep coming back to the pages. They never have to be finished, they never have to be done. You can take pictures as you go along, which I think can help ease the pain of of covering it up and doing more to it. Because there's very likely you will get to a point where you're like, oh no, I just ruined it. Oh, I wish I wouldn't have done that. And I think a lot of times we have to get to that point. We have to get to that point where we have ruined it because then you absolutely can just totally let go. Now I'm not saying that you have to go and ruin all of your fabulous work. So I'll do that. But don't be afraid of it. If you're afraid of running it, we're never gonna be able to come to a place where you feel that it is complete. You're always going to have that, that feeling kinda hanging over you. So step back. Give yourself time. Come back when you are able to continue. There's no time limit on these things. So at this point, I have been reworking this. And you saw the first thing I did was I put down some, some black lines and I was using a brush pen to do that. Preferably do that with a brush pen that is a permanent and let it dry enough so that you're not smearing it all over the place. Although I did get some smears on the page and I was just like, okay, that's fine, you know. And then put down your layer of paint. And generally it's gonna take a couple of coats. And as you can see here, I mean, this is nice and covered here because I put two coats on it, but this is just one coat. And you don't have to cover it up completely. Letting some of that background peek through is also a very bell technique. So don't feel like you have to do a cyclic code. But here I'm trying to put on a second coat, but my first coat isn't dry. It isn't really dry yet, so I'm just keeps UPS picking that up. So you really need to let that dry and you can do that with a hairdryer or heat told. Or of course, like my friend candy says, I love that. She always has her oven on low. She says pops, pops your artwork in there. But I don't know if I could recommend that because I didn't want to get in trouble for you. Burn-in up here, artwork or god forbid your house. Be careful putting nail them. Okay, so now I'm able to get a sank it layer on there and give it the coverage that I really want to give it. And I am going to do some more pen work and some more paint work. But at this point, this is another great time to really take a break. Because I've done a lot of work. I've released a lot at this point by covering over some of the things. And I'm going to give myself a break so that I can come back to this with some fresh energy.
5. Allowing a New Stroy: Okay, I've let this dry and now I've I've decided since I took a break, there was a few areas here that I wasn't sure what I wanted to do with. These are some magazine images of some dolls. And I just wasn't sure what to do with them. But I have decided that I am going to cover them up with a thin layer of white just so and you could just use your white glue for this, but you'll want to thin it down so that you don't cover it up entirely. You can still see that the image appearing through. And then what I can do is I can redraw it and make it my own. So basically I'm using the magazine images as a, as my model or a template, Something that I can essentially trace. Now, I have no idea if this is going to work out. But didn't really nice thing about journal work is if it doesn't work out, also you have to do is covered up. There's something else. I got a different paintbrush cuz I have a feeling were dip to them to their own paint. So I'm just going to completely cover over these. And like I said, you know, you can just use a regular coat of thin down paint to do this to don't have to use Jess. Oh, not at all. Okay. Am I think I'm going to also push this back. So I can do something a little bit different with this. And I call it pushing it back because you're not really erasing it in that covering it up entirely. You're just pushing it back. And they did something here on the bird cage. I wish I would have done the jess So instead of the white paint like I did. But that's okay. Alright. So now I really wanted to cover any more than that. Pretty much covered the whole thing at this point. That's okay. He said you can't be you can't be afraid of that. So the next thing I'm gonna do is I'm going to bring back some color to these areas. Now it's fine if you want to leave it white. Sometimes you know that white is really nice, but it might not be what a look that you're going for. But for this, instead of using this inexpensive craft paint, which tends to be very opaque, I'm going to use a more translucent medium. And there's just a lot of things that you can pick from. So please don't think you have to use what I'm using because you absolutely don't. But I just happen to have some, some of these Bombay inks. And what's really nice about these is they're very transparent, but they're permanent once they are dry, which is, I think just really awesome. Do you like to be sick up a little bit though? So I've just kinda gotta decide what my, what my attack is, hair or whatever it is that I'm trying to do. What colors, you know, these two look like. That might be really nice, really nice combination. So, you know, I don't need to necessarily decide MB for sure about anything. I can just put a little bit of my palace and make some clean water. Clean enough. Can almost use these like you would watercolor. And like I said, they're permanent once they're dry. I'd like this a lot better. Having a son in my in my imagery is something that is very common in my journal pages that it has a it has a meaning for me. And you'll notice that when you are working with your journal pages that some things will really come out and want to be a part of almost all of your pages. I haven't really decided if I wanted to make this all yellow, so I'm canon, just thinking around using up the last and what's in my palette there, trying to figure out what I wanna do. I wanna do this almost like a blue though for like a sky. See here, give it a little bit of aqua blue here, C. But I've got this nice and wander down. And I just said you can get some really great watercolor effects with these inks when you water them down. And they don't tend to lose it like acrylic paint does when you wander him down too much. So I put that over there on that side, that really light color, I'm probably going to darken it up, but, you know, you can always you can always add more. Sometimes it's hard to take away. So especially when you, you know, I'm I'm treating this like watercolor. So anytime you're working with watercolor. Going on really like when you've started off, is a really smart to do because you can always add more art, but it could be harder to take it away. And while this is permanent, so this is not watercolor that I'm putting down right now, so don't want to mess it up. And again, I'm not really sure what I wanted to do down here. So I'm just, I just watering down my ink even more. Kind of give myself time to think and adjust and figure out what it is I want to do here. Is, you know, just, just doing that, that really shifted what's going on in here. And I think I want to take another break from this, but I'm gonna go ahead and use up my, my ink because I definitely want just more colored. And I will probably continue to add more. So really think of these as these are just like your first, first layers. Whenever you kinda white out a background, like, hey, did you know it's like you're giving yourself a whole nursed surface to start playing on and really take advantage of that because, you know, you could go in any direction when she started doing that. Okay. I'm gonna do one more thing before I before I stopped, I'm going to get another color here. I'm going to pick orange for the sun. Just little sun rings. Davison rings. Give that that yellow. They're a little bit of a dimension by darkening that edge. That can really add a lot to your punished pages. Adding dimensional elements, which in a way is kind of what we're doing with this whole thing. Because now it looks like this, this background, the original background is Kenny in the background, right? And these things are coming forward now. And so you can play with that. Sometimes certain colors are going to bring things forward and certain ones are going to push them back. And you just kind of have to play around with it and bring out those, those different dimensions that kinda naturally want to come out on your page. Okay, I have a little bit of jess WHO left over here, so I am going to use it up or try to. I might have to turn to a different page. Let's see what do I wanna do? I'm actually just going to probably use this as more of a white paint. When I did that background, it's like I lost some of the dimensional aspects. These little, they're like little plants. So I'm gonna put some white back in to them to give it a shadow, which will help give it bring back some of that dimensional depth. But I'm using the just so which like I said, you can use just watered down weight because I don't want it to be as white as it was. And see I can kinda spread that out and the, my ink is still a little bit wet, so it's kind of blending in there too. That's nice. Sometimes you'll just have to play it and see what's going to happen. Actually, I have some irregular white paint here. I'm really going to bring this back out. Might even taller over this. Again, once this all dry eyes. Just adding some highlights. You gotta be a little careful at this point because when you start doing these things, a little bit can go a long way. So if I create a little bit of shadow over here, I like, I really like that. And all of a sudden I'm like doing it here and here and here and here, and then all of a sudden it's all flat again. So be careful through a little bit, step back, see how it goes. You can always add more layers, but it's a lot harder to take them away. So I'm going to take a break at this point and I'm completely dry because I really want to work on these images that I totally covered up. Then my next part is I'm going to bring them back out. But before I do anything more with the background, because the backgrounds like I'm pretty finished, I really need to work on my subjects in here. These are the characters in this story. And we've got some decisions to make. What story am I telling? What story do I want to bring back into this? What do I want to change it? What do I want it to say? Alright, so that will be in the next part.
6. Exploring the Middle: My original intention when I started to rework this page spread was simply to do something to finish it. I actually thought it was. It was pretty finished as it was and I was only going to do a little bit on it. But as I started to work on this, more and more things started to come up. And I think at this point my intention has shifted radically. When I look at this now what I'm feeling is a shift towards something that feels authentic, something that comes from within me. Originally I had magazine images on it and another scrap papers. That was not my own art. And I think I really, really long for that ability to put my art out on to the page and do that deeper work. So as I continue to work on this page spread, I imagine I will get more and more clear with my intention of why I come to this journal cage and what I wanted to learn from it. Having an intention when you start a page is so important in sometimes your intention is to just explore a technique. Other times your intention might be to find an answer or a deeper meaning for something. Whatever your intention is, know that you can find it through your journal work. But it is going to require you to have some trust, which can feel really huge. The color had an allow whatever's going to happen, happen. And trust that you are exactly where you need to be. Right? Alright. Ok. Yeah. Okay. So this is sponsored results. So these two terms. So it's it's, it's, it's, it's it's it's it's it's meaningless.
7. The Story Emerges: At this point, I am starting to see a story come out on my journal page in ways that I, I didn't expect, I didn't plan on. And now I'm really glad that I painted over these magazine images and painted in my own. I have a mother or possibly a grandmother over here with the baby. And this feels like a young person. She's got a purse that Phil significant and overhears a Christmas tree. And this is originally this was a bird house and I'm gonna go ahead and bring that back out with the Christmas tree over here for me. Doesn't feel like Christmas. But the word presence comes up and not present as an gifts, but being present, which really deals genuine for me right now that the message, a lot of what's coming out in here is about being present. I am going to continue to color in and draw over these things and see how it progresses. At this point, I think I'm done with like layers of paint and covering things up and bring pushing things back and bring things out. And now it's going to be a matter of going over it, maybe with some white gel pens, some other markers of some sort. Than just kinda playing with the details. It's really amazing what can happen at this point. And this is a point where you might feel like, oh, this is a good, you know, I'm, I'm done. But there's really some magic that happens when you keep going and keep bringing out the details and, and bringing things out. And maybe even doing a little journal writing on the page. So I will keep working on it. I will keep taking pictures of it so that you can see that progression. And also know that this is the first time I've ever try to capture this part of the process on video in order to get this to you as a gift. To see how you might also interact with your journal pages, especially the ones that you feel aren't finished or are still wanting to come out.
8. Details Explored: Well, it's been coming along really nicely. And let me zoom in here. I wanted to show you a few things that I've done. So I've been working primarily with unit ball vision waterproof. She could see that the unit ball vision pen, this has a very nice thick tip on it so you can get a really good line out of it. So it's not like super thin. Ok? And so one of the things that I've done with this is, is thick into some of the lines like that. But I've also added some shading lines. By doing this cross hatching. She can see in several places here. I also really, I brought out this I, which wasn't there originally at all. And so this is a really strong symbol in this painting. Now, this journal page. And I added a little staircase here and made this look more like a little house over here. I used a gray gel pen, a white gel pen, and then the Universal black to bring this little house out over here. The other thing that I've done, you can see I use the white gel pen up here adding stars. And we also added some, just some little white highlights in here to help bring out these different shapes. And they started to put some little dots in here, but I really wasn't that happy with the way that was working out, so I just left it like that and that's fine at it. A little bit of gray hair too, to her because I did decide that she is a grandmother holding her grandchild, which has a little boy. So I've kind of brought out some of the colors in there. And see down here I've got some nice texture going for the, for the ground. And after I was done doing a lot of the pen work and I think how I might continue doing some of this, I use this Stigler Mars luma graph. Black pencil, and this is an 8B, so it's it's pretty soft. It's almost like a charcoal. Okay. In fact, you could probably use a charcoal pencil for this or a stick. And what I did with this was I was adding some depth to it by adding some shading. So in addition to the hatch marks done with the black pen, this adds some really nice shading that helps to bring things out. You've seen that coat. So overall, I'm pretty happy with it. I even did some little doodles on the bird cage over here and just get a lot of this is just I just did little doodles and stuff, so nothing like specific. The only thing that I'm not happy with at all, and this is this tree. And it's funny because I was never happy with that ever. And my kinda wonder if I should just leave it like that because it bothers me so much that maybe it just needs to be there like that. And that is part of the story and the message that I can glean from this, as you can see, there's a lot of symbology and here, symbolism in here. And I am a house. And I purse, I thought this was a son, but now I'm thinking it might be something else. And then there's a, there's a few other things. It's like what is this over here? This is like a little table. But what is that on it? You know, there's little curious things that happen like this when you allow yourself to just doodle and not try to make it into something. Instead, allow your subconscious to come out and play on the page and see what happens. Some might say this is a way to get in touch with the voice of your soul or spirit or some divine guidance. So all in all, pretty happy with it. Not like a mat, but you know, not liking things is also, I think, an important part of the visual journaling process. So I hope you have enjoyed this little demonstration of transforming a journal page, doing small final touches on it. And it really is the little touches that you do at the end. The little hatch marks and the gel pen with the stars and, and shading and things like that. You can really bring out an image and really polish it with just a few simple techniques like that. Okay, one final thought, I had to do it. I had to I couldn't go and fix my tree. Well, okay. So maybe it sticks out more now, I don't know. You know, this is this is what happens. But it's good. It's all good.
9. Final Layers: As one final layer you might want to do to your journal pages is you might want to spray it with some some map medium. And I have some mod podge, Matt spray and it'll help seal everything in some of this stuff. It's really rubbing off on my hands. The black, the Mars Black luminous pencil, huge mess. Cleans up really easily, but you'll probably want to spray your page down when you're done using that. Okay. I think that's it for that one. Tomorrow's a new day and a new page. Almost forgot my mark thing. Another advantage to spring down your journal pages with a sealant like this is if you do ever do go back to them and do more work kinda like I did with this one. You any water-soluble mediums are gonna be nice and sealed in there so they're not going to come back up with you. And you put more on it. Of course, you can always, you know, take a page and spray it down before you start working on it. If you didn't know if he did it ahead of time or not. So just another advantage to using fat. Actually, I should do it this video in itself. Finishing tip. Some sort of acrylic clear sealer. Preferably Matt. Definitely do not want to use gloss. But you want to use something like this to spray down your pages when you're all done working on them. Or you want to add some more layers on top of mediums that are water-soluble and you want to seal them in before you start adding another layer on there. This is an invaluable tool to have around. It's a great all-purpose. Seal everything in as a finished sure. Or if you're going to start working on another page that you have, you're not sure about what the mediums are on here. Give it a quick spray. It'll help seal everything in. The reason why you don't want to use gloss is because if you use Gloucester pages are gonna get really sticky and they're gonna stick together. You might get some stick even with something like this, but it's not going to be anything like if you were to use a gloss. So stick with some sort of Matt sealant, preferably spray. Just because if you take if I took a brush over this Now, some of my black lines, they just smear all over the place and then I'd be really like, really thought, well regarded all okay, I'm out of here. But
10. Time to Share: Okay, now it's time for you to post your reworked or finished page in the classroom. And I really hope that if you have gotten started, you took my advice and you took a before shot. Now you're going to want to take an after shot. So wherever you are in the stage, taking pictures of your work along the way, even if it's just a before and an after are really going to, I mean, of course you can, you know, share it in the classroom. I love that. But it also is a way for you to document your progress. And if you're starting with a page like, this is a page that I actually really like. And but I'd like to do some more on it, but I might be afraid. So taking that before shot can help his. Thank You. Can save it. So make sure that you have before and after shots and any shots it along the way in between and post them in the classroom. All right. And I know on skill share, you can only post one pitcher, but there is a way in the comments for you to add more pictures. Okay? So you'll have your one main picture which you could do a on your, on your phone. You have probably can download a free app that will let you do combined to images. And that's a really great to do before and after. Or you can post your aftershock. The one that you really want to highlight is your main photo. And then in the comments to your post, to your project, you can post other photos, okay? If you have any troubles, let me know and I will walk you through it. Alright. Thanks so much for being a part of this class. I loved teaching it. I loved sharing. This is such a wonderful opportunity and I cannot wait to see what you do, right.
 Karen Dawn, Creative Soul Journeys