Transcripts
1. Introduction: Hi, my name is Cornelia, and I'm a mixed media artist. Today, we're diving into
jelly plate printing. Whether you're new to this or
you just need a refresher, this tutorial will cover all the essentials you
need to get started. So, first off, what
is a jelly plate? A jelly plate is a printing plate that you can
use for monotype printing. Monotype printing
means that you can't create a series of
the same subject, but you create in just one
print that looks this way. It's really a low tech solution. You don't need a
printing press and you don't need special
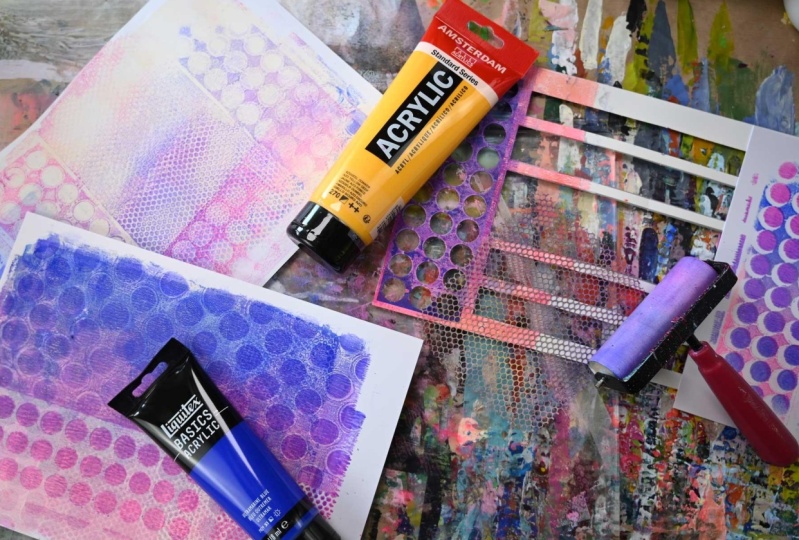
printing inks. You just need the jelly plate, regular acrylic
paints, a brayer, and brushes, paper,
and your hands, and you're ready to get
going. Let's start.
2. Your Class Project: For the class project, I want you to take a picture
of one of your prints. I think you will probably
create more than one because this is just the
nature of this technique. But you can show
us all of them or at least one and upload it to
the class project section. I can't wait to see what you create with this fun technique.
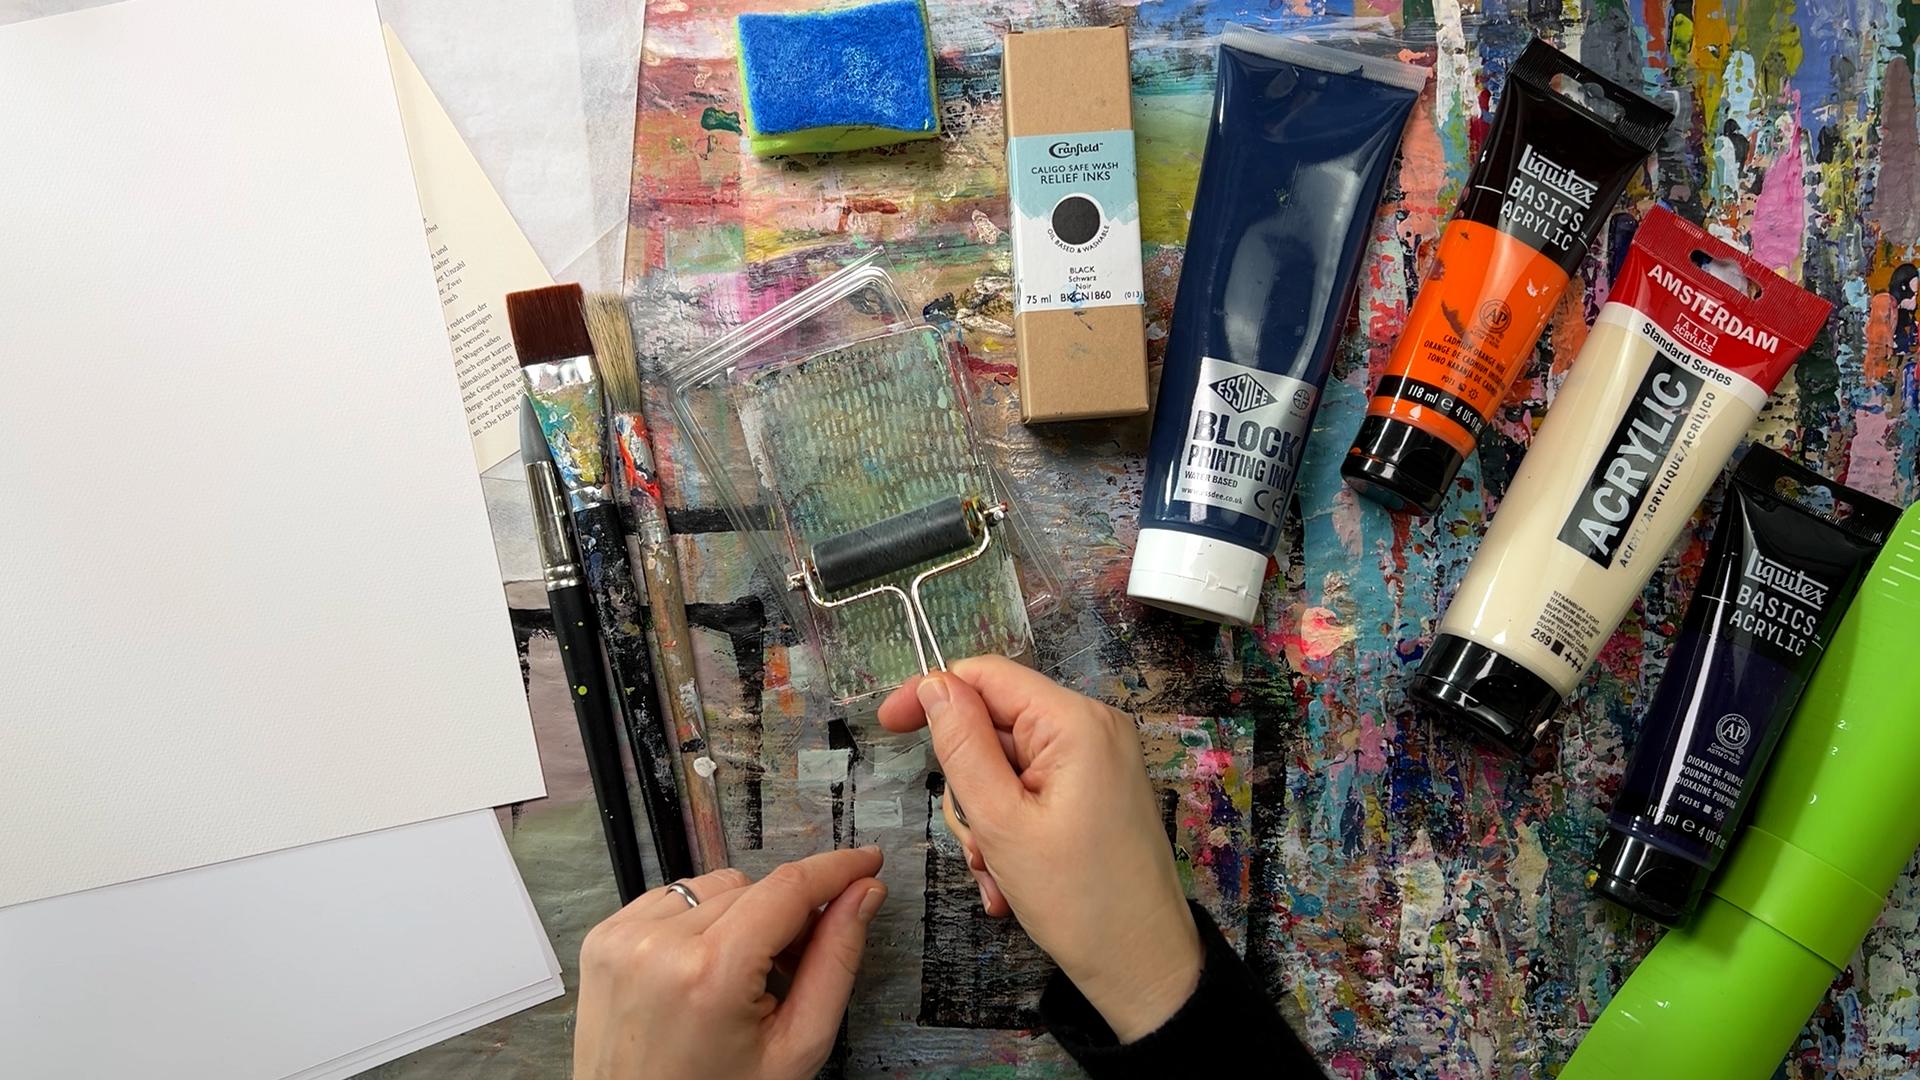
3. Essential Materials You’ll Need: Now, let's take a closer
look at the materials. So first of all, you
need a jelly plate, and they come in these
plastic casings. If you don't have a jelly plate, but you can't wait to try
this mono printing technique, you could give it a try
with a silicone baking mat. It's not the same, it
doesn't work as well, but it works to some extent. But the real fun such
was the jelly plate. So I would advise you to
start with a small one, maybe not as small as this one, a little bit larger, but not as large as the
one that I showed before because I hardly get that out because it
takes so much space. Then when it's too much
effort to take it out, that really makes
you not use it. So when it comes to paints, you can best use acrylic paint. That is the most advised
type of paint for printing. But you can also
use printing inks, like this block printing ink
is water based or this one, it's a relief ink, which is also it's oil based but washable,
it's water based. You are allowed to use oil based stuff on
the chilly plate, but you have to be careful to not leave it on for too long. So personally, I haven't
tried it before. When you're starting out,
the most inexpensive paper and the best paper to use would be just regular
printing paper. But you can use
papers from thin to thick depending on what you
want to do with the prints. For example, if you want to
use your prints in class, you might want to use
tissue paper or rice paper or maybe even magazine or
book pages or wrapping paper. If you want the pieces to
be standalone artworks, you could go for watercolor
paper, bristol paper, mixed media paper,
anything like that, you can also use thick paper. So it really doesn't matter. Obviously, when you use
things like watercolor paper, it has more surface texture, so the print will
reflect that texture. So really try it out and see what you like best and what gives you the result
that you are looking for. When it comes to
applying the paint, what's really
useful is a brayer. If you use a prayer
like this one, which is a really economic
student grade brayer, you have to be
careful when you roll the paint onto you or
plate that you make sure that these metal
things are to the upside. Otherwise, you might
scratch into the plate and like permanently leave a mark that will show in later prints. You can also use brushes
for a more painterly style, and then to create marks to
subtract some of the paint, you can also use any
silicon tool that you have around the sample. The real fun starts when you implement different
materials and you can go around your house and look for stuff
that you can use. The most obvious and well
used for tele pt printing, which you probably have
seen before is bubble wrap. I also like to use
these nettings that are from fruits
and vegetables. You can also use shelf
liners or any other kind of textured materials to
create texture in your prints.
4. Easy Gelli Plate Print Techniques: I will now show you
two basic techniques to create prints. So let's get out this
big jelly plate. As you can see, it
is still covered with two plastic sheets. I like to leave the
plastic on the bottom because if I put it down
on my textured surface, all of this texture will make an imprint on
the cheli plate. It's really soft, so
you want to keep it on something that's
flat and dust free, but you can also
leave on the plastic. Now I have to pull up the
plastic to get started. Let's create our first print. We will start with a brush. You can get out the paint
directly onto your jelly plate. Or you could mix it on
a palette separately. This is a bit of a weird
color combination, and I've challenged
myself to use two colors that I
seldom use in painting. Maybe I'll add a third,
like a fourth color. And now, basically, what you do is you want to
spread the paint. So the thing with
the brush is that you will not get a
very even layer, and this can result in drying the paint in some areas before
you can pull the print. And also it might not
transfer as well if you have thick areas
just some places. So let's just see how we do with the amount of paint I
have here right now. So I'll just put down the paper and you can
do this from the side. Lighten it out, and spread it, get out the bubbles. Just push it down
into the paint. Now you can actually pull
the print immediately. Let's see if we have too
much paint or if it's fine. Oh, it actually
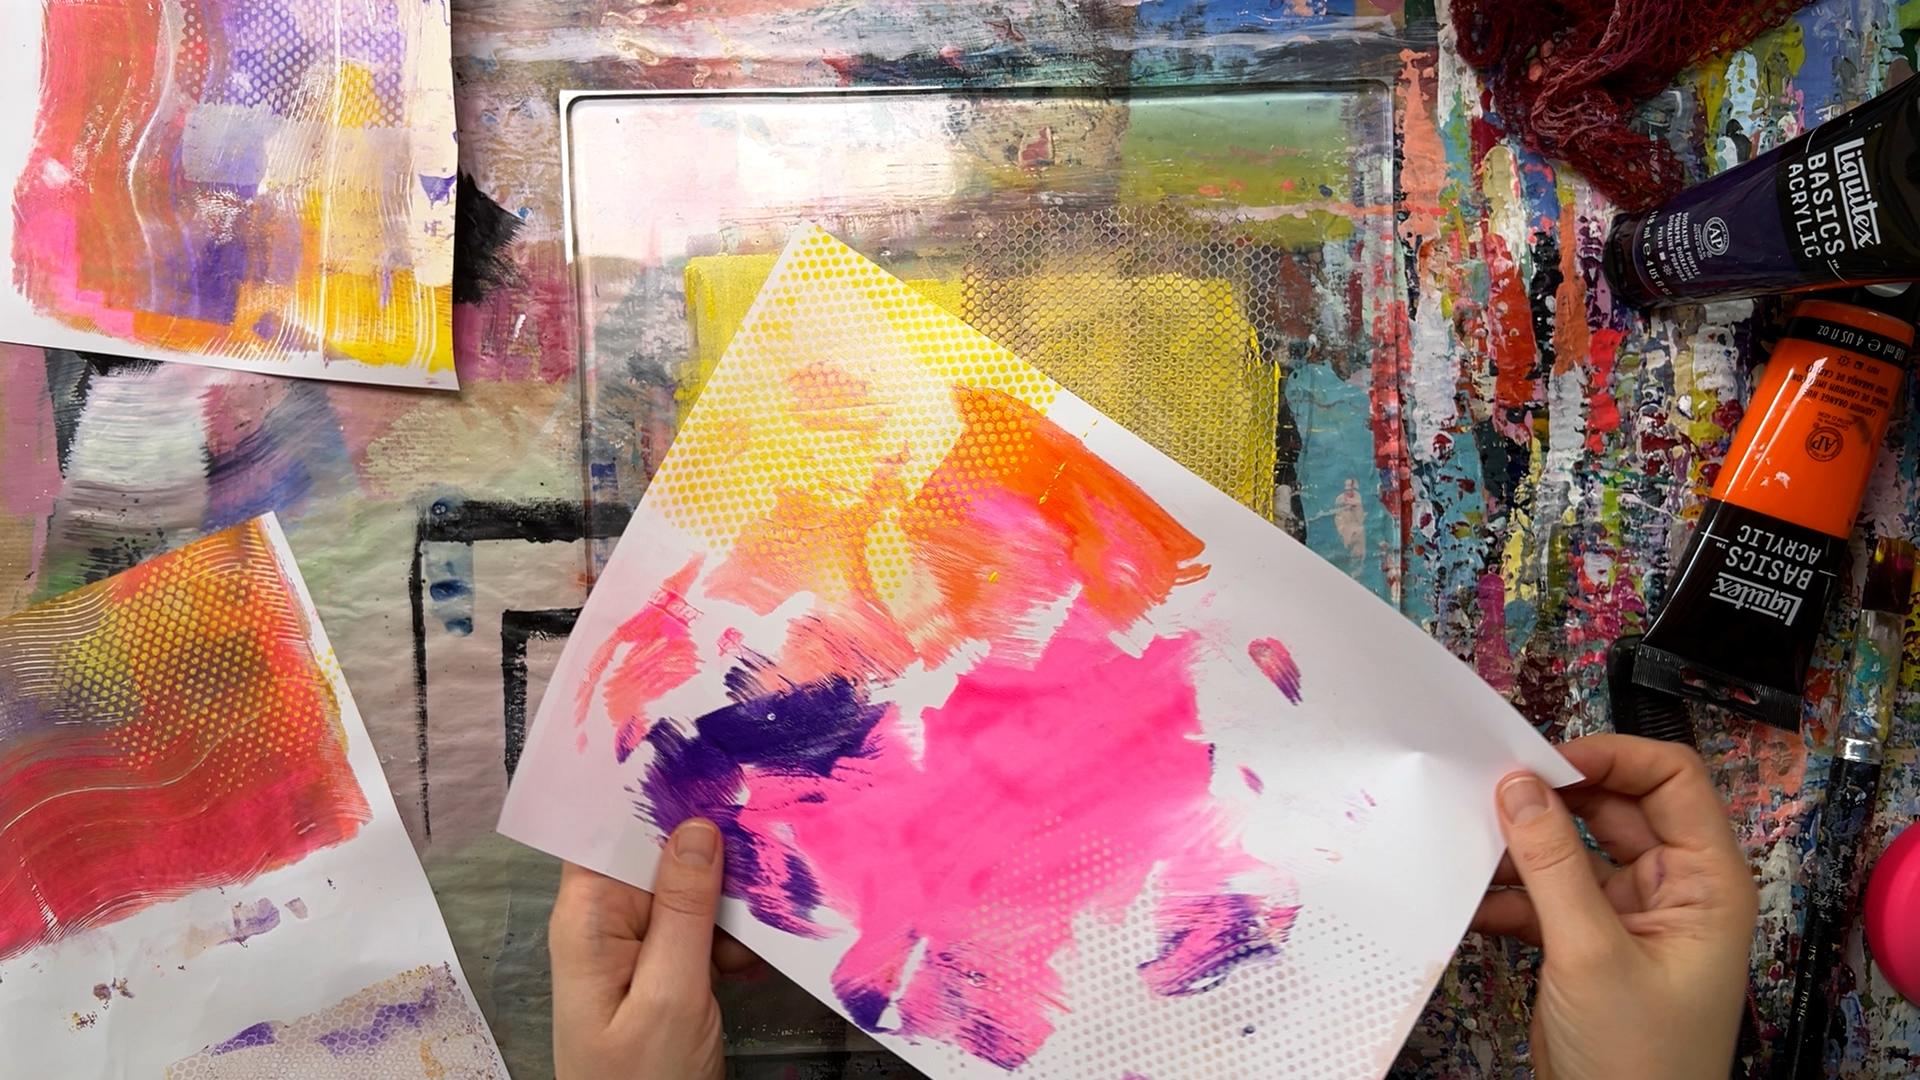
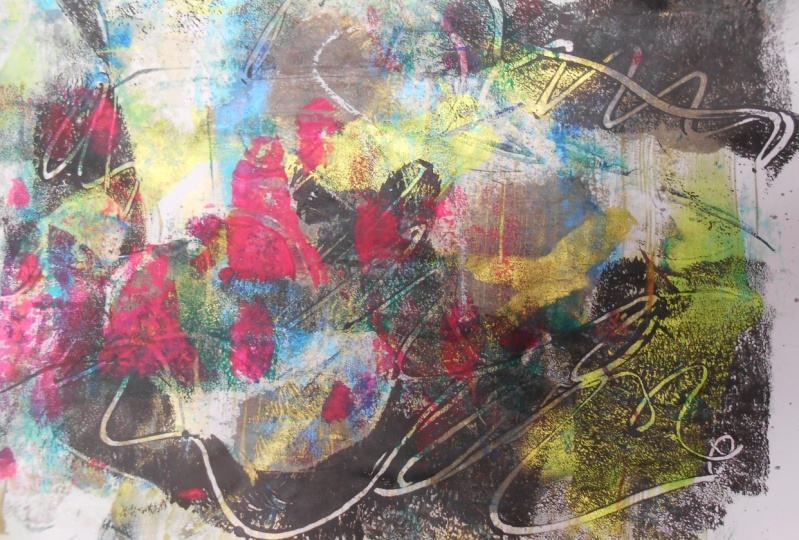
looks pretty cool. As you can see, we have
transferred our brush marks. We have actually created a print that looks a little
bit like a painting. You can create a second print, and this is called
a ghost print. It just uses up the rest of your paint helps to clean the plate and often has
a very interesting texture. One thing about mono
printing is that you need a little bit of
space where you can put the prints because
as you will see you will create a lot of
prints in a very short time. Let's just add a little
bit more paint here. So the first technique
that I want to show you is that you can
subtract things. You can use the
backside of your brush, make sure it's not sharp. It doesn't have any
sharp edges feel for it. Then you can actually
draw into this. It's really smooth and glide. And you can just create some interesting
shapes and lines. Then before this dries, again, you want to pull a print. You could also put down
the print like this, start in the middle, and then
let it down on each side. Move it out. Pull the print. Okay. So you can see
the marks that I made because I pushed
the paint away and we will very quickly
make a ghost print because I can see that I have
had a lot of paint on here. So there's still
something to pull off. If you leave this
on for a long time, it will tend to pick
up most of the paint. If you pull it immediately, it will depending
on the amount of paint it will not
pull all the paint. Let's see. Okay. So sometimes the ghost
crate is even more interesting because here we
have already in these lines, we had a little
bit of paint left, so we have picked that up with the first one and
now with the second one, which is have the
negative lines. Now let's create a gradient
with the brayer and texture. When using a brayer,
it's always useful. So have a piece of
paper on the side where you can clean
it up if you want to. Using a brayer on a
all plate gives you a more even surface compared
to the brushing marks. So now when I want to
create a gradient, I'm just going back
and forth while I'm going slightly upwards and
downwards to blend the paint. Now, when I go down here, I will take the white with me. So I'm fine with this. But there's this point where you don't want to go
all the way up again. So I think it's a
little bit too thick. I'm just cleaning off my brain now to make that
blend down here. And one up here. Has to be a little bit fast now because it starts to dry on me. Now you can use
different things. Think I just put
the netting here. Just for the sake of
trying all of this, I'm going to put
these down here. With some things you
can immediately, you can create the texture
by just pressing it down, lifting it up again. Also here. With this one,
it's a little bit harder. So in this case, I
will leave it on. Okay, let's see if we still have wet enough paint
to pull a print. With such a thin layer, it can sometimes, like, felt bit tricky to get print. So here now, while I still have the
material on the plate, I really want to push
harder because I want, like, the paper to
touch the plate. Let's see what we got if we
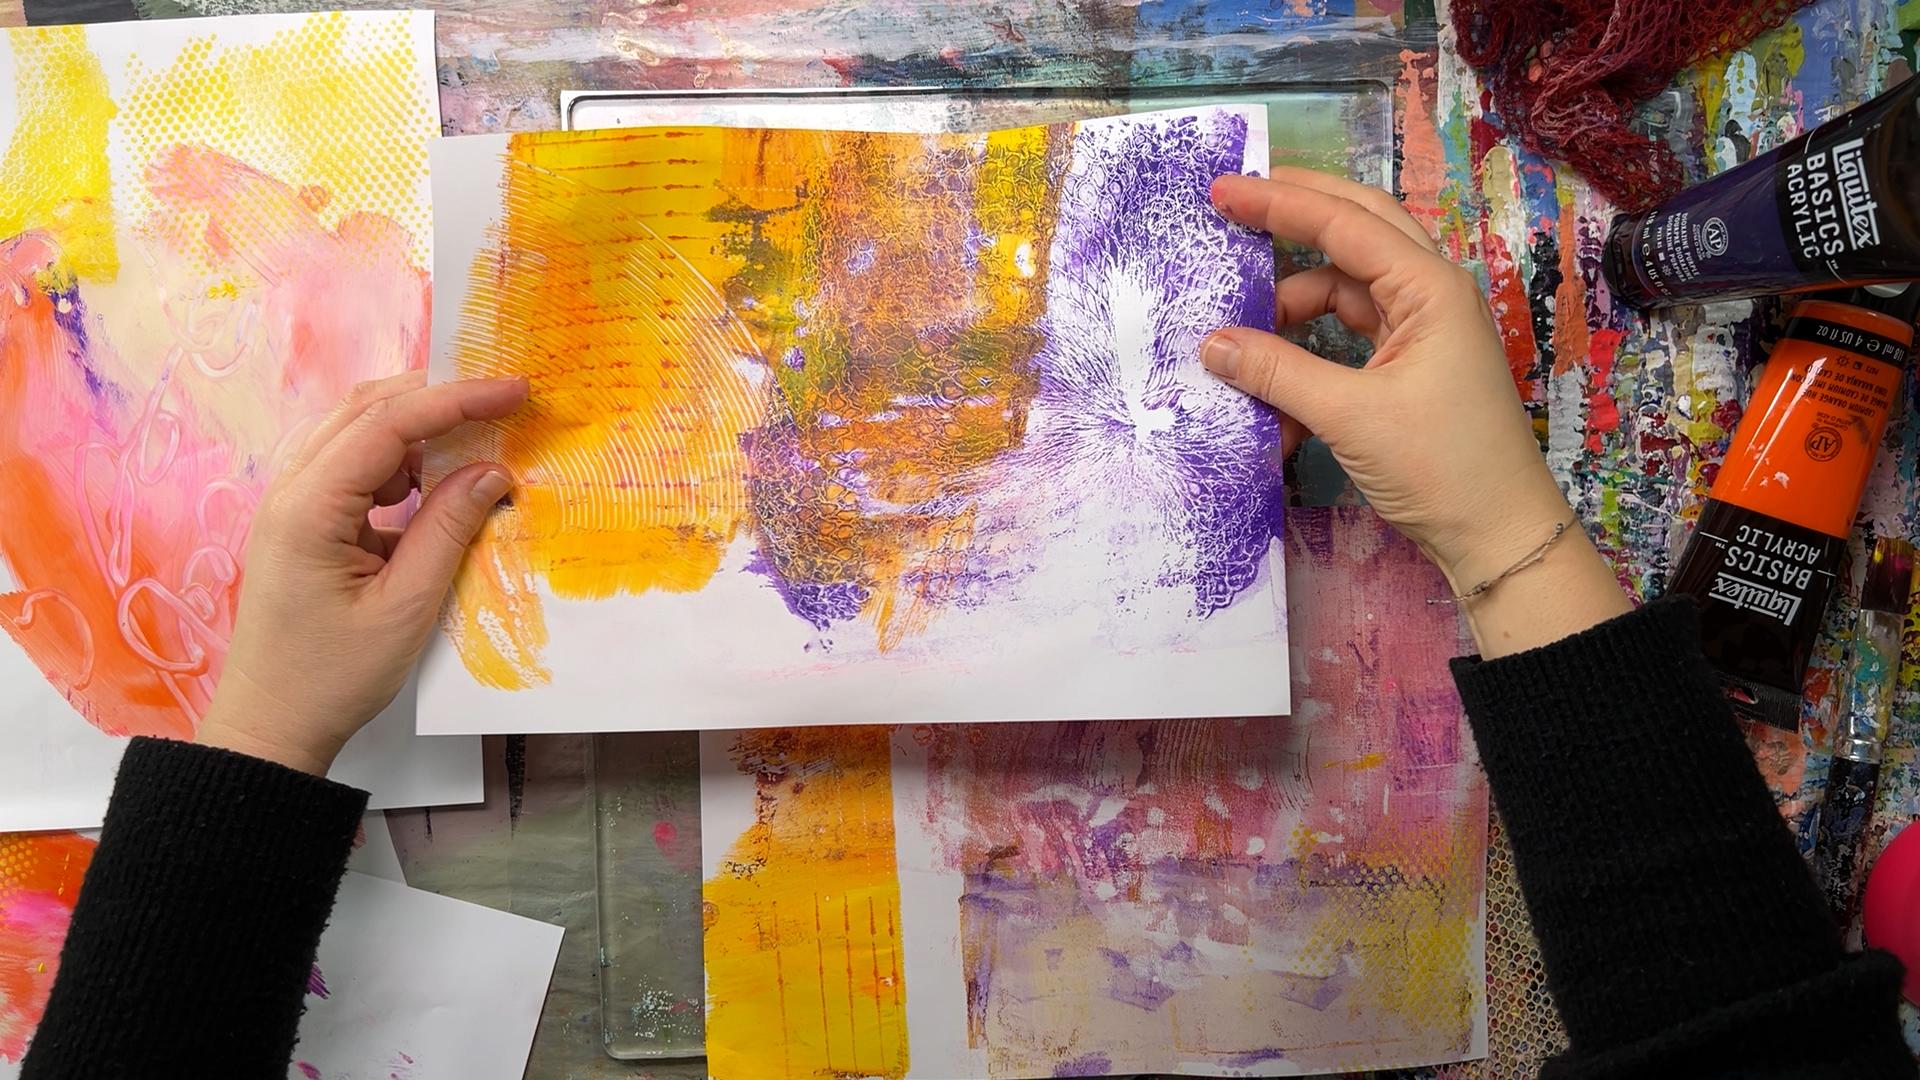
managed to get anything. Isn't that cool? Here you can see that it has, but first applying the texture
materials more subtle. It has actually
picked up some of that texture and
some of these areas. And then when you
print it there it misses and here it actually has the material held off the paper from
touching the surface. Now you can remove that. And in this case, I don't think we will
get a gross print because this is
already too dry now.
5. Avoid Common Printing Issues: One of the mistakes is that the paint on the plate dries on you just as it has after
I pulled this print. What I've now, De is, I've
left it to completely dry, and then I took what paint to completely cover it up with
a fresh layer of paint. What do you want to
do now is you want to wait for this to dry longer than usual because when
I pull the print immediately after applying
the fresh layer of paint, it will depending on the
thickness of the paint, just pull up that
fresh layer and not the dried layer of paint. So we want to be
some kind of a bond between the new paint and the old paint so that it
pulls up all the paint. I'm not quite sure if
that is ready yet. It's still bucky,
so it's still wet. I will just try it if
it's already ready, and if not, I will just
do it a second time. So now we've pulled the
ghost print, kind of, but not immediately because
it was already dry. But we have applied another layer of acrylic
paint and then pulled it. So this is the ghost
print from this here. Let me show you just one
more beginner mistake, and that is using that
is using too much paint when you have a lot of
paint here on your plate, and then you push this in to create some texture and
maybe you don't push very hard and you pull immediately. You don't get a very
distinct texture. It's visible, but not very much. Then probably the
ghost print would give you a better result, see. When you want to have
a more visible result, it's really important that you use little paint Okay. Now that I had less paint, the texture of the
bubbles is more distinct. So here you can see very
detailed bubble shapes. Whereas here, you can
see bubble shapes, but they are more blurry
because there was just too much paint
on the plate. You can use all kinds
of mark making tools, but you should avoid
anything that is sharp pointy, like a quill, like a pencil, if it feels
too sharp, too pointy, don't use it because
you might leave scratch marks in
the chal plate that are permanent and
they will show up in every print you will
create after that. The other thing that you
should avoid according to the manufacturer is
using glossy paper. And with this, I think they mean high glass paper
and photo paper. I have seen lots of
people using magazines, which are also a little bit
glossy, but that's fine. I think photopaper is also covered with something
like gelatin, and it will just
stick permanently to your surface and
will ruin the plate.
6. How to Clean & Store Your Plate: If you want to clean your
jelly plate, you could, like, try a paper towel and see if the acrylics still
come off because the jelly plate is a
little bit, like, soft. It tends to rub off. You can also use dish soap. But if you have very thick
areas of acrylic paint, it will obviously not come off. You can also use baby
wipes and hand sanitizer. But as you can see, like, just using a paper
towel I'm actually getting off these thin
residues from my acrylic. In between the prints, I usually don't clean
my plate because I like how the residues show
up on the other prints. But when you are done, you can use that. And actually, you want
to do that because when you have thicker
pieces of acrylic, it will actually leave a mark, and you can also, like,
rinse it in your sink. I'm just not doing
that right now because I can't take
my camera there. You can use hand
sanitizer or baby wipes, but I don't like to buy a whole pack of baby wipes because the
last time I did so, they dry it out because I
didn't use them that much. So hand sanitizer
is a great option. Why it works, I think, is because it has some
alcohol in it, and alcohol tends to
dissolve acrylic pain. So this paint here has been
sitting on for quite a while. And it is actually
whitish paint, and it is coming off, but you have to rub quite a bit. Let's take a look at how the
tape will work with this. You want to use just
normal packaging tape and stick it on your plate then
tear it off again. And it already has
pulled up some of that paint residue that has
been on this one forever. You can use it several times until it's not sticky
enough anymore. All right, so this
is my jelly plate. Unfortunately, I couldn't remove the marks that I made
with acrolic pen. Maybe they'll go away over time, but I don't think they
will show up anymore. Otherwise, it's now,
again, pretty clean. Once you are done with
cleaning and it has dried, you want to put on the
plastic sheeting again. Try to do it without bubbles, which is a little bit hard. Because the bubbles might
later show up on your plate. Anything that presses into
the plate will leave a mark. Then you want to put it back
into the plastic casing and you're good to go for your next jelly plate adventure.
7. Final Thoughts: So we have started
out with creating a painterly print using our brushes and painting
directly onto the plate, creating a first print
and a ghost print. Then we have moved into
a subtractive technique. We have used the backside
of our brush to actually remove or push away
some of the paint. Again, we've created a first
print and a ghost print, which actually that would be the correct orientation
to have them both. Then we have moved into using a prayer,
creating a gradient, and then putting down a couple of different materials
to create texture. We have had two options. First, press down the material,
remove it immediately, and the other was to leave the material on while you print. Then we have run into one
of the common issues. Some of the paint
has already dried. So what I have done is I have
left it to completely dry. Then I have added
another layer of white or it could be any
color with my brayer, and then I've put
down the paper, waited a little bit longer, and then I've pulled
the ghost print. Finally, we've looked in
another common issue, which is that of having too
much paint on the plate. So when you have too much paint, you will not from putting
down the texture will, you will not get such a
exact detailed imprint. So then when you have
less paint on your page, you will get more detailed,
more crisp transfer. That said, even if some of these prints don't look
like something spectacular, keep them at least for a while, because what you can do is
you can print on them again. You can create layer upon
layer upon layer until you find something that's really interesting and worth keeping. Hopefully, you now have
a good overview over this really fun and versatile
mono printing technique. I would love for you to
create a class project and take a picture of
all of your patches or char swam and share them with us in the class project
section of this class. I can wait to see
what you create. If you like class, please take the time
to leave a review. It's not only great
feedback for myself, but it also helps other students decide if this
class is for them. That said, have fun
creating and I hope to see you soon in another of
my classes. Bye for now.
8. Bonus: Make a Gelli Print Journal : To take this further, I have a really
cool idea for you. Obviously, these could be
add works in themselves. If you keep working on
them, if you keep adding, maybe you want to
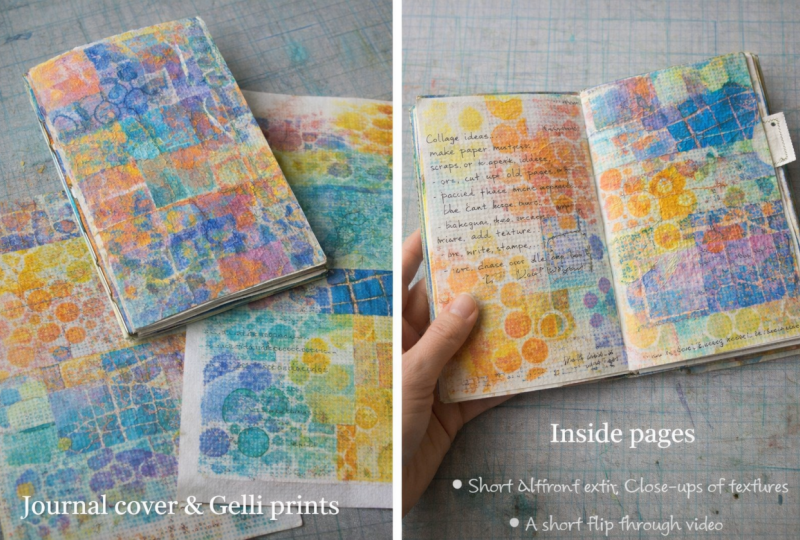
collage on them or however develop them further, they can be standalone at works. But if you have a lot of
these practice sheets, you can use them for collaging in your channel,
you can just cut them. Or you can even create an art
journal out of these pages. So if you want to do that, I would let these papers
dry and once they are dry, I would also print
on the back side, either with the same colors or a slightly different
color scheme, but somehow repeat some of the colors that
you already have on the front so that you have papers that are
colored on both sides. Then I would also work on treading papers like putting them into the paint
with just a side, so you have some pages where the paint
goes over the edge. And once you have all of these papers and
you have them dry, I would just fold
them up and then use a stitching technique just
to create an art journal. And then you have a
really good basis where you already
have some textures, some colors down there, and it's really a
great way to have a cohesive thin and then
keep working on this. And it's a great use of
all these practice sheets.
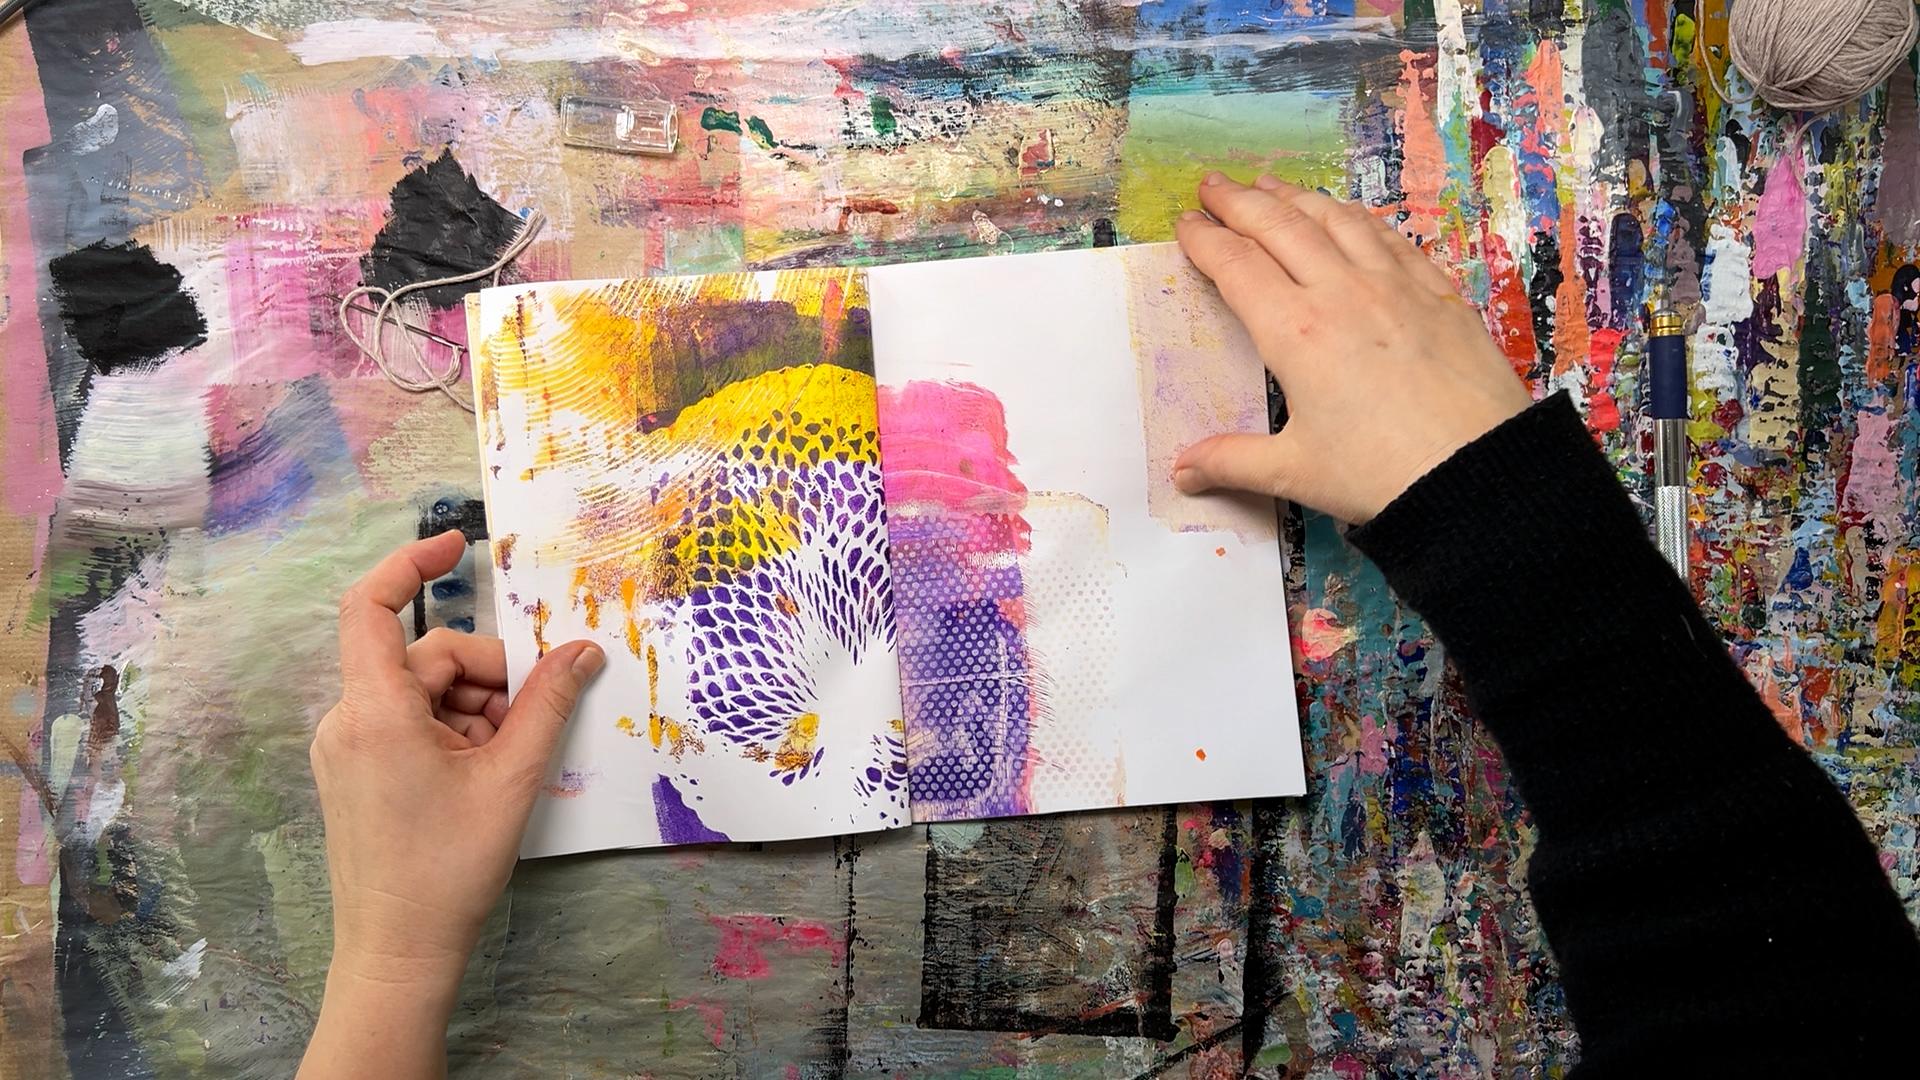
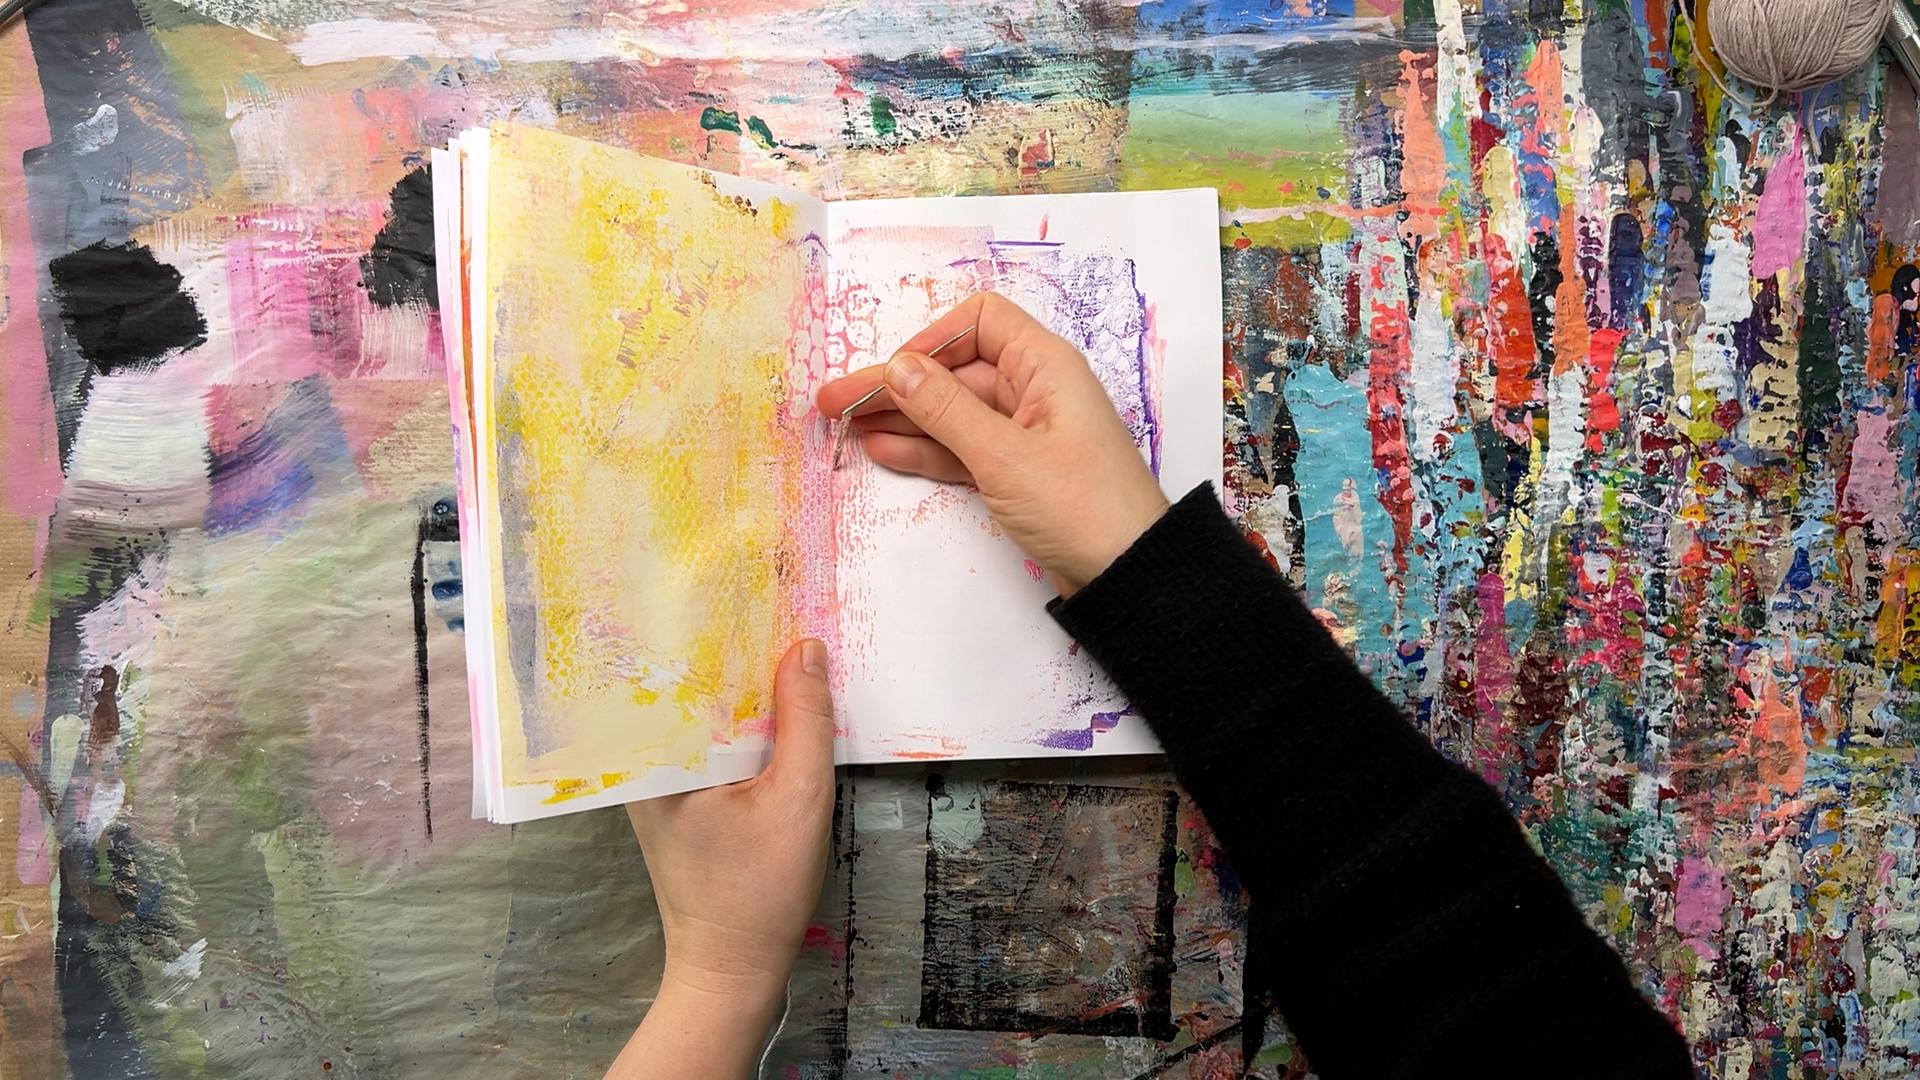
9. Thread-Bind Your Handmade Journal: So for this bonus video, I want to show you
how you can use your practice sheets to
create an art journal. So all you need is a thread, a needle, and your hands. Actually, nothing
else. Maybe scissors. I just at the moment, I don't have scissors around, so I'm losing my cutter. Things tend to get
lost in the studio. So you need a thread, and you want to thread
it into the needle. So this is a little bit of a thicker needle, so that's good. So we put that to aside, and we have all these papers. They are really interesting.
Really like this one. I was so in love with this
dot texture that happened with one of these fabric
pieces. So I love more. This one I love less. And now we could really overthink the order in
which to put them together. But let's just let
Chance do this. Maybe because I love
this one so much, I want it to be my
outside, like my cover. You could use a thicker
page for the cover, but yeah, I don't
really have to. Now what you can
do, you can fold each each sheet
separately or you can just do it like I do want
to fold them all at once. And then press it down. Now, we want to
make three holes. You can use your needle or you can use an all if you have one. I don't have it right here, so I'm starting in the middle. I'm pushing through
parallel to my table. It's a little bit
hard with a needle because it's hard to hold. So then you want to move a
little bit up and a little bit down and make a second
hole and a third one. And here. You could
also measure this out, so that is exactly
in the middle. But, you know, I
don't care so much. Okay. Now with this technique, you will have some
thread hanging down. I want this to be
on the outside. I need to start from
the outside in, go through my pre made hole,
come out in the middle. Then I want to go outside
through one of the other holes. Then I'm moving down to the third one,
going inside again. Then coming out
again at this one. If you can, you want to
be on the other side of this middle part of this thread that
connects the outer hold. But you can also do
that afterwards. Now you want to pull a little
bit so that it's really, it's not loose, then you
want to make two or 3 knots. And that's already it. Now, you would
scissors or cutter. And you just cut off the pieces. This is just going
to stay like that. I think it looks nice. And yeah, now you've
got a journal. I have left it up to chance
to what I will now get, what kind of pages will
be opposite each other. But I kind of like leaving things to chance
because otherwise, you tend to overthink it and think about how you
want to combine it, and then you maybe
have pages that are so perfect that you are
afraid to work in them. So this gives you a
good starting point, but it also is open
to adding more and, like, working in this journal. So, that's it. I hope you like this project and take a picture and post
in your class project or take a flip through
video and tag me on social media at
Cara CB Design.
10. Bonus: My Printmaking Process: [No Speech]
 Cornelia Zelinka-Bodis, Mixed Media Artist