Transcripts
1. Introduction: Hello and welcome
to the short class and which I will be
showing you how to easily frame your own
works on paper with the past back to
my name is Nadia, and I am a professional artist living and working in Berlin. I work a lot on papers. So for me, framing the
work is the best way to preserve and present the
work once it's finished. But I don't always
work in the same size. So for ages I found it really difficult and expensive
to get passed by twos or met boards that would
perfectly match my artwork. This is why I started
making my own past plateaus and buying changeable friends
from my local art store. It is true that initially the materials seem like
a bit of an investment, that if you work a lot on paper and want to have
your own work framed, it will definitely pay
off to get the gear and start making your
own pass by twos. In this class, I will
walk you through the materials we'll be using, how we prepare and
kappa met board size. I'll usually be referring to it as a password to
for the most part, how we measure out the
inside dimensions or as I sometimes call it the
window of our passport too. Finally, we'll go through
the last steps of inserting the painting with the pasta to into the frame
that we've chosen. If you're creating work
on paper and framing it, using a pass plan is
preferable so that the artwork is not
in direct contact with the glass and
it can breathe. This class is aimed at all you creatives who make a
lot of work on paper and the sick of sticking to the regular sizes or investing a lot of money and time in ordering custom-made
pass that 2s. And if you need to create some more work on
paper to frame, check out one of my
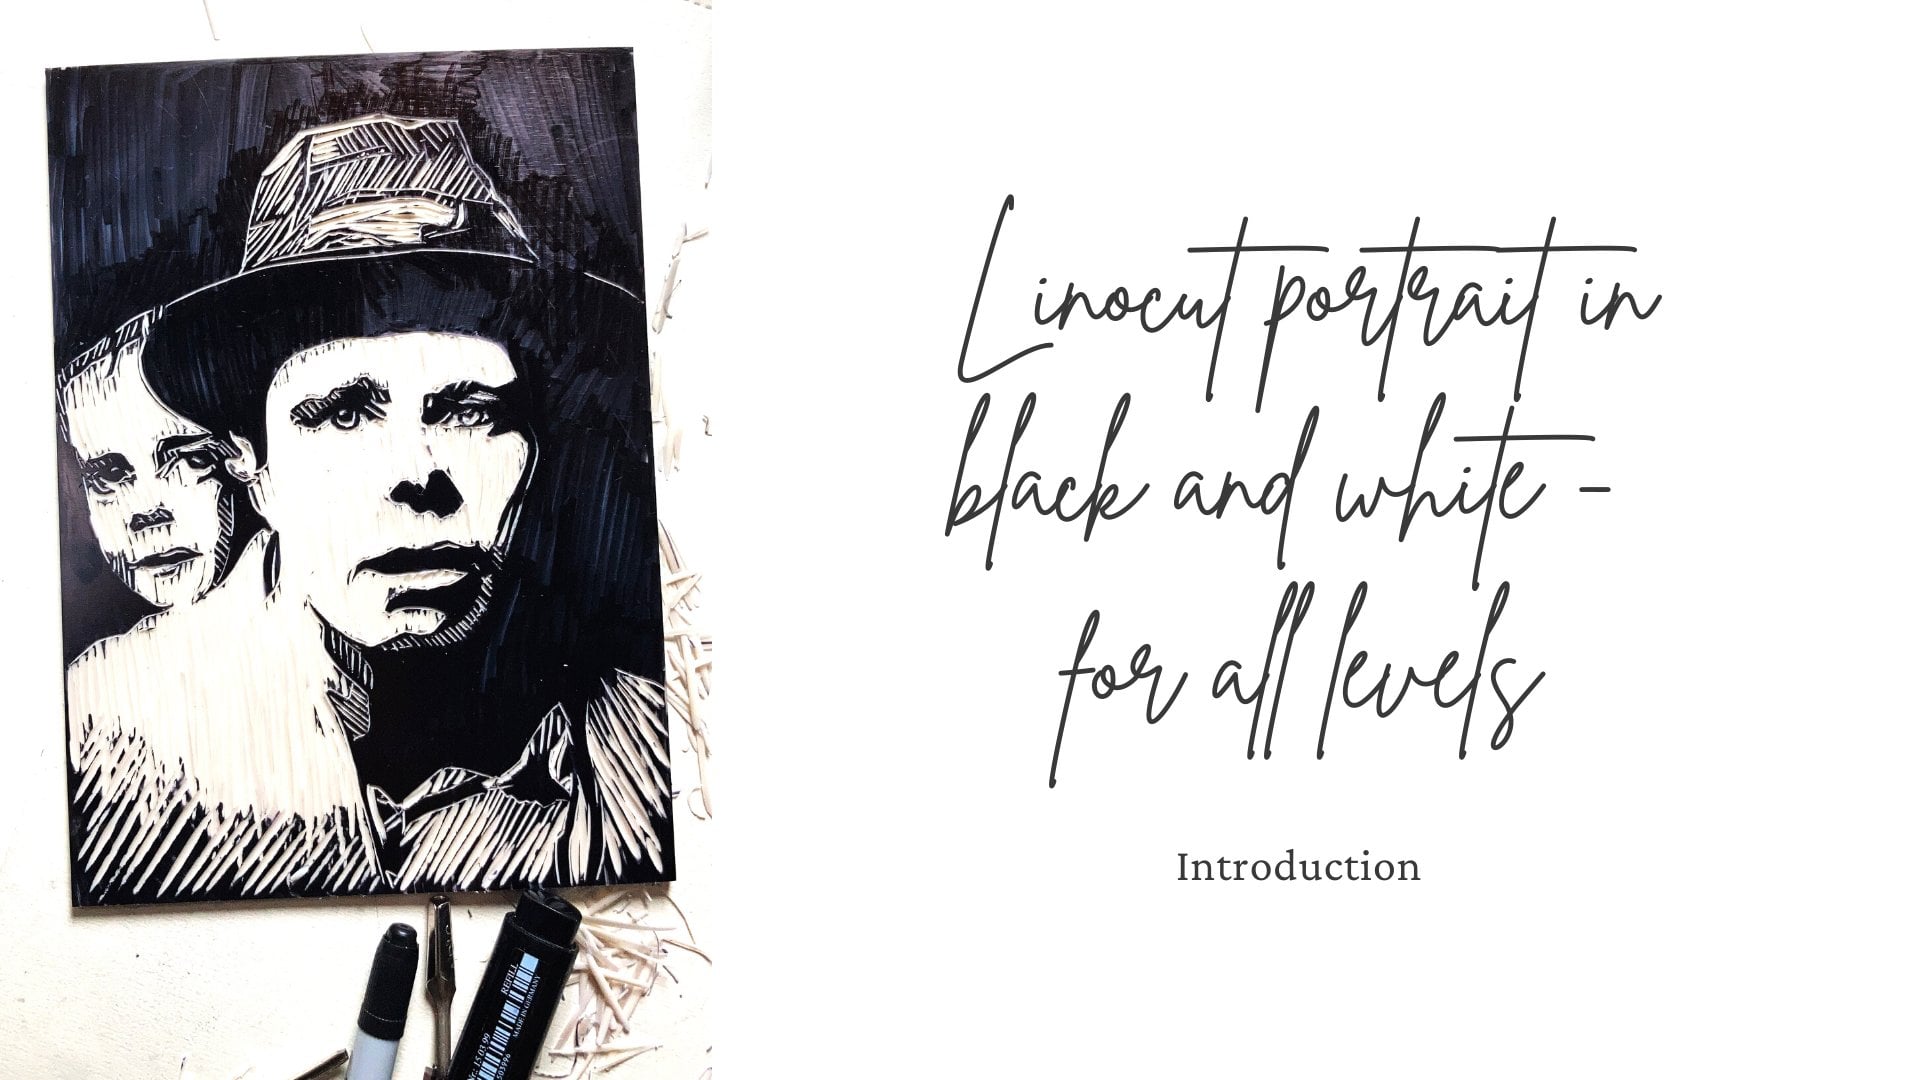
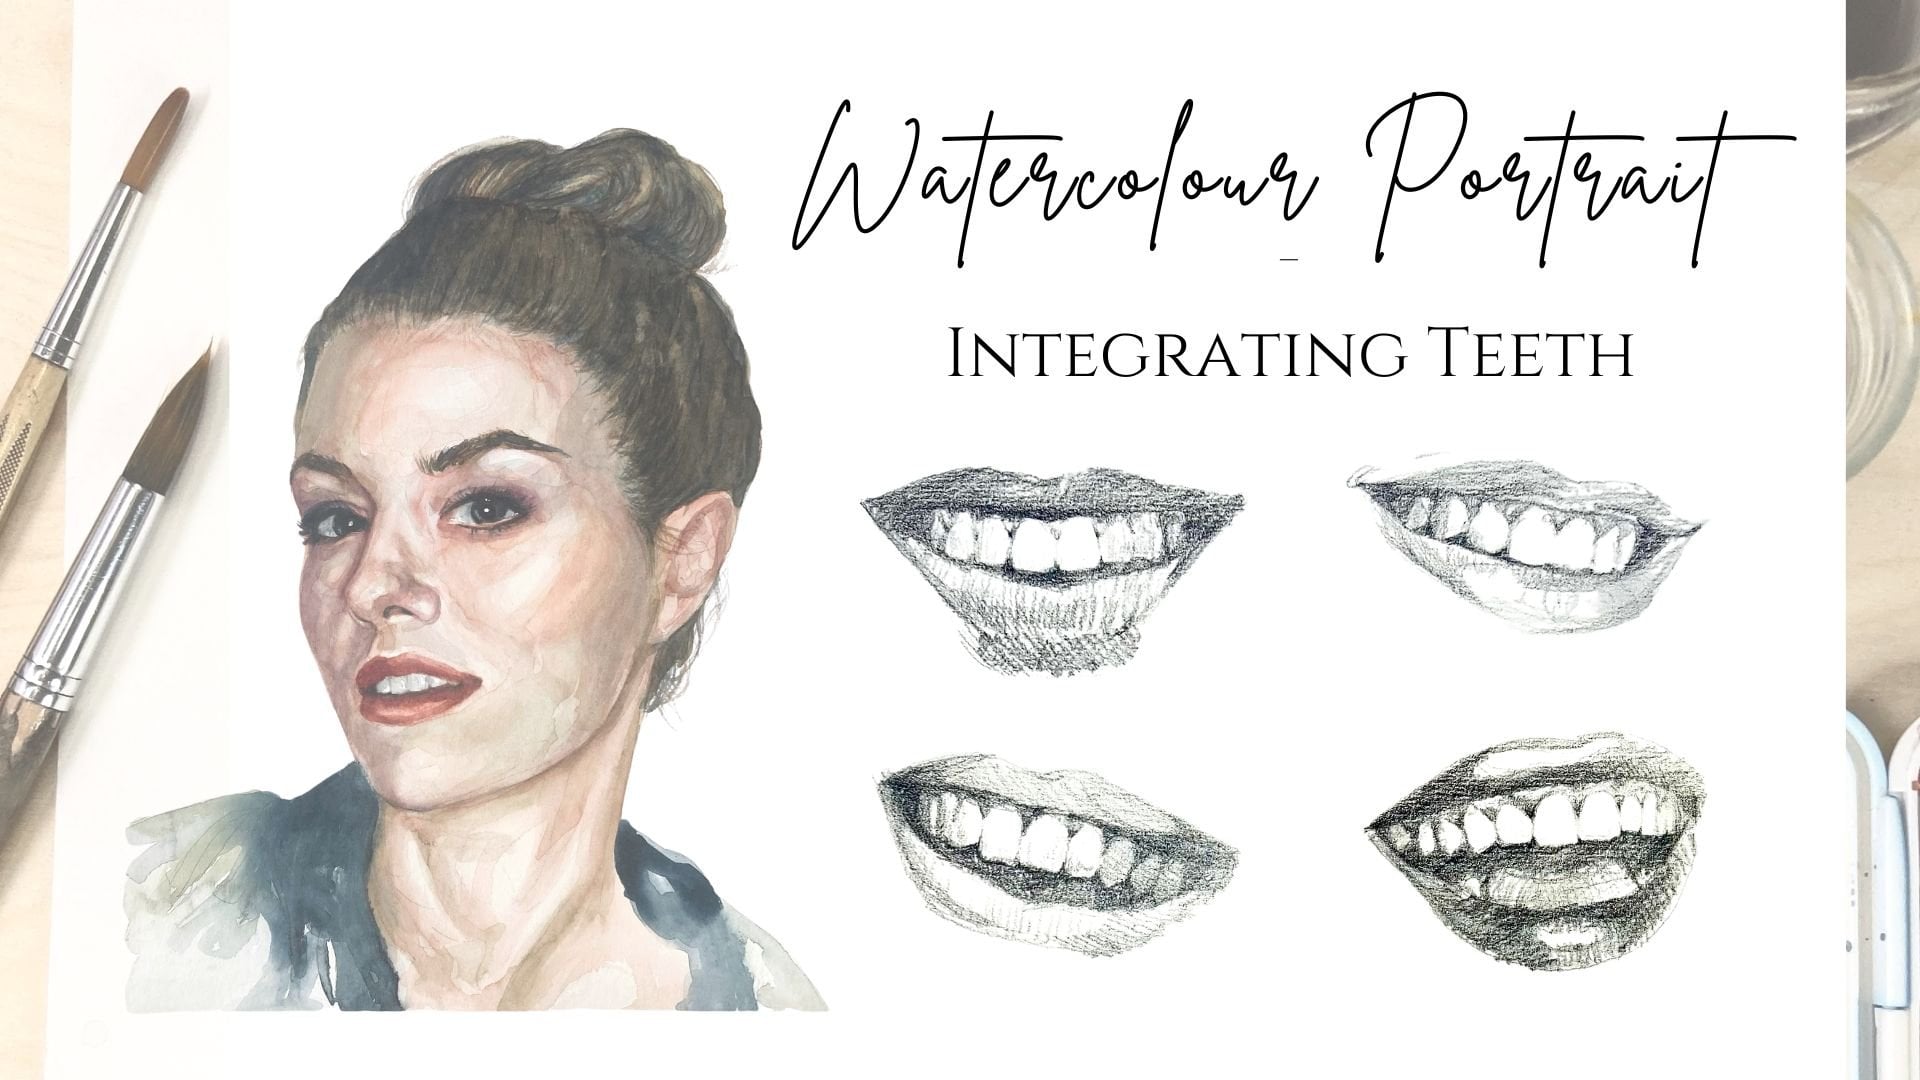
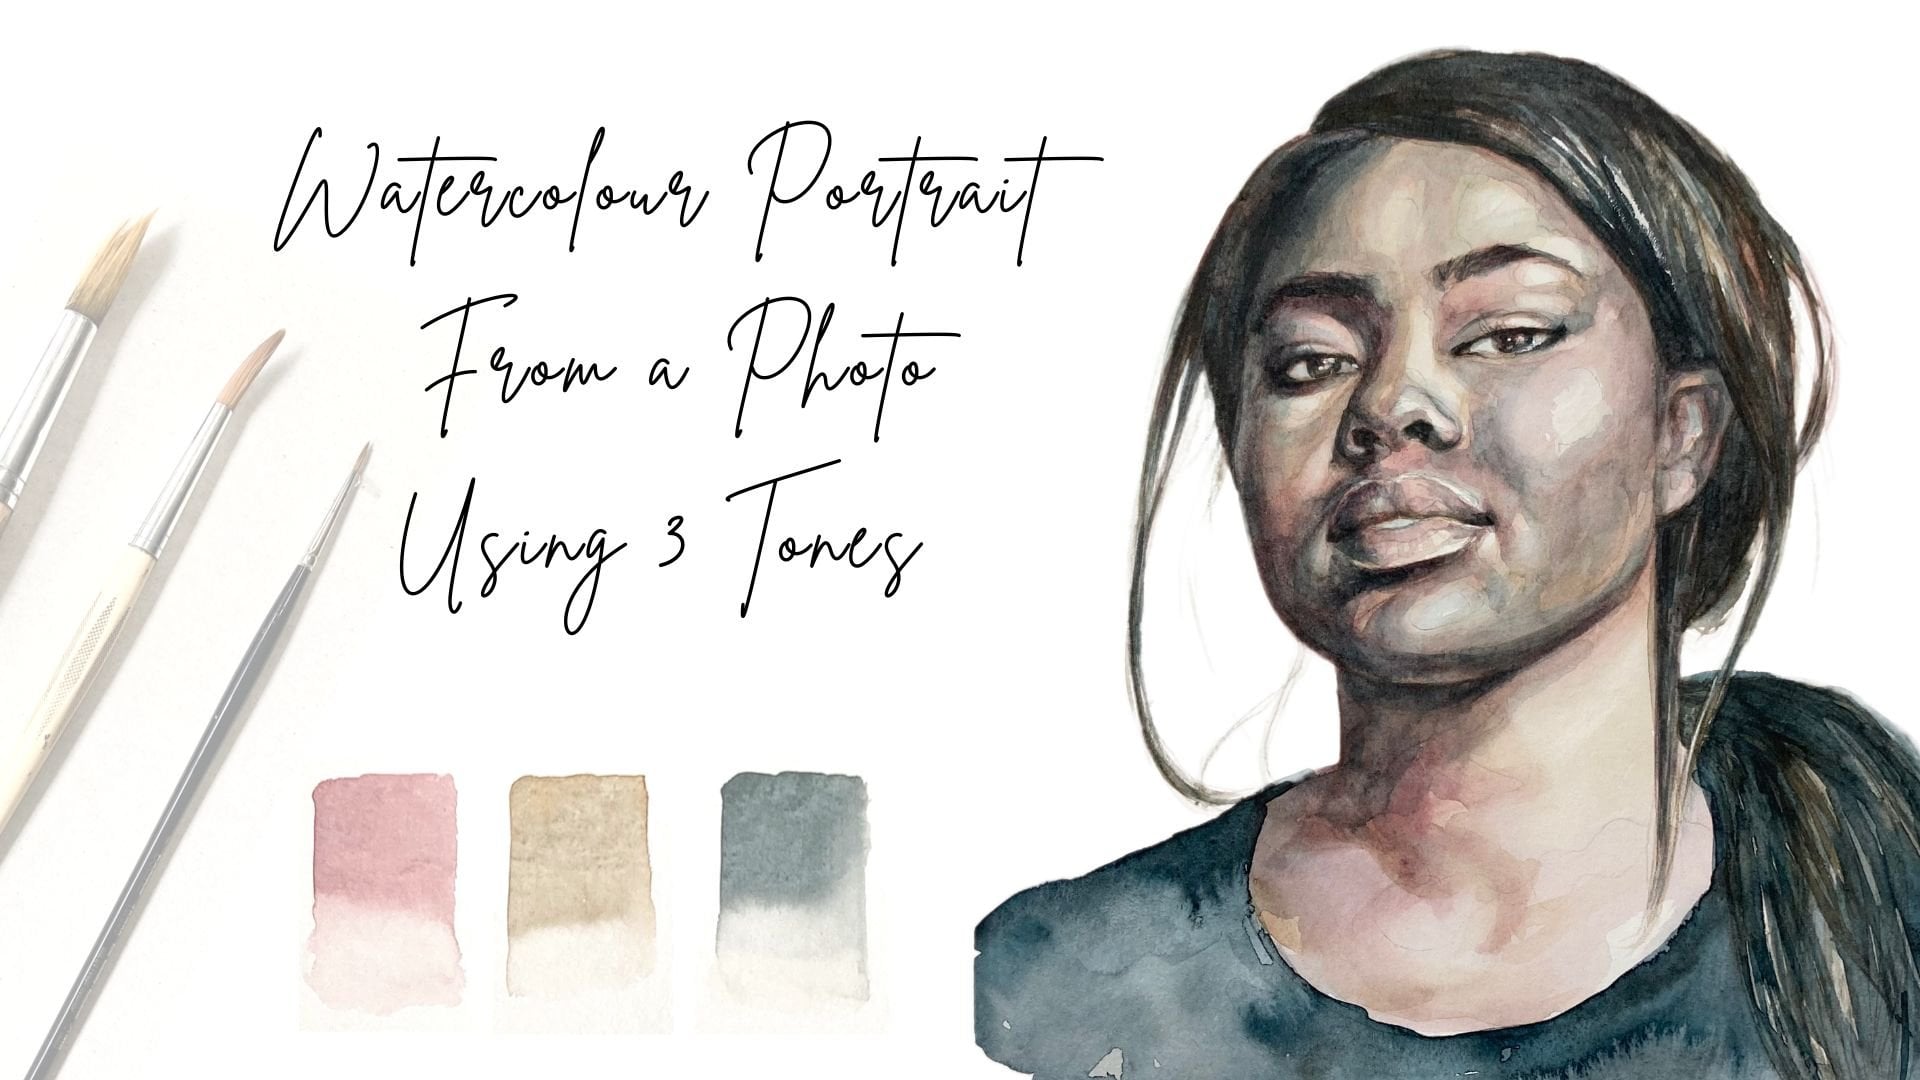
other classes, e.g. the watercolor portrait
from a photo class. Now, if you're
ready, let's start.
2. Project: The project for this class
is to make a passport to and framer work on paper
which we've already created. This includes
choosing a color for our passport to which
fits our artwork. Choosing the size of the frame and therefore the past prior to cutting them at board or
password2 out of a larger sheet, measuring out the window
and cutting it out and then fitting the work
behind the past five to n, inserting it into
our chosen frame. It's really quite simple
when you hit the tool. So for me the aim
of this class is really just to get
you to experience how easy it is to get your work
into a bar two and the frame so that you're not dependent on professional framers or
custom-made pass by twos, which usually cost a lot
more in the long run. And you become more flexible in the size of artwork
you're creating. As I mentioned, I like to make artwork in a lot of
different sizes. And this is problematic
if I'm bound by the conventional sizes of the inner window of the past B2, which is why I so much enjoy the freedom that making my
own past plateaus gives me. Now when you're
ready, I hope you join me in the next lesson to see the materials we're
going to need for our framing.
3. Materials: In this lesson, we
will be talking about the tools and materials
will be using. I've bought this Metcalf
bucket from Logan from my art store where all the
essentials that are included. But if you can't find a kit or you already have some
of the materials, you can also buy
them separately. What we need is a large
ruler or scaled guide rail, a mat knife, and extra blades. As when they get blunt, they make the edges
of the past platoon Missy a push bevel style cutter, which is important
as it will cut at an angle That's for the
window of the past B2. And of course some met
boards or pass back toes. I like to buy the largest
size I can get my hands on so that I can get as many past plateaus
out of it as I want. Also, you will need to
choose the colors of the past PO2 in the frame that you'll be using
for your work. This should be colored. It's either present in your
work or compliments you work. So there's harmony. I usually choose
neutral colors such as cream off white and
white for both. You'll also need some kind
of surface to carry on. And ideal would be this
rod cutting board. Once you have all your
materials together, Let's move on to
the next lesson to start cutting our past
batteries to size.
4. Preparing The Passepartout: Hello and welcome back. In this lesson, we're
going to be looking at how to prepare
our passport to specifically how to
catch the password to size out of a larger
sheet of mat board. This is the picture
that I want to frame. And the reason why we need
the push Style Bevel kappa is to get this beautiful
inclination here, these edges that are
typical of past tattoos. And as you can see, this
one is a little dirty. It's because I once you've made yourself one and if
you're always going to be framing the same size, you can just make yourself
one that you can always use again to cut out your passport
to from your larger sheet. So this is my kind of like my model one that I
use so that I don't have to measure out the
same size every time. This is actually the
size that I'm going to want to frame my picture in, which is 24 by 30. But seeing as you
probably will not have your model plus B2
to trace around yet, I'm going to show you how to make your pasta true to size. So I've got this larger
sheet of metal or plus B2. And I can see up
here it's dirty, so I'm going to want to try
and get this part here. Let's start by
measuring out plus b2. And you've got to make sure that the edges are fairly straight. Once it goes in the frame, you're not actually
going to see the entire pass a law to there's
going to be a couple of millimeters overlapping
of the frame onto the past by two. So it's not terrible if your frame isn't completely
straight, but it will help. Because later when we do
the cutout and the middle, we want that to be
fairly straight so that it doesn't create this weird visual
effect in the frame. He said 24 by 30, so I'm just going to measure out 30 cm on this side up here. Try and be quite
precise about this. Another 30 cm down
here if you want, you can also put another
mark in the middle just to make sure that the line
is going to be straight. If you pass that too, is too large, it's not going
to fit on your friend. You don't want to be
going over the top, but you also don't want
to be taking up too much. Okay, So for me, I've got this corner down here which
is a little bit brown, so I want to be
working from the top, but you can see it's also a
little afraid at the top. So I'm just going
to start from here. And mark 24. Not 24 here as well. And then not 24 here. And same thing, I'm
just going to connect those dots and then
we have 24 cm. I always recommend
drawing assist and we want to be
drawing on the back, not on the front side
so that we don't have to erase the
pencil afterwards. We're always gonna be
working on the back. To cut this, we're going
to be using this part, the set, not the bevel cutter
but the straight edge one. And the mat board
is quite thick, so you might have to run your life a few times
over the MIT board. We don't want to be pulling
it away so that it breaks. We want to make sure
it's a clean cut it off. Then I'm just going to tidy
up this other side here. We don't have the right look. I can actually just
check on my board here. It's pretty precise. Actually. Might have to take a couple of millimeters
off the top or the bottom because it seems
like I have 30.1 cm. Okay, once we've cut out our
past B2 to size accurately, let's move on to the
next lesson to start putting in the window
for our artwork.
5. Cutting Out The Passepartout (part 1): Hello and welcome back. In this lesson,
we're going to start cutting out the
window for our work. This is the picture
that I want to frame and I'm just going
to measure it out. That's 14.5 by 7 cm. But you have to take into
account that we want to calculate an area on the sport which is going
to cover the painting, which got to leave
about one or 2 mm on each side that the painting is behind the password to write. So because if we cut
out 14.5 by 11 exactly, It's just going to
be floating around. There's not gonna be
anything to hold it. So what I'm gonna
do is 14.5 by 11. I'm just going to
write that down again. Then I'm going to go
on to find the center, which is obviously 15, 12. So we're going to find
the center point. So important so that we can frame the picture in the center. So now that I have sent a point, I need to find out where,
where I have to cut. So if we say 14.5 by 11 cm and we want to leave two
or 3 mm on each side. That would make it 14.1 for easing the
sake, let's just say 14. Then we've got two-and-a-half
millimeters on each side, at the top and at the bottom. And then we'll take 10.6 cm. This is a mistake I've
made many times to cut it exactly to the size
that my painting is, but then doesn't actually
fit into the past battery. So if we want it to be 14 cm, we'll just see where the
seven plus 714 mark there. And at 14, we'll do
the same on this side. And just pull it across here. Make a line. And then also the same side. So 10.6, we want to be
going for 5.3 on each side. Okay, So now just
to double-check, because I can see this is not completely completely
straight, right? So we're going to double-check how many centimeters
away from the edges. This is a 63. And up
the top, 65. Right? We want it to be straight. So let's just correct this. So it'd be 5.3 from the center, right down the bottom here
I've actually marked at 5.4. So you actually want it to be 65 from the edge and
53 from the center. Yeah, that's about right. Is this line here. So you can see why it's
good just to correct here. It's also expressed
from the edge. You have 6565 would
check from the center. That's my 33. Okay. Now that we've correctly marked where to cut out a window, let's go to the next lesson
and actually cut it out.
6. Cutting Out The Passepartout (part 2): Okay, so now that we've marked exactly where we're going to cut out the space for that
image to go into. We need to get out push
style bevel cutter. So the one that will
make the inclination. And you always want the fat
that you're going to cut it. You want it to be on the right
side of your ruler, right? Because otherwise the angle
is going to go the other way. We want it to go inwards
into pasta to otherwise, if you take it the other
way it's gonna go outwards. So what we do basically is on your ruler with a
line that you've drawn. You put your bevel cutter onto the railing here so that
you can slide it easily. And then it has this map here. So you want to put them exactly on the line and then
you press down and you want to make sure that your blade is sharp, and
then you just push it. You're going to have
to do this a couple of times as well. Because again, the mat
board is quite thick. I usually do it 23
times depending. If your blade is sharp,
that should suffice. Now we turn it around, make sure you don't get
confused with other lines. Make sure you also
double-check top and bottom, see fit so straight. I just noticed that mine
was tiny bit crooked, so I've just gone to correct it that but now we keep going. Ideally, you want to figure that out before
you start cutting. Easy enough to see space and the ruler, if
it's low, crooked. The, I kind of noticed this. I always double check
with the corners separated by just lifting
it up a little bit. If it's not, if it
sticks in there, you can give it another go. Remember to always have
the part that you're going to cut on the right-hand side of the ruler. Again. That corner, yup, that's loose. And the last side, try not to go too far over line that you've
drawn for yourself. Otherwise rocket and to prosper, to see that is how caps looks pretty good. So I always like to
prepare the masking tape, which I'm going to take my
painting onto my taskbar to in advance so that I don't have to keep
interrupting what I'm doing. Basically I just tape strip onto this board that I'm working on to make sure that it's
typed down properly. And then I just cuts
pieces that are 1 cm. And what roundabout it
doesn't have to be exact. It's just that we're going
to be using these to take the painting to the back of the prospect to just liked it. I like it to look a little neat. If you haven't signed
your painting, you can go ahead and do that. Now, next step is to
get your passport to just kinda put the
painting on the back here. First one, I'm going
to type anything yet. We're just going to
put some tape onto the back of the painting, just at the top and the bottom. And then I'm going to turn over, I want to see which part is going to be visible
in this cut out part. Alright, so we want to make sure it's not taped to the back. These two strips are
going to help us once we found the
position that we like. I think that's going
to be it for me. I just kind of lightly
press down at the back. We have taped it.
I'm gonna turn it over and just make sure
it's on there properly. Then I just continue taking
it down on the sides here. So obviously this back part is going to be inside the friends, not going to be visible. If you want to sign your work on the front, that's fine too. I just prefer so any man
in the bed, the corners. I always find that this
is quite sufficient. If you wanted to go ahead and put some more tape on
there, that's fine too. But for me it's a
small painting. So you don't really
need to cover the entire painting
with tape at the back. And then it looks a little
something like this. Sometimes when your blade
isn't quite sharp enough, you might get a little bit of a clean and unclean
edge like this. So you can just get
a little bit of sandpaper and just read
that out just really, really carefully with a
very smooth sandpaper. Make sure your hands are clean, otherwise, you're
going to skip that. Just really softly. You don't want to take
the entire layer of okay. Alright, so now that we have our work in the past part two, Let's go to the next lesson
and insert it into the frame.
7. Last Steps & A Couple of Different Frames: Once we finished putting the painting behind
the past Part two, we need to insert it
into our chosen frame. As you can see, I have
chosen this white frame. I like it best when the frame is quiet and doesn't take
away from the work. The postpartum, as you've
seen as an off-white color. It's really simple once
you have your passport to really and we've checked it's the right size and
fits into the frame. When you turn the frame over, you can see at the back that
there are these hinges here. And you can just push
them aside to open it. You'll want to take them
out of these ridges here. Obviously there are many
different types of frames, but out of the kinds of tried, these ones with this type of hinge system are the
ones that I like best. We will have a look at some
other ones in a moment. But usually the
changeable frames you'll buy at the art store will have some kind of system
like this so that it's easy for you to change your
painting at your leisure. And once you've untrust
and the hinges, you take off the
back and just place the past Part two onto
the glass like this. Then you can put the bag right
back into this ridge here. There you have it. That's the framework. So I just wanted
to also show you another kind of frame
with different hinges, but they are similar,
so it works in the same way as you can see. You just push them down and they are also
these ridges here, like on the other one that holds the board and tension against the
risks of the frame. So even if your frame looks a little bit different, I mean, if you see these kinda
hinges here, then, you know, hinge rich situation. So you just kinda push
them out of these ridges. So the Judd's work
in a similar way. All right, so this is another
kind of frame yet again, you have to pull up
these little lectures. I, if you can avoid it, I recommend not giving
one of these frames because often they have once, if you change your picture
a couple of times, these things break off. I've had better experience with the other kinds Fletcher's. Okay. So that's really
all there is to it. I hope you found
this informative and I would just love
to see your framework. So if you get a chance
to upload your project. Also, if you have questions, drop me a line in the
discussion section and I will get back to
you as soon as I can. I always loved to have
positive feedback. So if you've enjoyed this class, I would be stoked to read about
it in the review section. If you want to add to your works on paper that you could frame, go check out my watercolor
or liner cat classes. Thanks for joining me
and happy framing.
 Nadia Valeska, Berlin based professional artist