Transcripts
1. Welcome to the Class : Hello, and welcome
to this class. My name is Heidi,
and in this class, you are going to be
learning how to use the bubble wrap
technique using wash to paint this beautiful
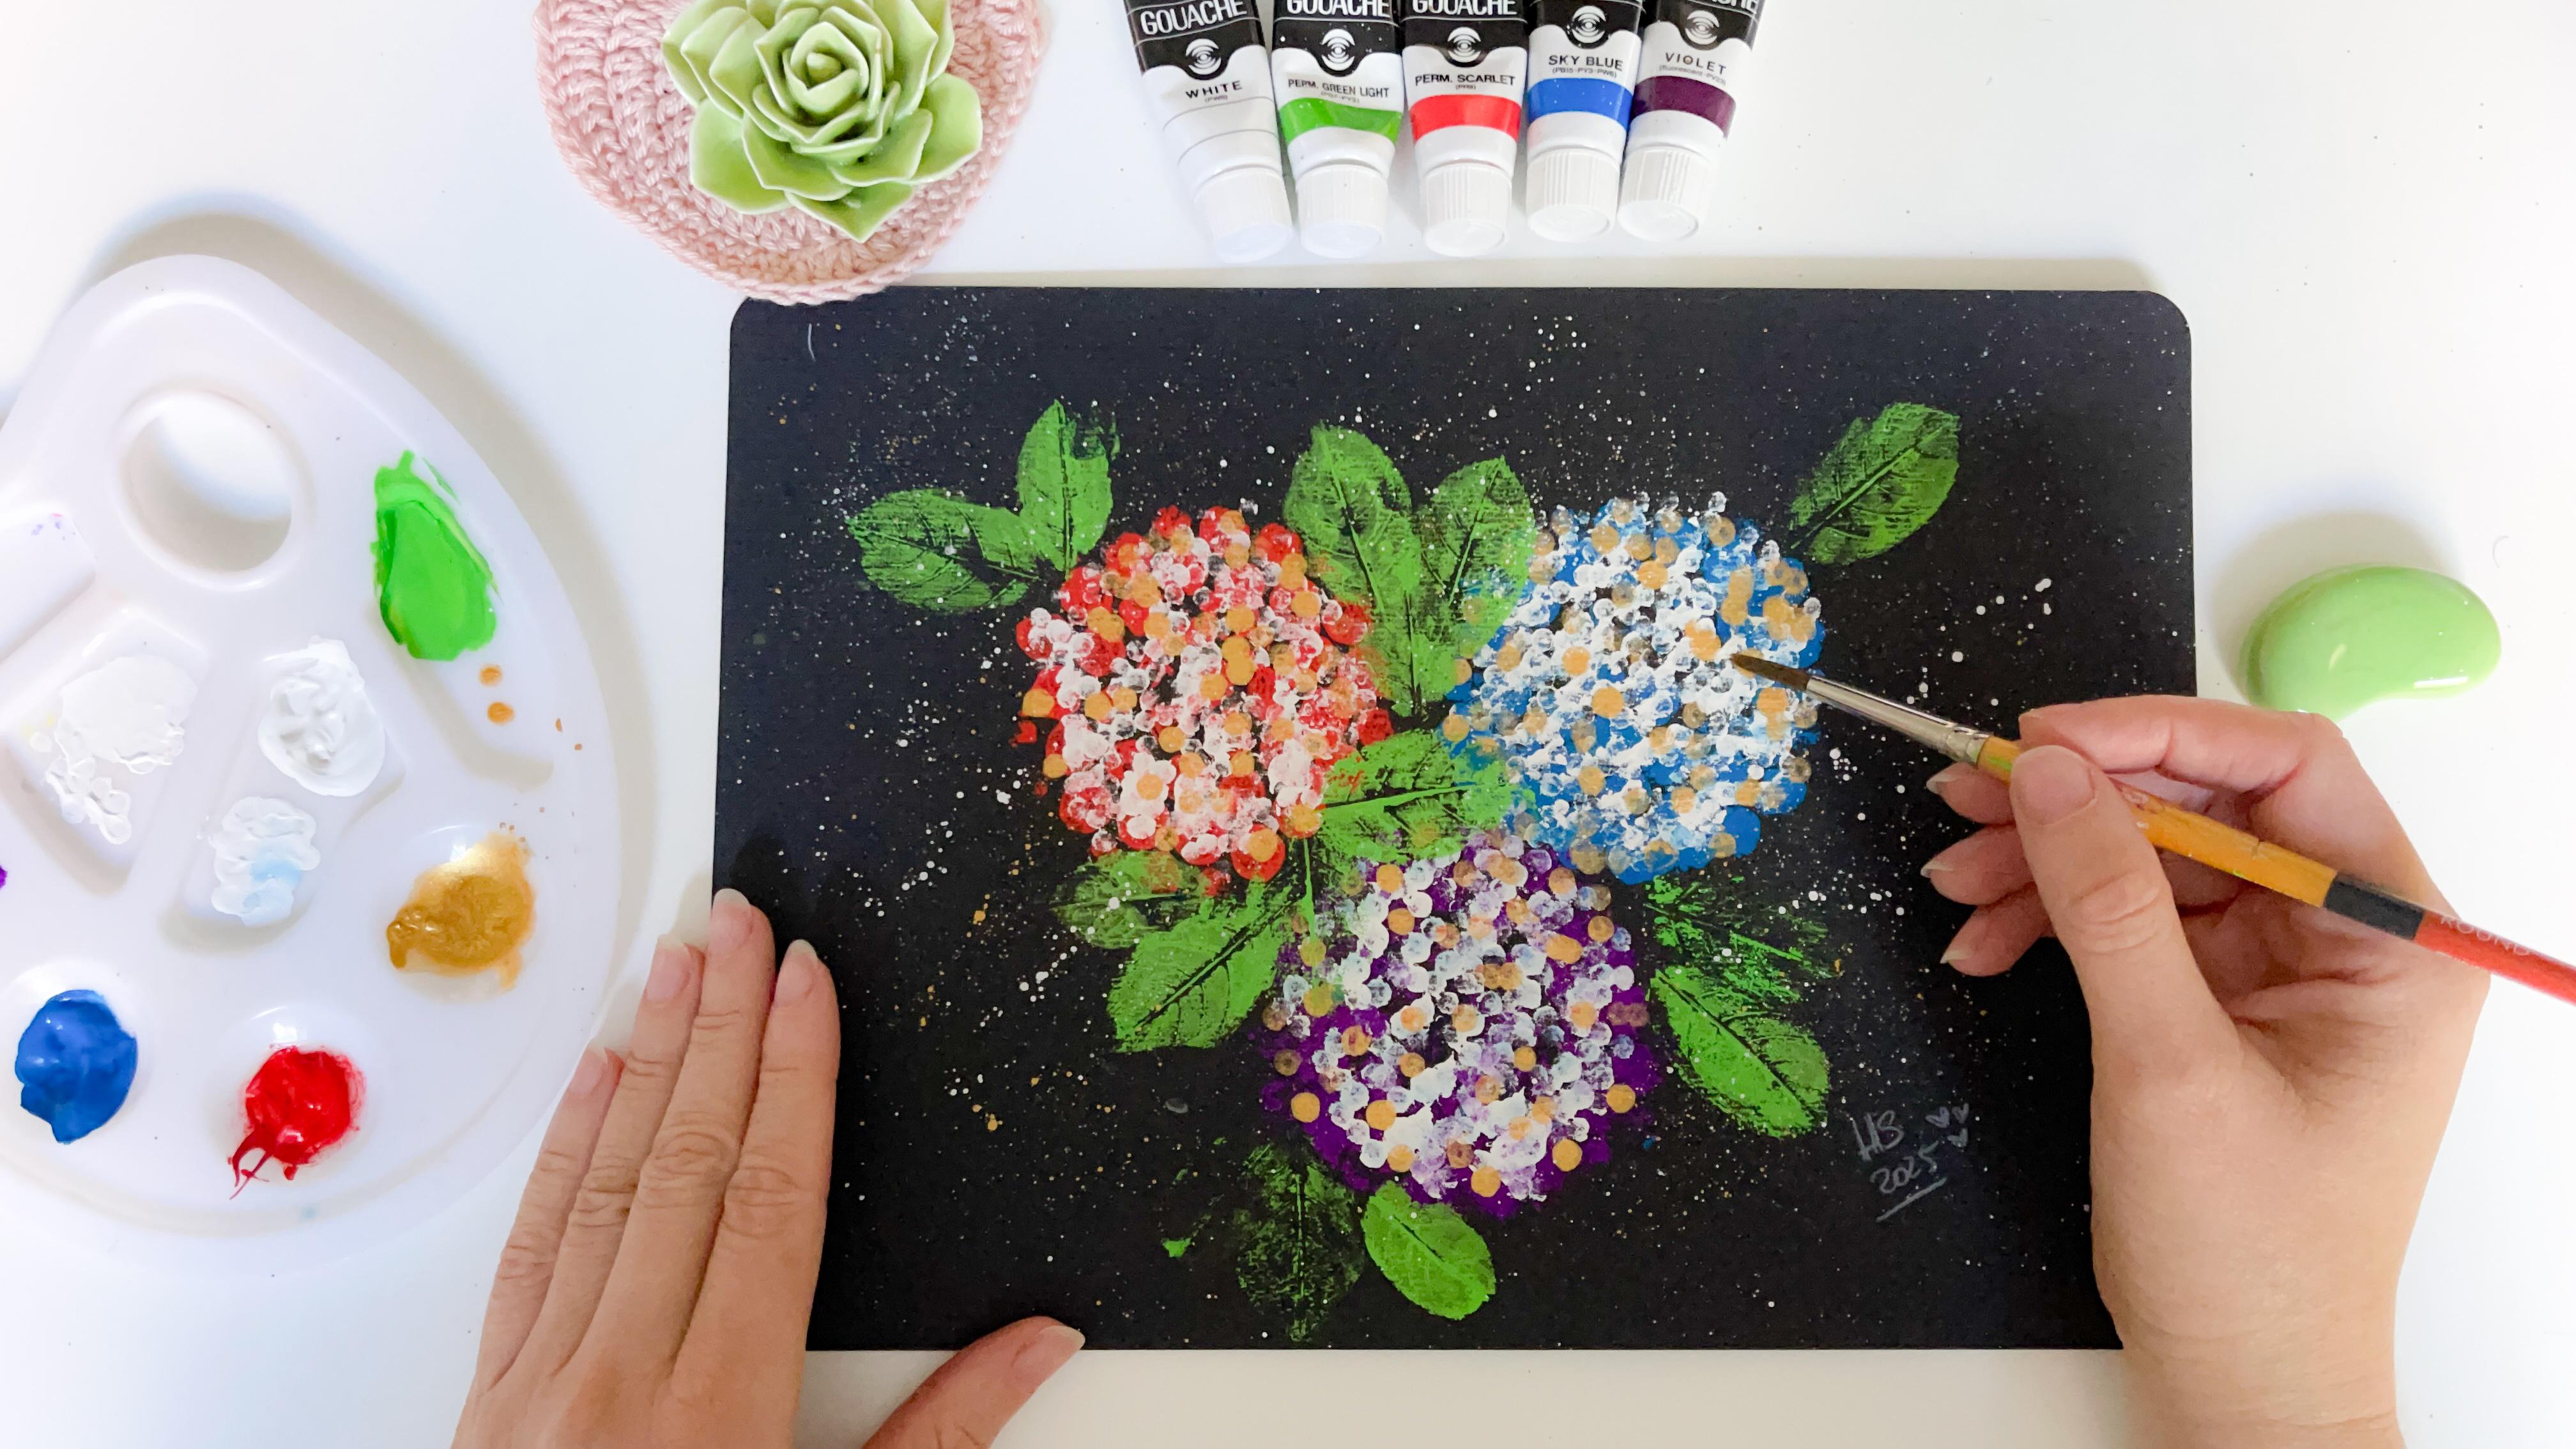
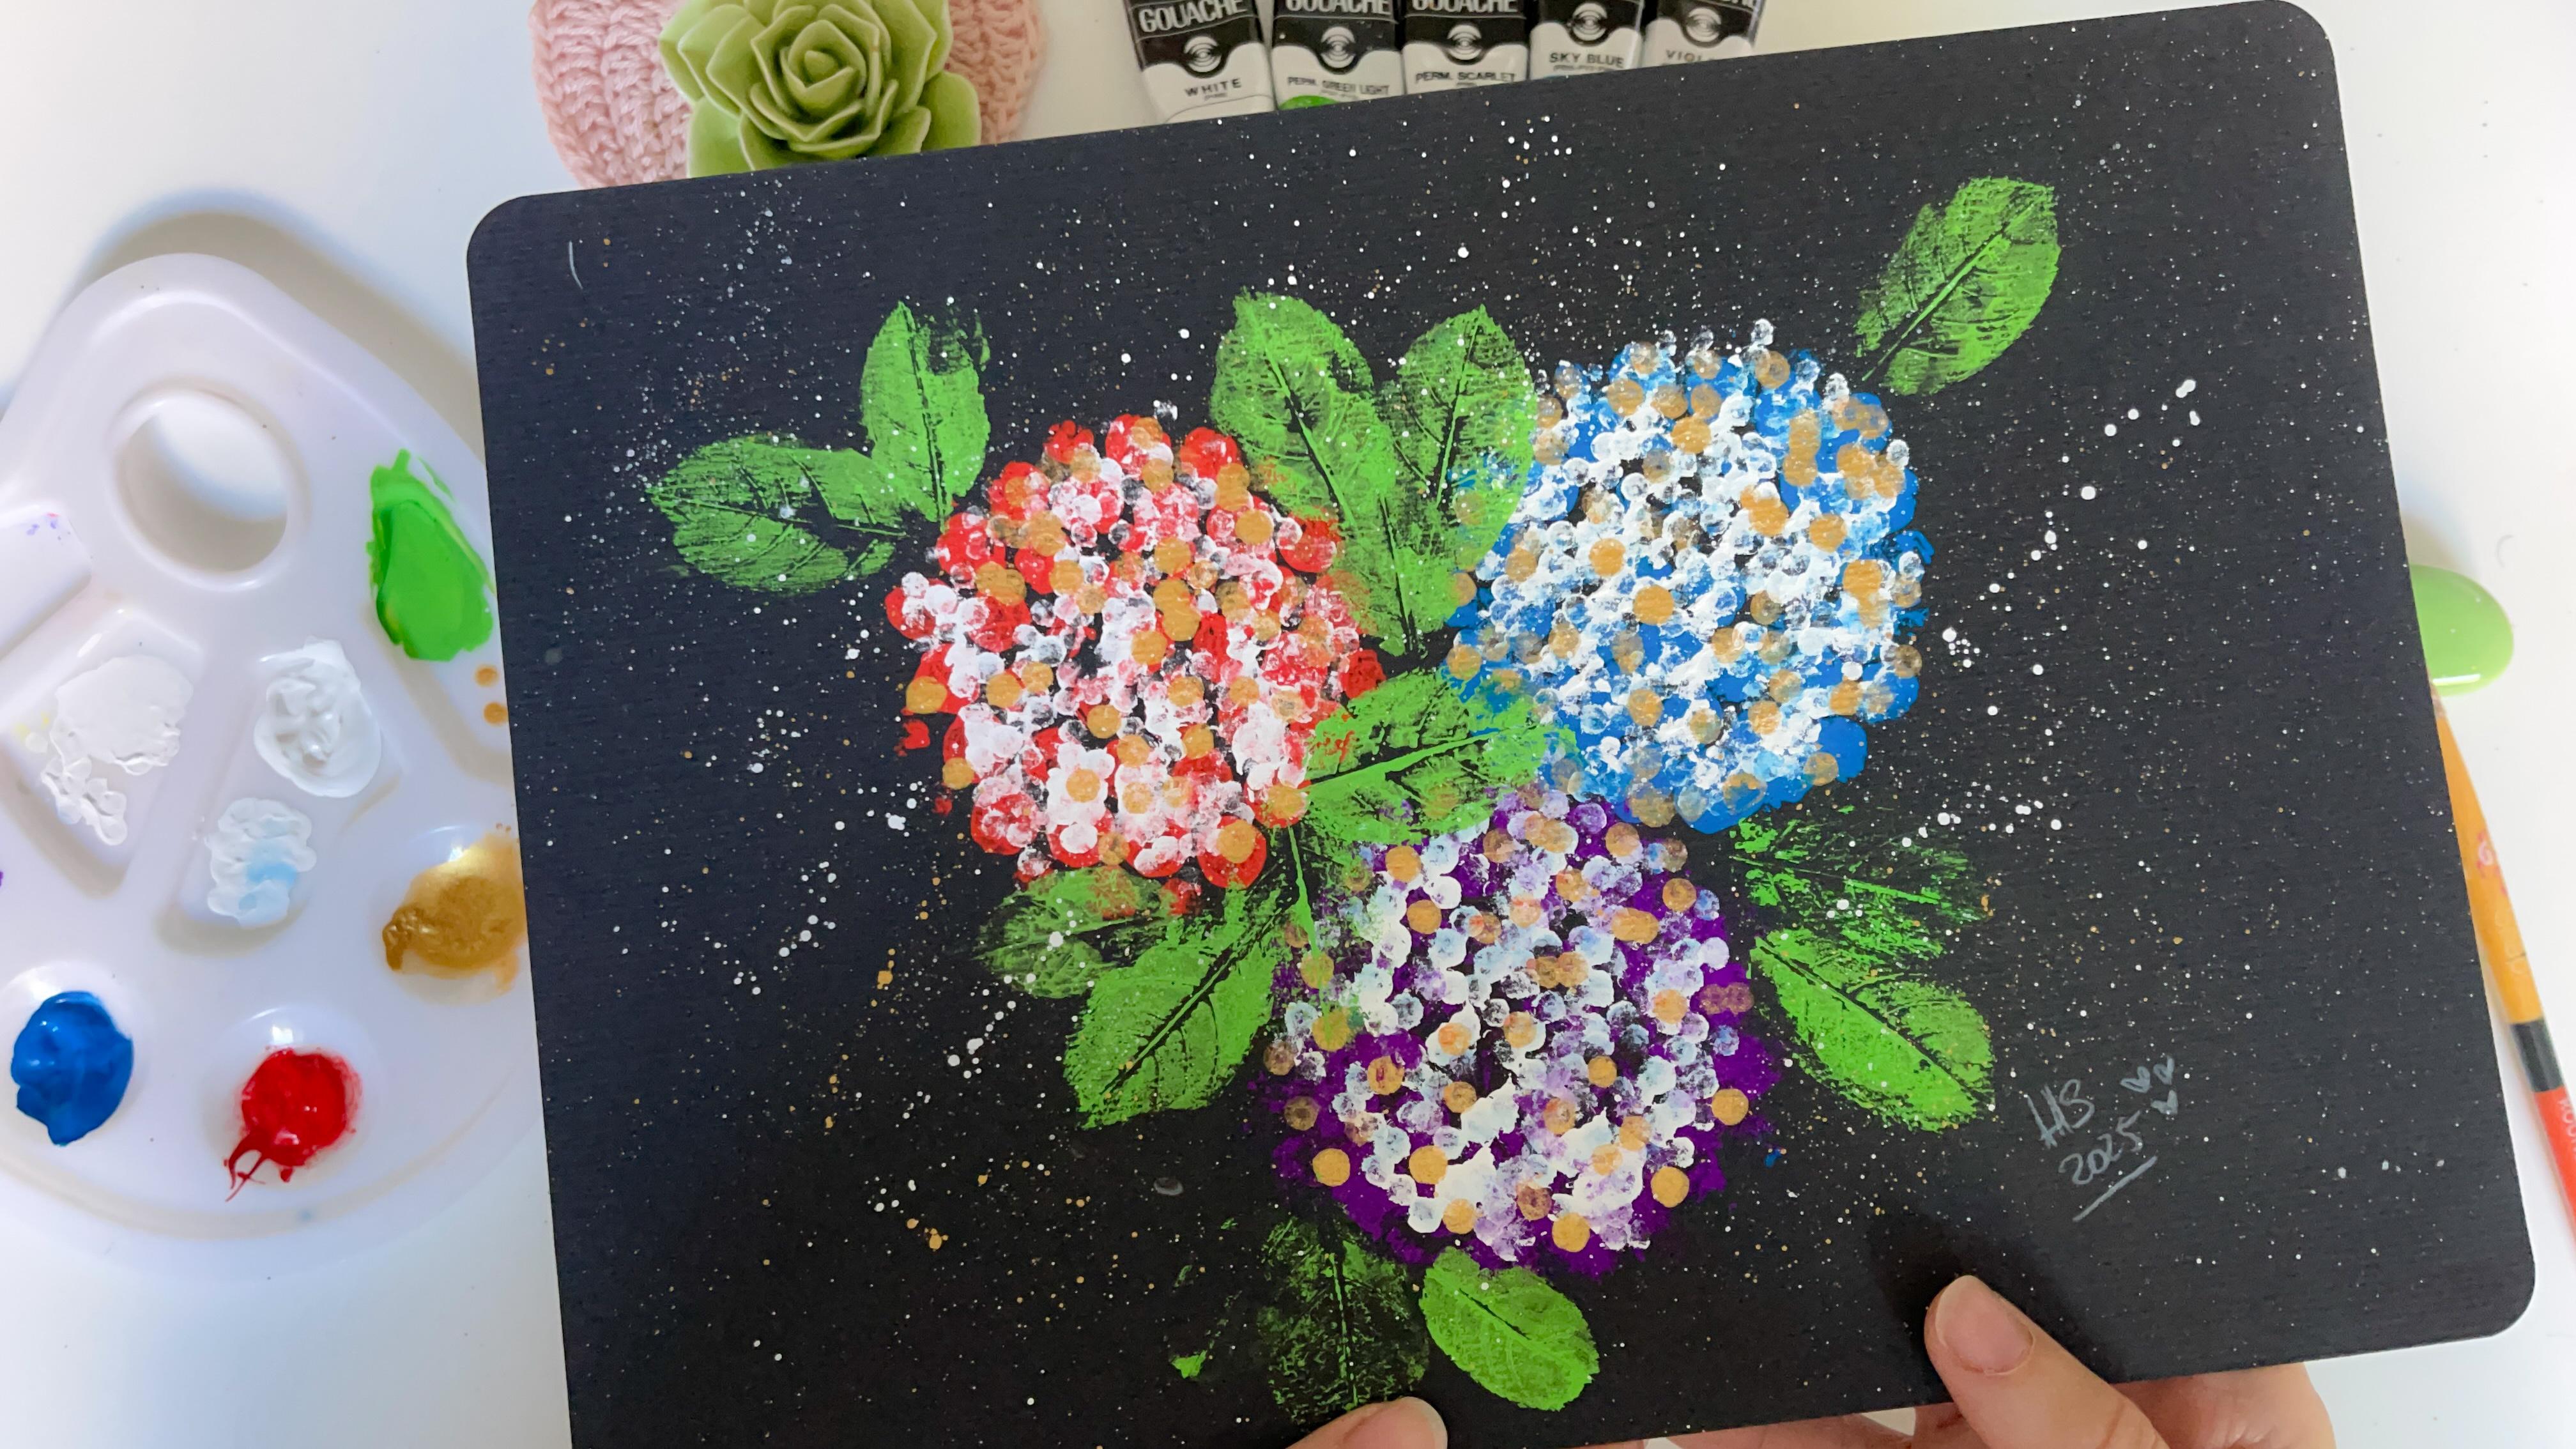
Hydrangea bouquet. We are going to be selecting
the colors, the paper, and I will explain
to you step by step. All you need to
know how to create this beautiful painting that you can use for
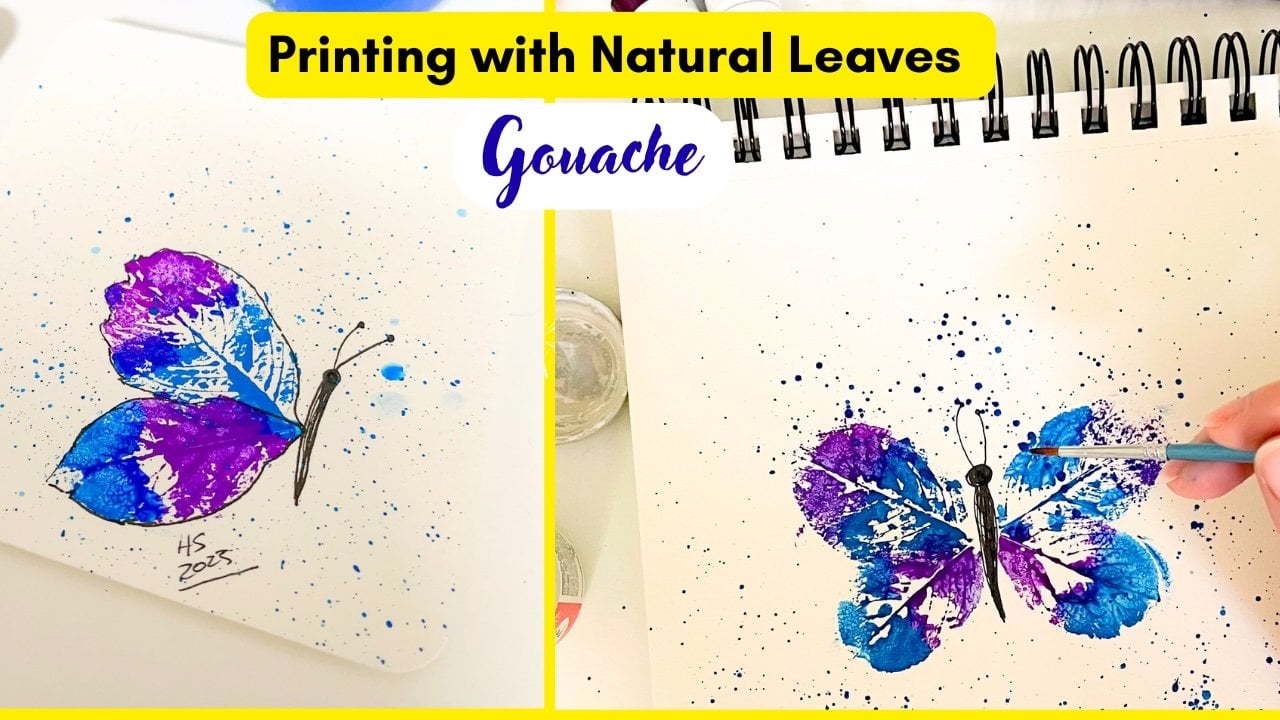
your decorations. Or as a card, we are also using the technique printing with natural lips that we learn in my past class. You can check the link in the
description for this class, how to get all the step by step doing and the printing
with natural leaves. But in this class, you will
get all you need to make this beautiful bouquet and it is super fun and
super, super easy. You will see when
you join the class. Remember, you can follow me here on Skillshare so you don't miss any update or any new class that I share here
in the community. I will be super happy to
have you in my classes. So let's begin. I will see
you in the next video.
2. Supplies: Let's take a look at the
materials and supplies that we are going to be using during this
beautiful class. So you are prepared to start creating and
learning with me. These are the
materials, and first, you will need gash in
different colors, a brush, round brush, any size will do, clean water in a yard
to clean your brushes, a clean towel to clean
your brushes as well. You will also need two
leaves a natural leaves to make some prints for the bouquet that we are
going to be painting. But you can also use your
brush to find the leaves. Some cute. A mixing pan. Gold ink, a gel pen in white or
a pencil in white, bubble paper or this plastic. And you will need
something round that is flat on the end. Because we are going to
be using this as a stamp with our bubble braps. I have two examples. You can use a glass for
water or something, or you can use a candle. You will also need
black watercolor paper in any size you like. Keep in mind that you
will need scissors and maybe a paper cutter or washy tapes to fix your paper and
keep that around you. So you have that in hand. I will see you in
the next video.
3. Setting up the Materials and Work Space: Let's set up our supplies
in our workplace to start painting and printing our
beautiful Hydrangea bouquets. I will be printing three
flowers from this Hydrangea, and then I just need 33
bubble papers or plastics, so I can wrap it around the
candle with the flat end. As you can see, I am just cutting with my scissors
the bubble wrap, and then we can use it
like I will show you now, I have three because I
am doing three flowers. And with the bubbles
facing the paper, I will brad my candle, the bottom of my candle with the size which is doesn't
have the brps the bubbles. And then I will use this like
this printing on my paper. We will see that
better on the class. So let's continue with the colors that I am
using.This is wash a grill. So I will place it
on my mixing pan. This is red. These
are for the flowers. Blue and purple. I will use these three
colors to paint or to print the flowers with the bubble wrap onto the watercolor black paper. So we're set to start
the first part. Now I will fix my paper
onto my surface with washy tapes on the corners like this so the paper doesn't
move when I am working on it. Very simple and very organized. We have all the
material we need, all the things are put in
the places they belong, so we can work easily, and we can relax into the
making process of flowers. I will see you in
the next video.
4. Bubble Wrap Technique: Hydrangea Bouquet: To start printing
or hydroga flowers, lets wrap or candle or your glass if you
are using a glass, using the bubble wrap, placing it onto the top of the candle and then fixing
it with a elastic band. So it doesn't move when you
are appling the color now, we are painting
all the bubbles or wash making sure they are
very saturated with color. So when we print with them
onto the black paper, all the bubbles show
up in your paper. But if it doesn't, we have another layer to apply
after we apply the first one. Okay. So let's make sure
you paint all the bubbles. And bubble wrap is fixed to your object that you use a glass or a candle
that I show you here. Or if you find another object
to have the round for, and then taking it like this, you just print onto
the black paper. Don't make too much pressure, place it onto the paper so the color transfers to
your paper like this. Then we are going to be painting the other two flowers near the red one like
this. I did the same. I changed the bubble brap, and then now I am appling the blue color with my brush being totally
saturated with the pigment, making sure all the bubbles
are covered in color. Just like this. Okay. You don't need
to wet your brush, try to take the color as
it is on your mixing pan, so it doesn't dilute. And when you print
onto the paper, the color is very
bright and beautiful. Now we can print the second flour right next
to the first one. Like this. Well, the second flower is
here just a little bit more. And now we can continue with a flower using the purple
color. And we do the same. We take our purple
color and we apply it onto the clean bubble wrap, fix it on our object
round object. In my case, I am using
my candle bottom. But you can use a glass or another round flat
object you have at home. Making sure all the bubbles are covered with the
color and making sure the pigment is completely
saturated, not diluted. I clean my brush
every time I change the color so it doesn't
get murky moody. And now we print or tear flour. Like this. A little bit more. So this b here wasn't as
bubbly as the other ones. That is why my center is
more less color in that, but we are going
to be fixing it, and I wanted to show you how
we can fix that situation. So I will see you
in the next video.
5. Qtips Technique: Adding Layers: Now we can apply a second
layer or beautiful flowers. They are not dry.
You don't need to wait until the wash is dry. And for that, I will
need my white guash, or you can also use white
ink and my gold ink. So I have two new colors
added to my mixing pan, and I will be using the Qtips. This is why we are using Qtips. We can use the cutibs to add a second layer or
layer two or flowers. I have five cutibs and I
will use the white first, and this is super simple. Just wet your cutibs on the white paint and then
just tap tap tap on top of your flowers to add
another dimension to the petals and that they look
more real like hydrangeas. Like this, this is
the first layer, and then we can again take some white paint and tap on the second
flower in this one. As you saw when we
printed this purple, on the middle, they were the
color were more diluted. With the white, it
becomes more fuller. For the last one, I am using
the other end of the Qtips, using the white and
tapping onto the petals. So they start to gain more dimension and fullness
of the petals like this. And now I will use my
other clean Qtips, one or two or three to
decide what you want. I am using only one to add
some little touches of gold on top of my second layer and the first layer
in each flower. Make them scars and
around the petals. Like this, it is really
adding another layer and another dimension to our
beautiful Print and paint. The flowers start looking
like real Hydrangea from top. When we look at these beautiful flowers from
above, it looked like this. In the next video, we are
then printing the leaves and adding the final
touches and highlights. I will see you in
the next video.
6. Printing with Natural Leaves: To complete our
beautiful Hydrangea I have my two leaves
in two sizes, and I now need a color green
so I can paint my lips, natural leaves on the back and then print with
them onto the paper so we can add some botanicals to our
flowers, just like this. Take the brush and don't
dilute the color as well because then it will not
show up on the black paper. You paint your leaf
on the back of the leaves and then you
bring them onto the paper, placing them around
your tree flowers. Easy as that. If you want more detail about how to
print with natural leaves, then you can check my other
class here on Skillshare. You get all the details
on what you need to know about printing
with natural leaves. Then you place it onto the paper and then
you take it off. It doesn't matter if some
leaves looks like this, not so rich in color is okay, because we want also
more, texture like this. Now, a new leaves is like this, more saturated with color, and another word can be
more lighter in color, is not a problem. You just need to plate
with the sizes and with the placements of your
lips around your bouquet. Now, let's use the smallest one and make some
prints here and there, or bouquet start becoming more like a beautiful
bouquet of hydrangeas. Like this, the same technique. You paint the lips on
the back of the lips, and then you print with
it onto the paper. Like this, place as many
leaves as you want, try to maintain the cohesiveness of the painting you want to create and alternate with
the two sizes of the leaves. As I am doing here
on the painting. If you don't want to print the leaves with the
natural leaves, then you can use
your brush and add some greenery around
your flowers, so it become a bouquet. It doesn't matter
how due to your art. The idea is you get creative and you enjoy
what you're doing. I am adding some more laps
alternating between the colors and alternating also in the saturation of the
pigment on the leaves. So it get more contrast and more natural looking
my painting. Okay. Here I am
looking that maybe I can add another leaves here on the conjunction of the
flowers and then another on the outside of my flowers
as well. Like this. Alternating between saturated
and unsaturated pigments. Make it more cohesive and
more natural looking. You can measure the cohesiveness of your paint by looking at it, and then you see more
empty spaces than you want to place another leaf
there or something else. This is how I do it. So I just see at my picture, and I just look for those
places where I think or where I feel another leaf will
be okay to place. So just play with it and take a look and decide if you want to place
another leaves or not. I am placing another
more here on the end to make the contrast a more
saturated one like this. And with the same without
adding more color, I am just pressing it
onto the paper and seeing if more acum erros and then another one on
the top of my bouquet. So it gain more balance. On this painting. We are almost done here. I will continue painting, and then I will see you in the next video to
add some highlights.
7. Adding Splashes: Now we are going to be
adding some splashes to make the picture and the
whole composition pop up. I will use the gold
and the white to make the splashes using my
brush wet in water. So the color it's a
little bit more liquid, so it can splash evenly and
more cohesive onto the paper. Using a pencil or you can use a bamboo stick or something
to tap onto your brush. Now I will use the
white, making it wet, we add a little bit of water and then picking up
wash white or you can use white ink as
well or white paint. To make your splashes and splash them around
the whole booke. Now I will just
sign up my picture. Do this always with
your creations, again using a white pencil, you can use AW gel pen as well. I will see you in
the next video.
8. The Final Piece: Here it is or beautiful
Gouache Henri Bouquet is done, and I love how it looks, how pretty and vibrant
the colors are, and also the whole composition. I hope you enjoy this process and I can wait
to see what you create. I will see you in
the next video.
9. Your Class project: For your class project is
super easy and super fun. You just need to
share with me in the class project
section of this class. You can find it in the
tabs for the class. You can upload your pictures
and your comments and your own class project
space where you can share what you learned of the class and your
beautiful pieces. You can share photos of
your working process, your space, your materials, or your final piece, and leave a comment and, you want to share with
me about the class, I will be super happy to
get in contact with you through your class
project for the class. I always share with
you a project sample, so you have an idea
on how to make or prepare your own class
project for the class. Please check it in the
tab where I here the link for you to see this example
of a class project. I can't wait to see what
you create and I can wait to get in touch with you
through your class project. I will see you in
the next video.
10. Thank You : Congratulations. You
finished the class, and I am super proud of
you for taking the time to learn something new
and have fun together. I always love when you take the courage and to
express yourself and learning something
new is always amazing for our creativity side
and for our happiness. Please let me know in the
comments for the class, how was this class for you? Did you learn something new? What was the most difficult or the most fun part
of this process of creating bubble wraps and how messy was it or
how no messy was that? Please share that with
me in the comments. I will also appreciate very much if you take the time to
upload your class projects and to leave a review in the review section for the class that will help me to know how you think I teach and what
the class and also give me some inputs about how can I improve and what I
need to teach next. Thank you so much for your
help and for your support. I am always super happy to
have you in my classes, and I can wait to see what you
created, what you learned, and what are your
thoughts about the class. Remember, you can follow
me here on AskrCil so you don't miss any
class and any update, and as you get in touch with me, and I get in touch with you. Let's support creativity
and creative journey. Thank you so much again, and I hope to see you
in my next classes. Thank you so much. Bye bye.
 Artjourneywithme Heidi, ARTIST AND FACILITATOR