Transcripts
1. Intro: Hello, and welcome
to this class. My name is Heidi and I am an artist and your
instructor for the class. In this class, you are
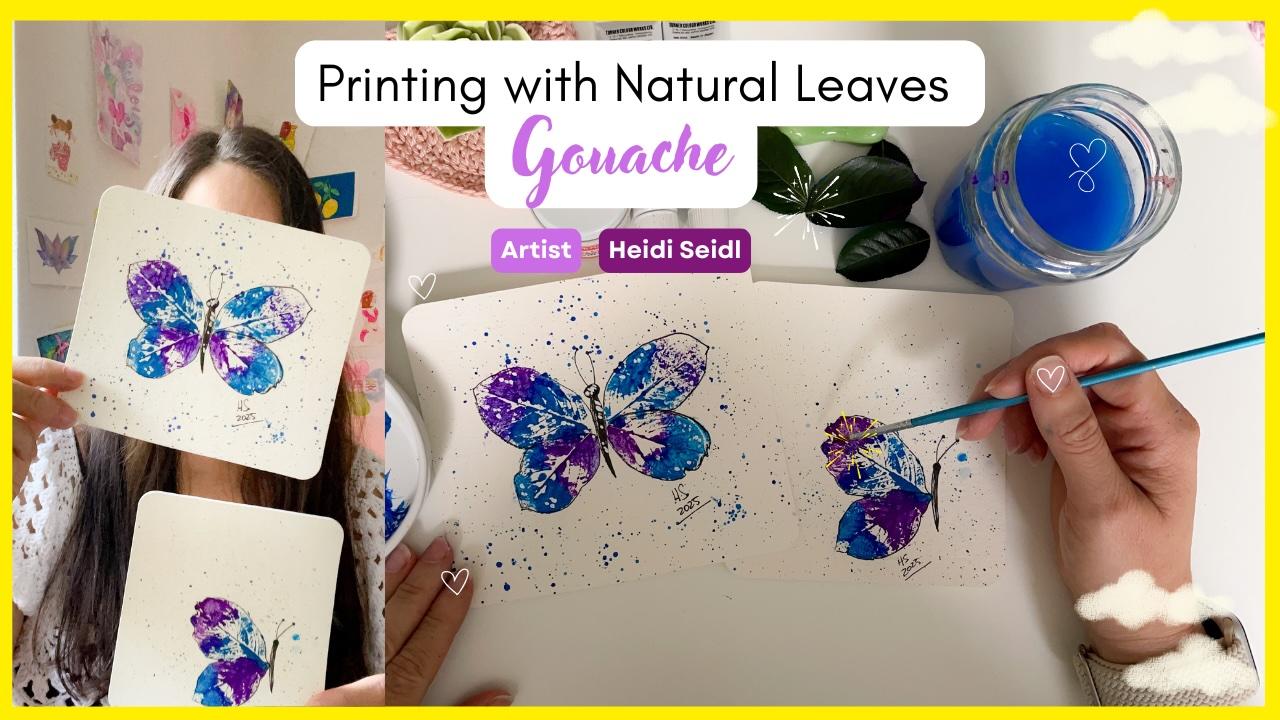
going to be making a beautiful printed butterfly
using natural leaves. In this class, you will find
yourself going outside to gather some leaves from trees that you have
in your garden, maybe in the park or
in your pot plants. It doesn't matter where
the leaves come from. The important is that
you find the most suitable to make this
beautiful butterfly with me. I will explain you how to use a grill wash to paint
the leaves and then using them as stamps or prints, and you can create
beautiful beautiful things. The subjet that I choose for
the class is butterflies, but you can make
anything you want. Let your creativity flows
and I will guide you through the whole process and how you can make the most of this class. If you are new to my
classes, I welcome you, and if you are a
recurring student, thank you so much
for your support. It is always a very, very much beautiful thing and a pleasure for me
to have you in class. Remember, you can follow
me here on a Skillshare, so you don't miss
any new update, any new class or any new news that I share with you
through the correspondence, the emails that I sent to you. I hope you junk the glass, and let's go outside. Come with me, and then
we can start the class. I see you in the next video.
2. Gathering leaves: Hip outside. I am outside
my apartment in the garden, so we are going to pick up
or lease from this tree. Just come with me. When
picking your leaves, you need to remember that you
need two sizes of leaves, one smaller and one bigger, like this, this maybe. But this leaves a
little bit damaged, so we are going to be
looking for another one. The shape of the
leaf doesn't matter. You just need to have leaves that are into different sizes, and that resembles
a Ba slice maybe. Like this. This
will be very funny. I hope you have a plant nearby and that you can find
the perfect leaves. I think I got it. This one, and maybe this
other one is bigger. Look, I take it gently and this is smaller and
this is bigger. Sorry. Thank you plan for giving me your leaves so I can work
art for my students. Here we have it, Tulips, I will pick up another tip
the same way, we have four. But you can also just
use the two of these. You don't need anymore leaves if you don't
want to take them. Our gathering is complete. Now we can go back in the
studio to start the class. I will see you in
the next video.
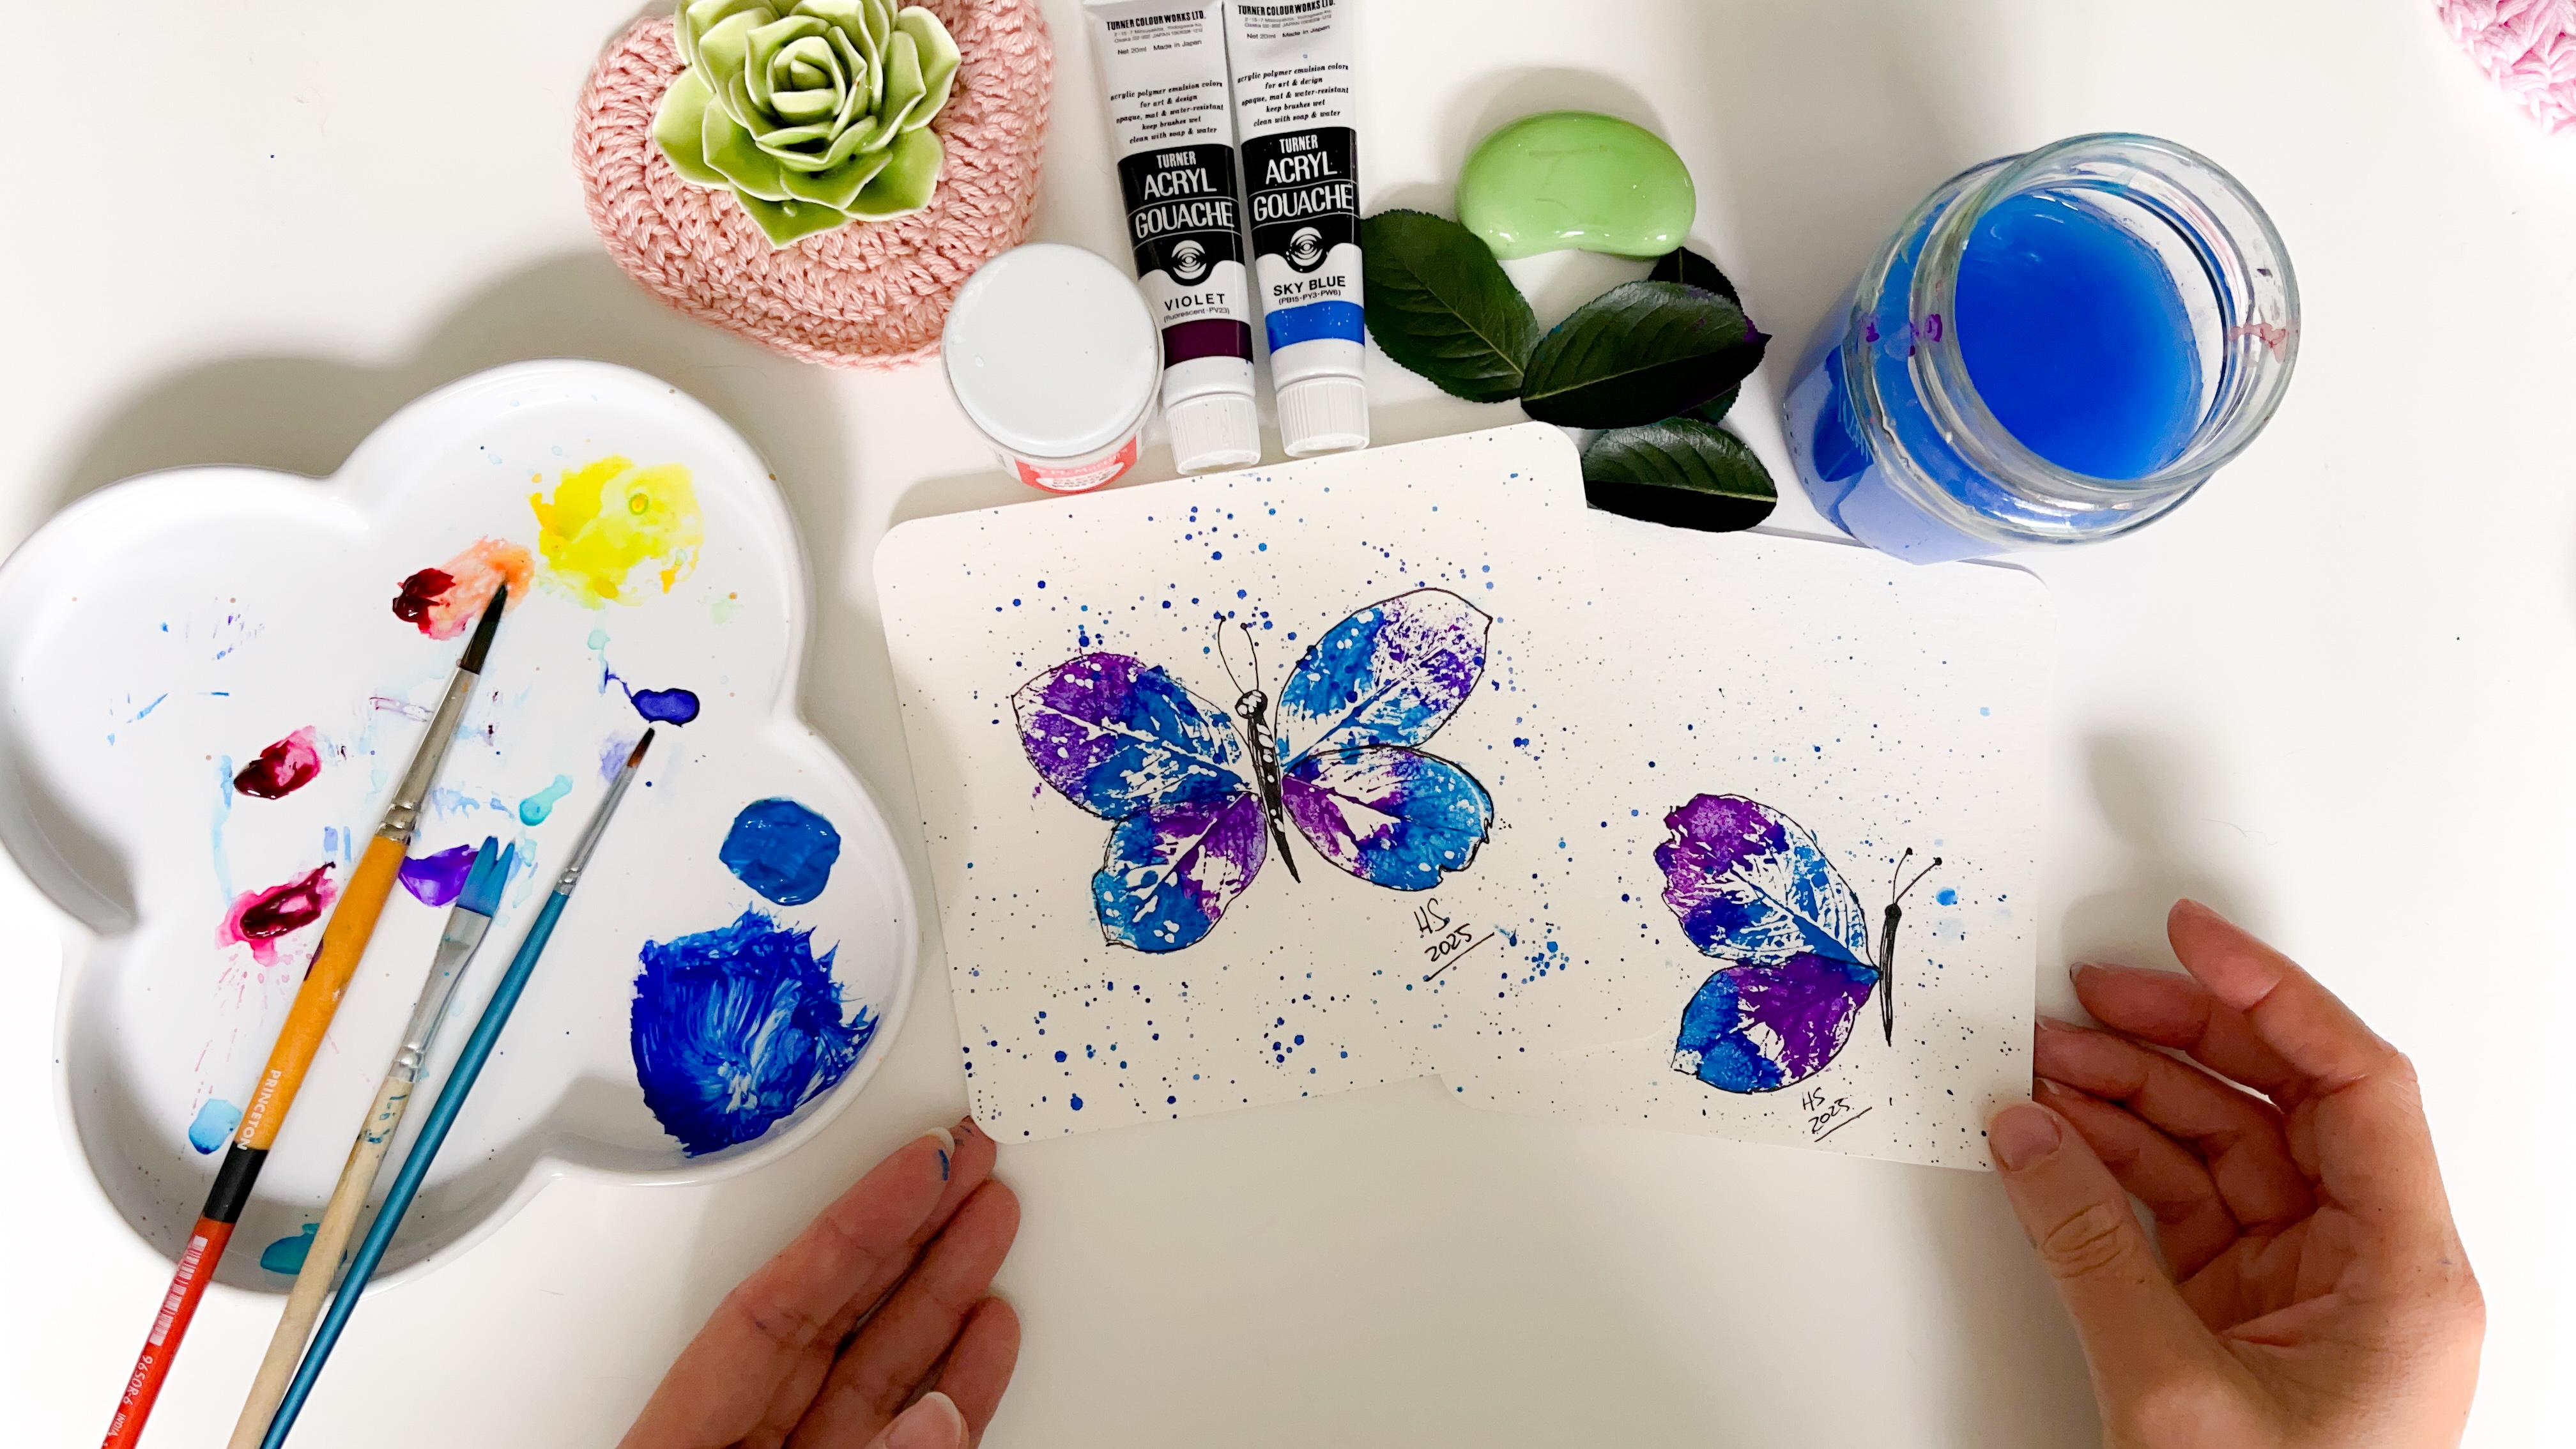
3. Supplies: For the materials, you will
need a watercolor paper. I am using ansa and you can use any type of
watercolor paper you want. This is called press. You will also need four leaves, natural leaf, botanical
leaf for a plant. You find suns in your garden and write
them to be in two sizes. Then you will need a grill
wash into different colors. You can choose any
color you want. Try to choose colors
that go well together. You need some white
paint or guh, a fine liner, black, water, a clean towel, a missing pan, and of course, you need
your brushes to paint. I will see you in
the next video.
4. Painting the Left Wing of the Butterfly part 1: To start, let's place our
colors in our mixing palette. And then we can use
these colors with or brushes to paint the
leaves on the back side, and then this will allow us to print on the paper or object. In this case, in this class, we are painting butterflies. So that is what we are
going to be doing now. We have our leaves here. Try when you are
choosing your leaves, try that they are in
two different sizes, one bigger and one smaller. And the shape of the
leaf doesn't matter. Just try to keep the
sizes different. One bigger and one smaller, one for the upper wing and
the other for the lower wing. Then we take or color as it is. The weather it is better, so it can print much better on the paper and start painting on the lower side of your
leaf, as I am doing here. Paint you can paint it just
one color if you prefer. I am trying to mix the color and using two brushes for that. And then on the tip of the leaf, I am adding the second color, and I am using another surface so my watercolor paper
doesn't get stain. Now I will change to my watercolor paper,
as you can see here, and I will stamp or print
my leaf onto the paper, calculating that this is the
bigger wing of my butterfly. As you can see here, just
press with your fingers until the colors is all
transferred to your paper, and then left the left and you need to have
something like this. I will see you in the next video so we can continue
with our process.
5. Printing the Left Wing of the Buttefly part 2: Let me show you the dens that I am doing here
with my two papers. One is the watercolor paper, and the other one is the surface where I am painting my leaves. For this, we need to paint
the smallest leaves, and we are taking
it. It is clean. And then we are adding here on the bottom side,
the violet color. And in the upper side of
the leaves, the blue color. Just to make a little bit of contrast and cohesiveness when we print this smaller
leaf onto the paper, and we're placing
the smaller leaf on top of the bigger leaf
that we already printed, so we emulate the shape of
the wing of our butterfly. Now I will read a take back my subface and bring
back my watercolor, so we can continue printing
our wings for the butterfly. As this, I calculate that my two leaves are
one on top of the other, the smaller on top
of the biggest, and I am pressing the
leaf onto the paper so I can print my beautiful
second leaf. Now I need to make
the second one, and I will see you
in the next video.
6. Printing the Rigth Wings of the Butterfly: Paint, the second wing, let's make the things easier. I will be painting both
leaves simultaneously, so we can print them at the same time on or
watercolor paper. So I started with the big one, adding the blue on the bottom, and the violet on the top. And I will do the
same as a paint, the second smallest
leaves using the colors, creating the same cohesiveness. But this time, again, adding the violet on
the bottom and the blue on the like this. The clique stays wet
a little bit longer, so that is why I can now paint the
simultaneously and then bring the watercolor paper and then print them
onto the paper. Just keeping the cohesiveness of the size of the butterfly
like this and keeping a little bit of space for the body of the butterfly
that we are going to be painting with a fine liner
when we finish this step. And now the smallest leaf
in Walla we have two wings. I will see you in
the next video.
7. Drawing the Body of the Buttefly : Between the two wings, we are adding the body
of the butterfly. For that, we use the fine
liner in colored black. You can use a brown as
well if you prefer. And then we are just
adding two lines to delineate the body
of the butterfly. Try that this is not
too big or too small, and then add the antenn and then you can make a little bit better the head
and the rest of the body. Like this. So your
butterfly has a body. Then just fill the body with a black color of
your fine liner. So it looks like a real body. And you can add some
lines inside the body, so it gives more structure. So it is taking shape now. And we are ready to add the
details and the splashes. I'll see you in the next video.
8. Adding Splashes and Details: Our butterfly is ready. Now we need just to add
some details, some splashs. For that, take your brush, pick up a little bit of the color and then put
it into the water, and then just tap tap, tap tap around the butterfly, and your splashes are done. Then take a little bit of the other color if you
want, and then do the same. Take a little bit of the water with your
brush and then tap tap, tap tap around the butterfly
and those white spaces, and then you have
your little details. You can also use
gold if you prefer. With your white paint, just add some little
highlights on the body of the wings and on the
body of the butterfly. This is just to make
this a little bit more pop up on the paper
now that we have the splashes and
all the wings and all the composition we had here. And then when you see that
your painting is ready, you can add some outline on
the wings and on the body. So the body and the shape of the butterfly pop up on the paper, much more. Okay, now we can add those
outlines with the fine liner, just going around the shape that the print did on the paper. Don't try to change how
the printing was done. Just follow those little lines. And you will see
that the shape of the butterfly will just bob
up much more onto the paper. And give a little bit more of cohesiveness and clarity and structure to your painting. Like this. If you are
using a bigger fine liner, it is completely okay as well. Really looking beautiful
or little printed butterfly using nature's gifts as the leaves from this plant. I will also take the time to add my signature and the g.
Always signature paintings. I will see you in
the next video.
9. The Reveal : And our butterfly printing
with wash a grill is done. I just converted this on
a card, just cutting it. And then I have another
suggestion for you. You can use this one sided butterfly using
your leaves as well. Just using tulips and then adding the body
and the splashes. I hope you enjoy
the magnificent use of another nature objects to make art and that you
create something super beautiful that makes you
smile and that you have fun. I will see you in
the next video.
10. Class Project: For your class project
is super simple. You just need to complete
the class and you can share pictures of your
materials, your gathering leaps, your final pieces or
your work in progress that you can then upload
in the project section for the class and
write a comment or something that you want to share with me about the class. It is always amazing how
much you can improve if you share your progress
or the final pieces. I will be waiting for
your class project in the class project
section for this class. Thank you in advance. I will see you in
the next video.
11. Thank You: Thank you so much for taking the class and congratulations
for finishing it. And I can't wait to see your beautiful final project and the class project
session for the class. I hope you upload
it. Don't be shy. I want to see what
the class brought to you or what you learned
in this class in this specific class
because I always feel so grateful for your projects when you upload or
when you comment, it is always amazing. You can also consider leaving
a review for the class. You just go to the
review on the tab, and then you click
there and you can leave your review and write something uplifting
or a suggestion for the class if you want, or what you like the
most about the class, and I will be super, super grateful and
super happy to have your opinions and your
suggestions and your comments. Thank you so much
in advance as well. Thank you as well for being and having the courage to take
the class and to complete it. This is a big, big
accomplishment, and I congratulate you
very, very from my heart. I hope to see you in
my other classes. I have many, many classes, and you can profit from them, learn something new, put
your creativity to use. You can also take a look
at my other classes. Maybe you will be interested
in learning something of the techniques that I
share on those classes. I also have crochet classes. If you are interested in learning something
new and have fun with a new subject and with a new hobby or skill that
you want to try, at least. That is always amazing to
train new things and learn new things and have or skill palette grow
and grow and grow. That is amazing. And I congratulate you
for having the courage. So you can follow me
here on skill chart. So you don't miss any
update, any news, any class that I publish, and I will be super
grateful with you for having your support and
for you to be student. This is always so
heartwarming for me. Thank you so much, and I
hope you enjoy the class. Let me know what you like
the most about the class, what you class final piece was, I can wait really to see your class project
uploaded in the classes. In the class project
session for this class. I hope to see you in
my other classes, and I wish you a
creative rest of today. And thank you so much. Bye bye.
 Artjourneywithme Heidi, ARTIST AND FACILITATOR