Transcripts
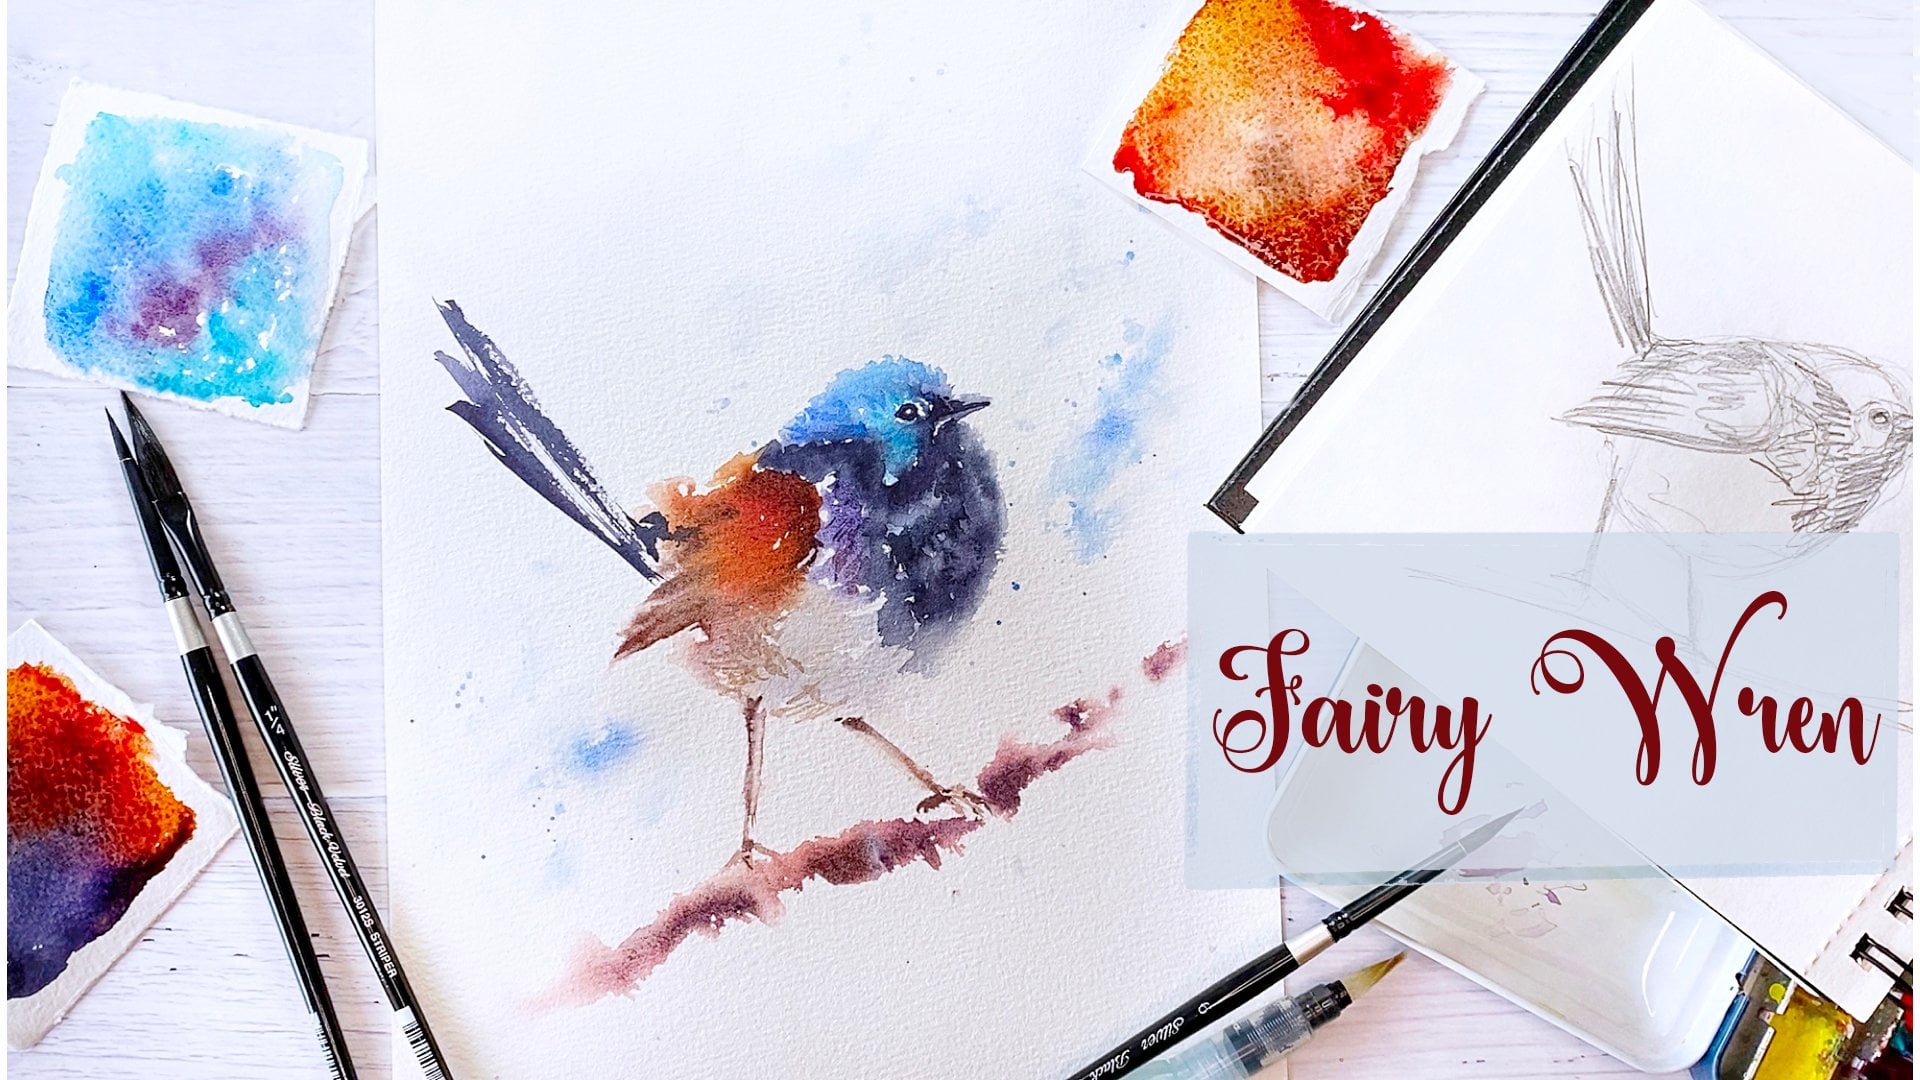
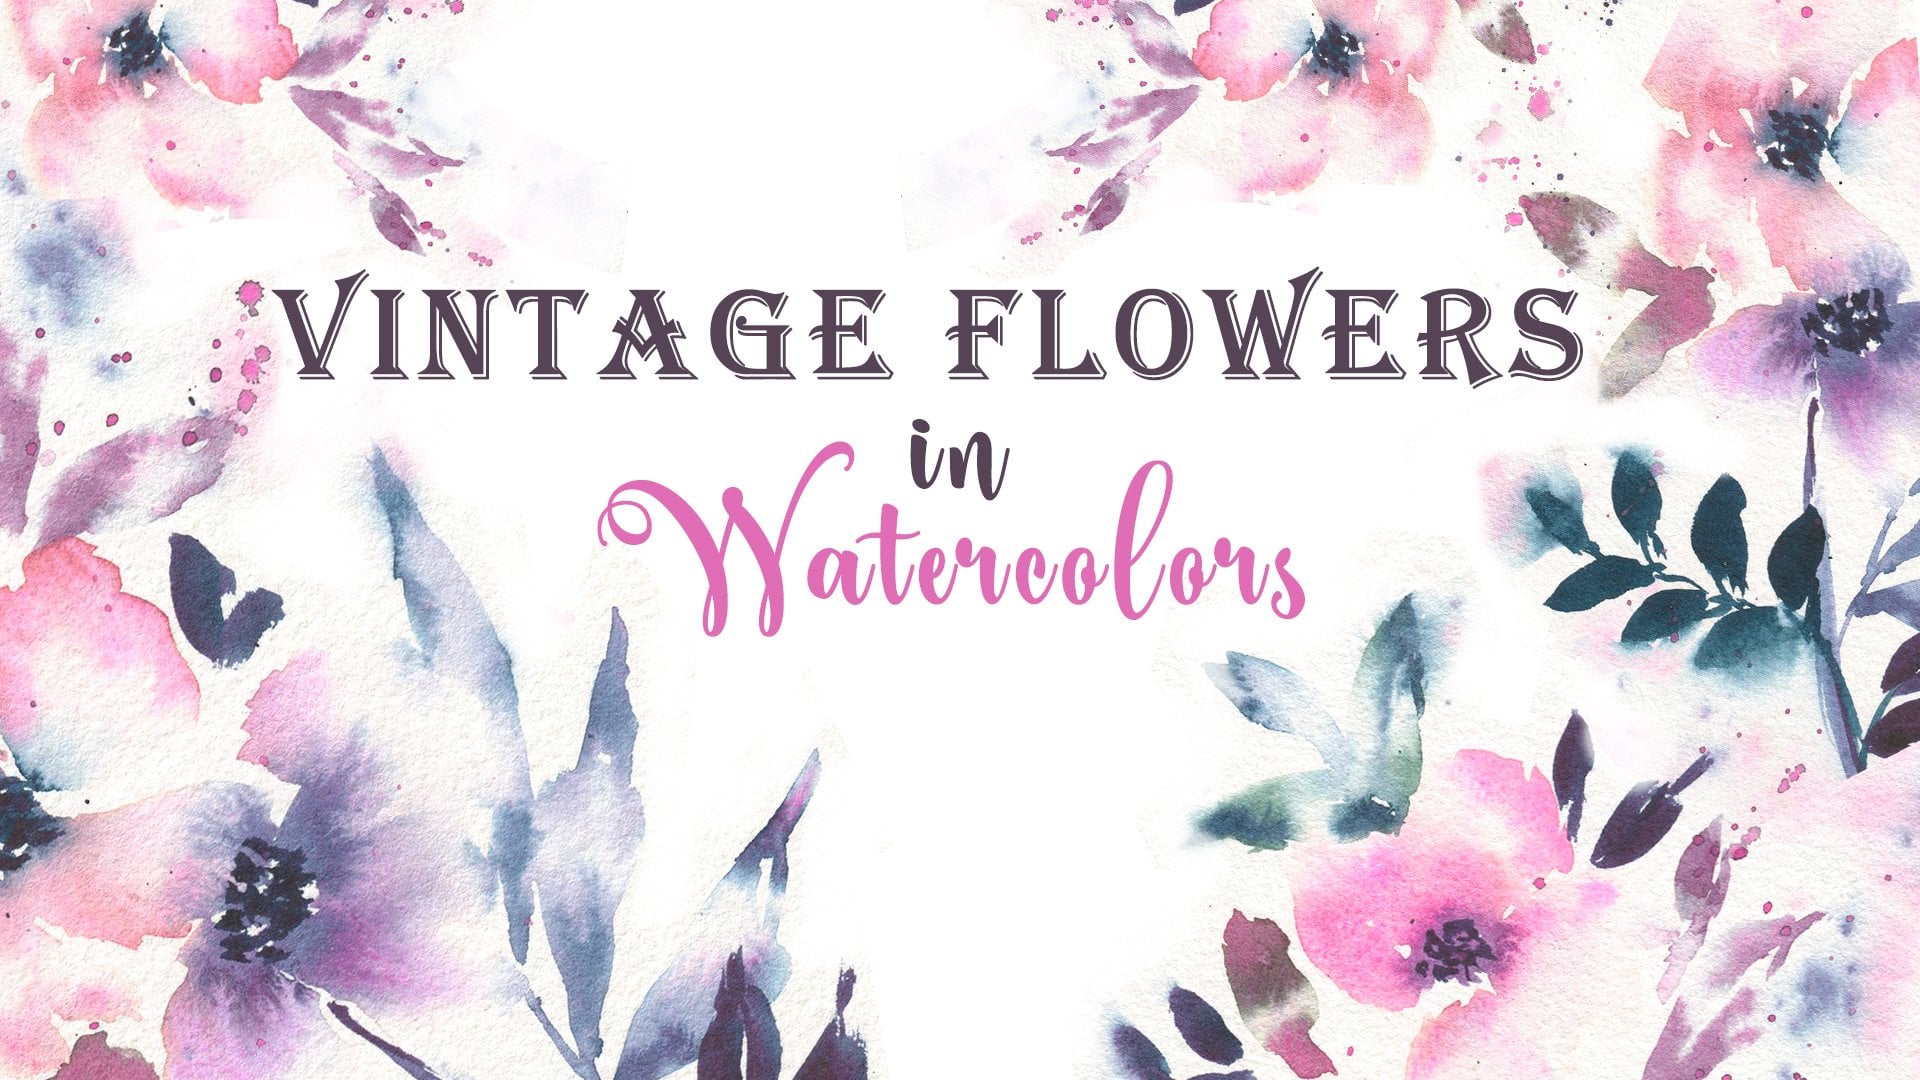
1. Introduction: Hello. I'm Nina. I'm with the Kahlil. Our welcome to my new was a color class. This time we will pay into Louis Kahn flowers in expressive style. You will learn how to create beautiful forgive backgrounds and how to make your flowers to look a more with on dynamic. This class is beginner friendly. So firstly, we will cower all the techniques of which we are going to apply on. Then we dive into painting. All videos are in real time. So you can think that I along with me this class is step by step plants or so for sure you will create something really beautiful if you're new disease. General welcome. Press a follow button on the top to join me in this creative journey. Grab your brushes and let's have fun with letters.
2. Supplies: for painting the corn flowers. I will use the following What details. Ah, what? The color paper. I will paint in sketchbook that it's ah a five Siza on. Does that Issa cellulose paper? Uh then, uh what the color pains? What a color palette Water. What about better to use toe one now for cleaning your brush and another one a whistling water on, then brushes. We will need one big brush which holds a water for moisture in the surface. Ah, Then I will use um, like this brush striper for introducing the color. So if you have some kind of similar with, like liner brush or whatever so that they can give really unpredictable line uses them, they can create a quite interesting effects for creating the background. Ah, one brush for introducing the color and for making battles, as this one is Ah, the mixture off squirrels, hair and synthetic and one brush. It was really find deeper for small details is that we will need all four painting a textures. Ongoing flower centers on pencil. Just itto, um, make some marks off our flower composition, uh, onto some paper towels. In order to remove the extra moisture, have prepared your materials and let's dive in the painting
3. Colors: Let's have a look at the colors which we're going to use. Ah, for this glass, I would recommend to to use ah, for better results. I would commune recommended to uses these colors is that this open arose med arose. If you don't have this toe are then you can use also magenta or Kinnock Redon Rose. I would suggest open Arosa because ah, it's ah Florissant color. So it means that it will give, like, really beautiful this kind off shiny effect. So if you have for this color, that would be great for use in, um, for these flowers Ah, cadmium, yellow, burnt sienna or sepia Um, burnt sienna. You can make so with while it and you will get also some similar beautiful brown color. So if not also you can use Ah, just say opium. Olive green, Andi Then ah would be nice audition also Kinnock Redon while it ah ah. But if you don't have, you can use also while it kindergarden pilot uh, in mixture with olive green gives a really beautiful like ah, shade off darker green on. Uh, it's a really beautiful combination. Let's move now to the techniques which were going to use
4. Techniques: for our corn flour painting. We're going to use a different with the color techniques on now Will have a local which one ? So we're going to apply Ah, one off there. Keep technique which we're going to use for great in background that is wet on wet and splatters on wet. So let's see what it means. Ah, this means is that you're working on wet surface. Ah, with quite a watery paint. In this case, we're going to have first I will make these parts to explain you. What So I make um I make a wet my paper and just introducing the colors different colors for here, there. And he concedes how they started to move on disgrace really soft H and really soft introduction one color into another. Also, you can introduce a more concentrated color. So then you can create this kind off our blooms like this. So, uh, to use one or two in for creating the ground is fine, but not too many next technique which we're going to use is that this a splitter so on wet and splatters on dry. So let's make this surface wet on the now let at some splitters. Ah, with I will it with some concentrated color. Ah, for engine sputters, you need to have a quite watery mixture so that your brush will be loaded with this. Ah, pained on. Then you just make like this. You can see that they start to fall on. Do they have the same effect? This here. What? It helps. Ah, what creates a splitters is that, uh, that color is introduced in random order, which you can predict more less on. Does this greater? Also really beautiful color combinations on beautiful effect. So that's blazes. Ah, What? You have to pay attention So that sometimes, for example, with this brush Ah, check it can create their brush, their splitters like in one line. So in this case, you can remove just a with paper or another thing that you can do is that toe move your hand in different directions. And like this, you create different splatters in different directions. Another thing that, for example, splatters on dry on. You can see the difference. So the ones which has fallen on the dry paper they stay as some small tiny dots, another way off making splitters is his finger like XYZ. So then it grates really tiny sweaters, and also you can choose a bit the direction in which they're going before. But also you can make under two year finger Andi. Also, we can adhere a bit more off yellow and you can see how one color introduces into another on grades. Quite nice color mixture. So these two techniques were going to use for creating our background. Andan as a technique is going to be Grady int wash This we will use her for great in for painting our flowers. Ah, let's use sepia which is quite dark caller brown or any brown which you have on Dhere. We will start with really, really dark thanks and I clean my brush and just a whistling brush. I start to spread the color spread the color, making this part lighter. So on later you can introduce for here and be more darker area. So it grates also some illusion or William Andi uh, petals for But those are first they will have to practice with some brush strokes I am using Here is a mixture off. Uh, it should be open arose with a bit off Maduro's so brushstrokes that you can use, uh, from like exists my days. You can create petals. Well, I exist, so that is just it to play with your brush. Uh, then for like their first their petals. We will use more concentrated color, and they're going to be more like this shape. So that is just a practice with your bar brushstrokes on what kind off battles you can create so that this play on and see what you can create. Um, dry was different brushes, because different brushes also can give different brush strokes on the then let's move to our war painting. Actually, our petals that they were going to use wet on dry technique, and it's just like this. So with several brushstrokes, you're great in the petals, so this mixture should be quite transparent. And now let's introduce Ah, another color for here that is more concentrated collar, which we have introduced, and also we can introduce. A. Another color would make here one more metal. Look on. Let's introduce a bit off yellow in it. He's so you can introduce another color while it is wet. The surface on they're consistency off. Another color. It should be the same. This is the first Isa basil washer or ah, more concentrated. So this one has got already dry, so it would be really good. And then this. But those just with some more concentrated brushstrokes like this. So just practice was brushstrokes onto introducing one color into another color and prepare your colors, brushes and let's move to our main painting.
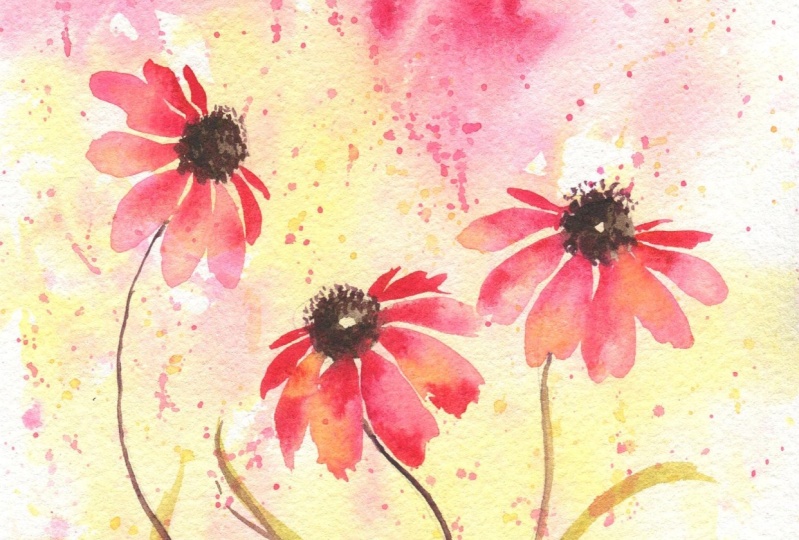
5. Background: If you have prepared dollar dear materials, let's start a wizard background first will make a weapon with the big round I'll let it dry completely and then we will move towards as their, um flowers The background were going toe to make eye using our splatters technica wet on wet. So it means that we will make first went to sea surface and then ruled by a wisp letters Ah , I'm using ah ah brush with a big brush which absorbs up quite well water and just randomly making wet the surface Ah, off my labour I'm using Ah, with a collar Cellulose paper Onda Uh, that is a five size. So just leave some white spaces. You can see that here. Here's there are some parts which are left white I mean dry so dry it means Is that like there they will be, um, white, probably on, uh their area near to the border. Also, leave it quite, uh, randomly. And then let's start always splitters. I will use ah striper brush Grace Quite nice. Um, splitters on DA idea. He says that, uh, mainly it was the dominant color should be yellow with the some sports off rose. So let's move lower splitters. Also, you can try with different brushes. Different brushes can create different kindof splitters. Also, you can make legs ease. Ah, that's what I like with this brush is that it makes some really random effects aunt more when it's really quickly, without thinking too much. So here my water has got already really dry. I will add a bit more so here I mean that we are creating some really random background. So it doesn't matter if you're paper has got dry like my one you can match just more water . That's no worse. It won't spoil anything. It can even create some more interesting effects. Andi So probably was yellow. I fell already Place. Um so just play with splitters. And with some random introduction off the color next caller is going to be open arose. I make white water solution and first I start with splitters. Amazingly, I want them in the top part on some randomly here in the corner. So quite quickly you need to introduce this, that the paper will get dry really fast. So for here, And just move your brush in really, really random order Onda also introduced in some areas. Who this is too much, Maybe, but let's see what it will. Great. Ah, that wasa Maduro's I have introduced it that beats more on Diello also lets at some marks off yellow. So it was water. And if it's great, it really nice FX. I like so on. And ah, for some parts, I will be back to this my brush So that, for example, if you aren't happy with some off your areas, you can help also with some strange like this movements trying to make a really random renda ma border so that it won't be really boring the border. So just with some moments later, that is completely have fun on a plate. So I think like this and probably I'm missing some pink area in this Here I will it some splitters? Yep. Now it's much better because it was really Yeah. Now I feel that What? That's what I want. Eso ah, pay attention so that it will be a balance between pink and yellow. Has this part try toe mainly to keep a yellow that it will transmit. There's a sunlight on. Dhere is in this part where we're going to place our flowers so that ah, rose petals are on yellow background will make really beautiful effect. Um, also using opera Rose will create the beautiful shiny effects because is, this is Florissant paint. So it gets gives to some kind of these shine Ah, once it will get dry will see which FX it has created. Onda, um, just half have fun playing with your background does that everyone will get, ah, his or her unique background. Now, once you have finished with the ground that you will have to leave it until it will get to dry completely till we will move to our next part That is a didn't flowers. So meanwhile, just practice with your brush strokes for painting that also or have a cup of tea.
6. Composition: so my background has got over his dry on. Now let's move. Ah, toe flowers first Ah, Wiz up. And so I will make some marks where I'm going to play. So they're flower centers so that more or less toe have an idea of the composition. Ah, one flower I'm going to place here looking in that direction. One will be looking in this direction just more this way. And one more is going to be looking also in that direction. Ah, pay attention. Try to locate them more or less in different levels so that they won't be like one line of flowers on another. Think also have tried to places them eso that the petals will be over yellow background so that it will make really beautiful playoff Ah, combination of color. So once you will places the next layer of pedals Onda also there Ah, steps. So I will make something like this. Another one here on one more One bore will be here. It's not really nice. So let's place legs is so then he's going to be a one one going this way. Yeah, my exists. It seems it would be interesting composition so I just remove some pencil lines so that they won't be so so so. No just vote because the ground is quite light on. Let's start first with the flower centers.
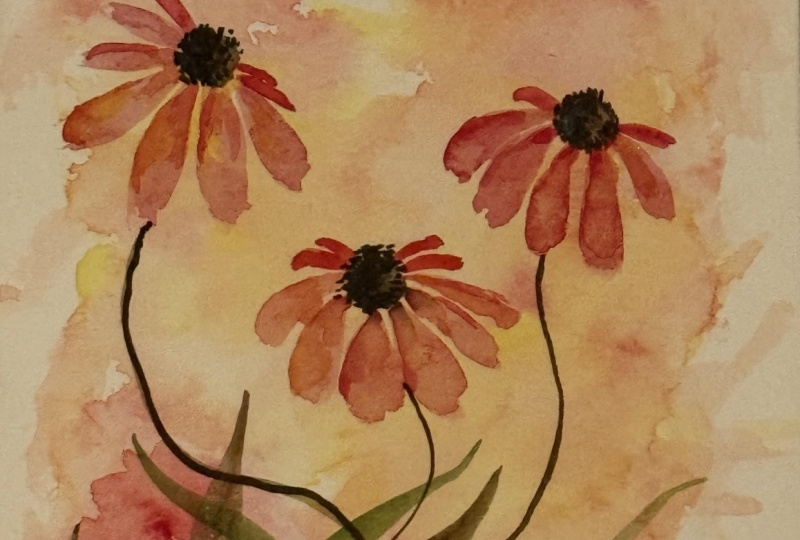
7. Flower Centre: Unfortunately, my camera has stopped recording. Ah, with previous painting once I have started to painter their flowers so I have reverted as it the ground on. And we will, uh, keep on painting our flowers. Eso I have here composition more less. You can see that this background the same Ah, we will start with the flower centers for this I will use uh um sepia. Or you can use any other brown color which you have and we will practice our, uh, radiant wash. So let's start from just flower. Ah, First I place a really dark fuller. Also, you can leave some white areas and then just ah ah wiz with brush removed extra moisture as this brush I keep with brown. So and with second rush, I just start toe spread the color making it lighter. So, like this let's move to another one. Aziz central one the same really dark. Also, you can introduce as a color directly from the pan to make it even darker. That that side and then it was another brush you just spread. Let's introduce it. Be more dark color by this on. Then let's move to the 3rd 1 a bit more off. What? So like this and then another brush. So here we have. I just was dark eso here we have our flower centers and now let's move to the most exciting part that this petals
8. Petals: Ah, for petals I'm going to use Ah, Rose Opara. Andi, I will make really water. A mixture exists Condos that is going to be just brush strokes You can. And also just a little tiny amount off yellow. Yep, It looks more beautiful. And then just it was brushstrokes. We start to paint Pato's, uh, pay attention to live here. Wide spaces between the petals. Then they look with more William and more beautiful. Andi, Uh, also we can introduce Ah, Marco, more darker color that we're going to practice introducing one color into another. Here I have, uh I will place from this site. Ah, this is Medeiros and I will mix it with a bit off yellow. So I will have, like, different shades on Dhere. Also, we can it for here. Onda, Uh, another color. We can It just was a bit off yellow. We can introduce here the only thing important thing which you need to keep in mind while you agent one color to another. Is that the color which you are aiding? It should be the same consistency. Or it should be more concentrated so that it won't make any of the grounds to the battles. And also you can help her beats spread. The color just was clean on, uh, dry brush. Okay, well, let's move further, some more petals. And now let's make some more concentrated. But those they're going to be smaller. The further one says I want to be shorter, smaller and more concentrated, color darker. So I will turn a bit like this. And also we can introduce here the color and for here also, let's add a bit more off yellow, for example. Here, yeah, on. And that when I will leave it as it is. So here we have our first flower. Let's move. Does this flower again? I have already prepared this mixture and with brush strokes, can use to brush strokes or one brush stroke and create the petals you can turn. At least I'm going to turn the page that is going to be more convenient. I'm here, for example, one more Onda. Let's add more concentrated color for he. I didn't. I'm at the Rose Onda mother, rose mixed there with a bit off yellow, so that is four concentrated colors. I exist toe colors here. Also, it's very important, so that as the paint should be still wet when you're introducing the color. Otherwise it won't be already to ability The second layer So also pay intention twosies that the surface still should be quite wet. I'm blood said for sure made darker and I still don't have any yellow. So let's introduce for here um it yellow that is actually your imagination. How you imagine these petals, Andi, you can use of those color So which make you happy? So really nice. The important thing that toe have these first base mixture for petals really watery so that they will It will give us this feeling off. Really transparent, transparent uh, that dolls that's on the off the light. So I turned It's a page and does ends the next one those further, But also they're going to be more concentrated and darker so far here in from they say, And let's introduce some more concentrated color tothis battle. So that is just really relaxing. Going to that you're introducing one color into another and creating the battles all all different colors and shades on blades, more disease flower I have here the mixture. The base mixture is, uh, open arose because this is Flores and color, so it gives this'll kind off shiny effect and for more concentrated areas that I had made a rose. Also, you can dough change the shades. You can add a bit more off yellow. Yes, and let's introduce now are more concentrated power to the center so you can see that when they are the bases wet, so the color starts to run itself and greats a really beautiful effect. I really love this kind off things because that is actually waters. Ah, what the color works that is a magical for the collar. So here, for example, this better I can see that it's already almost dry, so I don't introduce their yellow because it won't be already like it's not possible already. Then you can introduce second or third color, and so those petals, which are still wet and then more concentrated but those so we will make those further ones I'm using Maduro's. So actually I'm working more with these colors. Just always brush strokes. Practice was brush strokes and other to create the but also of different shapes. So here we have one more flour
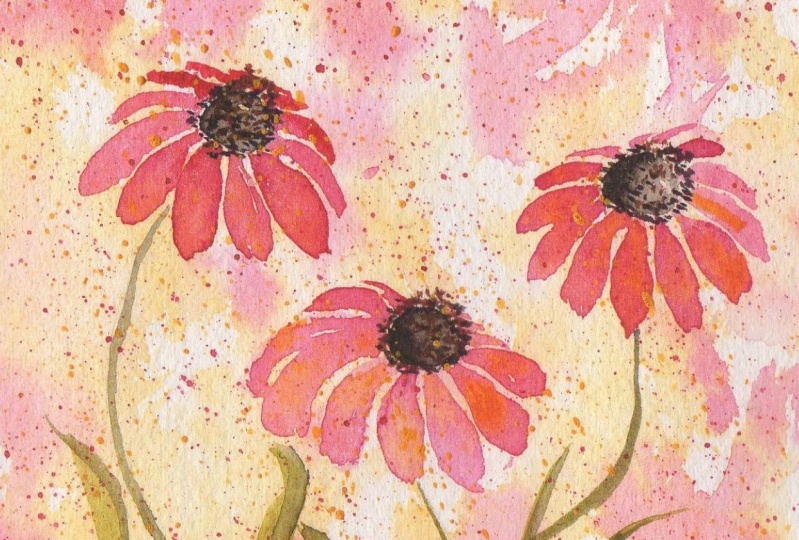
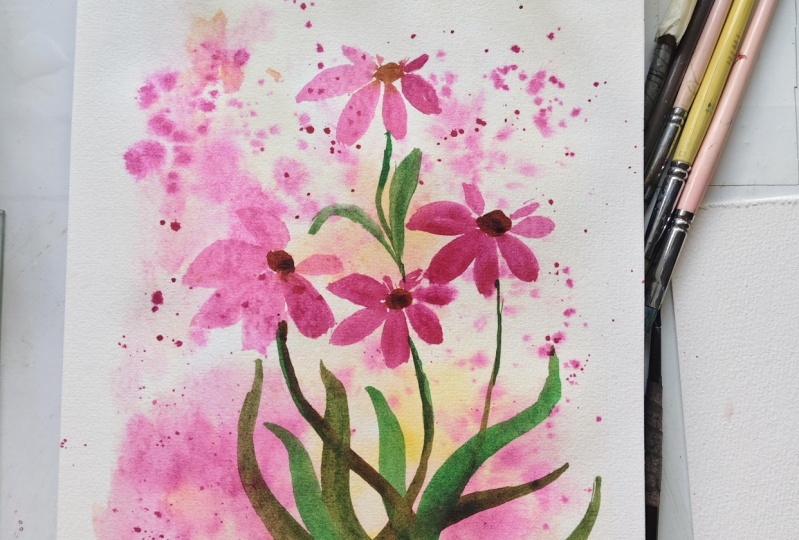
9. Stems & Leaves: and now we're stern off the stems or four stems. I'm going to use olive green. And on the point on the tip off my brush, I will add a bit off Kinnock Redon while it then in such way, it creates really beautiful shadow Such effect on dairy like how it looks. This combination of these two colors so and owns a very deep for painting the stems you will need toe take a brush which has a really fine deep so that to be ableto make this really, really seen lines. And also ah, the attentive, not touch. Really a lot of the battles if they're still wet, another not to produce. Oh, and exactly I have created that belief. No matter doesn't look really bad, huh? What we can do in such case if it has happened to you as well So you're just going your brush and with clean, dry brush I this you removed this paint also what you can do Ah, miles away. I can explain another thing. So that is the same with a clean, dry brush. You can great some you can remove some color, for example, from Kia like this and you can great. Some collide areas on the petals like this. So and here you can see that the stamp start her from How is changing the color? I really like this, Onda. Uh, let's make another stem again. Olive green And on the tip and beat off Kinnock Redon While it I will continue was this one so that I'm here that my hand has got a bit shaking. Um, the line is not real nice. So what? You can do the same just, uh, to remove with dry, wet brush You can remove with the with the dry, clean brush like this. But later we can cover also with some, um, leaves. So don't worry for something. If something similar has happened to your painting, it's always you can fix on. Do you Can you know when something new, Another two fixer. Any problem with what? The colors Or you can learn something. You okay, so then and use them. Is this central one like these on then? One more stem green was a bit of FARC in Britain, while it, um well I exist. Oops. And this one This rule today I'm really like, Okay, I will remove, but also sometimes these bullies a really beautiful. So it's up to you. You can leave it as well. And But I will make it, uh, more darker with Kinnock Redon while it like this. Yeah. Okay, so this part is done on. Now let's move. Ah ah! Two lips, Let's add lives. Ah, that is the same. I'm going to use olive green and just a with a simple brush strokes So like presents a whole body on, then lifting the same resting leave there on. Then you create those shapes which you like. So just simple why this simple lives. So here we have our lives and some lives will make them a with olive green. I load my brush with olive green on on the deep and beat off. Arkin agreed on while it so like this. And then we separate one some lives from others and you will get some dimension. For example, this one blacks is so that sold for our lives on Now we will finish as the flower centers. We will make more will bring car more contrast on a more texture tourism. For this, I'm going to use a really small as that is number two brush. Andi, I will use burnt sienna. I will. Makes one really nice color that is going to be burned. Sienna whisking. Agreed on while it always while it. So it's going to be quite nice dark chocolate color like this. And then we will start just with some small dots. Well, it's places these dots just always notes, making the texture also, uh, try to head. Really, This is not a tiny because I still have quite a lot off paint on it, So just really tiny tiny does around then It makes also quite nice effect on Dexter for here, on the white, on the light area of the paper as well. So, like this another one just small dots that is really relaxing. And I think that everyone will get their own flowers and for sure, like it would be a really unique my worst. Really nice on the one mark. Our center is this one, so you can see that they can go tolerant is a texture, so the color should be quite concentrated. So just some prince or brush. So here we have our work on flowers
10. Splatters: And now we will move to the finest part that is actually splattering on. That would will be for more expression on, uh, more this ah unique feature to our painting. For this, I will use it for splutters. I will use the same colors now, Mother Rosa, and get me in yellow. So I prepares a mixture. Four splitters should be quite watering. And now one of the things first you need to check before your brush how it makes Ah, ESP letters. So that, um how creates? Because, for example, the problem off this brush, sometimes it creates not really nice. Ah, like, lines off splatters, you know, on de. So in this case, you can remove them immediately with some, uh, clean paper towel, Dr. Part and another problem with letters could be that, for example, if you are moving your brush like this, So all splitters, they're going to go in that direction and there will be, like, line off splitters. What is the solution? You need to move your brush in different directions. So then they would be more random. Andi, more like ah, balanced. So let's start there with our splitters and will see because also, just the height all your monitors Ah, a mobile phones because, uh, this is quite often may finish everything with splitters and you're close as well. So just, um, um protect everything which could be painted with splitters because they usually flow in all different directions. Andi, I finished with my table covered with splitters. My clothes Klauer covered with splatters on everything which I have nearby also covered who splitters, for example, This one I don't like it. So you just removed quickly so that it won't get disease. And then you keep on adding splitters. Just, er date off the time rotator are your hand like these as a wise, I mean, uh, not that is really I don't know, my husband. He gets really, um, like you have spoiled your painting with all these platters like this one direction. So I had to work out how to make them in different directions and so that they won't be in one line and no, listen, some yellow splitters, so they will be make this bright area up and the thing move your hand. Uh, so if you aren't happy with some splitters, you can just remove or to make them not so right. So that's fine, because also and as a problem that you can have too many splitters. Also, this happens to me that I got It's really exciting and sometimes I got so excited that I had are much more than necessary. So I think that we have finished with splitters. Andi, just if there are some which you aren't really happy with you can remove, are so that this our painting, I hope that you have enjoyed paintings is going flowers with me and I'm looking forward to see all that beauty which you have created.
11. Final Thoughts: Thank you for watching my class. I hope you have enjoyed it. If you like the class, please leave a review. Letting me know whether you like this technique and would like to see more classes in this expressive style. Syria, please. A blow to your class project was a class project gallery. If you're going to show your artwork er on instagram on police a technique so that I could see it. I'm looking forward to see all the beauty which you have created. Meanwhile, you can check my other classes are on skill share and keep on creating seeing my next class by
 Nina Nyusikart Watercolor, Artist| Art Therapist | Loose Watercolor