Transcripts
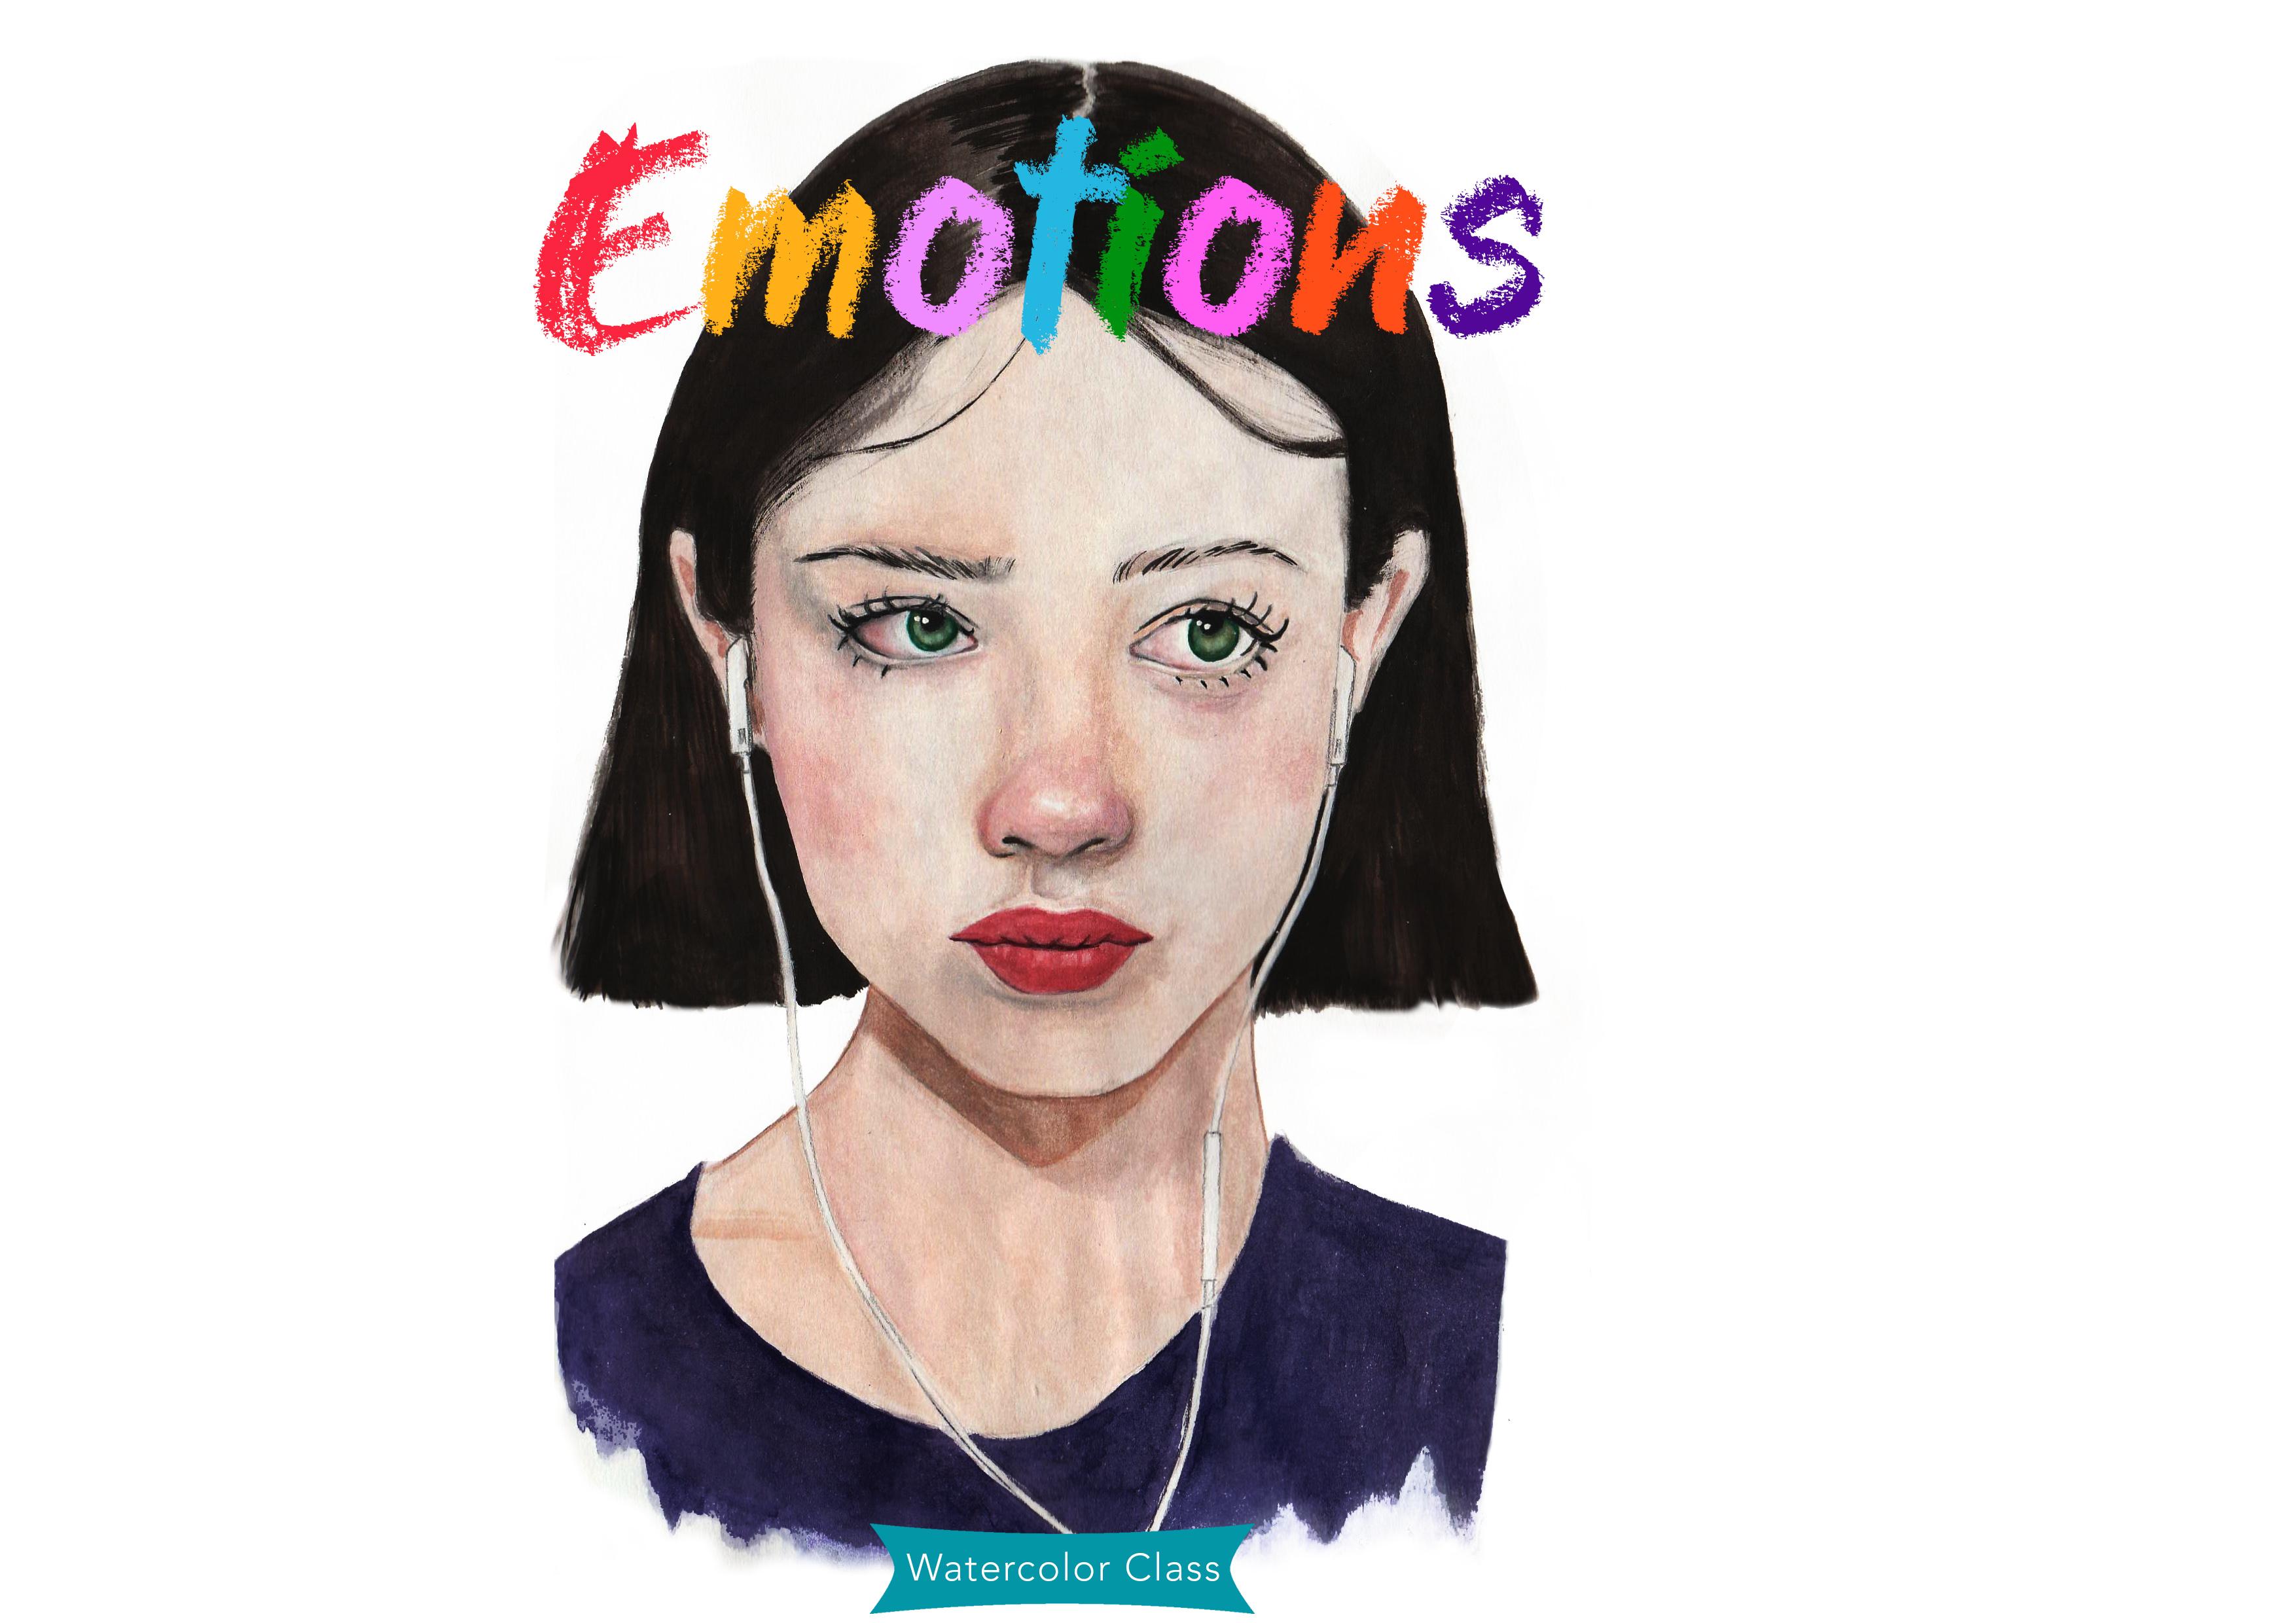
1. Intro: Hi, guys. Welcome to another watercolor portrait. Begin this class for this class. I'm gonna be showing you how to paint emotions. Specifically sadness. I'm going to show you what's technique and what features you should focus on to create a look of sadness. This is a step by step tutorial. I'm going to be starting with a base wash of the face building up on the eyes, eyebrows, nose, lips all the way to the hair. I am going to be also showing you how to mix colors and which colors work forward. Feature. So for this class, you're gonna need a watercolor sets a paint brush. What a color paper, pencil and an eraser. Let's get started, guys.
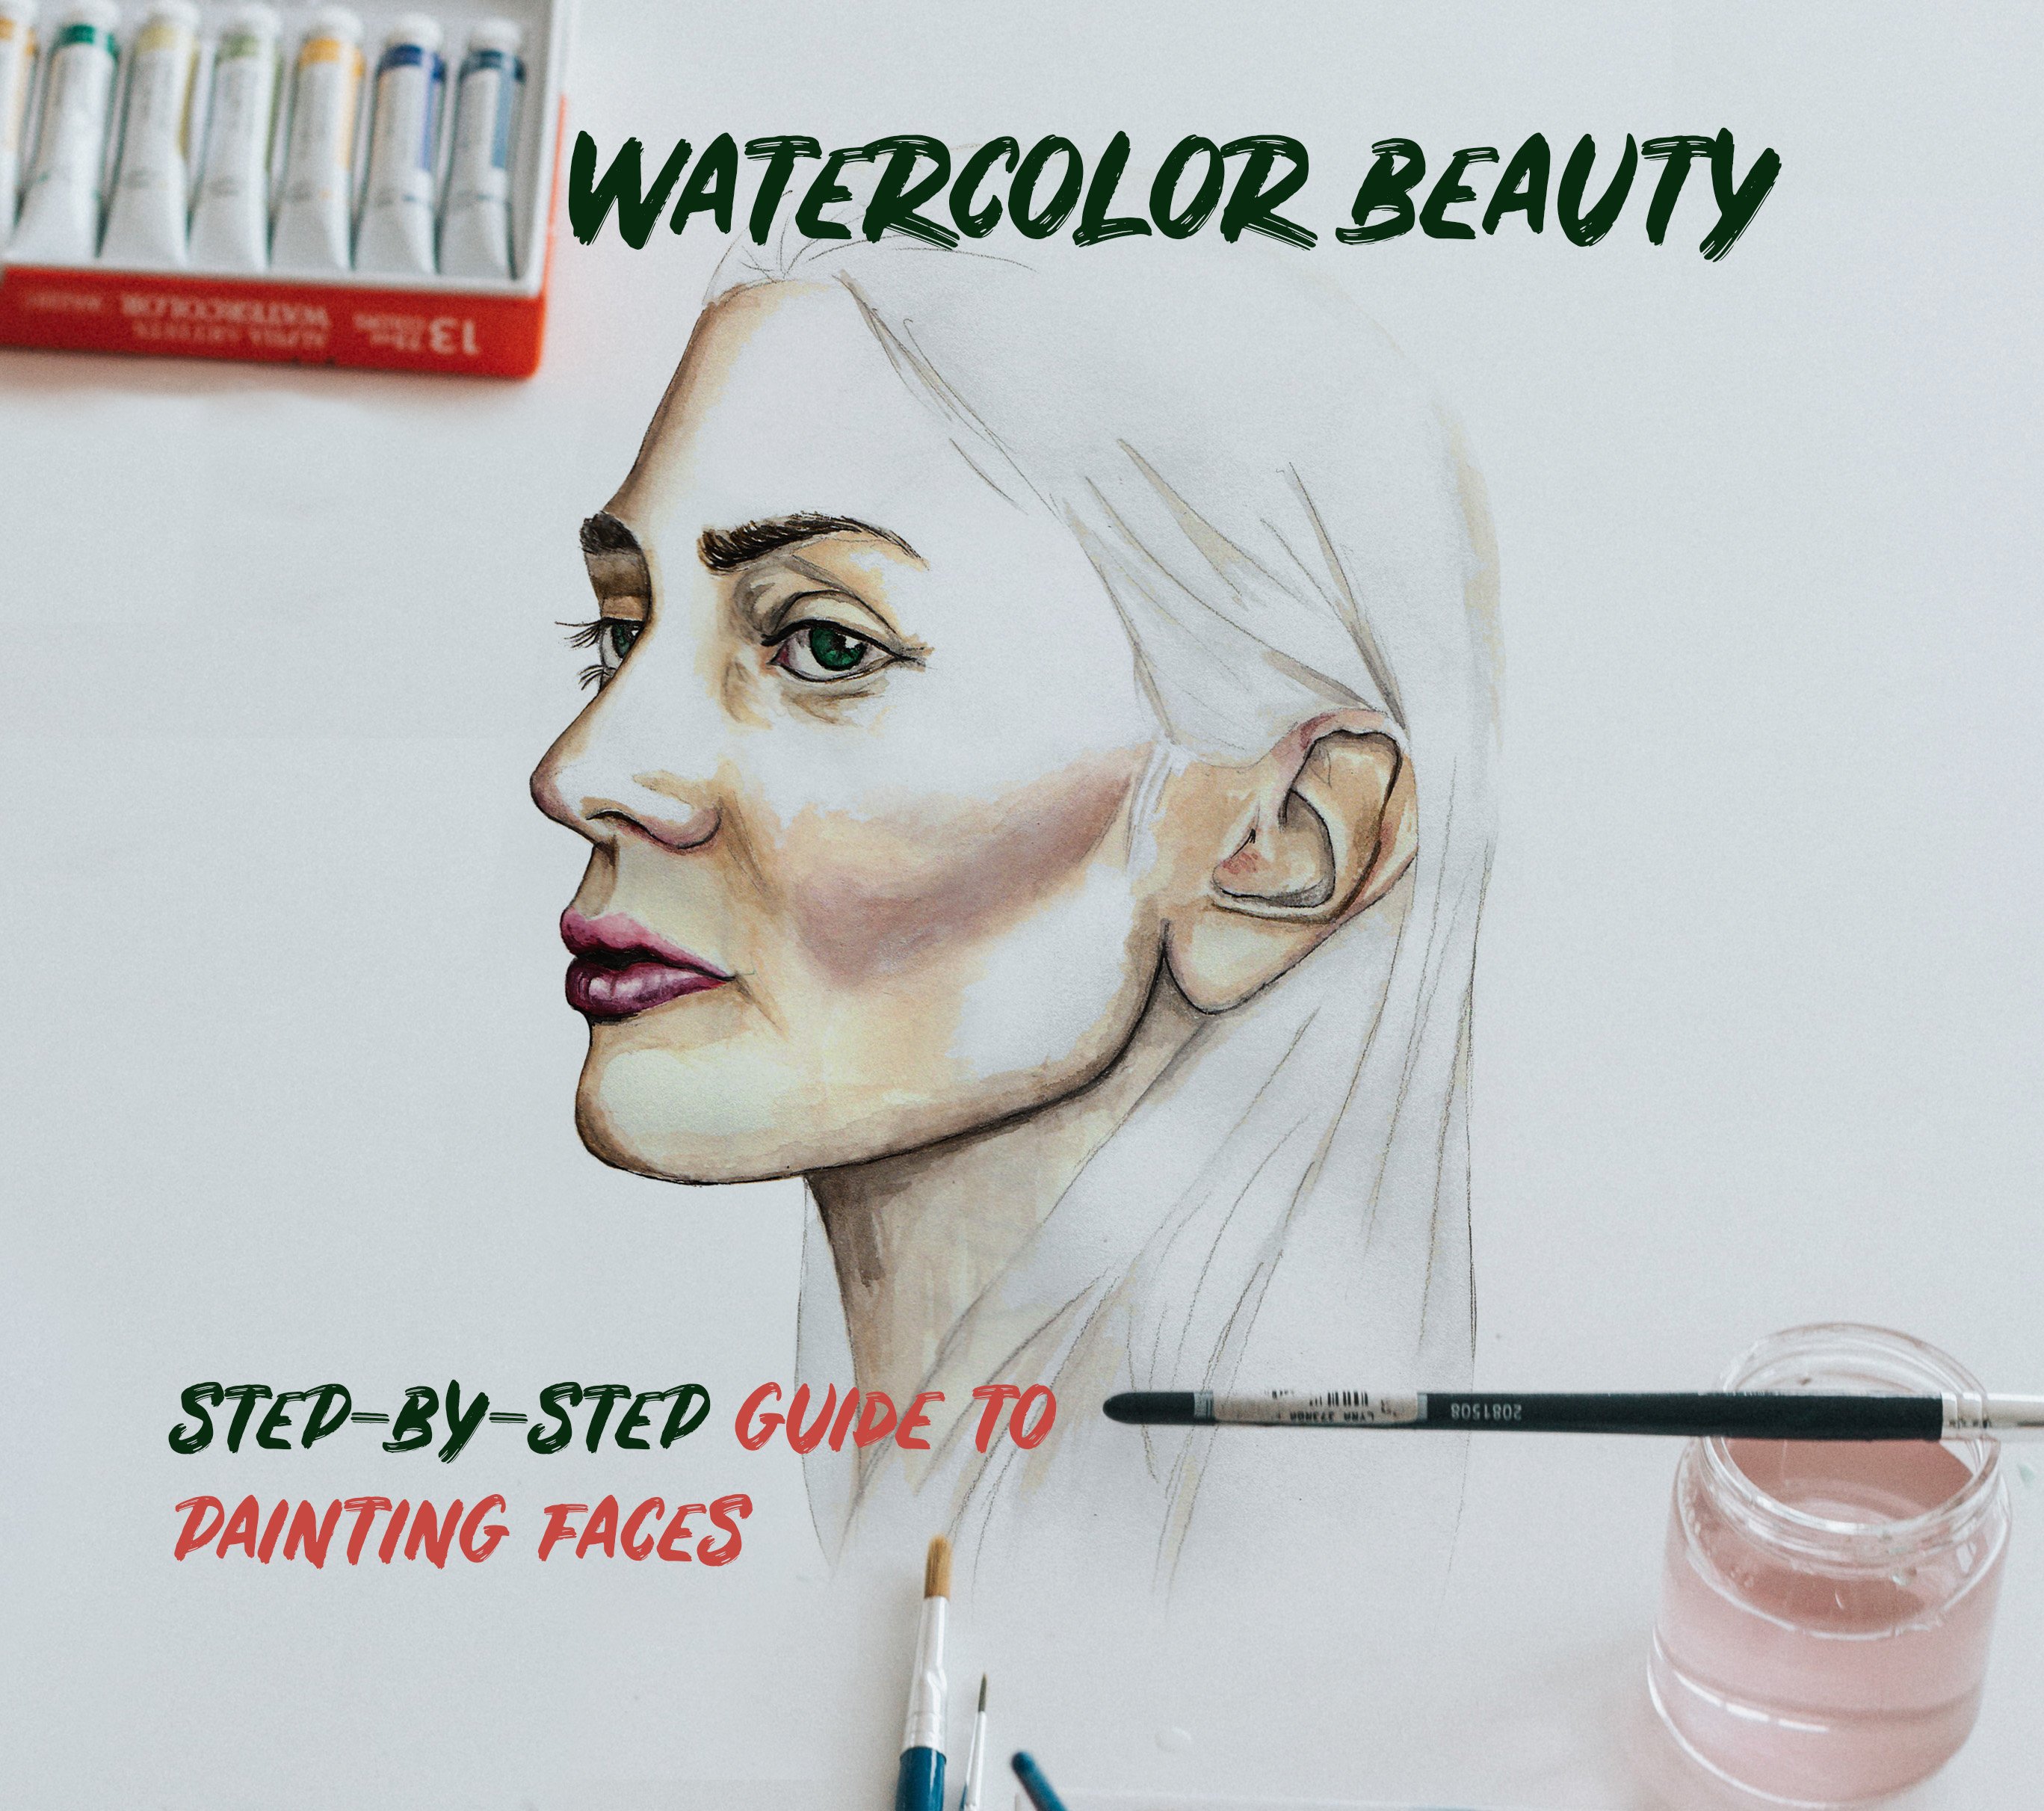
2. Base : we're going to start by selecting or colors. I use a pen. Tell what color set and from it I am going to select yellow Oakar, which is a light brown Campbell brown and then my medium brown white vermillion, which is a lighter shade off red and a darker shade off red. It's gonna be for the lips and then black, so these are the colors that were going to be using for a portrait. It's okay, so six colors for now we're going to start with and then you have your watercolor brush, and I use a medium sized brush. Now we're just going to paint all over the face and the neck. So for your nude color for this portrait, I mixed the yellow Oakar with the white, and I'm going to start by applying my base so you apply a base wash to your portrait and you wash it all across the face. Why should evenly all across the face? But do it really lightly and make sure that you add more intensity where there is shadow, such as around the nose and around the eye and then on the neck and you just sweep across the neck, the surface of the neck. So this is the first step that we do for our portrait painting. This is one technique that you can do. You want to see a different type of technique. You should check up my earlier videos. I use a different technique of first placing the paint where there's the most shadow. So here we are. We have painted a base, and now we're gonna move on to our eyes.
3. Eyes : I'm going to start by filling in the shape of my eyebrows with a slightly watery wash. Don't make it very detailed or intensify to keep a pretty war tree and blend, just applying the base layer for our eyebrows. And, of course, you have the liberty to change the shape off your eyebrows if you would like to. And if he would like to follow with me and paint this very same picture, the link is below and we do the same thing for the opposite eyebrow lightweight tree wash and then we add our detail. Make sure the tip off your eyebrow Sorry, the tip of your brush is pointed and then you fill in the hairs. Keep it pretty, general. Not too detailed. And now we're gonna move on to do our lashes. And for my portrait, I wanted to look as if she's about to cry or she has been crying. So the lashes air not to defying. I want them to be slightly Colome Pius. If they're being wets, some going Teoh draw those on the top, and I'm also going to add on the bottom. And then I just redefined the top line. Make it much more thicker. And then I add first only black to the I. You know, if your I always have the colored part and then you have a small black circle and in the small black circles where we're gonna add our lights. Okay, so this is what we have and I'm gonna move on to the corners off our eyes. You gonna fill that in with pink? And because you want her to look a Ziff, she's about to cry or she has been crying. I'm going to fill the corner off my eyes when a paint with a pink and below the I I will someone a paint that with a little bit of pink And just as some readiness. So this pink is the one that I mixed with the familiar I picked earlier the 1,000,000 the white, and it's good to start by making it warts. Streaming can add more paint if you feel like you want it more boulder. But I would say adds more much later. Like at the end of the painting, I would suggest you add more than because if you make it to read, it might stand out and she might look like she hasn't seen. She hasn't slept in ours. And that's not what we're trying to do. Then I align with the black on the corners, sort of moving towards center, not all the way around. He put fine and delicate when you're lining it. Okay, gonna move on to the second part.
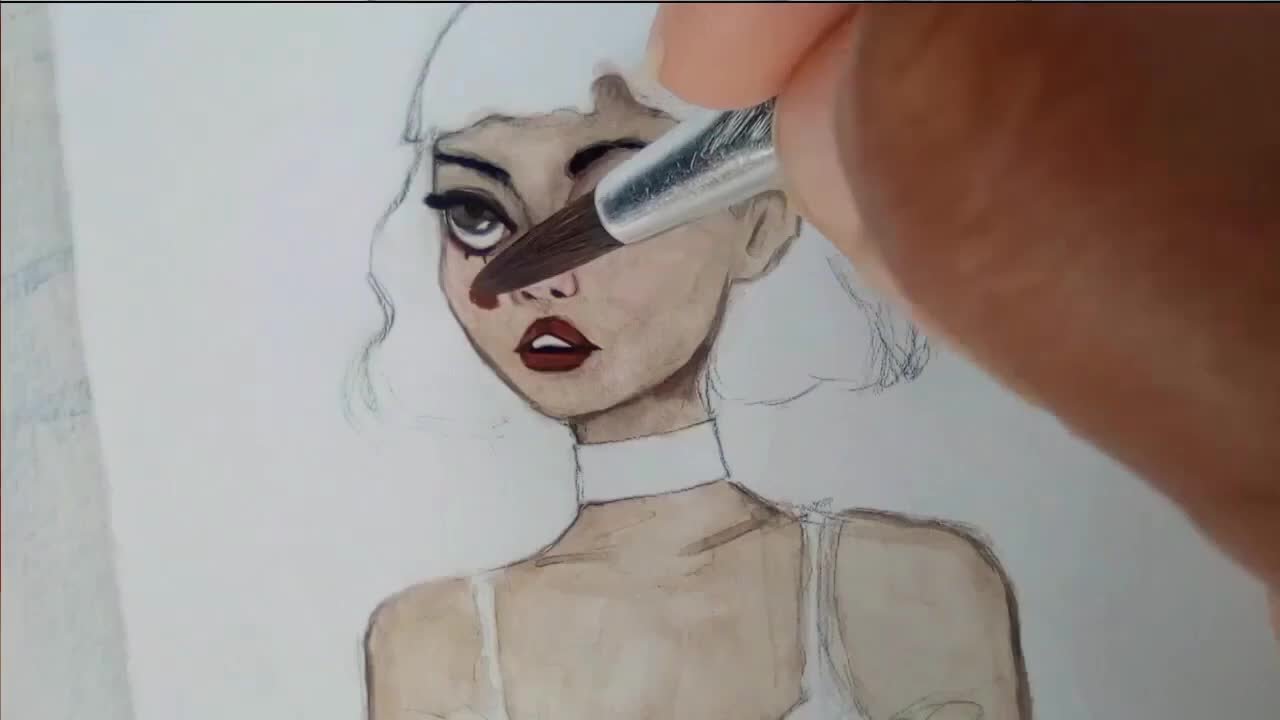
4. Nose : So for the second parts. First I am going to line the I lead Crease with a Doc Brown, making sure that the tip of my brush is pointing. Just fill in between the lashes, the pain, two spaces and then on the corner coast, the nose. That's where you'll have some shadow and above by the eyebrow, just adding nudes. Colored paint mixed with a dark brown. So for our eyes, I am going to fill the eyes with a green. So from my set, I am selecting Viridian from the mental what color set. And it's a dark dream, like a green, and I'm gonna mix that with the yellow car. But add just a little bit of the yellow card to the green, and I'm gonna fill my eye with that shade and then on the ring, the edge off the eyes. I'm gonna paint that with a darker shades and it looks like a ring. So for now, I'm just gonna keep it this way, and then I'll add the lights later. The white parts when I go back and refill my eyebrows, and then I'm just going to add some shadow to the corner of the eye because I'm following a picture, a reference picture. And again, if you want to follow with me, the link is below, and then I'm gonna add some blush. And then to my eyes, I'm gonna add two white dots as soon as they tried. Now I am going to refine the nose by lining the site of the nose all the way down like a curve creeps in, and then it comes out, and then I'm gonna blend that. So this part, I would say, definitely can be the trickiest part. I do find doing the sides of the nose pretty tricky for me. So the challenge is to make the nose look as if it's protruding out. So the sides of the nose needs to look like sort of like mountain slopes. And you need to sort off practice and practice with your shading, but you want it's to sort of fade from light to dark to light on the sides of the nose. And then I am lining the bottom with a dark brown and on the sides. And then I'm adding my paint on the side and the bottom off the nose. Now, if you can see I've women raised. I've mocked in the center of my nose. This little area I've left clear right there. So I'm gonna apply paint all around such white, clear parts and for the nose at a little bit off red to your nude color to paint. So for me, it would be adding a little bit of for 1,000,000 to my nudes paint you added to the sides, and then you're gonna blend that all around the bottom and around the top like this. Are you creating like a circle of circular motion with your shading and you want to the nose to have, like, a sense of parts that is lighter. And then you fill in your nostrils with a very sharp You line the bottom with a dark green sari with a doc brown. I'm thinking of the green of the eyes. So you lying the bottom carefully, slowly take her time. And don't forget below the nostrils. And then you blend because he wanted to look like it's part of the skin, not something that is distinct and separate from the rest of the nose. Blended really gently and softly and below the nose place a blended area of shadow
5. Lips : for the lips. We're going to fill them with a cherry red, so you're gonna have to sort of experiment with your red To get this tone, I first start by placing a base that is a bit lighter, so it's closer to pink. But it has a bit more red in it and keep it very light watery, and I fell in the lips. So the main technique that we have been using for this class is the technique of placing a base layer first or a base wash. First we did that with the face and the neck. We did that with the eyebrows. It makes it so much easier to create and build on what you have painted. When you are painting features, it helps you not get lost in the paint, and it helps you see the progress as, for example, as you're painting the lips, u ce them actually turning unwto lips, and it helps you know where to place the shadow. I'm going to line the middle off the lips and making sure that I am painting also those curves that you see on pressed lips. I'm lining the middle with a dark, very red didn't. That's the best way to describe it. That's the color we want. And I'm keeping the top part of my lower lip Clear if you can see I'm not painting that yet . I'm keeping that clear. Andi, I'm just painting below and around those white areas on the bottom lip. And then I go back again and I add my second wash and this is how you build.
6. Hair: no, but the last step, which is the hair I am painting using a dark brown, and how I made to the shade was by taking the the medium problem that I have in my set and mixing that with black. And you can use what whichever one you want. Always have a color you want for your hair so it's start by internal across the hair. Keep it pretty watery lights. You start with your base wash, and then you go back with the second layer and you make a doctor, and we might even go back for 1/3 layer for 1/3 wash. So, for let's try and keep it as dark as possible. And then I'm just adding some definition of the bottom and we go back to center and we make that darker and make that sends a parting more to find more natural. Actually, at a little bit of here's moving into the center parting, and then you blend those tiny strengths that it looks like it is. Hair go light, light, cares all across parts and then fill in your years and on the side of the face at a little bit off Doc Brown. And then now we go into at the Shadow on the neck. And then after that, I am going to paint the T shirt that she's wearing and painting her T shirt with a purple. I wanna I wanted to be a deep, rich purple and you can make your own purple by mixing blue with a little bit off Red starts with your base wash as everything. Then you go back in with second layer and perhaps 1/3 1 And here we have a final picture. And if you want her to look as if she is crying, you just make it. Just add greatness to the nose and two around the eyes. Thank you so much for taking part in the class. Thank you guys and take care.
 Sharon Mapuvire, Anything Is Possible