Easy Watercolor Valentine's Day Cards With Cookie Cutters - Beginner Level
 Carla Riseman, Dreamy Art for Friendly Humans
Watch this class and thousands more
Watch this class and thousands more
Lessons in This Class
-
-
1.
Introduction
1:21
-
2.
Project
1:12
-
3.
Materials
2:25
-
4.
Card #1
4:08
-
5.
Card #2
2:16
-
6.
Conclusion
0:51
-
-
- --
- Beginner level
- Intermediate level
- Advanced level
- All levels
Community Generated
The level is determined by a majority opinion of students who have reviewed this class. The teacher's recommendation is shown until at least 5 student responses are collected.
39
Students
2
Projects
About This Class
Want to try your hand at making a watercolor Valentine's Day card? I've got you covered! The examples in the class videos are of winter holiday cards, but the techniques can be applied to any season or occasion. Don’t have heart-shaped cookie cutters? No problem–you can make a heart shape making tool using a toilet paper or paper towel roll.
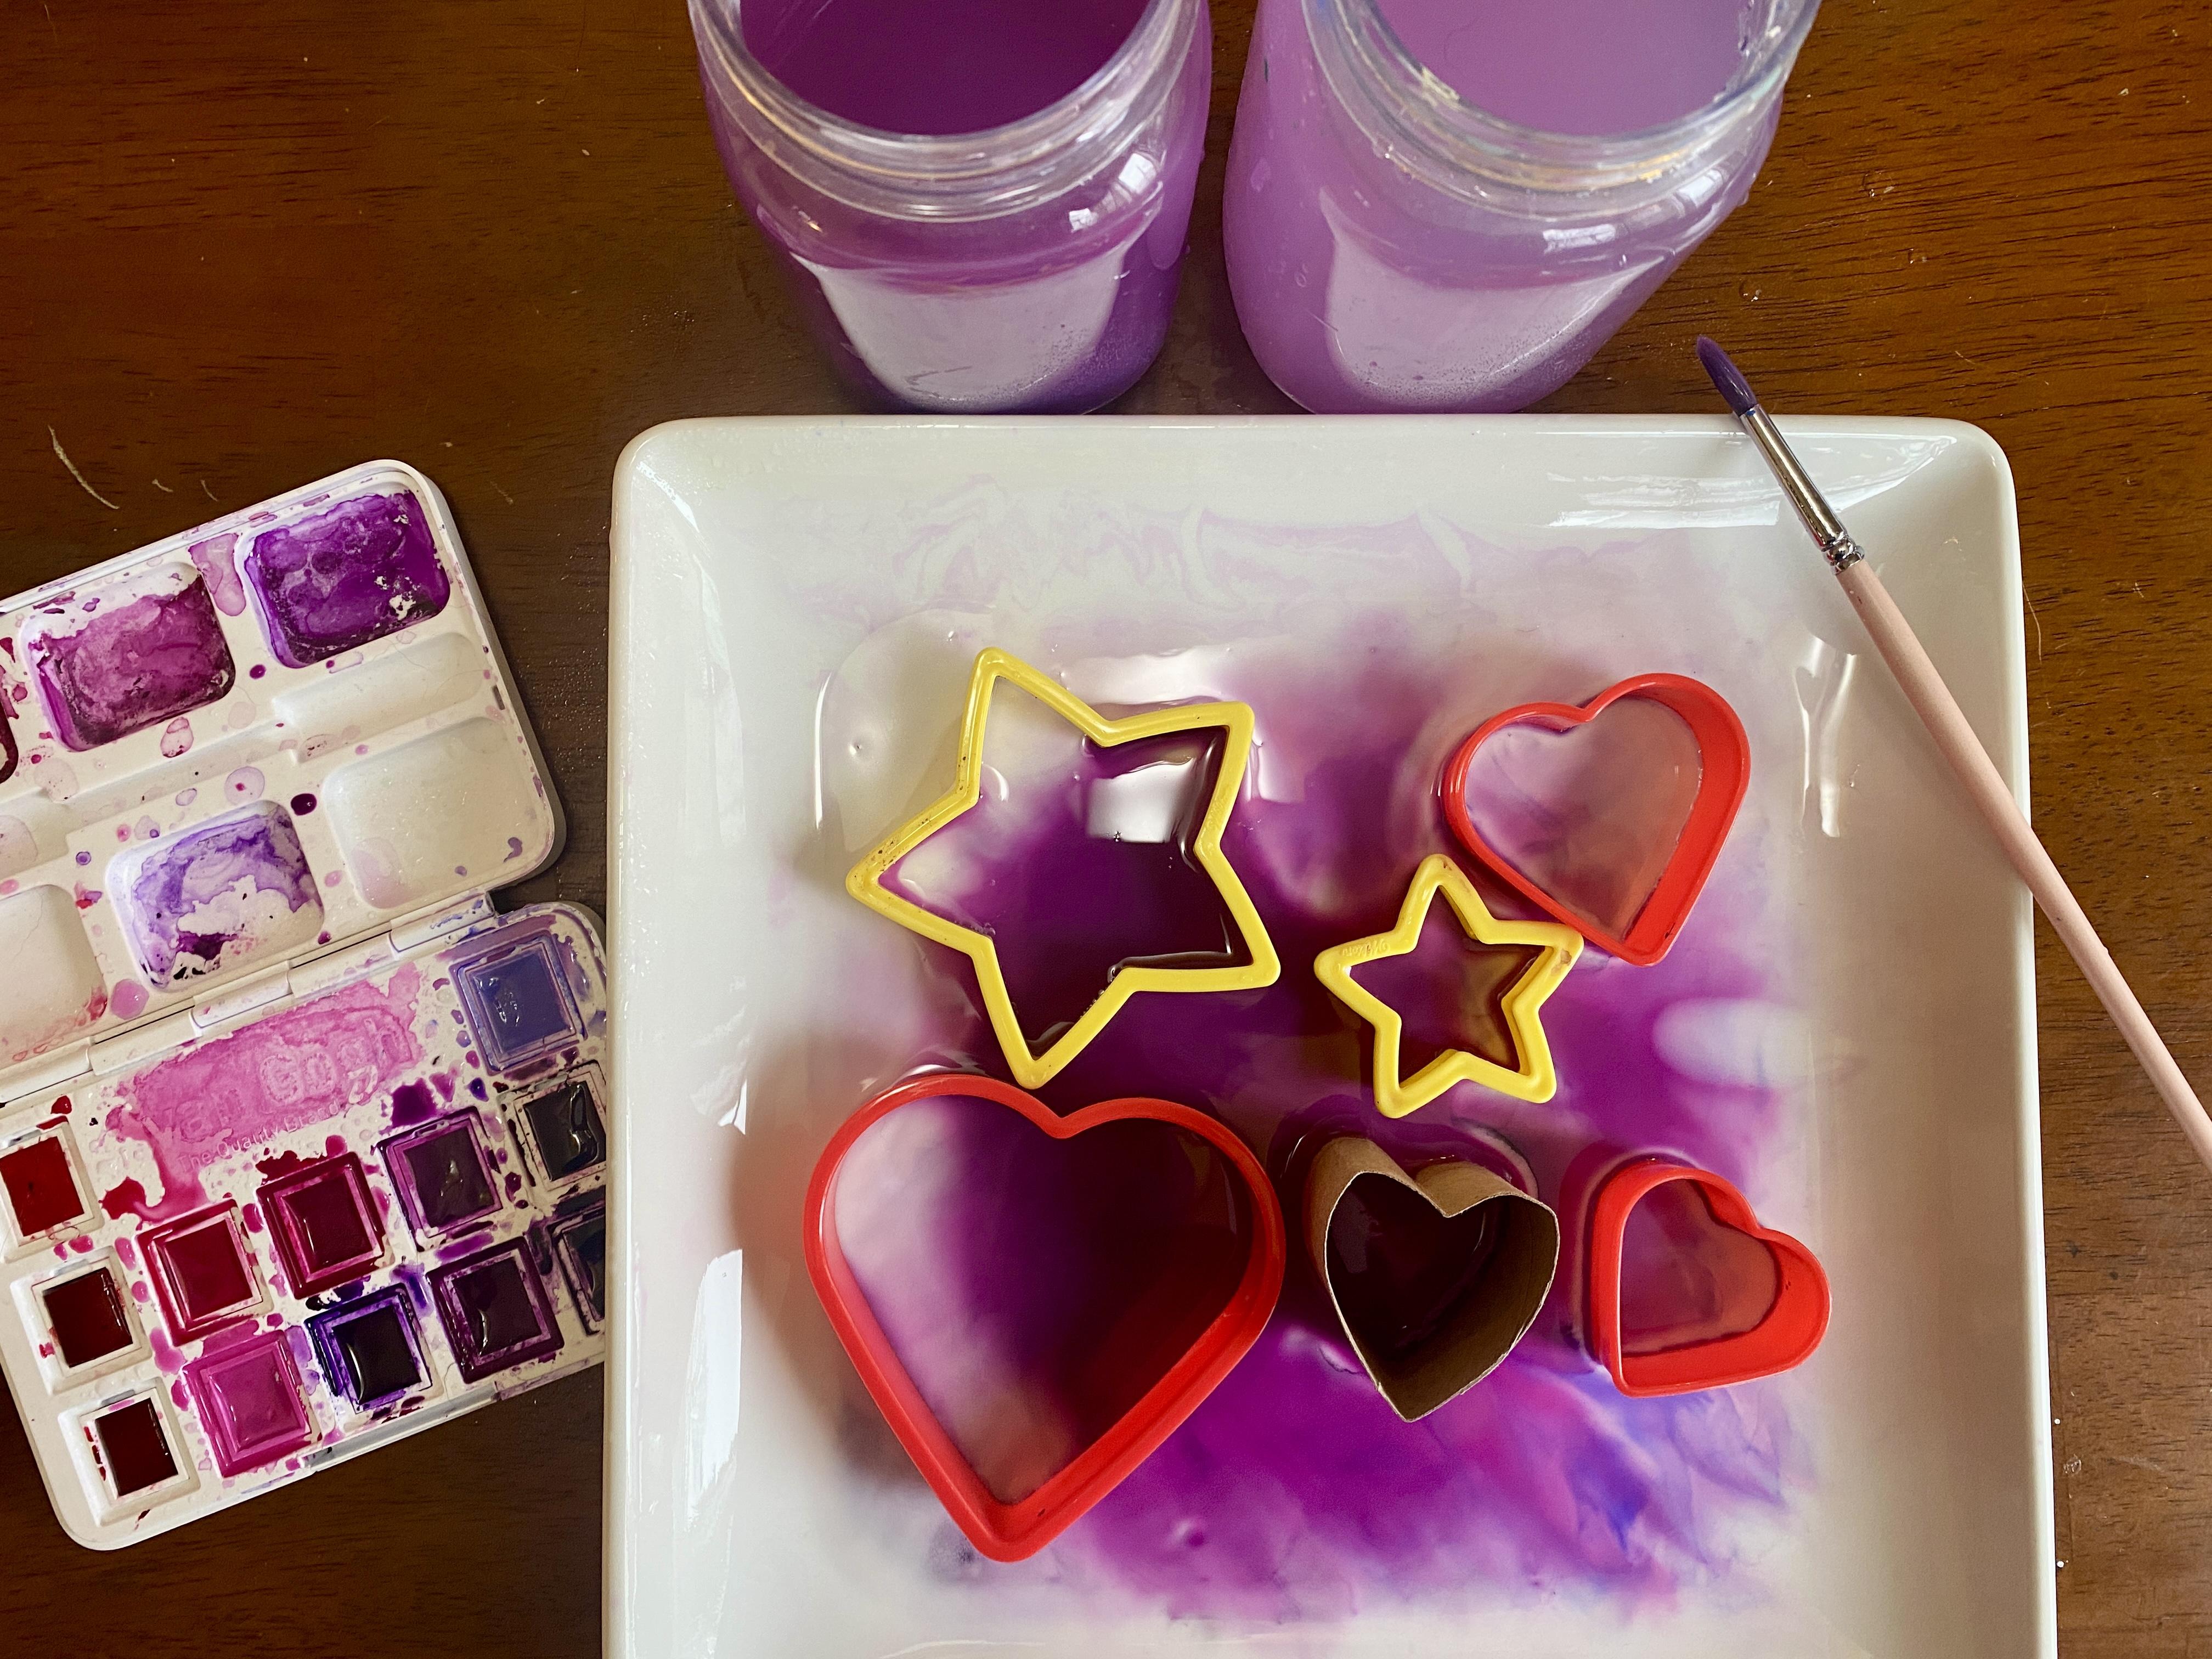
Tip: If you use a toilet paper or paper towel roll to make a heart shape, lightly mist the paper first and hold the shape firmly to your paper for an extra second or two.
In this beginner-friendly class, you'll craft your very own unique and stunning holiday and special occasion cards using everyday items like cookie cutters and other household objects. You can also add other mediums, like Posca pens, inks, and fine liners, to turn your cards into mini masterpieces. This class is perfect for beginners, but valuable and inspiring to artists of all levels. Grab your supplies and let's make one-of-a-kind handmade cards that will wow your loved ones.
I hope you’ll try my class and show me what you made in the projects section of the class–I can’t wait to see it!
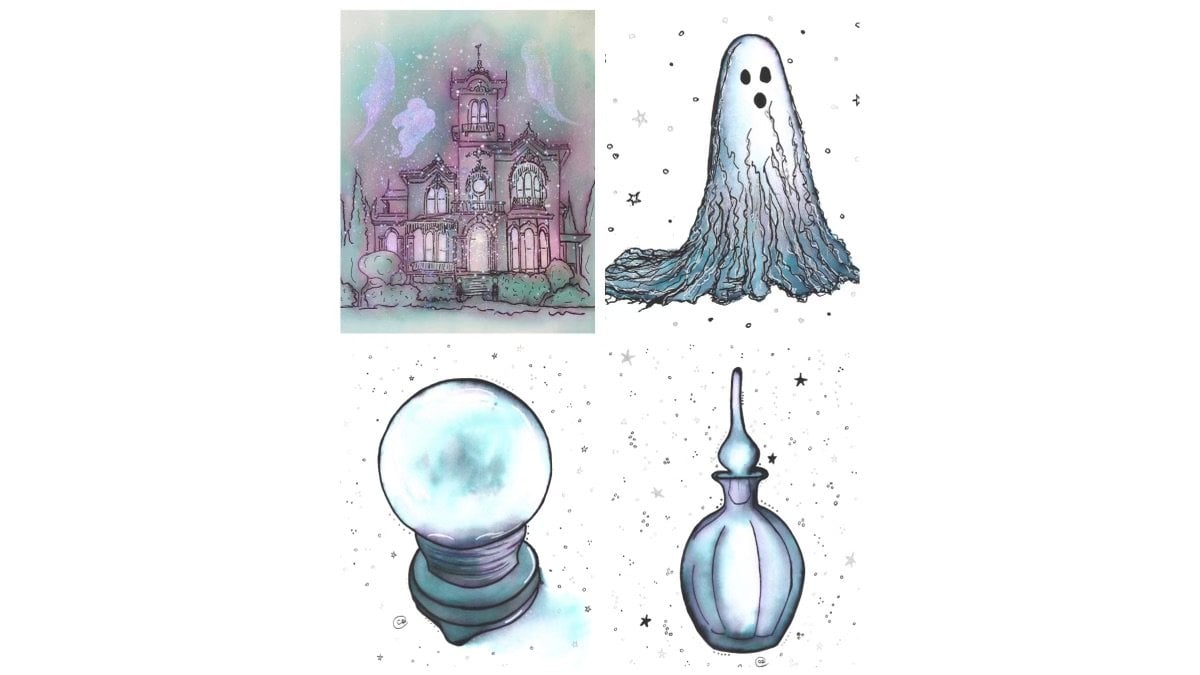
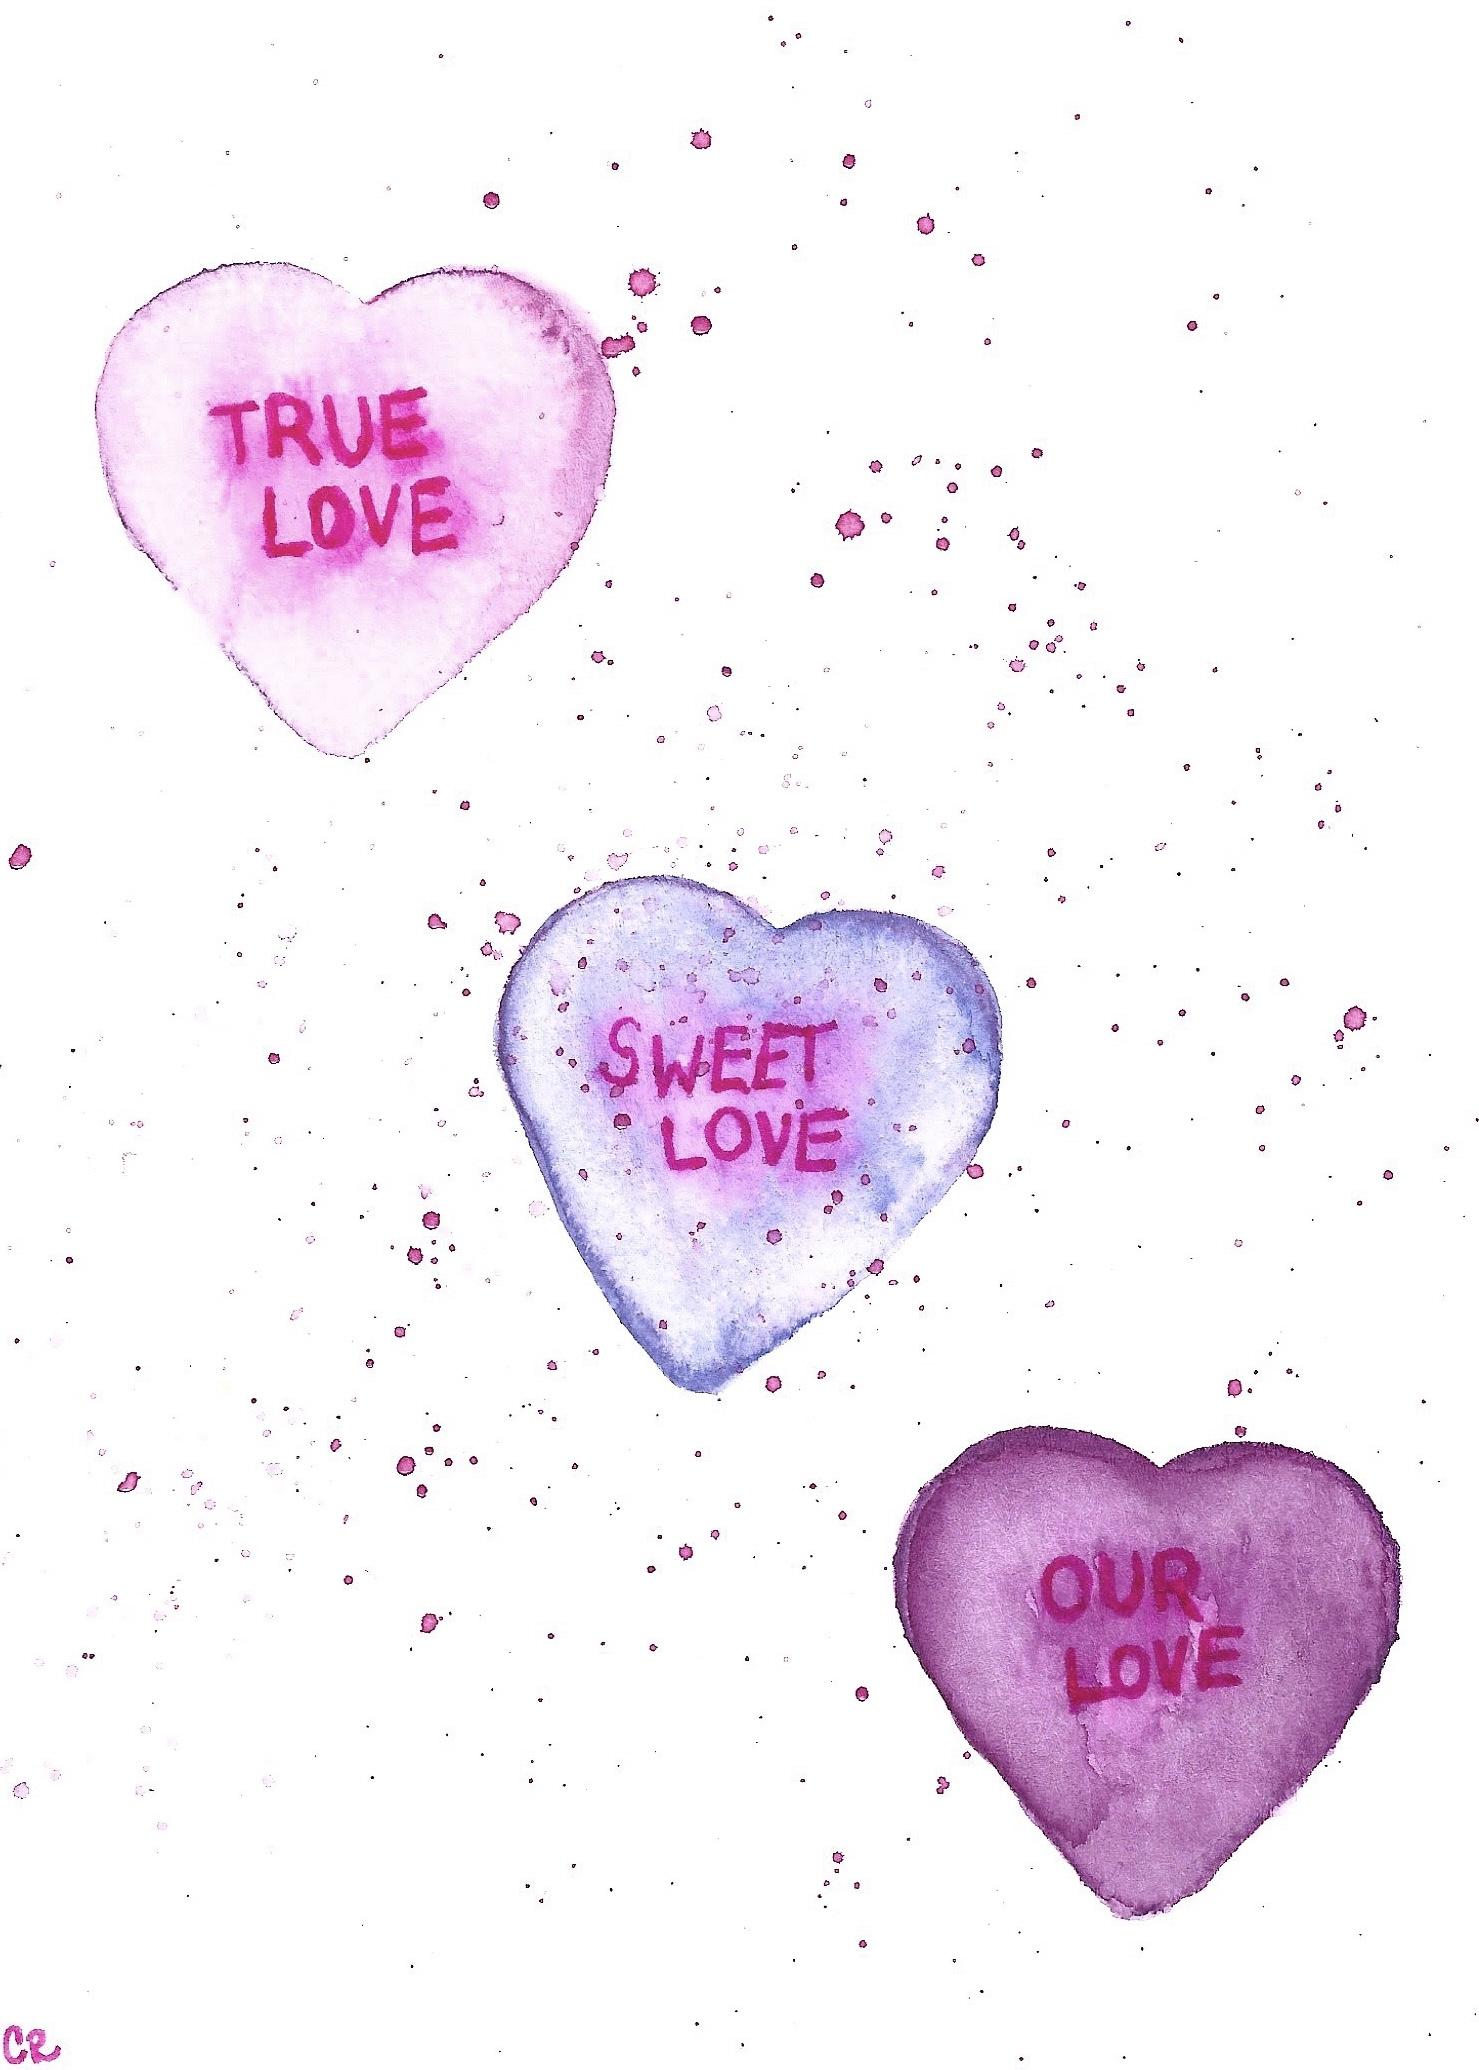
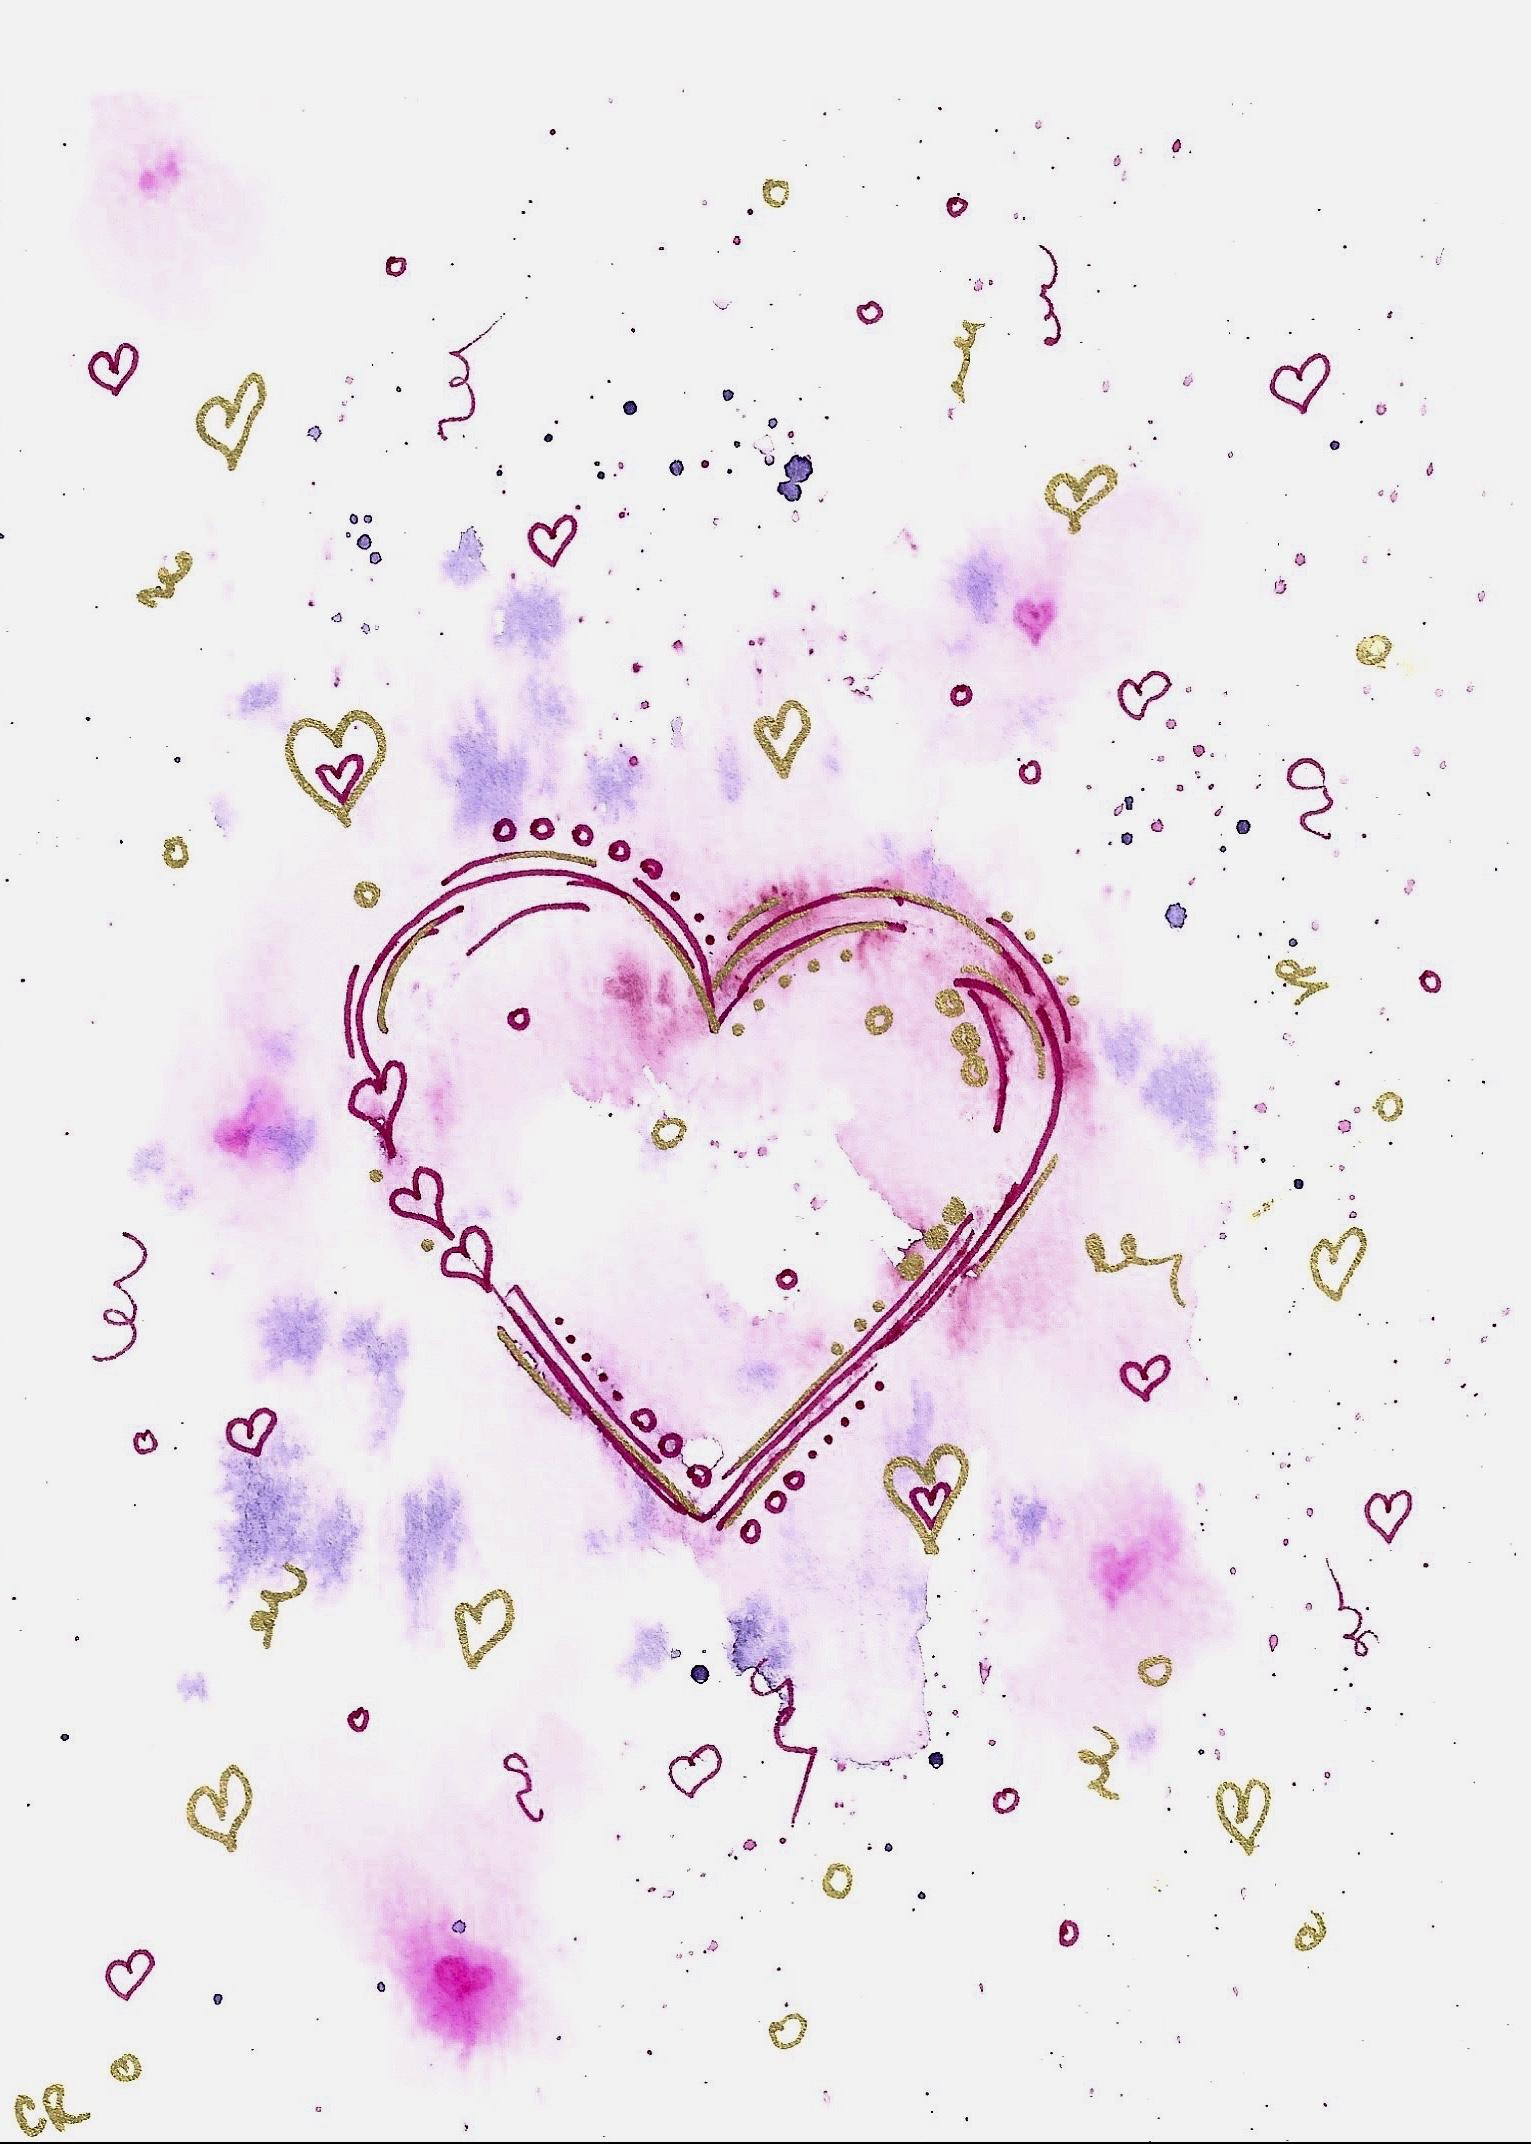
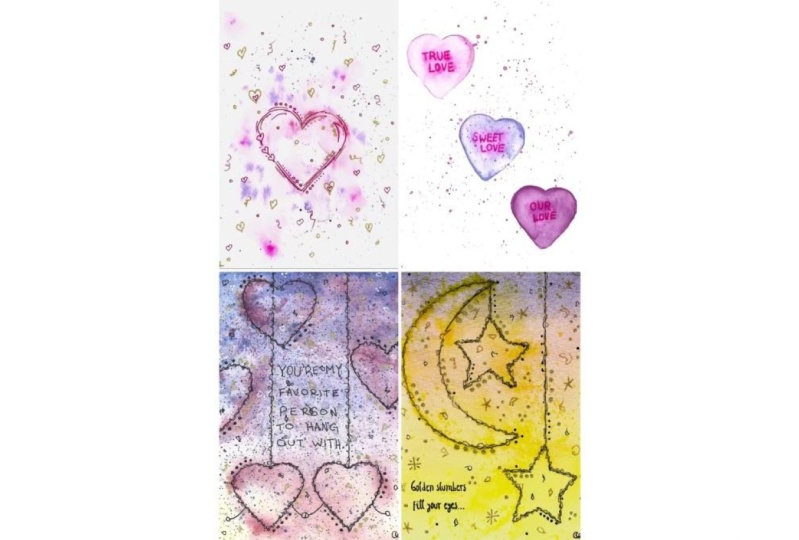
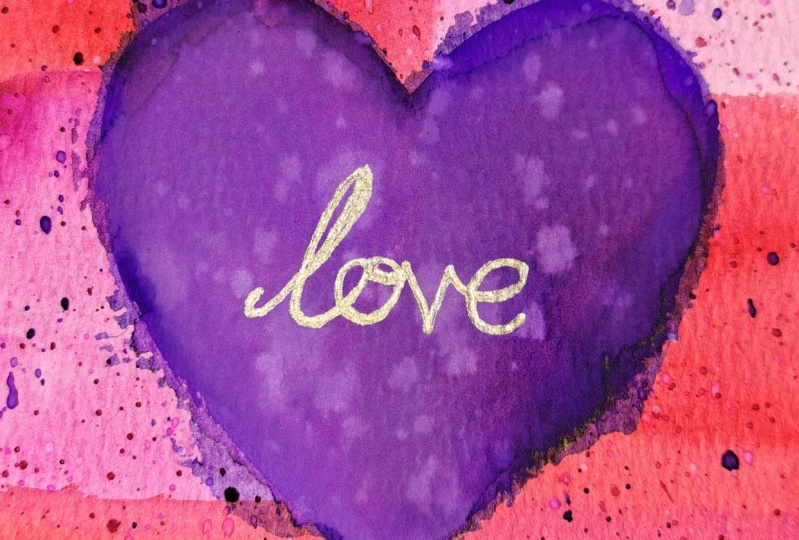
Here are a few examples of Valentine’s Day cards I made using the techniques in this class.

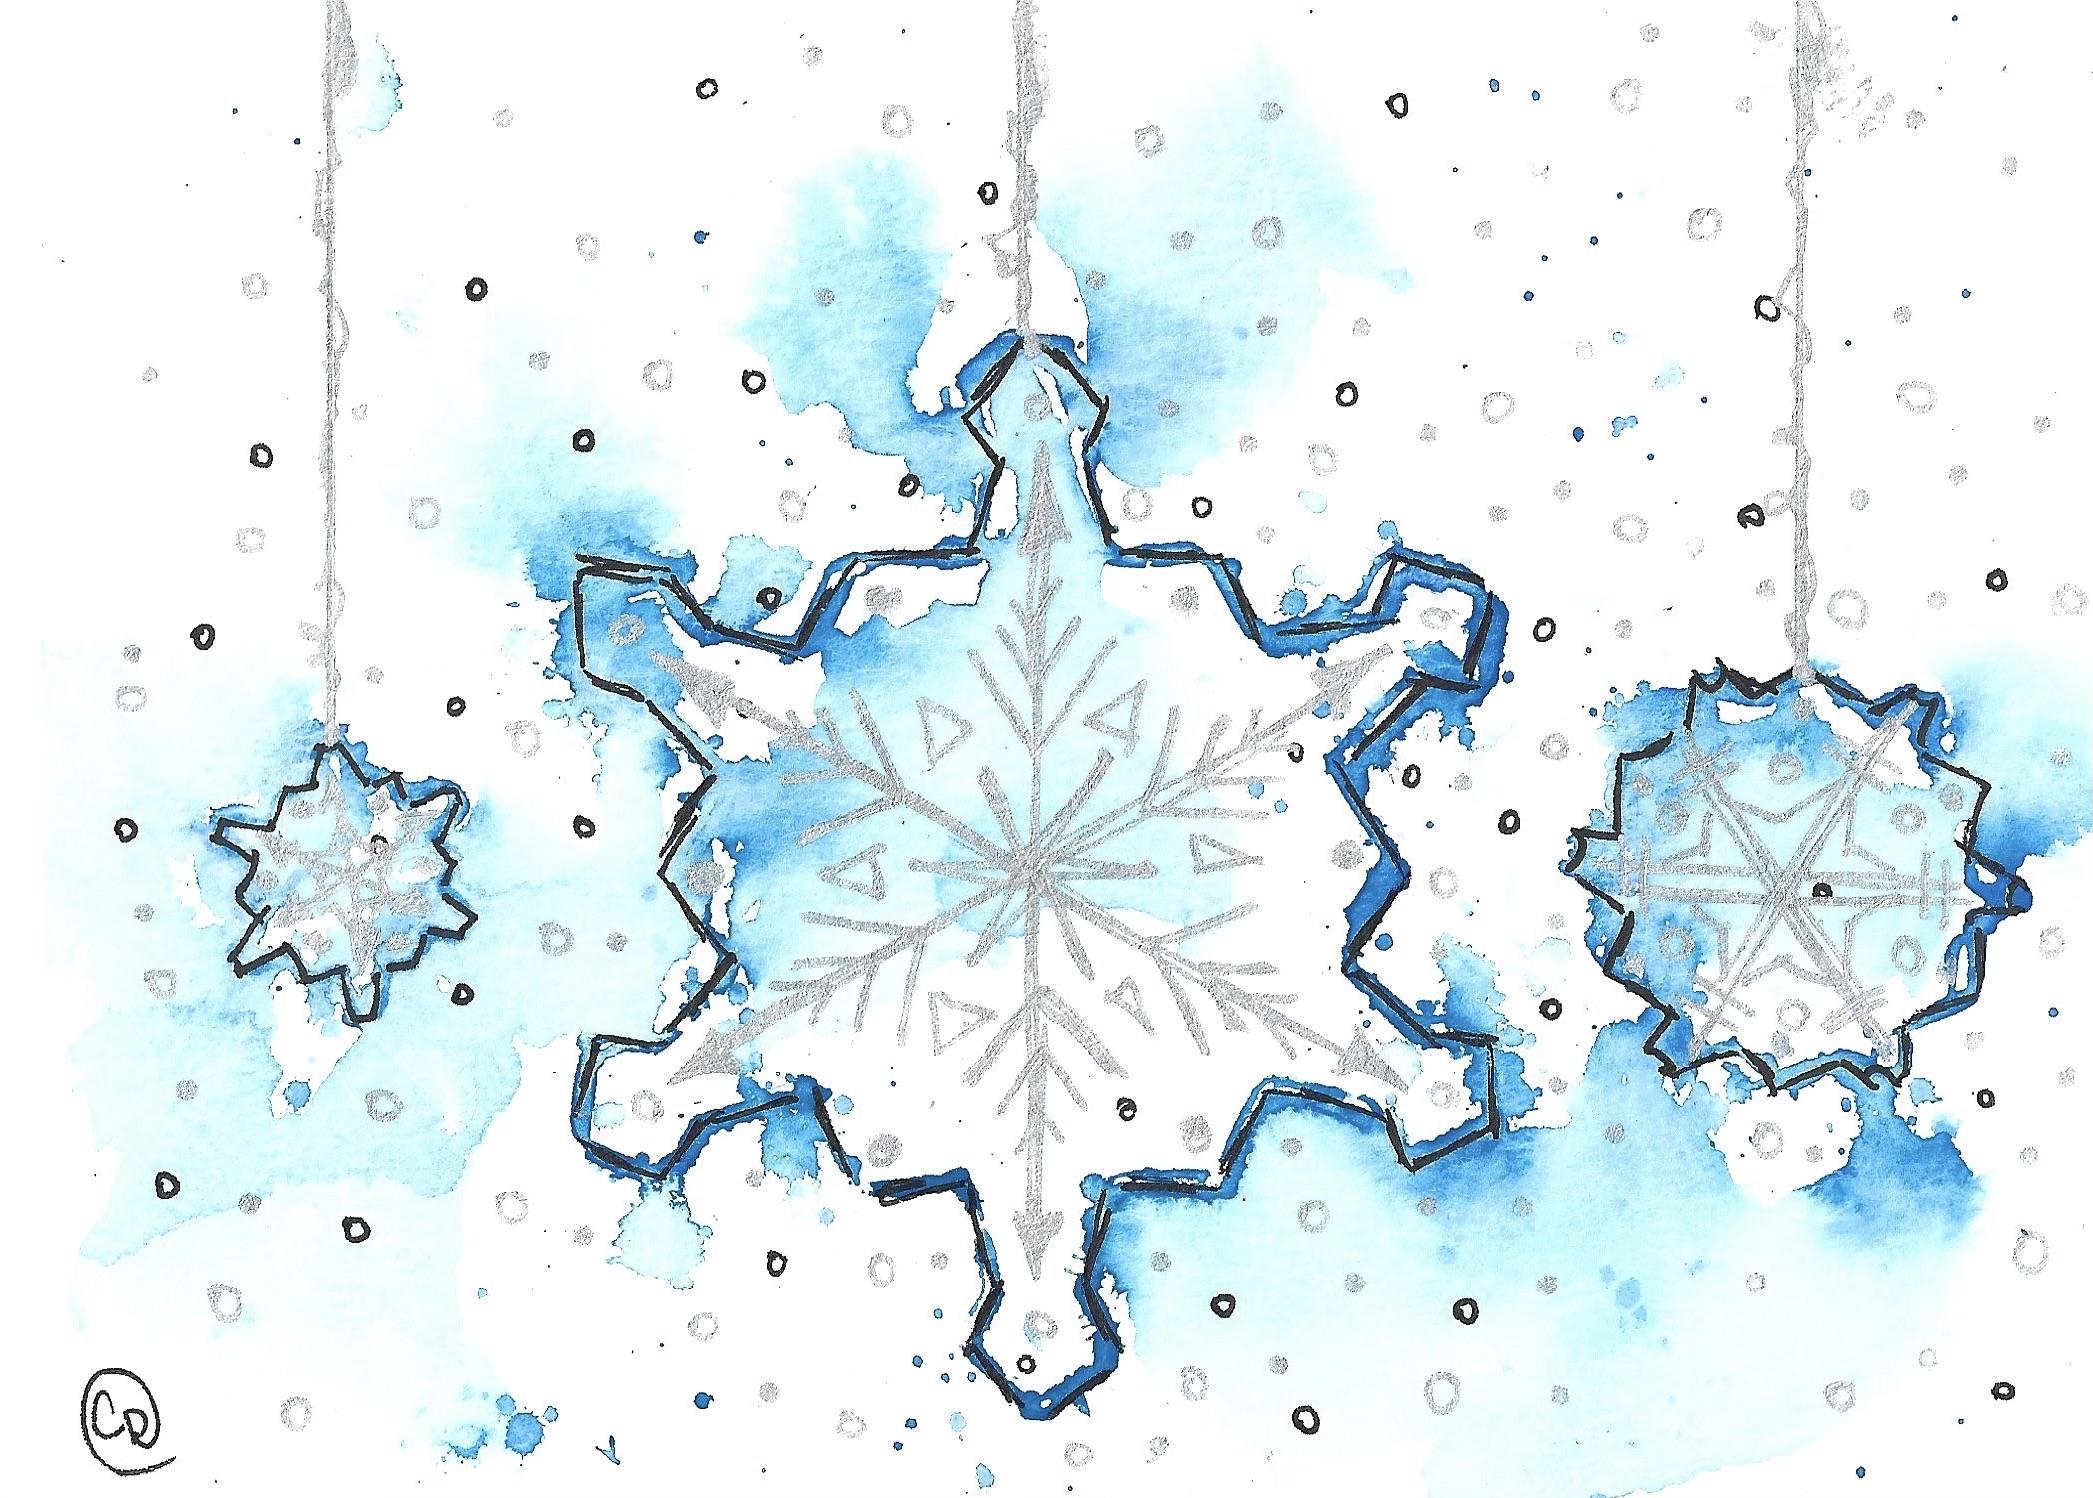
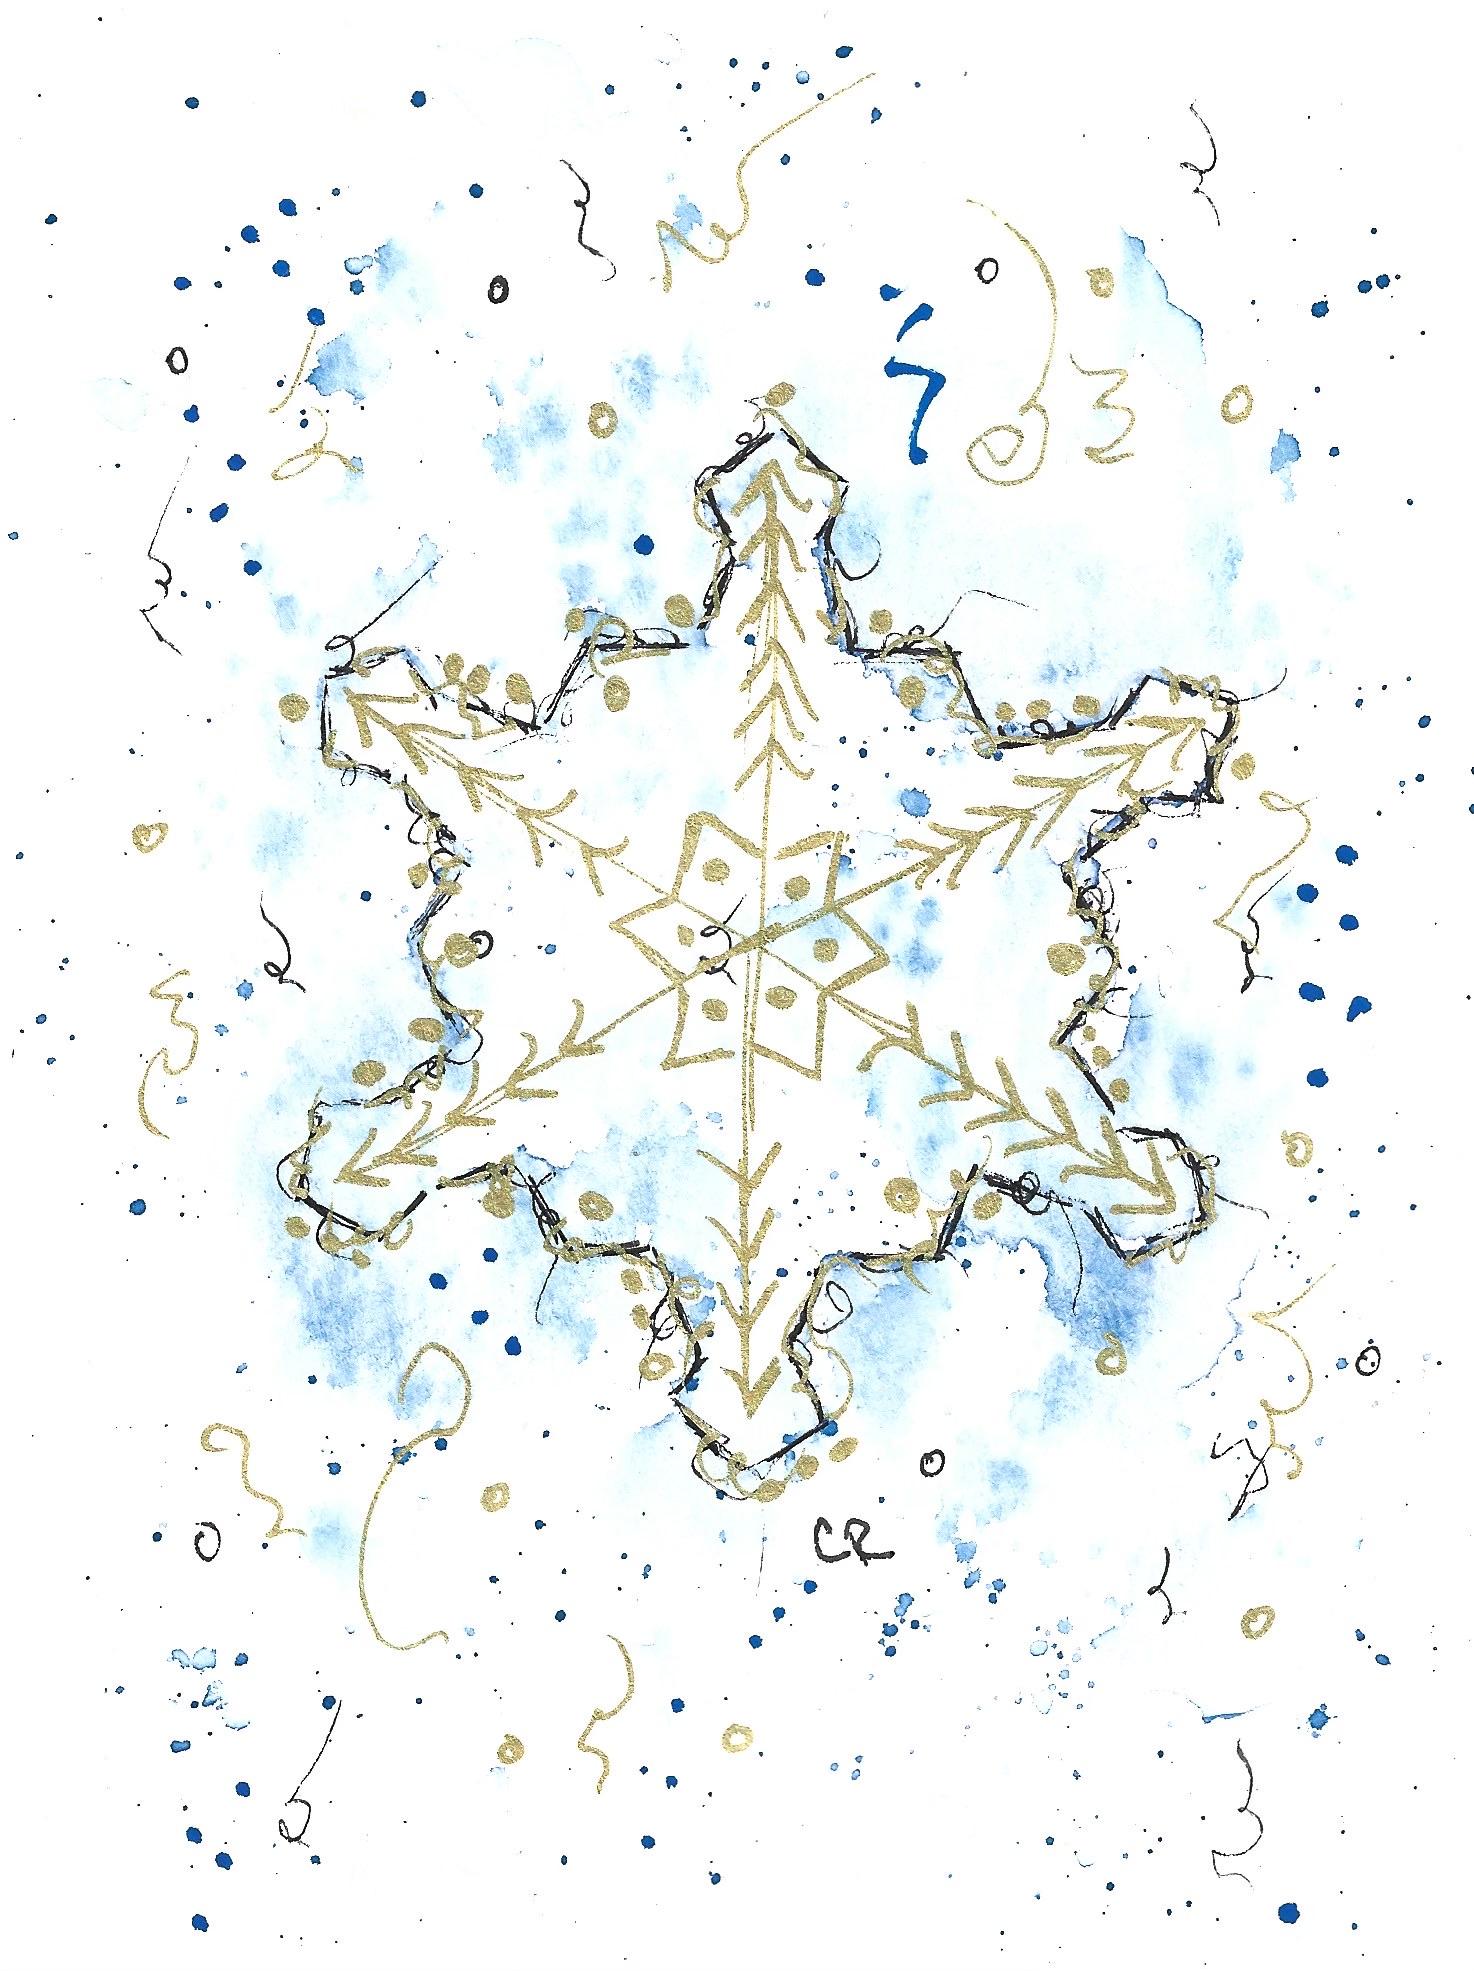
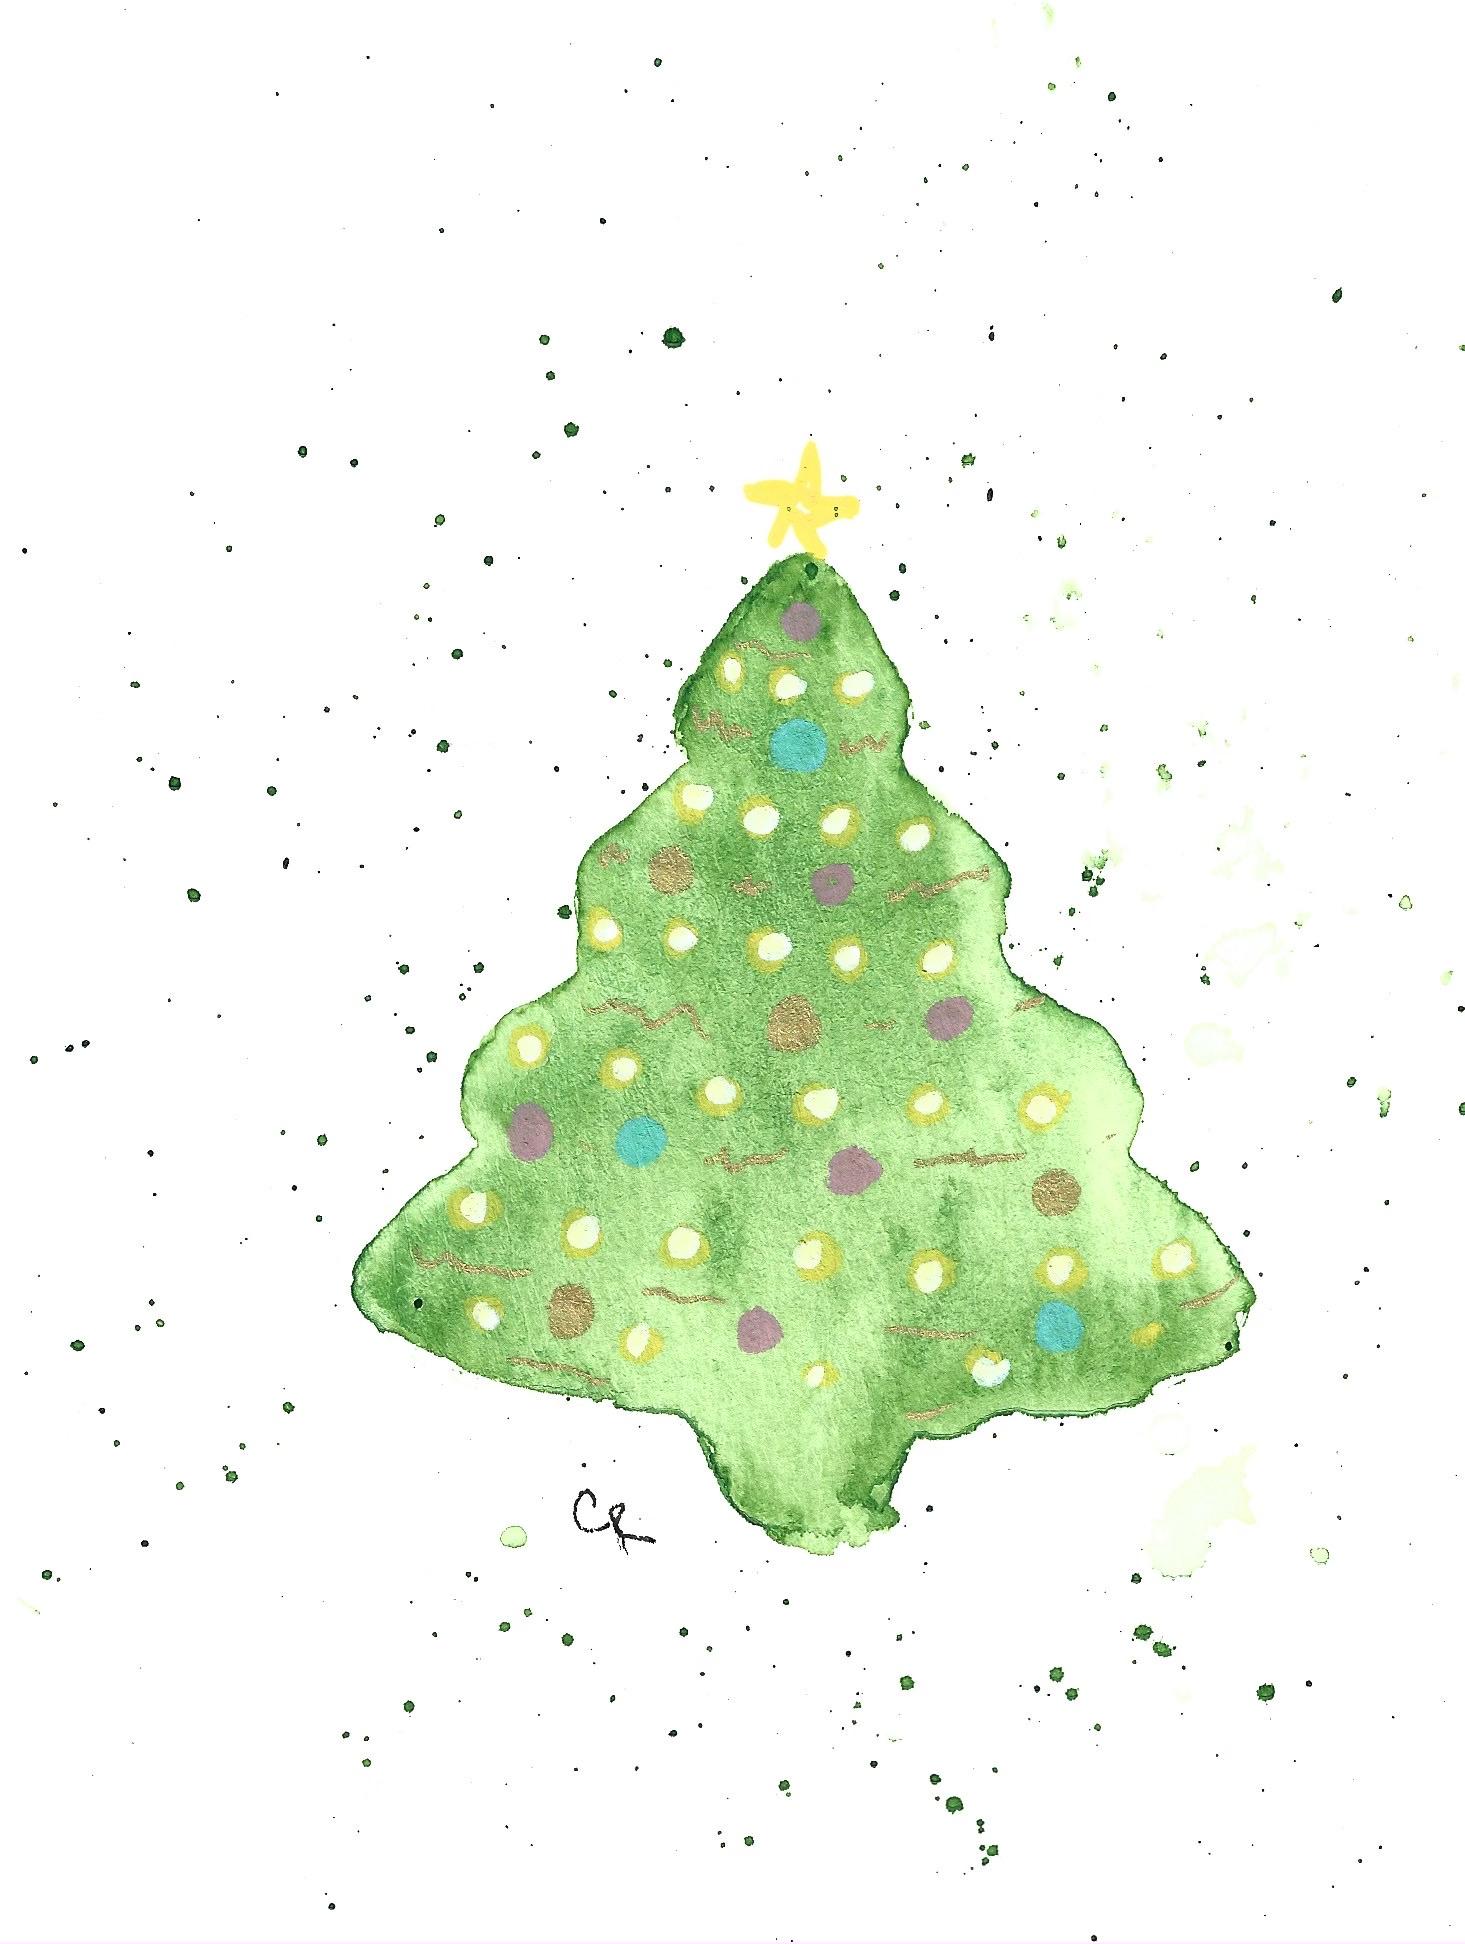
Here is an example of a winter holiday watercolor card you can make in this class.
Why You Should Take This Class
Whether you're a budding artist or a seasoned creative, this class will add new techniques to your repertoire and help you add a personal touch to your holiday and special occasion greetings. You’ll leave the class with a collection of festive holiday cards and new skills you can apply to your future watercolor and mixed media projects.
What You'll Learn:
Shape-Making Magic: Understand which items make the most effective shape-making tools and learn creative ways to modify them for the best results in your designs.
Perfect Paint Consistency: Learn to achieve optimal paint consistency for dreamy and expressive watercolor cards.
Watercolor Wizardry: Learn how water interacts with pigment so you can gain control over values and edges–soft or hard–in your watercolor paintings.
Mixed Media Marvels: Get inspired by examples that incorporate mixed media embellishments into your designs and expand your artistic toolkit.
Why Learn from Me?
I began my art journey with watercolor, which can be a challenging and sometimes frustrating medium. I’ve spent a lot of time learning how to jump its common hurdles, and I’m excited to share what I’ve learned with you!

Hands-on Class Project
Your Final Project
The final project for this class is an assortment of handmade watercolor holiday cards. We will discuss materials, shape making tools, and how to modify them before we get started, and then we’ll jump right in and make some beautiful watercolor holiday cards!
Valentine's Day Card Example:
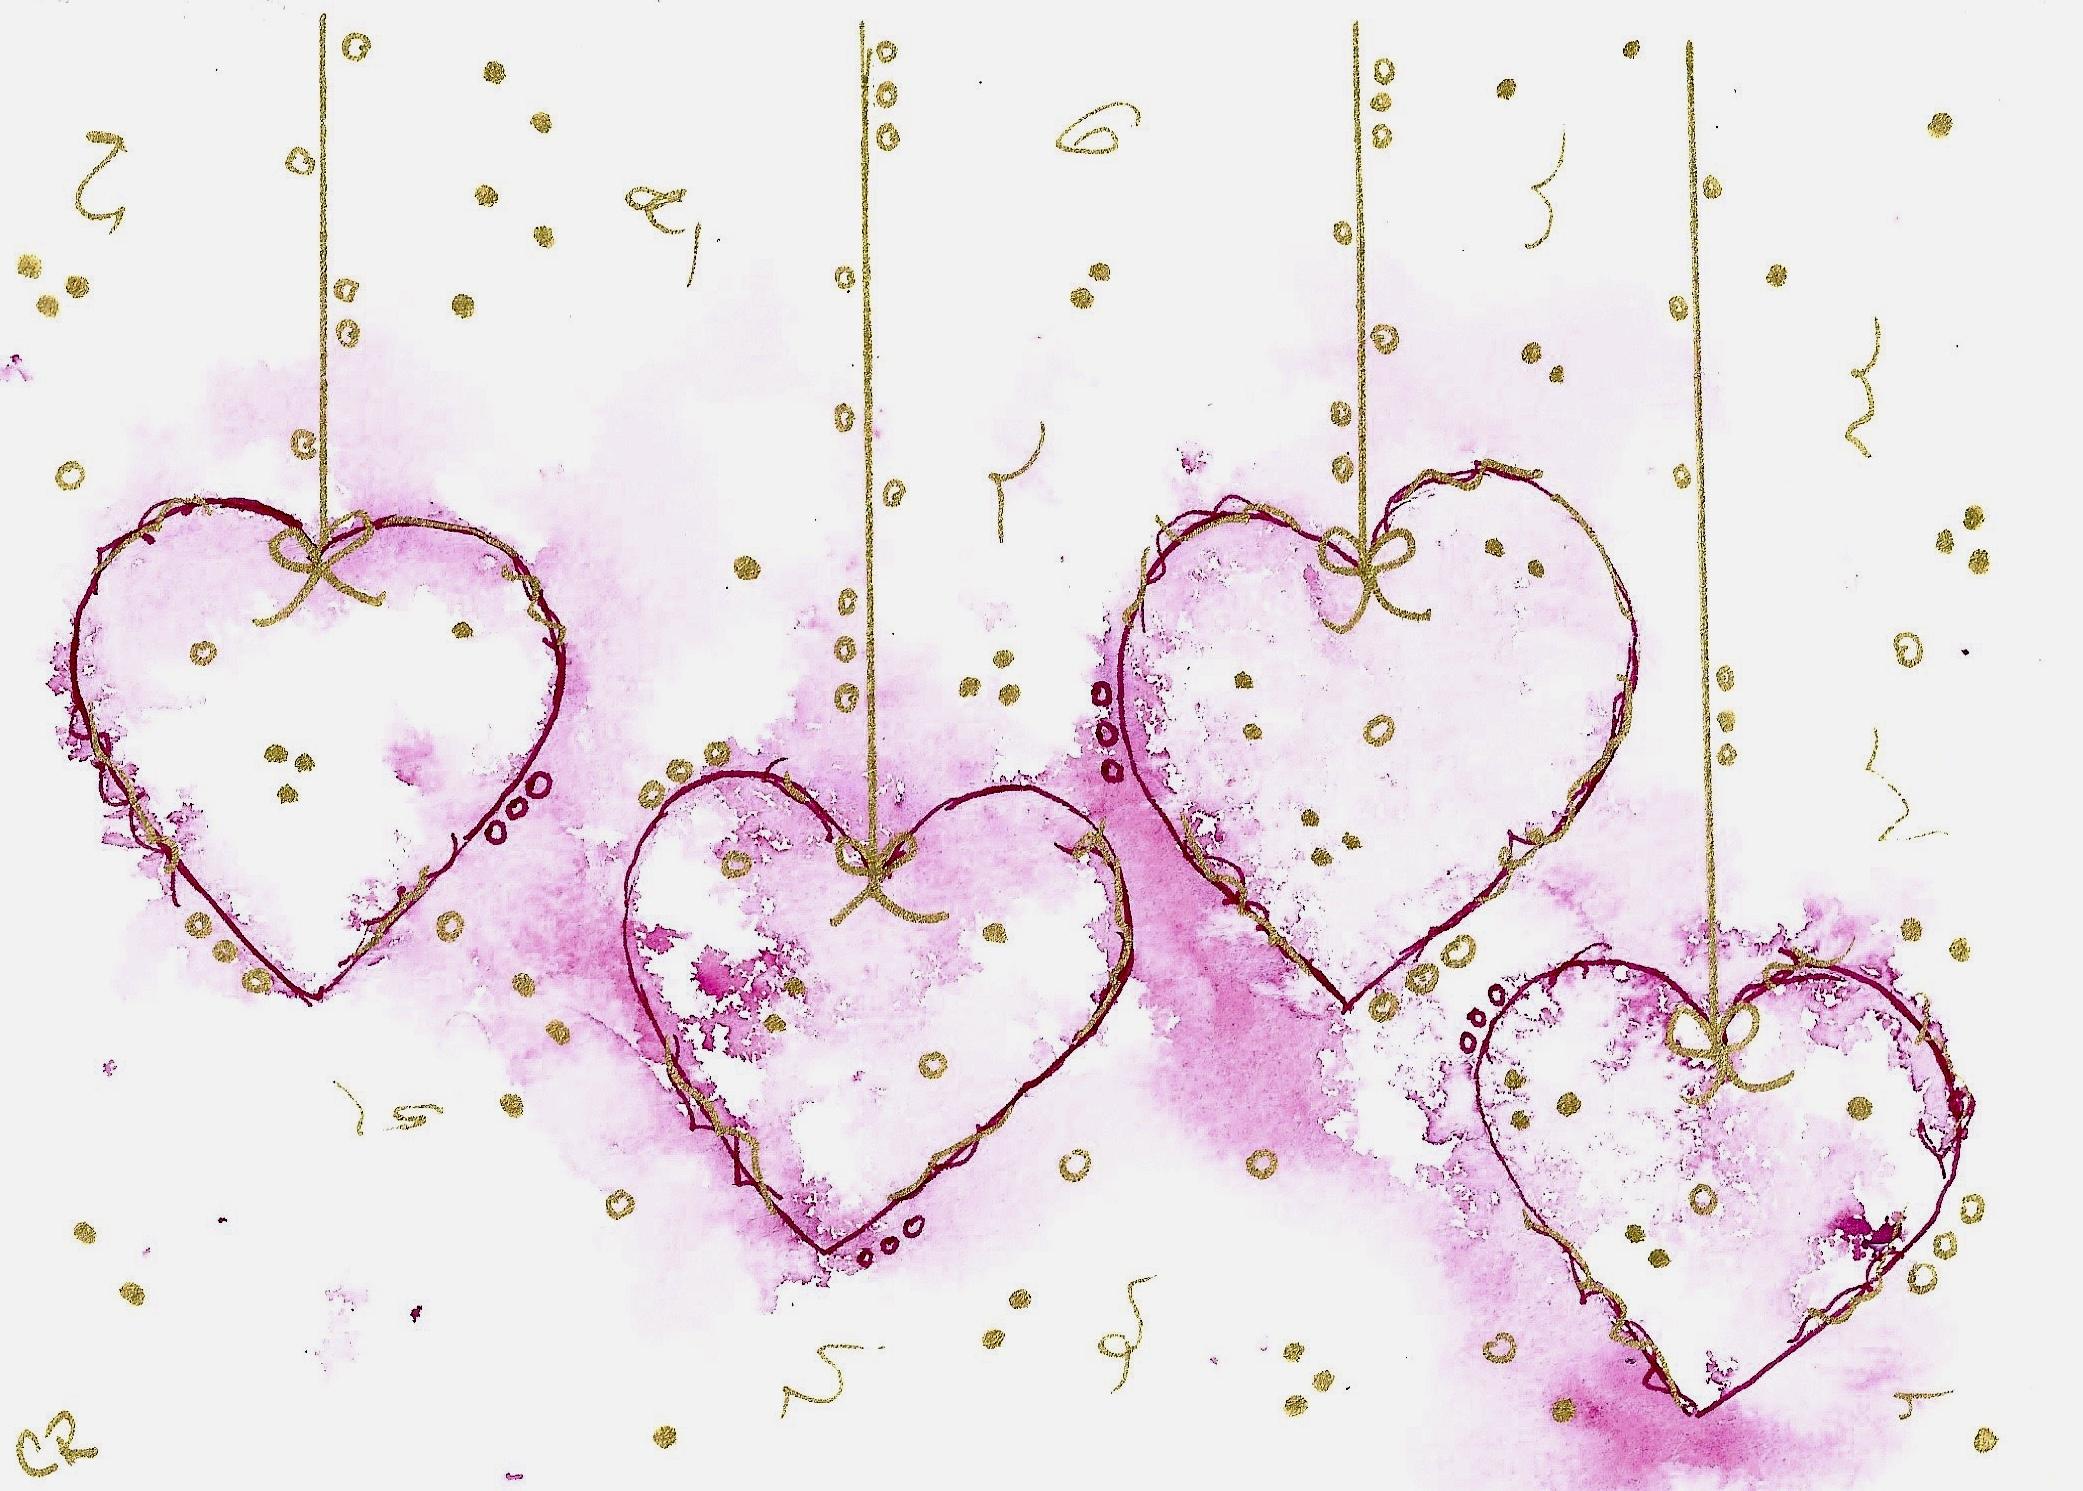


Winter Holiday Card Examples:
Review
If you enjoy the class, please consider leaving me a quick to share your experience. I'll greatly appreciate it!
Class Ratings
Why Join Skillshare?
Take award-winning Skillshare Original Classes
Each class has short lessons, hands-on projects
Your membership supports Skillshare teachers
Learn From Anywhere
Take classes on the go with the Skillshare app. Stream or download to watch on the plane, the subway, or wherever you learn best.