Transcripts
1. Course Introduction: The offshoot or trace is a beautiful and facets
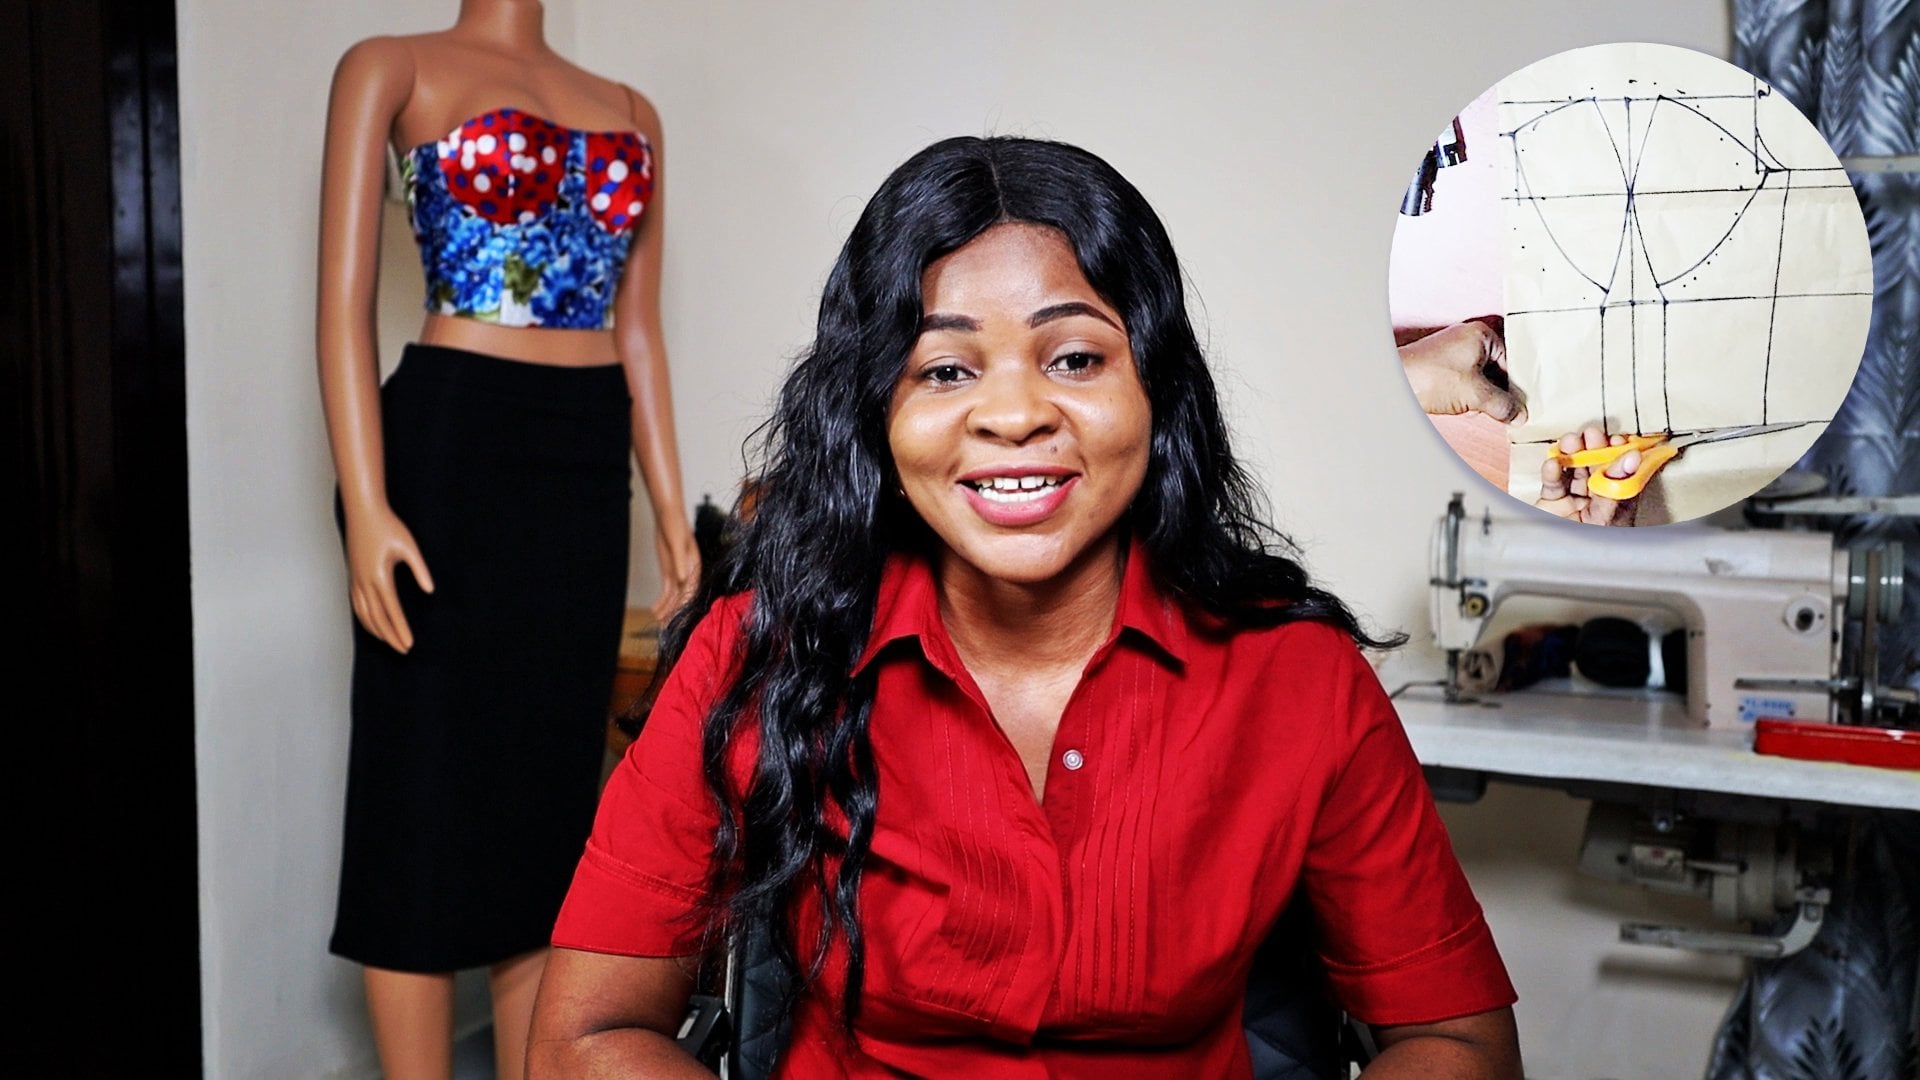
iPads to an outfits. Knew how to track. Each, can add the right flips. Your wardrobe. Hi, I'm Stella, your
instructor for this easy, sweet kid class on drafting
an offshoot address. In this class for
our skills level, you will learn the basic
of laying out measurement and gelatinous an offshoot
of pattern, which is clip. You also learn how
to accurately judge a fitting or should a pattern
included the neckline? I'm Hall, the width that unnecessary allowances
for an offshoot, a design ready to solve. I discovered my passion in
freshman over 80 category, which I blew them from a hobbyist to an
independent designer, making him a variety
of stars for women to brand and see me just in
Western and African scouts. Matching your old fashion
is not always easy, but where you truly are getting into the
work of InDesign, Jerry's is pressure,
earshot suppress on. In this course, I hope to share that passion with
you in your work. At the end of this course, you will be confidence in drafting your own
offshore that pattern. If you are ready to pass it to offshore the threats
in, then let's go.
2. Course Materials: Materials you'll be needing
for these shorter trotting. The pattern paper. Masking tape sees us. Long ruler. Then your code,
your cover letter.
3. Drafting Setup: Hello, my name is Tyler
was legit fashion. I will be to change
you on how to draft your shoulder
and your sleeve. Before then a mode
to teach you on how to minimize all
utilize your material. So I don't just wished your
material k. So we wanted to track your offshore
that or you want to drop anything to get the
width of your fabric. You use the biggest
circumference of your product measurements
for the widths. So the biggest measurement
I'm using here is the hip. The hip is 40 to 42
divided by four. The given me 10.5 inches plus
1.5 inch seam allowance. Okay. That's too often. But I made it seem so that I can have a little
space where I can just drops for you to get
the depth of your material. It depends on how the
length which you want. Maybe you want to stop at
your width if is a wisdom, the length of the muscle you are using should be your width. If you're stopping at the
hip, it will be your hip. And if you are
stopping at the new, it depends on what you want. For the sake of this
tutorial we'll be using will be stopping rule. We are using full length of the material. That
is what we want. The full length of the blouse.
4. Adding Vertical Measurements: So the force team, YouTube is an offshoot. Our kids be taking
off the shoulder. Not pass night. It depends on what you want. If you want to be very deep, you can go as low as six inches. But for the sake
of this tutorial, I will be using for
an app which is by the time I saw it
be five inches. I'm thinking of what you do. You take your tip rule this
way as some GI right now to the edge of your
shoulder, right here. The line head to the neck line. You will put it this way. Take off your 4.5.
Then the next day you took all your measurements. Now, that'll be sick in my nipple measurements or the nipple measurement
is my n half inches. Then going down to
my boasts of an F, going down to the wastes, that is 16 and have
measurement is 23.5. Then the full length
of this material, of this fabric I'm using, the blocks is 25
inches plus or sewing, allowing your seam allowance for your ham allowance, that is 6.5. I'm using one inch for
this for the M allowance. I'll just see if I can
get a straight line. Just repeats the
simple point, Jim. Then join the points
in a straight line. I'm just saying I'm just
connecting the points. Once I am done with this, the next thing you
do just to liberate, you don't get confused, okay. If you want to get your APA
posts, what he does do, you just come up by one inch is always
profits. Always correct. Okay. Get your APA boast line. This is your APA.
This is both points. This is on the
bus. This is a W2. This is the heap. The full lengths of the blouse. Okay? The next thing we do
before they will just note the difference between
the buck Andy fronts panel. It shows the zip allowance. Any ship I have at the front. I'm also happy to
simple descent ship at the bank for the buck panel. So duly different. It
shows the zip allowance, which is one inch.
That is what I left. Okay.
5. Drafting The Neckline: So the next thing
you to use to get your net client hearts get
your width measurements. You need to know your upper
road measurement or the APA, both measurement divided
by eight plot 0.58 allowance or your Neopets
nipple divided by two plus 0.5 inch allowance. The shoulder measurement,
urine should have measurements
for this tutorial is 44 inches minus the
APA boss measurement, which is 35 inches. Okay. That is it would
give me nine inches because this fabric is unfolds. I have to divide it
into two to give me 9.54 are going to measure the foreign half
plus half inch allowance. That is five inches. You have your market there. Take your five-inch. This week, does your five inches or key. The next thing you
do is to get you, I'm WHO curve to
get your harm H2O. So I'll get your AMO. We have to take our
boss circumference. The circumference here
we are taking here is 38 divided by four to give me nine inches plus 0.5
each IES allowance. You would sit it here. Nian half. You do is to join this point
to this point in recovery. You have to cover it. I am taking these measurements at the all-purpose
because when I took it at both points is going through make your it may go to
make the ammo to be to be. So that's why I'm
taking it here. Okay. For you joined the
points together in recovery. I feel like the Nest Team
we do this is your hands. You want to get the
depth of your neck. Just come down by one inch. You're going to come
down by 1.5 is fine. But I'm using one inch, then I'm going to
cover it as well.
6. Drafting The Waist Darts: So the next day you do to
get our spam measurements. The boss, the boss pan here. It's divided by two. That is four inches. Four inches down to full length. Four inches. Four inches. My wrists, four inches. Down to displace. Then you join the points
in a straight line, joining two points together. When you are done with this, the next thing you do is
once we get our whisker, dots from the boss measurements, calm down by one, Come down by one inch. Like this. The width measurements, you'd take off an
H in both sides. Half an inch, then to the heap. You come up by two inches. Joined the points together. Join these points. Points, points, points. Joining this point
to this point. This point to this point. Why don't we teach
you is to take all Sacco friends or your conference room,
shack or friend. You come from the boast
whatsoever you took care, you bring them, bring it down. That is, what will
the measurement was I'm using is 3232 divided
by four, is eight inches. And before then, you
will measure this. That's the true cutoff displace. This is half way. You have to replace it back. When you if you have your
on-campus measurements, you take, your honor, both
you and I both measurements. It's depends if you
have, your honor, both measurement and measurement or through yet he
stood that it's true. In 30, true? True. Divided by four is eight inches plus you have
to add half inch. That is what your
half here. Back here. Come to the width
statute to come here. This is one inch that we left. You add it back one
inch to the heap. We're 42 inches divided
by four, which is 10.5. There's no dots did
that did not get 10.5. You have to measure
your 10.5 here. Then I'm half symptoms to
this full-length measure, the same thing here. Joining the points together. This point to this point. Then make sure you blend this side is no sure
there's no sharp.
7. Drafting The Seam Allowance: We are taking our loved
ones 1.5 inch allowance. You would sit all round one and enjoying the points together. That is all for these. For these, if we have done
these damaged goods go, the next thing we'll
do is just record. It's out before the notes. This is an allowance. We left this, please. We have to take it
up because this is the ducts allowance. I didn't take it out. I just want to add it here. So what you just how
many inches you left? I'm supposed to do this before. This is half inch. You add this up. Here. You come to the West. This is one each additive book. Replacing parts are
joined together. I'm supposed to have before. Please ignore that
is all for that.
8. Cutting Out The Offshoulder Pattern: So you go ahead. The neck. You open up. Careful. Front. Drop this cliff.
9. Drafting The Offshoulder Sleeve: A green I had dropped the
sleeve, the sleeve chain. The first thing you do is to get the lengths of your sleeve. The length of your sleep, Dylan told is still wet I'm
using here is ten inches. The length of this live. I'm using ten inches plus
one inch seam allowance. Joined together. We are done with
tardiness would do is to look for this
clip cap heights. For you to get
your, your sleeve. Cap height. You need
to know the boss, your boss, Sacco, France. Both circumference divided
by two off close one inch. Both circumference. Now I'm using here is 38, That's a divided by 12
is 3.166 plus one inch. Give me four points. One, that is the
sleeve cap height. Okay. Then you measure, measure its use five, depends on measurements. So 4.14 to make it 4.2. Then I joined the
points together. That is this sleeve cap heights. Both circumference divided
by 12 plus one inch. That is all yours, those Cliff cap heights. The next thing we
need to look for the harm WHO links, okay? We want to calculate
the lengths. For you to calculate the length, you need to know your
boss circumference. Also. You're both circumference
divided by six plus 1.5. The both circumference is my boss circumference
is that it's a divided by six plus 1.5 will
give me 8.3 inches. Measure 8.3 inches.
At this line. The sleeve cap heights, you measure 8.3.3
is around here. That's 8.3 plus
0.5 is allowance. We are done with that. Now
want to calculate our width. The width, the width. From the top of your
sleeve Mark de. You've already marked that. Okay. Your posts, your round shoulder
measurements minus your own posts measurements minus your APA
boss measurements. The run short ice
44 inches minus 35. Give you nine. Sorry, I'm not going to publish. Your shoulder measurements
minus your elbows. Apart. Both measurements,
which is 44 minus 35, equals to nine inches, okay? Because this fabric is on food, you have to divide it by two. Give you 4.54.5 inches plus off each allowance
because you'll be joining me. It's Mach five inch.
As you can see. What do you to join this point
to this point in the neck. We also brought the neck. I want it to look cough,
wanted to look nice. You can also come down
by one inch by one inch. Just to cover it.
Give it a nice curve. Then you calculate your, your, your, your,
your RAS leave. Here I'm using is
1212 divided by two is six inches.
10. Drafting The Offshoulder Sleeve Allowance: So we know once we lived
was 11 on half decimal, 0.4.515 to something we looked at the bodies
you should do. Then you've joined. That is all for today.
11. Cutting The Offshoulder Sleeve: Ms. I'm ready.
12. Course Conclusion: Congratulations on completing
this easy sewing kit course on trucks in an asha that truss. In the course went through how to apply
measurement and crabs. If fitting osha that
rest and sleep. It cannot comparatively
traditional, old fashion. Your own measurements. If you have any questions, comments in the course
and I am ready to answer. I have appreciated
being your instructor. If you enjoyed this class, please leave a review and check my profile
for more causes. This has pretty stellar. See you in the next class.
13. Intro To A Flownce Peplon Pattern: Hello, A, Today I'll
be teaching you how to put your perfect flouns peplum. Gonna face it on the sleeve. Also teaching you how to put your prunolin on
it perfectly well.
14. 01 Setting Up Measurements : Okay? This is how starts
now this is the plain one, this is folded into two. The nesting fold it again
to make it into four. You fold it to make
it into four, okay? So it's folded into
four this way. The next thing you do, you have to draw a four cardinal points. Before you do that,
measure the distance between here and here to
get the center of it. So you've gotten the center. Okay? Just the center here. The same here. Okay?
The same thing. Measure here, you know, then get the center also. But it depends on how you want, how full I want, but this
is just the lengths I want. Okay, Join the
points to do that, right? Okay.
15. 02 Drafting The Peplon Shape: Like this. Once you
are done with that, I'll be starting
with sowing cheese. Okay, Join the point. Okay. The next I want to
maintain 3 " or 4 " if he can decide to make use of four inch cheese or 3 " all depends on what he wants. So I'll be maintaining 4 " here. Okay. Is how you go about Che. 4 " sitting here for Oh, okay.
16. 03 Cutting Our Your Design: So as soon as you're
done with this, the next thing you
do, you cut it out. You can see you just go
ahead to cut it out. I'm trying to just
come see me, my cats just for the line. Okay. When you get here, cut it this way. Just cut it out.
17. 04 Sewing The Design: So this is it. Right.
Now what I do, I'm going to join it. I'll join this. To join this. Okay. So you'll
pick it this way. This is the right side
facing the right side. Okay? Okay. You must teach you. Okay. I'm just joining it. And the same to the other one. As soon as you're
done, you open it up. So I want to start joining you. Get a Colin, when you want to add half inch, make it this way. Okay. Just leave half an inch. This is how you sew
it. Half an inch? You sew it, it's half an inch. Teach. Okay. I'll find Age won't drag me. Don't
drag the cale. So as you can see it has
been on the set of the Cole. So you keep doing this
until you get to the end. Let's keeping you get to the end. Let's keep doing. Okay, we have got, you have got into the age, so when you are here,
cut out the S. Okay, so the next thing you do, as you can see already
rolling on his own. Already rolling on his own. You can see what I advise is
to not make sure you not, not so that it can
relax perfectly well. Just not okay. Just keep watching. So the essence of this, no
change just for it to okay. I'm so that when you
open it's going to rela, see, It's going to relase. When you open it it's s relax. So once you are done with
you go ahead to close the
18. 05 Finalizing The Sewing: We close it up. But because of what I'm going to use it for, I would like to close
it from inside. I'm attaching it to a close. I is going to look needs. I'll show you what I want to do. I'll take it back. This way
I'm attaching it to a sleeve. So how go, I hate to just teach. Oh, go ahead then make sure I live like 1
" live like 3 ". To turn it something very, if it were to be like a pepalon, I'm going to turn it
other way around. Open it, I'm going to show you. What I look more is drag. So no coming games
from this series. So what do you bring in and out? I'm going to bring it out. It's going to be a little bit difficult because
of this criminal. Okay? You drag it out gradually. Okay? It's a little bit difficult but you just
have to bring it out. Okay? You do seem
to the other side. So, so you're going to take your time to arrange it. So when you're done with this, the next thing you
just take it to your ion to go give it a nice. The next thing I'm
going to do this co have to sow, see. Let's show you closely. I can see how neatly I close it. You can see. So I'm going
to take it to pressing on. I'll give you the
nice phrase, okay? I'll make sure it's relaxed before attaching
it to my sleeve. So this is the final look, so I'm going to show you
how I'm going to fix it. On the clinal, on the sleeve. Okay. And show that sleeve. So this is exactly I
sleek can see how it is. I'm going to teach you how
to fix it on the sleeve.
19. 06 Attaching The Peplon: This is exactly where I want to fats going to draw design to it. This is the pattern
of the design I want. That's what I'm
actually dragging here. Drawing the design that I
want for just what I want. Okay, so when I catch here, I'm going to take
it a little bit of, I'm going to follow this
pattern I'm drawing to make the okay, so let me just see if it's, if the, what I'm using
is going to be enough. I'm going to drag in
a little bit and come here so it's going to be fuller. Okay, so I'm maintaining
this pattern. That is what I'm going
to use to do my design. Okay, so I'm going
to fix it this way so you can see
exactly what I'm doing. So I'll follow the
pattern that way. I'm just following the
pattern I drew on the sleeve. So if you want to know
how I called the sleeve, you can go to my channel. We will see how I call
the offer sleeve. I'm an is just to follow
the pattern I drew. Well, I'm in you just to
follow the pattern my drew. You can decide to draw your
own pattern there. All stars. So is I'm going to
take you round. I'm just following the pattern. I've not done anything. You can decide to draw
your own pattern. It depends on what you want. But this is the pattern, the design I want. I'm following the pattern. What I've done so far by following the patter. So this is the outcome of
the design, you can see. So I'm going to
fix it on my hand. I'm going to show you the final, the final look
when I fixed it on the clothes to see how it's
going to look like. Okay.
20. 07 Final Design: This is the final piece,
the finished work. So beautiful. It's so beautiful. It came out very nice. You can also try it and
see how it's going to come out because I love to see
students doing their work. It's so beautiful. Lovely.
 Stella JB Fashion, Fashion Designer and Patternmaker