Transcripts
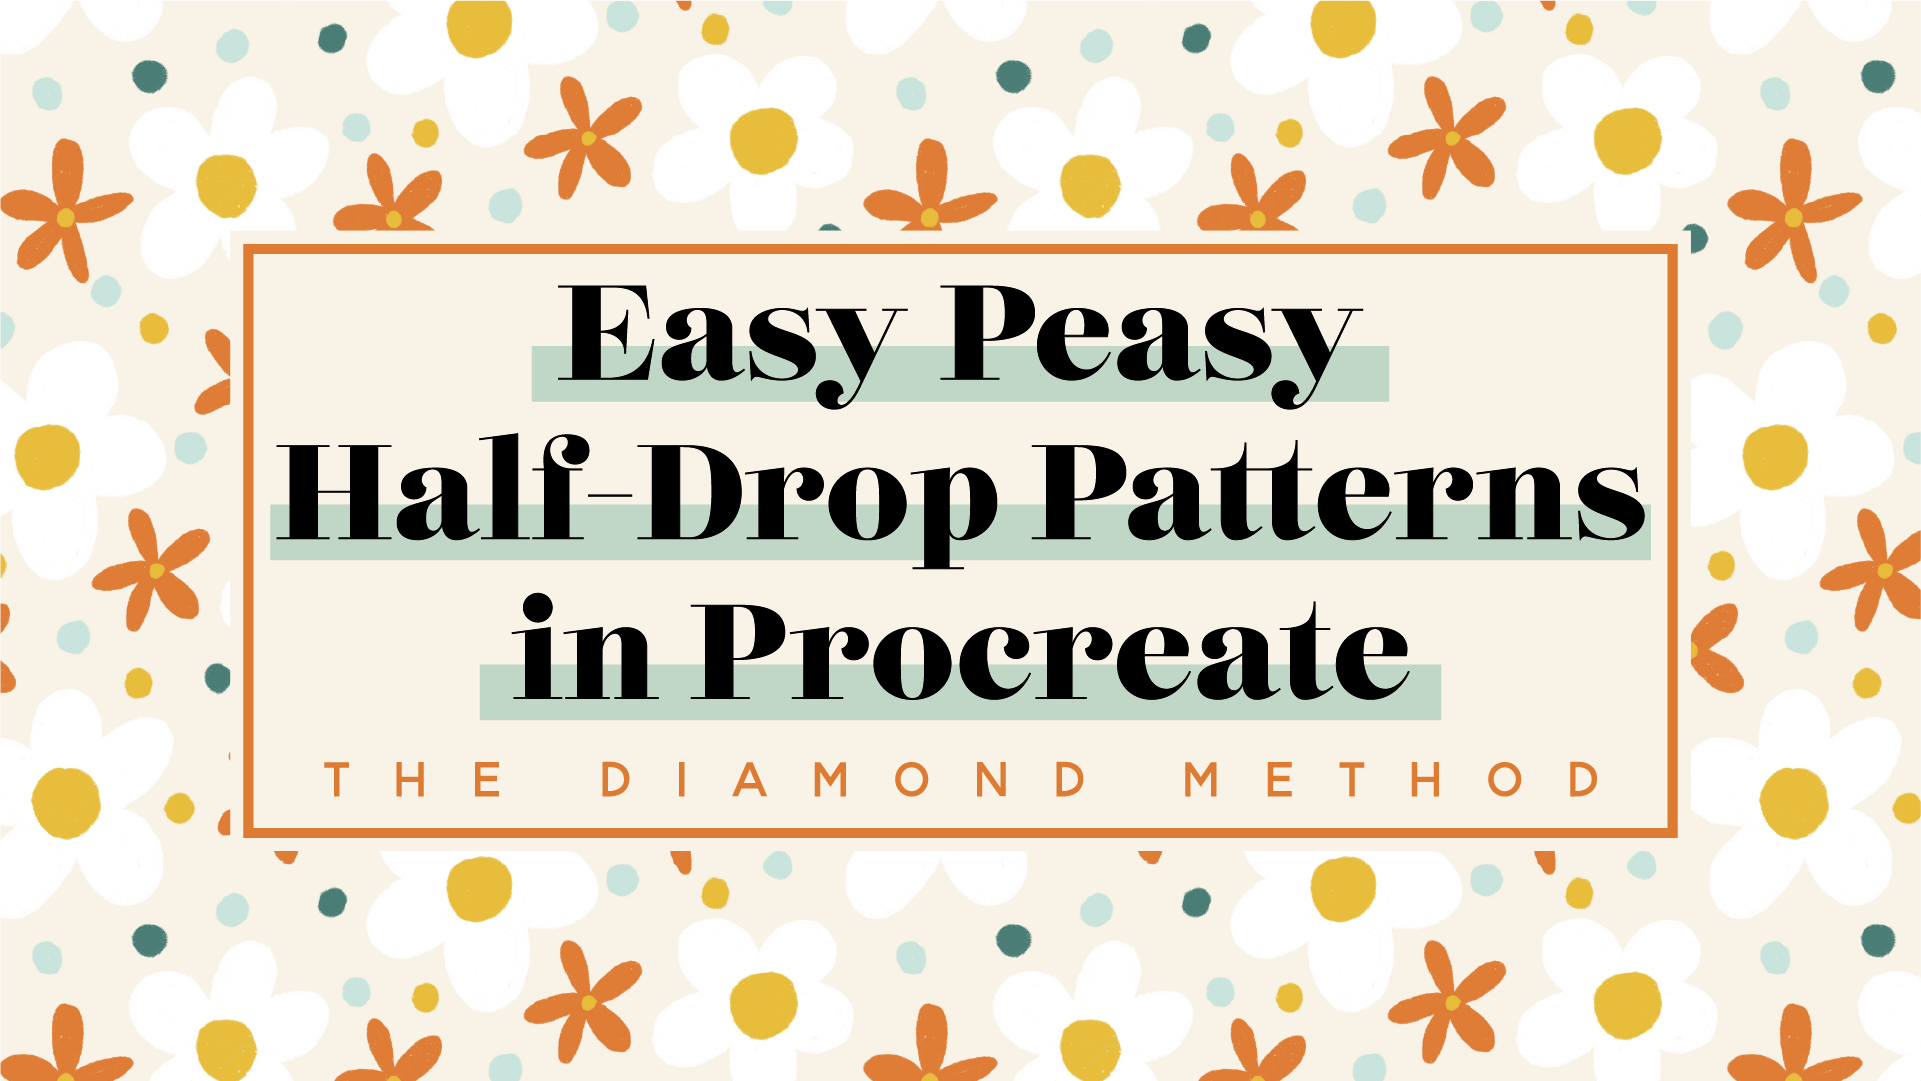
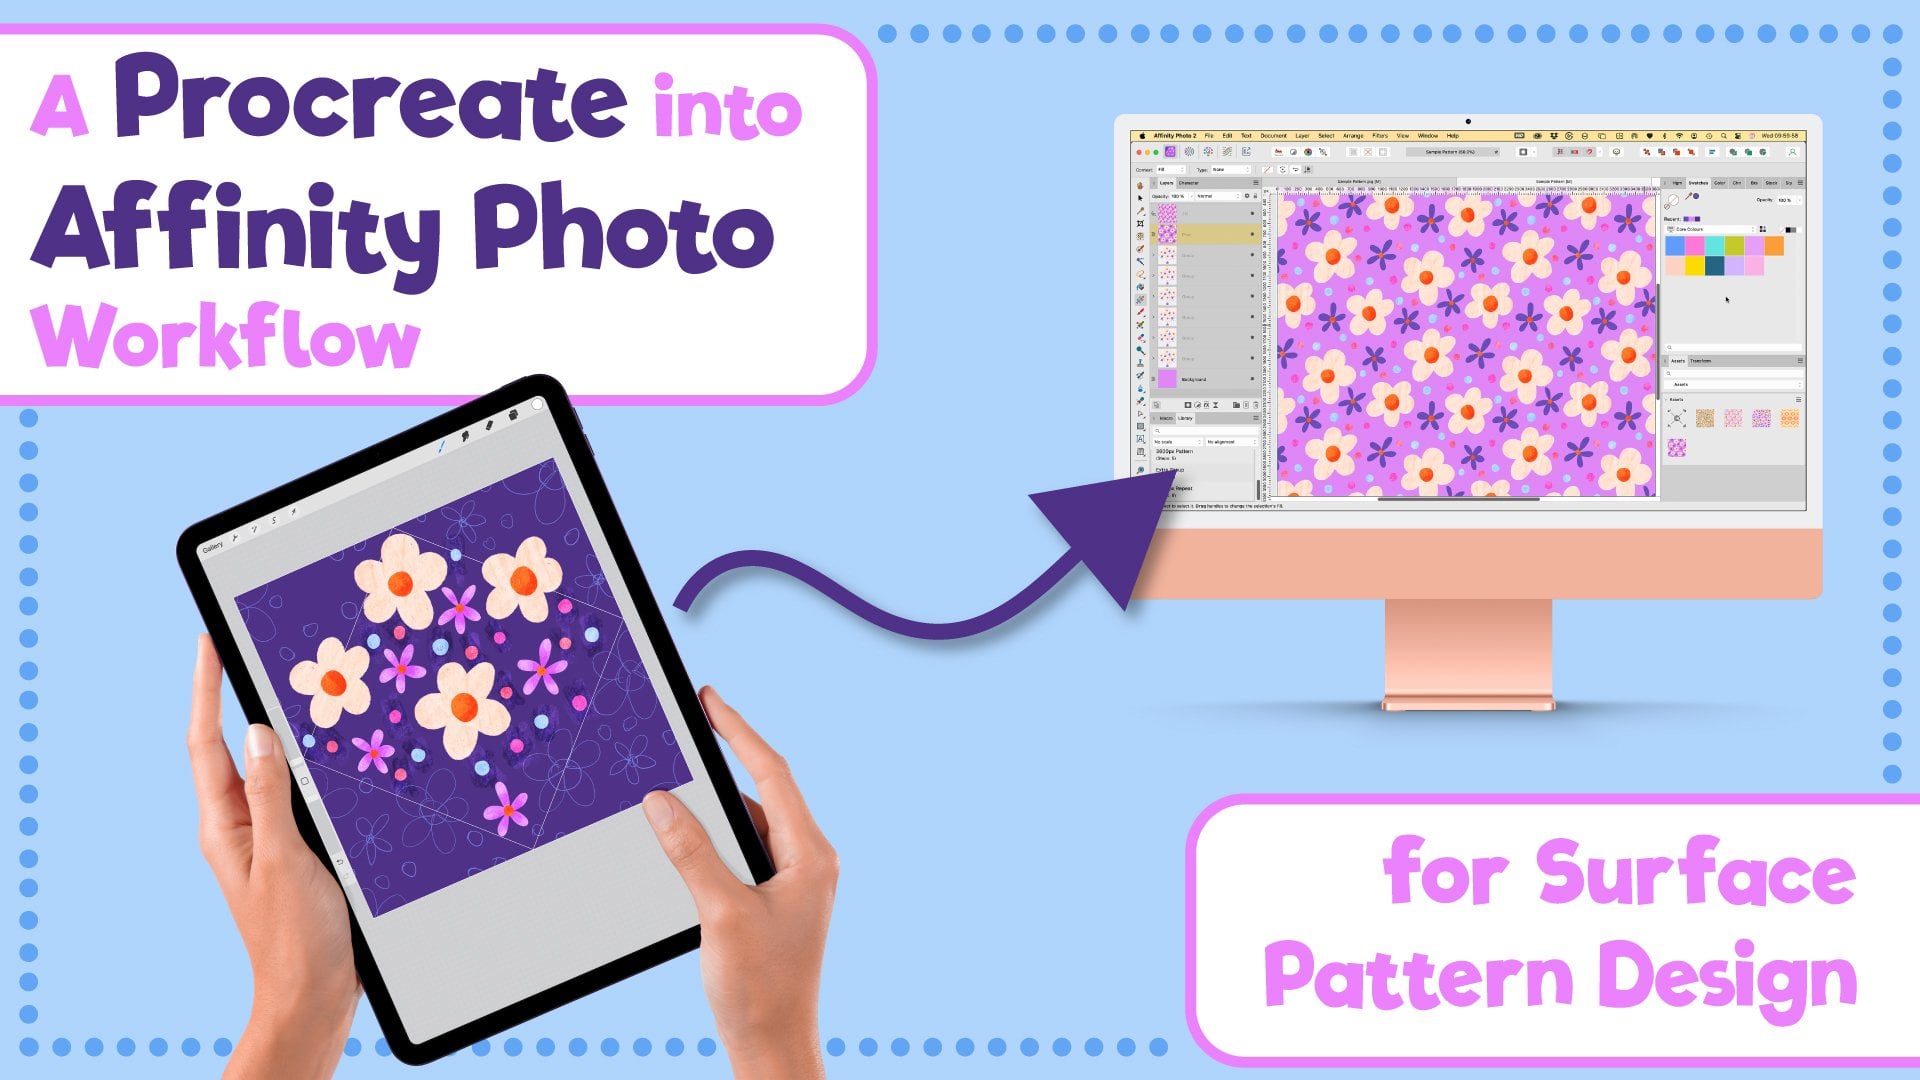
1. Introduction: How many times have you started piecing motifs for a pattern together, only to realize that you wish you'd drawn something slightly larger? Maybe added an extra leaf to a flower stalk, or drawn at a different angle. This used to happen to me all the time, and I got so fed up with having to redraw motifs that I decided it was time to turn my pattern design workflow on its head. I'm Becky Flaherty, an illustrator and surface pattern designer based here in the UK. I'm so excited to be teaching this class here on Skillshare because this is where I got started in my career in surface pattern design and learn how to make patterns. I sell my designs on sites like Redbubble, Society6, and Spoonflower, as well as doing freelance work for both small and large businesses. In this class, I'm going to teach you how I make my patterns with a built-in half-drop, how to sketch out the entire pattern tile, working out the technical repeat before you spend any time illustrating motifs. I'll teach you how to set up your canvas in Procreate so that it works almost like a pattern preview. You'll be able to see the edges of the repeat and how it matches up with the next tile as you are drawing. I find this class at more season pattern designers who are looking to learn how to make a half-drop or want to pick up a few tips to speed up their workflow. This class isn't just for digital artists. I actually still use this workflow if I'm going to be painting the motif for a pattern in watercolor or gouache. For recent freelance project with a really tight deadline, I use this exact method to be able to give the client a preview of the pattern and layout, and colors. We were able to very quickly make adjustments without me having to pick up a paintbrush. Then when it came to creating motifs, I could trace them using a lightbox, knowing that they were going to fit together perfectly when I brought them together on the computer. Once you're familiar with this method, you can very quickly create patterns which you can use directly from Procreate, uploading to sites like Redbubble or Spoonflower, or if you wanted to make further edits in Photoshop, that's an option too. After taking this class, you will have a really useful workflow in your toolkit for creating smooth and flowing seamless patterns directly in Procreate anytime, anyplace using this super easy built-in half-drop method. I hope you're as excited as I am to get started and I will see you in class.
2. Class Project: Let's talk about your class project. As you can probably guess, I want you to create your own pattern using the method that I'm going to be showing you. You can either share an image of the pattern tile itself. You could show us a photo of it zoomed at a smaller scale, which is the thing I'll be showing you how to do or you could apply it to a mock-up if you have one. Or you could upload it to Spoonflower and use one of the preview images that they have on there. Bonus points if you want to do all three. Don't forget to have a look at other students' work and leave some kind thought or feedback on their work. Now that you know you're going to be making for your class project, let's dive right in and I will see you in the next lesson.
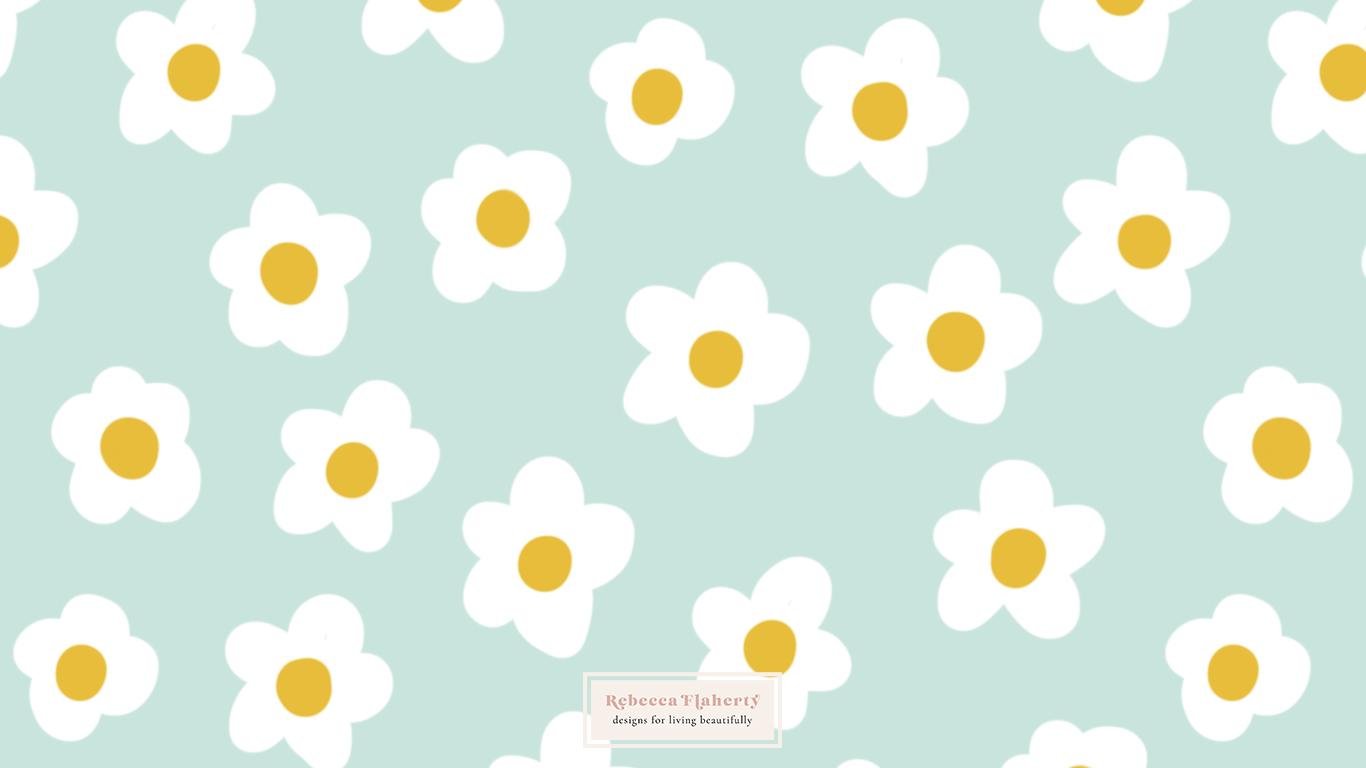
3. What is a Half Drop?: Before we start, I just want to quickly explain what a pattern is, how a half-drop works, and why you would want to use one. If you're already familiar with the basics of pattern design, then please feel free to skip this lesson and move on to the next one. In a full drop pattern, which is likely what you've learned if you've learned how to make patterns before, tiles go one across and one down. Everything that's over here on the left also needs to be repeated on the right and everything up here on the top needs to be repeated on the bottom. As you can see in this example here, I have this dot on the side, on the top, and it's also repeated 12 inches across on the right and 12 inches down because that's the size of my canvas and the pattern tile. You can see when I repeat this tile, everything on this edge matches up with the next one and everything that's on these bottom edges is also matching up with the top edges, it's working nicely as a seamless pattern tile. Let's just hide this. The problem I have with Procreate when drawing patterns is that you can't draw off the edges of the canvas. If you want to draw something down here, for example, it can be hard to visualize how it's going to match up with what's down here without constantly duplicating and offsetting the canvas. But here's the thing, pattern tiles don't have to be squares or even rectangles. They can be any shape, they're tessellates. If we use a diamond for our repeat, we can fit it within the Procreate canvas so we can see all the edges of our pattern tile and how they match up with the next tile instead of it being off the edge of the canvas. Remember, with a square, we have to have everything here on this edge repeated 12 inches across on this edge. Well, with a diamond shape repeat, this edge here needs to be repeated here and this one needs to be repeated here. The distance will be half of whatever your canvas is vertically and horizontally. In this case, I've used a 12 inch square, so it's going to be six inches across and six inches down. We don't need to worry too much about the exact measurements here, though, because the snapping will tell us when we've taken it halfway. Let's have a look and see how this tiles when we repeat it like I did earlier. Let's just duplicate this layer and then we can repeat it across like this. We have the pattern repeated here, here, here, and here, as before with our good repeat, but we also have this section here with a half across half down repeat because we're using the diamond as our technical repeat. Now, the definition of a half-drop is actually across by one and then down by a half, which is how the tile will be processed, say, by spoonflower if you uploaded it and set it to repeat in a half-drop, you'd see that it wasn't tiling properly. But because we're making this half, half-drop within a square, that still repeats in a normal grid pattern, you don't need to worry about it not being a standard half-drop. What we're making is a standard square tile that repeats in a basic grid, but with a half, half-drop repeat built into it. Now that you've had a very basic overview, join me in the next lesson and we'll learn how to set up your canvas.
4. Setting up the Canvas: The first thing we want to do is to create a new canvas. I'm going to type up here on this till icon and select New canvas. I'm going to make this a 12 inches by 12 inches square. Find that that's a good size to work in for this illustration. Going to keep the resolution at 300 DPI, which gives us 37 layers to play with, which is quite good for this illustration style. Then I'm going to hit Create. Then on this layer here, we're going to make a diamond template. We're going to go to Canvas and turn the drawing guide on, then we're going to tap Edit Drawing Guide. We want to increase the grid size until we can easily see where the center points of each of the edges of the canvas are, and then we can now click Done. Now, you can use any of the default brushes here. I'm going to go to the sketching and use the Narinder pencil and choose this light color here. I'm just going to draw a line from here up to here and hold it until it snaps into place and you'll see it says line created, and then you can really set and let go. Then I'm going to tap Edit Shape. Then I'm going to drag the edges of this line until they just match up the center points of the canvas. I'm going to zoom in a bit here. You want to see that the edges of your line are intersecting with the halfway point of the canvas like this. Then we're going to do the same on this edge. Drag it until it's intersecting with our halfway point. Zoom in and make sure. As long as you've got a little bit either side of it, you're fine. Then you may want to go back and check that the other one is still in the right place. Yeah, that looks fine. Then just tap the canvas when you're done. Then we want to duplicate this layer. We want to transform it and we're going to flip it horizontally. Now, at this point, you need to make sure, because we want to move it exactly halfway across. You need to make sure that you have snapping turned on. So these two little switches need to be blue and you want distance and velocity turned up as far as they'll go. Then we can just drag this halfway across and it will snap into place. Then I'm going to pinch these two layers together. Then you'll see we have this outputs pointing arrow on this layer here. I'm going to duplicate that, then we're going to hit Transform, and this time we're going to flip it vertically and drag it downwards. Then we're going to pinch these two layers together and at this point you can turn off the drawing guide. You'll see we have this nice diamond shape all on that layer. Now, if you zoom in, it's really important to check that your diamond is touching the edges of the canvas there, at the bottom, on the left, and also at the top. It's really important that it touches the canvas on all four sides and I'll explain this later. Now, at this point, it's a good idea to go back out into your gallery, duplicate this one you've just made, and rename it something like a Half Drop Master. Then every time you want to start a new pattern, you can just duplicate from this one rather than having to make it all from scratch every time. Let's rename this one flowers, as that's what I'm going to be showing you how to make in the next lesson. When you have your Canvas setup, join me in the next video and we'll get started.
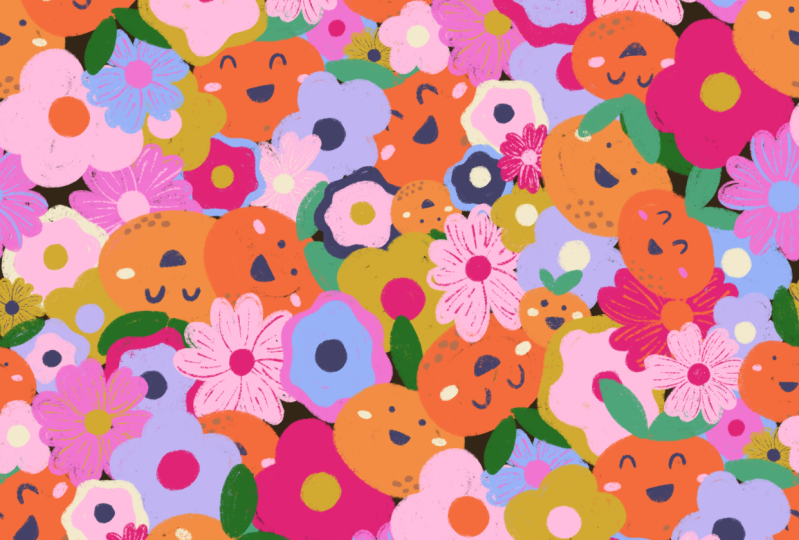
5. How to use your Canvas: Now, normally in pattern design, you might start out by drawing all your motifs first and then taking them into a program like Photoshop or Illustrator to put them together like jigsaw puzzle. But with this method, we're going to be figuring out the layout of the pattern first and then illustrating our motifs last. The obvious benefits of this are that you only create the artwork you need, which makes you more efficient, and also you will be custom making each motif to fit perfectly in the space you've already created for it. Let's get started. I'm going to make a simple flower pattern here. I plan on using big daisies for the main motifs. Some Some flowers to fit in between them, and then some small dots as fillers. I find it's best to start with your largest motifs and get them in place before moving on to the next largest motif. This will help you fit everything together nicely and the motifs will feel like they have breathing space and nothing is crammed in awkwardly. This layer is just going to be a sketch, so a default pencil brush or any of the other brushes that you like to sketch with is fine to use here. Let's start by placing some of our biggest flowers down. I'm going to duplicate this layer and then lock the bottom one so that it's saved as a backup if we need to go back to it. Then we're going to be drawing on this top layer here which has the diamond on it. Let's start by drawing some of our daisies. Remember, this is just the sketch layer, so they don't have to be orks of Hartley, should just be rough doodles and sketches while we're working out where things are going to go. We're aiming to fill most of this diamond in the middle. But remember, whatever is on this edge here is going to be repeated down here and whatever is on this edge here is going to be repeated down here. I'm going to draw over these edges and in the middle, but I'm not going to draw it down here yet because these motifs will be repeated down there. Now I'm going to show you how to duplicate these so they fill the rest of your canvas. Am going to go up here and duplicate the layer we've been working on. Then we're going to hit "transform" and we're going to make sure we have "snapping and magnetics" turned on and that "distance and velocity" are turned all the way up. Then we're going to drag this layer down by half and across by half. You'll know when you've got it snapped to exactly halfway because you'll see these orange lines coming out and then when you've done that, you can set the transformation. Then you'll see that this flower has been repeated exactly halfway across and halfway down. This is a 12 by 12 inch canvas, so it's been taken six inches across and six inches down. Then we're going to do exactly the same thing with this bottom layer here. We're going to duplicate it, we're going to transform it, and we're going to drag it halfway down and this time we're going to drag it halfway to the left until it snaps into place and you see these orange lines here. As you can see, this is now repeated down here, exactly six inches down and six inches across. Then we're going to do that two more times, dragging up and to the left and up and to the right. I seem to have somehow added an extra layer there, let's just get rid of that one. Let's duplicate this layer and drag it up halfway till it snaps, and over to the right until it snaps, and then duplicate this one bottom layer again. We're going to drag it up and to the left until it snaps into place. Now you can see, we've got our half-half drop going on here where the daisy is repeated six inches across to the right and down. We've also got our canvas acting as a pattern tile, because everything that is over here, repeats over here on the right, and everything that's up here on the top also repeats down here on the bottom. Now, we can go back to our original layer here on the bottom and see what we want to adjust. Now,at the moment, that is a little bit confusing because everything is all the same color and it's quite hard to see what's on what layer. To deal with that, I'm going to pinch these four layers together and they will become our preview layer. With two fingers on this layer, I'm going to swipe to the right and that will "toggle alpha lock." You can see this checkerboard come up on the background there. You can also get to that, just undo it by tapping on the layer and choosing "alpha lock". What alpha lock means, is that all the pixels that aren't already drawn on, so that's everything apart from these drawings here, you can't now draw on them. If I just try and scribble here, nothing comes out. Whereas I'll just choose a different color here so you can see, I can draw on the pixels that I've already drawn on because they are not locked. I'll just undo that and go back to the different color. What we can do if we tap on this layer and go to "fill layer", it will fill it all with a new color. We can really easily see what is on our bottom layer with the design we're working on and what is on the preview layer around the outside. Just a quick note here. At the moment, this diamond is part of our pattern design, it's on this layer. At the moment, that's a good thing because it will help us navigate our pattern. But when we come to illustrate the final pattern, we will be doing that on a new layer, and this won't be part of the final design. When it comes to editing this layer here and moving things around, you've got a couple of options. You can use the "Transform tool" to move things around and track them around like this. You might find that you want to turn off "snapping" so that you can drag things around a bit more smoothly. That's one option for moving things around. Let me just undo that, a second. Your second option, because this is only a sketch layer, you can just erase things and then redraw them in the place that you want them to be. Let's have a look. I think that I might want to move this flower down just a little bit so it's a bit more balanced. I think this flower up here on the right, I might want to move that a little bit too. I'm going to select that and then use the Transform tool just to drag it down a little bit. There we go. Now, to make the repeat again with these flowers in their new positions, we need to repeat that process we just did again. I'm going to "delete" this top layer, and then I'm going to "duplicate" this bottom layer. Make sure I've got "snapping" turned back on again and drag it up and to the left. "Duplicate" the bottom layer again, and drag it up and to the right. "Duplicate" the bottom layer again and drag it down and to the left. "Duplicate" it and down and to the right. Making sure all the time that you're snapping has worked and everything is in the right place. Then I'm going to merge these top layers together and alpha lock. I'm not going to recolor them at the moment because I want to test how this pattern looks in a smaller scale. To do that, I am going to duplicate this top layer and also duplicate the bottom layer. I'm going to "hide" the very top layer and very bottom layer, and then "pinch" these two middle layers together. I have everything here flattened onto one layer. Then I'm going to hit "transform". With snapping on, I'm going to drag this up so it's a quarter of the size it was before. You'll see it will snap into place like that. Then we're going to duplicate that and drag that one across until that snaps into place. Then we can pinch these two top layers together, duplicate that, and drag it down. Now, I can see just by looking here that I've got these gaps showing up. If you zoom out I find that it's easier to visualize things like you can pinch this like this and then somehow it seems easier to see when it's further away. I've got this crisscross going thing with these gaps in the middle. What I think I want to do is move these things around, maybe this flower move it up a little bit and then jiggle some other things around. Let's pinch these two together and delete those to get rid of them so then we just have our two working layers here. I want to recolor this top layer, so I'm going to tap and hold. That's a really quick way of getting back to your previous color. Just tap and hold that up there and it takes you back to whatever color you were using before. We're already in Alpha Lock so I can just fill this layer and then go down to this working layer here. I'm going to move this flower up to here. Oops, I need to turn off snapping so that moves a bit smoother. Let's put that one there and then I also want to move this flower here down a little bit. I'm going to select that one and just, I don't want to resize it. Just don't do that and drag that down to about there I think. Now I have a hole on that side, so let's go back to my previous color. I think I'm just going to draw although I have this one there now instead of there. Let's just see how it goes. Let's draw one here and then we can do the retest to see how that works out. But I do you think I want to move this one down a little bit now as well. It's all just a case of adjusting it until it looks just right. You can delete that top layer and then go back to what we did before which was duplicating and dragging these layers around, making sure that you have snapping turned on. We should drag that down and across, duplicate, select, and drag it up and to the left, and duplicate, and select, and drag it up, and to the right. Actually I think that it's probably looking pretty okay. Let's give that a test. Let's pinch those top layers together. I'm going to duplicate them and duplicate the bottom layer. Pinch two of them together and hide too, and then we're going to come up here to transform and as before, make it a quarter of the size, then we can duplicate that layer, drag it across to the right, pinch those two together, duplicate it, and then drag it down. As you can see now I think that's filled all the gaps nicely and I'm quite happy with the layout there. It's all looking nicely spaced out. We can pinch those two together and get rid of them and then we can Alpha Lock this top layer, go back to our alternate color, fill layer and then we've got the two layers easily separated and we can go back to this bottom layer and add some more motifs. The next thing we're going to add is some smaller flowers. I'm going to select a different color for those. Let's choose this yellow here and then I can begin to fill in these smaller gaps between the big flowers with these medium size flowers, remembering that we're working within this diamond patterned, so I only need to work inside the diamond and whatever is up here as you've seen already will eventually fill the outside. I'm just going to go ahead and speed things up now while I draw the rest of these flowers. Keep an eye on your overall pattern as you go and don't be afraid to move things around as you're working. Then we want to test the pattern again and make our tile, so as before we're going to duplicate this layer, drag it down making sure that you have snapping turned back on again. As before, just drag everything across and down and up and to the left. Pinch that altogether and then delete your original preview layer. Then as before we can duplicate the top and bottom layers, pinch the middle two together, hide the other two so that they're safer later, and then we can drag this layer smaller and duplicate it to test this pattern. We can see how it's looking now that we've added the smaller yellow flowers. Now I think I'm pretty okay with how that's looking. It's filled in all the spaces nicely. I might just move this one around a little bit. Let's delete that preview layer and then this one here. I'm just going to select it. Undo that, a minute. Select this flower and just drag it down a little bit. Then the last thing we're going to add to this pattern was some dots. Let's just add those in making sure that we're on the right layer. Let's draw some dots in to make the brush a bit bigger for these and then I will speed things up again, so you don't have to watch me narrate every single dot being drawn. Once you've added your last set of motifs we need to repeat that process of duplicating and dragging the corners of the pattern to the sides so that we can get a preview, delete the old preview, and then we can test this pattern out and see how it's looking. Just looking at how the dots on the edges match up I can see I've got these where it's got two of the same color quite close to each other. I'm going to go down to this bottom layer and I'm going to Alpha Lock it, and then I can draw over that dot with a different color. I think I will make this one this brown color I'm using. I'm just going to draw over that and then I can see up here there's two green dots next to each other. Let's recolor one of those, the one inside the diamond, not the ones on the outside. Then looking at the other edges, there's these two here up, don't forget. They are the same as those up, they're repeated and likewise with these two there. Now that we've fixed all those colors, it's just a case of repeating the same thing again, duplicating these layers, and dragging them outwards. Now I think this is all finished but let's just test it one last time. Repeat the pattern in a smaller scale just to make sure it's all looking balanced and everything still matching up. Pinch those together, and I think this is all looking pretty okay. I might just fill in this small area there where it feels like there's a little something missing. Let's show our other layers that we're working on. Make sure we're on the right layer and I think I'm just going to draw this in. Here we go. Now that we've modified that repeat, we need to redo the preview around the outside to make sure that that dot is then repeated to all the other relevant parts of the tile. At this point, we now have the framework of our pattern. We've tested the pattern at a smaller scale to check for any gaps or odd-looking parts. We know exactly what motifs we need to illustrate, how big they need to be, and where they belong. The next step is to illustrate just these motifs on this layer so that we can make our repeating tile. When you have your pattern framework figured out, join me in the next lesson where we'll be illustrating our motifs.
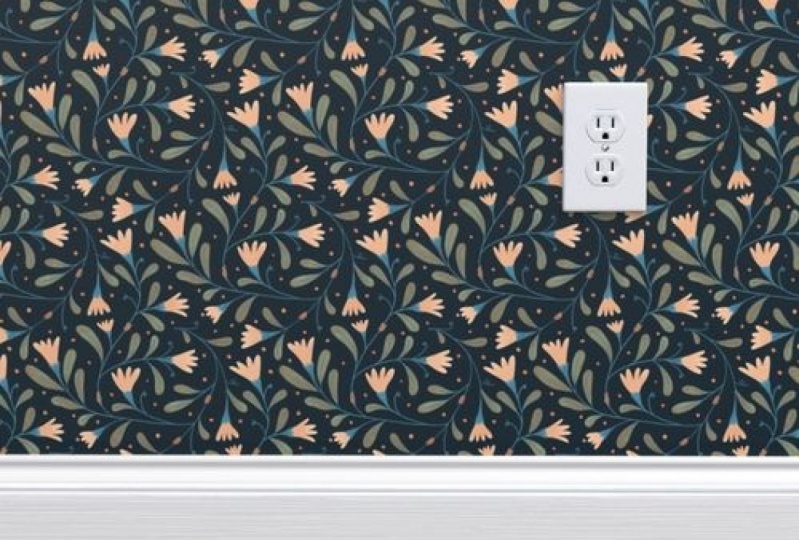
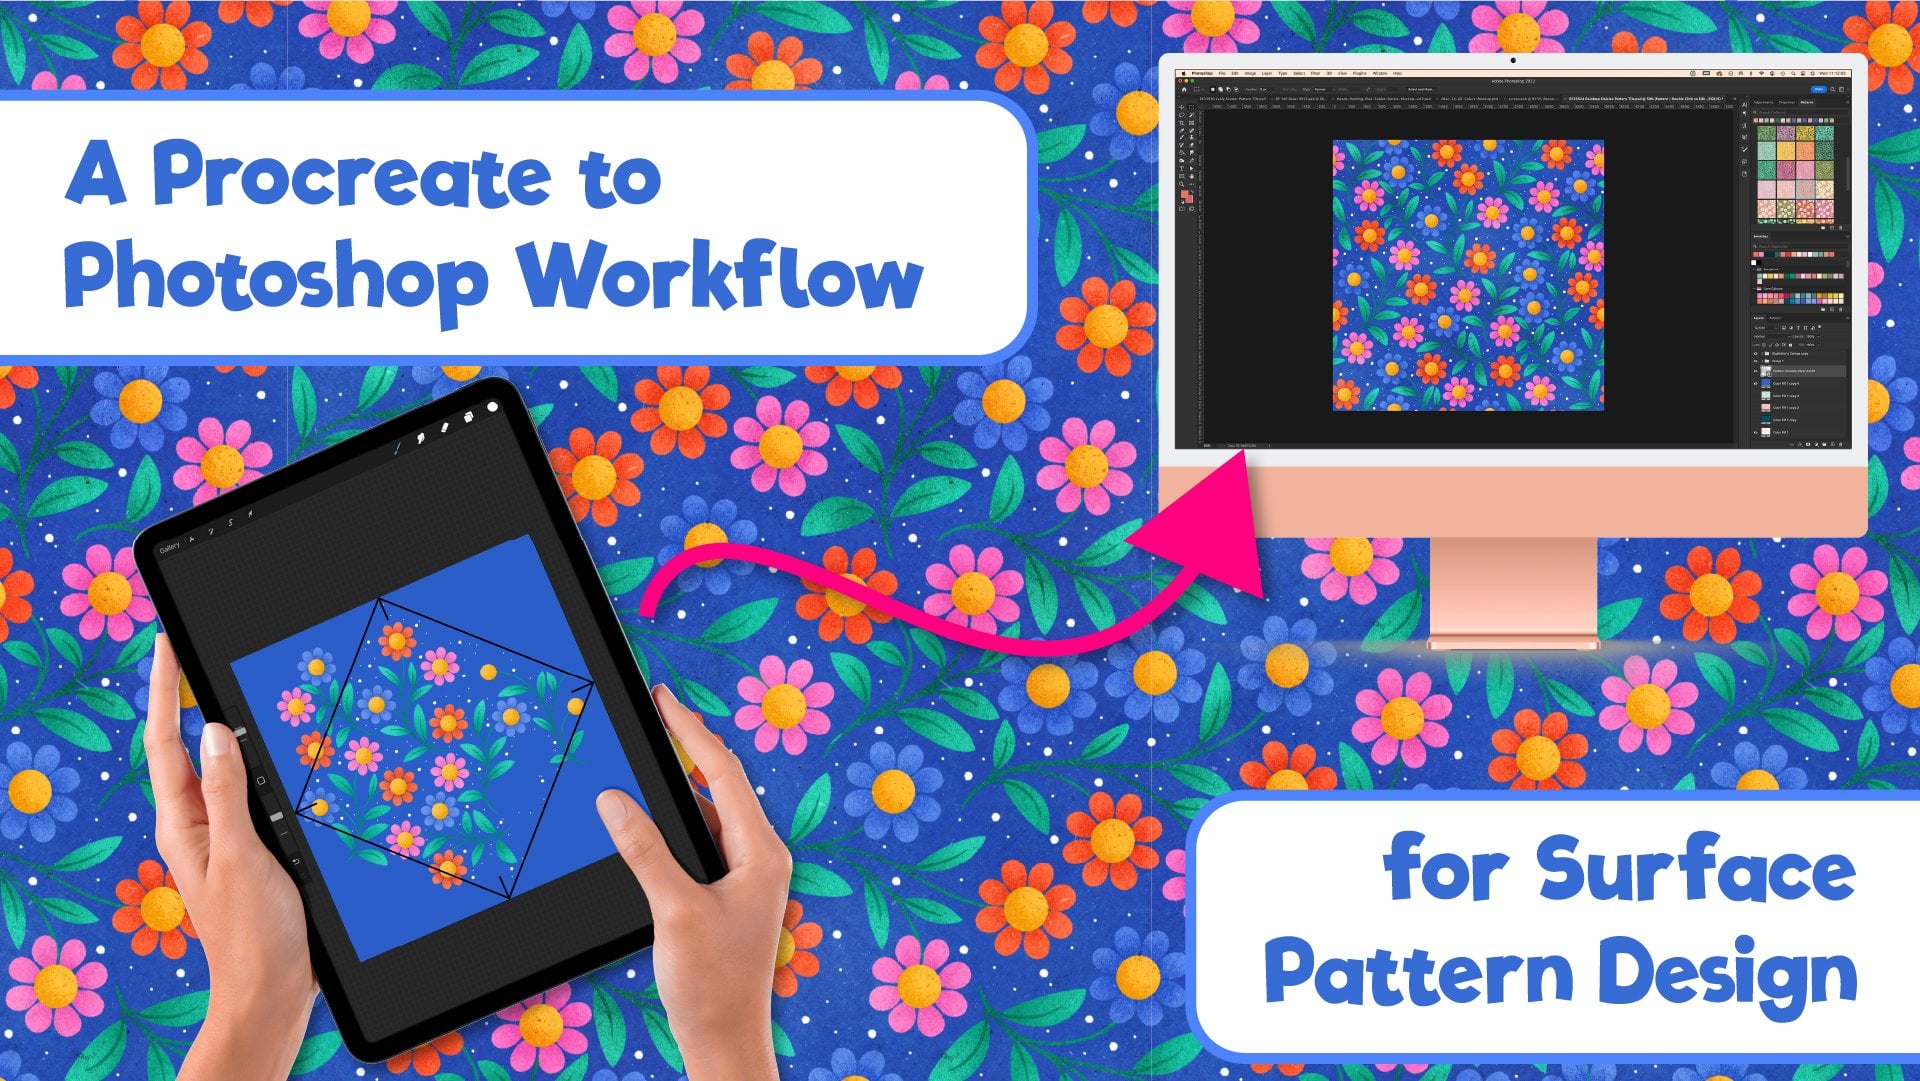
6. Illustrating your Motifs: Welcome back. I'll show you pattern layouts that are looking really good and ready for some color. From this point onwards, everything we draw is going to be on a new layer [inaudible] half that diamond on it. Let's add that now and hide the previous layer that we don't need for now. Let's also reduce the opacity on this layer so that we don't accidentally draw on the wrong layer and will also lock it. If I was to give you one tip only for Procreate, it will be always make sure that you're drawing on the right layer. These parts you can see here are the only things we're going to need to draw for our tile because the rest will be filled up by duplicating just these bits. Now, for the sake of keeping this class short and to the point, I'm not going to use any fancy illustration techniques or textures here and I'm only going to do some basic flat shapes. However, I am totally looking forward to seeing how you illustrate your patterns in your own style with your favorite brushes and textures. Feel free to take as long as you want on this part. I think, first of all, I'm going to choose a background color and I'm going to go for this cream color here, I think. I'm going to do the daisies first, so I want a white for those. I'm going to get white by double-tapping in this corner here. You can get pure white by double-tapping here, pure black by double-tapping at the bottom, and the various other tints and shades by double-tapping all around the circle like this. White for the daisies and I'm just going to use this default dry ink brush for drawing. Now, with this dry ink brush, you've got two options for filling in the color. You can either drag the color across and drop it there. But I really like the texture that you get with this brush when you color in, rather than just drag the color across. Although it's going to take longer, I'm actually going to hand color in all of the elements for this pattern. I'm going to go ahead and speed up the video now while I do that. As you're tracing over your sketch layer, make sure that you stick to mostly what you've drawn. If you go too far over the edges of a motif, it could be overlapping with something else that you've drawn up here, and actually, we could turn the preview layer on, which will give us a better idea of where things are. Now that's done, I'm going to start a new layer with the next color, which is going to be the yellow for the daisies centers. You can see, if I zoom in the nice texture you get here with this brush and that's why I'm not using the drag and fill method for these. Another new layer for the next color, which is going to be these medium-size flowers. I didn't really plan the colors in advance for this, but I think I'm going to switch to use orange for these ones instead of the yellow. Then it's just a case of carrying on like this during each different part of your design on a different layer, I like to do each color on a different layer. I'm going to go ahead and speed all through this bit for you. There we go. I think that's everything colored in there. This seems like a good point to say that if I was drawing a pattern as part of my normal workflow, full disclosure, at this stage, I would send it over to Photoshop on my computer and build the repeat on there so that I can keep all the separate layers intact and edit the colors if I wanted to. However, there is absolutely no need to do that if you are happy with everything as it is and don't want to change anything around. In fact, if you think you may want to change things, you can always go back into your gallery, duplicate this canvas, and then you can open the new one and we can merge these layers down, which is what we're going to do in a second and you still got that working copy to go back to. Once you're happy with all your layers and it's all in the right place, we can delete these working layers that we were using before. I'll just delete that one, unlock this one, and delete this one, not duplicate it. Once you have all your layers separated, you've got your backup canvas with the original layers on them. We're going to go ahead and merge or pinch all of these layers down into one. Now, remember when we were duplicating and moving layers earlier, we could just select it and drag it across by a half and it's snapped into place. Well, that's not going to work for us now. As you can see, if I select this layer and I drag it until it snaps into the middle, all that's done is move the edge of the selection into the middle rather than the edge of the canvas into the middle, which is what we want. We want to move everything across six inches, but it's actually moved it from there to the middle, which is less than six inches. That's why when we were making our diamond earlier, it was really important that we drew all the way to the edge of the canvas so that when we came to move things around, need to unlock this, there was some pixels on the edge that were covered here so that when we were drawing in the middle, it would still move cross by exactly a half. Let me just hide this one again because we don't need that. What we need to do is make a small mark in this corner and in this corner so there are some edge pixels colored in. Completely different color for this, let's give this red color. I'm just going to make a small mark up here in this corner and down here in this corner. Now, when we select this layer, you can see because we've got something up here touching this edge and this top edge, and down here in this one, touching this edge and that one, we can now select the whole layer. We can now with our snapping turned on, duplicate this layer, select it, and drag it down exactly by half and can see it snaps into place nicely and we can drag it across by half. Then repeat that again, duplicate the bottom layer, select it, drag it down by a half until it snaps, and drag it to the left until it snaps. Then again, duplicate that bottom layer, drag it up. You can see here it's not gone quite all the way, you need to make sure that those orange lines come up, and then you'll know that it's in the exact right place. Then again, one final, drag it up. You can see there it's not quite in the right place so just move up a little bit until it pops into place and then we're going to drag it over to the right by exactly half. Again checking that it is properly snapped into place. There we go because this is going to be your tile, you really want to make sure that everything is lined up perfectly. Now we need to sort these little marks here, I'm going to pinch these top four layers together and what was our preview layer before is now part of our pattern tile. On this top layer, I am going to just select the eraser and rub those marks out. You want to zoom in and really make sure you've grabbed hold of that. Then I'm going to hide that one and show our bottom layer and then we can go and rub the marks at the corners that we drew. Then now that that's done, we can show both layers. I'm going to duplicate them at this point so that we've got a backup to go to, hide the top and the bottom one of each and then pinch these two middle layers together. Let's now test this repeat and make sure it's working properly. As before, we're just going to drag it down so that it fills this top corner of the canvas and then duplicate it and repeat it in each corner of the canvas. Then at this point, you want to check the edges where your pattern is meeting to make sure that there's no bits that aren't lined up properly. What you can also do is go to Canvas and turn the drawing guide back on and that's got all the halfway points on which will show exactly where these tiles meet up so you can zoom in on that line and just pan all the way across and make sure that everything's lining up. This is looking good so far, go all the way from one edge to the other and then zoom out again, and then just go all the way from top to bottom as well, just making sure along that line, that all your motifs line up properly. If they do, then your pattern tile is working properly. You can test it at an even smaller scale. We can pinch these four new layers together and repeat that process again, select it and drag it up into that top left quadrant, and then duplicate that and repeat it in all the other corners of the canvas and then you can see your pattern in an even smaller scale. See how it looks [inaudible] You turn the drawing guide off there. Yeah, I'm really liking this pattern, I think it looks nice and spaced out. It's good to zoom out as far as you can when you're testing a canvas because that really helps you to see what's working and what's not working, you can see the overall flow of the pattern a lot better while using tile this far. You going to delete that and then take it back to our original two layers. Now that is tested and we know it's working, we are going to export or save the canvas. We're going to go to share and I'm going to save mine as a PNG. Then you can either save it to files or you can just save it to your camera roll. Once you've saved your image, we can then do something like upload it to our Spoonflower shop, if you have one. I'm just going to upload this design quickly. Just choose File and then you can upload it straight from your photo library on your iPad and then just wait for a second while it uploads. You can see that it's all uploaded now. You need to have basic repeat selected here, not half-drop, although we're working with a built-in half-drop, our tile still repeats in a basic grid pattern. We make that smaller, you can see it's repeating just fine with the basic grid repeat. Put that back where it was and then I'm going to go to View all products and then you can see how your design looks on all the different things in the shop. I really like these cushions and I think the wallpaper looks really good as well. What might be nice to do at this point is to save one of these images for uploading into your class project at the end. I'm going to just long-press on this image and then tap on add to photos, there it is. When you finished illustrating your pattern and you've uploaded it and grabbed a photo from Spoonflower or wherever you've uploaded it to, join me in the next video and I'm going to give you a quick time-lapse of me creating a slightly more complex pattern.
7. Time Lapse : Making a More Complicated Pattern: Now that you know the basics of how this technique works with a few simple motifs, I'm going to show you a quick time-lapse of how I use it to make a more complicated pattern. The techniques are exactly the same. I just spend a bit more time in the sketching phase, adjusting and refining the shapes and directions of the motifs to help them flow and fit together nicely.
8. Final Thoughts: Thank you so much for taking this class. I really hope that it has been genuinely helpful for you, and I certainly wish I had come up with this technique a lot sooner for myself. Now that you have this method under your belt, you can create complex and beautifully constructed patterns anywhere you go as long as you have your iPad and Apple pencil with you. Don't forget that if you prefer to work in traditional mediums, as I often do, this technique is still a great way to start your project off and plan things out. I really hope you're going to find it saves you a lot of time. Don't forget to upload your finished patterns to the project gallery or any work in progress shots if you would like feedback or help from both myself and your fellow students. I'm available here via the "Discussions" tab to answer any questions that you might have. If you're happy for me to share your photos on my Instagram account, then leave a note for your username so that I can tag you. If you'd like to know more about me or my work, you can find me over on Instagram @bekkiflaherty and on my website, rebeccaflaherty.com. If you found this class useful, I would really appreciate if you could leave me a like and a quick review as it really helps me to be more visible on the platform and helps other students find this class too. Finally, be sure to follow me here on Skillshare to get notified when I publish new classes. Thank you so much for watching. Stay creative and I will see you next time.
9. Bonus Video : Student Q & A: Hello again, so it's
bonus video time. One of my students asked
about making stripes to go with these
patterns and whether the half-drop method
would work for that. I wouldn't use the half-drop method for
making stripes I'll just use the normal grid
repeat method for that, so I'm just going to show
you a quick screen recording of how I would do that
on a separate layer. Let's use this pattern
here which I've already made and has
a built-in half-drop. I'm going to turn the
drawing guide on. I'm going to adjust
the grid size until it just fits the
edges of the canvas. You can make it bigger or
smaller but try and line up the edges of the
squares as best you can. Then I'm going to add a
new layer for my stripes. I'm going to choose a
brush which doesn't have width variants in it, because that will
make it a lot easier for aligning the stripes up. I'm going to turn on assisted
drawing for that layer, and then lining my
brushstrokes up with the grid, I'm just going to draw
straight lines up and down, not drawing the edges the stripe that will
be on the edge. I'm going to leave a
space for that one, so then I'm going to duplicate this layer and drag it down by half until it snaps and then drag this layer up by
half until it snaps, and then you can
zoom in and check that's lining up
nicely which it is. Then I have a quick
pan across just to check that the other
stripes look okay. Now what I'm going to do
is merge these layers and then if you look in the top right corner and
the bottom left corner, I've just added a small mark to those to allow me to
drag the entire canvas over by half after
duplicating it and then the previous layer
across by half the other way, really make sure these
snap into place. Then we can just erase that mark that we made
for helping us to grab the whole canvas layer at the top and then
again at the bottom. Then we can now draw in that extra stripe that
we left a gap for. By drawing it in
afterwards we've ensured that it's the exact
thickness we want and we won't get fat lines
where we've drawn more than half of the line on one edge or more than half on the other edge so then we can do the previous thing we've
done in the class which is matching over to
the gather and then duplicating and
dragging the layer over to test that it is looking good and all those stripes
are lining up nicely. If we zoom in we can see that, that's looking
pretty good. That is how I would
add my stripes to a pattern which I've made using the diamond
half-drop method. If you have any questions
that could be best answered with a quick screen
recording like this one, please post them in the
discussions tab and I will add them on after
the end of this video.
10. Bonus Video 2: Student Q & A: This is a quick bonus video
to demonstrate the answer to a student's question on
how to do a geometric floor, repeat like this in Procreate. You want to start on the layer above your
diamond with nothing on it. Go and turn your
drawing guide on and make sure you've got
vertical symmetry enabled. Then on the layer
above your diamond, draw in your basic flower shape. This one doesn't
have to be perfect because it's just for
the sketch layer. Now with snapping turned on
and turned all the way up, center this flower
on your Canvas, then merge it down with
your diamond layer. Then you can duplicate
it and offset it in the way that is described
in the Skillshare class. You've now got that
built-in half-drop repeat going on for your flower. You can merge those
layers together although we won't be doing any more
work on this sketch layer. On some layers above this, now you can add a new layer, turn on drawing assist
again for these. I'm just going to do
this really roughly. I'm not going to bother drawing
fancy shapes or anything. Just trace over your
proper final layers for your flower design. You can still use separate
layers for this at this stage. Make sure you have
Drawing Assist turned on for all
the layers though. Now you can duplicate this
group and flatten it. Now we need to add
those marks onto the corners in the same
way that is shown in the Skillshare class
in order to be able to duplicate and move
the whole Canvas. I'll just duplicate that, offset it, snapping it
into all the corners. All this is covered
in the class. Then you can erase those small little
marks in the middle on that top layer and then merge
those two layers together. Then you can tap to
transform and drag it from the bottom and snap
it to the top corner and duplicate that and repeat it
in all of the other corners. Then you've got a perfectly
offset tile and you can make that even smaller again and repeat it
again across the Canvas. I hope that helps solve the
problem. Thanks for watching.
 Rebecca Flaherty, Surface Pattern Artist & Content Creator