Transcripts
1. Trailer: If you're looking for
something festive, cozy and fun to
draw in Procreate, the perfect little project
to keep your hands busy while you binge
watch Christmas movies this season or something that looks impressive but is
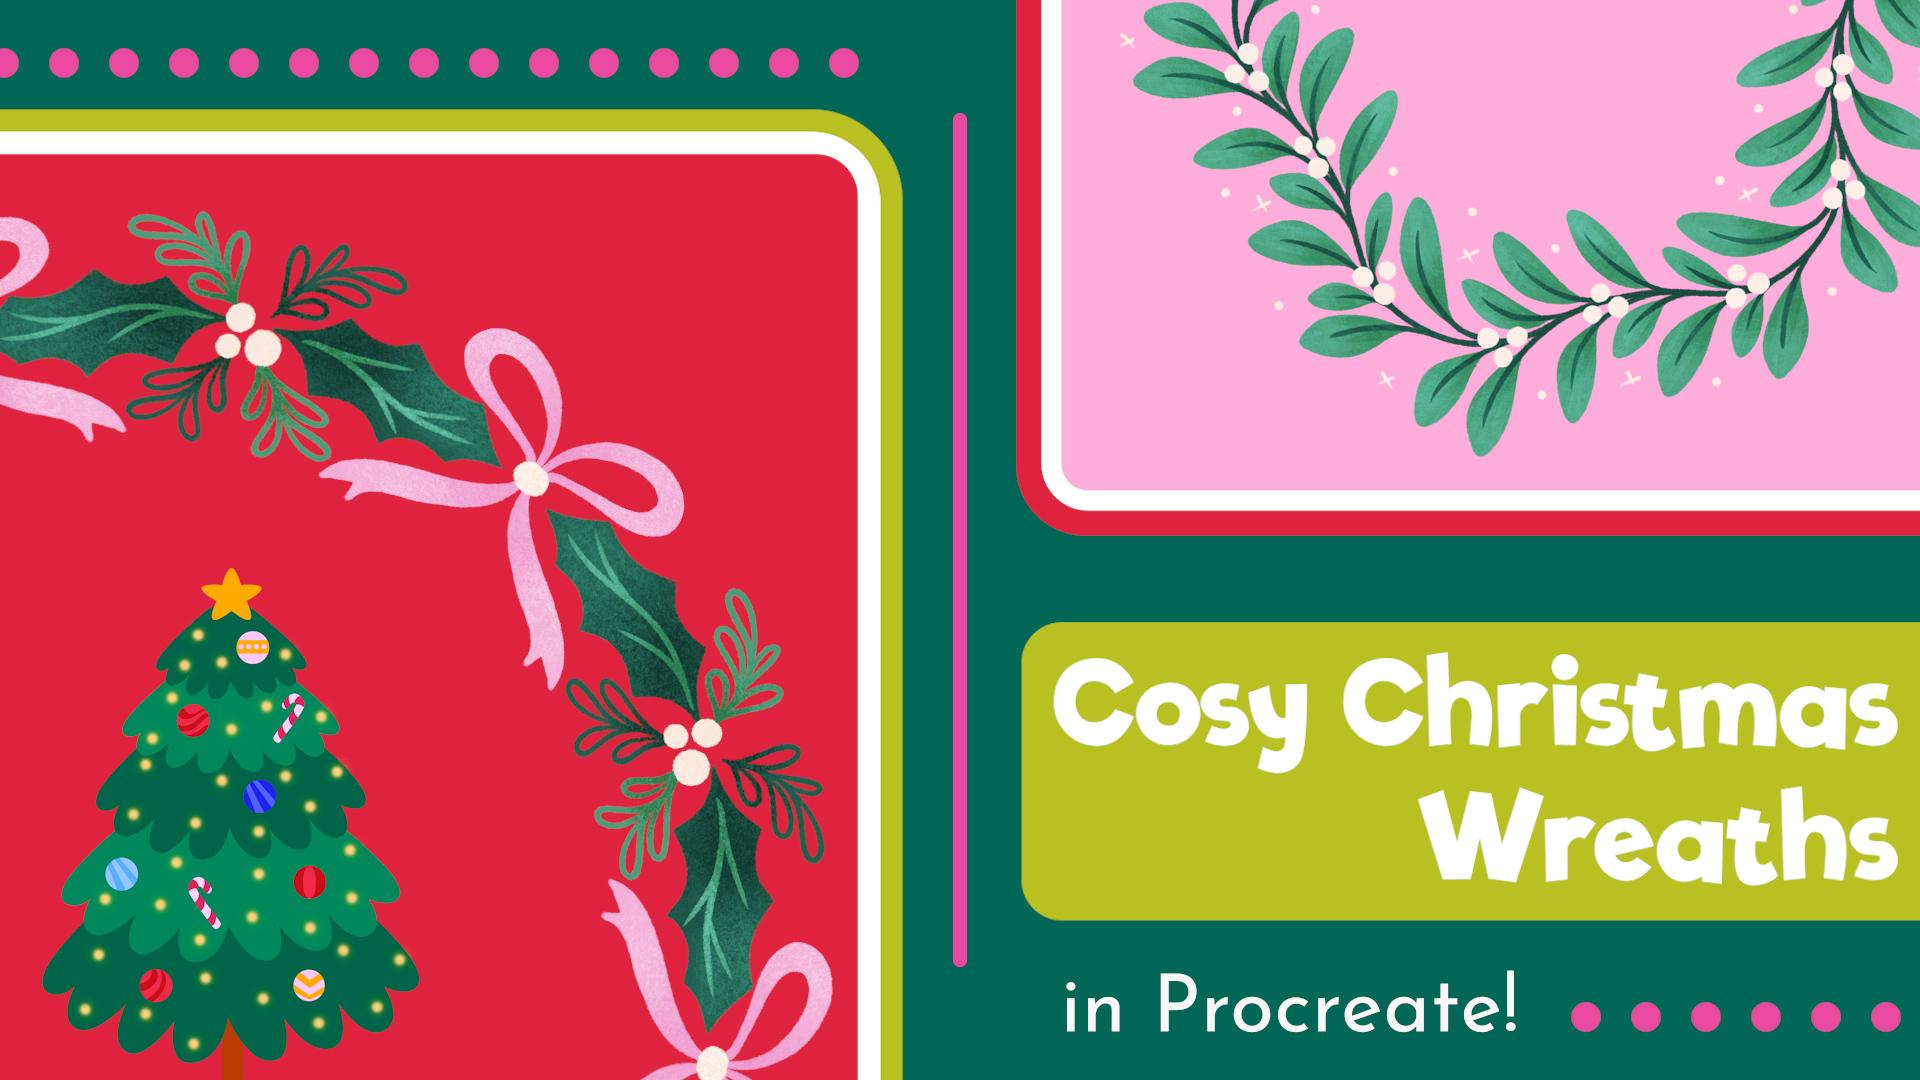
actually really simple to make, then you're in the right place. In this class, we're
creating a set of bright and colorful floral
Christmas wreaths in Procreate. I'm Rebecca Flatti. I'm a patent artist
and content creator, and I love creating digital
artwork in Procreate. In the past, I've licensed my designs for things
like cosmetics, dog harnesses, and
wallets, you name it. But these days, I'm
all about creating happy and helpful
content and cheering on others as they start
their creative journey. I love taking techniques
that look complicated and breaking them down into clever beginner friendly steps. In this class, you'll learn
how to create and use custom rotation
guides, symmetry, layering, quick texture tricks, and even a bit of
animation to create beautiful wreath
illustrations in Procreate. Learning these skills is really useful because once you
master the process, you can create wreaths
for any occasion, sunflowers for summer,
pumpkins for autumn, or pastel florals for spring. I put this class together because making
Christmas art is one of my favorite ways to wind down after a busy rush towards
the end of the year. There's something so
cozy about sitting on the sofa with your iPad
and a Christmas movie. And when you've
got a few simple, reasonable techniques
to lean on, you can make some
cute and satisfying art without having to
think too much about it. By the end of the class,
you'll have a collection of festive floor wreaths you
can use in text messages, social media graphics or simply
as something creative and cozy to enjoy making during your next
Christmas movie marathon. So grab your iPad and let's
play this together. Okay.
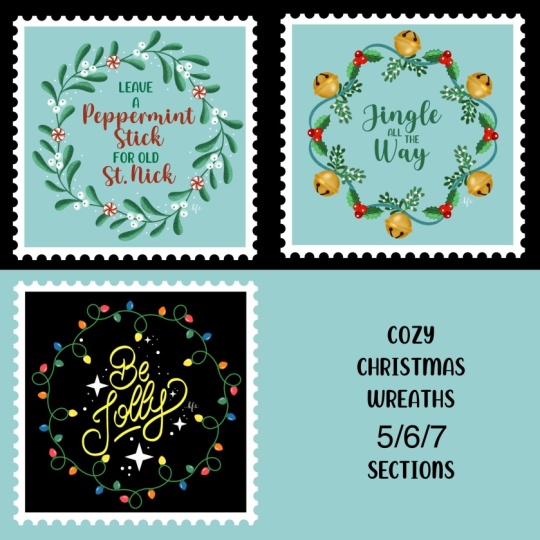
2. Class Project: Let's have a look at
what you'll be making. Your project for this
class is to create your very own set of three festive floral
wreaths in Procreate. Each mini project
builds on the last, starting simple and gradually adding more detail
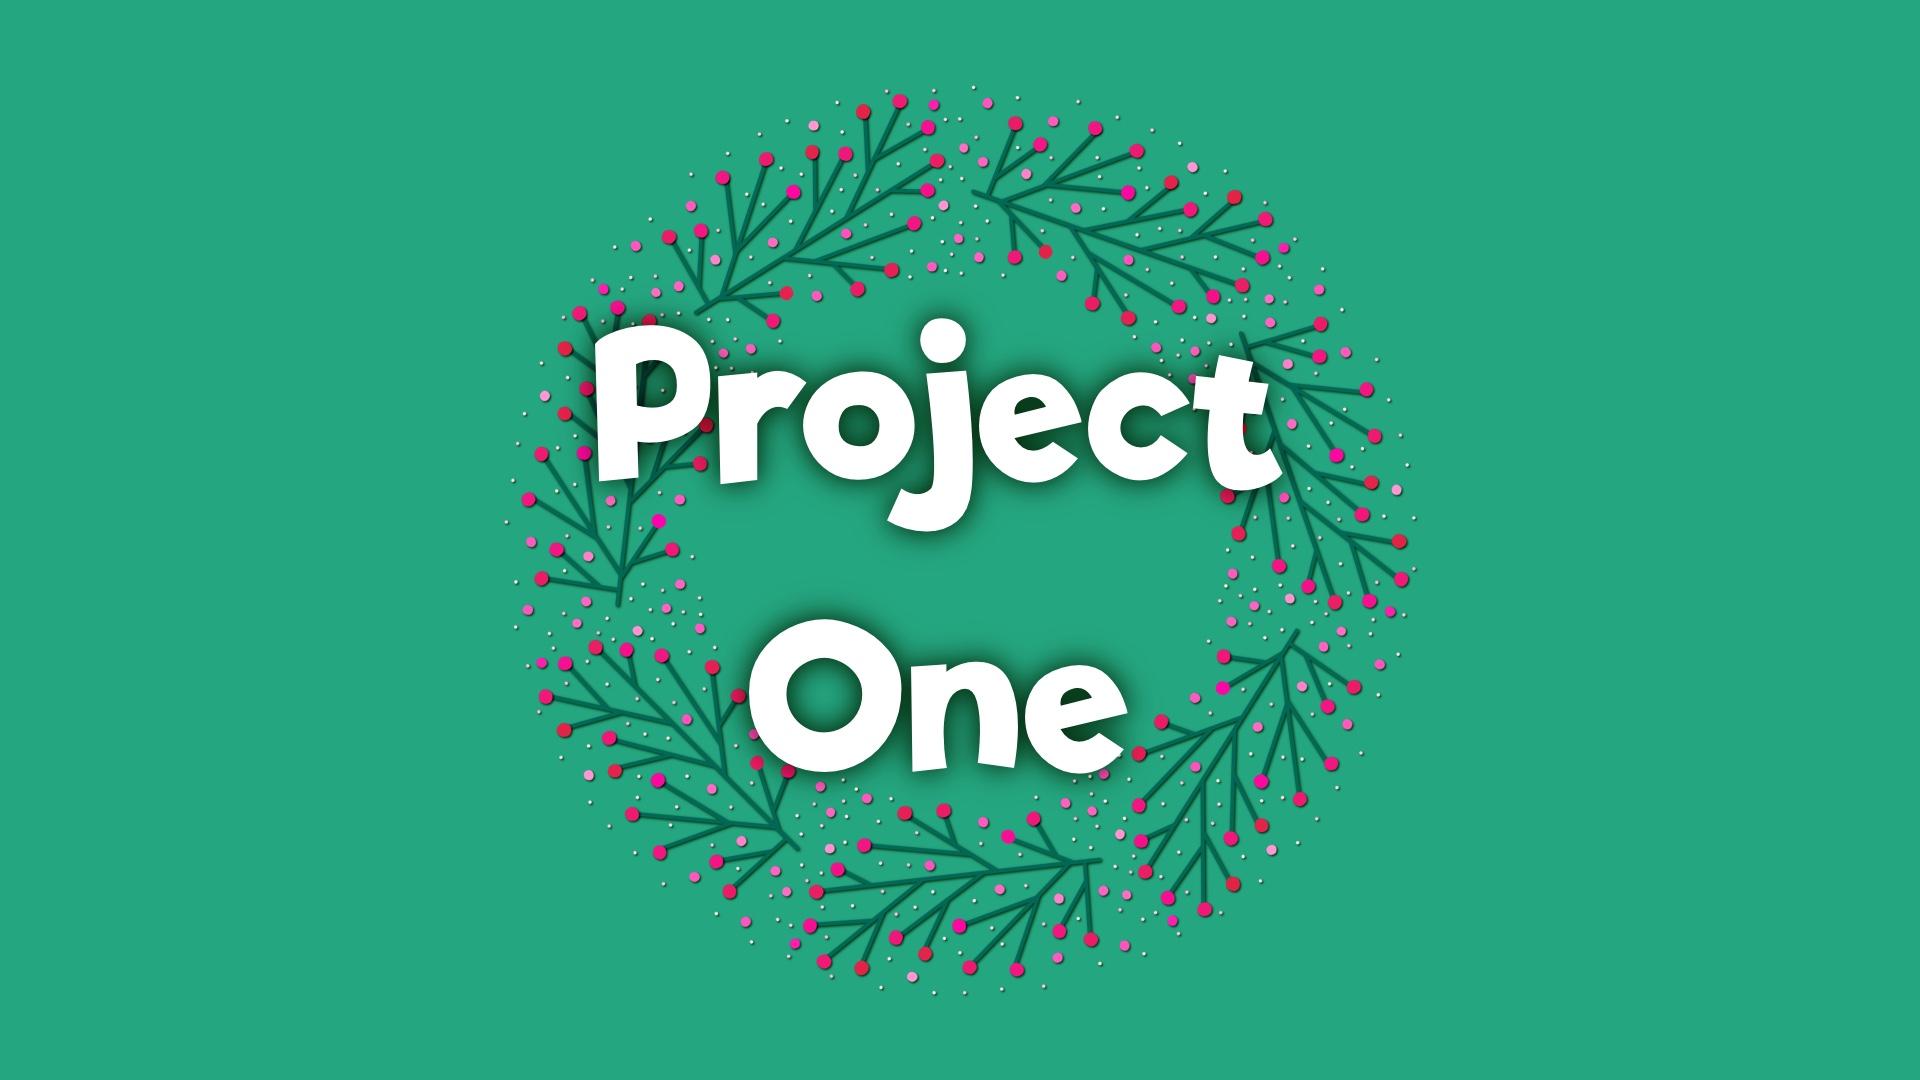
on creativity. Project one is a clean, minimal line art and dot
wreath using seven rotations. This will help you
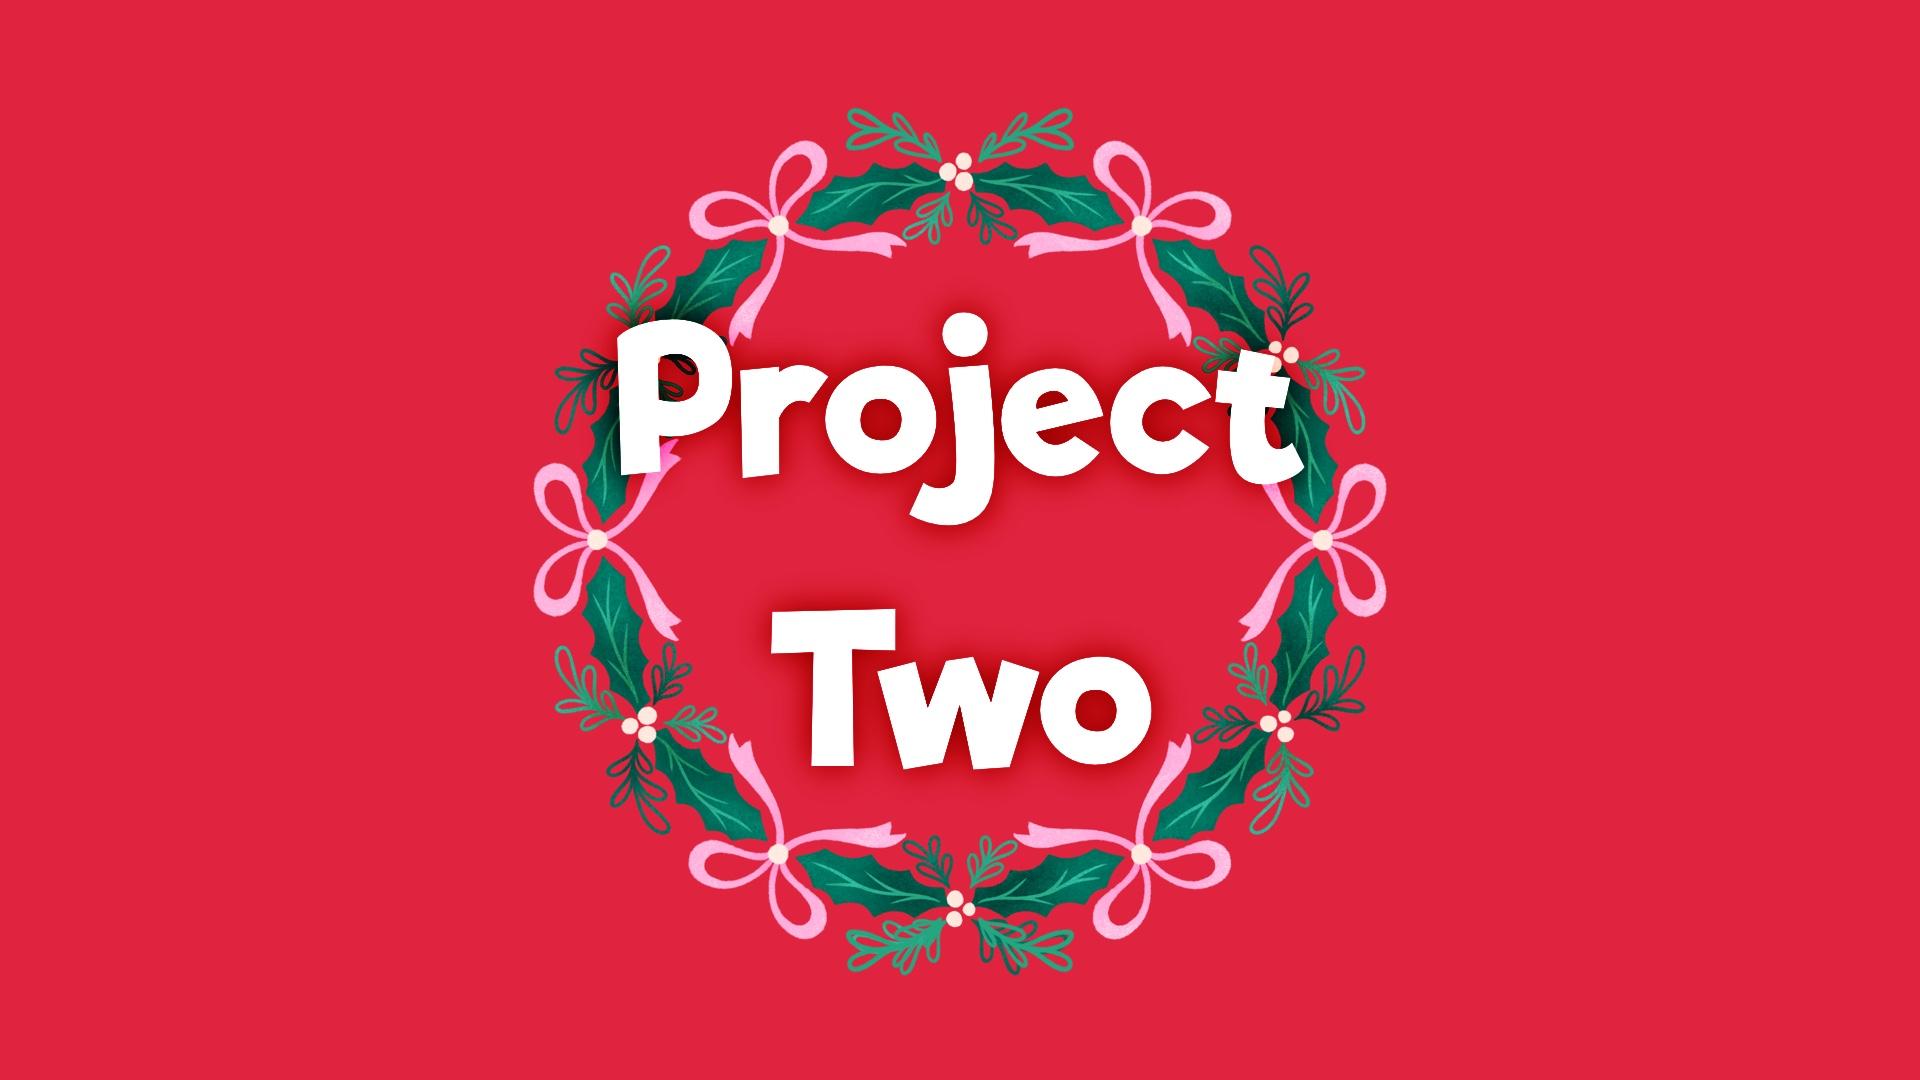
get comfortable with the setup and techniques. Project two is a symmetrical
floral wreath using six rotations with offset motifs and a little more detail for
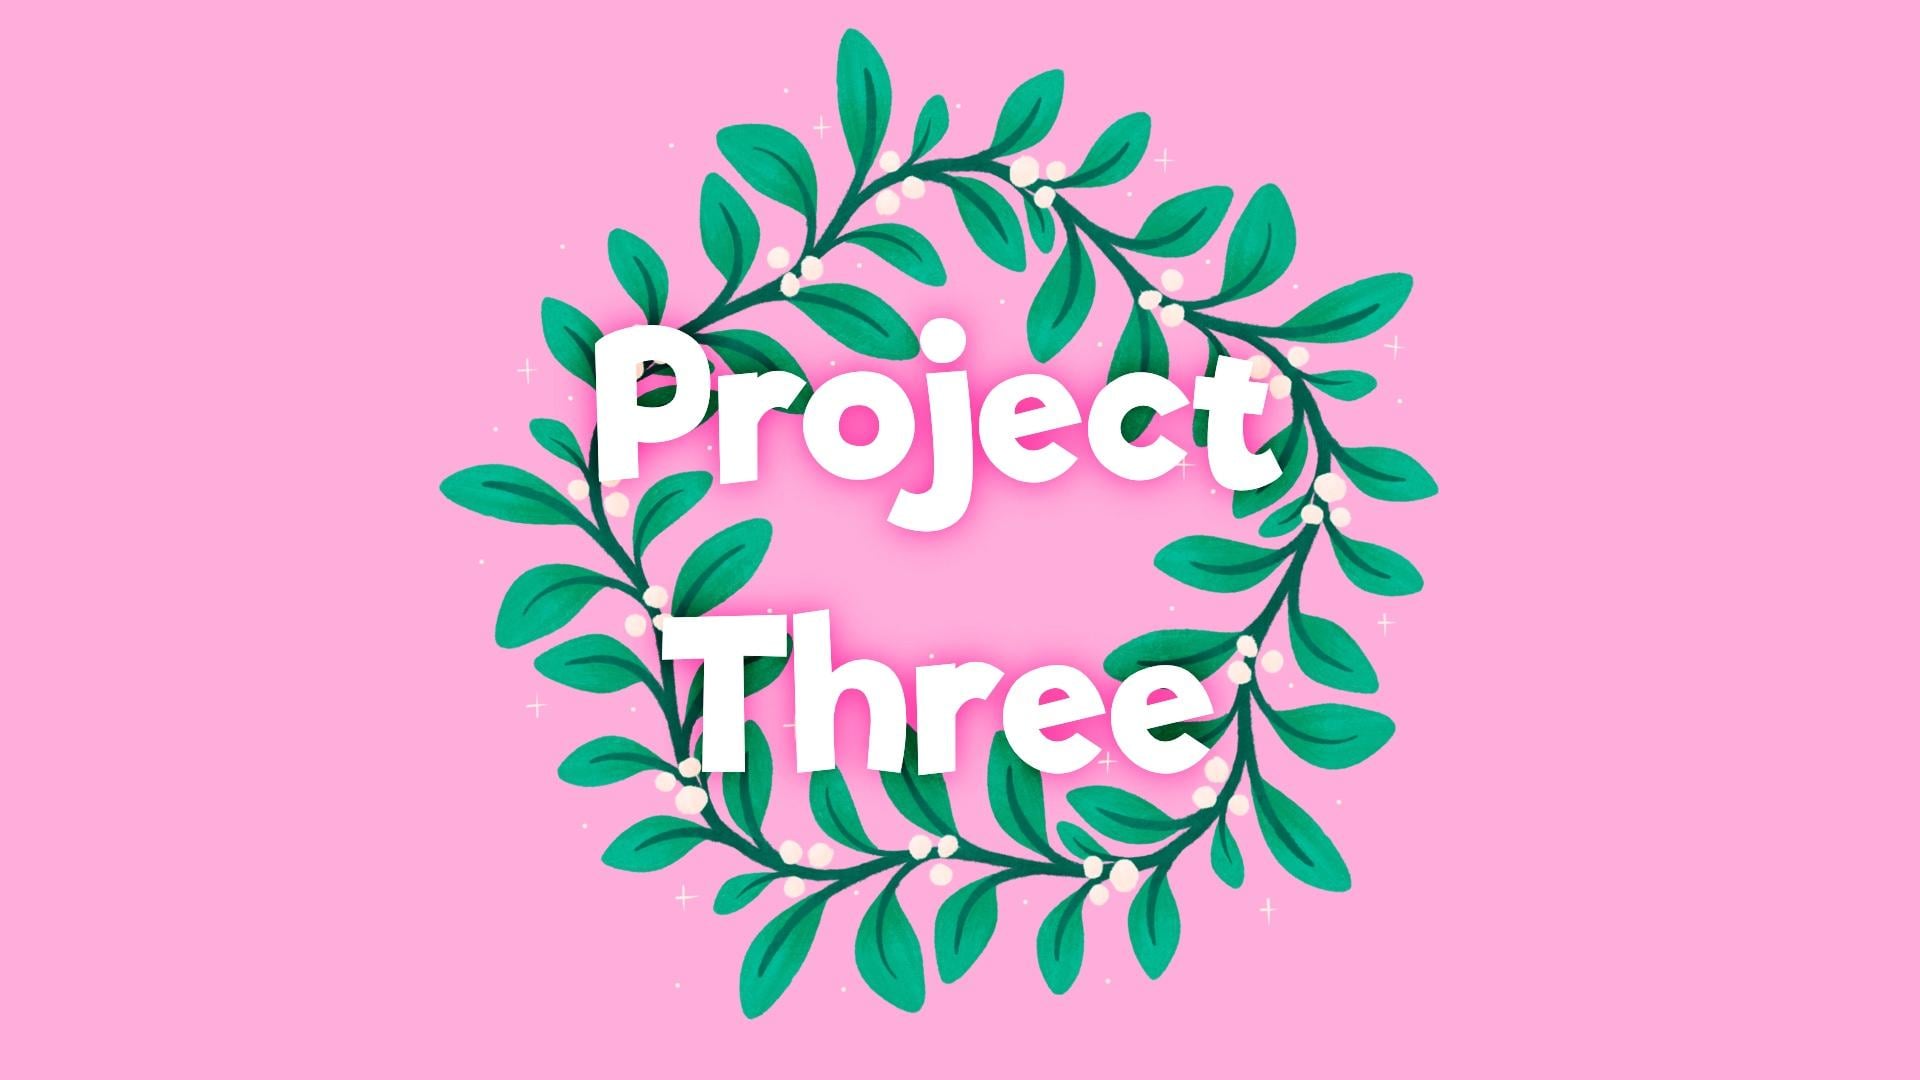
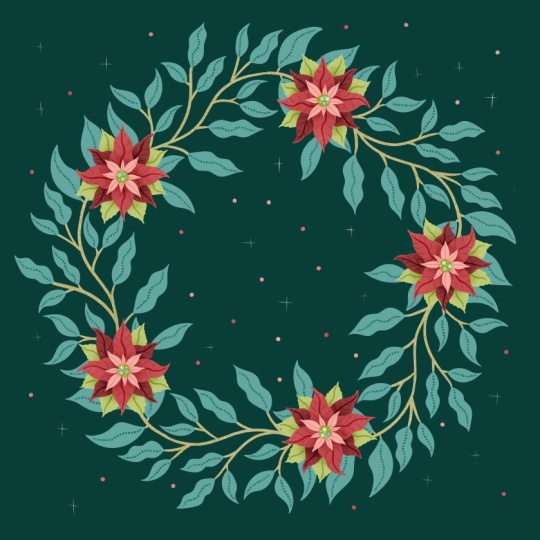
a playful polished look. Project three is a flowing trailing branch wreath
using five rotations. You overlap lines and combine repeated and free form motifs to create a more natural
hand drawn feel. As a fun bonus, I'll show you how to add twinkling
Christmas lights and turn one of
your wreaths into a flashing gift or short video, perfect for sharing on social media or in the Project Gallery. I'd absolutely love to
see what you create, so please share your wreaths
in the Project Gallery. You can post a single
design or three, or even your own seasonal twist, maybe spring flowers, autumn
leaves or pastel wreaths. I can't wait to see
your festive creations.
3. Project 1 | Key Concepts: Let's start with some basics. You can use any size of canvas you want for
these projects. I recommend that you
use a square just because of the wave that we're going to be rotating stuff. That's much easier
on a square canvas. I'm going to use the
canvas that is 12 " square or 3,600 pixels. So let's put that in here, 3600 for the width and height. DPI, I'm going to leave at 300 because then I do have the option of
printing them if I want. And if you do want to
print your artwork, then you should work at the
actual size you want to print out and ideally,
even a little bigger. So for example, if
you were designing something for a five by
seven greeting card, then your canvas
should be at the very least five by
seven at 300 DPI. The reason I say
ideally a little bigger is we're going to
be rotating things here, which will mean that
your rotated sections will get a tiny bit
fuzzy on the edges. So by going bigger, that's automatically going to
be less noticeable. I will show you some
workarounds for this, though, if you don't like the idea of any pixel manipulation
in Procreate. As we work through,
I'll be giving you a print ready pixel
perfect option, which will take a little longer, but it will give
perfect results. And then we'll also do
making art for fun option, which is speedier looks just as good as long as
you're not putting it under a magnifying glass and is perfect for sharing online
or just having some fun. So let's go ahead and
create this canvas. I'm going to change the
color profile to P three. Normally, I work in SRGB, but just because I want this to look nice and bright
and colorful on screen, I'm going to go with P three. So 3,600 pixels for
the width and height, DPI 300, and we can
create this now. When I'm drawing
wreaths, I find it helpful to make some
guides to work with him. So let's set those up first. I'm going to grab a brush here. I'm just using the Yaga brush, and this is from Procreate
the new Procreate library. You can use any brush
you like for this, and let's just grab color, and I'm just going to
draw a circle kind of about the size that
I want my wreath to be. So I'm just going to
draw around here. And then I'm going to hold, tap, and then lift up, and that is a perfect circle. What I want to do now is
center this on the canvas. So tap up here, come
down to snapping, and you want magnetics and snapping both on and
turned all the way up. And then we're going to
center this on the canvas. And you should see orange
lines crossing there, and that's to tell you
that it's in the middle. Now we're going to
duplicate this circle. So we've swipe left on
it and tap duplicate. Then tap transform. And we're going to make
this a little bit smaller. So we're kind of going for
a big doughnut shape or, like, I don't know, more of a polo mint
sort of shape. So something like that, or if you want to have, like, a big thicker, chunkier wreath, you can make it something
a bit more like that. But I think I'm going to go with that and center this
on the canvas like that. Then we can pinch
those two together, and then we're going
to fill in this area, like So that is going to be
the guide for our wreath. So as we're making it, we kind of stick within
this as the margin. I'll turn the opacity
down on this. It doesn't need to be
quite so in our face. So then this can
sit at the bottom, and we'll use this as our
margin while we're drawing. Now, I know you all
know how to use the symmetry tool
with rotation on to make wreaths where you have eight separate
perfect sections, and you just draw
your one branch, and it gets repeated
evenly around the circle. But if not, I'm going to show you that now
because it will give you a really quick feel for how we're going to
build these wreaths. So let's tap on actions up here. Go to Canvas and turn
the drawing guide on. Then we're going to
edit the drawing guide, and down here you'll
see symmetry. So tap on that, go to options, and let's make it
radial and turn on rotational symmetry and make sure you've got
assisted drawing on. Then you can tap on
the tick. Tap on that. And then if we add a layer and make this one
drawing assist as well, you can see down
there because we were on this layer when we
set drawing assist. That one is assisted drawing. We need to turn it on for any following layers that we
add. So turn it on there. And then when we start
drawing in this, it's going to rotate
it and be repeated. Actually, maybe if
I draw down here, you can see a bit better. It's going to rotate
it around the canvas, so you can draw a
wreath like this. And it gets rotated
perfectly around the canvas, and you can very quickly
sketch out a simple wreath. One thing to point out is that
this updates in real time. So as I start drawing here, by the time I get
to this section, I can see where this one starts, so I have the option of
lining this one up with it. I'm not kind of drawing blind. As I start to get here, I've got this one
in place already, and this is a thing to remember for later because
we're going to have to kind of mimic a way of
being able to do this. So here we've got
this little branch rotated eight times
evenly around the canvas. And it all fits together
nicely to make a wreath. And that's what we're
going to be doing with all of the
wreaths in our class, except I'm going to
show you how to go beyond the options that the
symmetry tool will give you. You'll see here
we've got radial, if I put the drawing
guide back on again. We've got radio, which will
give us eight sections, and we've got quadrant that
will give us four sections. So those are the only
options you have for making wreaths like
this in Procreate. You've got either four
or eight sections. And I'm going to
show you how to go beyond the options that the
symmetry tool will give you. And why exactly might you ask? Well, first up, it's super satisfying to learn a workaround for doing something differently, but the real reason is that it's a well known rule
that in design, objects look better,
more dynamic and interesting when they're
grouped in odd numbers, whereas even groupings can look a little
static and uniform. And that applies to these
wreath illustrations, too. I find that using four
or eight sections in a wreath just makes it look a little bit too uniform when everything is repeated
at 90 degrees. So you've got kind of the
same thing there and there. So I like to mix
it up using five, six or seven repeats. I know six is an even number, but we still lose that
kind of 90 degree repeat. In the next lesson, we'll draw a proper version of
this wreath using seven sections instead of eight for a more dynamic and
interesting design.
4. Project 1 | 7 Section Simple Wreath | Setup: So we'll carry on with
what we've started here. And the first thing we
want to do is to turn off the drawing guide and get
rid of these eight sections. So we'll turn that off, and I've already turned off drawing
assist on that layer. So we'll start by
adding a new layer here and zoom out a bit. And what I want to do is draw a rough line from kind of just off the edge to somewhere
near the middle, like that. I'm going to hold, so it
snaps to a straight line, then tap, so it snaps
to a vertical line. And now I've got this line that is going perfectly
straight up the canvas. I'm going to tap
transform on this. And what I want to do is
center it on the canvas now. So let's zoom in and
find the middle. So I found the
middle line there. We've got orange line, that's
the middle of the canvas. So now I can bring
this along here and let me invert the
color on this so you can see a bit more
contrast with the orange. That's what you want to
go for. The orange line going down whoops through the
middle of this line there, and then it's kind of sat
on the center line there. Can be a little bit fiddly. If I turn this layer off, you might find that it snaps
a bit easier. There we go. So that is what you want to be looking for orange
line going down through the middle and then sat on this horizontal
line there. So we've got this line like a clock hand going from the
middle straight up to 12. What we want to do now is rotate this one seventh of the
way around the canvas. Procreate rotates things around the middle
of the selection. So if I tap on this layer
here and rotate it, it's going to rotate it around the middle of this selection. What I want to do is rotate
it around here, though. This is called changing
the anchor point. And this isn't a feature
that procreator has, but it is very easy to
set up a workaround. All we need to do is fill an
entire new layer with color. So if we add a layer, tap and fill it with color, I'll bring it underneath so that you can
see both of them. And then I just zoom out a bit. If we swipe on this
one and that one, so I've got them both selected
and then tap transform, you can then rotate this around the middle like that,
which is kind of handy. You don't have to have
this layer turned on. You can turn it off.
Just rotate this again. You can still grab
all of that layer, even with the thing turned off. And you'll notice it's going
to get cut off at the edges, but it will always be even as long as you're only rotating it and not moving it in the other direction,
which we won't be. You'll eventually end up with almost circle the more times you rotate this and
it gets cut off. So you can just keep
using this one layer. You can leave it
turned off and at the bottom of your
document here, and just grab this one
plus whatever you're rotating and you don't have to keep filling
it every time. I'm going to undo this
now to get that back. Horizontally at the
top, where we started. And let's do our first
proper rotation now. So we're going to
duplicate this line, swipe to grab this layer, tap transform, and then
tap the green node. So in this box,
we get to tell it exactly how much we
want to rotate it by. So there's 360
degrees in a circle, and we want seven sections. 360/7 is well, it's not
a nice even number, but rounding it to
51.4 is close enough. So let's do 51.4. Then we can tap off that. And then that is one of
our seven rotations. That's kind of the area
that we have to work in. So now you can pinch
these together, and then you can group those
together and just leave that at the bottom
of your wreath as you're working, and
that's your guide. So let's add a layer here, and now we can
sketch out a branch. I'm going to go for simple
straight lines for this, and I'm going to keep
everything within this section. I might just invert
the color on that so that I can seems see the difference between the green color that I'm using. So I'm just going to sketch
out a rough design for this, and I'm going to use
simple straight lines because I want to keep
this one nice and simple. I'll probably just put
a few berries on here. So it can just be something really simple like
that to start with. And once you have
it sketched out, you can then add a layer above, reduce the opacity on this, and I'm going to trace
over it on a new layer, and I'm going to use separate
layers for each color. So I'm going to do
the stems first, and these can be on
their own layer. And because I want to
use straight lines, I'm just holding to get this to snap to a straight
line every time. As you work on your designs, if you're a complete beginner, you can copy what I do exactly, as copying is a great stress free way to
learn new techniques. But if you're already
at home in Procreate, you can do any sort
of design you like here and make it as
detailed as you like. If you're doing this at a
different time of year, then you definitely don't have to draw Christmas
wreaths, either. Then I'm going to add
a layer above this. And to do the dots,
what I've done is I've duplicated this Yaga
brush. I tap on this one. On the stroke path, I've brought the spacing all the way up to the top so that we can do
stamps and dots like that. And the reason I like
this one is because the shape is slightly wonky, it's not a perfect circle. The other thing I've done
is on the color dynamics, under stamp color jitter, I've turned the secondary
color all the way up. And what that will do
if I go to colors, it will give us a mix of something between
these two colors here. So you can tap on this
one, and you can change that one and then tap on
this one and change it. And if I were on
the right layer, you can see if I tap
on these and add dots, it's giving like a mix of something that will fall
in between this and this. So it's a nice way of adding
a bit of color variation. So I'm just going to put some berries on the
end of all of these. Then I'm going to change
the color again to pink and then this
lighter pink and do some slightly smaller dots just to fill those
spaces in there. Then I'm going to make
it smaller again. I'm going to change
it to pink and this cream color and do some much smaller dots
in there as well. I can't see all of these
because some of them are the same color as this guide
that I've got in place. Maybe if I invert the
color on this and turn it down because you can see there I've done too
many in the same place, so let's just erase those.
5. Project 1 | 7 Section Simple Wreath | Rotation: Now I've got this
finished section of illustration for my wreath. What I can do is group these two together and we can
hide this guide now. Let's set the background color. Wreath is going to be made of seven repeats of this evenly
spaced around the canvas. And this is where we have
two options depending on the level of pixel
perfect accuracy you want. I'm going to show you the
drawing for fun option first, and then afterwards,
I'll show you how you would do this if you want
everything pixel perfect. So first of all, we're going
to duplicate our group. Don't flatten it
because we're going to do some stuff with the
different layers later. So we've got this
group selected, and we want to swipe
right on this one here. Tap transform, tap on the green
node like we did earlier, and it's 51.4 degrees is the first rotation
that we're going to. So we can tap off that. And
then you can see this has now been rotated around just like the rotational symmetry
was doing earlier, except this time, we can choose exactly how many
degrees we move it by. If I zoom in here, you can see what I mean
about this having, like, a tiny bit of pixelation. I mean, it's not
much difference. There's not a whole
bunch of difference between how sharp that
looks compared to that. But there is that slight
bit of difference there. Brush I'm using is not
hugely noticeable, but it might look a bit fuzzier if you've used a texture brush. Most of the time, you
won't notice it unless you zoom right in,
like I did just there. And it's certainly not a problem if you're making art for fun, or if you're just making
images for sharing on socials or digital
cards or text messages. If you want pixel
perfect print ready art, though, there is another option for you, two options, actually. You could do the rotating in different software like
Affinity or Photoshop, which are much better
at image interpolation, and you don't get
this softening there. Or you can use this rotation
method we're using here to put this in place to
rotate your sketch, which isn't showing cars. It's in the same color
as the background. Let's make this multiply. So what you could
do is rotate this seven times around
the canvas and then just trace over the
whole of it in one go so that each motif
is drawn in place. So you duplicate your sketch. Grab the rotation layer, at the same time, tap transform. Rotate this 51.4. And then you could
grab this one again. Rotate it another 51.4. And you could keep doing that all the way
around the canvas, so then you've got a nicely, evenly spaced out
sketch to work on, and then you can trace over
all of this bit by bit, remembering to use
separate layers for the leaves and dots. It takes a little
longer, but it's the best method if you need
pixel perfect artwork. The nice thing
about doing it this way is that if you want to, you can get a bit of unique
variation into each section. I'm going to carry on
rotating this one around, though, and go with the making
art for fun option today. And all of the images I used for this class will also be
made with this method too, so you'll be able to see that it really does look good
enough to share. So let's duplicate
this bottom one again. It is really important
that we always duplicate this original
one that we drew, because if you
duplicate and then rotate one that you've
already rotated, so this one, that softness and pixelation will
start to show a lot. It's like photocopying
a photocopy. So always work off your original
one at the bottom here. To make things a
bit easier for you, I've made this layer here, which has got all
the measurements worked out for the
different sections. If I put this change the blend mode to normal
as we're working on this. You can see I've put
the measurements in the number of degrees
you need to move it to fit into each
of these sections. So if we grab this one here, so this is the one
we've just duplicated. We can open this, grab our rotation
layer, tap transform, tap on the green node, and to make it appear down here, we need to rotate
it by this much. So one oh 2.9 whoops, one oh 2.9 degrees. You got to be quick. All of these are kind of rounded to
the nearest whole number. They don't add up perfectly
because like I said, dividing 360 min seven gives
you a horrible long number, but I've just rounded them
to the nearest sorry, not the nearest hole number,
the nearest decimal place. And when I made another Skillshare class that used rotation with
decimal places, I did have some people in the
comments in the discussions saying they didn't have
a decimal point on the rotation box here. So if for some reason you don't have decimal point on
your rotation box, just raun this up or down to the nearest hole
number so that you could make that 501-10-3154, and it's going to
look close enough. Those point whatever it is of a degree isn't going
to be the end of the world. So that's that one in place, and we can now go back to
working off this one again, the bottom one, duplicate, grab your rotation layer, tap transform, and we'll
go for down here now. So that's 154.3. There we go. And then when you get to there, we can start working
back the other way and just using
minus numbers instead. So duplicate this bottom one. Grab your rotation
layer, tap transform, tap on the green
node, and it's 51.4, but we want minus, so
you tap that there. And that will bring that
round to there for us. Go back to your bottom
one again. Tap transform. Whoops. I did not have that
grabbed at the same time. Tap transform 102.9, but minus
duplicate one last time. Grab the rotation
layer, transform, green node, and
it's 154.3 minus. There we go. Then
we can hide this. And that's our cute little
wreath built out there. So once you're at this stage, and that's whether you have
it rotated in groups like me, or if you have all of your stems on one layer
where you've drawn each one and then have all of
the dots on another layer, we are ready to then move on and add a drop shadow
as a final detail. What I'm going to do is merge all of these onto one layer. So this one here, which is the original
one that I drew, go to duplicate that and just
hide a backup copy of that, and I'll put that along with those guides in my group
at the bottom there. Then I can open up
all of these groups, and I'm going to swipe right
on all of the berries, first of all, the dots. And drag all of those
up to the top there. Then I'm going to pinch those
all down onto one layer, and then we can do the same with all of these branches there. Now we've got all
our branches on one layer and all our
berries on the other. What we're going to do is
duplicate each of these layers. So we've got two of each, and then the ones at the bottom, I'm going to alpha lock them, so swipe right with two fingers. And I'm going to fill
them with a 50% gray, and you can get that by
double tapping there. And we're going
to fill this one. So that one's gray underneath
and then fill this one. Then we're going to take alpha lock off both of those
because what we're gonna do, we're going to soften
those with the blur. So if I hide the colored layers, and see that's what we've got. I'll zoom in on this so you can see what's
happening as we do it. Come up here to your
adjustments so this magic wand, and we're going to go for
a bit of gaussian blur. And you'll see up there,
it tells you how much, and we're just going to swipe or drag to the right slightly. And you only need to go
for something about 3%. You can see if I zoom in there, you can see that's
blurred it a little bit. So we can tap off
that up there and then go to the one
that's on the berries, go to Gasienblu again, and again, just put 3% on there. And then what we're
going to do is change the blend mode on these, so it looks a bit
more like a shadow. So tap on this N, which stands for
normal blend mode, and we're going to change
it to linear burn. You'll see that looks
like a proper shadow now. G to do the same on this one. To make it more
like a drop shadow, it's going to look
more realistic if it's slightly sort of
shifted to the side. So we're going to tap on one of these, swipe
bright on the other. So it's the two gray layers I've got selected. Tap transform. And if we zoom in down here, what you need to do is just
tap down here a few times, and that's just going to nudge this selection down slightly. So we'll try one,
two, three, four. It's probably about enough. So you can see that
looks more like a drop shadow with the
distance on it now. And this drop shadow is
a thing you would always do after getting your
motifs in place. Because if you added
the drop shadow in one of these groups here, like if you added it on there, every time you rotated it, the shadow angle would be different in each one,
which would look a bit weird. But by doing it all in one go with everything
all on one layer, you get all of the
shadows going this way. Whereas, like, if
we'd rotated it, the shadow angle would be
different on all of them. That is wreath
number one complete, and you have learned the
basics of how to create your own wreath with evenly spaced sections in any
multiple that you choose. The next lesson, we'll make a six section wreath
and learn how to use and adjust the
symmetry tool to add interest and variation
to our designs.
6. Project 2 | 6 Section Symmetry Wreath | Setup: So I'm in the same
canvas before, and I've got the rotation
guide and the kind of doughnut guide area pasted
into this one as well. Let's set up some
guidelines because we're working with six
sections and an even number, when we draw our
guidelines for this one, we can just draw straight from top to bottom of the canvas. So let's do that now. Grab black and draw a line going straight from top to bottom of the canvas
like that, snap it. So it's a straight line and
then tap, so it's vertical. Then we're going to
tap to transform, and you want to center
this on the canvas like that so that you can see those orange
lines crossing there. When we rotate this
because it's already touching the edges of the
canvas here and centered, we don't need to grab
this at the same time. So we're going to
duplicate this, tap transform, tap
on the green node. And with this one, we
want six sections. So 360/6 is 60 degrees. So there we go. That's rotated
around 60 degrees now, and it's done it
around the middle because this was already
going off the edges. And if you just wanted
to do something similar to the last
wreath we made, but with six sections
instead of seven, you could leave it
there and start illustrating in this part. But I want to do something a little bit extra with this one, which is going to require us knowing where the
halfway point is there. So what I'm going to
do is duplicate this bottom straight one
again, the vertical one. Tap transform and I'm going
to rotate this 130 degrees, so it's going to go
halfway between the two, and if I invert the color on that, so we can
see what's what. I can pinch those three together and just reduce the
opacity on that, and I'm going to pop that in the group with the guides there. Then we can add a layer above, and we can start doing
our sketch in this layer. I'm going to turn the
drawing guide on. So go to actions, Canvas, turn the drawing guide on,
edit the drawing guide, and you want to have symmetry, and you want quadrant symmetry
and assisted drawing on, but not rotational
symmetry for this one. Tap done on that. And right on the
right layer here. So what I want to draw is
a sprig of leaves here. I'm going to draw some
holly leaves there, and then some other bits and
pieces coming out of there. And you'll see also repeated
at the bottom there. And I can use the symmetry
tool for that. No problem. But what I also want to
do is draw something here at the halfway point and have
that be symmetrical, too. I want to draw a bow there. Bows are nice
symmetrical designs. And I know I can draw it here, and it will be symmetrical in terms of it's
repeated over there, but I want it to be symmetrical
either side of the bow. So what I'm going to do is
use adjust the symmetry tool, and once I have this in
place, draw that in there. So let's work on drawing
this holly leaf in first. And holly leaves can sometimes
be a bit tricky to draw if you don't quite know where you're going
to start and finish. So when I'm drawing
holly leaves, what I like to do is draw
a leaf shape in first. And then I know where
I'm kind of working within and then match the
holly leaf to that shape. Just a bit of an easy
way of drawing them. Then I'm going to just put
some spriggy things up there. And then I want to
draw the bow in here. So what I can do is
adjust the symmetry. If I tap on actions,
edit drawing guide. If I grab this green node, I can move it to anywhere
around the canvas. So I'm just going to plop it
roughly in the middle there, zoom in, and then
just kind of put it as close as you can to what looks like the
middle of that line. It's not going to matter if
it's a couple of degrees off, everything will still be even. So once you have it
roughly in the middle of that line, tap done, and then we can
draw a bow in here, and that's going to be placed
symmetrically here as well. If you were drawing other
things, this could be a flower, a heart or anything else that you wanted to
be symmetrical. And then we could adjust the holly leaf shape to fit a
little bit better, as well. There we go. Don't worry about the fact that
that's over there. We can work off this
while we're drawing. So that's all the planning
we need to do for this, and we can do our drawing now. A
7. Project 2 | 6 Section Symmetry Wreath | Illustration: You need to start with
the bow because if you reset the symmetry
and put it back here, you wouldn't be
able to get it in exactly the right
place for this. So let's draw the bow first while we have the
symmetry over here. So I'm going to add a layer. Let's turn down the
opacity on this. Anytime you add a new layer, just remember to put
drawing assist on. And if you want to be
able to add shading, then I recommend drawing each color on a
separate layer as well. When I'm illustrating,
I like to keep things interesting and combine symmetry
with a bit of asymmetry. The symmetry tool is great, but for some things, it's
better to turn it off. And shading and
texture is one of the things that I
prefer to do freehand. It just kind of looks weird if your texture is, like,
100% symmetrical. So I'm going to add some shading
and texture to this now, and I'm going to do it
with drawing assist off. You can add your texture,
however you prefer if you've got a go to way of
doing it that works for you, but I'm going to show
you how I do mine. So I'm going to
add a layer above this and make it
a clipping mask. Then I'm going to
grab a texture brush. There's loads in the new
Procreate library that would work well for this like some of the charcoal brushes,
for example. I'm going to use a 50% gray, so get that by
double tapping here. And I'm going to change
the blend mode on this, tap the N. That stands
for normal blend mode, and I'm going to change the
blend mode to color burn. And just use that to add some texture over
the top of here. If I show you what I mean
about the symmetry thing, let's just clear this layer
and turn assisted drawing on. It just kind of looks a bit too uniform if everything is
exactly the same there. Like the pattern
repeated either side, and it looks a lot more natural if you do it without
drawing a system. So it's a nice way to, like, mix things up and combine some symmetrical things with a bit of unexpected asymmetry. So let's clear this layer and just add a little
bit of texture on there. I'm going to reduce
the opacity on this to about 40 to 50%. Then you get a nice Sato effect. And the reason I like
using this method is that we need to do is
use this gray color, and you can change
the color underneath. Just invert this
to something else, and you can see the
color will always match whatever you
have underneath. If you want to add
some lighter texture, you can do that by adding
another layer above this one. It's automatically
going to get clipped and you can use color
dodge for this and again, reduce the opacity
to 40 something, and then you can add a bit of
lighter texture with that. If you've turned drawing
a cyst off to do this, don't forget that you need to go and do it on
this one, as well. Then I'll just do the same to add a bit of texture
over that dot there. So add a layer there, make it clipping mask, color burn, 40 something, add a bit of texture on there. The lighter the color you use, kind of the less of an
obvious difference is. Make this one color dodge. There we go. So that all has that nice kind of
soft fuzzy texture, and we need to remember to
do it on this one, as well. There we go. Once
your bow is in place, you can then reset the symmetry and draw these motifs up there. So tap on your canvas actions,
edit the drawing guide, and tap on this.in
the middle and reset, and that's going to snap it
back up to the top there. Then we can add a layer
and do our holly leaves. Don't forget to put drawing assist back on for this, though. I think I'm gonna switch to using a darker
green for this. Then I'll add another layer, tone drawing a
cyst for this one, and I'll draw these
sprigs in here. I'm going to draw the
leaf veins on this layer, but I'm going to mix things
up and do these freehand. So I'm gonna turn
drawing assist off for this and just draw these in their free hand so that each one can
be slightly different. And you'll need to
remember to go to the ones at the bottom
and do those as well. And although we made
these symmetrical, the color on these
doesn't have to be. So what we can do is
Alpha lock this layer and then just recolor these so we can have the opposite
ones be different color. So I'm going to make these
opposite ones the darker green and then do the same
at the bottom, as well. That's another way you can
combine the symmetry and asymmetry to mix it up and
keep it visually interesting. And then one last layer on top, and I'm going to do this
one completely freehand, and that's the berries. And we've got that nice little non
symmetrical detail in there. And then I'm going to go and put a bit of texture
on these things. So let's go back down to
the leaves at the bottom. So we'll make a clipping mask, color burn 40 and grab our 50% gray and something with a
bit of texture in it. Just add a bit of that to
the center of the leaves, not forgetting these
ones down there. Add a layer underneath, make this one color dodge 40. And then we can do the same over this layer with these on them. And I need to go
and put the berries in down on this
bottom layer as well. So now this is ready
to be rotated. Because we've got quite
a lot of layers here, what I'm going to do is
work with a flattened copy of this so things don't
get too out of hand. If you want to go the
pixel perfect route, then you would need to rotate your sketch around the
canvas the way I'm about to show you tracing over it each
time in the new positions. If you're in art for
fun mode like me, then you can copy exactly
what I'm doing here. So I'm going to group all of these illustration
layers together. By swiping right on all of them, not the sketch layer, and then we can group
those together. Let's move the sketch out of the way down there
and we can hide this. Can also turn the
drawing guide off now. So this here, we're going to
duplicate and flatten it. If you don't have
enough spare layers, you can hide the
background color, swipe down with three fingers, copy all, put your
background back on. You can hide that flatten group because we'll keep
that as a backup. Swipe down with three
fingers and paste. Let's find our rotation guide. So let's duplicate this because we'll use that
for the first one, grab our rotation guide
at the same time, tap transform, and
if you remember, it was 60 degrees. Is the rotation on this one? That's our first
one in place there. We then just need to
duplicate this one more time. Swipe on this one, as well. Tap transform and
rotate this 160, but you can go -60 for this
one. And there you go. That's how quick it is to
build that wreath out. And if we compare the image
quality on these two, you can see there's
not a whole bunch of difference between the
softness of that and that. So, you know, even though
we're rotating it, you still get a pretty
good crisp effect there, which is perfect for sharing online or if you want to send it in an e card or
something like that. I really love the cute bows and vibrant colors in this one. So now you know how to use the symmetry tool, how
to make it work for you, and how to mix up
multiple lines of symmetry when you're
designing your own wreaths. In the next lesson, we're
going to be working with five sections and a
seamless trailing design. I
8. Project 3 | 5 Section Trailing Wreath | Setup: Okay, so let's make one
more layer template, this one with five sections. And back in a 3,600
pixel Canvas, and I've pasted in the
margin guide here. I've got my rotation layer, and I've also
pasted in this one, which you can get in
the resource section as a reference image for how many degrees you
need to rotate each one. So let's add our
first guideline in. We've already got these in here, but I want to show
you how to make it. I'm going to add a layer. And we can draw a line going, What brush do I have here? Use this one going from
around halfway to the top. Hold it so it snaps to a line, tap, so you've got
vertical there. Then we're going to center this the same as
we've been doing. So tap transform might be easier if we hide
everything else. Put snapping and
magnetics back on and snap this to the
middle of the canvas there and also horizontally. Then you can duplicate this, grab your rotation layer, tap transform, tap on the node, and we're going to
rotate this 72 degrees. 360/5 is 72. So each one of these
sections is 72 degrees. Pinch those together,
reduce the opacity on that and put that down
in your reference group. So here's how this trailing
wreath is going to work. Each line is going to start
and finish at the same point, so we have this kind of trailing line that
goes like that, and then we can have, you know, some branches like
that coming off it. And that's pretty
easy to draw like this using drawing assist and rotational symmetry when you're using four or eight sections. I want to use five, though, which means we have
to do a little bit of extra triangle error
to get it to line up. Going to be working
out the layout first with a sketch
to make sure things line up and then drawing the finished piece once we
have the layout sorted. Very similar to the way I
make patterns in Procreate. So let's turn off
this drawing guide, clear this layer and
take off drawing assist. And we can put our
guide back on for this. Before you draw your
first branch in, what you want to kind
of do is visualize hitting this line at the
same place you went in. If you want to put a marker in to help you, that's
the thing you can do. So let's kind of put a
marker halfway there, and a marker halfway
there just to help us kind of know where we're aiming for when we get up there. So we want to kind of do
something a bit like that. It doesn't matter if
it's not perfectly lined up because we're going to go and fix that in a second. I also want to put some
branches coming off this, so we'll kind of
do one going down there and one going
just up there. So now I've got a
first rough sketching. Let's duplicate this and move it to either side so we
can see how it's lining up. So duplicate, grab this here. I'm going to bring this
guide up so you know how much to rotate it each
way. Tap transform. Find our green node, and let's rotate it 72 degrees. As you can see, it doesn't
line up at the moment, but that's fine because I
want to show you how to make it line up when
yours doesn't anyway. So let's invert the
color on this one. So this is the duplicated one and the black one is
the one we want to fix. So we can erase some of that
and then go back over this, redrawing it to match
up a bit better. So now, when we
duplicate this again, and then we grab
this, tap transform, and let's rotate it
the other way now. So 72 but minus. You can see now we've got
this lining up a lot better. So we've got this
nice solid line that we can trace
over in our sketch. Let's invert this rotated one.
Go back down to this one. If you ever made trailing
floral patterns with me, this trial and fix it process should feel
a little familiar. So now we've got a
fixed layout for the stems we can
draw some leaves in. We'll start at this end
and go as far as we can go and then move this over
and see how it's lining up. So we'll kind of start over
here and draw some leaves in. With this one, I'm
not worrying too much about going outside
the lines a little bit. So I think we'll go
as far as there, and then we need to know where these ones are going
to be up there. So let's duplicate this layer, grab our rotation guide, tap transform, and we're going
to bring it -72 degrees. So that's going to
put it up there. Let's invert the colors on this so that we can keep
track of what's what. And then we can go back down to our black layer and just put
these final leaves in there. Okay, so that's how we're gonna make sure this
lines up smoothly, and the last thing we could do is just put a few
berries on this. And when we come
to draw these in, we're gonna have to make
sure that this stem in this section ends up being tucked in
underneath those berries. But we'll come to that later. I
9. Project 3 | 5 Section Trailing Wreath | Illustration: So that's the sketch as done as it needs to be
for this wreath, and now we can start drawing. If you want to do this the pixel perfect way and draw
the whole thing, then you would need to duplicate this wreath section
into each of these, rotating it by this amount
of degrees each time, so you have a full circle and then you can trace over
the whole thing in one go. You'll have the
benefit of a nice, evenly spaced out layout, plus the opportunity to work in a bit of variation
if you want to. If you want to go the quicker making art for fun direction, then you can follow along
with what I'm doing here. So let's group those,
move them out the way, reduce the opacity on that. I can just pinch
those onto one layer. And let's add a new layer. So I'm going to start here
to draw my first stem, and I'm going to carry it
on into this section here. A nice amount of, like, extra weight into this section, so there's plenty of overlap
with this white one. Try and stick as closely
to the line as possible, and that will make it
much easier to line up. Once you have that, we're
going to duplicate this down here so we can redraw this
to merge it in properly. Duplicate this layer here, grab your rotation guide, tap transform, find
your green node, and rotate this 72 degrees. That's going to
take it down there. Let's go back down
to this one here. And what we can do is
just draw that in there, so it merges in
nicely with that one. If you had it where it was already overlapping and
it wasn't quite lined up, what you would do
is erase the end of this line and then redraw it
to merge in with that one. You can use any brush
you like for doing this. But if you're feeling a little wobbly and it's hard to
get them to line up, here's a couple
of things you can do to make it
easier on yourself. First up, you can try
turning the streamlining or the stabilization
up much more to get a lot more of a
smooth stroke like that. If you're only just turning it up at this point to draw this, then I would go back
and redraw the whole of this stem with the
streamlining on so that you don't have a wobbly first half and then a streamlined
second half of your line. Other thing you can do is use a brush with a bit of
texture in it like this one. It's very hard to get a
smooth line to match up, but this stroke already has a bit of jitter in it,
so it's more forgiving. And if you want good brushes
to use for this one, the ones I recommend
using are the inking set, the ink bleed or the dry ink brushes are good for this kind of textured line. So once you've got your stems flowing nicely into
each other like that, you can then duplicate this one over there so we know how it's going to line
up on that part. So this one here,
duplicate tap transform. Make sure you've got this at the same time and
then tap transform. And it's -72 degrees we're going to use to put
it into this section there. You can see that lines
up nicely as well. Let's invert the color on these so that we're
not getting confused. Make sure we're
working on this one. And then you can
just work through tracing over your sketch, making sure that you're
drawing on the black ones and not repeating kind of ones that you've drawn
in the same place. So that's much easier to do if you've inverted the colors
as we've been going along. So work your way through and just trace over
all of these motifs. I'm going to keep all of
my stems on one layer, and then the leaves
on a separate layer, and then the berries on a
separate layer as well. So I'm just going to
whiz through that now. I'm going to use
the color burn and color dodge technique to add some gradients
to the leaves, but I'll leave the shading
on the berries and the stems and do that in
one whole layer later, as that's going to be more related to the light direction, so I don't want that
shading rotated. And it'll also help keep these stems seamless if we do the shading
on one layer two. I'm using the stucco brush from the Procreate classic
library here. Once you have your
little section of wreath all finished, you
can group it together. So I'm going to grab the leaves, the texture layers, the stem, and the berries, and
group those together. And that can come up
to the top there. I want to do some separate things with the
different layers, so I'm not going
to flatten this. And I'm going to go ahead and duplicate this around
the wreath now. I've got this here
so you can see how many degrees
I'm rotating it by, but I'm going to
whiz through this as it's the same as we've
been doing before. There we go. And it all looks great flowing around
seamlessly like that. As I mentioned before, we need to sort out the
layering on here, though, so that we've
got the berries on top. I'm going to go ahead and
open up all of these groups here and I'm going to put
them onto the same layer. So I've got all of the berries
on the same layer first. So we'll swipe right
on all of these. If you want to duplicate
your first group to keep that as a backup,
then you could do that. Just go to live dangerously and merge this all onto
one layer, though. There we go. So that's all
of my berries on one layer. Come pinch to merge
those, and you can see, now, those are all set on top. I'm going to grab all
of the stems now. Those can all go on one layer. And then all that's left is
this shading and the leaves, and I'm just going to squig all of that down onto
one layer there. So now you should have
your leaves on one layer, stems on another, and
berries on the top. So let's add a bit of shading
onto the berries first. Let's add a layer above. Make
this one color buurn 40. I'm going to imagine my light is coming from the top left. So I'm going to go for colour
burn in the bottom right and then colour dodge
on the top left. Need to make sure it's
on a clipping mask. And I'm just going
to add a little bit of that on the bottoms there. And you can add another layer and make
the next one color dodge. And I'll be the first to admit this doesn't
make a huge amount of difference because I've used such a light color for the
leaves for the berries. But if you were using, say, red, you can see there it does make more of a difference if you're
using a darker color. But I'm going to
stick with white because I like that contrast. So I'm just going to add a bit of texture to
all these berries. And like I said, on mine, it's
such a subtle difference. I kind of doesn't really
make much of a difference. But if I was using red, then I would go for the
different angles on this. So I've just got a bit of
texture on there instead. Then we can put some texture on the stems so that
it all kind of, like, matches these look a
bit flat compared to that. A then I'm just going to put a bit of lighter
texture on these as well. You can see it
kind of all starts to match and look a
bit more unified now. And then last of all, I want to add a bit
of vintage sparkle to this and draw some little
crosses around the wreath. And again, this is a
step that needs to be done at the end rather than rotated if you want them all to be crosses and not rotated xs. So let's add a layer
right at the top here, and I'm just going to draw a few little sparkly
crosses around like this. And then I'm going to add a few little dots
around this as well. But you could use the
Yaga brush that we edited earlier if you wanted
a similar brush for this. And then that is our
finished wreath. In the very last lesson, we're going to have a bit of fun with the animation in Procreate
and use this wreath, reuse it and learn a
simple way to animate some color chasing
fairy lights on this to make a simple
gift or looping video.
10. Project 4 | Adding Animation: Okay, time for some fun. Let's start by
grabbing a copy of this wreath to use as the
base for our animation. I want to stick to
just flat colors for this one and no shading. Two reasons. One,
it's a lot quicker, but also, I want to keep the file size to a
minimum for a gift. For example, my
email list provider has a ten megabyte
limit on gifts. But really, for
fast loading times in emails and on websites, you ideally want to keep
gifts below 1 megabyte. And one of the
easiest ways to keep the file size low is to
limit the number of colors. Shaded leaf like
this probably has like hundreds if not thousands of different
shades of green in it. So by taking off the shading, we're going to reduce
that to just one color, which you'll keep
our file size down. I mean, technically, it's not really going to be one
color because, you know, we've used a textured brush, so there's bits of semi
transparency on here, but at least it's a
lot less than it was. So I'm going to go
out into the gallery. I'm going to duplicate this. So we've got a proper one and then this one that
we can mess with. So let's delete all
the shading layers. I am also gonna alpha lock the leaf layer and just fill
it with the plain green. So we've got that flat green, and you can see what I
mean about, you know, there's still different
shades of green, but at least this
is just wall shade. And I'm going to
hide the berries, hide the dots, and
hide the background. I just want to take
a snapshot of this. So I'm going to swipe
down with three fingers and copy all. And this is what we'll use for the basis of our animation. So let's come out
into the gallery, and we're going to
create a new document. So tap up here, and we're
going to create a new canvas, and 1,000 pixels square is
plenty big enough for this. Then you can tap done. And then we're going
to swipe down with three fingers and paste. You'll see that's a
lot more simplified now because it's on a
much smaller canvas. Let's change the
background color to something else
as we're working. It can be this pink color again. So let's turn on our
animation tools now. Tap up here on your actions
and turn on animation assist. You'll see this little bar
will appear at the bottom, and that's where all of
your animation frames will appear as we
start to add them. At the moment, there's
only one frame here because we only have
one layer up there. Each layer becomes a frame, and if you group several
layers together, that group becomes
one whole frame instead of the
individual layers. So I can add another layer here. It becomes a frame.
But if I group them, that then just becomes
one whole frame. So the animation I plan to
do is have this wreath be static and then have some animated light chasing
round over the top, and then maybe some wobbling sparkles around
the outside, too. Because the wreath itself
doesn't need to move, we can set it as the background, meaning it will be there
visible in every frame, the same static layer on repeat. We don't have to duplicate
it or redraw it. So tap on this down here and
set it as the background. And then that will be on view for the whole of the animation. So now let's add some
fairy lights on top. We're going to add a layer, and let's draw them
all on this layer, and I'll do my
first one in pink. I'm going to pick three colors for these just to
keep it simple, and I'm going to go for three
repeats around the wreath. So I'll draw three pink ones. One, two, three, and then
I'll add in the other colors. So do yellow one
as the next color. And then red for this one. It's some nice bright, clashing Christmas
colors. There we go. So we've got three repeats of three colors in sequence
around the wreath. And I'm going for mimicking the Christmas tree light
function that's called Chase, and it's where the colors flow along the string of lights. So where I have this yellow for one frame in the next frame, it would be up there,
and in the next frame, it would be up there and so on. The sequence of colors would shift along one spot each time. Now you might be
thinking we need to animate this pink
light, for example, in every position
around the wreath until it gets back
to the beginning. But we only need to animate three frames because we've got three colors for our lights. By the time we get
to the fourth frame, we've already got
a pink light here. We can just loop back
to the beginning because this other pink light
would already be there. So let's add another
layer on top now. You can see frames are being
added along the bottom here, and you'll also notice
that the previous one is still on show but
with a reduced opacity. That's called onion skinning, and it allows you to see what the previous frame was so you know what
you're working off. You can change how many frames
are on view by going to settings and you can change the amount of
onion skin frames here. And I think it's just
on Max as default. We're going to leave
it on that because this is a very simple animation, and we don't need to get bogged
down by too much of that. So on this new layer, go
and grab your pink and then just draw one frame
on with your pink color. So I'm going to draw over here, trying to draw mostly the same sort of shape and
size as what's already there. They don't have to
line up perfectly. We do want a bit of wobble, but don't stray too far from what you can see on
the layer below. Then we can grab the yellow and go one spot
on for the yellow. And then the last
ones will be red. There we go. And those are our first two frames
that we've drawn. So we just need to do one more, and I'm going to hide the one underneath so I can keep
track of what's what. So we need to move
the pink one on one last spot onto this one. And then the next color on
clockwise is our yellow, and then last of
all the red again. That one back on again.
And now what we can do is press play and see
how this is looking. Kind of crazy. That
is way too fast. What we can do is go to our settings and reduce
the frames per second. So you can change the
speed. You can make it really super fast, or you can make it really slow. I find something
about six frames per second looks
quite good for this, something 6-9 depending
on how flash you want it. I'm going to leave mine on six, another thing that helps keep gift file size down
is frames per second. So I'm going to go for
the minimum that I feel like I can get away
with. So we'll go for six. Pause that now. Now we've got this cute little
Christmas wreath animation. I want to show you how to
take this a little further, though, and animate some smaller white dots around the outside. They're going to stay
in the same position and stay the same color, but we're just going
to redraw them in the same spot each time so
that they wobble about. And in animation, this
is called a boil. I'm going to add a
new layer for it because we could draw
this on the same layer, but if we want to change
things or do any editing, it might be easier if
it's on separate layers. So I'm going to
add a layer here. And what I need to
do is group it with this one so that it's on
show at the same time. So you can see this one here is a frame all of its own because
I've grouped it together. So I'm going to grab white and just draw some little
dots around here. And again, you could use the
Yaga brush dot for this. Or you could just
free hand your dots. We go. I think that looks
kind of random enough. And then I'm going to go
to this next frame on, add a layer, group them. And then what I need
to do is trace over them in the same
position in this group. And you don't want them in
exactly the same position. Otherwise, it
wouldn't be a boil, but you don't want to
have them launching off all over the place, either. So try and make them
mostly in the same place. Basically, the natural variation
that you'll get despite trying to make
them the same will be just the right
amount. There we go. And then, same with this one, we add a layer, group them. Then on this one, we're
going to go over them again. When I'm animating the boil, I like to work off the
original bottom layer the whole time so that my
dots or whatever it is, I'm boiling doesn't
start to drift. Say you're always working
off the last thing you drew, and it's ended up
shifting over to the left or right a little more
each time you've drawn it. By the time you loop
back to the beginning, you're going to have a big shift back to where it originally was. So it's best
practice to work off the same original bottom layer when you're animating a boil. We're only using three frames here, so it's not a huge deal, but if you are animating
something with a longer you would
start to notice. So it's better to learn how to do it correctly
from the beginning. So I'm going to hide this middle one that
I've just drawn. And when I go back
up to this one, the onion skin layer that's showing is these
ones at the bottom. So I'll just then go
over these as well. There we go. Now we can
put this layer back in and press play and
see how this is looking. There we go. So you
can see we've got those lights chasing
around there, flashing and changing color. And then we've got these little snowy sparkly dots
there bobbling around. Let's have a look at
how to export this now. In your Canvas actions, you can go to share, and you can see you've
got the option there for an animated gift. So
let's tap on that. You can either share
it as a square with a solid colored background or you can export it with a
transparent background. To use as a sticker. You might need to adjust
the Alpha threshold to adjust how much of
your dots are showing. If it's quite high, you can see it cuts quite
a lot of this off. But if you bring it down to
somewhere like 50 or less, it will add more pixels in, but it's kind of a balancing
act because it adds gray in. So just kind of try and find the sweet spot where you've
got just enough showing, but hopefully not too much.
Gray or black in there. But the thing to remember
is that this is a gift. They are meant to be ow Rs, and it is just a thing
we share for fun. Think of all the gifts
you've ever seen. Have you honestly
ever thought, Oh, my goodness me,
that is so low res. How dare they send me that? I know I never have. And the
other thing is that this is huge on screen
right now in terms of how much space it's
taking up on the screen. Once you send this in a text
or use it as a sticker, it's going to be so small on screen, it'll look just fine. So don't panic too much about
the image quality on this. It is meant to be just a
thing we share for fun. So check your image
size up here. This is almost 1 megabyte. So what you could do if you want to speed it up and reduce the file size even
more by speed up, I mean, loading time, not
the rate of the animation. You can check web ready, and it's going to crunch it
down even smaller again. And now this is
only 208 kilobytes, so that would load
super quick in an email or on website graphics. So I'm going to
share it like this, and I'm going to tick done and
save it to my camera roll, so I'll save image. You can also save it
as an animated video, animated MP four,
and then you can save that the same way if you wanted to share it on
Instagram or something. I'm going to show you how that gift would look in a text now. If I send that to myself, it looks perfect there
in the chat and not all pixelated like
it did a moment ago. Okay, so that is it. We are done drawing
for this class now. In the last lesson, we'll have a quick recap of what
we've learned today and how you could
use these techniques outside of the festive season.
11. Wrapping Up!: Thank you so much for
joining me in this class. I hope you've had a
lovely creative time making your festive
floral wreath with me. Let's do a quick little recap of everything we've covered. You've learned how to
set up your canvas for different rotation guides, how to build both simple or more complex motifs
within each section, and how to use those
rotations to create balancing, satisfying
wreath designs. We've explored the
symmetry tool. We've added texture and
easy recoloring tricks, and you've even created
your own animated twinkly wreath using
Procreate animation tools. That is a whole lot of skills packed into a short ish class. It's so well done. Now, what you do with your wreaths
is completely up to you. You can turn them into
Christmas e cards or texts for family and friends, use them as website graphics, or share them on social
media as a fun festive post. But remember, you don't always need a purpose
for your artwork. It's totally okay to
make something simply because it feels fun,
cozy, and creative. These wreaths are perfect
for keeping your hands busy while you marathon
Christmas movies on Netflix. These techniques are for life
and not just for Christmas. You can use the exact
same rotation setups to make wreaths for
any time of year, Sunflowers for summer, pumpkins
and leaves for autumn, past or florals
for Mother's Day, whatever you fancy
creating next. And I would absolutely
love to see what you make. So please share your artwork
in the project gallery, whether you've completed
one wreath or three or made your own seasonal twist if you're watching this at a
different time of year. I can't wait to see them.
Don't forget you can download the rotation guides and
the resources section if you want to keep
experimenting after the class. And if you've got any
questions at all, just pop them into
the discussions tab. I'm always happy to help. If you've enjoyed this class, make sure to follow
me here on Skillshare so you don't miss any new
classes when they come out, and I would love it if you
could leave me a quick review. And if you'd like
even more tutorials, plus plenty of pattern
making chaos and creativity, come and find me over on YouTube and join the Pattern
Makers Talkit. Thank you again for spending
your creative time with me. I hope you have a wonderful, cozy and restful season ahead, and I can't wait to see
your beautiful wreaths. Have fun. Stay creative, and I will see you soon. And