Transcripts
1. Introduction: Can you relate in-degree of that drawing hands is difficult. Well, I want to challenge
this opinion today. I feel that this is the type of preconception which artists
pass through each other. And it creates much more
tension than issued. Hi, I'm Katie. Katie freedom. I'm an illustrator
and not mentor, combining psychological and
art education in my work. I have been drawing
for over 13 years. And I have lots of experience which I like to
share with others, especially the
things that I wish someone shared with me
when it was just started. Drawing hands is not difficult. At least no more difficult than drawing any other
parts human body. In fact, I would say the
drawing faces is much more complicated because phase
where so much personality, it has different
expressions of emotions. All the parts should be
positioned to write, etc. etc. The problem is that we usually like drawing faces much more. They are more interesting to us. So naturally withdraw them more often and it
becomes easier. But guess what? If you do a hands-off when it
becomes easy to end today, I want to show you
that join hands doesn't have to be a torture. In fact, it can be fun. And you can learn to do it with five short and easy exercises, which I will show you. You will learn about
the structure of heads practice to catch their
shape and proportions. Experiment with
utilization and find out how you can tell a
story with just helps. In the end, you will
understand more about how hens are built and have less fear and more freedom approaching
them in your drawing. So get your hands ready
and let's get started.
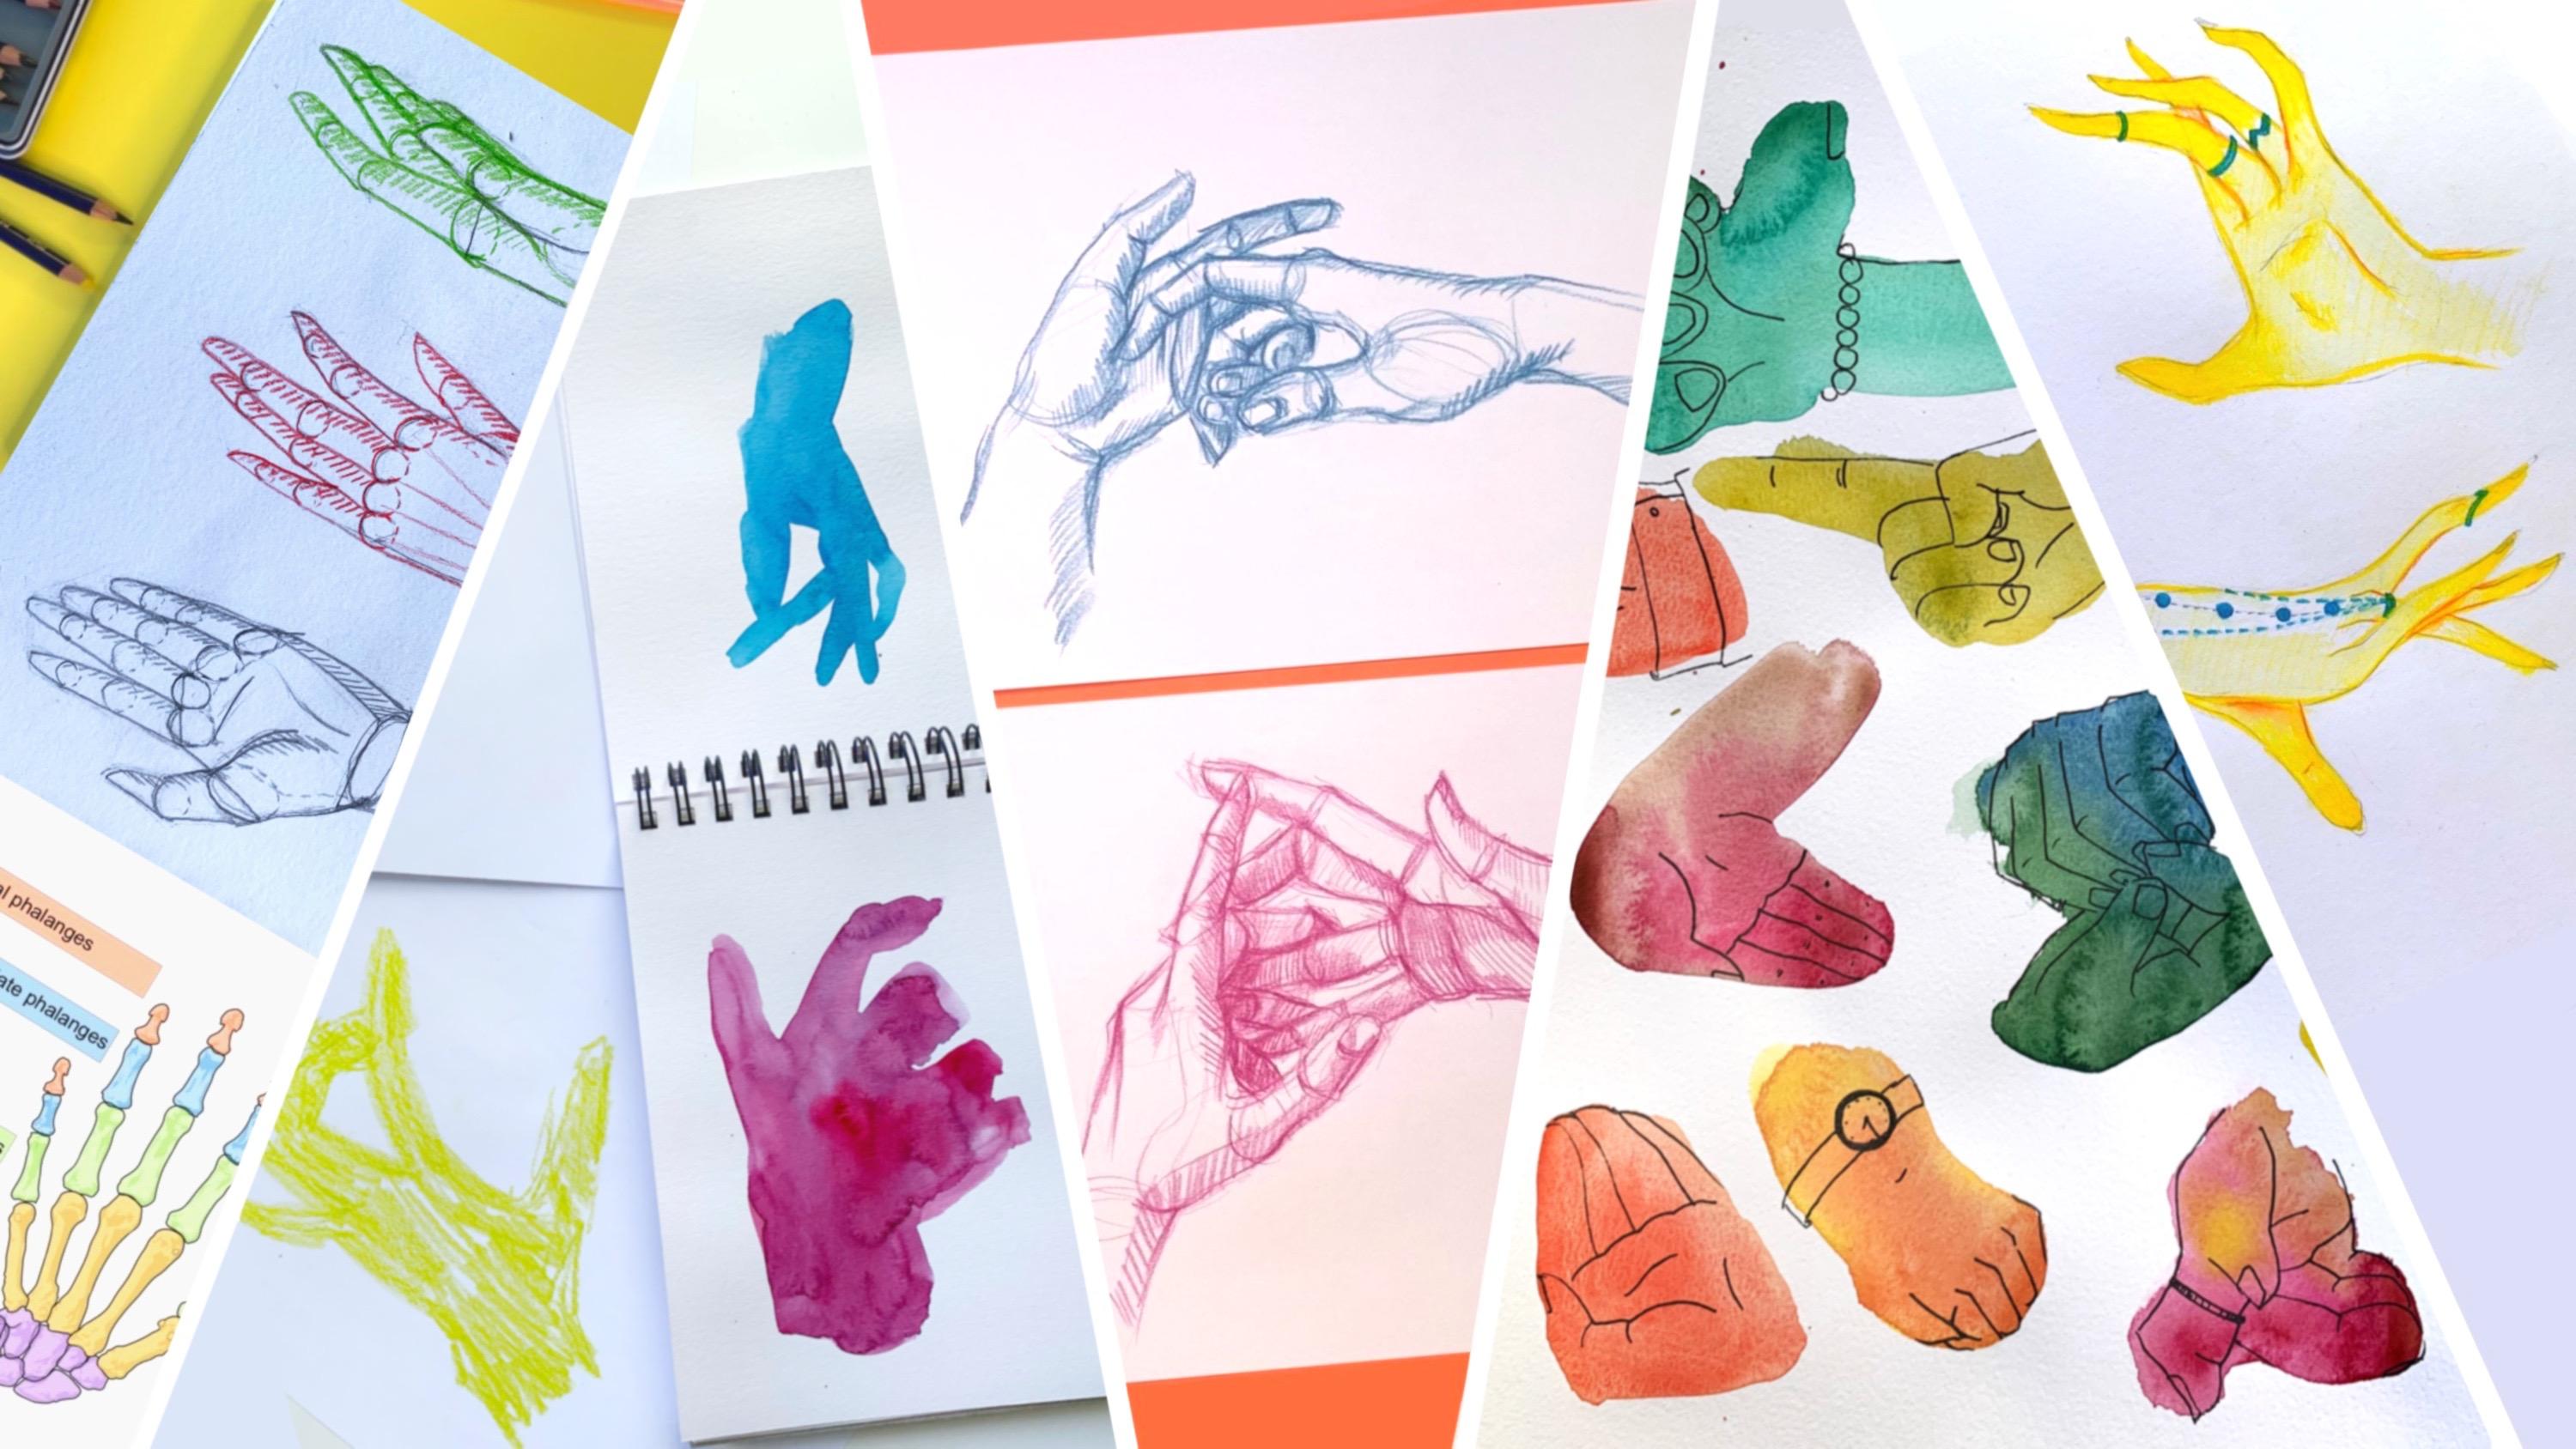
2. About the Project: In this lesson, we will do five exercises which
will help you understand the structure of hand and make your practice more
fun and various. As I've already said, we draw hands up badly because sometimes we avoid
drawing them at all. Do you remember those
childhood drawings with hands behind bags? That's why we need to
make this more fun and interesting for us to be
motivated to develop our skills. In the first exercise,
we will look at the bones and see how
hands on building sites. And then we will draw a
scheme which will help us understand the proportions of
all the parts of the hands. In the second exercise, we will draw just the
silhouettes of hats. We will try to catch
the outer shape without drawing any
details and site. For the third exercise, we will draw our own and
other people's hands in different positions. This is a perfect practice because hands up perfect models, they're always with you and
you can draw them anywhere. In the fourth part, we'll do vice versa, and draw random shapes
with watercolor first, and then try to fit the
sketches of hands inside them. This has meant for us to have
some fun and free ourselves from the fear of mistakes
and stress coming from it. Drawing should not be stressful. Finally, in the fifth
part of this class, I will tell you how hands
and hand gestures can tell more about emotions and
traits of your characters. This is gonna be a very
creative exercise which requires a little bit of
thinking and imagining. I hope you'll love this exercise and take them to your practice. You can do all of them are just the ones that
you like the most. Please share what you've
got in the project section. I will be waiting
for your hands. If you have any
questions, don't hesitate to ask in the
discussion section. So let's check out
the materials you'll need and move on to
the first exercise.
3. Materials: We don't need much
for this exercise, and that's also part
of why I love them. You can do all of them either in digital form or with
traditional materials. In the first case,
you'll need just any raster drawing software
that you usually use. The digital pattern and
the tablet, That's it. In the second case, you'll need paper or sketchbook and any other materials which you can combine an alternate
as you want. Pencils, colored
pencils, fine liners, markers, pens, charcoal,
pastel, Koreans. You don't need all of them. You can have even just
one of them, right? It just makes it more fun. And for exercises 2.4, I'd recommend to use
watercolor paints and a medium-sized brush
to make the color blocks. That's pretty much it. Let's move on with
the exercise already.
4. The Structure: So at first let's look at the bones that are
inside the hands. You don't have to draw
them if you don't want to. But it actually helps
me a lot to have a look at the skeleton and
sometimes Kim's of muscles, when I'm drawing
the human figure, parts of the body or animals, it's good to understand how
this construction works, how it is built inside. This way, you will
less likely draw something where it shouldn't be. E.g. draw elbows or thumps
in the wrong places. So let's just take a
look at this scheme and you don't have to remember how all the bones are called. I certainly don't, but
you will have to remember how they are positioned
to draw hands, right? So here we have a number
of bones in the wrist. They are positioned close to
each other and don't move. But from them go
the metacarpals, these yellow bonds on
the scheme, though, in our hand they are
united except the thumb. They still can move. Our hands can be more flat or in its natural
relaxed state, it creates this arc
and dome-like form. And it can be bent
inside even more because of the mobility of these bonds between each other. Then go this green
bones from the scheme. They are proximal phalanges and the fingers start with them. We have five of
them on each hand, but we have only four
intermediate phalanges because the thump
doesn't have it. It's proximal phalange is connected straight
with distal phalange. These are the red ones
on the scheme and they are the shortest
paths of our fingers. Also notice that all these bonds different lengths in
different fingers. The middle finger
has longest bones, index and ring
fingers are shorter. They can be the same length or index finger can be a bit
longer than the rink one, then go pinky finger and thumb. So we can see such
kind of arcs here. And these arts
also influence how our hand looks in
other positions. If you look at your feast, you'll see that the
knuckles are also positioned in a not the
same as these bones. Actually hands are quite
fascinating, aren't they? It also blew my mind when
I found out that bats have similar bone structure in their wings as we
have in our heads. They're just longer. Cool, isn't it? Now that we've grasped the basic structure, let's go to understanding the volume and
building a scheme. Let's draw our hand
in a simple position. First, I'd like to start with
a drawing six angled shape, which is the palm. You can measure the proportion between length of
the palm and leg for the fingers with different hands or different angles of view, it's gonna be a bit different, just using your pencils, see if the bottom is
shorter or longer, or the same link with
the middle finger. And then recommend you to draw the other four fingers
first as a single shape. Imagine how they would look all together, like in the middle. When drawing a thumb, you can see where it ends in
relation to other fingers. And here e.g. it, a little bit higher than
the base of middle finger. Then you can divide the
base of the fingers into four parts and draw
the fingers from them. Remember about
different lengths of different fingers and how
the joints are positioned on these imaginary arcs we discussed veggie. And now I want you
to remember that this is not a flat shape. It has its volume. So we can imagine our
fingers as cylinders. And the poem is a
weird shaped box. Even though we can't
see through the hat, we still need to keep it in
mind that it has its depth. This will help with constructing
trite and with shading to also the bomb has
it's meaty parts. It's this part of the
thumb, the palm paths. And this part here. This, I offer you to draw such schemes of the hand in
three different positions. From the side, from the outer sides and the
side view of the hats. Look at your hand and try
to catch the structure and upload the sketches that you get in the project section. Now let's move on to
the next exercise.
5. The Shape: In this exercise,
we will approach hands not from the
inset structure, but from the outside shape. No schemes here. You'll need to take
either watercolor paint and medium-sized brush, or some thick graphic materials like charcoal or pastel crayons. I have both here just to
try different variants. Our task here is to
imagine that we fill the whole shape of the
hand with single color. Or we're looking at
it in the darkness. And now we'll have
just a silhouette. This silhouette is what we'll
try and catch on paper. Here we are not thinking
about the structure. Instead tried to
look at your hand, at an object with
filled parts and gaps. Tried to catch the
shape of these gaps to try more complicated
hand positions. It's like making shadows of peculiar shapes on the
wall with the heads. Did you play like
this in childhood? Make three to five
different shapes. If you'd like, then do more. Please upload your drawings to the project section and recall, try and guess what
positions you drew. And let's move to the next. But
6. Sketching: This is going to be sketching
as with any other object. But sketching hands is
quite handy as I might say, as they are always with you in if you have
nothing interesting to draw or no one would pose for you for some
figures sketching, you can always draw your
hands and have some practice. I will do it with
colored pencils. I love how they look. I suggest we do two sketches of our own hand
in different positions. Do sketches of
someone else's hands. It's better to take
different from yours. E.g. child's hands, man's hands, if you're a woman
and vice versa. Just to practice different
shapes and proportions. And two sketches of two
hands touching in some way. This is a harder one. For number 2.3, you might
ask someone to pose for you. Or if there is no one
ready to positive moment, then make all find some photos. I took pictures of
my husband's hands and found a photo
of a child's hand. Don't spend too much time on it. Sketches. So you can
even set a timer for five to 7 min to sketch. This way, it will take you 30 to 40 min to draw
all six of them. Though, you can take
a bit more time with two-handed ones. The main focus here is to
catch the proportions. And only if you have time left, then you can add
details and shading. Please share photos of your sketches and let's move
to the fourth exercise.
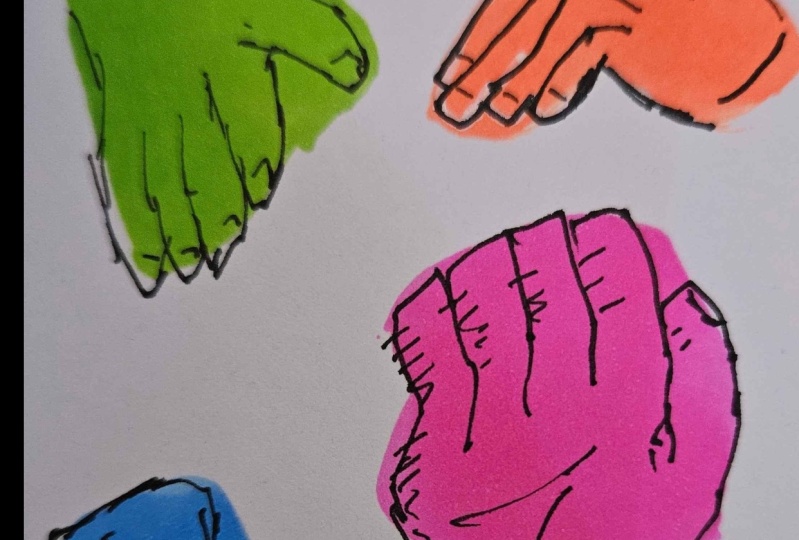
7. Hands in Colour Blots: Okay, now let's relax a bit from serious catching
and have some fun. I really wanted to share this exercise with you
because in my opinion, it helps to let go a little, let our hands and mind relax. And remember that drawing
is also joy and creativity, not just schemes as
strict proportions. So first, take your
watercolor paints, a medium-size brush and a
piece of thick enough paper, and make some random blots. Just seven to ten of them
on one side of the paper. You can use any colors you like. Mix them together, make each bloated different
color or all of the same. The only thing I
would recommend, don't make too dark blots
as it will be drawing on them later and it
will be hard to see it on the two
dark background. Now leave the paper to dry. When all the blood's had dry. We can get to the second
part of the exercise. Take a fine line or
market and try to feed a hand into average
blot you've made. It's obvious that they will
not turn out perfectly proportional as we were making
them in previous exercise. But here your task
is to play with this form that you've
already got acquainted with. You can skew and
distort your hands, but still they should
be looking like. Hence though, it is a very interesting and maybe a
little challenging exercise. You will see that in the end, we'll have some stylized hands. And sterilization
is something we will use in the next exercise. Try to fit hands into all
the blood's you've made. Seven to ten would be enough. Don't spend too much
time on each plot. This is a quick exercise. Enjoy the freedom of drawing without building
the structure first. And you can also
rotate your blots, define different
variants of how you can fit the handshape
inside the blood. When you found the angle
you like, draw the hands. This is the exercise.
I will be really, really excited to see you
in the project section. Please share your
thoughts with me and tell me how this exercise
works for you. I will be curious to know. And now the next exercise, the last but not the least.
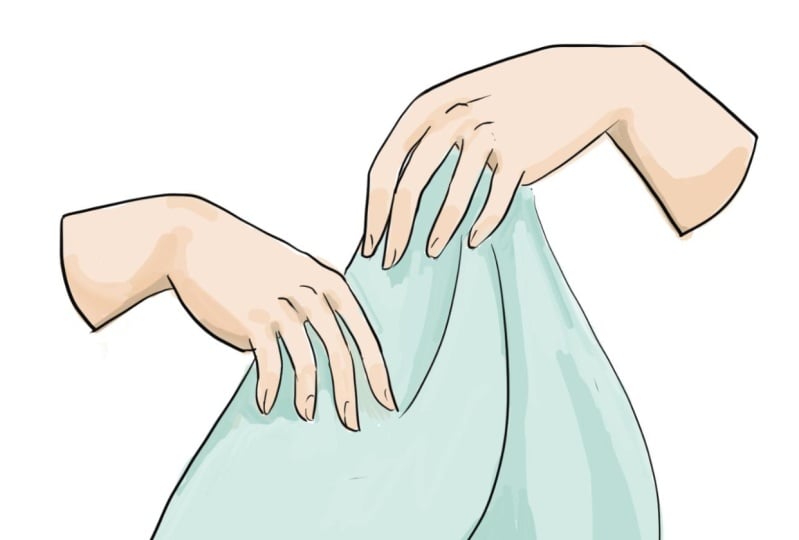
8. Hands of a Hero: In this part of the class, I wanted to talk to you
a little bit first. I said before that hands don't bear as much
personality as faces. But that doesn't
mean that they can't tell us anything adult, in fact, hence can tell us a lot about their owner with their
size, shape, and gestures. E.g. a child might have small and puffy hands
with cute little fingers. A big guy can have
huge square feet. It's a pine is probably owns
long and bendy fingers, and a belly dancer would have her beautiful dancing
head positions, hence, can also reflect
the mood of our character. Is he or she stressed,
angry, relaxed, scared. The gestures and shape
of hands can show it. Also. We can change
the proportions and play with them if we tried to especially highlight some traits of our characters. E.g. if we're drawing a superhero who is famous
for his strong hook, we can make his hands
disproportionately big. And if we're showing a
princess and when highlighted, she has never done anything
herself in her life. We can show how
very small hands, which I just beautifully
folded on her waist. And if we think of
hands in this way, it suddenly gets more interesting
to draw them, isn't it? So now I have a very
creative task for you. Imagine a character
that you want to draw. It would be best if you
invent one of your own, but if you have some favorite character of
yours that you want to draw, that would be fine to
think of their qualities, their outstanding traits,
their overall appearance. You can close your
eyes if you want. Did you imagine them? And now draw just the hands and tried to refract your heroes
character in their shape, size, just in color. You can use any
materials you want. This is your final
project for this class, and they want you to have
full creative freedom. I will show you my
process and if you want some inspiration and
hence you can watch it. If not, you can get to a
drawing straight away. I imagined an old
character of mine, a powerful sorcerer is
called the Barinaga, who lives in the forest. Her magic is concentrated
in her hands. That's why she usually
heights than parent here, very long sleeves and no
mortal has ever seen them. But I will draw her hands
and reveal this secret. I think she would
probably have seen hands with long fingers. And as she creates
magic with your hands, had gestures should
be very expressive. I want to show her hands at the moment of congruence
palace something. So they could be in
an unusual position, which we wouldn't use
just in everyday life. Maybe she's putting some
ingredients into her potion. We want hands and making a
magical sign with another. You can try different
positions on your own hands. And also you can of course
look for reference spots. And we don't take a
picture of your drawings or save it in the digital form and applause
to the project section. Share a couple of words about the character whose
hands you a drawing. Let's exchange our
character's hands. And when looking at
projects or fathers, you can try and imagine to
whom these hands could belong. And you can even share
your thoughts and guesses in the comments
to the projects. Okay guys, we've
done a great job. Congratulations,
we have finished all the five exercises
of this class. Now, take a breath
in and breath out. And let's wrap up what
we've learned today.
9. Summary: Congratulations, we did it. How do you feel?
Was it difficult? Was it fun? Maybe both. I'd like to read your reviews
because feedback is very important for me to continue
making good classes for you. So today we talked about the
inner structure of hands, their shapes and sizes. We made some
traditional sketching and also played a little
bit of stylization and practice our new
skills of telling our character's story
with just their hands. I'd say with a quiet, not one but two superpowers, not being afraid to draw hands and being
expressive with it. I really hope that now you have much less stress approach
and hands in your drawings. And that with the help of these exercises which you can take to your regular practice, you will have much more fun
while improving your skills. Please don't forget to upload photos of all of your
drawings from this class. I will be happy to see them
and give you feedback. Also, if you have any questions, don't hesitate to ask them in the conversation section under this video or write
me a DM on Instagram. Find me there. Let's check. I'm always happy to meet
new creative people. Thank you all for your time. Check out my other classes on color and compositional
Skillshare, and I'll see you
in my next class. Bye.
 Kate Grishina, Illustrator, artist