Transcripts
1. Intro: Hi everyone and
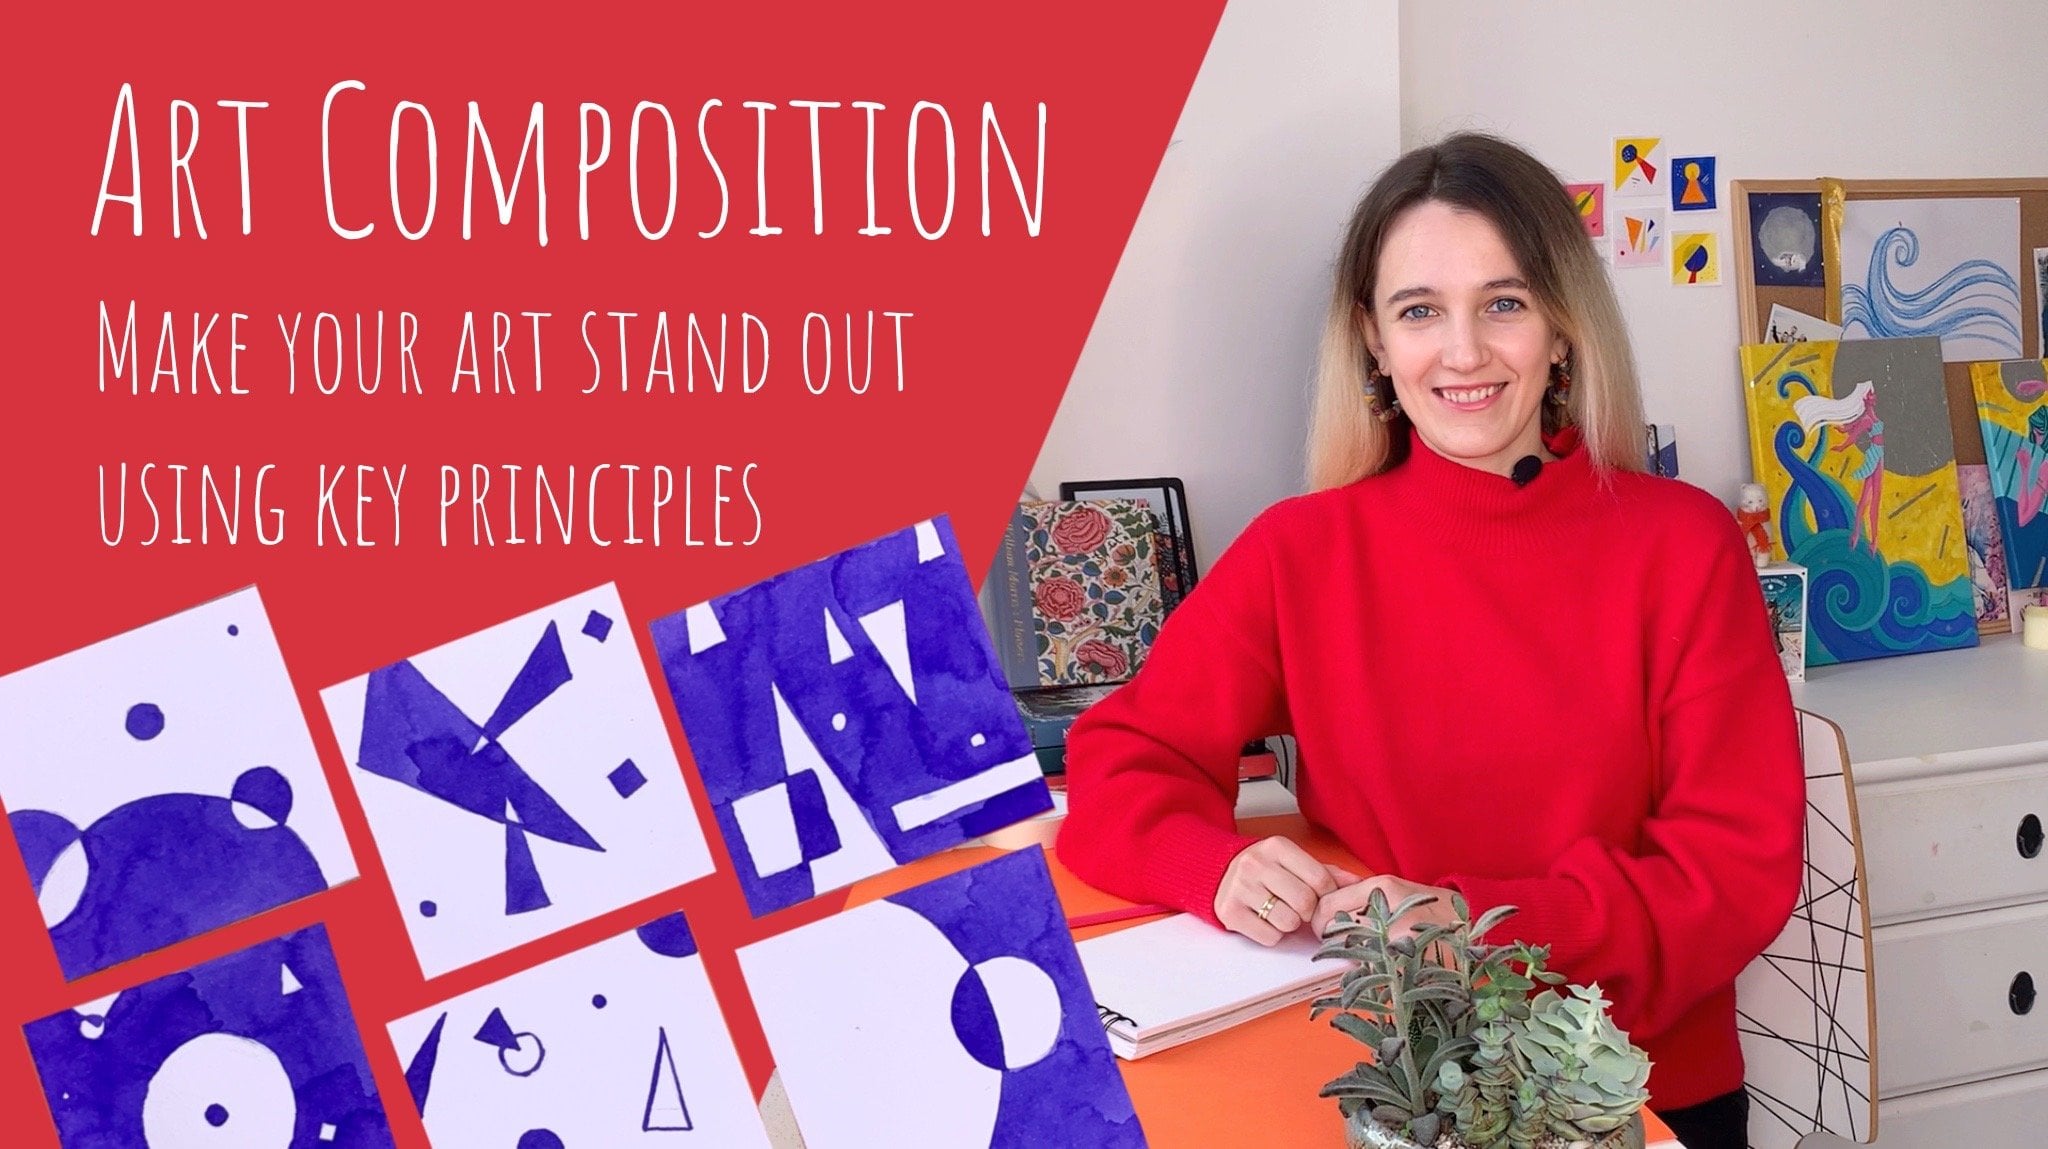
welcome to my class. Today we're gonna
be talking about Character Illustration
and how to make it more dynamic
and engaging. How to make it tell a story. My name is Katie. Katie freedom. I am an illustrator with
psychological education. I have studied design in those duration as
well as psychology, which gave me an
interesting combination of experience and enriched my Art and my way to look
at creativity. I have been perfecting
my skills for many years and now I'm happy
to share what I've learned. Check out my classes
on composition color, and join hands here
on Skillshare. I'll see you can find me
on Instagram where I have an odd blog and share my process of creating
my own deck of cards. I love drawing characters and then I'll how much FUN
this for many Art. We enjoyed drawing how they
look, giving them names, thinking of the
backstories and make it because all of this
is already in our heads. We often leave little to
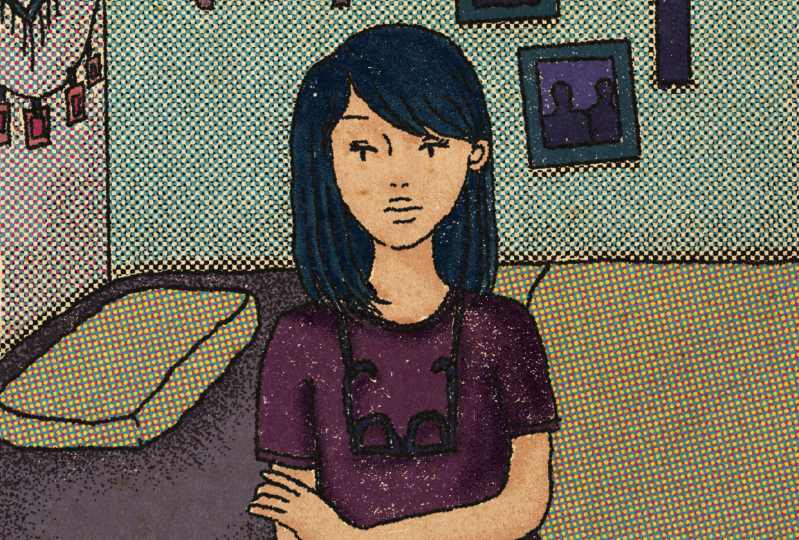
nothing to our viewers. Often sees something like this. Might be nice picture, but it is static and not alive. It doesn't really tell us much. The character is
shown out of contexts in vacuum, empty space around. And I know sometimes
that's because it seems so boring to
draw the surroundings. But today I want to
show you a few tips of how to make your
character alive, Your Art more dynamic and
tell a story without words, we will explore five
aspects of illustration, which will help you to make your eyes more
interesting and engaging. The backgrounds, Actions
of the character. The way to show movement, unusual angles and
points of view, other characters on the
backgrounds during the class. Well, next sketches to
understand better how each of these aspects births and
in the antiviral joy, your own fantastic character illustration using some or all of the tips from the class. And this principles will
stay with you and help you create more dynamic
Art in the future. The class is suitable
for all levels. So if you enjoyed
drawing characters, join me, let's create
some Art together. You can use any traditional
materials or draw in digital, choose what you prefer most, and see you in the class
2. About the Project: The project will be a
finished illustration of your character using the methods we'll explore in this class. First, we'll make
sketches where we'll experiment with these
principles one after another. Then we'll make a final
sketch and create a dynamic and storytelling illustration of your character. You can applaud,
justify final piece, or also all the sketches, because it's always
interesting to see the way from the first ideas to
the final realization. I am very excited to
see what you will draw. So don't forget to share
in the project section. And let's quickly
discuss the materials
3. Materials: You can make the sketches
and the final project, either with traditional
materials or in digital. If you chose the former for the sketches before the
final illustration, you'll need sheets of paper or sketchbook and
eraser and a pencil. Just keep all the sheets together until they
finished the final drawing. As these sketches serve as useful preparation for
your final illustration, you can use whatever
materials you prefer. It can be graphics or color, pencils, markers, paint, etc. If you're doing it in digital, you'll need a tablet, iPad, walk home or
something like this. And software like Procreate or Photoshop or any other that
is comfortable to you. Sketches can be done digitally to just remember to save them. Now that we're ready, let's begin our class
4. The Power of a Background: I know that drawing
backgrounds can seem boring, and sometimes there's
a temptation to work on just your favourite
bit there character. But I'll try to show you
another perspective which actually helped me to find interests in drawing
the surroundings. When we're creating a character, I wanted to tell something about them with
our Illustration. Background actually
becomes a fantastic tool to reflect our character states. For example, if we show our
hero the story in his home, it can tell us so much
about what he does, how he leaves, whether
he's need or sloppy, what Hobbes he has, and so on. We can also show him in
other places where he likes to go or to the contrary, where he feels the most
uncomfortable and out of place, which can also tell us
something about him. Now try to think, where is your character
most likely to be and what displays
might look like. You can search for
some inspiration on Pinterest to help
you with the details. For example, my character
is a mushroom girl, so naturally she
leaves in the forest. I found some nice pictures
of it on Pinterest, which reflected the magical
mood I wanted to create. And to try to imagine
and sketch how I can put my arm Anita,
into this forest. Here is whatever get. Make a few rough sketches
of the place which will become the backgrounds for
your future illustration. Don't get too attached
to just one variant. Sketch different types of
composition and sketch roughly where in displays
you character might be. Don't spend too much time
on the sketch for now. They just need to give us some
ideas and be quite quick. You can also separately sketch some elements that you want
to put into the picture, like some specialty ports or guitar or an
interest in beds. Think of these
things not as about generic objects you need
to fill the space with. But try to think of them
as about the narratives which will help you to tell the story about your
main character. You can upload your
sketches later along with the main project
to the Project section. It is always so exciting to see how an artist creative
process goes. And let's move on
to the next bucks
5. What Are They Doing?: So it is a valid and
important question. When a character stands like he has his passport picture Take, it is boring and it doesn't really tell us
anything about him. Also, the character seems
to be here just for us. Artificially posing, look into viewer having no life his own, but we need to give
him this life. Remember when Harry
Potter found out that Dumbledore disappeared
from the portrait? And Ron asked him, well, you can't expect him to hang
around all day, Can you? That's the effect we
need to strive for, that the character has his own life and we can have just a glimpse
of what he's doing. Our illustration is just
a moment as shortcut on camera of an otherwise
moving picture. So try to think what your
character could be doing. What action would also
characterize him? Would tell us what he normally does or how he normally does it. Is he lazy bones spending most of his time relaxing
somewhere around house or is here VCB and he runs everywhere to get all
the errands done in time. Is he doing something
unusual and extraordinary like making potions or
Catching Fire birds? Or is he an ordinary human being doing normal things
that we all do? In what exact moment
of his life do we see him during his normal
day or at some events, or maybe at the
moment of crisis. Think what would tell me about your character and try
to make some sketches. Also remember that we already
created the backgrounds. Let it also help you. What could you character do in the background to
create it for him? Tried to combine these two
things in your sketches. So I decided to show
my laminator dancing. She is mesmerizing
lonely travelers with her dance and learn some
deep into the forest. Yeah, she's a terrific actor. So I made a few sketches of different dance poses to
help you with the pose. You can find a photo from the
Internet, or even better, take a picture of yourself in the exact position you need
and use it as a reference. I chose this pose. I'm happy with it and
ready to go further. When you've done a
few variants and chosen the one you
like the most. Let's move on to the next part.
6. Show the Movement: We already talked
about how important it is to show your
character doing something. It's much more interesting
when he's moving. And in illustration, we can also exaggerate this movement
to add more Dynamics. This method is also
used in animation. Each little movement
is shown with a little bit more amplitude than it would look in real life. Oddly enough, this is what makes the movement believable
for our eyes. The first thing you will
probably be asked to do in an animation
class is to draw a champion bull and
see how it flattens when it hits the surface and how it Ellen Gates when it flies up. We usually don't notice this
tiny movements in reality, but they do exist. And adding them makes us feel that ball is
really jumping. The same can be done
with illustrations. You can show the
positive a character with a bit of exaggeration. If he's running, you can
make a widest step hijab. You can show your
characters out of balance, almost falling, Showing the
same movement They Doing, but a little bit too much. If you need to dramatic
or comic effect, this method is
also very helpful. You need to exaggerate even
more than also hair and clothing in France in adding more Dynamics
to illustrations. Because these are the least static elements of
your character. Hair and clothing
might move because the character is moving or because the wind
is blowing, etc. and if in real life we need a really strong wind to make our hairs ten to the
side in illustration, can exaggerate this movement
and Add Dynamics this way. So I always do this
with my illustrations. Even if my character is sitting in a quiet static position, I still add some dress
flattering and hair movement, but you need to remember that it still has to be believable. Firstly, all the
fluttering objects need to flutter in
the same direction if they're flatter
and because of the wind or air movement, it's like with the shades, it needs to fall
in one direction. If we have one source of light. If you drawing all hair and clothing going in
different directions, this will seem like
your characters in the middle of tornado, where wind blows in all
directions at once. Secondly, still
measure the extent to which you're exaggerating. Because at some point it
might get a comic effect. And it is only good if you're intentionally trying to do so. If there is not
much happening on your illustration at
just a little bit of exaggeration and stop there. I chose this pose and I
exaggerated it a little bit more, made the movement wider. After that, I added
the fluttering of the hair of the dress
and the ribbons. They're also helping her
to captivate her prey. And they will help with
captivating the viewer to. So this is the way my
sketches developed. And I stopped with
the last iteration. Look at the sketches you've got. I recommend doing a few of them and choose the post
that you liked the most. You will use it in your
final illustration. And let's get to the next spot.
7. Angles and perspective: Composition is also very helpful in creating the mood
for your illustrations. It can reflect a static state or the dynamics of a situation. Create the feeling of
grumpiness of big space. Show strength or weakness of your character against
the circumstances. If you want to learn
more about it, check out my Skillshare
class and composition. And now we will concentrate more on the ways
to show Dynamics. Diagonal lines on your
drawing, sharp angles, unusual points of view like
from above or from below, will add to the strong
feeling of movement and speed blend with perspective can live in even
a city landscape. Though. What dynamic can be about the right angles and straight
lines of city buildings. And yet, by distorting or
exaggerating the perspective, we add the Dynamics even to non-moving objects
like buildings. If you want to emphasize that the character is running fast, you can send him in a
diagonal direction. Our eye perceives diagonal
lines as fast ones, especially from upper-left
corner to lower right one. So try to think what angles and viewpoints you can use
in your illustration. Can you show your character
from above? From below? Maybe you can show them through the window or an open door, or Show him on the
backgrounds of a road going far
into perspective. Just try to do it consciously, not just methods for
the sake of methods, think what would actually
support your character story? What would tell more to the
viewer about your character? So I did a few
variants of sketches. Here's the original one which we made in the previous
part of the class. This one is a view through
some graphs and other plants. This is a view from
below and from above. This one didn't work
well for my characters. You can see here, I added some perspective to him. Movement also wanted to try and show her just
a limpid from below. Her feed need to look a bit bigger as they're closer to us. In the entity decided to
go with this last sketch. Make a few sketches, try different variants and
see which one fits your idea best and goes well together with other elements
of your illustration. Mark the one that
you liked the most. And let's move on to the last tip before they
get to the final project.
8. Other Characters: So often we get carried away by working on
the main character. And even if we had
spent some time on the background and have actually put our heroine to some place, not into a vacuum. There can still
remain at problem. We often leave this
place uninhabited. There is just our
character and no one else, even when he's in the forest, are on this 3D of the city. And of course it can
be like that too. But when we add some other
characters to the picture, insects, animals,
people, and so on, it becomes much,
much more cheerful. I know that it seems like
an unnecessary effort, but these are the details
that will make your work more interesting and create a desire to look at
it more closely. Also, those can be supportive parts of
your artistic universe. For example, many artists have their favorite but
not main characters. They have some
strange creatures of their own invention which lived in the world
they are depicting. And they appear here and there. They illustrations
Showing the mood of this paroled in YJ new in Showing the things that I usual and
normal for this world, which may actually seem
quite unusual to us. And that is a special pleasure to notice these little details. For example, Illustrator
much Robin has these Haystacks with
legs and her drawings. They are rarely main characters, but I just adore them. They help to create
this magical feeling of this world that we are shown as many other little cute
characters she creates. So today I encourage you to think who inhabits your world? Others, real-life
animals, people, mystical mythical
creatures, maybe even characters from your
other illustrations, just minding their business
on the background. I often put my favorite
wolf in my illustrations. Also, there are forest ghosts, which are very curious about
everything going on around. And I love to add
small animals like squirrels, lizards,
birds, snails, butterflies and fishes also
have these flowers with ice, which I guess can also be
considered as creatures. So make some sketches
to the creatures that you want to put in your
final illustration. Think of where they might be on your picture and what
they can be doing. You can sketch them
separately and then include them in your
final sketches. I will of course
put my wolf there. Also now, or some other birds. And nothing goes by unnoticed
by the humorous girls. And he has a marriage
snail friend. I decided to also include
another character, the long-lived traveler,
maimonides and chanting. And now it looks
like it's gonna be quiet crowd isn't my
final illustration. We have worked through all the five tips I have
prepared for you today. We've made a big
preparation work and now I believe we're
ready for a final. And in the next
part of the class, we will put it all
together and draw our final beautiful
illustration. Let's go
9. The Project: So congratulations, we've
come to the main project. Let's take all the
sketches that you've made and look at all
of them together. Notice first self, which
details you want to use, see if they can fit together. Remember all the components that we discussed at this point, you can decide if
you want to use. All of them are
just some of them. One more time, we talked
about adding the backgrounds, Showing the character in action. Ways of showing the
movement and exaggerated, using unusual angles
and points of view inhabiting our world with other characters on
the backgrounds. Now it's time to make sketches for the
final illustration. You can make them bigger
and more detail this time, let's make 123
sketches depending on whether you like what you get or something needs
to be corrected. When you happy with your sketch, you can get to draw in the final illustration in this scale and with the
materials you want, I suggest and make it
not smaller than A4. As we worked a lot on the
details for this illustration. And it's nice for
them to be seen and appreciated on a
big enough Canvas. If you draw in digital, you can choose even
the biggest size in case you want to
print it out later. So after all our experiments, I got these rough sketches that I drew them in a
bigger format and with more details than I usually do another iteration and make
it even cleaner sketch, draw more precise outline. After that, I would
make color outlines and start adding First
colored with no shading. Along the way, I start
adding some simple shapes. Work on the backgrounds. They close details at the plans and the
small characters inhabiting the picture. I didn't the ribbons. And of course it goes. I usually finished with the smallest details
like grass and leaves. Here's my finished illustration. The project is done. Wow, you've done
such a big work and I'm very curious to see
all of you illustrations, so please don't forget to upload your final illustration
and maybe your sketches to the Project
section under this video, let's share our worlds
and our characters. I'm very happy that we did this. And now we will see you in the concluding
part of this class
10. Summary: Congratulations everyone. We did a great job and
finished illustration. A very well-thought,
detailed and dynamic one. You can see how my
character look before. And often this is the
stage where we stop as artists and how
she looks now, this Illustration tells
a much better story, gives us more detail and invites us to the world
of the character. While this one is just a
beautiful sketch with no story. And I hope for your
character and your story, these tapes worked
as well as for mine. Here are the principles that we were exploring in this class. You can use them all or mix-and-match in the
future illustrations to, and I'm sure that they
will make Your Art even more dynamic and
exciting to look at. Thank you very much for
your attention and I will be very glad if you
leave me some feedback. It is very important for
me to understand what you like and need for my future
videos to be better. You can check my
other classes here on Skillshare and say hi
to me on my Instagram. I'm always happy to chat and answer any
questions you have. Also you can of course, ask any questions in the discussion section
under this video, I'm waiting for your
fantastic illustrations and I'll see you very
soon in my other classes.
 Kate Grishina, Illustrator, artist