Transcripts
1. Introduction: Hi my dear friends
and welcome to my class on how to create
a character in procreate. I will share with you not only tips on how
to create a character, but also my full workflow. My name is Kate Kit to Freedom, and I have been drawing
in digital for 14 years. And the last three years, I have been working almost
exclusively in procreate. And it absolutely
changed my workflow. It made me more
productive and mobile. I can draw from any place, specifically from all of my favorite coffee places before I had to make
sketches on paper, scan them, or take
photos of them, put them into my computer, and then draw over
them in digital. Procrate made this a few steps
shorter and much easier. And while it still can be fun to mix traditional
sketches with digital, today I'm going to show you
how you can systematize the work on your character using nothing else
but your ipad, your Apple pencil,
and procreate. For example, I'm creating
a deck of metaphoric cards now and use the similar
workflow for all of them. If you want to follow my
process of creating the deck, check out my Instagram, Tiktok, and also now I have
a Youtube channel too. I'm going to lead you through all the stages of
designing the character. We're going to create a
moodboard, analyze it, systematize it, determine the key elements for
the next stages. Then we will make
character sheets, draw variations of our
character in different clothes, poses facial expressions,
and from different angles. The better we work
on this stage, the more distinct and recognizable
character we will get. Next, we'll make
the sketches for the final illustration,
Android and Color. In the end, we will firstly have a finished art piece which you can put
into your portfolio, post on your social media, make an art print, a postcard or anything
else with it. Secondly, you will
have a perfect base for further work
on this character. You can develop them more, make a series of
illustrations out of this one and even create
a story about them. This class is suitable
for different levels, but it will be useful to know the basics of working procreate. Grab your ipad and your creative
enthusiasm and let's go make some act.
See you in my class.
2. The Project: The project of this
class will be creating a finished illustration
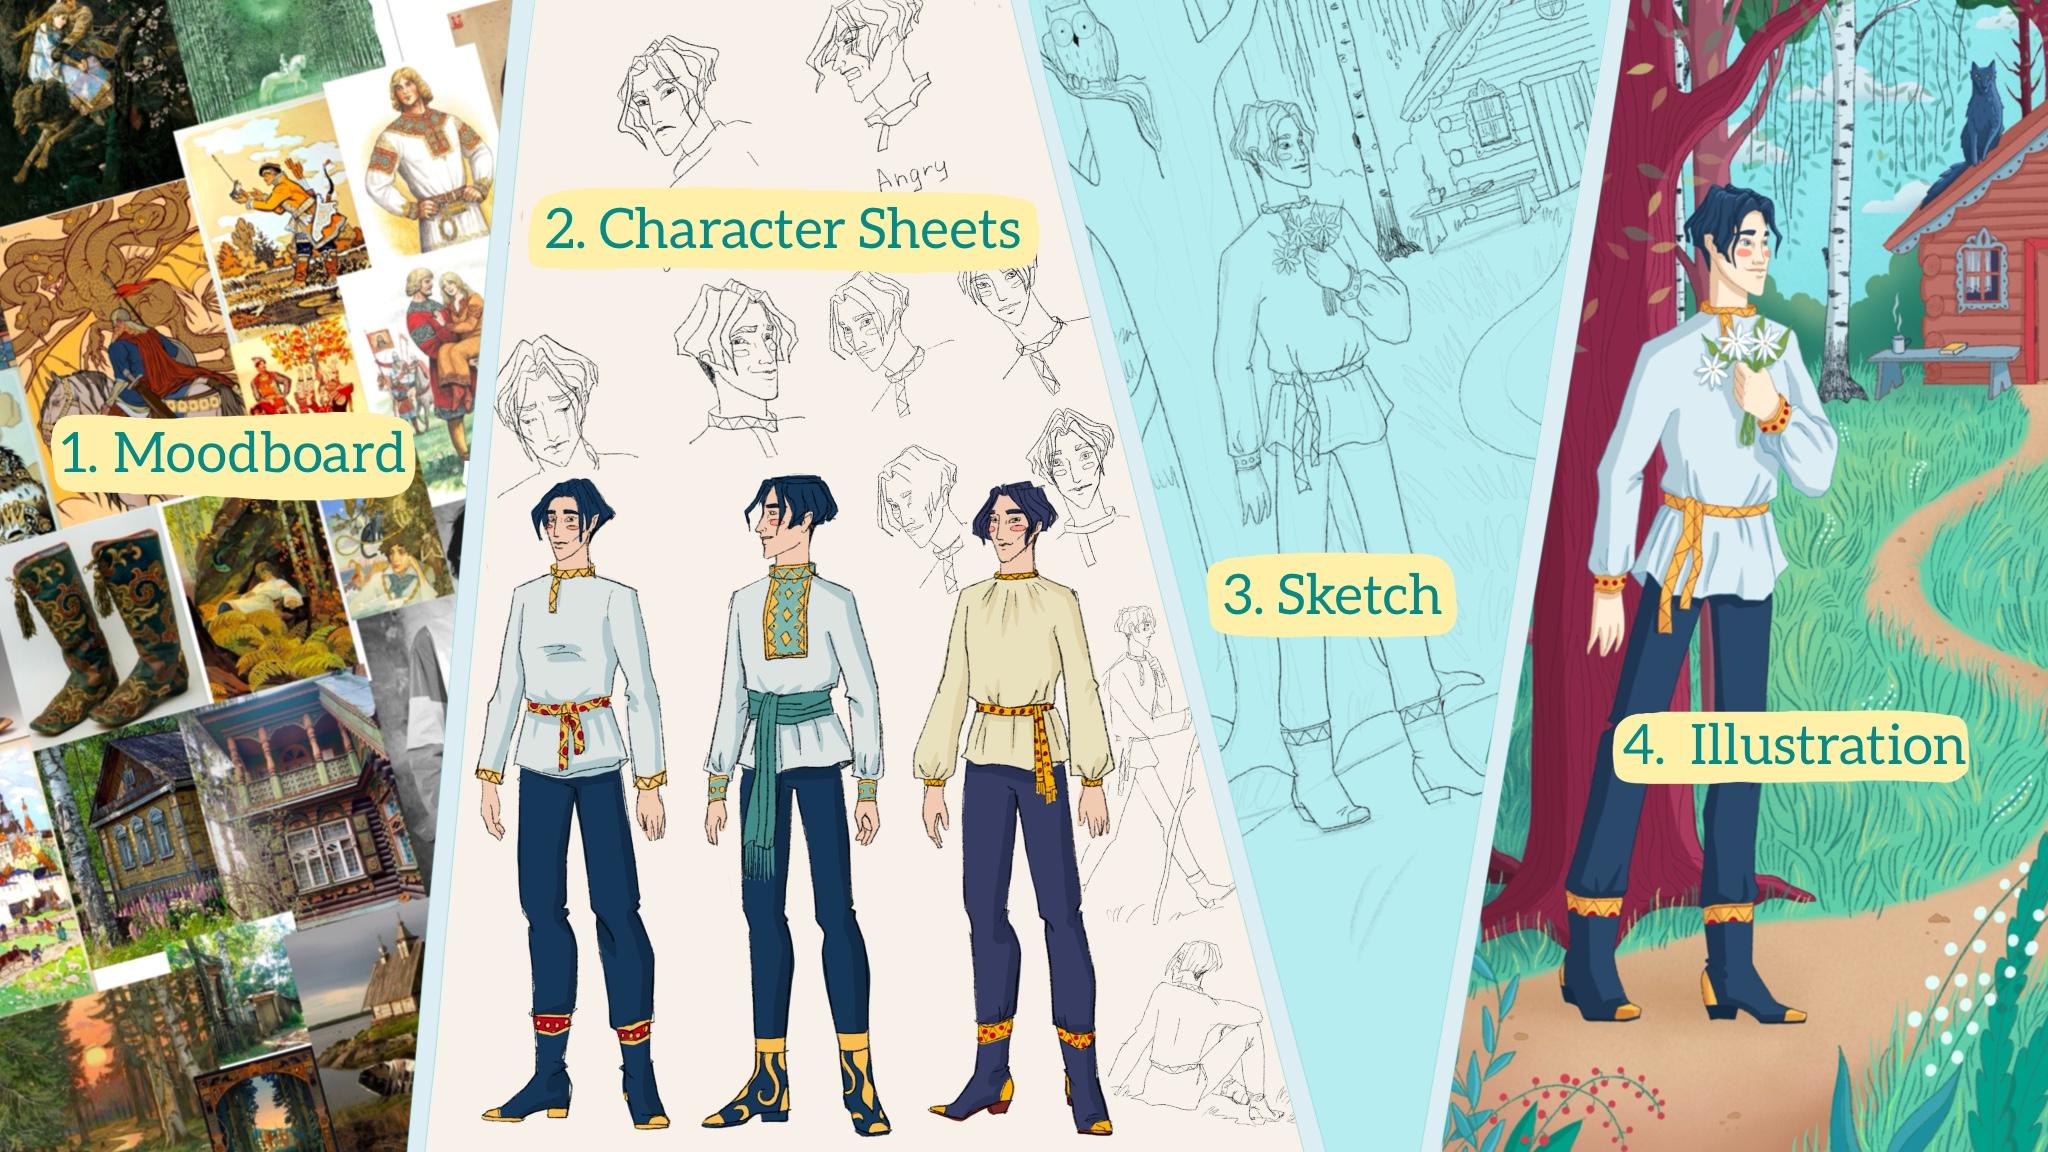
of your new character. There will be four steps. First, working on the concept
behind your character. Think of the traits, both psychological and physical. To help with that,
we will save and sort out pictures
for our moodboard. Analyze them to determine the main directions
of what we like. Two character sheets,
making lots of sketches of our character in
different positions using our mood board
as a reference. The more you draw at this point, the more distinct and recognizable
your character can be. Three final
illustration sketches, making a few rough sketches, and one cleaner version for
the final illustration, four drawing the final
art piece in color. Don't forget to share
your illustration in the project section
when you finish. Also, I will be really excited to see your
character sheets. You know, sometimes
the sketches are even more fascinating
than the finished pieces. The only things that you need
for this class are ipad, Apple pencil, and
procreate installed. I can't wait to start. Let's begin our
creative journey.
3. Creating The Moodboard: Let's get to our mood board. But before we start
searching for images, we need to know what
we're looking for. Sit and think who
you want to create. Determine the broader
features first. Is it a human or an animal? Is it a man, woman, child, an old person? Then try to think if you have any other specific traits that you want to include
into your character. For example, sometimes I
already know the occupation of my character or
that I desperately want to include some
specific feature, costume, face color
palette, et cetera. Also, it is useful
to think not just about your character
in a vacuum, but about their
surroundings, their habitat. Where do they live or work? Is it a busy city or
forest, or a small village? All of this will help you
a lot in your search, as you will know what to look for and where
you can find it. Sometimes I write these things down straight on my canvas. So let's already create a
new file for a project. I usually pick a square canvas, 2048 to 2048 pixels, and then stretch
it if I need to. On the first layer,
I will write down my first thoughts and
associations with the character. For this, I like
using pencil brush, but you can choose any. It just feels more cozy, like I'm filling a
physical sketchbook. But with all the digital perks, My character is a young man. He is a hero of the
fairy tale that I wrote. I want to create
illustrations for it. He's a curious good lad who lives in a village
near the forest, and I have a specific feature
that I will search for. I want him to be in a
stylized folk costume, maybe mixed with
some modern silutes, but definitely giving
a fairy tale wipe. I'm going to be searching
for male folk clothing, embroidery, interest in boots, maybe with ornaments too. I also already decided that he is tall and has
black short hair. I have written all of this down, and now I'm going to
my beloved Pinterest. As soon as you have determined at least some input data
about your character, you can start searching. I have a little system
of how I usually search. First, I look for all of the elements that are determined
on the previous step. By the way, I always recommend going deeper than the
first search result. Tick on the image
you like and see under it what's similar and
go further and further. Usually, the deeper you go, the more interesting
things you'll dig out. Also, try different ways to
phrase your search rest, save the images that you like. It doesn't have to be too
strict in the beginning, we will sort them out later. Also, if you feel that
you like some image but it doesn't really
fit, save it anyway, maybe you can take
the colors or mood, or dynamics out of
it later after you saved some amount of images and feel that
you have enough. Check if you searched
for all the points that you have written
down in your file. If so, let's move forward
to creating the wood bars. You can add all your images
to your canvas at once. Like this. Select all
of them in photos app, then hold, swipe it. Four fingers of another hand up and rug to procreate window. Wait until it blinks and
swaps to procreate app. Now release, you will get this unordered pack of
all of your images. I recommend to hide all
of them at first and then start placing them on
your canvas one after another. When I'm ordering them, I try to group them together
by similarities they have. Maybe it's the color or
some common element. It is usually seen very well. When you lay out your findings
in front of your eyes, you start to see the
patterns in your choices. The task at this point is to analyze and position everything
that you have found. If I see the image that doesn't really fit anywhere
else, I usually deleted. If I see a lot of
similar images, I try to determine what exactly
appealed to me in them. After you have spread all of your images on the mood
board and deleted them, fitting ones, don't forget to increase the canvas
if you need to, let's highlight the main points. You can do it in
your mind of course, but I like to write it all down. What I usually do is fill the top layer with
white or black color, make its capacity lower, and erase small windows
of the moments I want to highlight for myself on
yet another layer on top. I name them this way. Even the mood board is already a little
work of art for me. You can also make little colors. Watches for your future art
piece based on your board. Here we are. Our
moodboard is ready. It will serve us as a good
guide during our next steps. Don't forget to save this image. I usually save two variants, one with just images and the other with top
layer and my scribbles. If you've done it, then you're ready to go
to the next step. By the way, you can
share your moodboard along with your finished
project in the project section. In the end of the class, I'll be very curious to see
what you have gathered. Now let's move to the sketching
of our character finally.
4. Character Sheets: Okay, now let's move
to sketching already. Let's create a new file for it. At this point, it can
be of any format. I love all my files to
be in good resolution. I usually choose 300 DPI and 2048 pixels
width and height. But at this point, it is
not very important as long as you're
visually satisfied with the quality of the drawing. Let's add our Moodboard
to this file. You can add it as a reference, but I actually prefer
to put it just on a separate layer and turn it
on or off when I need to. Let's start sketching the points that are important to draw. Face separately and different face expressions figure
in different poses, different variants of clothing, optional close ups of
some important details. I usually start with
the face and draw many iterations until I like it. Then I try to repeat
the same look, but from different angles. Frontal view, side
view, three, four. Then I try to create
different expressions and still keep the same face, make it recognizable
in all states. That can be a rather
difficult task. Don't be afraid to
make many attempts. The sketches should be
rather quick and schematic. Here we are just searching, not yet finalizing anything. I also love to make the
sketches with pencil brush, because pencil looks good, even with many lines. And it is important
for us to feel free in these sketches
without trying to be too clean and draw the exact perfect line
from the first attempt. That's why I recommend
you to use pencil or narrow chalk brushes
to, for these sketches. Parallel to the face,
I also draw figure of my character and try
different outfits poses. Pay attention to the
siluette two, They say, good character should
be recognizable even if you fill the whole
silhouette with black paint. The shape should
be, first of all, distinct, not a messy cloud. It should show some
features that will differentiate one of your
characters from another. You can also draw
one figure to use as a blank for your
costume experiments. Just duplicate it
as many times as you need and draw
costume set top of it. It's up to you how many outfits you need
to think through. You can create the whole
wardrobe if you like. But for our project,
we will need just one. I'm working on his
everyday clothing trying to figure out
the best option. The amount of sketches you
make is, of course, up to you. But usually, the more
of them you make, the better your character crystallizes and becomes
more distinct and sharp. I usually sketch until
I feel it's finished. That's it. When I
understand that it clicked, I move forward. Until then, I continue sketching and searching
for the good shape. Sometimes it doesn't
happen in one day, so I just return
to it from time to time until I feel satisfied. So don't rush yourself here. Just spend as much or as little time on this
as you feel you need. Don't forget to make a
few color sketches too. To understand what the
colors of our hero are, you can put the colors roughly under the layer with line art. Use the palette we
created in our moodboard. When you feel that you've
done it is good to organize your sketches
into character sheets. It will be a good guide. In addition to mood board, we can cut out the sketches
you like and merge them on a new layer where
you can position them in more of an order group. Your face sketches,
figure sketches, and clothing variants. Character sheets can
look amazing too. Sometimes they seem as
separate art pieces. I find them very
interesting to look at. You can organize them into one or a few sheets
and save them as Pex. These are the character
sheets I have at this stage. Don't forget to share your
character sheets along with your final illustration in the project section and
save them for the future. As with their help, you can
develop your character even further or just have a
good guide to draw them. Now let's move to sketching
the final illustration.
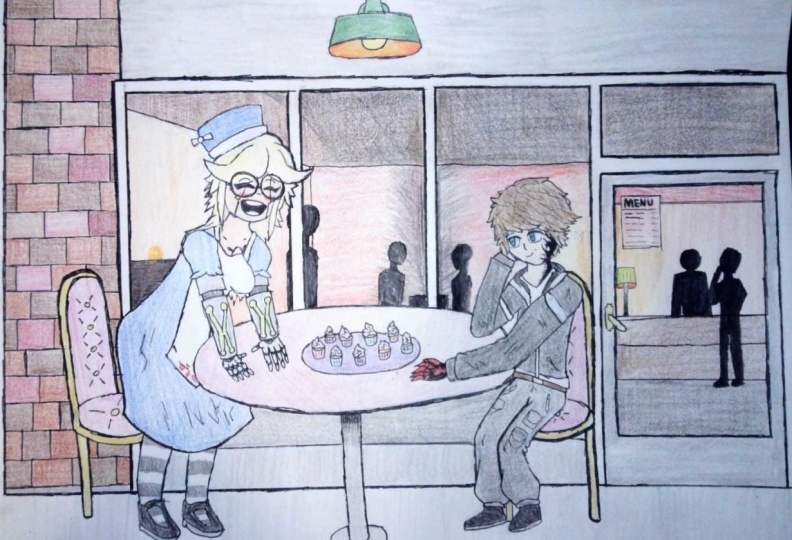
5. Sketching the Final Illustration: Now it's time to
think of how we'll depict our character
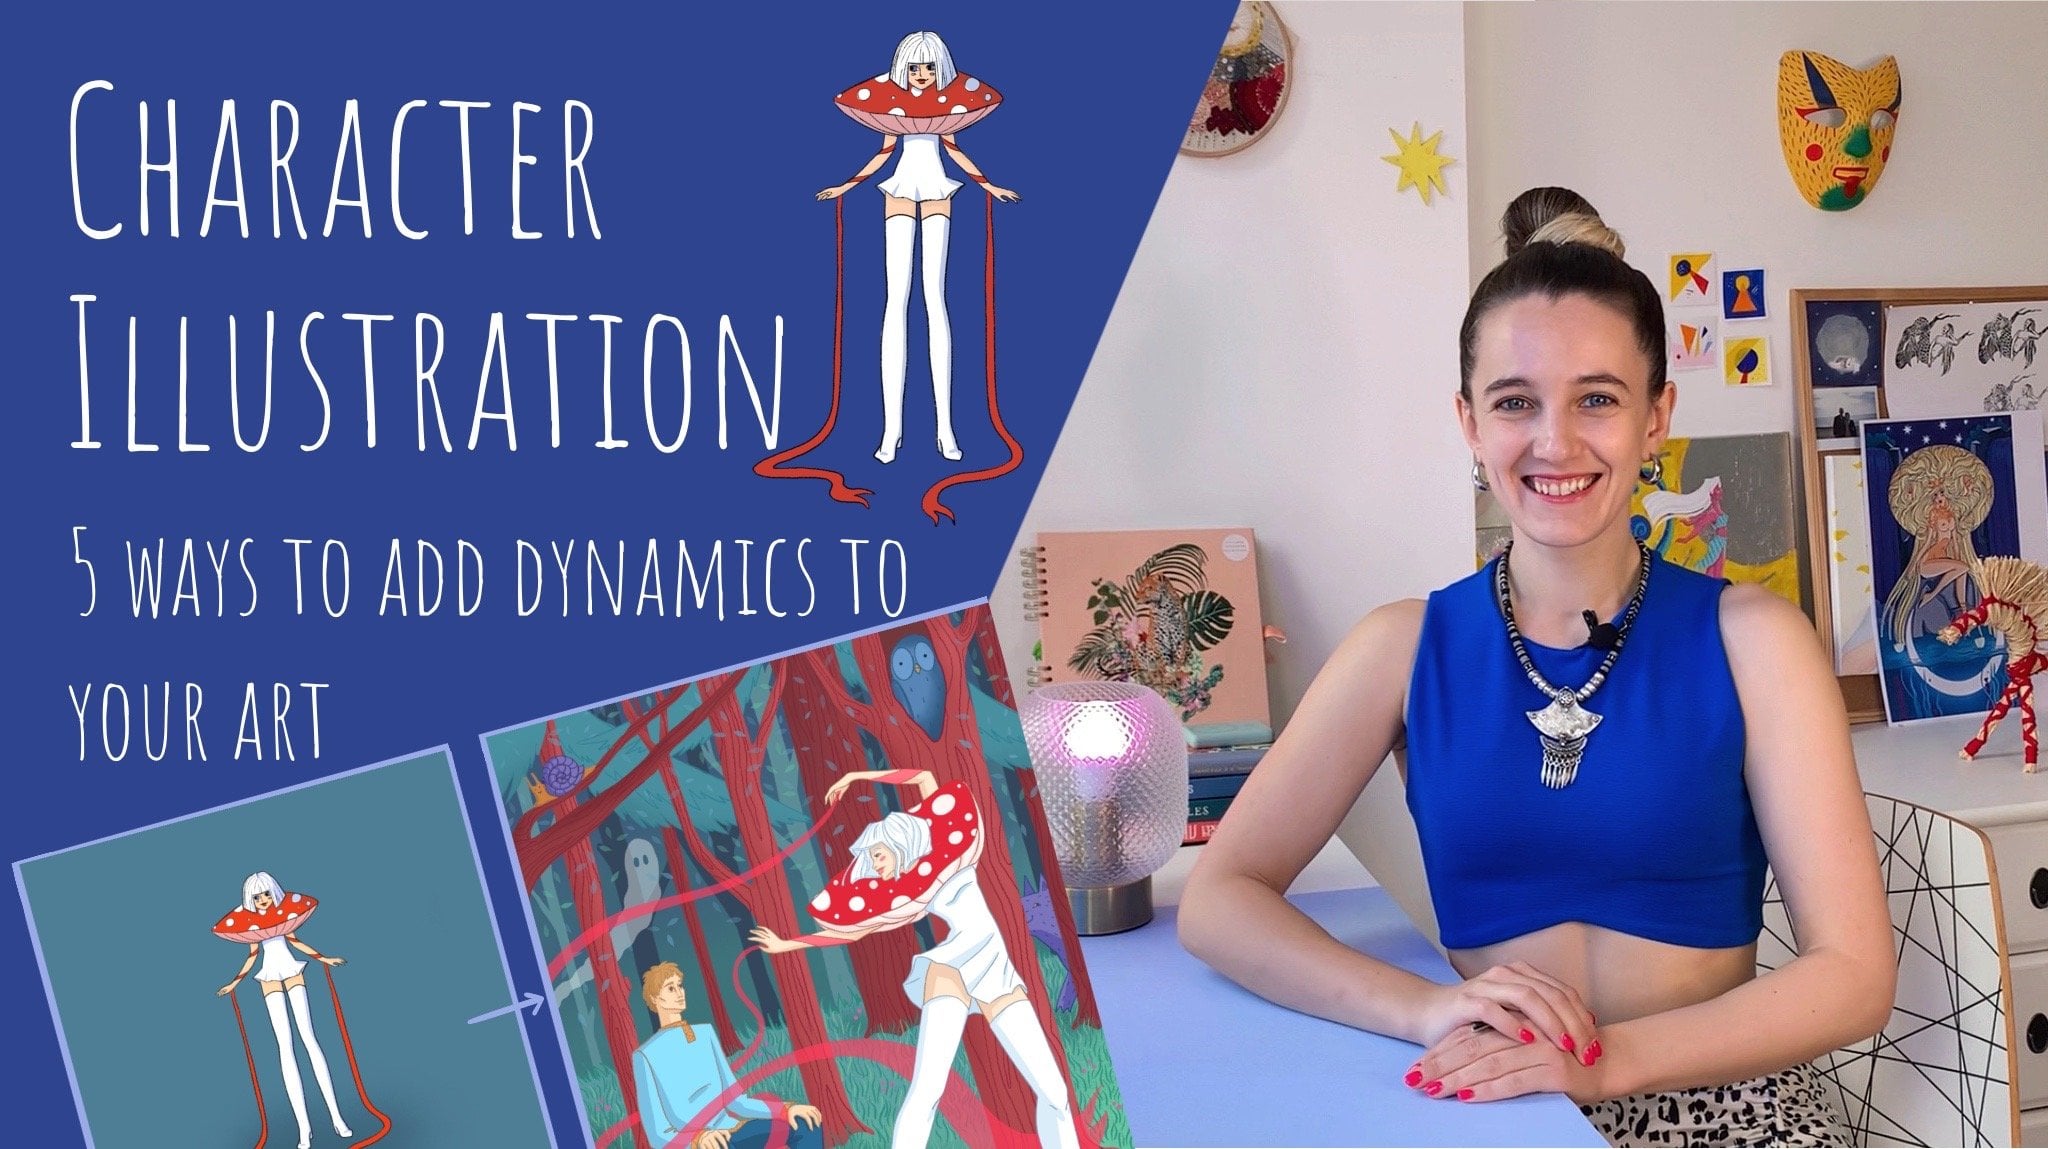
in the final piece. If you want to learn
in more details of how to create a dynamic
character illustration, you can check out my other video here on skill share
about character design. But the main points are, use dynamic and
interesting poses. Make your character
do something, not just stand still. Add background, which tells something about your character. And add other characters. They may directly engage
with your main one or just be on the background
and make it more live. We need to think
what exact moment of our characters
life will be showing. It's much more interesting
to depict him not just standing still
posing for the picture, but catch him in a
moment when he does something that
characterizes him, tells the viewer
something about him. In other words, use
every element of your illustration to keep telling a story of
your character. Think of these questions. What is your character doing? Is it part of his usual life? Or is something happening
that he wasn't expecting? What this activity tells
us about him, Where is he? Is it his home or place of work or some place
he goes to relax? Is he comfortable in this
place or are we seeing him an awkward or hard
situation for him? Don't ignore the background. Think of this as about
another tool to tell more about your character is
someone else in the picture. His pet friend, enemy,
accidental bypasser, Some local fauna, including other living beings in your
picture, livens it up. Also, before you
start sketching, determine the format
that you will have. Create a file of this size. Put a good resolution, this one so you can print
it out later if you want. When you sketch.
Also try to keep the same ratio of the picture. For example, my image
will be imported mode. The dimensions will be start by making a few
really small sketches on one or separate layers. Experimented with position
of the elements in the picture angle
of composition. They need to be
quick, no need to polish them and
make them detailed. Do at least two, three sketches and choose the one
you like the most. Next, we will add
more details to it. At this point, I usually
copy my rough sketch, increase it to the full page, and make its capacity low. Then create a new layer and
draw a more exact one on top. I do two or three
of such sketches, each one more and more detailed. The number depends on
whether poses and features alike from the beginning or something is still
not quite right. Then I make more iterations. In short, draw until you're
happy with the sketch. It should be quite
clean in the end. If you're done, I
can congratulate you because we're ready to
move to the next stage, drawing our final
illustration in color. This is how my stages and
my final sketch look. Now I'm ready to move on. Come on, let's put
some color into it.
6. Drawing the Final Illustration in Color: We are now ready to draw our
final illustration in color. I'd recommend to take
one more look at your moodboard color palette and character sheets refresh in the memory what we
have already done. You can continue in the
same file where we did our sketches or make a new one and copy your
final sketch to it. I also usually add my
moodboard there as well. You can add character
sheets too, so that if you need guidance, you can turn the layers with
them on and take a look. Now our file is
set. Let's begin. The same way as on
the previous step. I lower the capacity of
my sketch and create new layers on top for
my final drawing. Next stages pretty
much depend on your style and how you
usually work on your pieces. For example, I usually
draw outlines first. I make them of different colors, so it is useful to approximately know which palette I'm using. I don't draw all of
the outlines at once, though I work parallel
on lines and coloring. Most often I start
with the character. Sometimes it is also useful to color the background first, you see how your character
and other details are seen against the approximate
color of your background. When coloring, I usually
feel the main color first. Then add the shadows
and highlights. I work through all
of the illustration, adding more and more details. In the end, I add any
additional effects like light, or waves or sparkle, which serve as a cherry on top. But again, here, all the stages depend on your style
and the way of work. I usually draw my elements
on different layers until I'm sure of the color and I don't need to
change it anymore, then I can merge them together. Also, when you choose high
resolution procreate has quite harsh limitation on how
many layers you can have. In the case I don't have enough, I group together
the elements which don't connect into one layer. Because in this case, even if I need to change the
color of something, I can easily select it
and play with colors of the separate element without messing with all the other ones. Enough, we finished
with our main project. I congratulate you. We've done so much work. I'm very curious to see
what you have created. So please don't forget to
save your illustration as a G pack and upload it into the project section
under this video. You can also include
your woodboard and character sheets there. As it is always the
most interesting for me what stages the project
took along the way, I'm very happy for you
and your new character, and let's meet in
the summary video.
7. Summary: Congratulations, we have
finished our big project, which consisted not only of drawing our final illustration, but also of working
thoroughly on our character and thinking
through a lot of details. Now, there is so much you can do with this
project further. Firstly, you can, of course,
put the final illustration into your portfolio or
on your social media, print it out and hang
it in your home, give it as a present to someone, or even sell it as a print. Secondly, you can work
further on your character. Create a series of
illustrations out of this one. Write a story about
him and illustrate it. You can even make a small
book about your character, which in fact I intend
to do with mine. Your moodboard and
character sheets will be very good guides for
you on this journey. Say them, I'm really
happy you took my class. I will be very glad to
hear any feedback you have for me to make my future
classes even better. If you have any questions about the class or
just in general, you can ask them in the
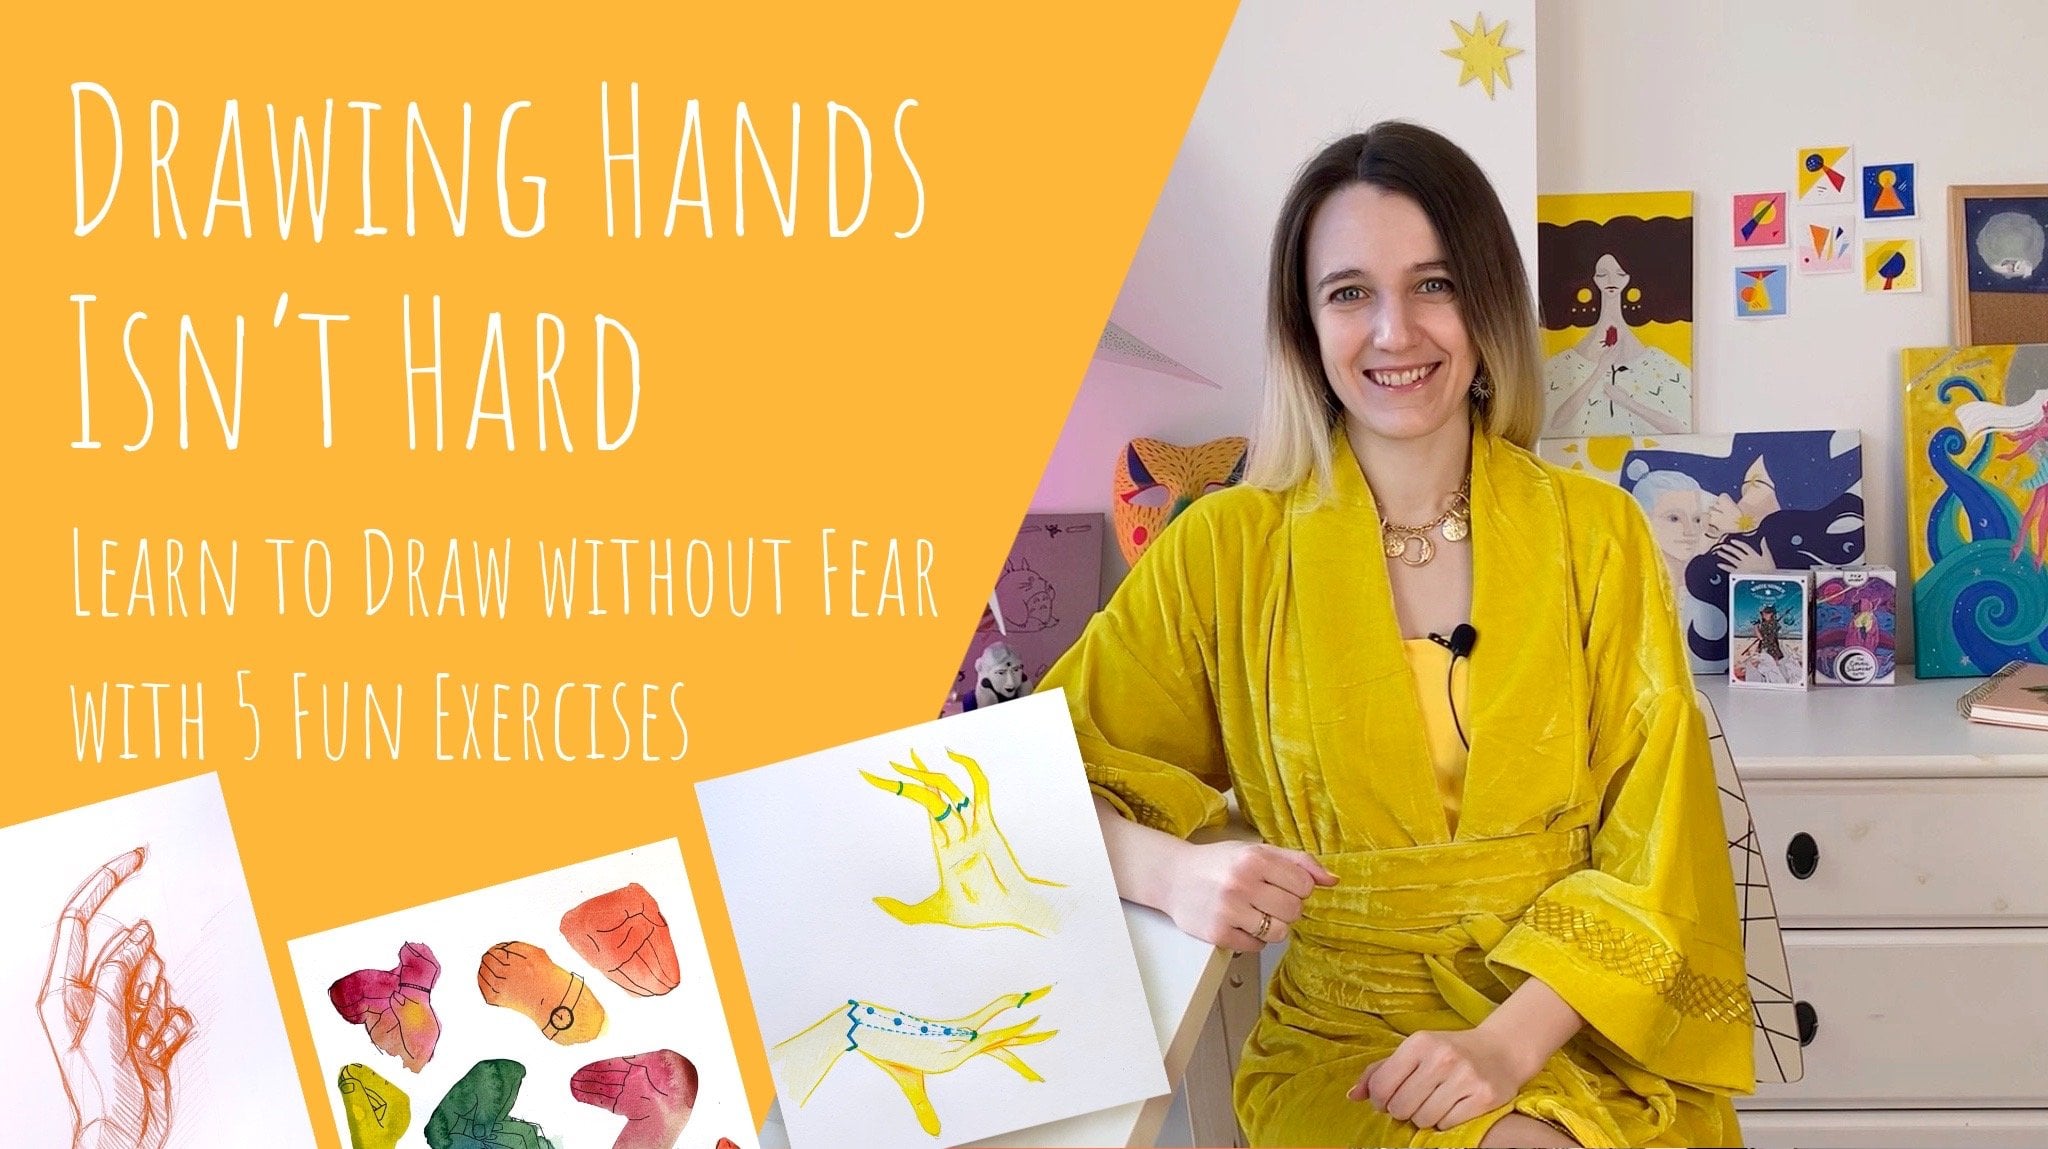
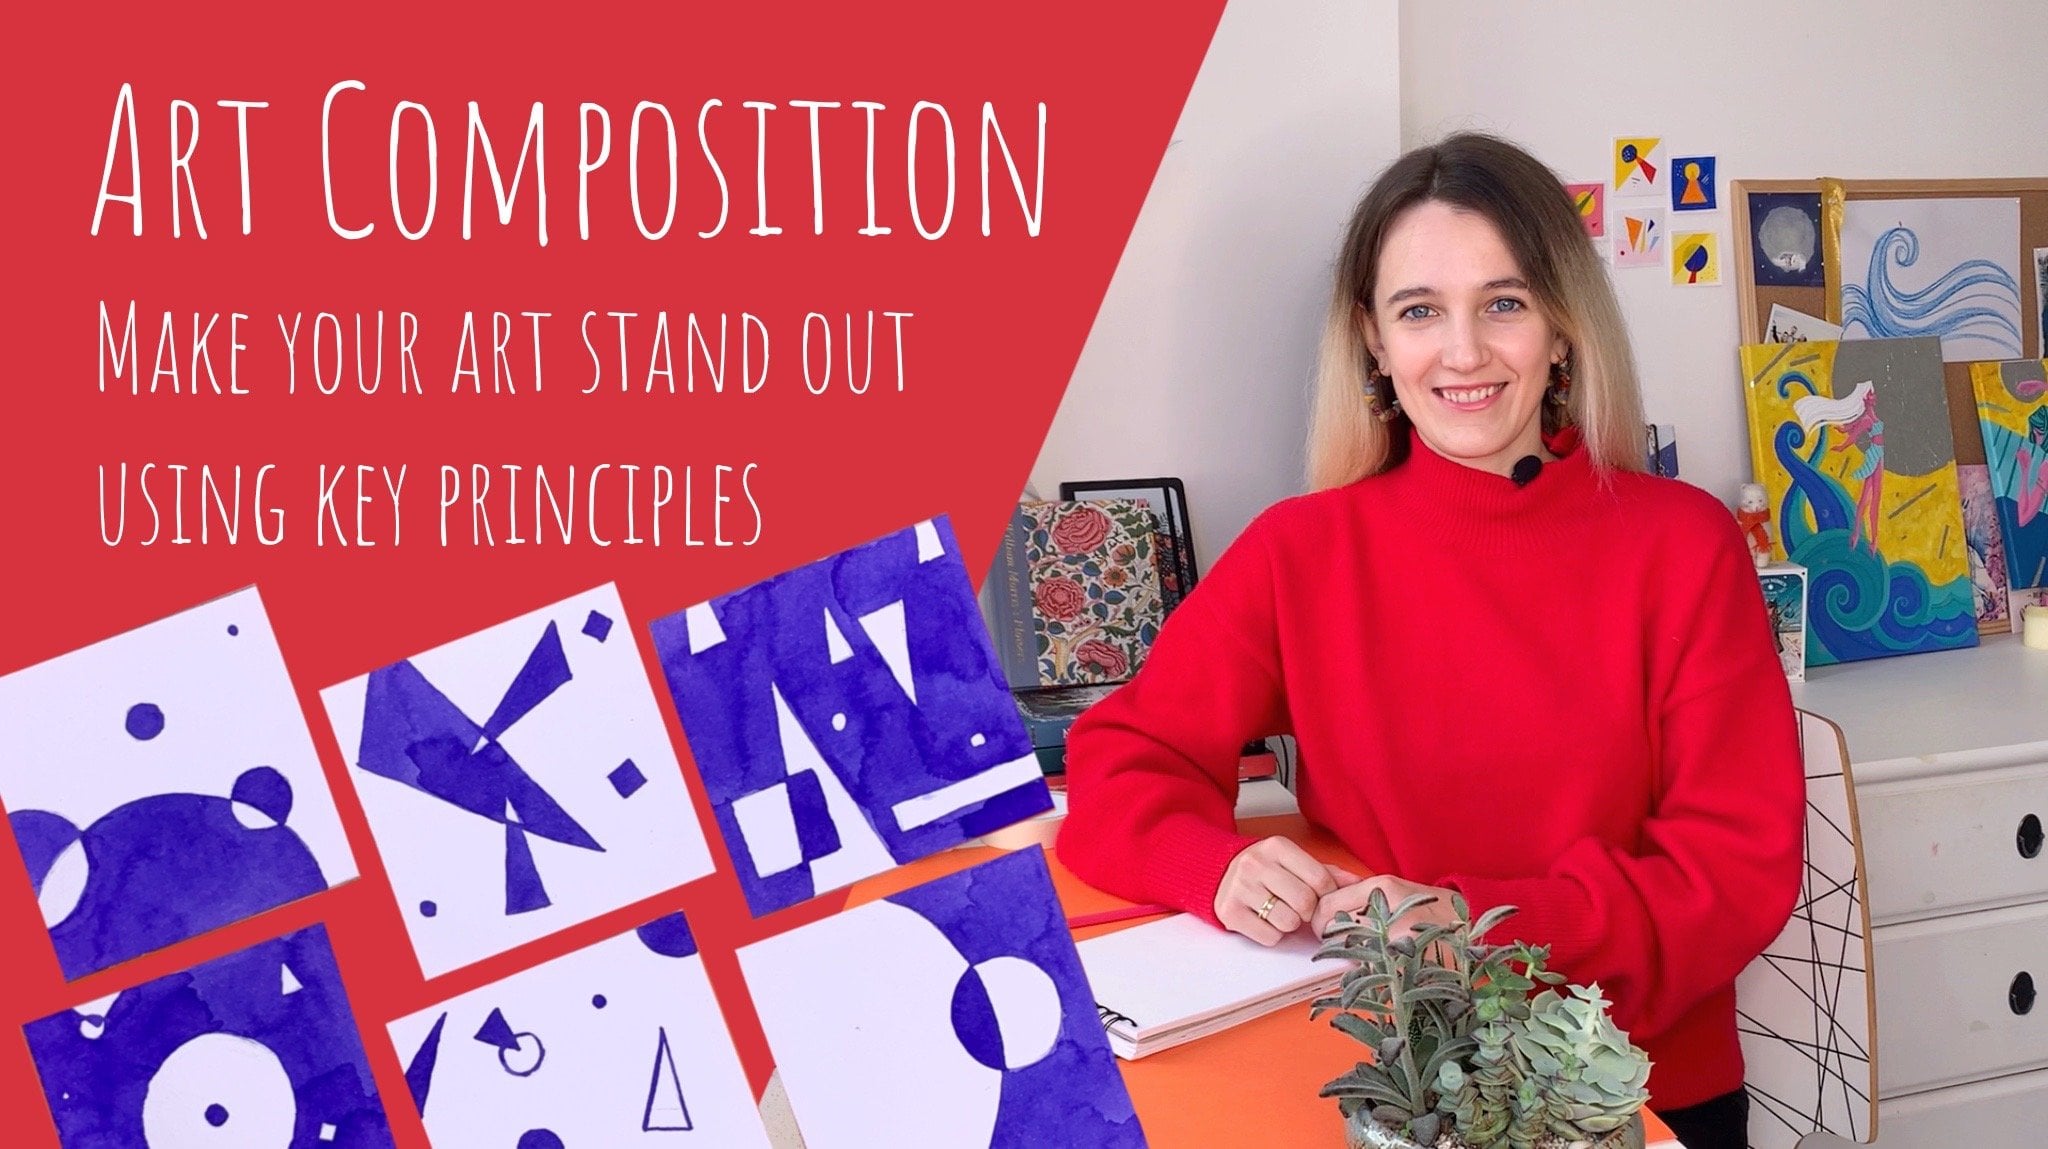
conversations under this video. Also, I have other videos here on skill share
about color theory, composition, character
design, and hand drawing. If you're interested
in this topic, you can check them out. So if you want to see more
of my art and have a chat, say hi to me on Instagram
or my other social media. I'm always happy to
meet new people. Thank you very much
for your attention. I really hope you enjoyed
the class and see you soon in my new classes. Bye.
 Kate Grishina, Illustrator, artist