Transcripts
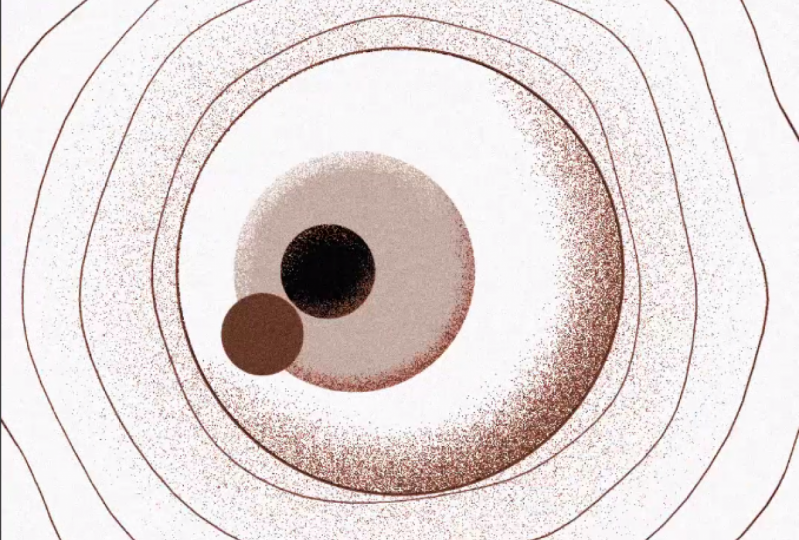
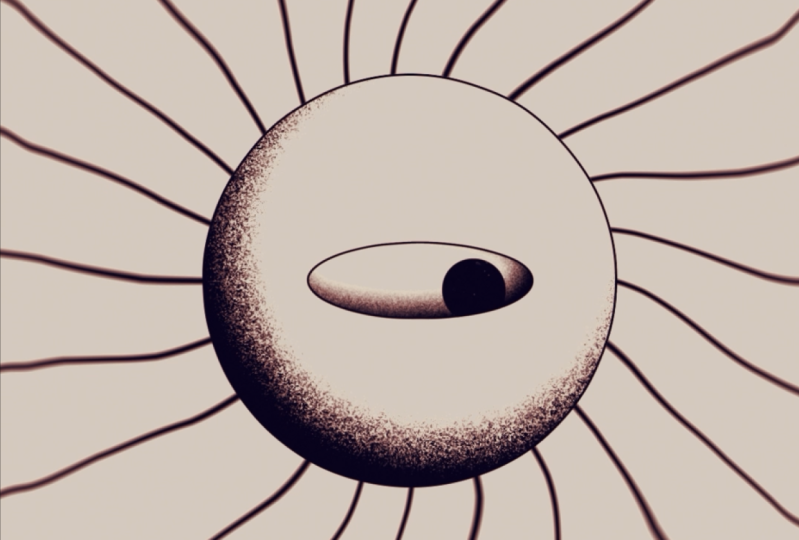
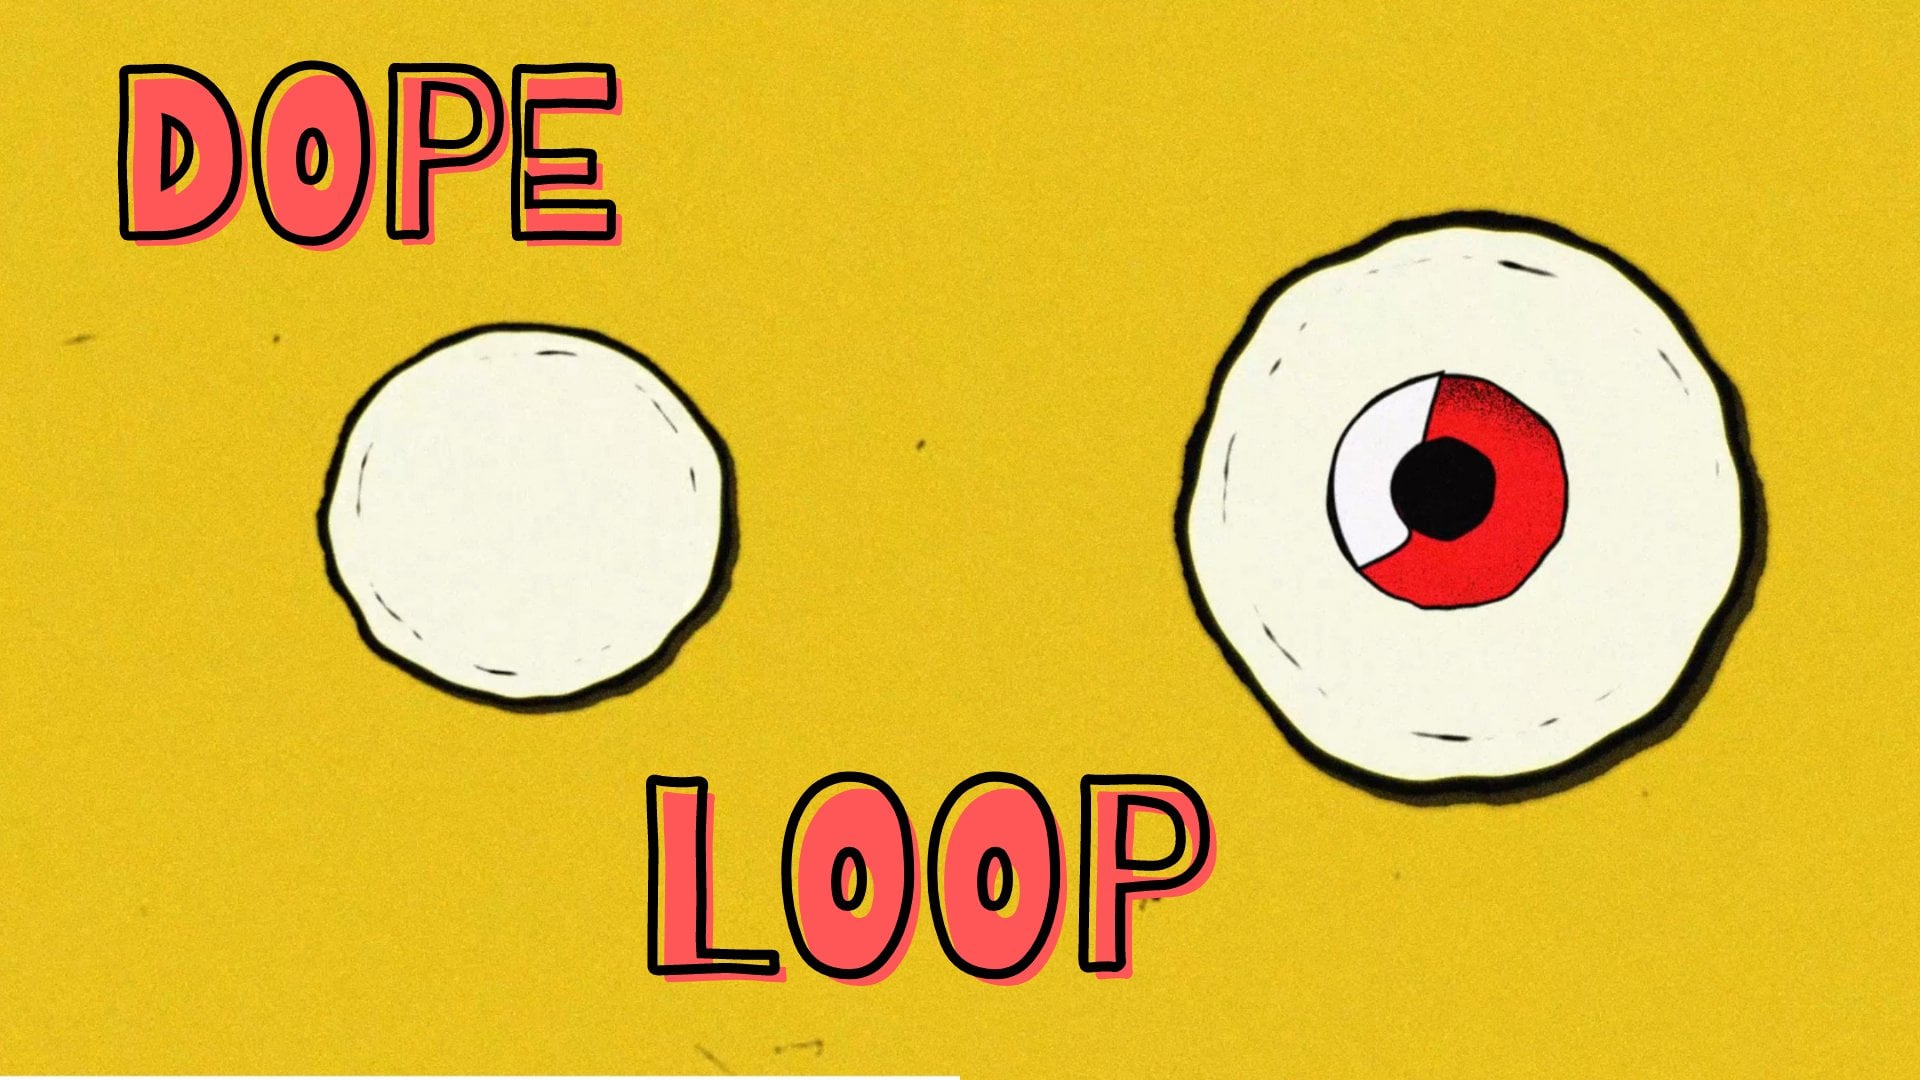
1. Intro: Hello, I'm which you see here. And this course will teach you how to create an infinity loop like this. Like this, or like this. And the final, you will have personal project. Also, I will share some powerful 3D that can transform your staging dimensions are moving some FX for a text or anatomically that will be useful for your future carrier and projects done miscarriage. You jump into this and let's start.
2. 1. Moon + Shader tool: So for our shader, we'll use to create it the Danish they're in motion design. You can find them in attachment folder under this course. Where else WHO will be a project files? But I will like to give credit for him so you can check his Instagram here and here's links. You're going to follow shade for our beta test. And here you will be redirected to his website where you'll have this Download button and near read explanation how you can install. I will explain to click on Download. Open this zip file here, extract in our folder, and now go into the shade or our V1 shade through our folder. And what do we need to do is to go into the program files and add in After Effects, Support Files. Scrapes. Final destination is scripts. We panels. And to copy, I just had them some iron one syringe style. You get this one and this folder and just copy them in your script, we pan out. So why mark time folder shared through our presets and trade through our extension G's x min. And after, open your After Effects. So let's start. First of all, create composition. Our settings will be 1, 0, 0, 0, 0, 80, frame rate, 24, duration nanoseconds, and the ground color, white. Name this look after, choose ellipse tool. Be sure that your fill color is white and stroke size is three. And let's create our circle. Something like this is absolutely okay. Let's rename this from the name. Nice. Move here in this center, something like this is okay. And now open window, get down and shade for our shape tool that you install and how you've seen in our window, we have three type of shading where we'll stop with that first one. This is honestly my favorite and his very interesting. So click on him. And right now I can meet on the ear that is very helpful for you because apply this shader on your shape, you need to be sure that you click on your shape. Otherwise, he will just create another cell it, so this solid will delete. Moan and just after apply noise shading. Now you can close your window. And how you see we have this doug settings. Don't be scared. We will use just a few of them and let's start to customize. Our burstable distance will be, the instance will be 62, softness will be 276. Frame rate will be for contrast for 66. And just in few clicks, we create this shape. And I think it look cool and interesting, but we miss something. And I spoke about our shader circle so far, this one. On your shading angle on that first rate frame. After opening our keyframes and go into their finals frame somewhere like here, you don't need to have a special frame. Make sure that you are in the final here is okay. Yeah. And here we'll have 2 plus 315. And let's see what do we have. And it just in a few minutes, we create this mourn with interesting shade moving. But right now, I'll actually show you one more powerful trick that you can use in motion design. And not only on this type of project or a work that can turn your static image into some different boil for these foreign go to the fx and Brexit and search for turbulent displace applied sure. Our shape and first of all, let me show you. So how did you see that our shape right now, go to the evolution. Don't, don't try and model size. Just go to the evolution options opener and then sit. And here we will arrive on time and let's see what they have. So you cannot die that these value create different random seed every, every seconds. And if you want to be sitting at least if you don't like the shape because honestly I like something warm animal instinct because I didn't fall in these charts or Octave to this project. Just go to the amount and our setting will be fall and size will be 28. We also can play with time. And let's say time multiply on ten frames per seconds. And let's see what we have right now. So you can adapt it. You start to move more ester. And if you want to make it more smaller, ear can apply something like value three hours for our settings and for our brochure, will choose five is something like between 89, so fast and slow. So it's something that's absolutely okay for me. So that is produced in five minutes. We create this interesting shape with interesting shader. And let's go to the next lesson where we'll create an eye.
3. 2. Eye: So let's start with our eye. Let's create another composition. We the same settings, with the exception that composition name will get. Nice. Choose spin to G on your keyboard and fill color will be the same wide. And just throw stroke size three. And let's create our eye. We have 1. The second one done by him. And they came too big. I'm sorry for this. Making a smaller something like this. And let me just throw up size or let's say five. Yeah, that didn't work. So he shape there needs to be perfect. I like something like it is. And are right now. That's great motion. Open shape, Contents, Shape 1, 1 and clinical. And turn on New York keyframe somewhere after 11 second. Go to the first frames. Let's say, let's say right here, 200 shape. Be sure that the turn-on New York keyframe can apply. And right now, let's close Kim, right here, right here. You don't need to have that perfect line. Like to close. I like this one, but if you have some urine, yes. Of course it can do it. So that's why they have and let's see what we find out. There is nothing cards, but let's move a little bit later our keyframes. So to have our clothes and outline. And let's add on your last keyframe, keyframe assistant. Is it in here? F9? With I actually loved to play more with them. And I spawn, Don't forget to save. In case if your After Effects to a crash. Right now, let's rename this border. Right now let's create our pupil choose ellipse tool. And right now we'll change our fill color from white to black. And it should save your times, denote animated that barf, others circle to make the same like her. I border. Go to the effort Brexit and choose Set made and applies to your pupil. And right here on tape made from layer choose I border. And so this is ethical is very useful if you love to work with eyes, budget other projects. And it will be useful to when you apply them, they start to share same keyframes. So if we change both keyframe path animation on Iowa border, at least one will be on apply on shape layer on people. Because of this very simple and very useful effect like setName. Okay? I like this size, but honestly I will make a little bit smaller. Know, let's say 82, 77. This is why I like motion design. You always can play with these settings. Let's see one more time whether you have and in your folder, me or shade there you can fall in South GIF texture that I had for you and add them into project. But before, before you will add them on timeline, choose for example, this one. Clique, right-click, Interpret Footage Main, and hear from you on default settings you will have one, but the change b to 100. And then right now that add on timeline. And this one will make her look bigger because our default setting, let me show you a little more easier. Instead of. 101. You see he's more smaller but ammonia make it something that will help you know your space. Instead of copy paste, copy paste, you just turn your main setting and make your bigger. Let's make him a little bit more. Something like this is okay. This sure that your GIF is under pupil and open your truck made if you don't know where it is, it a left corner? Right here. Yeah. And here, choose Alpha, Inverted mate. Stop. I'm sorry, alphabet. And let's see what we have right now. Look at our pupil. So we have universe in our I, I like to play Drake made is amazing tool. How I say have only four options. But trust me, you can create, if you'll play with this, you can create a lot later. Why were these three, the GIF texture? So you see, so play with this. I like, I like this one. I didn't want to see our project to be black and white. But high say if you want to try something new, of course you can. And let's animate our I, our pre-built for this one, create new null object. Move him and this center, our anchor point, or the center for this one, tour I on your keyboard. Direct pupil shape to the null object. And let's animate object open p.sit position. Somewhere. Here. Let's turn on your keyframe. And here we can play how we want our life to just move him around. Here. Based on the left. What? Copy-and-paste. And here let's return and the center, let's see what we have is okay, but let's work. First of all, turn all of our keyframes F9 to make it easiest an hour like to play with our cars. And the final are like something like this. You see? And this one is okay. Elsa. This one is good. Too fast. Yeah. So it's one more time what we have after bear with curves. And for the final keyframe, just copy that first one and face him and a final. After we finished with your animation, you just open your eye border and copy this one somewhere here on the seventh seconds. And the first one to that final somewhere in here. And move our eye pupil something like this and extend ship. Let's see what we have. So just in a few minutes, this one was a little bit longer, but do we create our AI? And other episodes are your motion blur and the render. But when you work in a project, you don't need him so you can hear, turn off. But let's think that that allow you to make. Let's go back to our composition here where we have our moon and add our, I like to make ACUs ethane three that I make with moan. You can just copy or turbulent displays and apply to our eye composition. Let's see. So here are our final result. Nothing hard. I'm pretty sure you don't is more better than IEP. And let's go to our final lesson where we'll create our background.
4. 3. Background: And to find out bar will create our background for this 1. First of all, let's hide our eye and moon and be sure that you are in the loop composition officer. Here, we will create our shape. Use pen tool G on your keyboard from stroke size, from three, turn on nine. Feel honestly, no matter you can be with wheel or retired. I personally hide my Fill. Click. Okay. And let's create our line from seem term. Somewhere here. Oh, okay, let's rename this by drowned, by ground. Pushing down open background. And you can see near contents. We have add clique and we have a repeater. So from the name you can understand that huge debate. Repeat the shape on corpus. From three, we have 22 opposite tour five, boys, seven. Open transform. Here at position, we shoot at the 00 and then rotation 16. Close, close content settings, rupees or settings. Click on the ground as scale and make this one a little bit bigger, something like this is okay. Go to the first frame. Click on the rotation during your K from keyframe and start doing your keyframe on. And as a final note, negative final frame. But let's say eight seconds. We will make minor notation. Let's see what do we have right now. Okay, look nice, but it's unlike Let's add our turbulent displays with expression Time on our background. But let's change our sensing from four to nine and from 28 to 323 right now. And, uh, right now, honestly, I like more. You can play with this. I'll link to it. You can formulate a diet that the space look kind of strange. So getting back to your content, repeater and from 32 to ranging free, right now in Luke, more personal for me, from nine and Maryland at say 11. So it looks nice and it's opened our mourn and I, and let's see, how are we going to say our final project in the last lesson, after we will render I going to show one more effect. It will help you very fast, but very cool to turn pink colors. That thing that, that'll allow you to do is to change my keyframe. First one, Right-click Keyframe Assistant, Easy Ease Out. And for the last one, F9, easy ease. And let's see right now what we have and the final. And right now, let's go to render this project.
5. 4. Render: I honestly choose either Premier Pro. The reason is because I have some struggle with me, Dan Carter, and this is live clock in case it would have trouble too. If you use Media Encoder, you can render their one is high, say, are these people who love to render with either Premier Pro or haven't and other choice. So great in file, Let's name of low rank. Choose your location. Click. Okay. Next step, create sequence, sequence k. Honestly, I don't care about the sequence settings because when you add that projects from perfect, he will ask you if you wanted to change the settings or the project should be similar, like in After Effects or teres, like setting confer sequence. Let's see. So click on file. After a genetic link, import the officer fat composition where a CR offset if I project is based. In my case. When, when you've found your project, click on him and you'll see composition that you have enough to affect. So we have an AI and how it open I choose. Wait till here we'll add in the Arctic timeline. And after add onto your timeline. And how I say, he will ask you if alive to change. I changed sequence settings. And you can see that we don't see nothing. Where is our white background is because we create wider ground in our composition. But Hero Quest to have something, let me show you. Go here. New Item, color made 1000818024. Okay. And choose the color and lowercase y. You can name if you want. I don't need so. And for this color on your project, and we'll results, our problem. Also live hog in case it will have some troubles like this in the future. And go to that file. And let's export this one, whereas export media or Control M on your keyboard. So for format, I choose harsh 264. Output name. Skillshare are gay. And the most important is here. These are the bit rate. Either recommends you have something between 25 and 26. 26, and click on export.
6. 5. Textures: So let's back to our After Effects project, creating composition. With the same settings and composition a little bit color Rama, yellow. There are standard right now y. And here your render as your project timeline and go to the fx them fluoresces and look for.
 Sasha Luvr, Work in third dimension