Transcripts
1. About class: Hello everyone. In this course
we agree this dope I loop, which will be your
final project. But at the same time, my
purpose was to share some of knowledge that will be useful in your future independent work. If you're a beginner,
I think that this will be very hard for you. Don't worry, I explain
every of my stem. Ensure that you are
done a great job. Have fun. Let's start.
2. Lesson 1 Create eye: That's the first thing is of course we could
weird New Composition. Click here which
name will be at I, loop ratio will be one-to-one. In my case, we the hay will the 1500s by a 1500 words frame rate
honestly doesn't matter. Duration will be five seconds only background-color
LSA doesn't matter. Click OK. The next thing, we create, new, new solid, which in our
case will be a background. Background, good for color. American Foundation for
this course will be a warm white, a warm yellow. You can go to the Google
search for warm yellow hex. And that was actually
the first side. Just clip it for example,
I like this one. Let's copy this one. It's up here for future in case, for example, because you can't change the color right now
after we create the solid. And, but for example, if you'll want you to change another one, you're interested in ethics
and Presets, search for fill. Right now we've done the copy. I just show you
what you can do in future in case if we're the ones who will
change their color, feel applying your solid. And here you can change the
color on wherever you want. What's right now we
don't use this one when we have our yellow. The next thing is, of
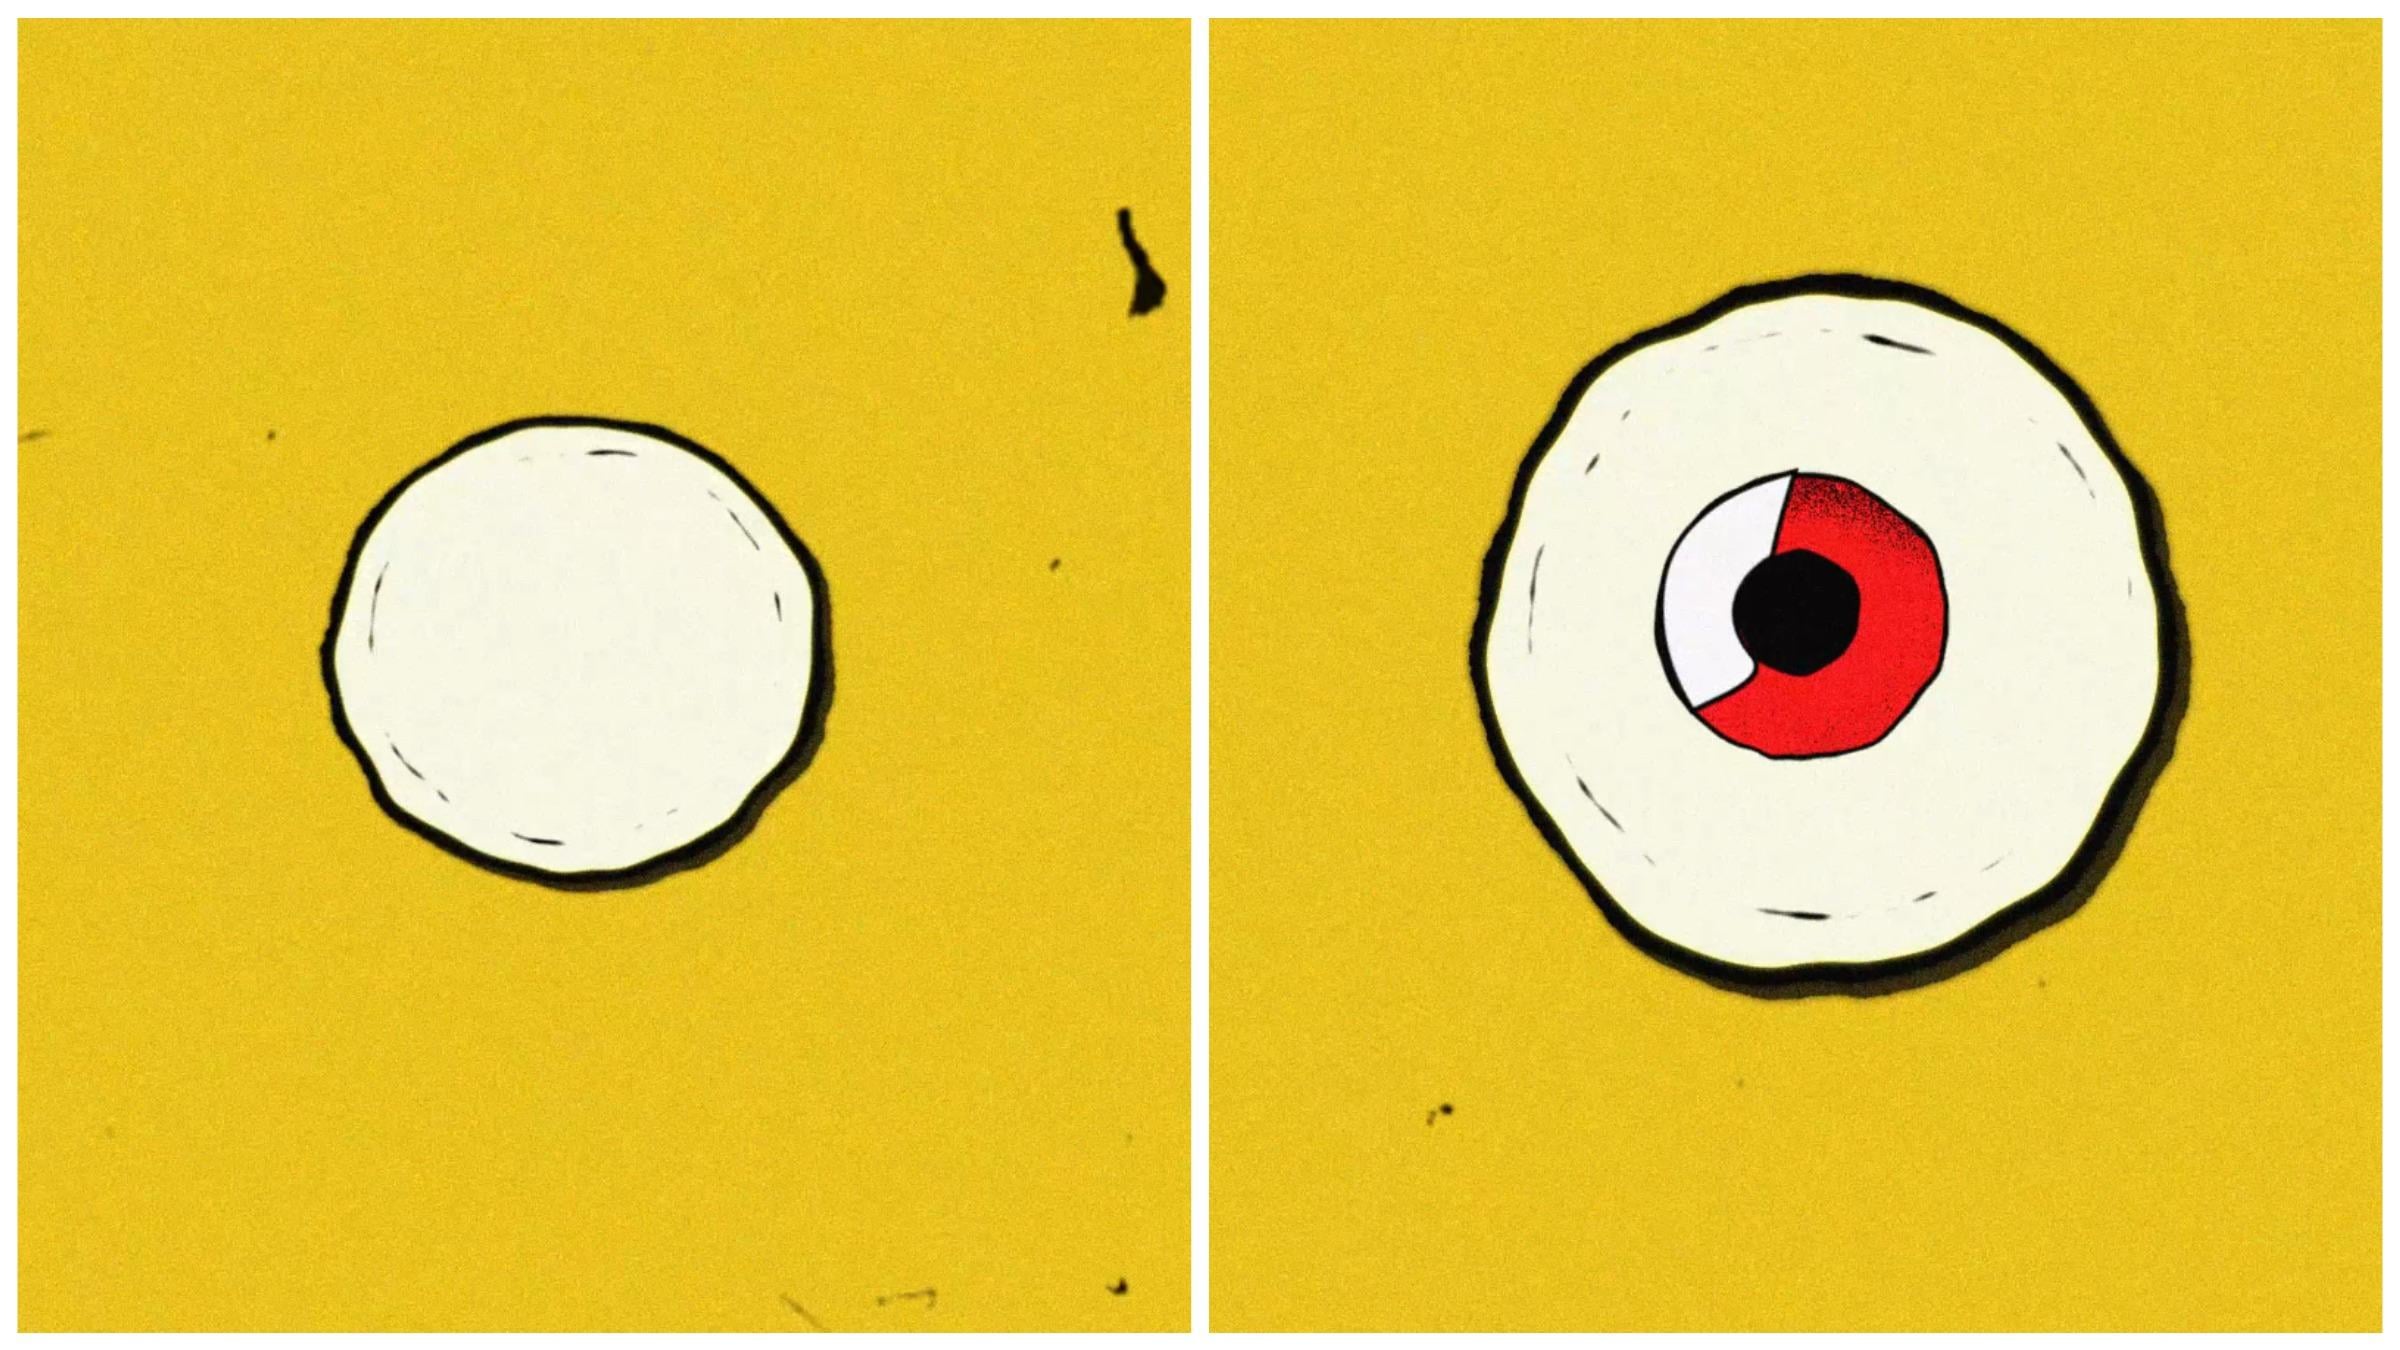
course we create new. We create a shape, go here and choose ellipse tool. Be sure that fill is
just click on Fill. Let's call her yes. For a solid color, we'll have this hex FFD, BAC, just copy please. And stroke border. First of all, that color will be black and the
thickness will be 15. Be sure that you don't click
edit your background so that you didn't click
on this one here. And create something like this. Let's change the position. The position. Let's place somewhere here
in the middle. Right now. First of all, of
course, given him, I mean, I let us call
this like this men. The next thing of course, let's add a few efficacy because I didn't say
that look better. But for our purpose, we need something else. The first ethically them, one
of my favorite is there are thin edge apply on
your eye shape. And right now you can
see the difference of sorry, for quality. Without, with, without. Our settings will be border 12. Edge sharpness will be 2.9. Good. Fructose influence will be 082, which we, the head
will be around 2.2, and complexity will be ten. Now, you can see the difference
one more time without. The next one will be
turbulent displays. Here. You see how the
shape changes right now, let's play around with this. Displacement would help
if we had a few settings, but we will stay on turbulence with low variable to do this one for amount will be 21 and
size will be a fortune. While we don't need
a big changes, something similar to our
default shape, you create. Complexity will be at 1.7. Right now. Don't copy it,
just first of all, look to understand what I do. And after you will
do the same thing. If you'll click Play, you see that we have just a
shape that state one place, but we need to change a
little bit of motion, a little bit of movement to make our loop a little
bit more interesting. So for this one, how
I see, first of all, just look open evolution options in here you have random seed, tip, Alt, and left-click. Here. You're right. Time multiply,
let's say on foot. Just look what we
have right now. So you see the movement. If it's something more
value, for example, let's say 28 will be too fast, but just let's look on this one. Not in our case. In our case I think
four is very good. So this thing is very useful. Let's move on. This is actually a
very useful there they usually use in some works and when
you cannot create, when you can from aesthetic
shape to add some movement. So remember this one and
I think heart lay around. And let's move forward with
the next one will be globe. Glow, Stylize and Glow apply on your eye. Glow 33. So I didn't know
what it is worth. Three is called, we will be
71, something like this. You don't see the big difference
right now, but trust me, when we will add a
little bit of texture, you'll understand that
this is useful effort. Actually, if you don't want
you to use no problem. But my recommendation to you, this one for now for our course. Great. Let's move on. We've finished with Maine.
I, and I would like to add a little honestly. No, I forgot about one thing. So we have this motion, but she's still
stay at one place. We like to, you know, to add a little
bit more movement. And of course we can open position and just
create keyframes, but it's too boring,
is too long. Can you know? No one said that you would like your final results for this one. We have another
say this formula. First of all. First of all, look what they do and after
you can copy it, again, I'm gonna hear Blues
plus left-click, left-click, and
you're right, legal. In our case, it will be 225. So the first thing, the first value in
response about speed, and the next one
is about movement. Let's see what we
have right now. You see, she starts
to move around. Let me add a little bit more to make you see the difference. But there's two mucus
too much for us. That's, for example, add a little bit more
speed with ten. Nice, but for our case, but actually our value
will be true and 25. So yeah, for me eternal, it just a little moment or Alt. Great. Now what do you
remember this one? Let's move forward to the next step would have
been a little detail. We will use the same ellipse
shape only this time. Turn fill off. So click on the field
and the left 19. Okay? This stroke will be fought. One clique, something like this. Remember, you can go
always the position, change the position somewhere. Like this as a scale, let's make this one
for one node so much. 104. Yeah, I think it's a good
understanding right now. You're probably right now
it doesn't look very good, but let's add a few effect. Let's say actually the
same f or alpha an edge. Let's name this one. Detail. Good. Doc or now you can
see the difference. So without honestly, we
can change the settings, but the default
settings, I like them. Let's stay at this
one, how it is. And let's add the next
turbulent displays here. And you can play around 21141 complexity yet
1.7. The same thing. All burn Evolution Options. Click out, left,
randomSeed time, multiply this time on five. You can see one strong. You can see that this thing started to change here, shape l. So, but you probably
notice that, you know, it looked very bad
because our main I have a movement
around this one. No. We can go to the
position L, So wiggle. But we should,
should be sure that this one follow that all of
them follow the main path. So very simple thing. You just go here, parental
link, parent with Maine. I am right now out
our eye detail. We'll follow the same
path like Maine, I like to change a little bit. They scale, I think
the position L, So here this scale is OK, do the position
somewhere in the middle. No, it was good. Let's watch one more time
once we create so that she was meant I I
detailed turn off. Don't copy, just look. So that was our initial shape. And just in a few clicks
recruited from this. Something like this. Which in my opinion
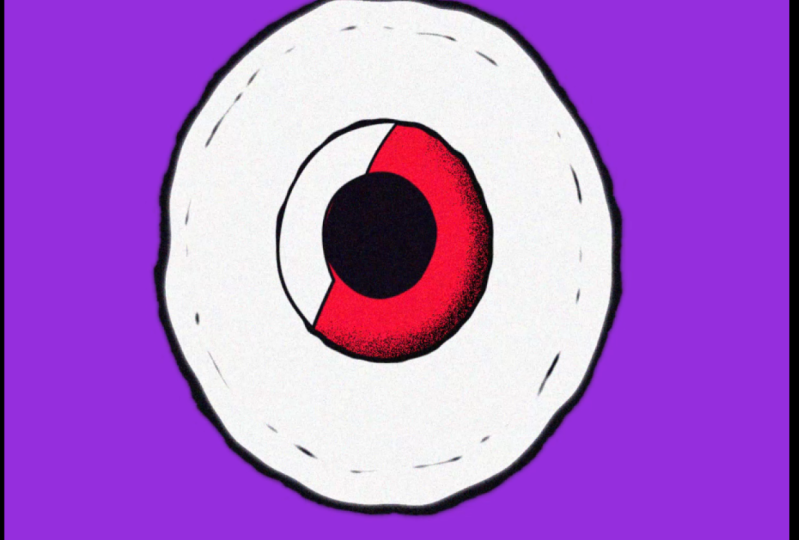
is way more better. Let's move forward. Like Yeah. Okay. We'll create eye pupil. Again, ellipse tool. The ellipse shape feel torn on. The color will be red, something like this, I think. Yes. The stroke thickness
will be ten. Great. We'll create here in the middle. Well, it's a good one. Let's name this eye pupil. Pupil. Let's change
the color here just to be more easy for us. Let's say Aqua. Yeah, I mean, it's, I
gave you one choose another color. I
choose this one. If you click View, head, this one shaped. What do you the name
selection tool. Great. Same thing. Let's move more in the
middle, in the center. The first effect
will be turbulent displace this time
without Ralph and edges. Click here. You see the difference, but let's play around. A mount will be 90
and size will be 15. We don't need a big
change to something, something like it is.
Okay, absolutely. Here, complexity will be
iframe, our evolution. So go with that for a second. Quick evolution on. You can tap on your keyboard and it will show every keyframe
that you have on. Instead of go here
After Effects, search for your keyframe
with a lot of space. Just this one and
click OK. Great. Go at the final, somewhere
close to the final. And here let us say three. Look what we have right now. Even though the quality
little bit better, you can see that shapes
start to move in all. Timo fly around. Choose the last keyframe. Right-click Keyframe
Assistant, Easy, Ease. A great, let me
impacts you. Fool. Again. Parental link
to them in main I, we actually will apparent
everything to them in I. And now you follow the same path like
the our main I grade. I would like to add a little
bit of shadow inside. So let me put this one
a little bit here, a little bit more higher. If you want, you
can first of all, look to understand what they do. Actually nothing hard. Just choose chi is comfortable for you or you can
repeat after me. You choose people. Right-click. And here we
have Layer Style. Great. This is some of the ethics
that you can apply on your shape in our case
will be bevel and emboss. You can see this
thing appear here. Right now you don't
see any difference. You understand why highlighter
color choose black. And our size will be 43. And now you can see that
the shadow appear here. But honestly, I don't like this. 1. First of all, highlight opacity
somewhere on five. And shadow parasitical
be something like 45. Highlight Mode, choose dissolve. Here. Elsa. I like this grainy shadow way more than that one
that we had before. You can play around, but in our case we
will choose this one. The rest, honestly everything
is good except one thing. Actually highlight color. Let's look white, hot. No. Black like saccade. And three. Yes. So highlight the base steel. This one shadow
pasty is this one. It will like to add a
little bit of movement. I would like to
have this shadow. Make a few circles. So we have angle just go in the first,
in the first second, somewhere in the start, and go on and go to the final. And let's say somewhere like
two circles will better. Right-click Keyframe
Assistant, Easy, easy. Let's see what we have
right now with our shadow. So you see our shadows
start to move around. If you want to have
another direction, just have everything here on minus instead of plus
or minus the rate. Nothing hard. Let us see what we have for now. Remember we had to add a
little bit of texture. Another thing, this isn't
close to our final result. But even with this
personal allied, what we have for now, and I hope you
enjoyed the process. Don't forget, of course,
to save your file, Let's add a little bit of shape. Actually the last
one for this lesson, that will be then other pupil we have
inside of our main pupil. Let's actually call
this one main. Sorry if I don't know the
terminology but shape, feel we'll do black, fill color and stroke corners that we don't need stroke
so we can put it just on 0 and we want to
place this one here. V to choose selection tool. Move this in the
middle, have one, look like this size probably I'll make it
a little bit bigger, something like like this. Even more like this. Great. This anchor point. If you want to move
your anchor point in the middle, you
have a degree. In the middle. Reaches selection tool. What do we have? We have only one effect,
turbulent displace again. With the same setting. Close 15 if two
complexity to evolution. We have from 0, the final three. If you wanted to see
your keyframes tab. Right-click where you are. Right-click Keyframe
Assistant, Easy, easy. And don't forget to
follow the same main. I probably I think I pupil. I didn't understand why
our position is here. Now his grid and let's
parent or let's give a name. I, pupil, middle grade, the same color, aqua. And now we understand that
this is pupil parents, this one too, I main pupil, which means on this one. And let's have a one look because we finish
with this lesson. We'll move to the next one. Honestly, I don't
like this yellow, but I think the final
one will texturize, will make him a
little bit more warm. For now. You can also turn on
every of motion blur. And let's have one check. That is nothing card. I hope you'll learn
something new. And this is the first lesson. Let's move on to the next one to edit with a bit more detail. A little bit of movement.
3. Lesson 2 Add movement: So before we started
this lesson, just remember the motion design
isn't about strict rules. And in this case, you just
have fun and play around. Let's start in this lesson,
we'll do a little bit. We'll finish up this
loop without texturing, which we'll do in the next one. So what I will actually add
either white, bleak here. In this case, we'll
choose the Pen tool. Fill color will be white. And we actually can have
stroke forearm fought. The grid. How I
said this started, you don't need to copy me
completely, but our shape, we'll be first of all more somewhere at the second, second, our shape will be here, 1 here, 1 here. Like this. I think this will give frame this one. Turbulent Displace, of course. First of all, let's
give my name. Quiet, bleak. Great. Aqua. Here will be 15 or actually, let's say 25, think 42. Yeah, and this one is enough. Let's change a little bit
the shape for this one, or gray or white bleak
contents, you have shape. And here we have two things. In our case, we'll choose
Stroke and we usually have squares and it went
breaths I square, you just, you know,
transform the scale, but you want to
transform the shape. And this is why you
should shoot click on Stroke and you have
here the points, and now you can
change the shape. So personally, I like
something like this, play around the shave that
personally you were like, I think this is personally like I just
wanted to change this one. Let's pair in this one
to our main eye pupil. Great. Now let's create the movement. Remember because
weight bleak and this one is parented
the ARIMA and pupil. When will you will
move this one? Every free inquiry will
move with amen pupil. Because of this,
Let's animate in a pupil is position
for this one torr on 3D layer because we will need this one here yet click on here. Our position. We need to have
beautiful rundown. Stay with or within
the middle and move up somewhere here close to
the second, second position. Wanted came frame, somewhere
here, second key frame. And after it go, this
starts somewhere here. Go down. After it goes here.
Okay. Incorrect. Let's see what we have. Middle. And up. Your question broadly, how
we can hide this one here? And just to make our pupil
at Butte only in their rear, we need one ethics, which name is self-made? Apply it first of all, your eye and see what we have. Let me just go here. Don't forget to choose main. And now it's at bureau only when you
have weren't wearing. This one is inside
the shape control C, control V, or Control V here. And now everything will appear. Say it off our main grid. Now we have something, but of course we shoot your edit a little
bit more in details. Because our movement is kind of boring for me
away I didn't play. I will actually change
the speed for this one. Choose all of the
keyframes from position of IMA and pupil
Keyframe Assistant, Easy, Ease or F9. And go to the Graph Editor. And here, be sure that you have checked on Edit
Speed Graph. Great. Let's move this one like this. This one though is a
little bit more faster. Well, I like this wire
control suture Save. Next thing that I
lecture do is to make our white bleak to appear
here in the middle. So click here. T for opacity will have
one key frames here. I think one key frame here, curatorial on 0, here, l. So we have 0 first and let's move this one a little bit more form work, right. Click Keyframe Assistant. Easy, Ease Out. Know a little bit more forward. Great. You know what I
think we can try? So go to the turbulent displays, the evolution options
and the same formula, liquids dime, time,
multiply our five. I think. No too much. No, I don't like I thought
that will be a good idea. Let's try with three. No. Unfortunately, no. We hear when we
hit one more look, one other thing that I lecture at AI is actually a sphere. But when we should understand that this
is like a 3D work, even if this 2D, for this one, a torque on
every 3D layer from here. Greek Air for rotation. And now you see you have
way more rotations. So without you having
just one simple around, but when you have this, you can make changes
like this one. Back to 0. Let's see. Here will be rotation x, one keyframe. Here, another one. Move forward for around, I think 70, seven. No, let's move somewhere here. Now she's a difference. He lake make a rotation like
a sphere, not unlike 2D. I hope you understand
what I tried to me. Personally, I like this one and let's see what we can do here. So we go on lightness. Think like this. Let's check. Let's work on them
with this loop. This one, I think I think
the other brother is, go to that bed position. And here is too high. Let's move this one
a little bit more, more down close to our main. And let's check what
we have right now. Double-click for
rotation. Let's see. I steal the line, this one. And this is actually the idea of motion disarmed way around. I think I have found
what personal for me. It's good. I will move this one. Stood up 66 on 78. Right-click keyframe
assistant, easy ease in here, Right-click Assistant,
Easy Ease out. These two can be Keyframe
Assistant, Easy Ease. Let's see what we hit. Okay, good. I like this. Next step. Lecture Ed. You don't need, actually,
in some cases you'll see that you don't need
to make a rotation to keyframe rotation for this because because everything is
parented to our main pupil, they handed the main settings. So it's an honor to make
changes here and everything will change at both
l. So the next step, what we will do, I'll
actually play with scale. Somewhere here. As for scale, keyframe on, frame on here,
I'll make a change somewhere a third tube else. So before he'll appear
in our eye area L. So third year, Let's check
what we have. Along. Came nice keyframe assistant. Is it easy? No. I think we're going to move this
one way more forward. Here. Keyframe assistant, easy. Is it goods? They wanted. One thing that
I like personally is to make this one way more bigger,
something like 120. And here let's say 110. Let's see what we have for now is a good and don't forget your emotion blur
and everything. And I think we've finished
with this lesson. Let's have one more
look. Turn off. Disappear. Nice. And yes, actually
finished with this one. The next lesson
will be brought up my favorite parts
and probably URL. So when we will add a
little bit of texture, a little bit of things to make this one way
more beautiful. But for this lesson we
finish congratulation.
4. Final lesson Texture: Another thing that this will
be a less parked where it will do the most favorite things for all of us is textual. Let's start First. I precompose. Let's call this simple. Yes. In the folder in the zip
file under this course, you can find noise texture, which will add right now. Gpu. Actually, if you've done it once you download the
Jews for the future, you just can't go there. Google, search for noise. Something like this.
You will have, for example, film Schiff. They are more or better yet. You will have
something like this. You can search if you want. My recommendation is
to download the zip. You'll read this 1. First of all, the right-click. Interpret footage main. And here, look, let's say 100. It will make the GIF
way more longer. Because actually the GFP is, I didn't know is there a 1 second much way now,
it's something big. Grid. Whether I like to do next
is this is how it look, but it's too small. It will make Control Alt F, it will stretch, but honestly
we'll lose the quality. So my recommendation is let's say 200 know, let's say 300. Let's say 350. Okay, great. This one is OK. And
just double this one. We sequentiality
for this one under, after precompose this tube, called them like noise. Good. Here. Let's change them
because they are similar right now we
don't need this 1. First of all, move for example, this one more forward. Now let's change their addition. Hung with age here. We have a good noise texture
for this one under the eye. First of all, look right here. After you will cook and I think heart I is above
noise in the middle, the ground is under. We have this Tareq mate. Honestly, instead of explain, let me just show you
how this thing with colors, luma inverted mate. Now he extract things
like in our case, white colors and just add
them in the background. I hope you understand
why they explain, but let's see what
other settings are. Alpha mate in our case, nothing. Nothing. Luma. Luma, in this case, transform whites in that
color of horror background. If you're like this
one or problem but burst and my recommendation luma inverted meant that
what we have for now, okay, now it's more better. Let's bring compost,
everything here. Let's save, Render. Look good. Go to the Effects and Presets
and search here for noise. Simple classic noise at
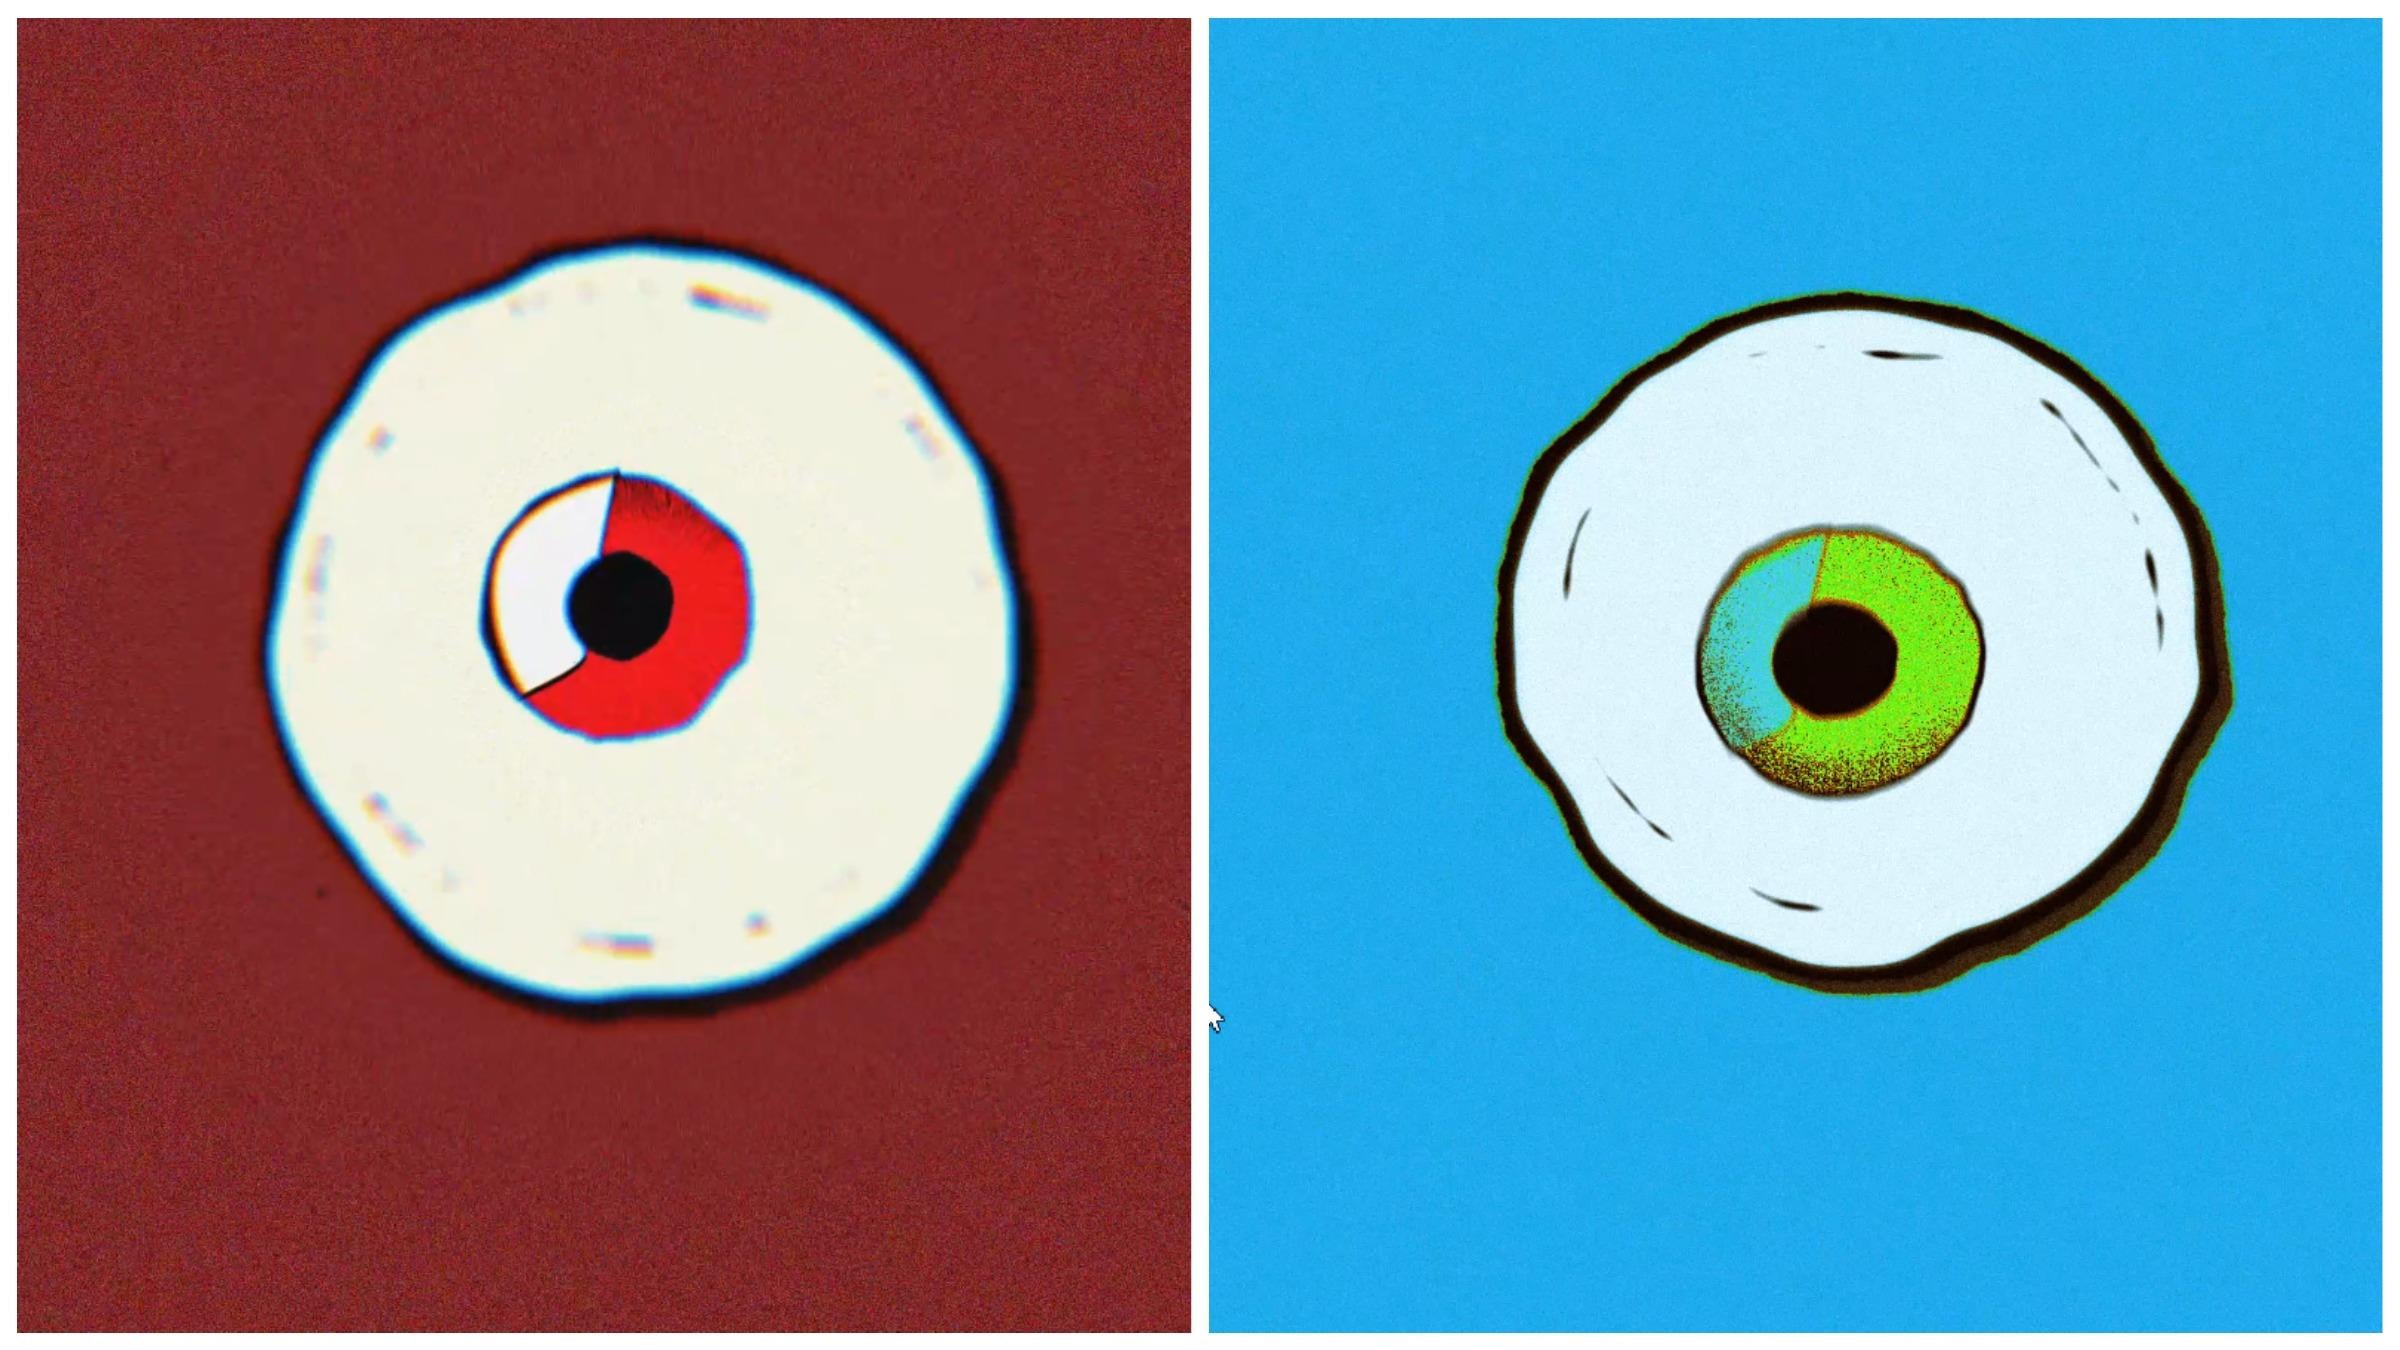
play here, let's say 25. And now you see these green. Let's go full. You see this green? Yet personal? I liked it. What if will make 45 too much? 28 grade? Then the next thing? Next thing I think we can try? No, personally I didn't want, Let's look at eight-year know
without glow will be good. Another effect which play
with time is Posterize Time, which is the same name. Click here and let
me explain quickly. So you probably know that most
of the movie, for example, from Hollywood, they have frame
rate like 24 per seconds. But when you talk about
cartoons or animate, for example, they are dwelt. Look how we have, again, look what we have with
our initial rate. This is the speed. And now he'll could
some of these frames. I don't know if you see
the difference for now, but when he will
work with this one, you definitely will
see that the speed is actually, he's
completely different. And personally, I
would like to have Posterize Time on
our little way more. The next thing, one ethics, which is very
useful, for example, if you want to turn
every color instead of gall to every file and
change the colors you have. Think that which
name is Carla Rama? Let me again show you how that work after you play around. You actually can see for now this thing have
lot output cycle, have a lot of presets
start with this one, use breast palette
and for example, a fire in small
quantities, my favorite. You have more things here, for example, a
recycle repetitions. And you can just store this
one with different value and you have different result
and one more on modify. You have here modify and look, you can't make red Now
you can make green, you can make blue bag
to use Bruce's pilot. You have here a bunch
of them actually turn on one and oh, yeah, great. And now you can play
around solarized, read solarized gray,
fire, all chloride. This one is acute honestly,
to know one-on-one. No one. I'll lecture maker and they're
probably with this green, red, blue, or probably know, dB. This is why I like this. This is a great
honestly is cute. I showed this effort
only to make you know, or probably if you don't
know about this one, I think it will be very useful. Now let's turn off and let me show you one more
thing that you can add is just in case if you have sub three plugin because
you actually, Adobe After Effects don't
have on default is one, so you shoot your download. But if you have search for a distortion chroma,
first of all, let me show you
what this one make the ethics of let's say chroma or let's say amount will be 02. This one will be for, for, for now you can see this
blue that mentor on, off, on, off on. It's also one more
detail that can make your work more catch 22, not in our case for G54, for slated for local. So cool, what you five. You can make a keyframe
from here, make it bigger. For example, Laura,
less four to four. And here let's say, I didn't own the 1990s. Let's see what we have. Because we have a little
bit loose of quality. We can see the big difference, but actually we have yes. I think I show everything that I wanted
to show personally. I don't want you
to do start home. I have for now or you know what? If will turn off. And we'll have 44. And with color Rama. See what we have. Not in this case. Let's think what I like to do is go to Brian
there an unelected to make our eyes to
play with the scale. Third, Let's see here
our scale will be on. One more here. Actually. Make here one. Here, one more. We go to the middle
one and we will make something like 1 third is
way more bigger here, l. So 1 third to weigh more bigger, Keyframe Assistant, Easy, Easy. Frame assistant, easy, easy. I would actually move
this one more close. This one l. So let's see what we have. I don't like it. Let's play around. What's our lecture before is, let's make one keyframe
here and we will make 91 is way more better. This is one of the golden
rule of motion design. Knowledge better, I'll move
this water more close. Way more close. These two more close
to each other. Actually what I
like to say L. So what we can do is to apply vehicle formula on a scale l. So now when you work
with, first of all, you want to be sure
that you layer on that you've finished
with your key frames and only after you can
make wiggle and let's say went to, let's
see what we have. Now we can see that he transformed the shape
beak from big chillers. Actually much my personal life, I like this idea. Let's say nine. Yeah, This is good. The noise number char I loop.
Let's see what we have. Or excuse me, One more
thing is be sure that your motion blur at blame
now here l some motion lord, turn off because it
will make more heavy. See what health. One thing that you probably
notice when I use color Rama, this one noise that
we create disappear. Sometimes we win and
sometimes we lose. I think my personal with
the yellow look L. So good. We finish. Yes, this is the
final of this course. I think it will be for
around 40 minutes. And I tried to give everything
probably not very short, but some of the beginners
will be this one. And I went to make everything clear and to make you understand
every off by step, I hope you'll learn something
for this course and share your result because I
think this will be awesome. Thank you so much
that you joined my course and have a nice day.
5. Render settings: This lesson will
be for the people who don't know how
to render or broadly did this very seldom
go through the file. First of all, first of all, be sure that you turn on your
motion blower control C. And after I go to that file, export add to Media
Encoder will wait. This one will loading search
where your file is placed. So in my case, can share, securely share, I think after you be sure that you select, in our case, the final
composition is I loop. I chose I loop. Wait. Now I didn't know them. Through the course. I will do it this one. Hip. This is what I need to
go to the much source of high bitrate name also where through the
course I'll final I. Okay, Save here
betrayed personally, I like to increase
to 16 here and here. You can use maximum
render quality. Click OK, and play. Render is done. Let's
see what we have here. This finally loop. One more time. Now we finish. Have a nice name.
 Sasha Luvr, Work in third dimension