Transcripts
1. The Intro: Hi friends, it's Tammy prayer, and thank you for
joining me today. I have a fantastic class. One that's really needed, especially in my situation. I make art and all
different kinds of sizes. And I needed a way to envelope
that in a very custom way. Not all envelopes fit my
exact needs with my art. And so to make it really
beautiful as a gift, I want to create my
own custom envelope. And the skill I have for you
today is easy paper folding. And you can make an envelope for a gift card or
something really big. Isn't that amazing? Oh,
everything in-between. You can make an envelope
for just about any size. It just depends on the size, square of paper that you have. Now, you will need a ruler, a little bit of math, a glue stick, and some paper. I will walk you through the basic mechanics of what the envelope
making looks like. And then we're going to
dive in on making it fit our card or piece
of art right away. What about embellishing? I'm not going to forget
that our class project is making your custom
envelope and embellishing it. Are you adding anything
special to it? Now stay tuned. As I explained
exactly what we need to create our own
custom envelope.
2. The Project: Our class project is to create
your own custom envelope. Share how you made a special sized envelope
for your creations. In the project section, just follow the simple steps
of folding and measuring and you will have a
beautiful envelope you are happy to
share with others.
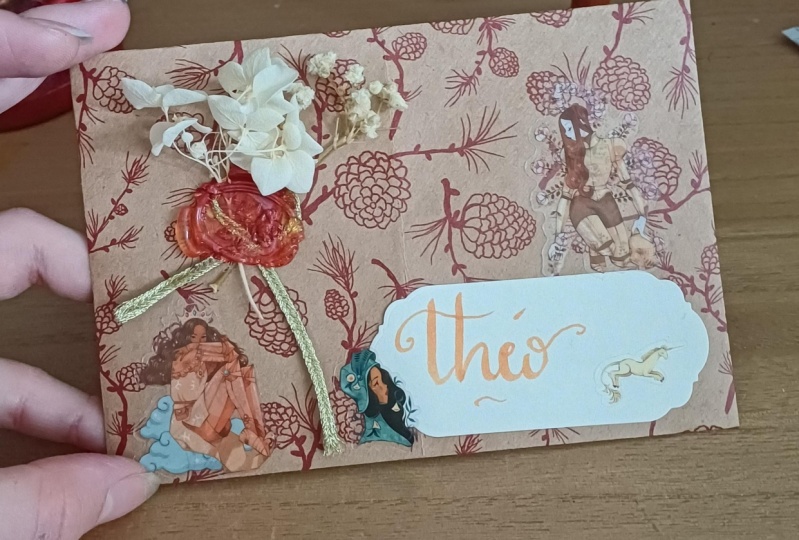
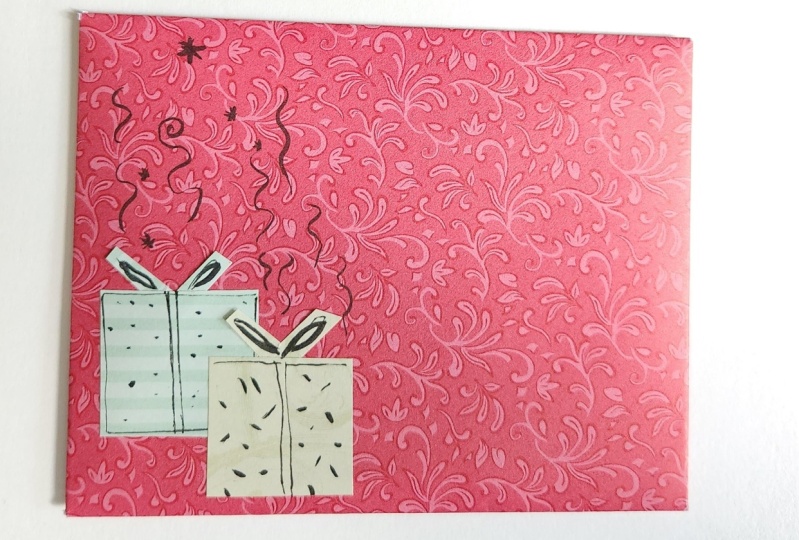
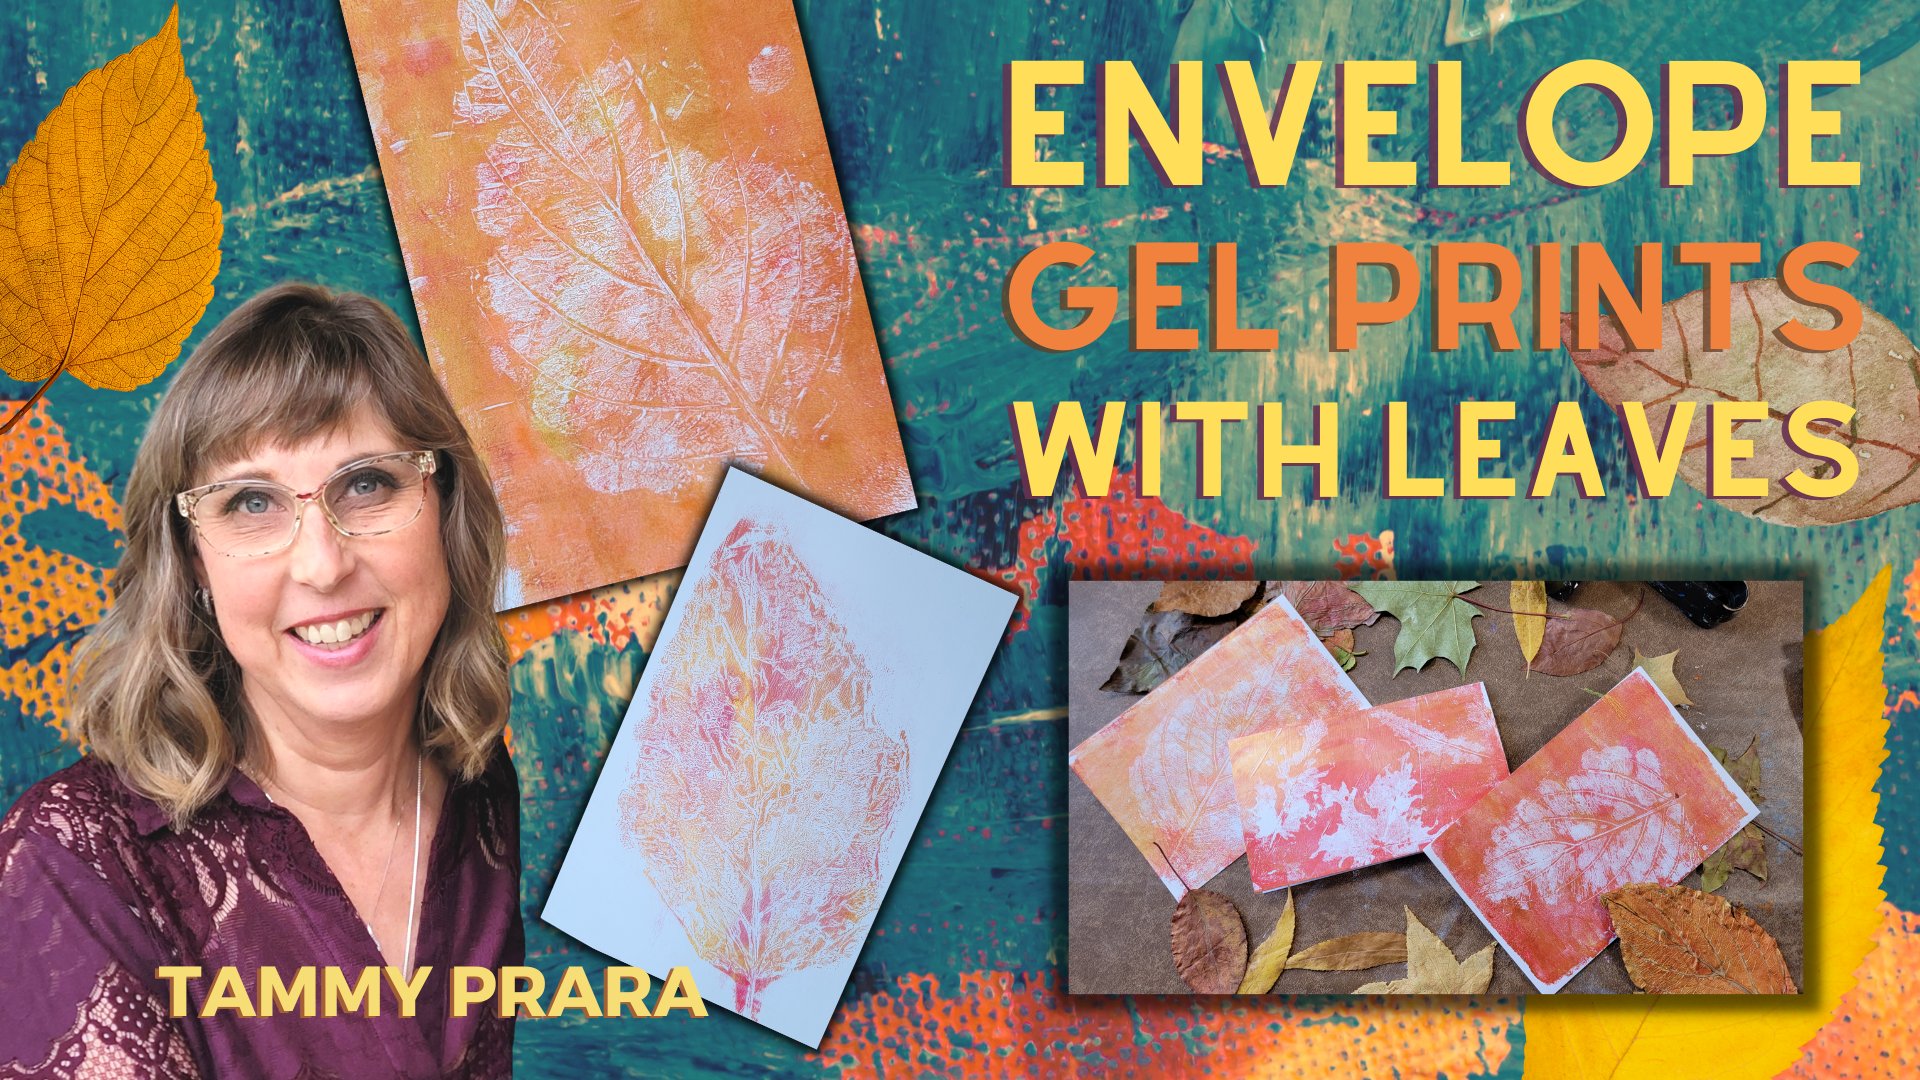
3. The Supplies: I have a few envelopes
already done. And this is just to inspire you to see how many
different types of papers you can use. I have scrapbook paper, paper I've made
with my gel plate. The finished card with a
little bit of embellishment, and even some newspaper. All you need to know, all you need to have a
piece of copy paper, eight-and-a-half by 11
plain sheet of copy paper. And a ruler is helpful
of paper trimmer. I definitely love this. We're going to use a pen for this particular
envelope practice and some other
tools to embellish. Scissors, glue. I really like Elmore's
craft bond glue stick or a liquid glue that has
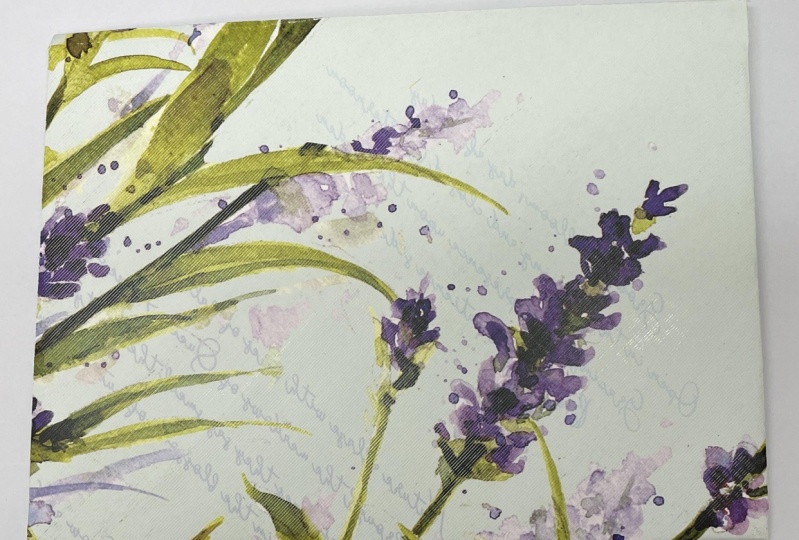
a very fine tip to it. Have some papers on hand. Do you have any papers
you've created? Or how about gift wrap? Here's some more paper. I've created this as on copy paper or just
some scrapbook paper, especially if it's two-sided,
that looks beautiful. The other thing we need is how
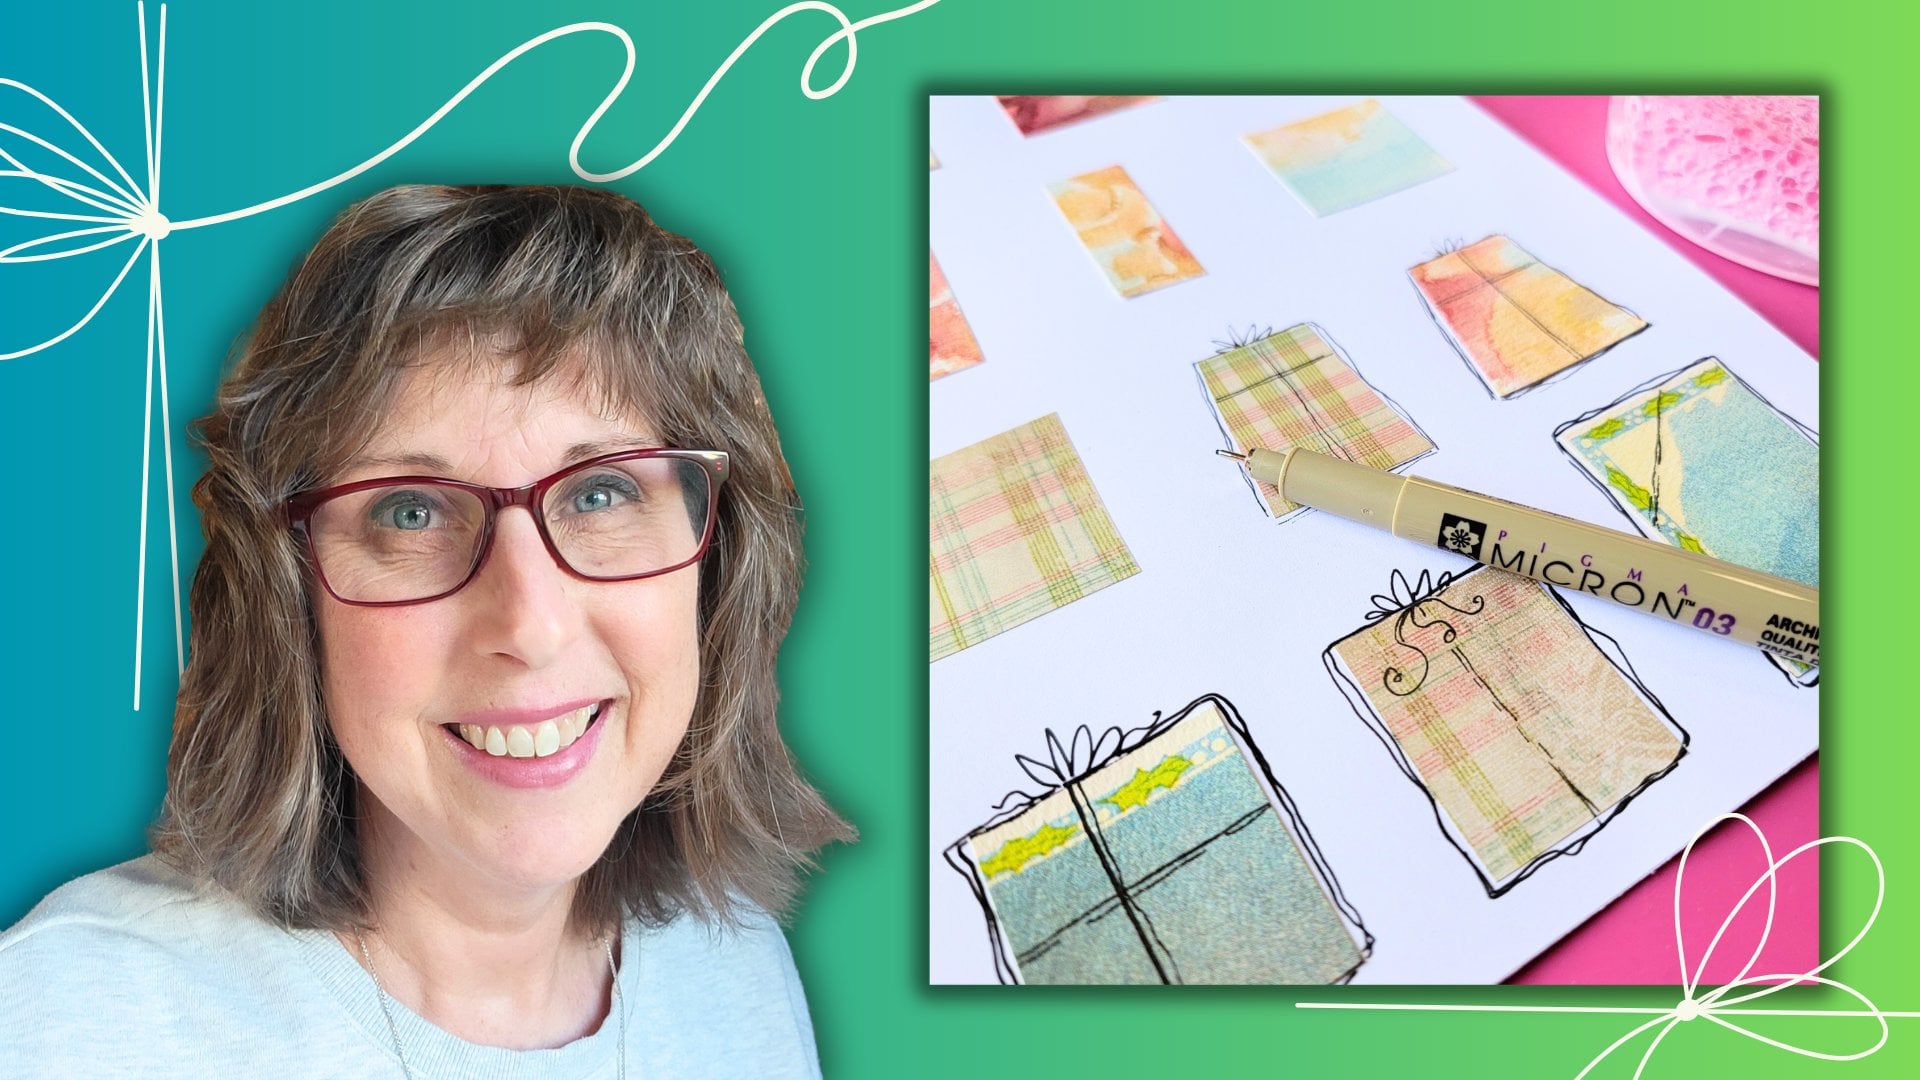
are we going to embellish? Do you have any little
craft elements? I had these little presence
I've made not too long ago. Scraps of paper. These are just scraps that
we can use or stickers. Do you have any stickers
available to put on your envelope to really
give it a great look, that's all you need to create
a custom sized envelope.
4. The Secret: I have this simplest way of
making a custom envelope. And the very first
thing we're going to do is make a mock-up. I want to explain exactly
how the setup looks, what all my measurements mean. We're going to start with a
plain piece of copy paper. First thing we need to do is
make it a perfect square. So this is eight-and-a-half
by 11 piece of copy paper. I really like this paper cutter, this paper trimmer,
I should say. Because I have an eight-and-a-half
by 11 piece of paper. I'm taking that 11 inch side and trimming that down to 8.5. Now, this is your mockup. We're practicing on a square
piece of paper first. And the first thing
I want you to do as you're creating your mockup, your practice page is
to make a triangle. And then we're going to
match these two sides. Put a fold down. I want to really darken these lines so you can
see what I'm doing. Now this is really optional. If you can see your fold
lines perfectly well. That's great. I do recommend doing
it because it's really helpful to see
both sides of your paper. Having this black line helps to explain where placement
is going to happen. What's fun about
this custom sizing your envelope for any
size card you have. Once you have this idea, this concept in your head, it'll work easily, very quickly. What I'm doing is I'm
moving my bottom corner. I have it in a diamond shape. I'm moving my bottom
corner up and I'm just going to put a
little pinch right there and I'm going to measure
is it an inch or more? Yes. So I'm in the inch ish area and my lines are
perfectly straight. And I'm going to
put a crease here. And over here. Here's another ish measurement, and it's about a fingertip. Now you can mark
this if you'd like. What does a fingertip look like? From that very corner to
the edge of my finger. Let's measure that just to
have a rule of thumb to go by. Now, it is more
than half an inch. It's between five-eighths and
three-quarters of an inch. This little rule of thumb has to do with how wide your card is and when you do
your placement, you're going to see, I want about a fingertip
equal on each side. So that's what
we're looking for. I'm going to crease right
here at that at that mark. And notice this is something
we're looking for. Make that line
point to this line, but were not coming
to the center. We're not going to
get to the center. Do the same for this side. If you did come across
that center line, scoot it back just a bit. We don't want to go all
the way to the center. But we're making this be
as straight as possible. That's what we're looking for. Now, in our final setup. We're going to bring the sides. And so you can go ahead
and do that now and get that bottom crease
straight and you can tell it's about a fingertip, that's that space
we're looking for. And then bring your
bottom backup, like the two sides are in. Then we're coming down. We're going to
bring that top flap down about to the bottom. But this is where the idea of how big your card is happens. So here's my card. I'm bringing that in. I have just about oh, gotcha. Quarter of an inch
gap right there. And there's that
quarter of an inch gap. You could make it
extra extra snug, but no reason to do that. And you've got your envelope, all you need is a bit
of glue right here. Bring it up. Now. If you don't like this
triangle piece right here, we can snip that off. That makes it look a bit more like a store-bought envelope. This coming down. You could round this off. Some people even trim
this corner off. It's not even necessary. But this could be a cutout. As well as this little
corner could be a cutout. And you would have a finished
envelope ready to mail. Now that's how easy it is, but you do need one more step in here is that trick, the secret. To get your custom envelope, you need one measurement. That measurement is a diagonal. You take your card and you say, I met 7 " diagonal add 1 " and a quarter and a smudge
just added 1 " and a corridor. I think this came remember
we've cut this at 8.5. My card that is seven, fit nicely in an 8.5
square piece of paper. That's the only dimension
you're going to need.
5. The Practice: Now I made this little
Christmas card. It's kind of an off size. I used some scraps to make an envelope,
a custom envelope. Take your diagonal measurement. I have it looks like
it's saying six and just past six and a quarter. So let's fudge that up. Let's say that's six and 6.5. We're going to call
it seven-and-a-half and seven and a quarter. If we cut a seven and a
quarter inch squared, we should be able to make
the perfect size envelope. Let's test that out. Remember R1 measurement. We've measured the diagonal, we're going to add 1
" and one-quarter. And we said that
was 7.3 fourths. Do measure 7.3 fourths
get our perfect square. I'm going to come up past my
center line about an inch. And I'm going to keep my points
as straight as possible. I'm figuring about
a fingertip in. If you want your card in
there to help measure. Go ahead and do that. Now, I'm going to
fold this over. That pointed towards the metal. Yeah, I got that. And I'm going to get this side and point it
towards the middle. I'm even slightly off. Doesn't matter. Not not super, super much. Bring that up. Tap my card down a smudge and
frameless down. That how fast, how
easy it is to get an envelope for any size
card that you may have.
6. The Insert: Have you ever
received an envelope? Then when you opened it up, it had a pattern
paper inside insert. I created an insert for
these two envelopes. I want to show you
exactly how I did it. Very simply. I took my paper and
I folded it up. And as you can see, you're just going to need a bit c. We're going to
leave this for gluing. And it will come down
our envelope just a little bit to cover this
section right here. So that's all we need
is half a triangle. Just happened to have
my scissors here. Or you could use your
paper trimmer or craft knife and
your cutting mat. Now look, we can just
line that up neatly, but we're going to
trim the edges. Let's go ahead and
fold them inwards. And that will be our cut line. We're just eyeballing this. Don't you love for not having to have a ruler and measuring
things all the time. We can just put that out there. Now, this was glued already. This one has not been glued yet. I have a rounded
top to my envelope. You can manage the same way. I can make my area for gluing. And I can just trim this around there. Perfect. I'm happy with that. Look at this. Should I just leave it in there? What do you think? I'll maybe these red and white stripes
don't go perfectly with this beautiful blue
and purple and gold. But I tell you,
it's easy and fast. I'm going to dab a little
glue right here on the tip of my curve for that. And then let's go ahead and
finish this on below, above. What do you think? I'm going to use my liquid glue. Want to trim this tip off. Show more of my stripes
a bit on my fault. And then up to the top, we're going to leave
that gap right there. Press and hold my warm hand ceiling technique. All that. Also. I have an insert, I have a patterned paper, insert 0 and I folded it tight. Well, there you go. I think I'm going to
trim my card a bit. Such as the crafting life. I was paying attention. But there's nothing. A little scissors
and glue can't fix. What do you think? There's my pattern papers. Now what about this one? We can trim the sides off. We don't have to make it
part of the envelope. And I think that's
probably what made that tire a bit tight. Let's add a bit of
glue to the tip. Tuck this in here. Now what's nice about
having an insert, a pattern paper insert, is it gives a bit
more stability to your envelope if your
paper is very lightweight. Putting that insert in there
and actually strengthens it. Wasn't that nice. Red and green. That's a better combination. And that is adding paper
inserts to your envelope.
7. The Envelope: Let's go ahead and make a custom envelope for this playing card
collage I've made. And you remember,
our very first step is to measure diagonal. So let's take this playing card. My corners are rounded, so it is a bit of an estimate. Looks like I have 6 ". It's not to seven. I'm just past six-and-a-half. Okay. So I'm gonna call this
7.5 and maybe 7.3 quarters. Let's call it 7.3 quarters. Now, I have this
page from my gel plating and I think I want more of this
side, 7.3 quarters. Let's get it up to that line
and trim off this excess. Now I do want it more centered. And I think I'm going to
just trim a quarter-inch, take off some of the
white on both sides. And we're looking for a
seven and a corridor. So let's go ahead. I'm going to call it here. Let's see here. That's my seven and
a quarter line. So I'm going to take off
more over on this half. And I have my square. Now, one thing you're
going to look for is where do you want
more art showing? So imagine this
upside down, right? Because this is how we
will be folding it. And do I want this to
be my envelope flap? This to be my envelope flap. I think I'm going to take
this as my envelope flap. So it's going to be on the top. Now, taking my card
and looking for that fingertip spot right there. And am I nicely centered? Let's bring this bottom up, pointing to my top. And I want it a good
inch above the center. I'm going to start there too. That's an easy rule
of thumb to remember. That's great. Oh,
yeah, that's perfect. Okay. So see my fingertip. Okay. I'm going to leave
my card inside a spot and bring that over. And bring this side over. They pointing at each other? Yep. That looks good. There pointing at each other. Remember open that up
and bring my sides then. And up comes the bottom. Looks great. Tap that down. And hold here. Then here is my envelope. Fantastic. That's got more art
here. I loved that. We can give it a bit of glue. Going to dot i little corner
piece and run a little bit. We're not going to the top. A little bit. We're
not coming to the top. Right because our paper don't want any glue
in the envelope. Looks like I came a bit far. I'm going to give myself a bit of a cushion just in case I put
too much glue. That nice warm hand press. There. A captured some of that blue so I don't have to
worry about that. Okay, I will cut this tip off. May not sticking 0 and
not sticking. Okay. That's the way with
acrylic write. A little bit more, more. Do I need my protection? Let's get that in there just in case I think I didn't save
enough time for that to dry. I will give that
another touch up. I think we're good. Sometimes I like to decorate the
top of the envelope, so I may just leave
that open for now. I saw the cutest little idea. And let's see if I can mimic it. I'm thinking of making
this a Christmas tree. I think I want my son Paul. Can you find the center? Okay. So I'm going to cut a
line to the center, but from my bottom edge. Okay, how about this? This will be the world's
tallest skinniest tree. We're going to take this corner that we just made
to that corner. There we go. And look, it's even taller
than I needed it to be. I'm going to just cut the
bottom off. How's that? There we go. Perfect to the top. And let me show you
how easy this is. I really like embellishing
cards and you know what? These we'll go through the mail. I have I don't think
I've ever had a problem. All my recipients have been they show me what they get and
it has stayed intact. Nothing's been torn off. They've made it just
fine through the mail. And I'm going to give it a base. And if you outline this, I'm using a very fat Penn. It's a 0808 micron. There we go. We've made
our Christmas tree. Made a Christmas tree. What if we put any little
Christmas ornaments? I have a silver, shiny, shiny metallic pen. C is my golden working today. Oh, yeah, that looks good. There we go. There
we go. I like this. I can address my card. You can just label the person's name is
going to your grandma, Mary and putting
it on her package. Wonderful. Or maybe just have
lots of stickers. Little bit of chips
stickers would look just great. Where
should we try it? How about right here? I'm going to call it finished.
8. The Finale: Thank you for joining me today. I appreciate your time. Now, tell me, what did you
do with your envelope? Did you collage? Did you create a matching all
envelope for your project? Or did you come up with your own special paper and embellish it with a little
artwork in the corner. I hope you enjoyed this
paper folding class that you can customize your
envelope in so many ways, but especially in the bit. Don't forget that
special trick about finding the diagonal and
adding an inch and a smidgen. Please add your project
to the project section. I would love to see your creation and
share some feedback. I love to encourage people
in their creative pursuits. And other people will get to
see it too and be inspired. That's what's wonderful about Skillshare is learning
from each other. So thank you for joining me. Have a great day.
 Tammy Prara, Making Matters